Ever wondered how to fix wood imperfections without sawdust? Discover a unique DIY wood filler solution and transform your wooden surfaces with ease, affordability, and innovation!

Wood filler is used in almost any woodworking project and when house renovation to fill gaps and cracks before sanding and finishing the wood.
Due to the shortcomings of wood fillers in the global market, most people are switching to DIY wood fillers.
You can make wood filler easily with a few simple steps.
But most of the articles on the internet are about making wood filler with sawdust. Have you ever wondered about making wood filler without sawdust?
Yes, indeed! Making wood filler without sawdust is possible.

Let me share with you the best method that I’ve been practicing since 2005 to make wood filler without using any sawdust.
Here is how to make DIY wood filler without sawdust,
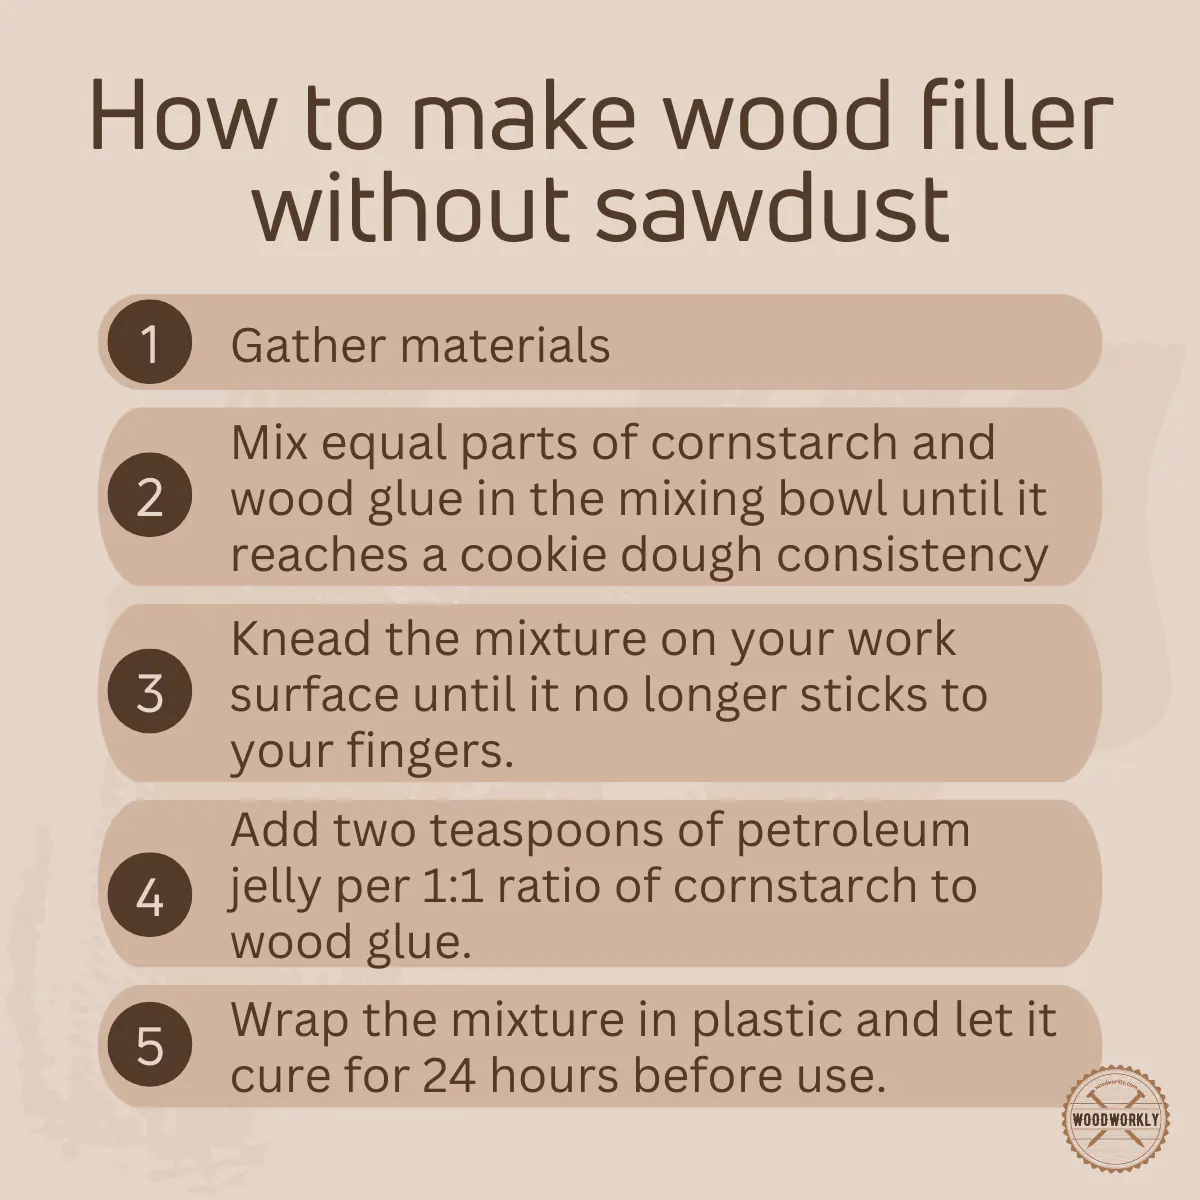
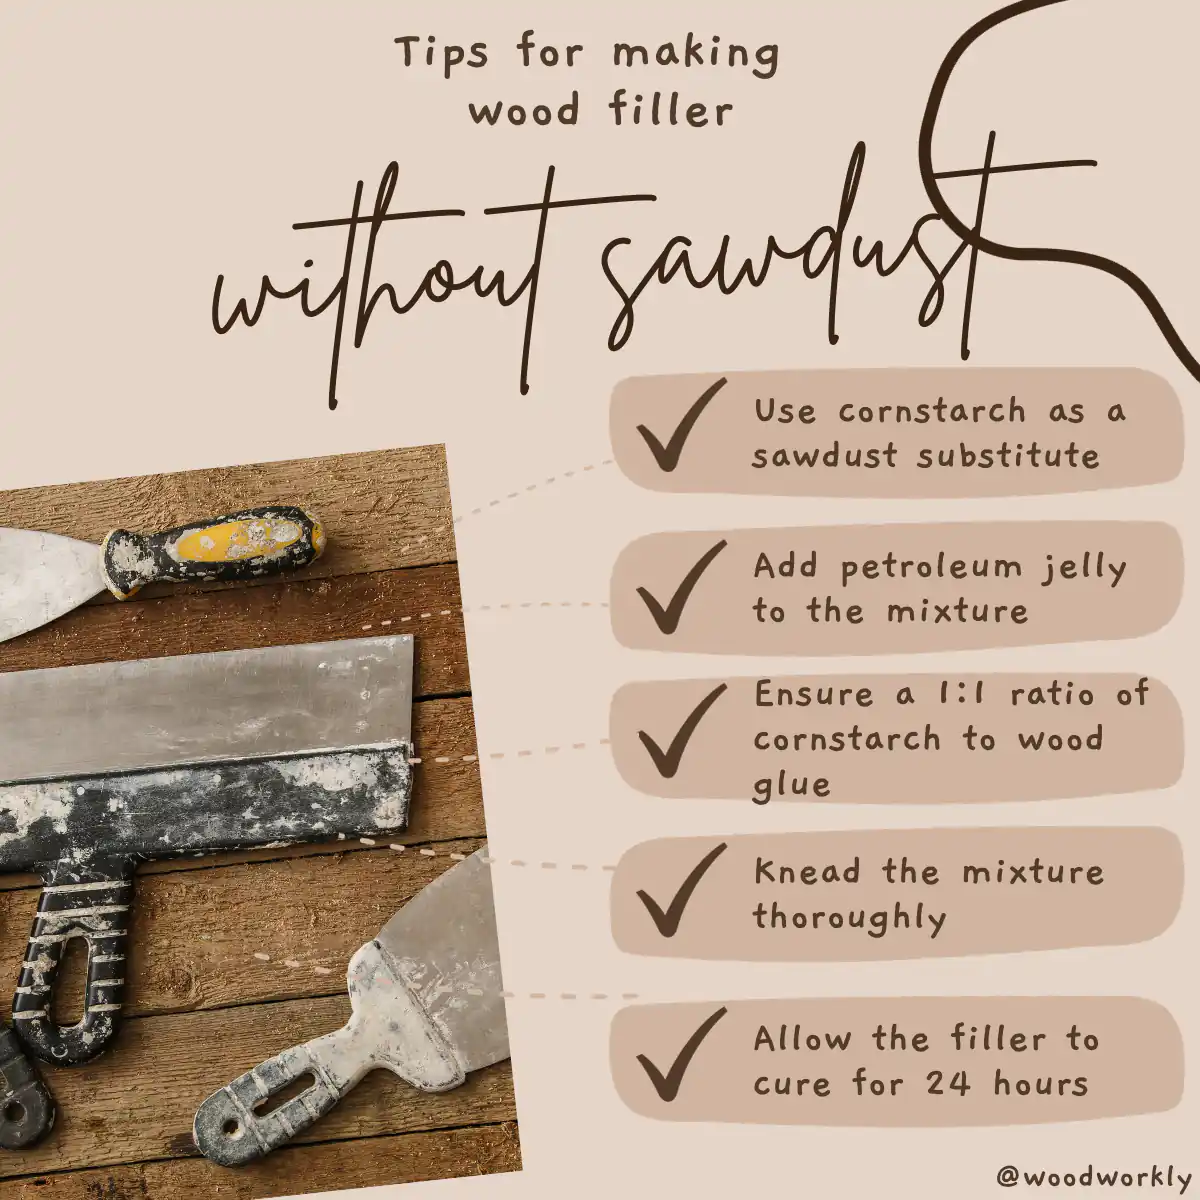
To make DIY wood filler without sawdust, mix equal parts cornstarch and wood glue until it forms a putty-like consistency. Add a small amount of petroleum jelly to smooth out the mixture. Knead until it’s no longer sticky, then let it cure in a sealed plastic bag for 24 hours.
But there’s a lot more to know about making DIY wood filler without sawdust.
In this article, I’ll explore the tools and materials you need to make DIY wood filler without sawdust, how to make it using proper techniques and the importance of making wood filler on your own, and many more.
Furthermore, I’ll answer some frequently asked questions as well.
Let’s Dive in!
Can You Make Wood Filler Without Sawdust?
Yes, you can create wood filler without the use of sawdust.
Traditional wood fillers often use sawdust as a primary component to help achieve the desired consistency and color match with the wood being repaired.
However, there are alternative methods to make wood filler that do not require sawdust, accommodating individuals who might not have access to it or prefer a different approach.
One popular substitute involves using cornstarch and wood glue in equal proportions to create a mixture that mimics the texture and function of regular wood filler.
This mixture, when properly prepared, forms a smooth and malleable putty that can effectively fill gaps, cracks, and holes in wood.
The use of cornstarch in this DIY wood filler offers a uniform consistency, reducing the risk of lumpiness and inconsistency that might arise when using sawdust.
Additionally, the inclusion of petroleum jelly in the mixture helps to eliminate stickiness, enhancing the smoothness of the putty.
This ensures a more manageable application process and contributes to achieving a flawless finish after the wood filler has cured and been sanded down.
It’s crucial to allow adequate time for the mixture to cure and to follow the recommended steps for preparation and application to ensure the best results.
Tools And Materials To Make DIY Wood Filler Without Sawdust
- Cornstarch
- Wood glue
- Petroleum jelly
- Plastic spoon or craft stick
- Measuring cup
- Mixing bowl
- Plastic container
- Disposable gloves or latex gloves
- Tack cloth
- Plastic wrapper
- Plastic seal bag
- Paper towels
Here we’re going to use cornstarch on behalf of sawdust since cornstarch has lots of physical qualities as sawdust in woodworking projects.
How To Make DIY Wood Filler Without Sawdust
Here’s the procedure for making DIY wood filler without sawdust,
- Measure and Pour cornstarch and Wood Glue
- Mix cornstarch with wood glue
- Knead well
- Add petroleum jelly
- Wrap the mixture with a plastic wrapper
- Leave it in a plastic bag
So, let’s discuss each of the above steps in detail to get a clear idea about making DIY wood filler with ease with no sawdust at all.
1. Measure And Pour Cornstarch and Wood Glue
First, take the measuring cup and pour the required amount of cornstarch you need to make the wood filler.
The amount of cornstarch you need to take to the measuring cup depends on how much wood filler you are going to make.
Here cornstarch is the ingredient that takes the place of the sawdust. Even though sawdust works differently and appears different, when making wood filler, both corn starch and sawdust do the saw.
After taking the required amount of cornstarch, pour it into the clean mixing bowl or any other plastic container which can be used as the mixing medium.
Then pour an equal part of wood glue into the measuring cup and pour it into the mixing bowl.
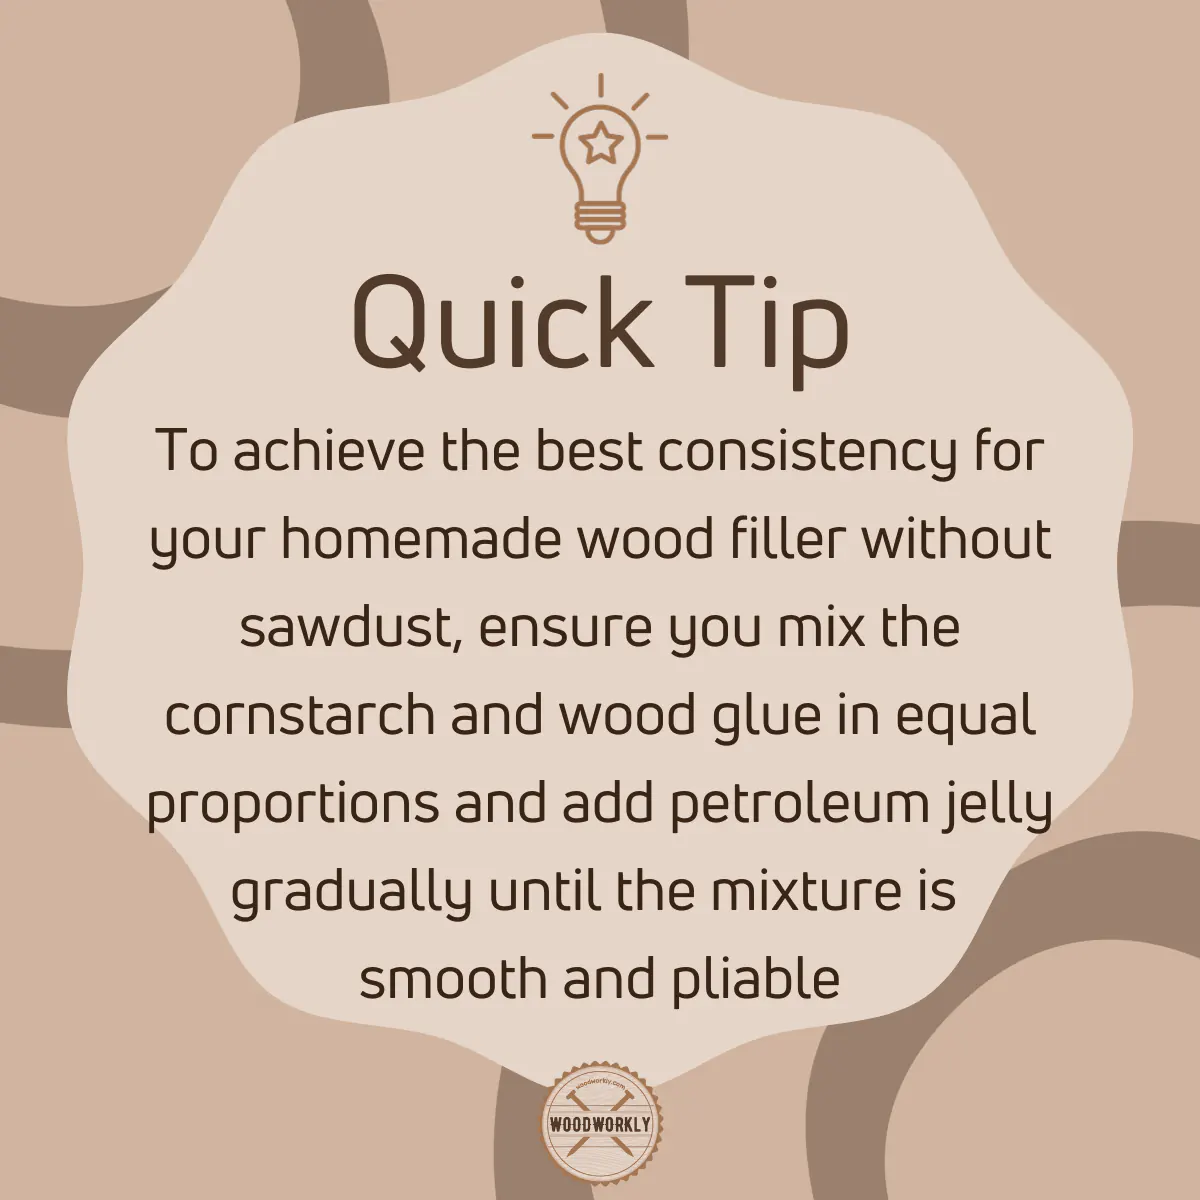
The cornstarch and wood glue mixing ratio should be 1:1.
Then mix the cornstarch and wood glue well using a plastic spoon.
Tip: Make sure to add cornstarch first to the mixing bowl to avoid getting wood glue stuck in the measuring cup. Otherwise taking cornstarch to the measuring can be difficult since wood glue is already stuck inside.
2. Mix Cornstarch and Wood Glue
Now mix the poured cornstarch and wood glue well using a plastic spoon inside the mixing bowl.
You can add more glue if the mixture is too rough and make thick putty with the texture of cookie dough.
Never add an excessive amount of wood glue since that will make the mixture runny.
Mix the cornstarch and wood glue well until the mixture get a putty-like consistency.
After making the mixture, scoop the mixture and let it sit on the surface.
Do the pouring speed and mixing process as quickly as possible since wood glue gets hardens pretty quickly.
When the cornstarch and wood glue are inside the mixing bowl, you should mix them quickly before the wood filler gets hardened.
Take a maximum of 10 minutes to pour cornstarch and wood glue into a mixing bowl and mix them well.
3. Knead The Mixture
Then, take the mixture into your palm and start kneading it until turn it into a dough.
Knead the mixture like clay until it stops sticking to your palm or fingers.
Make sure to do this continuously before the mixture gets hardens.
4. Add Petroleum Jelly
Now add two tablespoons of petroleum jelly to your dough-like mixture and mix with it well to reduce the stickiness of the mixture.
Petroleum jelly makes the mixture smoother and reduces stickiness.
Take the mixture onto your palm and knead using the fingers of both hands to remove any roughness inside. Stretch it, push, and pull using your fingers until it looks like a taffy.
It should be smooth and not sticky anymore.
Tip: Never add an excess amount of petroleum jelly since it will slow down the curing time.
5. Wrap The Mixture In a Plastic Wrapper
Now take the plastic warp that you use to warp foods and other stuff. Wrap around the mixture completely and press it to make the inside airtight.
6. Leave It In Plastic Bag
Insert the plastic-wrapped mixture into a plastic bag. Then air seal by squeezing the air in the bag and leave for 24 hours until it gets fully cured.
Then, clean all the tools you used using paper towels and close the lids of wood glue properly to stop them from hardening.
After 24 hours, take the mixture from the plastic bag, unwrap and warm it a little before using it as a wood filler. Simple as that!
That’s how you should make a DIY wood filler easily without sawdust.
Why You Make Your Own Wood Filler?
Yes, I know why you put this much effort when you can easily buy wood filler from the nearest local store.
But have you ever thought about customizing the color of wood filler according to the color of your furniture to hide cracks and gaps?
Most of the wood glue in the market has a brown tint which is so hard to change. But by using white or transparent wood glue you’ll be able to change the color of the wood filler accordingly.
Plus, you know the quality of wood filler since you can use the best products you have and make it as smooth as you want.
You can change the compositions of wood glue, cornstarch, and wood glue and make slight changes to make the wood filler even better.
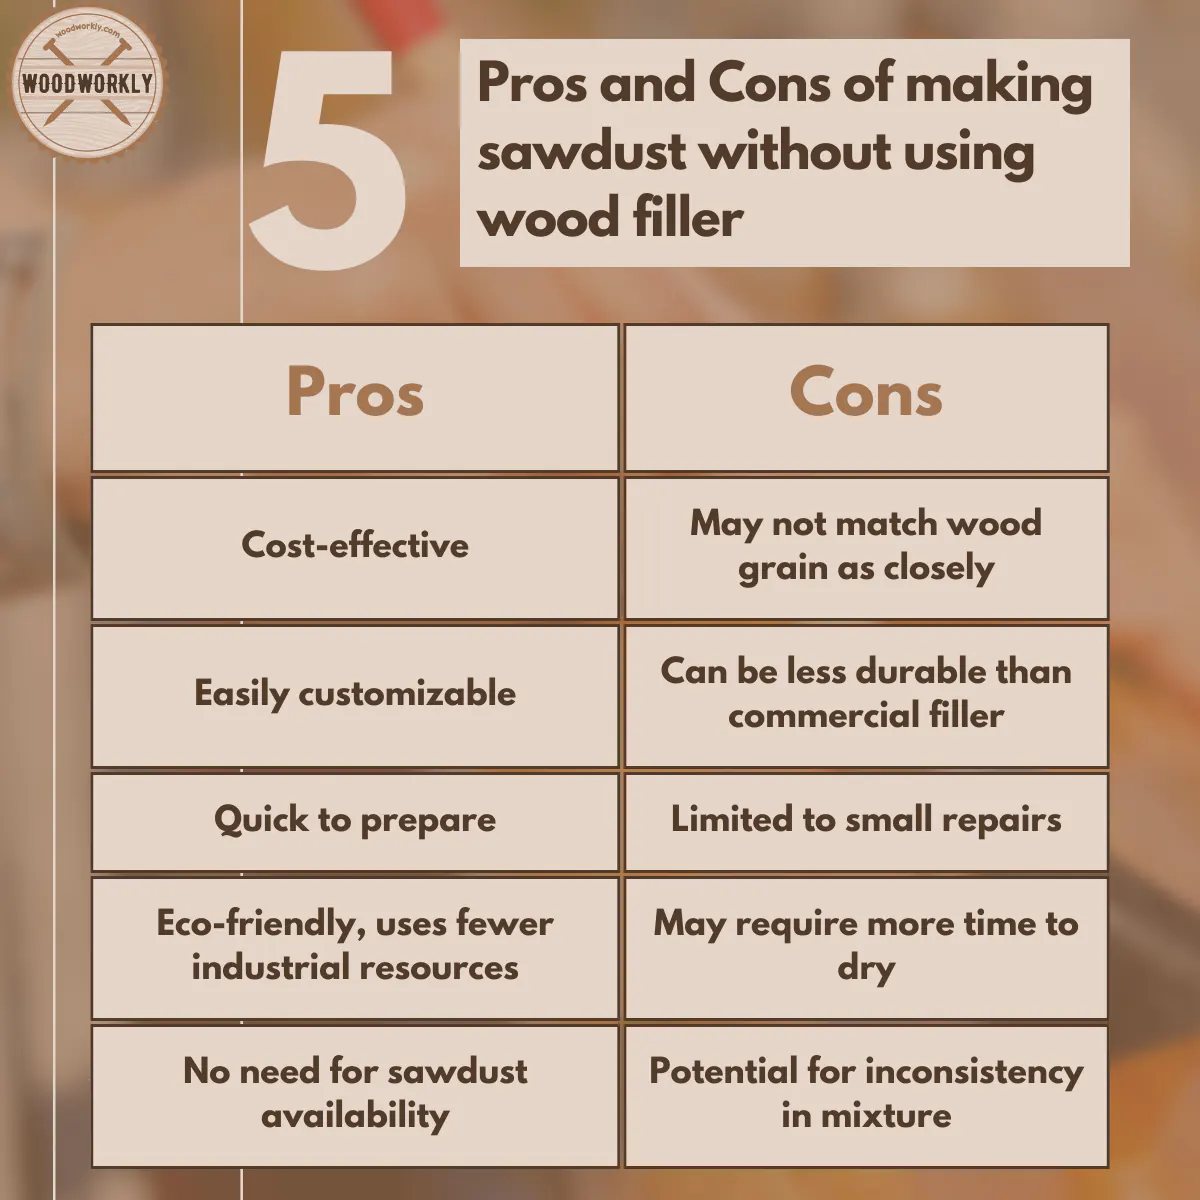
DIY wood fillers are great to cover small gaps and cracks in wood easily especially if you’re on a budget.
Making DIY wood filler without sawdust is useful especially if you are concerned a lot about your health.
Sawdust causes lots of breathing and allergy issues. Plus, it can cause skin and eye irritations.

Tips To Make Wood Filler Without Sawdust
- Use a clean area to make wood filler since if dust gets trapped inside the wood filler, the quality of the product will reduce, and you won’t get the best performance from it.
- Use new cornstarch since old ones may contain germs and bacteria which reduce the effectiveness of the wood filler
- Add cornstarch first to the mixing bowl to avoid getting wood glue stuck in the measuring cup
- Do the pouring and mixing steps quickly before the wood glue hardens
- Add only two tablespoons of petroleum jelly since too much will increase the curing time.
- Wear gloves during the process to prevent your fingers from getting messy
That’s it, folks! Now you know exactly how to make DIY wood filler without sawdust.
How Can You Make Homemade Wood Filler?
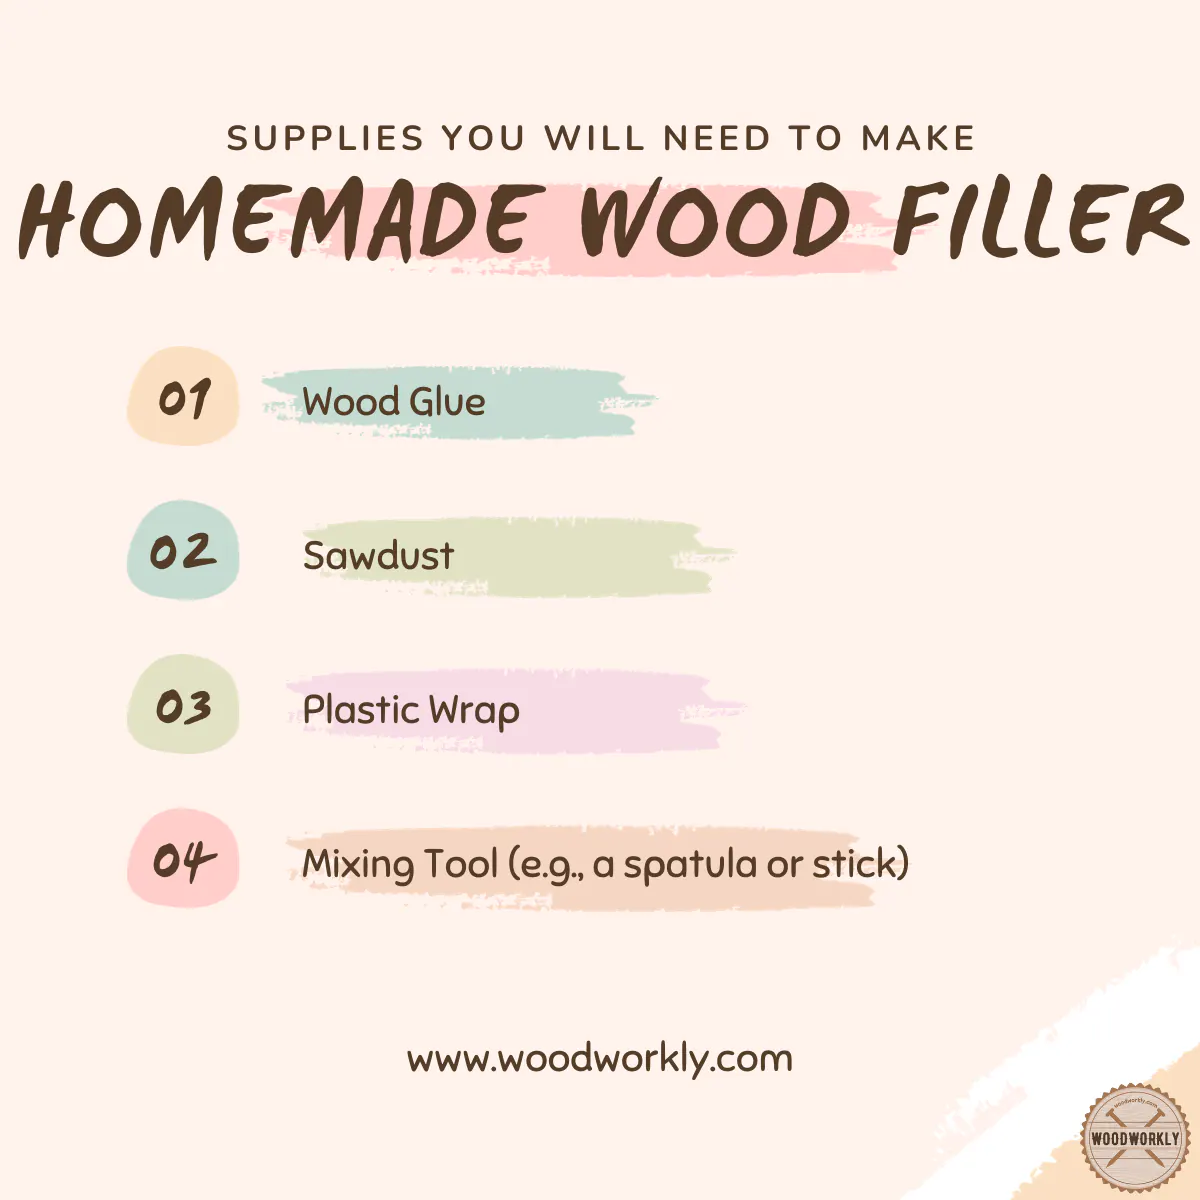
Here are the supplies you’ll need to make homemade wood filler,
- Wood glue
- Power sander
- Tack cloth
- Fine grit sandpaper
- Disposable gloves
- Mask
- Putty knife
- Spoon
Make sure to collect the above supplies from quality manufacturers to get quality results when making the wood filler.
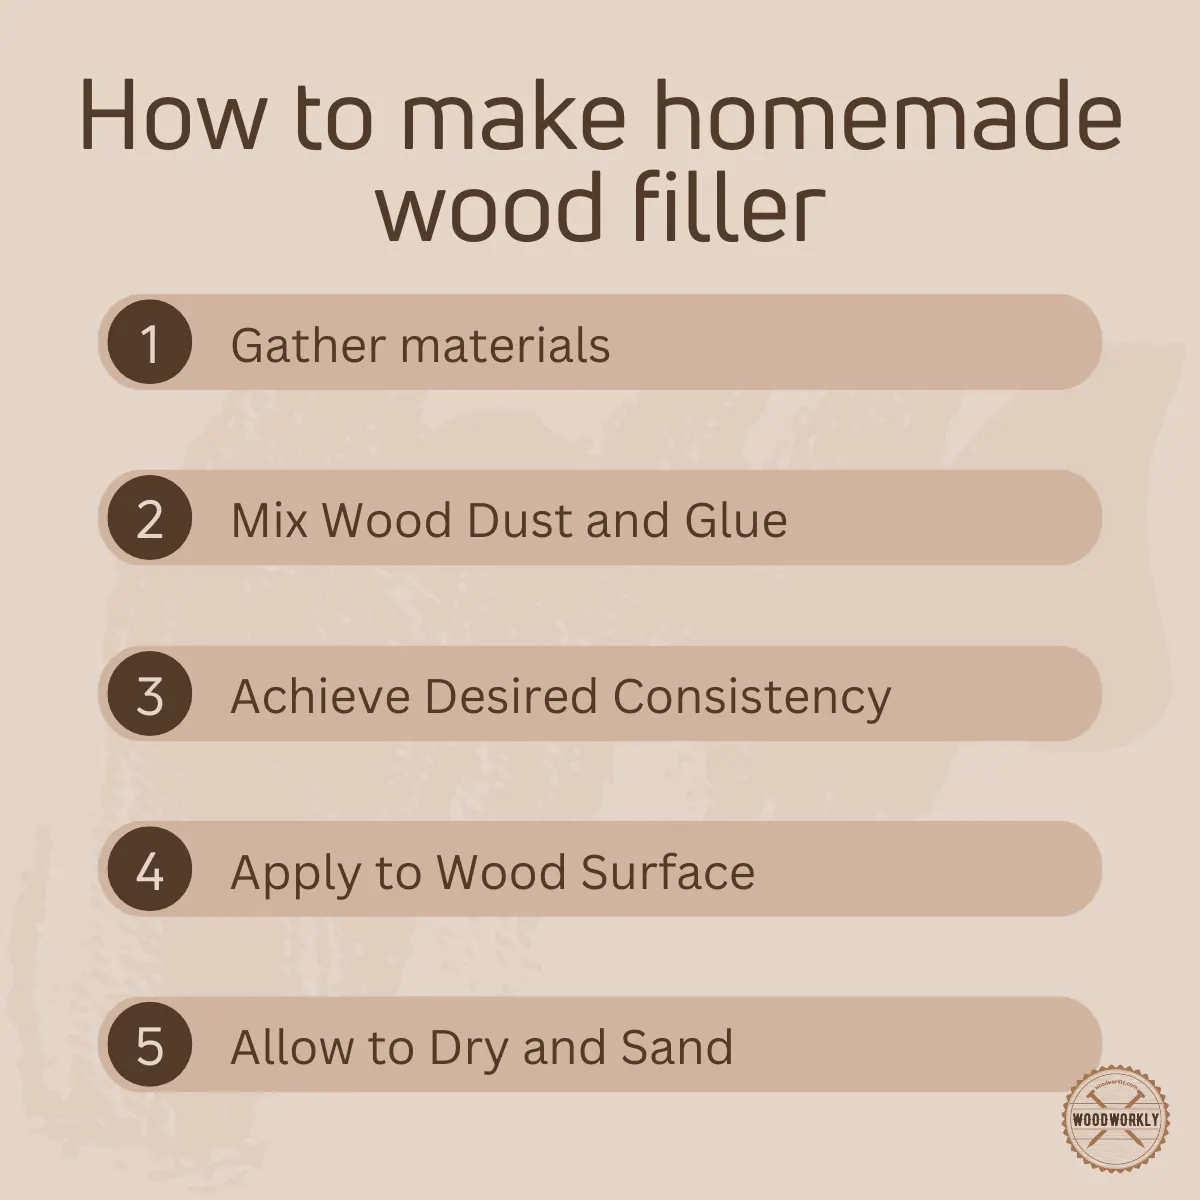
Here is the procedure for making homemade wood filler,
- Clean the scrap wood that is used to get sawdust.
- Sand the scrap wood and take the sawdust to a cardboard or paper cup.
- Mix sawdust with wood glue.
- Apply wood glue and sawdust mixture immediately before it hardens.
- Wipe off excess.
Read to know whether wood filler gets hardened!
How to Make Wood Filler for Hardwood Floors
Hardwood floors are a beautiful and durable option for flooring, but over time they can develop scratches, dents, and gaps that need to be filled to maintain their appearance and integrity.
Creating a DIY wood filler can be a cost-effective solution to address these issues.
Below is a detailed guide on how to make and apply wood filler for hardwood floors:
Materials Needed:
- Sawdust from the same type of wood as your floor
- Wood glue
- Craft stick or similar tool for mixing
- Putty knife
- Sandpaper (fine-grit)
- Electric sander (optional)
- Tack cloth
- Wax wood touch-up markers or stain to match your floor
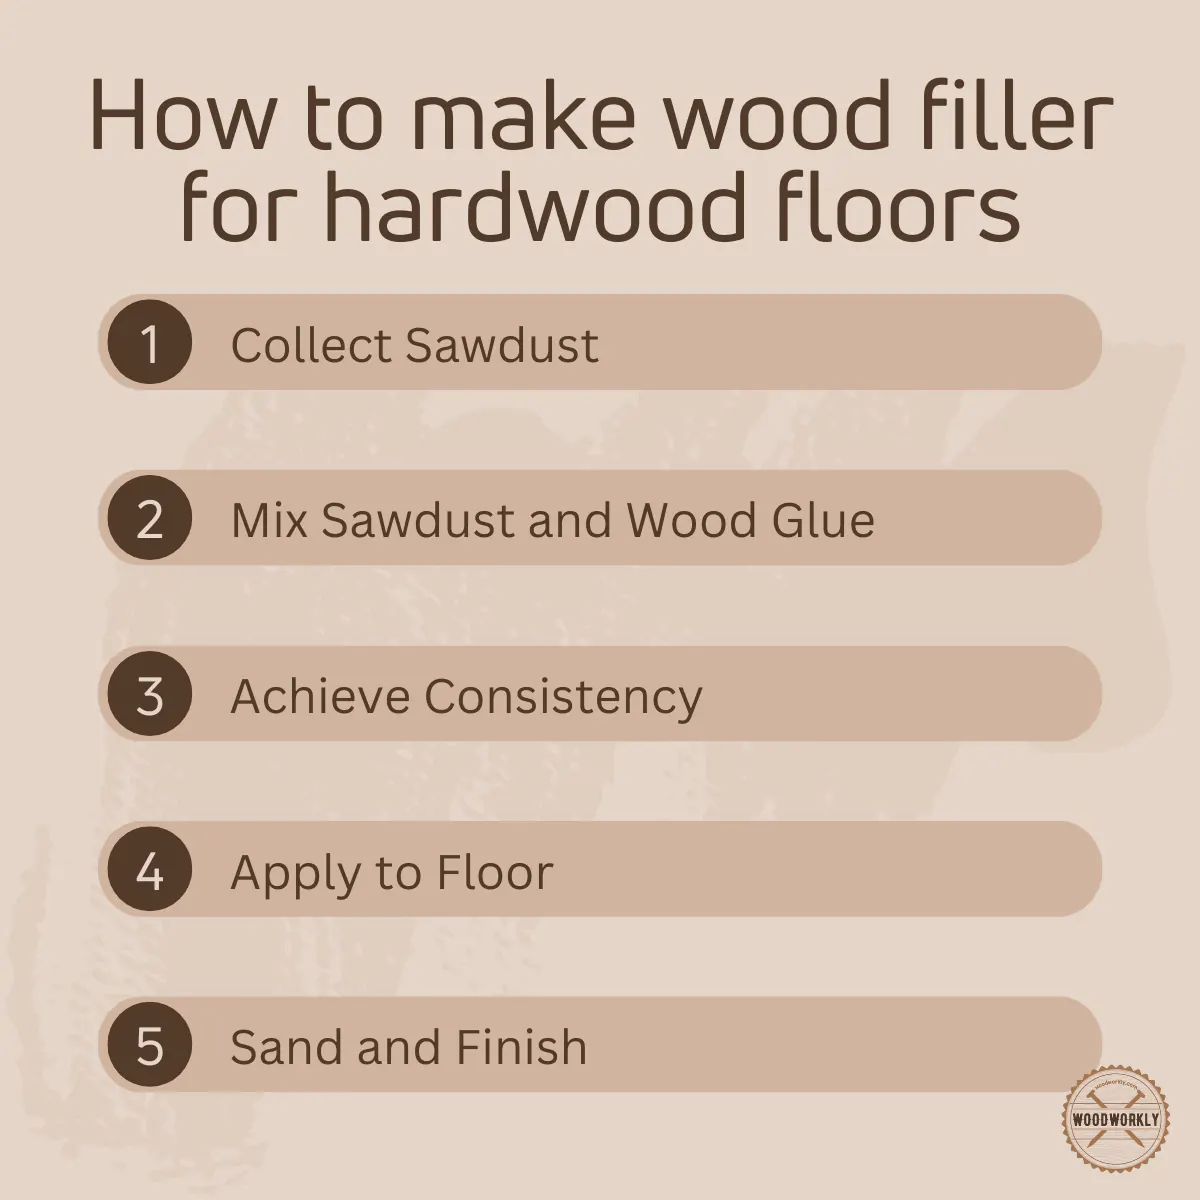
The Procedure of Making Wood Filler for Hardwood Floors
1. Collect Sawdust:
- Sand a sample of the same wood as your floor using an electric sander to collect sawdust. An electric miter saw can also be used to quickly generate sawdust.
- Ensure the sawdust is clean and free from any large particles, wood shavings, or metal impurities. You can run a magnet wrapped in plastic through the sawdust to pick up any ferrous metal.
2. Prepare the Wood Filler:
- Place the collected sawdust on a piece of cardboard or scrap wood.
- Gradually add wood glue to the sawdust, mixing continuously with a craft stick. Aim for a consistency similar to cookie dough; the mixture should be thick but still workable.
- Avoid adding too much glue, which can make the filler runny. Wood glue hardens quickly, so work promptly.
3. Apply the Wood Filler:
- Using a putty knife, apply the wood filler to the scratches, dents, or gaps in your hardwood floor. Make sure to press the filler firmly into the area, ensuring good adhesion and filling the space completely.
- Remove any excess filler from the surface before it dries.
4. Sand the Area:
- Allow the wood filler to dry completely. This could take several hours, depending on the size of the area and the depth of the filler.
- Once dry, use fine-grit sandpaper to sand the area until it is smooth and flush with the rest of the floor. An electric sander can make this process quicker and ensure a smooth finish.
5. Clean and Finish:
- Use a tack cloth to remove any sawdust or debris from the area.
- If necessary, use wax wood touch-up markers or a matching stain to color the filled area, blending it into the surrounding floor.
6. Seal if Necessary:
- Depending on the type of hardwood floor and the location of the repair, you may need to apply a sealant to protect the filled area and maintain a consistent finish.
By following these steps, you can effectively make and apply wood filler to your hardwood floors, helping to restore them to their original beauty and extend their lifespan.
Remember that while DIY solutions are effective for small repairs, larger issues or extensive floor damage may require professional attention.
What Can I Use As A Substitute For Wood Filler?
Here are the best wood filler alternatives you can use,
- Wood glue
- Paint with a similar color to wood
- Wood glue
- Shellac
- Chaulk
How To Fill Holes In Wood Without Wood Filler?
You can fill holes in wood without wood filler by using mixing sawdust with white wood glue or sawdust and making a thick paste to fill holes and gaps in the wood.
Then sand down the excess filler that pops after once it dries using fine grit sandpaper.
What Are The Ingredients In Wood Filler?
- Sawdust
- A binding agent like sawdust, shellac, or epoxy
That’s it. Some manufacturers add different chemicals and hardeners to wood fillers to make it more smooth and change their color. That depends on your personal preference.
Let’s answer some frequently asked questions raised when making DIY wood filler without sawdust.
FAQs
What can I use as a substitute for sawdust in making wood filler?
You can use cornstarch as a substitute for sawdust when making wood filler. Mix it with wood glue in a 1:1 ratio to create a smooth, putty-like consistency.
Can I use DIY wood filler made without sawdust on hardwood floors?
Yes, you can use DIY wood filler made without sawdust on hardwood floors for small repairs and filling minor gaps or scratches. Ensure that you follow the appropriate steps for application and finishing to blend the repair with the surrounding area.
How do I achieve a smooth texture with my homemade wood filler?
To achieve a smooth texture with your homemade wood filler, add a small amount of petroleum jelly to the mixture and knead it until it becomes stretchy and no longer sticks to your fingers.
How long does it take for DIY wood filler without sawdust to cure?
Allow the DIY wood filler without sawdust to cure for at least 24 hours, ensuring it has hardened properly before proceeding with sanding or finishing.
Can I color the wood filler to match my hardwood floors?
Yes, you can color the wood filler to match your hardwood floors by using wax wood touch-up markers or a stain that matches the color of your flooring after the filler has dried and been sanded smooth.
Is it necessary to sand the area after applying the wood filler?
Yes, it is necessary to sand the area after applying the wood filler to ensure that it is smooth and flush with the surrounding floor, creating a seamless repair.
How do I store leftover DIY wood filler without sawdust?
Store leftover DIY wood filler without sawdust in a plastic bag with all the air squeezed out, ensuring it is well-sealed to prevent it from drying out.
Can I use this type of wood filler for large gaps or cracks in my hardwood floor?
DIY wood filler without sawdust is best suited for small repairs, and it might not provide enough structural support for large gaps or cracks. For extensive damage, it’s advisable to seek professional help or use a product specifically designed for that purpose.
Did I cover all you wanted to know about: DIY Wood Filler Without Sawdust
In this article, I have discussed the ultimate guide to making DIY wood filler without sawdust.
Which seems impossible, but with cornstarch, Yes it’s possible. We have discussed all the ingredients tips and techniques you need to make the process succeed.
You can make DIY wood filler without sawdust by using cornstarch as sawdust, wood glue, and petroleum jelly. First, mix cornstarch and wood glue in a mixing bowl and knead until it turns to a dough-like consistency. Add a little amount of petroleum jelly to remove the stickiness. Wrap the mixture using a plastic wrapper and place it inside a plastic bag. Let it sit for 24 hours before use.
Furthermore, I’ve answered some frequently asked questions as well.
Hope you have learned everything you need to know about making DIY wood filler without using sawdust.
This is the healthiest method to make wood filler with no irritating sawdust. Let’s give it a try!