Struggling with thick gel stain ruining your woodwork project? Let’s delve into how to prevent and fix this common yet pesky problem together. Are you ready?

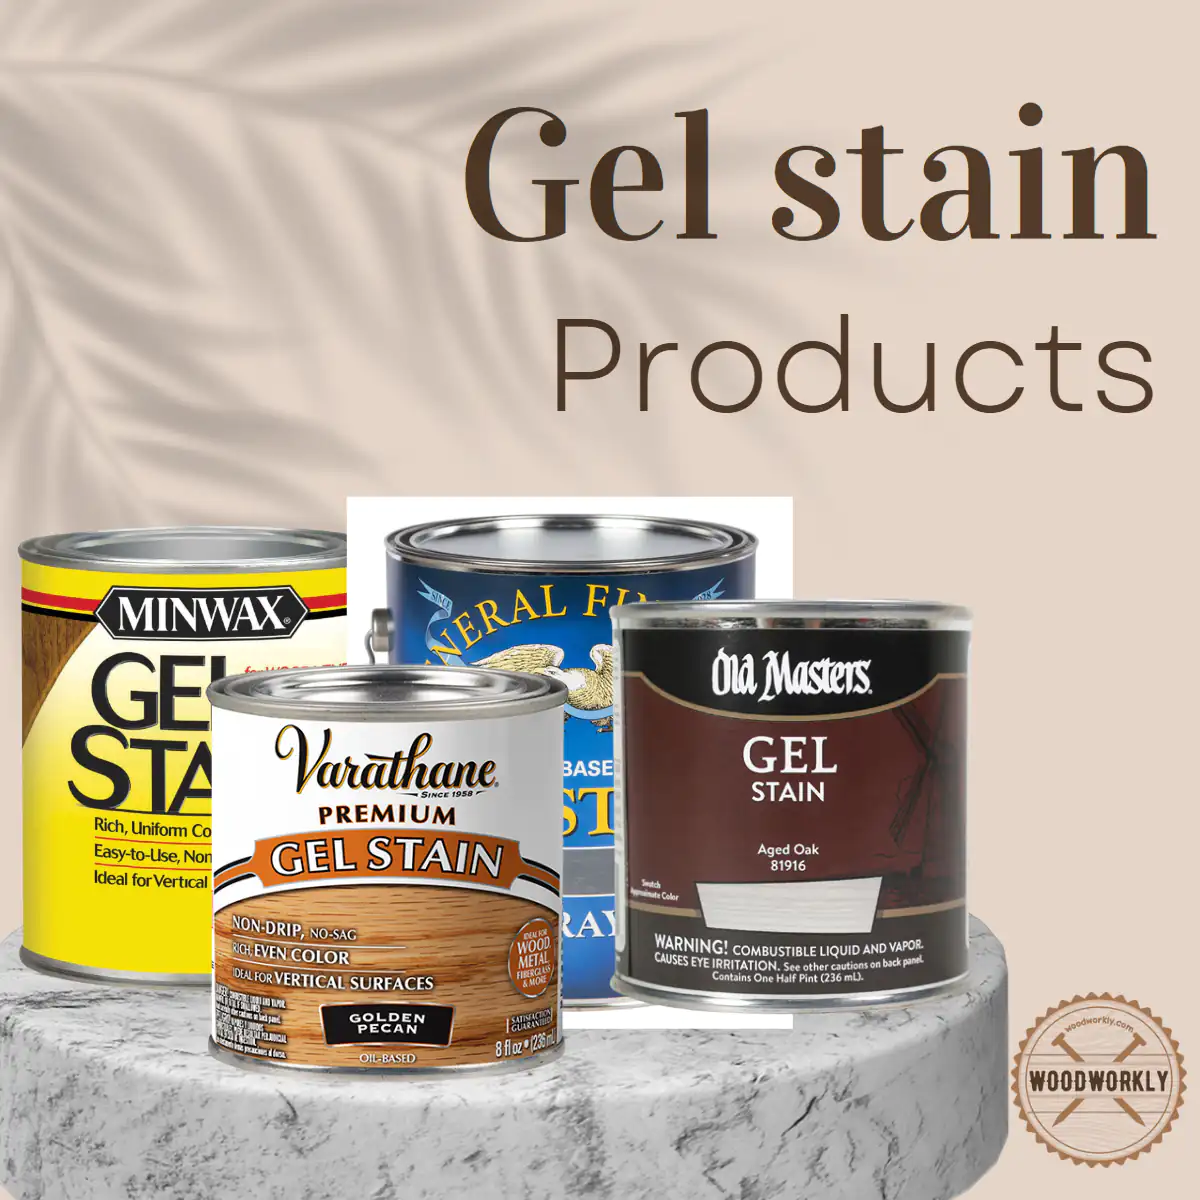
Gel stain is a popular stain product that works differently than traditional stains.
Gel stain doesn’t soak into the wood and when it is applied on top of the wood surface, eventually it builds up like paint.
Usually, gel stain is supposed to be a thick stain. But Let me explain, How to fix Gel stain too thick?
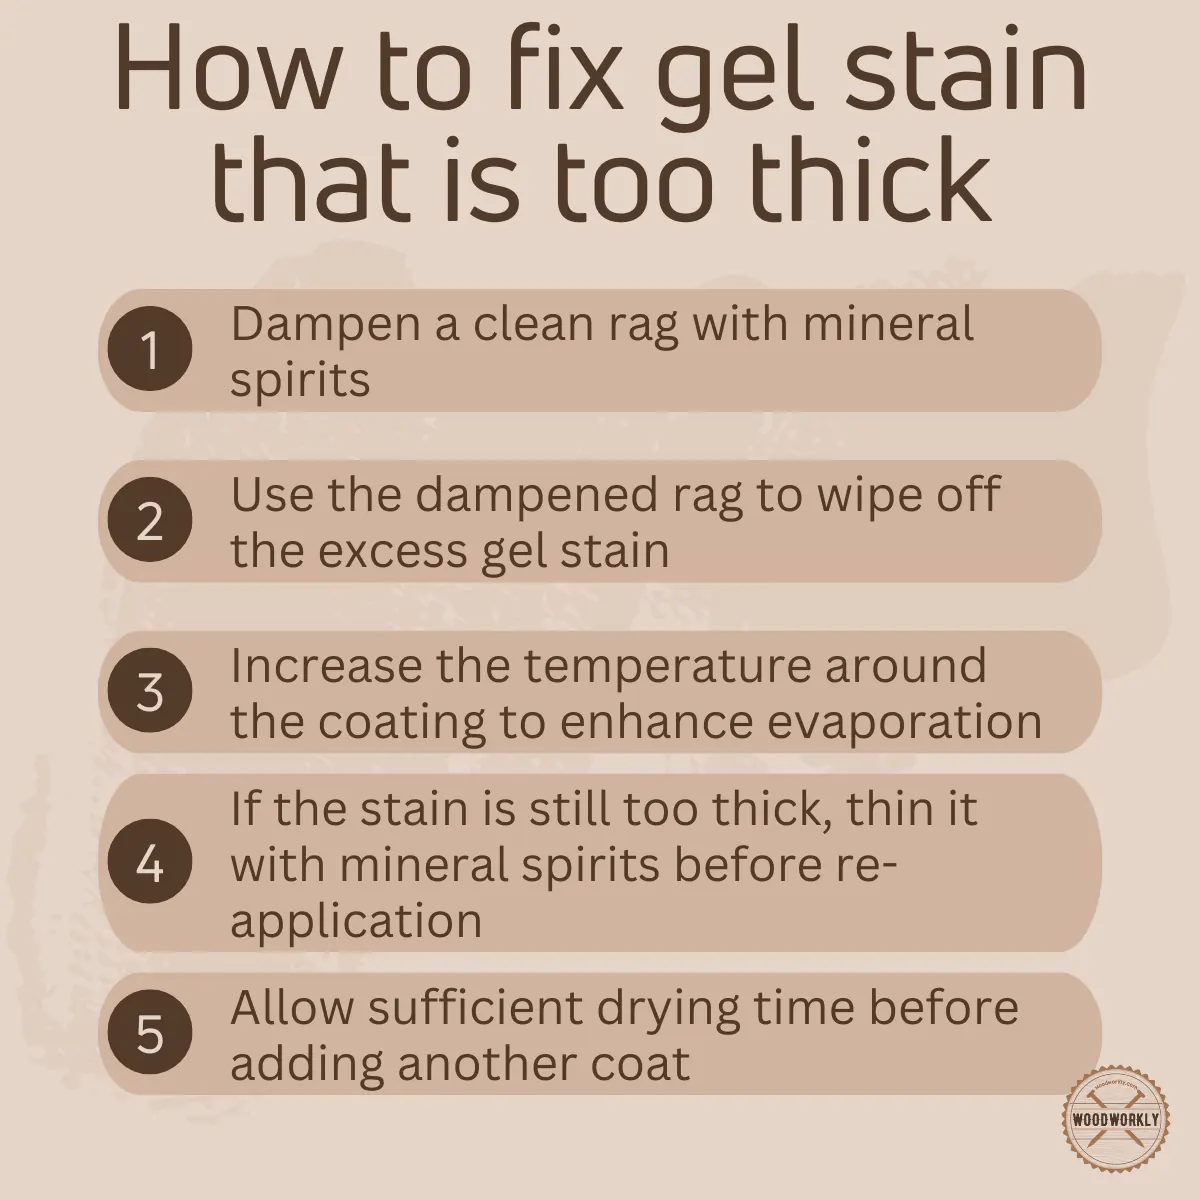
To fix a gel stain that’s too thick, wipe off the excess stain using a clean rag dampened with mineral spirits, and increase the temperature around the coating to speed up evaporation. If necessary, consider thinning the stain with mineral spirits before application.
But there’s more to know about fixing gel stain that is too thick.

So, in this article, we’ll examine what should we do when gel stain too thick, how to fix this issue, and what happens if you put gel stain on too thick and lot more.
Plus, I’ll answer some frequently asked questions as well.
Let’s jump in!
How To Fix Gel Stain That Is Too Thick?
You can fix a gel stain that is too thick by applying mineral spirit or lacquer thinner and wiping it off with a clean rag.
Both mineral spirit and lacquer thinner dissolve gel stains and help to remove thick coats of stain.
After that reapply thin coats of gel stain while wiping the excess stain with a rag. But that needs to be done using the correct method.
Otherwise, your whole wood can be ruined.
Here’re the steps you can follow to fix when the gel stain is too thick,
- Apply mineral spirit and dissolve thick coats of gel stain and wipe off with a rag.
- Strip down a thick gel stain and sand the entire surface.
After following the above steps, you can give a fresh start by applying thin coats of gel stain without making it too thick.
So, let’s find out how to apply gel stain properly to avoid getting it too thick or tacky.
Supplies You Will Need to Fix Gel Stain Too Thick
- Gel stain
- Sandpaper
- Rags
- Gloves
- Drop cloths
- Foam brush
- Polyurethane
Gather the above supplies from a quality manufacturer and get ready to apply gel stain in the right way so it won’t get too thick.
How to Apply Gel Stain to Avoid Getting Too Thick Stain?
By applying gel stain correctly, you can avoid getting a too-thick stain.
When the gel stain is too thick, it takes so much time to dry or sometimes it never dries.
So, let’s find out how to apply gel stain correctly without making any mistakes.
Here’re the steps you should follow to apply gel stain correctly to avoid getting a too-thick stain.
- Prepare the surface
- Apply gel stain
- Remove excess gel stain
- Let it dry completely
- Apply another coat of stain
So, let’s discuss each of the above steps one by one to get an idea about how to use gel stain correctly.
1. Prepare the Surface
First of all, sand the entire wood surface. Sanding is important to open pore structures of wood and make them available to accept the stain.
Sanding eliminates saw marks from manufacturing that cannot be seen by the naked eye.
Make sure to sand the entire area with an even pressure to apply the stain evenly. Sand along the direction of the wood grain to avoid wood scratching.
A scratched surface results in a blotchy surface once it gets contact with a wood stain.
Once you’re done with sanding, wipe the surface using rags to remove sawdust and make it smooth as silk to take the stain.
Before applying gel stain directly on your main woodwork/project, it’s good to test on scrap wood. Then you’ll know how much gel stain coating you need to achieve the color you want and how thick your gel stain coatings should be.
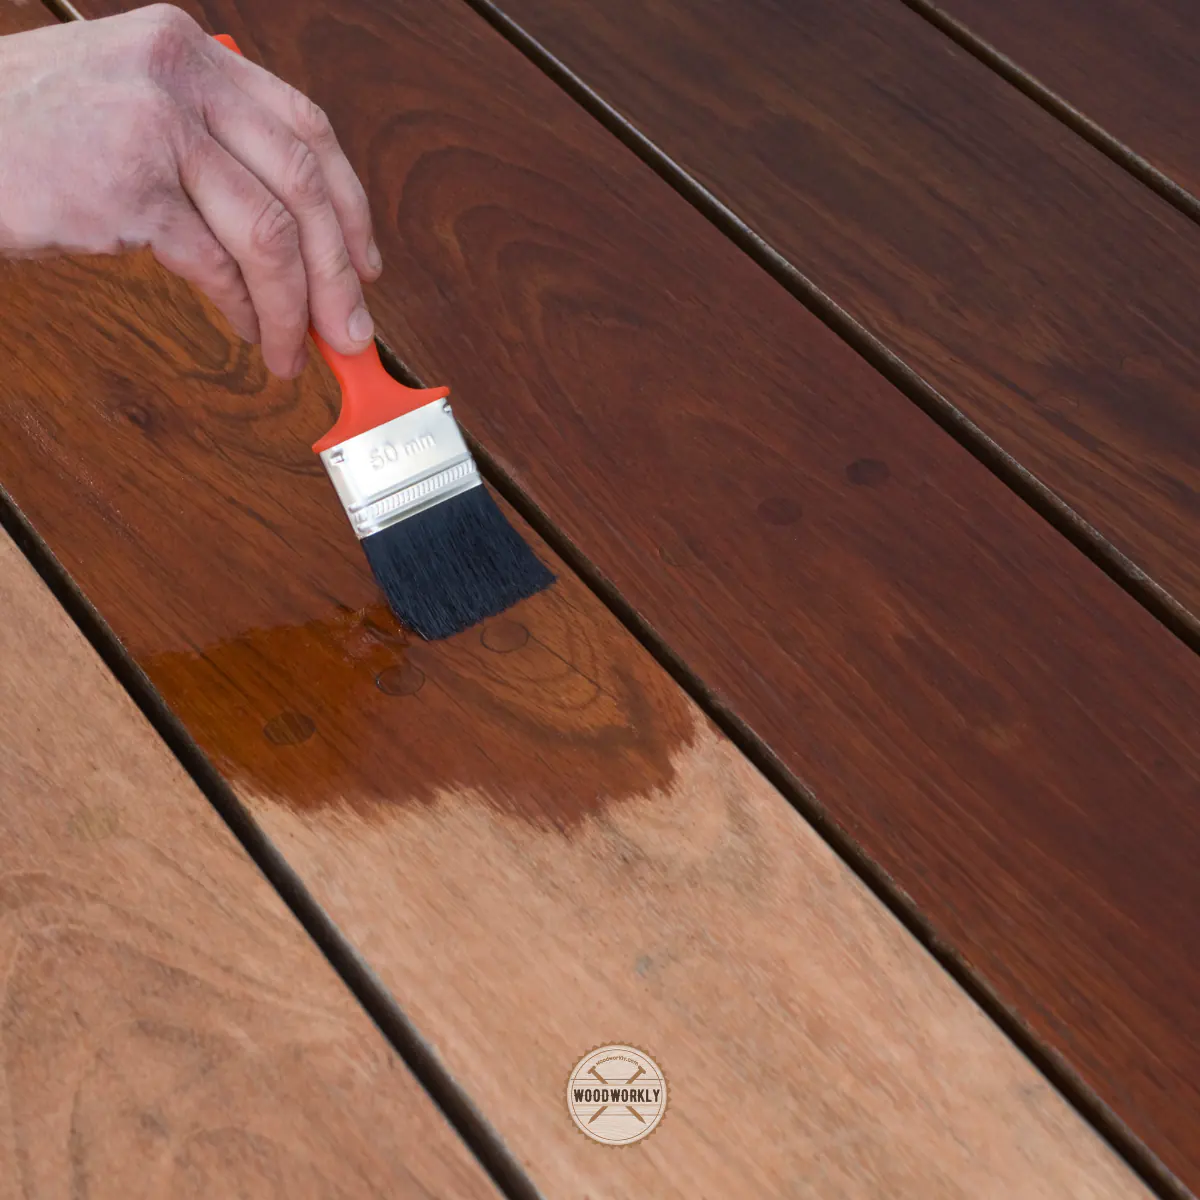
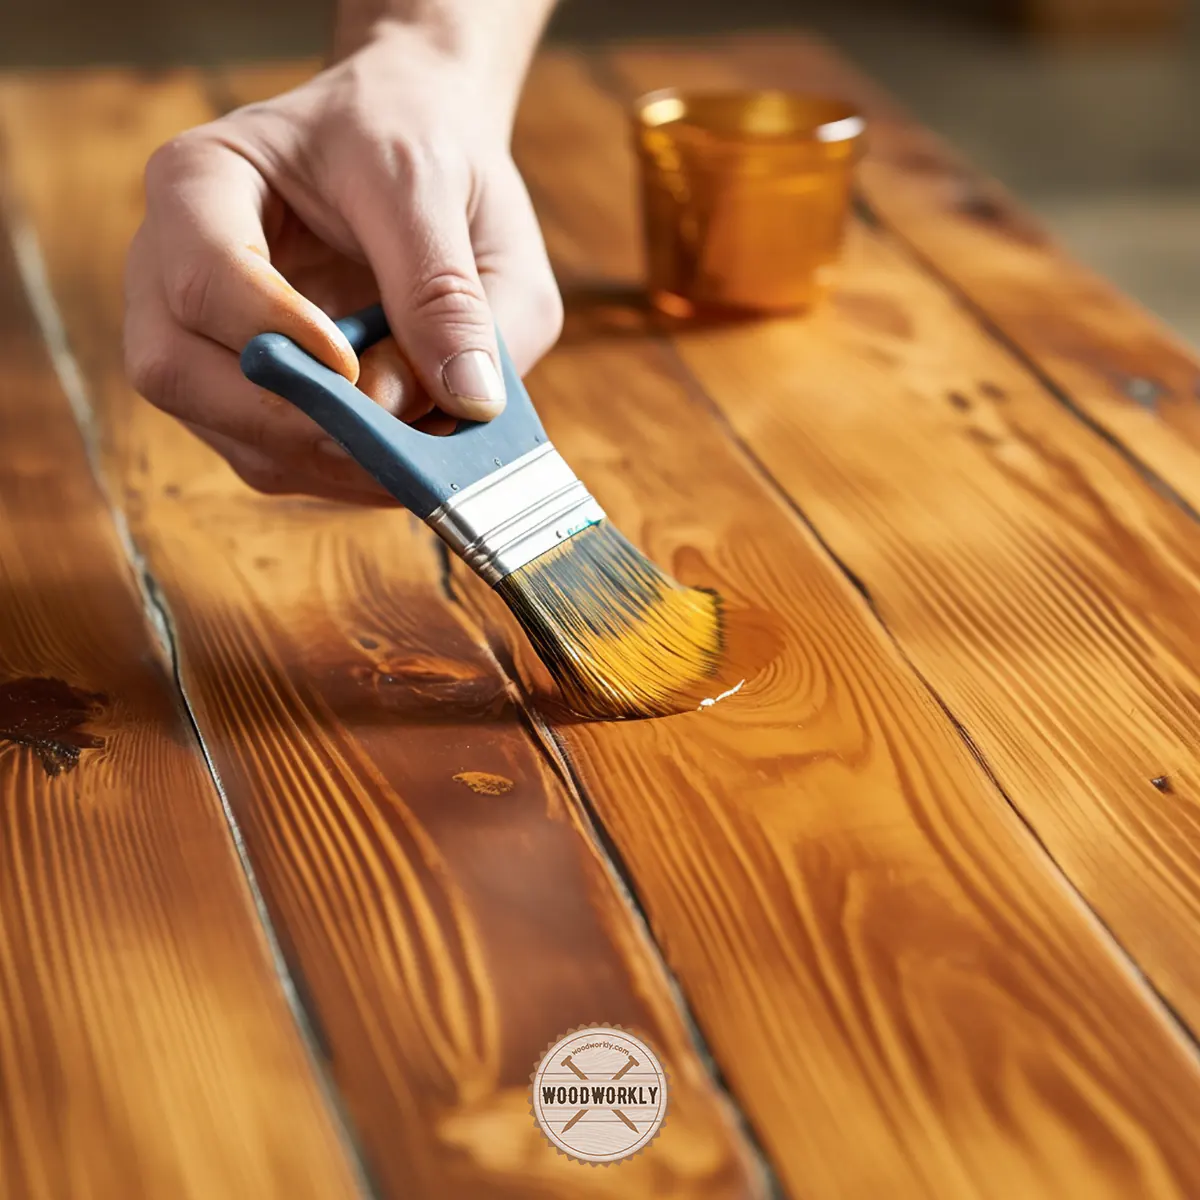
2. Apply Gel Stain
First of all dip the foam brush into the stain and apply gel stain all over the wood. To push the stain into the pores structures of the wood, stain along the opposite direction of the wood grain.
Then go back over the stain and brush again with the grain.
Apply stain coatings with an even pressure because when the applying pressure is too high, the color will get deeper and darker, and the gel stain will be too thick.
Wipe the stain evenly across the surface. Usually, the first coat of gel stain is thick, and don’t wipe it off as you are working on a traditional stain, because gel stain is usually thicker than the regular stain.
By wiping off excess stain with a rag, you’ll be able to make thin coats.
3. Remove Excess Gel Stain
Let the gel stain set for about 5 minutes and wipe excess with a rag along the direction of the wood grain.
So that any marks will blend along with the wood grain. This step is important to achieve evenly thin coats of stain.
Gel stain makes a thick pudding-like paste and dries on top of the wood surface
4. Let the Wood Dry Completely
After the application of the first coat of gel stain, make sure to let it dry for at least 24 hours.
Once the stain is fully dried; it’ll start getting true colors and you can easily decide whether it’s necessary to go for another coat or not.
5. Apply Another Coat of Stain
Gel stain sits on the surface like paint. By applying multiple coats you’ll be able to get a streak-free glossy surface.
But you should make sure to apply gel stain coats as thin as possible without applying high pressure on the foam brush.
Gel stain doesn’t absorb as much as traditional stain. It absorbs slightly into the pores’ structure. Mostly, 2 -3 coats of gel stain do the job perfectly.
Better not to go above 4 coats of gel stain because you might end up with a gel stain too thick and tacky surface which is hard to eliminate.
Now you know how to apply gel stain properly to avoid getting too thick a surface.
Now I’m going to share with you some useful tips and tricks to make your gel staining process a lot easier which I’ve learned from experience.
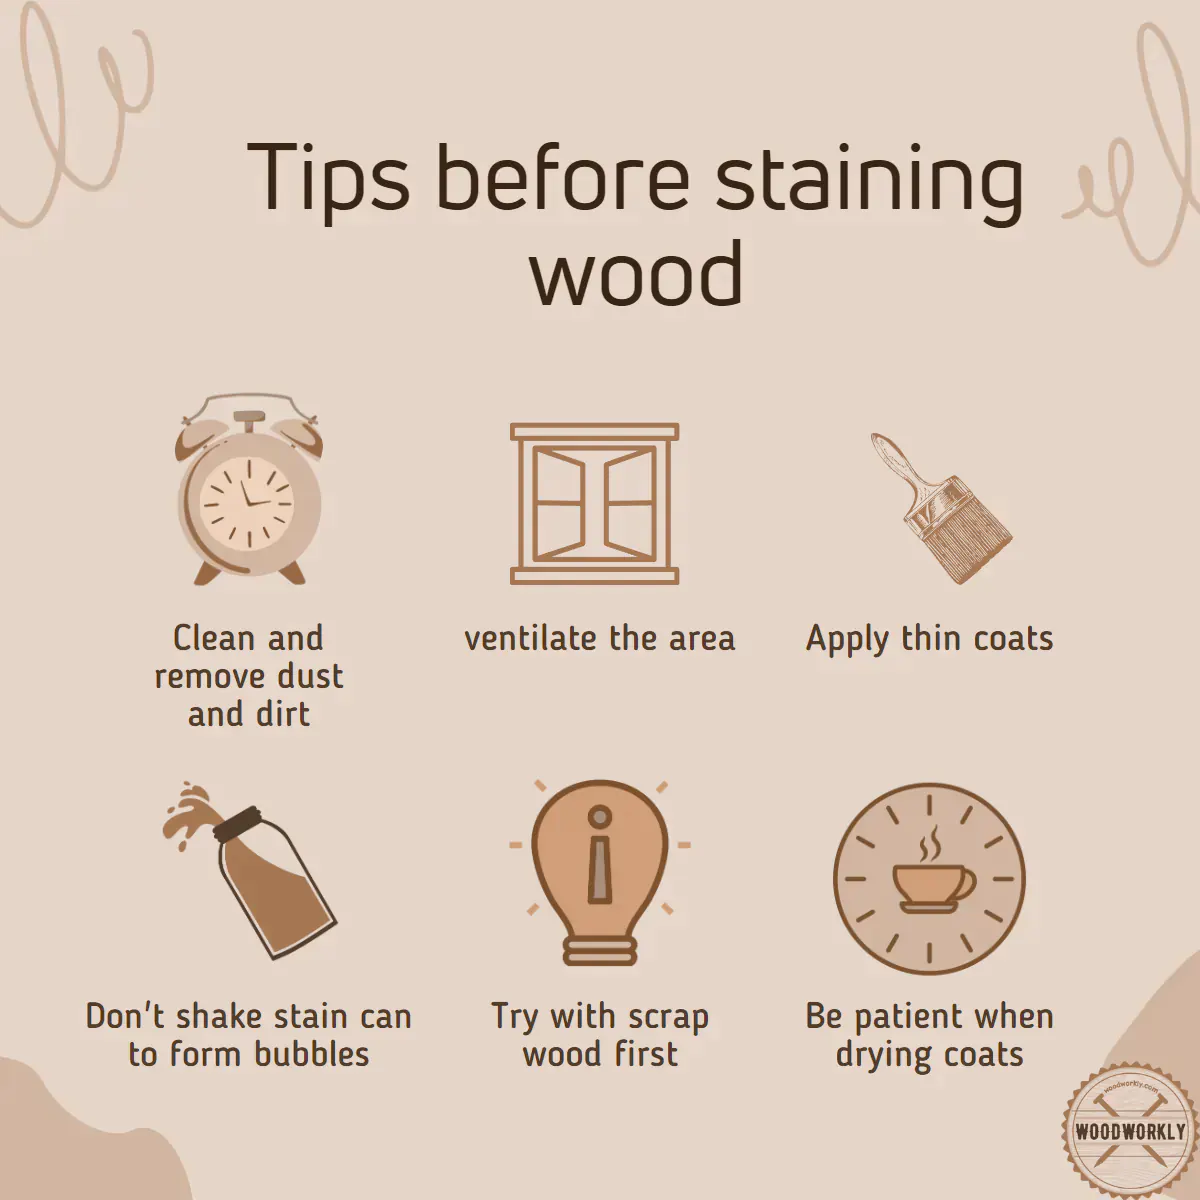
Tips to Apply Gel Stain To Avoid Getting it Too Thick
1. Proper Surface Preparation
Before you even open your can of gel stain, start with properly preparing the surface.
This step can significantly impact how well your stain is absorbed and can help prevent over-application.
Sand the Surface: Start by sanding the surface with medium-grit sandpaper, moving up to finer grits for a smooth finish.
This will help open the pores of the wood, allowing the stain to penetrate better.
Clean the Surface: After sanding, make sure to remove all the dust. You can do this with a damp cloth or a tack cloth, which is designed to pick up and hold onto dust particles.
Leaving dust on the surface can hinder the absorption of the stain, potentially leading to a thicker application than intended.
2. Thin Application and Repeated Coats
It’s often tempting to apply a thick coat of gel stain in hopes of achieving your desired color more quickly.
However, as we’ve learned, this approach can lead to a host of problems.
Apply Thin Coats: Start with a thin coat of stain, using a brush or cloth to apply it evenly over the wood.
Remember, it’s easier to add more stain than to take away an excessive application.
Allow Ample Drying Time: Let each coat dry thoroughly before adding the next one. Typically, this should be at least 24 hours, but it could be longer in humid conditions.
Rushing this process can lead to too much stain on the wood and prevent proper drying.
Repeat as Necessary: Once the first coat is dry, you can add additional coats as needed to achieve your desired color.
Remember to use thin coats and allow for sufficient drying time between each one.
3. Remove Excess Stain
The nature of gel stain means it’s a bit more forgiving than traditional stains. It allows for the removal of excess stain without removing all of the colors.
Wipe Off Excess: About 30 minutes after application (but before the stain has started to dry), wipe off any excess with a clean cloth.
This will help ensure you’re left with a thin, even coat that will dry properly.
4. Maintain a Suitable Environment
The conditions in which you’re working can significantly impact how your stain dries.
By controlling these conditions, you can avoid applying too thick a coat and ensure the stain dries correctly.
Temperature and Humidity: Ideally, you should work in a room with moderate temperature and low humidity.
Both high humidity and cold temperatures can slow the drying process, leading you to believe you need more stain than you actually do.
Ventilation: Good airflow can also help the stain to dry faster. If possible, open windows or use fans to increase the airflow in your workspace.
Apart from the above tips follow the below strategies as well for the proper gel staining process.
- Make sure not to apply gel stain over the regular stain. Gel stain can go horribly wrong, never drying and too thick if you apply it over the regular stain. If the surface is already stained and you want to apply gel stain on top of that, strip down the remaining stain and sand the surface with an increasingly higher grade of sandpaper until the wood is smooth as silk. Then apply the gel stain to avoid getting a too thick stain.
- Thin coats of gel stain are better than leaving thick coats for a darker color. Thick coats don’t dry properly.
- If you apply gel stain over a finished surface, use a rag to ensure the coats are thin. It is crucial to apply thin coats of gel stain on top of the finished surface because stain love to be set on unfinished wood more than finished ones.
- Do more thinner coats rather than less thick ones.

What Happens If You Put Gel Stain Too Thick?
Gel stain is a unique type of stain that has a higher viscosity or thickness than traditional liquid stains.
This makes it an excellent choice for many home improvement projects because it’s less likely to drip or run, and it creates a beautiful, uniform finish on wood surfaces.
However, it’s also possible to apply too much gel stain, which can lead to several problems.
Let’s delve into what happens when you put gel stain on too thick and how to address it.
Excessive Dry Time
One of the most notable outcomes of applying gel stain too thickly is a significantly extended drying time.
The thick consistency of gel stain works by drying through a process of evaporation.
However, when applied too heavily, the evaporation process is impeded, resulting in a finish that can remain wet or sticky for an extended period.
For example, under normal conditions, gel stain typically dries within 12-24 hours.
But when applied too thickly, it can take up to 48 hours or more to dry, especially under moist or humid conditions.
If the stain hasn’t dried after this time, it indicates a problem, often too much stain that the wood cannot absorb.
Sticky and Wet Finish
When you apply too much gel stain, the surface can become excessively sticky and never fully dry.
That’s because the stain can’t penetrate the wood sufficiently due to its volume, leaving a layer of stain on the surface that remains wet.
This wetness isn’t just a minor inconvenience; it can impact the quality of your finished project and may even damage the wood surface over time.
Consider this example: if you’re staining a piece of furniture and apply the gel stain too thickly, you may notice the surface remains sticky even after several days.
Not only can this make the piece difficult to use, but the undried stain can also attract dirt and dust, marring your beautiful finish.
Hindered Evaporation Process
The process of gel stain drying is majorly dependent on evaporation.
If you apply too many coats or recoat too soon, the amount of stain on the surface might be too much for the wood to absorb.
The excess stain then forms a layer on top, which hinders the underneath coatings from drying because it reduces or stops the evaporation process.
For instance, if you’re eager to complete a staining project and apply multiple coats in quick succession without allowing proper drying time, you may inadvertently create a barrier that prevents the stain from drying completely.
How to Fix Thick Gel Stain Issues
Now that you understand the problems associated with applying gel stain too thickly, you’ll likely want to know how to correct such issues.
Here’s some good news: with the right tools, a little patience, and a few clever techniques, you can remedy the situation.
1. Wipe Off the Excess: After about 30 minutes of applying the gel stain, use a clean rag dampened with mineral spirits to wipe off any excess stain. This helps to prevent a sticky, non-drying surface.
2. Use a Hairdryer: To speed up the drying process in a cold or humid environment, you can use a hairdryer to increase the temperature around the coating, which increases the evaporation rate.
3. Reapply the Stain: If the surface was not prepared correctly, or an external factor like moisture is affecting the drying, it might be best to remove the current finish, prepare the surface properly, and reapply the stain.
As you can see, when the gel stain too thick, simply it will be a disaster.
Gel stain coats will be uneven and tacky even after it letting it dries for more than 24 hours. Sometimes it never dries.
When gel stain too thick the stain will absorb into the wood unevenly and make the surface blotchy.
- Apply a little amount of mineral spirit or thinner to dissolve the too-thick gel stain.
- If that’s insufficient, scape the thick gel stain layers using a single-edged razor blade.
- The last option you have is, to sand the entire surface and give a fresh start.
Remember, the best way to prevent problems with gel stain is to apply it carefully and avoid the temptation to put it on too thickly.
Always follow the manufacturer’s instructions and allow plenty of time for each coat to dry before adding the next one.
Will Sticky Gel Stain Eventually Dry?
Drying of sticky thick gel naturally depends on the environmental humidity. If the environmental humidity is less, water molecules will release from too thick gel stain and eventually make it dry.
But if the humidity is high tickly gel stain will never dry eventually.
If you live in an area that has high humidity, the only option is to take down thick sticky gel stain and start from the beginning with thin coats of stain.
Keep the sticky gel stain for a maximum of about 48 hours to see any difference.
If the stickiness of the gel stain remains the same even after 48 hours, probably it won’t dry eventually and you should follow the manual procedure to take down the gel stain that is too thick.
Now you know what should do when gel stain too thick and how to avoid getting gel stain that is too thick.
Now for your further reference, I’ll guide you to fix common gel stain problems.
How to Fix Common Gel Stain Problems
If you’ve worked with gel stain before, you know that while it can give fantastic results, it can also present some unique challenges.
It’s thicker than traditional stains, which means it can sometimes lead to different types of issues.
Thankfully, there are ways to fix these common problems. Let’s walk through some solutions together.
1. Gel Stain Isn’t Drying Properly
One common problem with gel stain is it doesn’t dry properly, usually due to applying it too thickly or not allowing enough drying time between coats.
It can also be influenced by factors such as humidity, temperature, and surface preparation.
How to fix it:
If the stain isn’t drying, consider using a hairdryer or a dehumidifier to speed up the drying process.
A hairdryer can increase the temperature around the stain, improving the evaporation rate, while a dehumidifier can reduce moisture in the air.
However, be cautious not to overdo it, as this can result in a weak finish.
If the problem persists, you might have to remove the stain and re-apply it. Start by wiping the surface with mineral spirits to remove the excess stain.
Then, lightly sand the surface to ensure proper adhesion before applying a new thin layer of stain.
2. Uneven Stain Absorption
Sometimes, the gel stain may not absorb evenly into the wood, resulting in a blotchy or streaky appearance.
This is often due to insufficient surface preparation.
How to fix it:
Properly preparing the surface is key to avoiding this issue. Start by sanding the wood evenly, followed by cleaning away any dust or dirt with a damp cloth.
If the problem continues, consider using a pre-stain wood conditioner. This product helps to promote even stain absorption and reduce blotchiness.
3. Dark Spots and Streaks
Another common problem is ending up with dark spots or streaks.
This can occur when the stain pools in certain areas, leading to a darker color in those spots.
How to fix it:
To avoid this, be sure to wipe off any excess stain about 30 minutes after application. You can use a clean rag to do this.
This will help you achieve a more even finish.
4. Gel Stain Appears Too Dark
If your stain looks too dark, don’t panic.
This can occur when you’ve applied too many layers or if the stain has been left to sit for too long before wiping away the excess.
How to fix it:
In this case, lightly sand the surface to remove some of the stains, then wipe it clean. If necessary, you can then apply another, lighter coat of stain.
Remember, the best way to avoid common gel stain problems is through careful application and patience.
Read to know more about, fixing wood stain mistakes!

You can avoid most of the gel stains getting tacky, sticky, splotchy, or not drying issues by thinning it before the application.
So, let’s see how to do that!
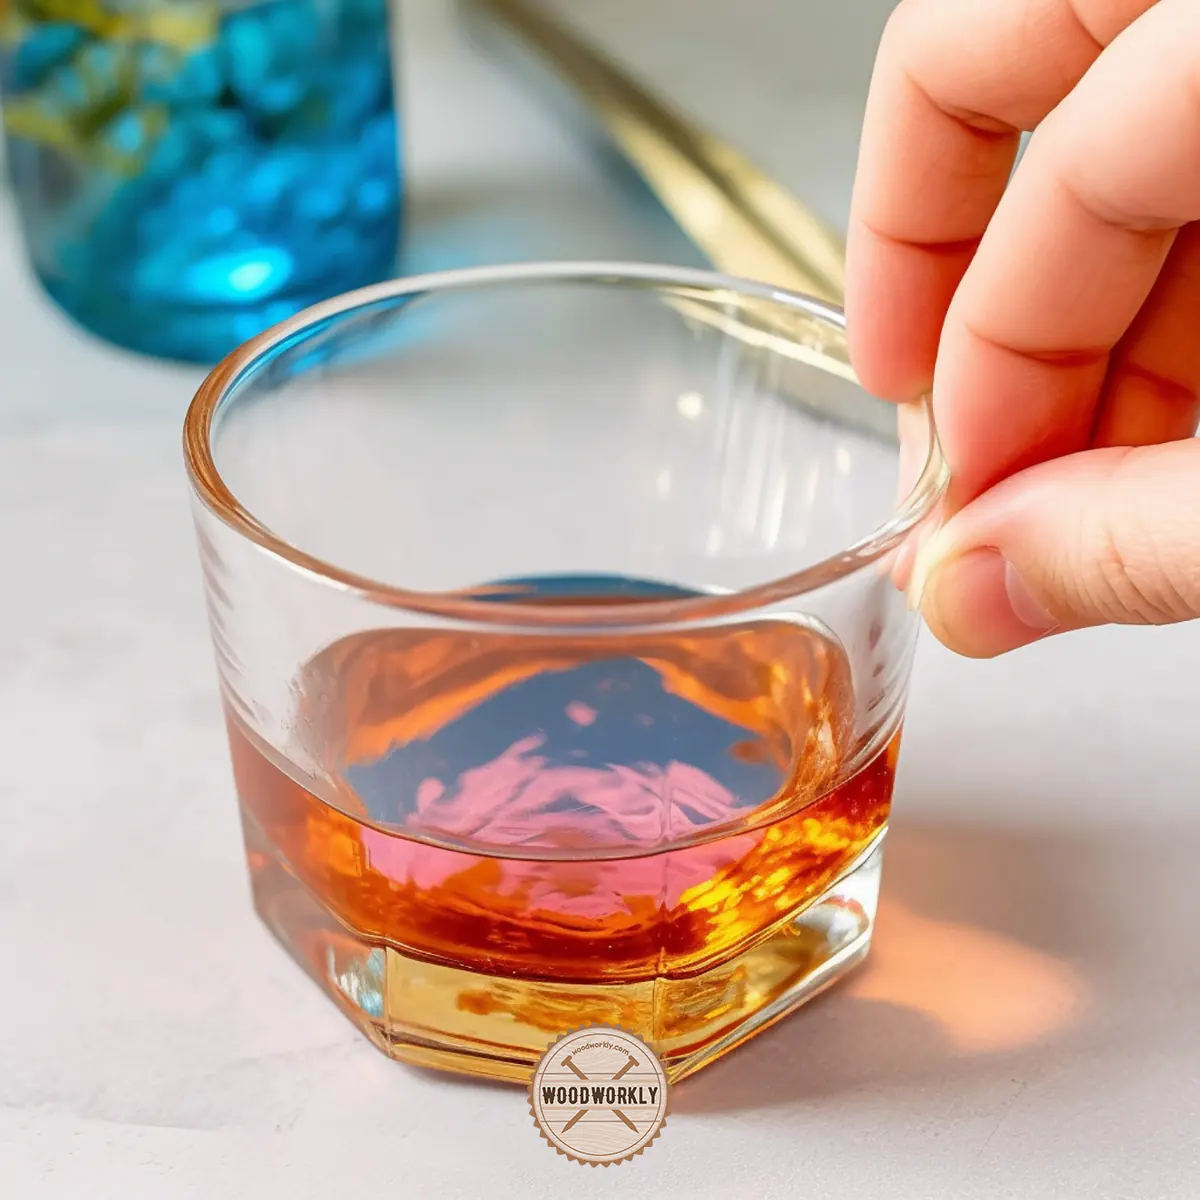
Can You Thin Gel Stain?
Yes, you can thin gel stain by diluting it with mineral spirit. Mineral spirit dissolves gel stains and creates a glaze that is lighter in color.
The glaze adds a unique appearance to your woodwork while working as a stain.
Now let’s see how to thin gel stain properly to avoid common gel stain problems.
Gather Your Materials
Before you begin, you’ll need a few tools:
- Gel stain of your choice
- Mineral spirits or paint thinner
- A clean container for mixing
- Stir stick or paint stirrer
- Safety equipment: Gloves and safety goggles
Once you’ve gathered your tools, you’re ready to start.
How to Thin Gel Stain?
If you’ve worked with gel stain, you know it’s a thicker product compared to traditional wood stains.
Its viscosity is one of its strengths, but there might be instances when you need a thinner consistency, perhaps for a more subtle effect or easier application with a sprayer.
Here’s a step-by-step guide on how to thin your gel stain.
Step 1: Preparation
Whenever you’re working with products like gel stains or mineral spirits, always ensure that you are in a well-ventilated area to avoid breathing in any harmful fumes.
And, of course, don’t forget to put on your gloves and safety goggles.
Step 2: Pour the Gel Stain
Start by pouring some gel stain into your clean container. Remember, it’s easier to add more stain later if you need it, so start small.
Step 3: Add the Mineral Spirits
Next, slowly add mineral spirits to the gel stain. A general rule of thumb is to start with a 10:1 ratio (10 parts stain to 1 part mineral spirits).
But keep in mind, this can vary based on your specific needs and the brand of gel stain you’re using.
Step 4: Stir Gel Stain with Mineral Spirits
Now, it’s time to mix. Use your stir stick to blend the mineral spirits into the gel stain thoroughly.
Make sure you scrape the sides and bottom of the container to ensure an even consistency.
Keep stirring until the stain is thoroughly mixed with the thinner.
Step 5: Test the Consistency
Before you use your thinned gel stain, test it out on a scrap piece of wood or a hidden area of your project to make sure it’s the right consistency. If it’s still too thick, you can add a bit more mineral spirits.
If it’s too thin, add more gel stain. Repeat this process until you get the consistency you want.
Congrats! You’ve successfully thinned your gel stain. The key here is patience and testing.
Can You Sand Gel Stain?
Yes, you can sand gel stain with about 300-grit sandpaper or a sanding block once the stain is completely dried.
Sanding gel stain is useful to reduce the shiny look of the surface after applying gel stain.
Sanding will reduce its shine and make it look nice.
But if the gel stain is too thick and you think to remove the entire coat of gel stain and start from the beginning, better not to touch sandpaper to the sticky gel stain.
Because gel stain is too thick, it won’t remove easily with sandpaper. This might damage the wood grain as well.
So, better to apply mineral spirit or lacquer thinner fist, and then remove gel stain coatings by dissolving.
Do You Sand Gel Stain Before Top Coat?
You don’t need to sand gel stain before applying the top coat. Unlike traditional stains, gel stains sit on the wood surface instead of soaking into it.
This gives a rich, uniform color and provides more control over the intensity of the finish. However, the rules can change slightly depending on your project’s specific needs.
When to Consider Sanding
If your gel stain has dried and the surface feels uneven or rough, a light sanding with a high-grit sandpaper (220-320 grit) can help smooth it out.
This might be needed if you’ve applied the stain too thickly, or if there were particles in the stain or on your brush.
Another instance when you might consider sanding is if the stain didn’t dry evenly or bubbles formed while drying. Gently sanding can help even out these imperfections.
Remember, if you decide to sand, always do it gently. Your goal here is to smooth out the surface, not remove the stain.
Applying the Top Coat
Before applying the top coat, ensure the gel stain is completely dry.
As mentioned above, the gel stain drying process could take 12-24 hours in normal conditions, and up to 48 hours in more humid environments.
If you’re unsure, it’s always better to wait a bit longer to be safe.
When you apply the top coat, do so with a high-quality brush to ensure a smooth, even finish.
Most professionals recommend using a natural bristle brush when working with oil-based top coats, or a synthetic brush for water-based top coats.
Now you know all about what to do when gel stain too thick and how to avoid that from happening with all the tips and tricks.
So, let’s answer some frequently asked questions as well.
FAQs
What happens if I apply gel stain too thick?
Applying gel stain too thickly can result in a prolonged drying time and a finish that remains tacky or sticky. It can also cause an uneven finish due to excess stain not being able to penetrate the wood.
How can I fix gel stain that isn’t drying?
You can fix a gel stain that isn’t drying by wiping away excess stain using a rag dampened with mineral spirits, increasing the temperature around the coating to speed up evaporation, or using a hairdryer or dehumidifier.
How can I prevent gel stain from being applied too thickly?
To prevent gel stain from being applied too thickly, ensure you’re only applying thin coats, wiping away excess stain 30 minutes after application, and waiting long enough between coats.
How can I increase the drying speed of my gel stain?
Increasing the temperature around the coating, using a hairdryer or dehumidifier, and improving air circulation by opening windows and doors can all help speed up the drying process of gel stain.
What could be preventing my gel stain from drying?
Factors that can prevent gel stain from drying include high humidity or moisture levels, cold weather, improper surface preparation, and applying too many coats.
Can I apply gel stain over an existing finish?
Yes, one of the benefits of gel stain is that it can be applied over an existing finish, but the surface should be clean and free of dust or grime.
How can I remove gel stain from wood?
To remove gel stain from wood, use a rag dampened with mineral spirits and wipe the surface repeatedly. If the stain persists, you may need to gently scrape the stain off with a paint scraper. After removing the stain, sand the surface smoothly, clean it, and reapply a new layer of stain if desired.
Did I cover all you wanted to know about: Fixing Gel Stain Too Thick
In this article, we have deeply discussed conditions that gel stain too thick and what should we do in that kind of situation to fix that.
We have talked about how to fix too thick gel stain and how to apply gel stain without getting too thick stain with a step-by-step guide.
Gel stain too thick when the applied coats are too thick. Apply mineral spirit or lacquer thinner and wipe off the stain to fix a gel stain that is too thick. Mineral spirit and lacquer thinner dissolve the gel stain. Reapply thin coats of gel stain and dry properly to avoid sticky and blotchy surface.
Most of the wood stain issues can be easily solved by adding appropriate chemicals.
Furthermore, I gave some pro tips to get rid of thick gel stain issues and answered some frequently asked questions as well.
Hope you have gained good knowledge about gel stain too thick and how to avoid that.
So, let’s begin your next wood finishing project with gel stain follow the above process to make it succeed.
Keep practicing until you become a pro at wood finishing!