Struggling with wood stain mishaps? Discover expert tips on fixing common errors and achieving a flawless finish. Ready to become a stain master?

Wood stain is used to color or darken the wood. apart from that wood stains are good preservatives, which can protect the interior and exterior wooden surface from environmental elements like moisture, sunlight, and fungus attacks.
Nowadays staining is a must when it comes to wood finishing.
Even though you’re a beginner or pro in woodworking, mistakes can when applying wood stain. So, let’s find out, How to fix wood stain mistakes?
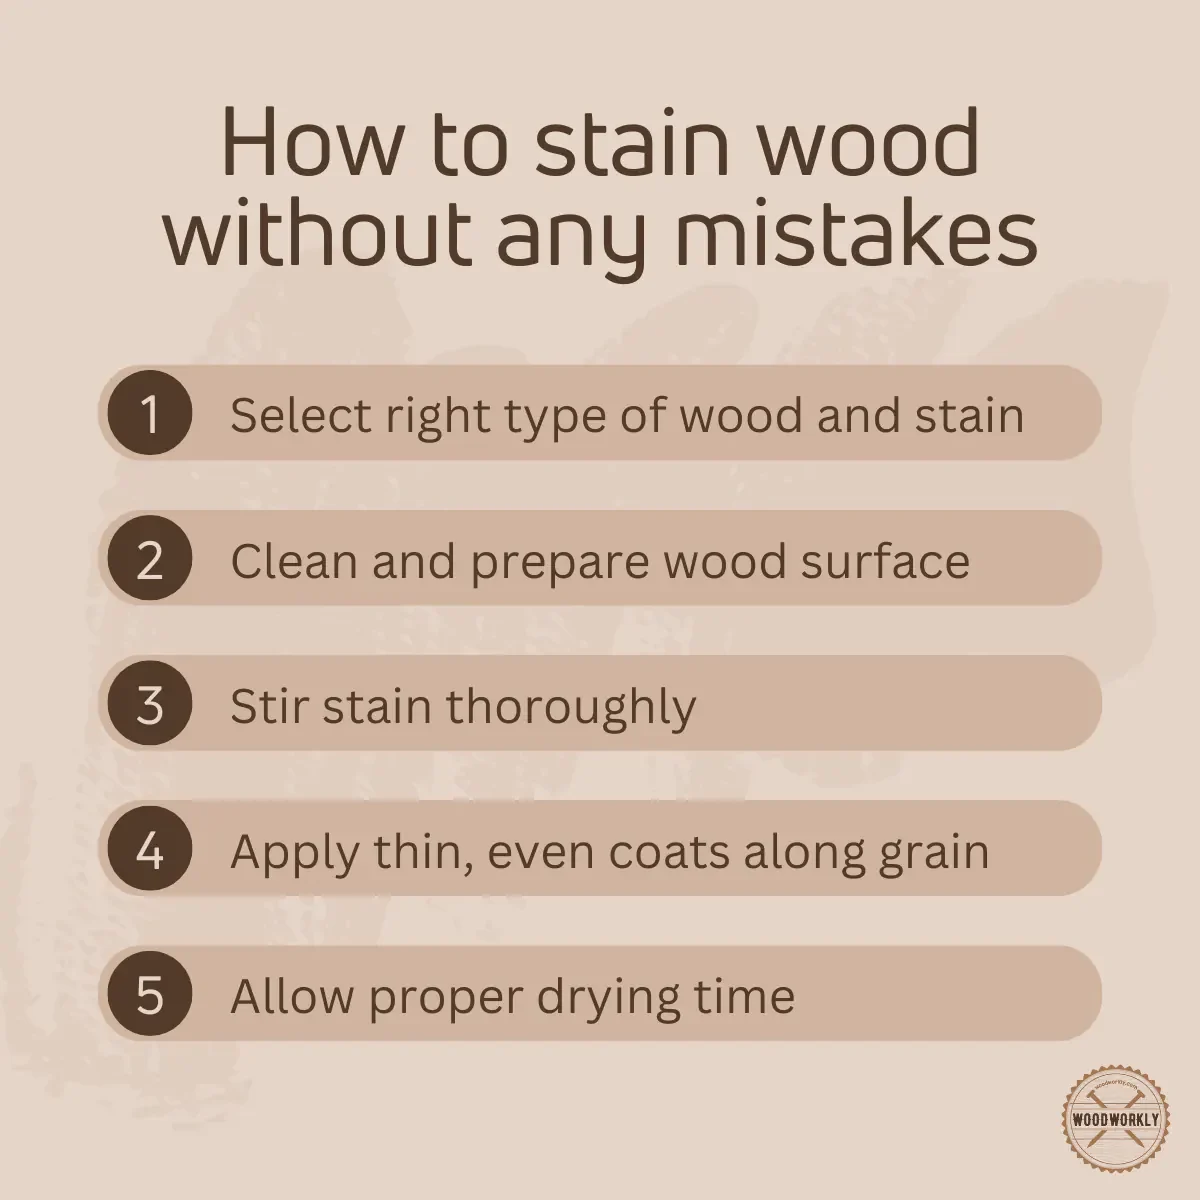
Wood stain mistakes can fix by properly sanding everything and reapplying coats of wood stain evenly throughout the surface. Apply freshly opened wood stain without subjecting it to extreme weather after cleaning the surface gently. Follow the safety precautions and manufacturer instructions to avoid making mistakes when applying wood stain.
But these aren’t the only solutions that can fix wood stain mistakes.
There’re so many options you can follow to fix various wood stain mistakes. Here’re some common wood stain mistakes and issues.
- Blotchy surface
- Uneven stain surface
- Sticky stain surface
- Unwanted stain marks, streaks, and drips
- Stain Dries quickly
- Improper sanding
- Displaying gouges and machine marks on the surface
- Staining in bad weather conditions
- The stain is too much darker
- The stain is not dark enough
- The stain is too much lighter
- Apply excess stain
- Wrong stain color shade
- Poor stain absorption
- Not color well in corners and edges
- Staining in a poorly ventilated area
- Using old, unusable stain can
So, in this article, we’ll go through each of the above common wood stain mistakes that can happen before, after, or during the staining process and find answers on how to fix wood stain mistakes.

I’ll cover all the mistakes that can happen with wood staining and provide solutions for all the doubts you have about fixing bad wood stain.
You’ll learn some cool tips and tricks to properly stain your beautiful woodwork, and furniture without making any mistakes like a pro.
Just keep reading!

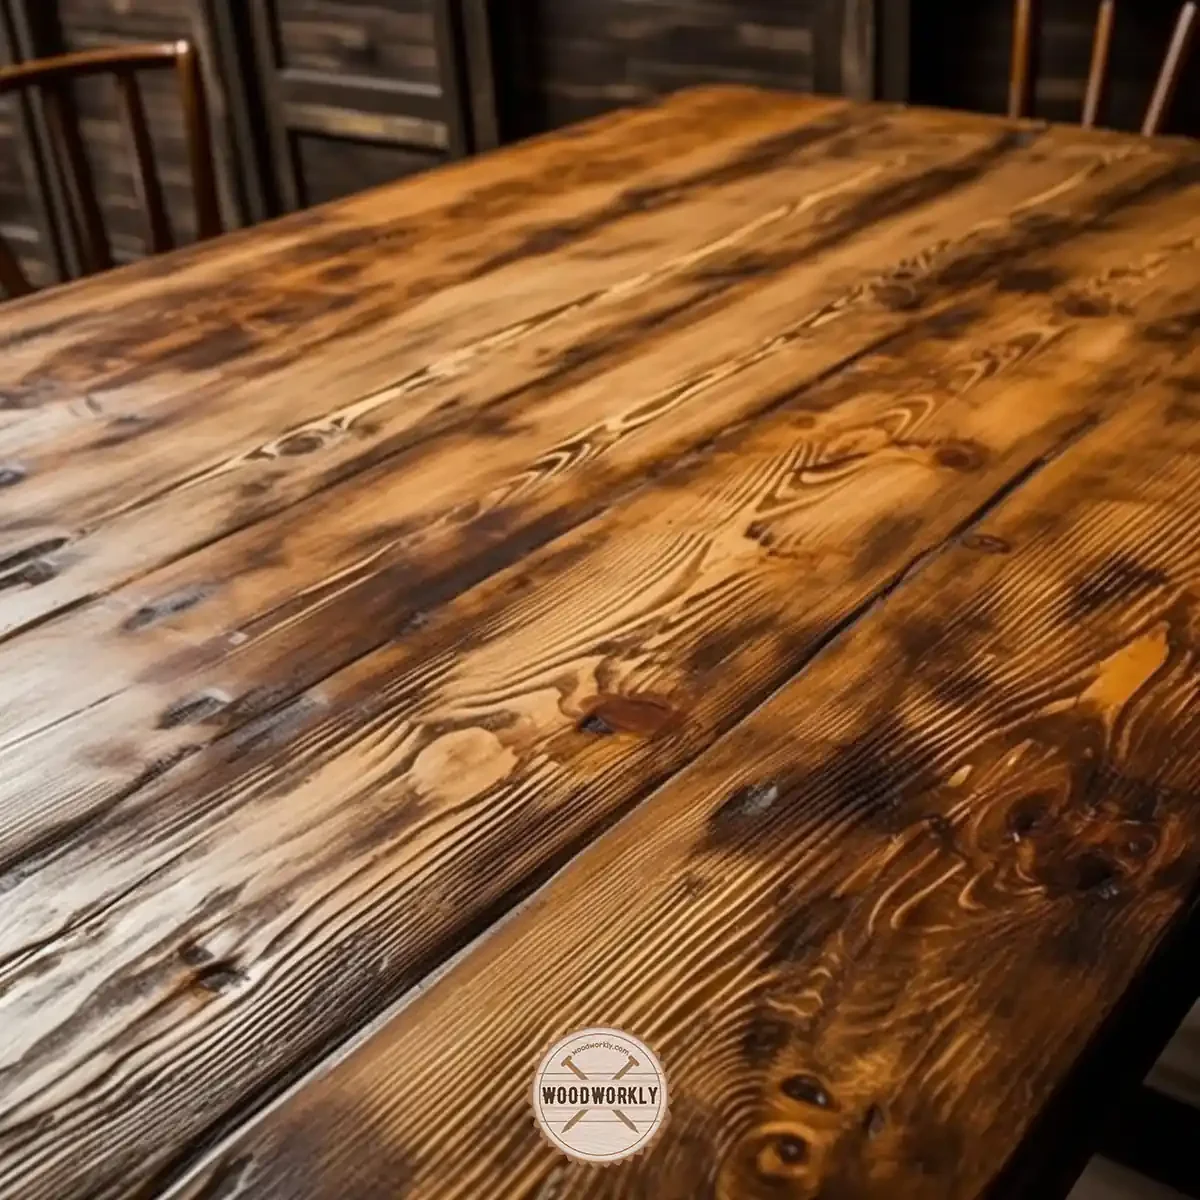
1. Blotchy Stain Surface
Getting a blotchy surface is a common mistake that can happen during the application of wood stain or even after the stain is dried.
So, let’s discuss reasons for blotchy stain surface and how to fix that effectively.
Reasons For Blotchy Stain
Here’re the most common reasons for occurring blotchy stain surface,
- Varying densities in the wood stain
- Staining wood without cleaning
- Sand without controlling the pressure
- Not letting the wood to dry properly
So, let’s discuss each of the above reasons for blotches on stain surface in detail.
1. Varying Densities In The Wood Stain
The densities of the woods are different. Denser woods such as oak or walnut absorb stain well.
But less dense woods like pine, birch, or poplar have spongy areas that absorb wood stain unevenly.
Those spongy areas of less dense woods absorb more stain than non-spongy areas. This can lead up to serious trouble with blotchy surfaces.
2. Staining wood without cleaning
Dust and debris can do a lot of damage to the woods.
Once you apply stain on top of the surface without cleaning it, they’ll trap inside the stain coat and lead up to a blotchy surface.
Dirty surfaces ruin the appearance of the wood by resulting in blotchiness.
3. Sand Without Controlling The Pressure
Sanding should do with the same amount of pressure evenly throughout the wood before staining.
When you sand one area with less pressure and another area with a lot of effort, once you apply the stain, there’ll be some spots with random blotchiness.
4. Not Letting The Wood To Dry Properly
Once you apply wood stain over a wet wood surface, the moisture and water particles will trap inside the wood and cause a blotchy surface.
The blotchiness won’t display until the stain coat is dried.
This will kill not only the appearance of the wood but also damage the wood interior as well.
How To Fix Blotchy Stain Surface?
Here’re the fixes and solutions you can try to avoid surface blotchiness,
- Clean the wood before staining
- Let the wood dry completely before staining
- Apply pre-stain wood conditioner
- Reapplication of stain
Let’s look at each of the above solutions separately to help you select the method that suits you the most.
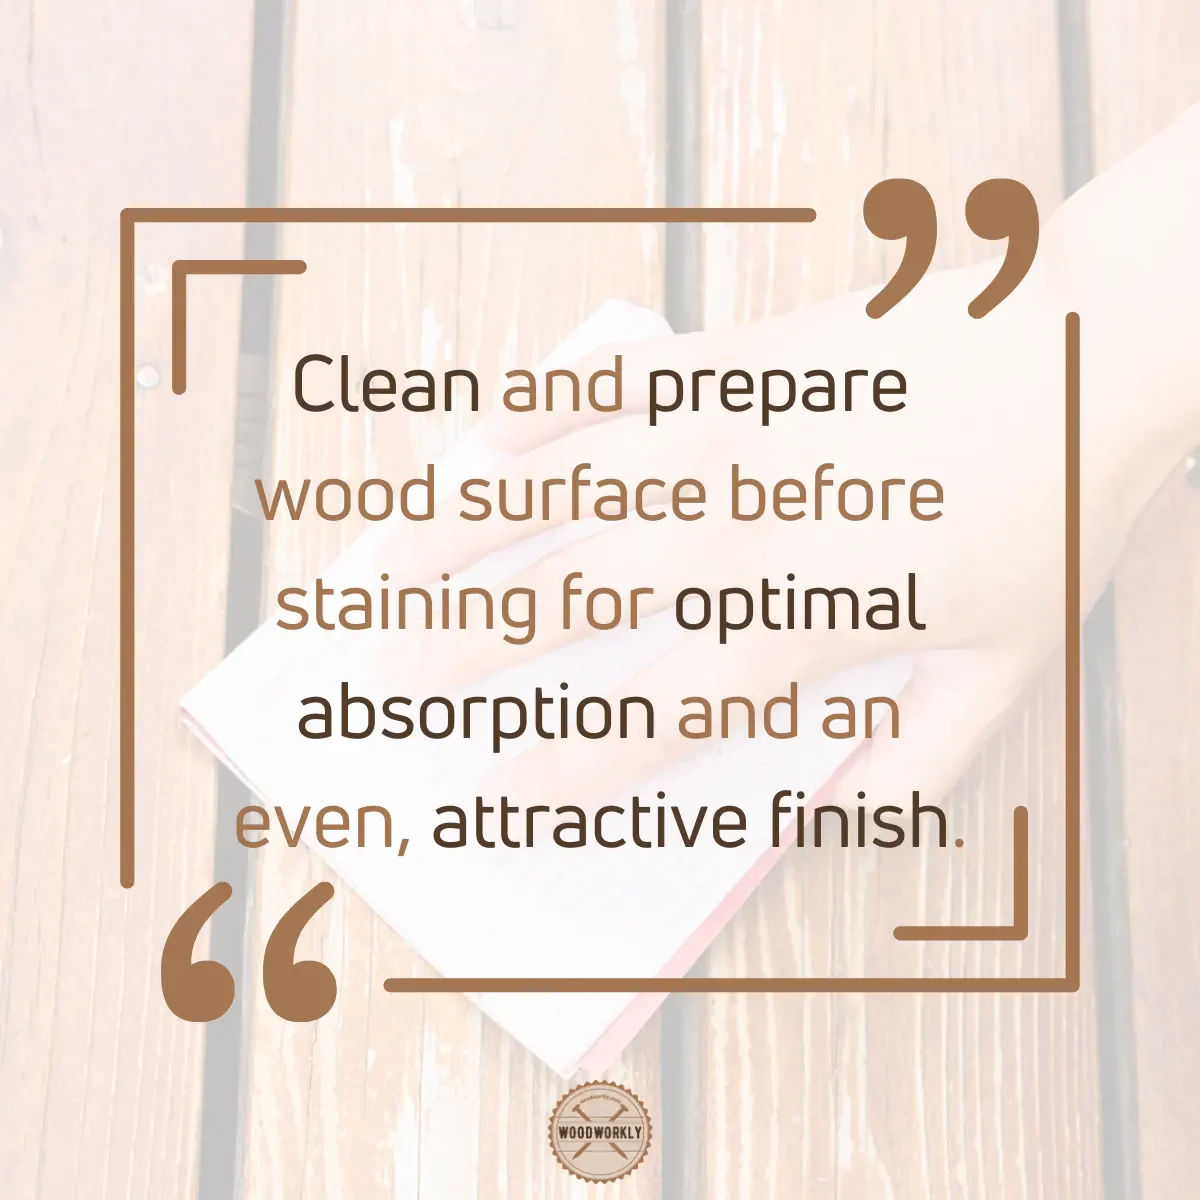
1. Clean The Wood Before Staining
You can remove dust, and debris and make the wood clean by wiping the surface using a cloth before the first stain coat.
By wiping the surface with a rag or cloth you can easily eliminate a lot of troubles caused during the staining. Also, make sure not to miss any spots.
2. Let The Wood Dry Completely Before Staining
After applying each coat of wood stain, make sure to let the wood dry completely before applying the next coat.
Trapped moisture and water molecules can cause serious blotchiness.
By drying the wood at least 48 hours after each staining, you’ll be able to get the smooth surface you wish.
3. Apply Pre-Stain Wood Conditioner
If your wood stain gives a blotchy surface even after you have applied it correctly, that’s because of the incompatibility of your stain and the wood type you selected.
In that case, you can apply a pre-stain wood conditioner first and then apply the wood stain once it is fully dried.
Make sure to select the correct pre-stain wood conditioner between water-based and oil-based according to the type of wood stain you’re going to use.
4. Reapplication Of Stain
If the blotchiness is too high, the best option is to sand the area that caused the blotchy surface and reapply the wood stain evenly from the beginning.
While you’re doing this make sure to apply the same number of coats of stain as other stained areas and let the wood dry properly after each application.
Scraping the existing stain coat and reapplying a new coat of stain is the most effective method to fix blotchy surfaces.

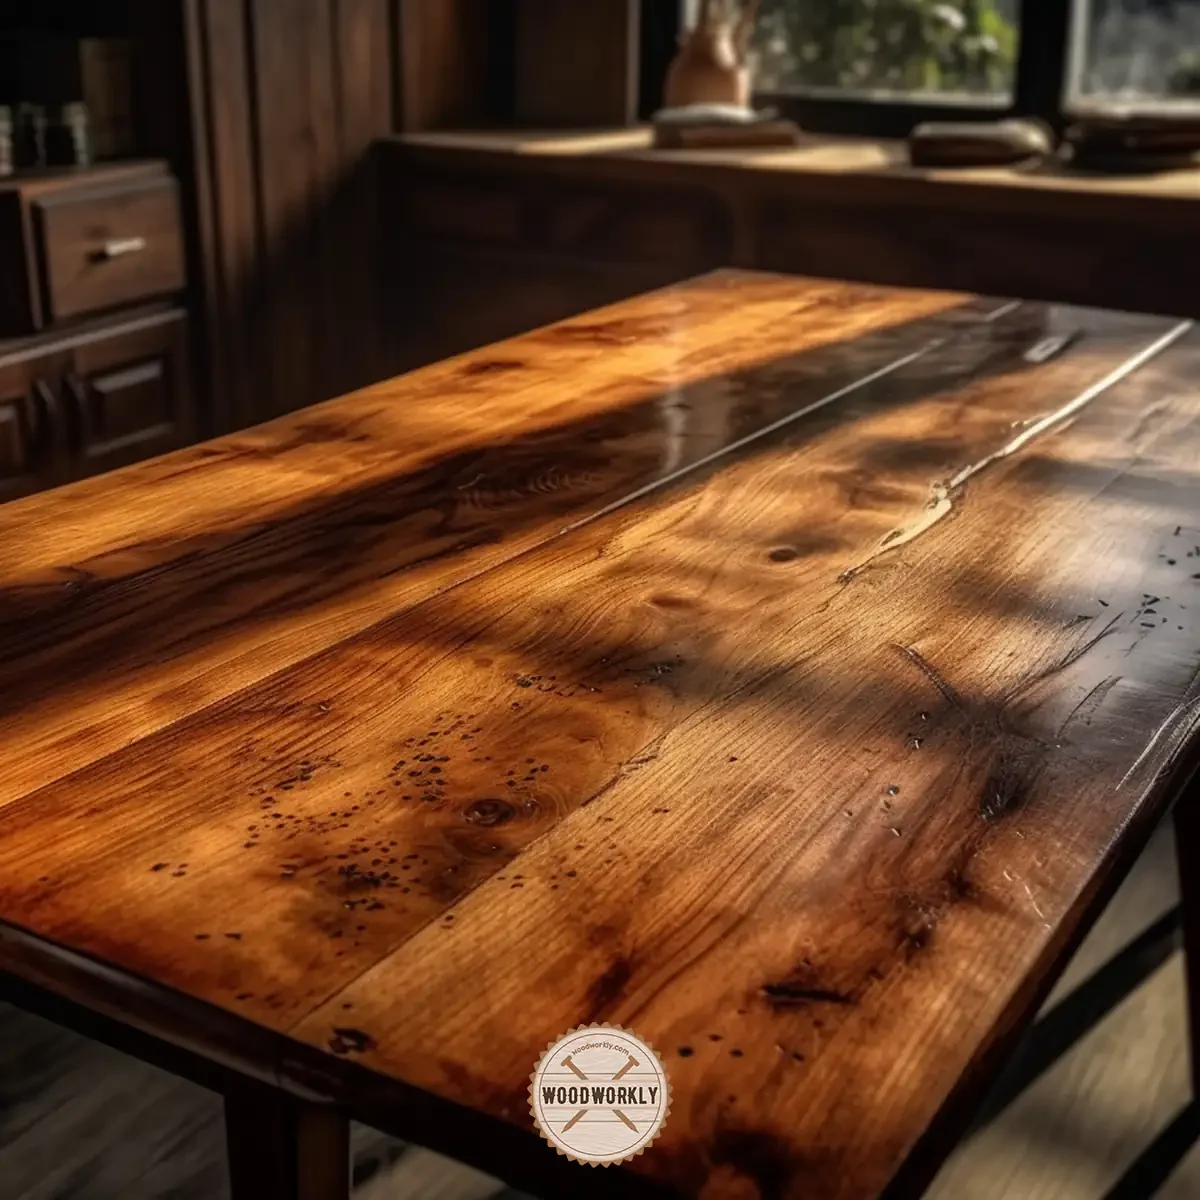
2. Uneven Surface
Uneven surface after staining is a real pain. The light and dark spots will begin to display all over the surface once the surface is dried.
Here’re the mistakes that can cause uneven stain surfaces,
- Contaminated wood stain product
- Insufficient mixing
- Improper sanding and cleaning the surface
- Uneven application of wood stain

How To Fix Uneven Stain Surface?
Uneven stain surfaces cannot fix with temporary solutions. So, you’ll have to sand up everything and starts the staining process from A to Z.
Here’re the steps you need to follow to even out stain on wood,
- Lightly sand the surface
- Clean the surface
- Apply stain to the uneven areas
Let’s discuss each of the above methods in detail to fix the uneven stain surfaces.
1. Lightly Sand The Surface
Sand the whole surface with fine-grit sandpaper. make sure to apply even pressure throughout the wood when sanding.
There should be no residue stain left after you did the sanding.
2. Clean The Surface
After you did the sanding part, make sure to clean the whole surface with an old cloth or rag.
This will eliminate dust and fuzz to make the surface smooth and nice.
3. Apply Stain To The Uneven Areas
Now take a soft brush, a freshly opened quality wood stain can and stir the stain properly before applying.
Check out the Best Brushes For Staining Wood!
When you’re applying always go for thin stain coats. Wait till the surface is completely dried before going for the next coat.
Repeat the process until the wood matches the color you want.
By following the above steps, you probably won’t end up with an uneven stain surface like before.
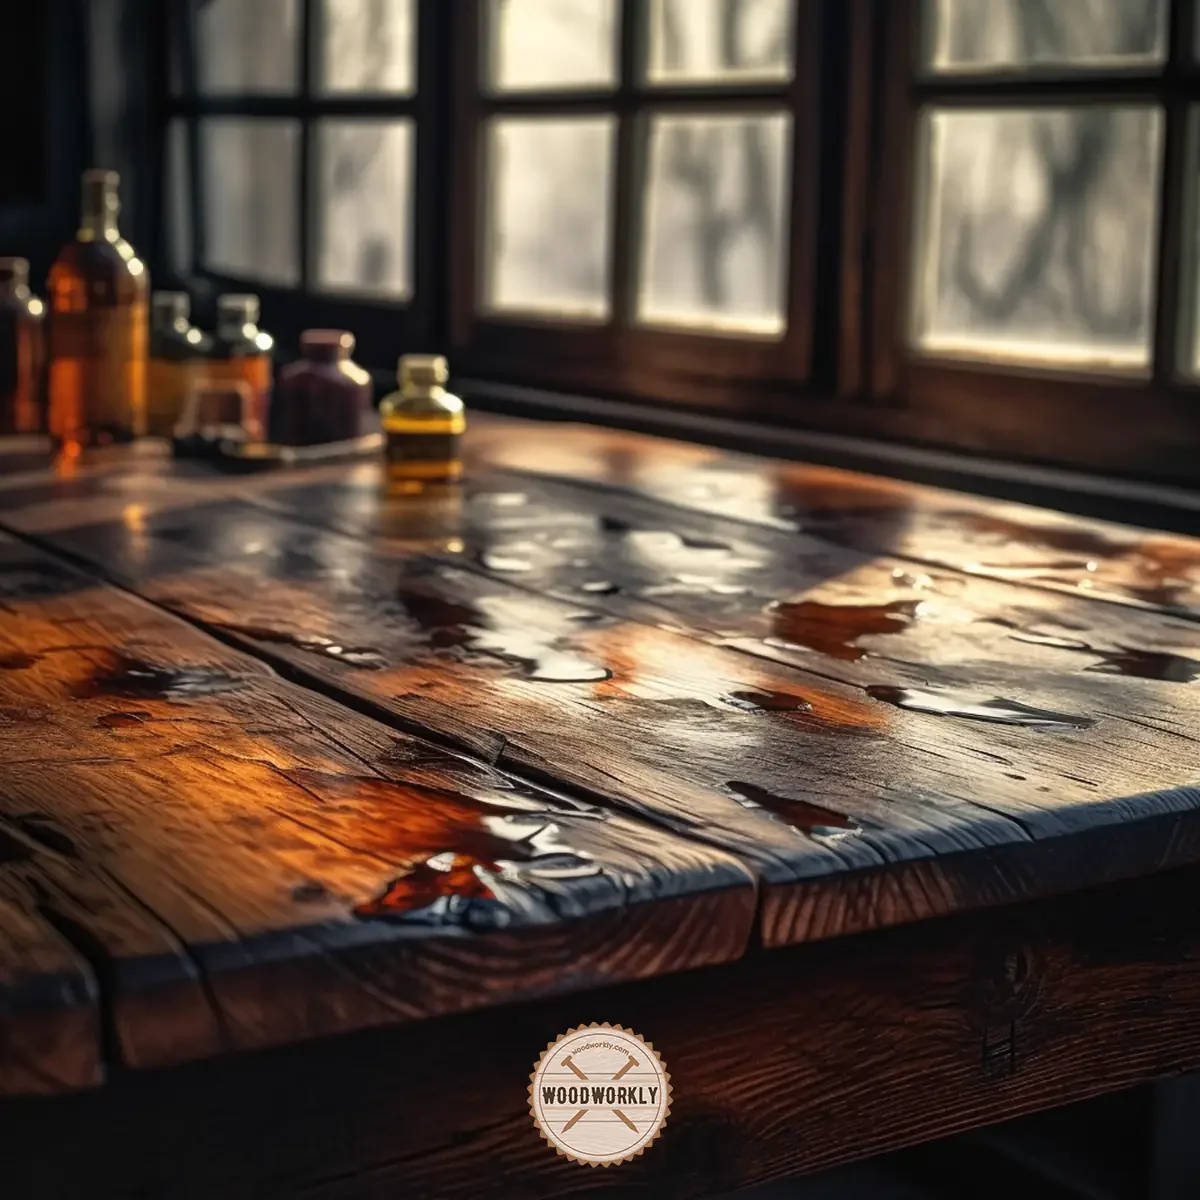
3. Sticky Stain Surface
Once you do the staining and let the wood dry for a couple of days and still feel the sticky surface, you need to understand there might be some mistakes that happened to you during the staining process.
Reasons For Sticky Stain
Sticky surface mostly happened due to the reasons below,
- Too much wood stain
- Thick coats of wood stain
Let’s discuss each of the above reasons that cause a sticky stain surface.
1. Too Much Wood Stain
If you have applied wood stain more than you want, the surface can be sticky. When you apply a stain on top of another stain it won’t absorb the wood like the previous coat.
Therefore, it won’t dry properly, and moisture won’t remove so easily. This will cause the wood to sticky.
2. Thick Coats Of Wood Stain
Thick coats of wood stain have high moisture content. They will take forever to dry completely.
If you live in an area with a high humidity level, probably it won’t dry completely even after letting it for a couple of months. The non-dried layers of wood stain cause a sticky surface.

How To Fix Sticky Stain Surface?
Here’re the solutions to avoid sticky stain surface,
- Apply stain thinner
- Wipe excess stain
- Apply another coat of stain
Let’s discuss each of the above solutions to avoid the stickiness of stain coat and make it look super nice, even and smooth.
1. Apply Stain Thinner
By applying stain thinner on top of the sticky surface, the thick layers of wood stain will be thinner and remove excess stain and moisture content from the surface.
You can apply stain thinner using a rag or old cloth and apply it all over the surface which you feel sticky.
Repeat the same procedure for few more times until you’re satisfied with the resulting surface.
2. Wipe Excess Stain
Simply wipe the excess stain when you’re applying wood stain to the surface using a rag or cloth. This won’t make thick layers of stain.
3. Apply Another Coat Of Stain
Surprisingly applying another coat of stain before the previous layer is dried and wiping it off immediately can solve the problem.
When you apply the second coating above the previous coating which feels sticky, both layers are fresh and can easily remove using a rag.
This will remove the sticky layer, but you need to do the immediately before the previous layer is dried.
Applying additional coat of stain is the most practical and easiest method to eliminate the sticky surface.

4. Unwanted Stain Marks, Streaks, And Drips
Making unwanted strain marks, streaks and drips are very common mistakes that happen in wood staining.
Even experienced woodworkers make those mistakes.
Reasons For Occurring Unwanted Stain Marks, Streaks and Drips
Those stain marks and streaks happen due to the following reasons,
- Applying excess amount of stain
- Using non-smooth brushes
Let’s discuss each of the above reasons in detail which cause unwanted stain marks, streaks and drips.
1. Applying Excess Amount Of Stain
When you mistakenly apply an excess amount of stain to the surface, they’ll gather and make high dense patches.
When those patches are dried, they make stain marks, which are so hard to remove.
2. Using non-smooth brushes
If the brush used to apply wood stain is not smooth enough, that’ll mostly make streaks and drips.
Always make sure to check your brush status before applying a stain.

How To Fix Unwanted Stain Marks, Streaks, And Drips?
- Apply a sufficient amount of stain
- Hide stain marks with stain
Let’s discuss each of the above solutions in detail.
1. Apply a Sufficient Amount Of Stain
By applying only, the necessary amount of stain, you can avoid making stain marks and streaks so easily.
Also, make sure to get thin layers to stain to avoid excess stain. This is how to fix wood stain mistakes.
2. Hide Stain Marks With Stain
As most woodworkers do, if you got stain marks or streaks on the surface, mask the marks with a little extra amount of stain.
This will help you to hide the patches. But make sure not to add an unnecessary amount of stain to mask those. Otherwise, you’ll end up with dark patches which are hard to eliminate.
If those dark patches appeared mistakenly, take a rag or cloth and drip it in mineral oil and wipe the excess stain gently.
By doing this gently you’ll get the surface you want without stain marks or streaks.

5. Stain Dries Quickly
We all love to see when wood stain dries quickly. But what if the stain dries right after we apply it without taking even an hour or two? That’s suspicious and causes issues.
There is a certain amount of time required for the stain to penetrate to the wooden surface and do the job that the stain does.
But if it dries before the penetration, there is no use in applying stain.
Reason For Quick Drying Of Stain
The reason for the quick drying of the stain is that the stain is not the same as its drying time.
Sometimes, even though the wood stain is completely dried, it is not cured enough. To go to the next step, you need to make sure the wood stain is 100% cured.
Otherwise, the uncured stain will cause lots of trouble and damage the wood as well.

How To Fix Quick Drying Of Stain?
To fix the drying of the stain quickly before it cures, let the wood stain cure completely. Do not rush things up!
You can easily fix this wood stain issue by keeping the wood for 2-3 days to complete both drying and curing completely.
During those two-three days never apply any coating above your applied stain and won’t be subject to any stress. Otherwise, the wood will end up with lots of scratches.
6. Improper Sanding
Most of wood stain mistakes happen due to improper sanding. You need to have a lot of focus when sanding.
Reasons For Improper Sanding Before Staining
Here’re some of the reasons that make your sanding process bad,
- not selecting the right sandpaper
- Sand with uneven pressure
- No cleaning between the sanding process
Let’s discuss each of the above reasons that can result in wood stain mistakes due to improper sanding techniques.
1. Not Selecting The Right Sandpaper
If you take the sandpaper with different grit than the one that matches the wood most, you’ll probably end up with improper sanding.
Sand softwoods with too much coarse grit sandpaper result in scratches and sanding marks on the wood surfaces which are hard to eliminate even after staining the wood.
Plus, sanding super hard wood with super fine grit sandpapers won’t make the surface smooth enough. This will make the staining job difficult.
Therefore, selecting the right sandpaper grit type is essential to get promising results with no stain mistakes.
2. Sand With Uneven Pressure
sanding with uneven pressure will cause lots of trouble. Areas sanded with high pressure will turn darker than the areas sanded with less pressure after applying the wood stain.
This will cause uneven color shades and surface blotchiness.
3. No Cleaning Between The Sanding Processes
When you don’t remove dust once you are done with sanding, it’ll kill the appearance of the woodwork.
Sanding dust and fuzz will trap inside the wood stain and cause surface blotchiness.
How To Fix Improper Sanding?
- Use the correct grit of sandpaper
- Sand the surface minimum of two times
Let’s discuss each of the above fixes for good sanding before wood staining.
1. Use The Correct Grit Of Sandpaper
First of all, you should take a sample piece of the same wood and test it with sandpapers with different grit values to identify the perfect grit for your woodwork.
The grit type you should use depend on the type of wood you’re going to stain.
2. Sand The Surface Minimum Of Two Times
In order to remove residues and make the surface clean, you should do the sanding minimum of two times.
Initial sanding will eliminate imperfections and make the surface smooth and the second one will smoothen the roughness and make the surface ready to take the stain evenly.
As a woodworker, I know that sanding is the most essential step you need to focus more on before applying wood stain to avoid many mistakes.

7. Displaying Gouge and Machine Marks On Surface
Gouge and machine scratch the stained wood surface and that will cause some serious troubles.
These marks commonly occur when you do wood carving. The stain will highlight those marks and make them visible even more.
Reasons For Gouge and Machine Marks On Surface
Here’re the reasons for mistakenly placing gouges or machine marks on the surface.
- Gouge and machine marks left by the planer or jointer
- Marks left by coarse grit sandpapers
- Marks and scratches left by orbit sanders

Here’s how to fix these types of wood stain mistakes.
How To Fix Displaying Marks On Surface?
Re-sand and applying the wood stain is the best method you can follow to hide gouge and scratch marks on the wooden surface.
If you apply the wood stain ignoring those marks, they’ll highlight more through the wood stain when it is dried up.
So, always make sure to eliminate those machine marks in the early stage by re-sanding until those marks are gone and applying the wood stain evenly.
I recommend you do the re-sanding with 150-grit sandpaper to hide the marks completely.
Tip: By wiping the stained surface with naphtha or lacquer before sanding will prevent the stain from clogging the sandpaper.

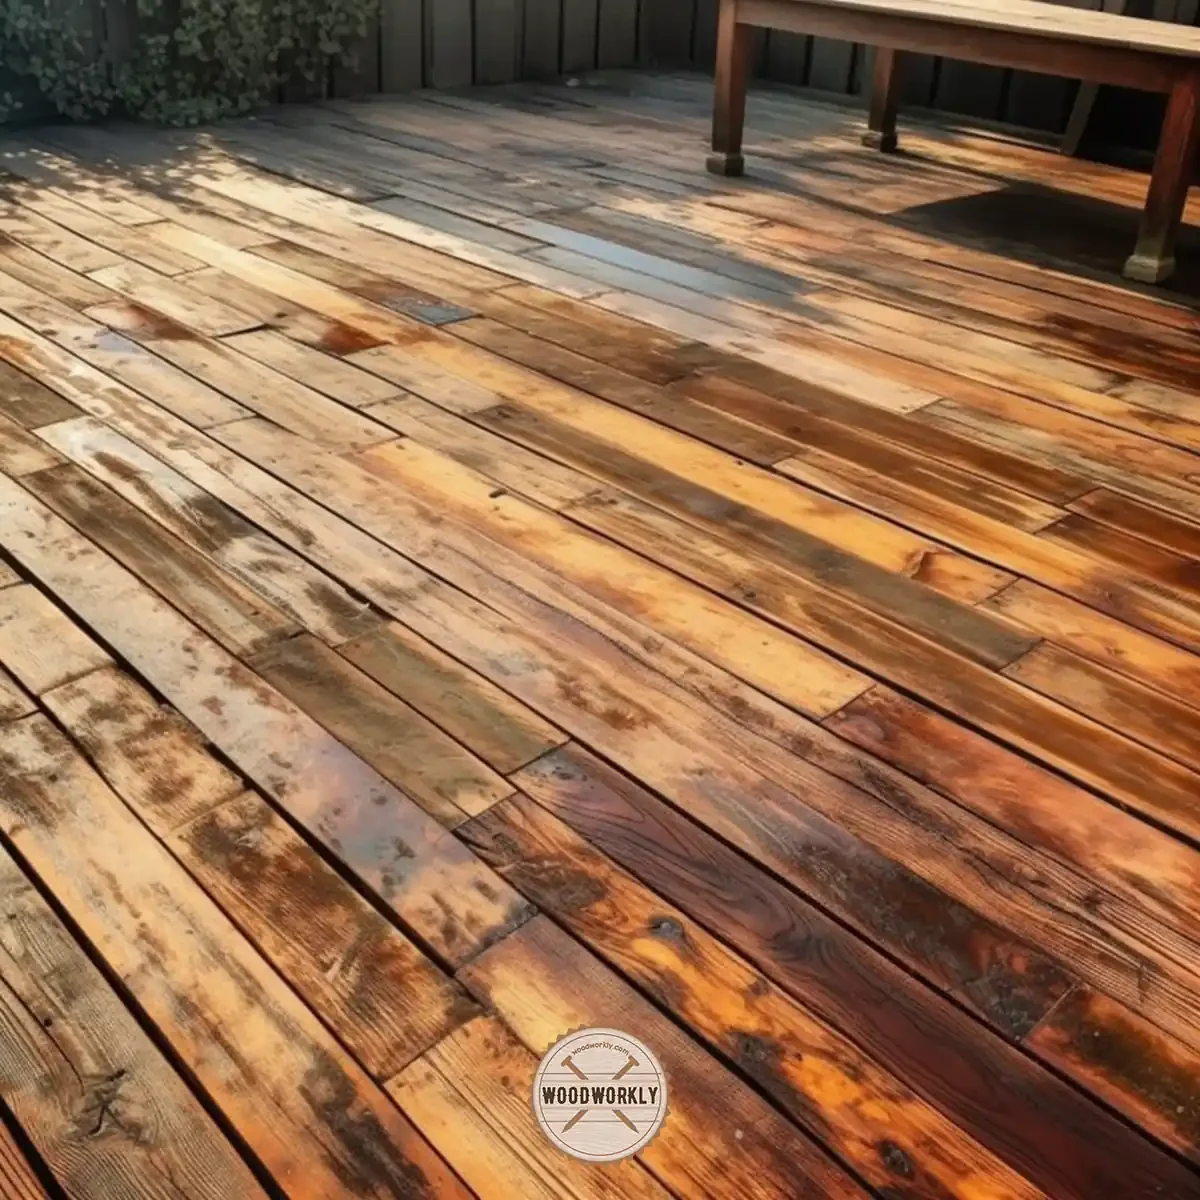
8. Stain in Extreme Weather Conditions
Harsh weather conditions will always cause trouble for the wood and wood stain. So, here’re the reasons that cause troubles in wood staining when done under extreme weather conditions.
Working in harsh weather conditions is one of the main reasons for making wood stain mistakes, since too cold, too humid, or too hot the results will differ from staining in average weather conditions.
The drying process will much more time than usual when you’re working in too-humid weather conditions.

When the moisture level of the outside environment is too high, the moisture trapped inside the wood stain will evaporate so slow.
This will delay the drying time and even can happen surface blotchiness.
When the weather is too dry with very little humidity, the drying process is super-fast and all the moisture will evaporate more quickly than before.
When the drying time is so little, there will be not enough time for the stain to penetrate inside the wood and that can cause uneven color shades of the wood.
How To Fix Mistakes Happen in Extreme Weather Conditions?
- Avoid staining under direct sunlight
- Re-sand and apply wood stain under normal weather conditions
- Controlling the working temperature level
Let’s have a look at in detail view at how to stain wood properly avoiding extreme conditions.
1. Avoid Staining Under Direct Sunlight
Direct sunlight will speed up the drying time of wood stains. When the wood surface is dried up quickly before wiping the excess stain out, it will become tacky and cause blotchiness by leaving bubbles and an uneven finish.

9. Stain Is Too Much Dark
The stain will turn the color of the wood darker and fresh. But you need to know that if the stain gets too dark, there must be something wrong.
Reason For Too Darker Stain
Applying too many stain coats is the main reason for occurring darker stains.
By applying a high number of stain coats, they’ll darken the wood more than a single coat does.
This will eventually end up without giving you the color you want. Never apply too many stain coatings to cover up everything.
Otherwise, your light-colored woodwork or furniture will end up with dark color which is not nice and unmatching.

How To Fix Darker Stain?
- Re-sand and apply wood stain
- Apply a maximum of two coats of stain
Let’s discuss each of the above steps to avoid occurring darker stain.
1. Re-sand And Apply Wood Stain
You can remove excess coatings of stain by sanding with 150 grit sandpaper and redoing the wood stain application from the beginning.
This will eliminate the dark shade and you’ll be able to start over again with a much lighter color shade until you reach the dark you want.
2. Apply a Maximum Of Two Layers Of Stain
Never go for stain layers of more than two to prevent excess darkening of the wood. Two coats of stain are well enough to get the lighter color as you want.
When you’re increasing the number of coatings of stain, the only thing that happens is reducing the color of the wooden surface.

10. Stain Not Dark Enough
The darkness of the stain depends on the type of wood we’re going to stain. Some woods turn their shade into the dark with a single coat of stain, but some don’t.
Reasons For Stain Not Dark Enough
Here’re the reasons for mistakes made by you that cause non-dark stain shades.
- Selecting denser woods to stain
- Wood is already sealed
- Wood is sanded too much
- Wood is exotic
Let’s discuss each of the above reasons that cause stain that is not dark enough.
1. Selecting Denser Woods To Stain
If the wood is denser and has a less porous structure, it doesn’t take stain well. The applied stain does not penetrate well to the porous structure of the wood.
Therefore, the color of the wood does not change so easily into the dark shade we want.
2. Wood Is Already Sealed
If the wood is already sealed by polyurethane or any other finishing product, once you apply stain on top of that, it won’t turn into dark color.
Because the pigments in the stain don’t get any chance to go through the sealed layer and gain access to the pores of the wood to change its color.
3. Wood Is Sanded Too Much
If on the previous step you have sanded the wood too much, there is a risk of not taking stain so well as before.
Sanding too much will close the entrance to the pores of the wood because sawdust will clog those pores. Therefore, once you apply stain, it doesn’t penetrate well inside the wood to turn it into a darker shade.
4. Wood Is Exotic
Some exotic woods have very high oil concentrations in their structure. So, they easily reject other oil-based products such as wood stain and polyurethane.
They already have enough oil, and those erotic woods don’t like to absorb wood stain to get more oil inside of the wood.

How To Fix Stain Not Dark Enough?
- Re-sand the wood properly
- Use gel stain
Let’s discuss each of the above fixes to avoid lighter stain colors.
1. Re-Sand The Wood
If the pore of the wood is clogged because of sawdust, don’t sand it with 180-grit sandpaper.
Instead, start with 80 grit sandpaper and eventually increase it up to 180 grits.
This will remove the sawdust that clogs the pores and make the wood ready to take the stain.
Plus it will make the surface super smooth and ready to take on stain so well.
2. Use Gel Stain
Gel shades stain can be lucky to apply top of another sealer to turn the shade into darker color.
Apply thin coats of gel stain and let it dry to turn your wood into the dark color you want.
Tip: Make sure not to make the gel stain too thick. If the resulting gel stain is too thick, follow this comprehensive guide to fixing thick gel stain coats.
According to my experience, the gel stain doesn’t go well with all the wood.
Sometimes it does the job perfectly, but sometimes it doesn’t. So, the best option is to do the sanding again to gain access to the wood stain and start over from the beginning.
11. Stain Is Too Much Lighter
The purpose of applying stain is to turn the wood into darker color. But there are some mistakes that we make resulting in the wood stain being a too much lighter color.
Reason For Too Much Light Stain
Selecting the wrong wood type is the main reason for too much lighter stain.
There are some woods that don’t turn into the dark color you want and display the same light color as before even after applying the stain.
This is because of the incompatibility between the wood and the stain product.
How To Fix Stain Is Too Much Lighter?
There is no proper way of fixing this mistake. But you can fix lighter stain somewhat by following below methods.
- Apply more stain
- Bleaching the wood before staining
Let’s discuss each of the above methods separately to fix too much lighter stain.
1. Apply More Stain
By apply more stain to the wood and adding some stain color to the finish and coloring them darker will mostly fix the lighter color issue.
But it’ll be so difficult to get the exact same dark color wish. It’ll turn into a darker shade by reducing the contrast.
2. Bleaching the Wood Before Staining
You can add two-part bleach with hydrogen peroxide and sodium hydroxide first and then apply the wood stain.
But make sure to sand the wood after you apply two-part bleach before staining. This will give a dark shade to your wood.

12. Apply Excess Stain
Applying an excess amount of stain is a common mistake that every woodworker always do.
Applying excess stain can produce never drying tacky stain with surface blotchiness.
This will eventually lead to a dull wood appearance.
Reason For Applying Excess Stain
Applying a thick layer of stain is the main reason for having lots of excess stain on the surface after their absorbance to the wood.
Thick layers of stain always leave excess amounts that cause big trouble when drying.

How To Fix Applying Excess Stain Issue?
- Remove excess stain
- Stain inconspicuous areas
Let’s discuss each of the above steps seperately to fix excess stain on the surface.
1. Remove Excess Stain
Once you feel that there is an excess amount of strain on the surface, take a cloth or rag and wipe it off immediately.
Otherwise, it will dry up on the surface and cause surface blotchiness.
2. Stain Inconspicuous Areas
First, you should start the stain with small areas. Try to work on small sections to avoid applying excess stain.
This will not only prevent you from doing the mistake but also save lots of stain in the end.
Don’t go for larger areas to stain at once, because most mistakes appear once the wood is completely dried.

13. Wrong Color Shade
Applying the wrong color stain gives the wrong color shade, which makes you feel so frustrated in the end.
Even though you have made no mistake, this will end you up in so bad situation.
Here’re the reasons for getting the wrong color shade when staining.
Reasons For Getting the Wrong Color When Staining
Stain with the wrong color of the stain is the reason why you won’t get the color you want from staining.
You should always check the color you want and need to have a clear mind of how to reach the color you want.
Selecting the correct type of stain is a must to avoid getting the wrong color type in the end.
How To Avoid Picking the Wrong Color Shade?
- Apply tinted polyurethane
- Re-sand and apply wood stain
Let’s see above steps in detail to fix getting wrong color shade after staining.
1. Apply Tinted Polyurethane
Once you get the wrong color after staining, let the wood dry and apply Minwax’s poly shade which is a tinted polyurethane product.
Apply a thin coat of polyurethane over the stained surface without making any polyurethane mistakes.
It will change the color tone of your wood into a much darker and brown color to balance it with the color you want.
But you cannot get any lighter color using this product.
2. Re-sand And Apply Wood Stain
You can remove the wrong color stain completely by sanding with 150-grit sandpaper and redoing the wood stain application from the beginning.
This will eliminate the wrong color shade and you can redo with the correct color of the stain.

14. Poor Stain Absorption
Poor stain absorption can lead to a lot of issues like random blotchiness, uneven shades, not drying quickly, and many more.
Poor stain absorption can happen due to the following reasons.
Reasons For Poor Stain Absorption
- Selecting the wrong type of wood for staining
- Selecting the wrong stain product for staining
Let’s discuss each of the above reasons in detail that result poor stain absorption.
1. Selecting The Wrong Type Of Wood
If the wood you stain is highly dense with a very little number of pores, it doesn’t take stain so well.
For example, highly dense woods, such as Cherry, Maple, Rosewood, Mahogany doesn’t take stain well.
The pigments of stain do not get enough space to go inside of the wood and do the staining.
2. Selecting The Wrong Stain Product
If the stain product that you selected is incompatible with the wood you’re going to stain, it won’t absorb well by the wood.
This can cause layer separation and drying time will be much slower than you think.

How To Fix Poor Stain Absorption?
- Selecting the correct wood type for staining
- Selecting the correct stain product
Let’s discuss each of the above steps to fix poor stain absorption.
1. Selecting The Correct Wood Type
The wood must need to be porous to take the stain well. The pigments in the stain will penetrate through the fiber pores and stain the wood evenly throughout the surface.
So always make sure to check whether your wood is stainable or not to avoid mistakes happening.
2. Selecting The Correct Stain Product
Before buying stain product for your woodwork or furniture, browse the internet and find answers to what stain product matches you the most. Also, you can get help from the experts nearby.
15. Not Color Well in Corners and Edges
Staining edges and corners are hard because of tight sharp space. Therefore, most corners don’t stain so well and that will highlight once the wood is completely dried.
Reasons For Not Color Well In Corners And Edges When Staining
- Staining corners leave a small line of excess stain which will cause the surface to look tacky
- Rough woodcuts are not easy to stain as a smooth flat surface
How To Fix Not Coloring Well in Corners and Edges?
- Stain While Removing Any Drips
- Sanding corners well before staining
Let’s discuss each of the above steps to fix not coloring the corners and edges well when staining.
1. Stain While Removing Any Drips
Stain while rolling your head around the corners and make sure not to leave any drips. Wipe off the excess stain using a rag or old cloth and make the corner smooth as the flat surface.
2. Sand Corners Well Before Staining
If you do the proper sanding in corners and edges, they’ll tend to take stain so easily and you won’t get many troubles when staining.
Always do your best when sanding. By doing this you’ll know how to fix wood stain mistakes so easily.
16. Stain in Poorly Ventilated Area
Staining in poorly ventilated areas is one of the biggest mistakes that most people do.
Most of the wood stain products contain harsh chemicals and fumes that can cause skin and eye irritations upon contact.
Plus, staining in a poorly ventilated area can slow down the drying times resulting tacky surface.
A large amount of dust generated when sanding is really bad for your health.
Many woodworkers get sick because of sawdust particles and you should avoid of happening this serious mistake.
Reasons For Stain In Poorly Ventilated Area
Staining Windows Closed Or Indoor
When you do the staining while windows are closed, there is no room for air circulation.
The chemicals included in wood stain are bad for you.
Staining in poorly ventilated area can reulst lots of bad impacts than you think.
How To Fix Poor Ventilation?
- Staining in outside
- Improve the ventilation inside
- Wear a mask while sanding
Let’s discuss each of the above steps to fix poor ventilation which can result wood stain mistakes.
1. Staining In Outside
This is the best option to keep you away from bad chemicals and stuff. All the bad fumes will wipe away with fresh air and help you to stay safe during the process.
2. Improve The Ventilation Inside
If you do the staining indoor, make sure to open all the windows, and the area is properly ventilated.
Then the air will circulate well and remove harmful elements while you’re in the process. This will also help the wood to get dried quickly.
3. Wear A Mask While Sanding
This will help you to protect yourself from sawdust which is really bad for your health. Wear a mask throughout the sanding and staining process.
17. Using Old, Unusable Stain Can
Old unusable stains can cause lots of mistakes when staining. They’re never the same as fresh staining products.
Using old stain can result dull wood appearance.
Results Of Using Old, Unusable Stain Can
- Change in texture
- Unpleasant smell
Let’s discuss each of the above results for using an old, unusable stain can.
1. Change In Texture
If your old wood stain is unusable the texture is different than a fresh stain can. If the stain is dried up, separated, and stringy that means the stain is gone bad.
2. Unpleasant Smell
If the stain doesn’t smell like it used to be, that’s not good to use for any wood staining project.
Smell changes happen due to the changes in the chemical composition of the wood stain.

How To Fix the Mistake of Using Unusable Stain Can?
- Use fresh, new stain product
- Store well
Let’s discuss each of the above steps to fix of mistake using old, unusable stain cans.
1. Use Fresh, New Stain Product
Rather than using old products, I recommend you always go with fresh stain products.
Because they are not contaminated at all, and you won’t face any troubles during staining.
2. Store Well
According to the manufacturers normally wood stain can keep for at least 3 years after opening.
But you need to store and keep the stain can well to keep it without any issues.
The temperature levels should be normal and any harsh weather conditions can change the chemical composition of the wood stain.
Also, never leave your stain can open outside, which will definitely be contaminated, and the quality will be reduced.
So, those are the 17 proven methods to fix wood stain mistakes. Hope you have learned a lot about how to fix wood stain mistakes.
How To Fix Dark Spots On Stained Wood?
Fixing dark spots on the stained surface is a little bit tricky because following the wrong method can damage the surrounding area of the stain layer.
Here’re the steps you should follow to fix dark spots on stained wood.
- Identify the cause.
- Clean the surface.
- Sand the affected area.
- Feather the edges.
- Wipe away dust.
- Apply a lighter stain.
- Evaluate the results.
- Finish with a protective coating.
Let’s discuss each of the above steps separately to fix dark spots on stained wood with ease.
1. Identify The Cause
Determine the reason behind the dark spots, which could be due to uneven stain application, water damage, or tannin bleed from the wood itself.
2. Clean The Surface
Before attempting to fix the dark spots, ensure the wood surface is clean and free from dust, dirt, or grease. Use a mild soap and water solution to clean the surface gently.
3. Sand The Affected Area
Using a fine-grit sandpaper (around 220-grit), sand the dark spots lightly. Be cautious not to sand too deeply, as this might expose the raw wood beneath the stain.
4. Feather the edges
To create a seamless transition between the dark spots and the surrounding wood, feather the edges by sanding them gently. This technique will help blend the affected area with the rest of the surface.
5. Wipe Away Dust
After sanding, use a tack cloth or a slightly damp cloth to remove any dust from the wood surface.
6. Apply A Lighter Stain
Choose a stain that’s slightly lighter than the original color. With a clean cloth or brush, apply the stain to the sanded area, carefully blending it into the surrounding wood. Remember to follow the wood grain for a more natural appearance.
7. Evaluate The Results
Allow the stain to dry, then assess the results. If the dark spots are still visible, repeat the sanding and staining process until you achieve a satisfactory result.
8. Finish With A Protective Coating
Once you’re satisfied with the color match, apply a clear protective finish, such as polyurethane or varnish, to seal and protect the wood surface.
now you know how to fix dark spots in stain. But have you ever thought about fixing light spots? Don’t worry, that’s what I’m going to talk about next.

How To Fix Light Spots In Stain?
Fixing light spots in stain is easy if you follow the correct procedure.
Here’re the steps you need to follow when fixing light spots in stain,
- Inspect the surface.
- Clean the area.
- Lightly sand the surface.
- Remove dust.
- Apply additional stain.
- Evaluate and repeat if necessary.
- Apply a protective finish.
Let’s discuss each of the above steps one by one to get a clear view of fixing light spots in stain.
1. Inspect The Surface
Before taking any action, carefully examine the wood surface to identify the extent of the light spots and determine their cause, such as uneven stain application or inadequate surface preparation.
2. Clean The Area
To ensure optimal results, clean the wood surface gently with a mild soap and water solution to remove dust, dirt, and grease. Allow it to dry completely.
3. Lightly Sand The Surface
Using a fine-grit sandpaper (around 220-grit), gently sand the entire surface to promote better stain adhesion. Focus on the light spots but avoid sanding too aggressively, as this might damage the wood.
4. Remove Dust
After sanding, use a tack cloth or a slightly damp cloth to wipe away any dust from the wood surface.

5. Apply Additional Stain
Select a stain that matches the original color. With a clean cloth or brush, apply the stain to the light spots, carefully blending it into the surrounding wood. Follow the wood grain to create a more natural look.
6. Evaluate And Repeat If Necessary
Allow the stain to dry, and then assess the results. If the light spots are still noticeable, you may need to apply additional coats of stain, allowing each coat to dry before applying the next.
7. Apply A Protective Finish
Once you’re satisfied with the color match and evenness, seal and protect the wood surface with a clear protective finish, such as polyurethane or varnish.

Tips for Preventing Wood Stain Mistakes
Here’re some tips that are useful for you to avoid making wood stain mistakes,
- Proper preparation.
- Use a wood conditioner.
- Select the right stain and tools.
- Test stain colors and finishes on scrap wood.
- Apply the stain evenly.
- Monitor environmental factors.
- Take your time.
By following above methods carefully you’ll be able to get promising results by staining your favorite furniture or woodwork.
So, let’s discuss each of the above useful tips in detail to avoid making wood stain mistakes.
Proper Preparation
Before you begin staining, take the time to prepare the wood surface thoroughly.
Start by sanding the wood evenly, following the grain, and progressively moving from a coarser to a finer grit sandpaper. This step will help eliminate imperfections and ensure a smooth surface for the stain.
Example: When I was working on a dining table, I started sanding with 80-grit sandpaper and gradually progressed to 220-grit to achieve a flawless finish.
Use a Wood Conditioner
Applying a wood conditioner, especially on soft or porous woods like pine, helps to prevent blotchiness and uneven stain absorption. It preps the wood to accept the stain more evenly and consistently.
Example: A few years ago, I built a pine bookshelf and used a wood conditioner before staining. The result was a beautifully even finish.

Select The Right Stain And Tools
Choose a high-quality stain that’s suitable for your project and the type of wood you’re using. Consider using gel stains for challenging woods or intricate pieces.
Additionally, invest in quality brushes, wiping cloths, or foam applicators to ensure a smooth and even application.
Test Stain Colors And Finishes On Scrap Wood
Before committing to a specific color or finish, test it on a scrap piece of the same wood you’re using for your project.
This way, you’ll know exactly how the stain will look on your piece and make adjustments as needed.
Example: When I was refinishing an oak dresser, I tested several stain colors on scrap oak pieces to find the perfect shade that complemented the room’s decor.
Apply The Stain Evenly
Use long, smooth strokes following the wood grain when applying the stain. Work in manageable sections, and make sure to wipe off any excess stain with a clean cloth before it dries.
Monitor Environmental Factors
Be aware of temperature, humidity, and ventilation when staining. High humidity can prolong drying time, while extreme temperatures may cause the stain to dry too quickly or not at all. Proper ventilation is crucial for both drying and safety.
Example: During a particularly humid summer, I had to bring a staining project indoors and use a dehumidifier to achieve proper drying times.
Take Your Time
Patience is key when staining wood. Rushing the process can lead to mistakes and unsatisfactory results. Allow ample time for each coat to dry, and always follow the manufacturer’s recommendations for drying and curing times.
By following these tips and speaking from my own experience, you can prevent many common wood stain mistakes and achieve professional-looking results.
Remember, practice makes perfect, so don’t be discouraged if your first few attempts aren’t perfect. With time and experience, you’ll master the art of wood staining.

Let’s have a look at the summary with all the possible mistakes and the most possible solutions for each of them.
Summary: How to Fix Wood Stain Mistakes?
| Mistake | Solution |
| Blotchy surface | Clean the wood and let the wood dry before staining |
| Uneven stain surface | Light sanding spots and staining |
| Sticky stain surface | Apply stain thinner |
| Unwanted stain marks, streaks, and drips | Hide stain marks with more stain |
| Stain dries quickly | Leave the wood 2-3 days to dry and cure |
| Improper sanding | Using the correct grit size and sand for a maximum of least 2 times |
| Displaying gouges and machine marks on the surface | Re-sand and apply wood stain |
| Staining in bad weather conditions | Avoid doing wood staining in bad weather or stain under controlled environment |
| The stain not drying properly | Wipe off excess stain |
| The stain is too much darker | Re-sand and apply wood stain |
| The stain not dark enough | Light sanding the dark spots |
| The stain is too much lighter | Apply more stain or bleach the wood and start over |
| Apply excess stain | Remove excess stain immediately |
| Wrong color shade | Apply tinted polyurethane |
| Poor stain absorption | Selecting wood that stain well, Select the stain product that matches the wood |
| Not color well in corners and edges | Stain while removing drips |
| Staining in a poorly ventilated area | Stain outside or improve ventilation by opening windows |
| Using old, unusable stain can | Go for fresh new products, Store the stain can well |
That’s it, folks! Now you know how to fix wood stain mistakes and what steps you should follow to minimize them.
Let’s have a look at some frequently asked questions.
How To Blend Stain Overlap?
Blending stain overlaps requires careful attention to detail and a gentle touch.
Here’re the steps you need to follow to fix blend stain overlap,
- Sand lightly: Using fine-grit sandpaper (220-grit), gently sand the overlapped area to smooth out the excess stain, taking care not to damage the surrounding wood.
- Clean the surface: Wipe away sanding dust with a tack cloth or slightly damp cloth to ensure a clean surface for re-staining.
- Re-stain: Apply a fresh coat of stain to the affected area with a clean cloth or brush, using long, even strokes and following the wood grain. Feather the edges to blend the stain into the surrounding area.
- Evaluate and adjust: Allow the stain to dry, and then assess the results. Repeat the process if necessary, until the overlap is seamlessly blended.
By following these steps with precision and care, you can successfully blend stain overlaps for a more consistent and professional-looking finish.

How Can I Fix An Uneven Or Blotchy Stain On My Wood Project?
To fix uneven or blotchy stains, first, lightly sand the affected area. Then, apply a wood conditioner to promote even stain absorption.
Finally, re-stain the surface with a more even coat, taking care to follow the wood grain.
What Should I Do If My Wood Stain Is Sticky Or Tacky?
Sticky or tacky wood stains usually occur when the stain hasn’t dried completely. You can apply a solvent, such as mineral spirits, to the affected area to remove the sticky residue.
After the solvent has evaporated, re-stain the wood and allow it to dry properly, ensuring proper ventilation and temperature.
How Can I Correct The Color Of My Wood Stain If It’s Too Light Or Too Dark?
If your wood stain is too light, you can apply additional coats until you achieve the desired color.
For stains that are too dark, you can use a wood stripper or sand the surface to remove the existing stain, then re-stain with a lighter color or a thinner coat.
What’s The Best Way To Fix Drips, Streaks, And Unwanted Marks In My Wood Stain?
To fix drips, streaks, or marks in your wood stain, gently sand the affected area until the imperfections are removed.
Afterward, reapply the stain with a quality brush or wiping cloth, ensuring that you use long, even strokes and follow the wood grain.
How Can I Avoid Poor Stain Absorption And Achieve An Even Finish?
Proper surface preparation is crucial for even stain absorption. Start by sanding the wood surface evenly and using a wood conditioner, especially for soft or porous woods.
Apply the stain using the appropriate tools and techniques, such as long, even strokes with a quality brush, wiping cloth, or foam applicator.

What Safety Precautions Should I Take When Fixing Wood Stain Mistakes?
Ensure proper ventilation when working with wood stains and related chemicals. Wear appropriate safety gear, such as gloves, goggles, and a mask, to protect yourself from fumes and contact with chemicals.
Dispose of staining materials, such as used rags, in a responsible manner to prevent combustion or environmental contamination.
Did I cover all you wanted to know about: How to Fix Wood Stain Mistakes?
From this article, we have deeply discussed how to fix wood stain mistakes by taking 17 possible mistakes that happen when staining and how to fix them.
Apart from giving the solutions, we have discussed why those mistakes happen. When you find the solution for the reason of happening the mistake, it won’t happen again.
Wood staining is a huge chapter in woodworking, that needs good practice and patience.
Wood stain mistakes can avoid by cleaning the surface regularly and sanding the existing coat and reapply a new stain coat according to the manufacturer’s instructions.
Hope this article gave you a proper understanding of how to fix wood stain mistakes to avoid happening them in the future.
So, let’s give it a try for your next wood staining project!
I’m a novice. Just finished staining my first table. The table has a few raised spots after gel stain has dried. Looks like I didn’t sand some areas enough. I think I’ll try the scuff sand but worry that restain will be blotchy. Your article is VERY thorough and helpful. Thank you!