Ever splintered wood while drilling a hole, turning your neat project into a mess? Read on to uncover the secret to smooth, splinter-free drilling in wood!
A drilling hole is a basic woodworking technique that is used for almost all woodworking projects.
With years of woodworking experience, I figure out a technique to fix wood splintering when drilling.
So, Let’s find out, How to drill a hole in wood without splintering?
To drill a hole in wood without splintering, start with a sharp drill bit – brad point for small holes, auger or spade for medium ones, and hole saws for larger holes. Always drill a pilot hole first, maintain a slow speed, and apply consistent, not forceful, pressure. Sandpaper can smooth any minor splinters.
But that’s just a quick snapshot of the question and there’s a lot more to know about drilling holes.
So, in this article, we’re diving deep into the hot topic of how to drill a hole in wood without splintering and discuss the best methods to drill small holes, medium holes, and large holes in detail.
So, let’s get going!
How To Keep Wood from Splintering When Drilling?
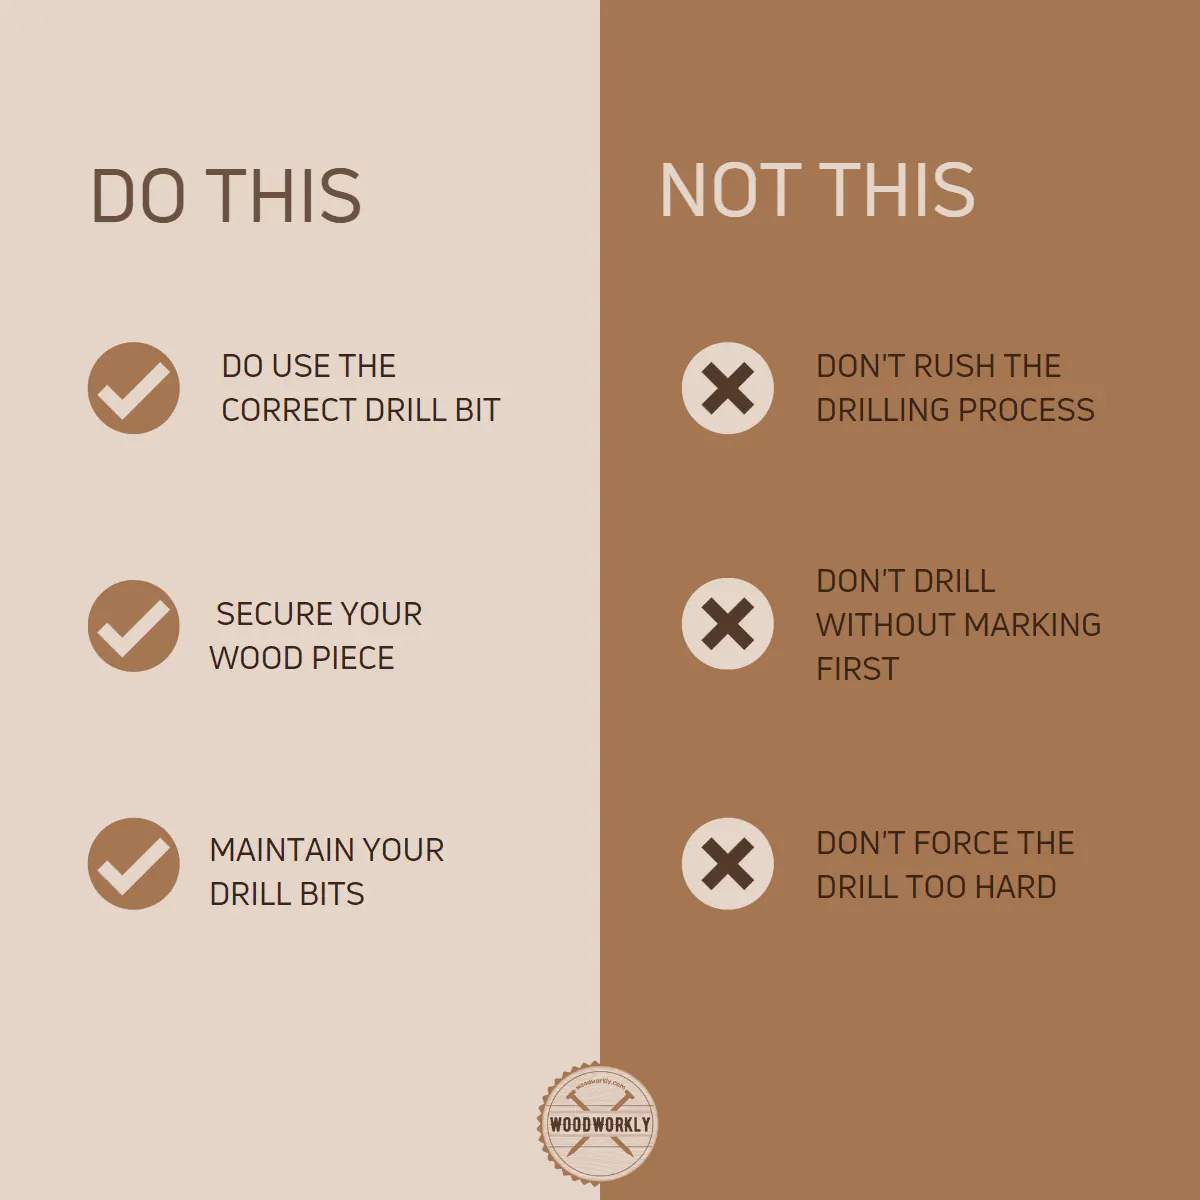
- Take the right type of drill bit
- Take quality wood that holds drill bits or nails well
- Mark the drilling spot with a pencil or marker
- Drill pilot holes that are slightly smaller in diameter than the nails to avoid wood splintering
- Drill pilot holes that are slightly larger in diameter than the nails to avoid top board cracking
- Use well-sharpened drill bits
- Start at a low drilling speed and slowly increase the drilling speed
- Use well-maintained drill bits
- Avoid applying pressure too much on the drill
- Mark and drill from both sides to keep wood from splintering
The above steps are common when drilling any kind of hole in wood.
So, let’s find out how to drill small, medium, and large holes in wood without splintering in detail.
Drilling Small Holes in Wood Without Splintering
There’re main two main methods you can use to make a small hole in wood without splintering. They are,
- Drilling with point drill bits
- Drilling with twist drill bits
So, let’s discuss tips and techniques you need to follow to make small holes in wood using the above tools.
Making Small Holes in Wood with Point Drill Bits
Point drill bits are designed to make small holes and are perfect for drilling pilot holes for screws and other types of small holes without splintering the wood.
Point drill bits are available in sizes up to 10mm (0.39”).
The endpoint of point drill bits helps to start the cut and keep the bit in the right place with high precision without slipping while you’re drilling the hole.
After marking the position using a drill bit, place it against the wood and start to drill with a medium amount of pressure, and the drilling speed needs to be fast.
Let the point drill find its way through the wood without forcing too much. Because excess force can break the wood.
Moving the drill bit back and forth while drilling helps to eliminate the waste wood from the hole.
A depth stop is useful to identify the correct depth of the hole.
But if you don’t have a depth stop, better to use sticky tape to cover up the area of the drill bit that you need to stop drilling.
If both ends of wood need drilling like making a hole for door handles, better to drill from both sides to avoid wood splintering and make a clean straight cut to each end.
How to Make Small Holes in Wood with Point Drill Bits?
Here’re the steps you need to follow when making small holes in wood with point drill bits,
Step 1: Choose Your Point Drill Bit
Before we start, let’s talk about the star of our show, the point drill bit.
Specifically designed for woodwork, these bits have a central point (hence the name) and two raised spurs that help maintain accuracy while reducing the risk of splintering.
My first point drill bit was a 1/8″ model. It was perfect for small holes and the gateway to my journey of seamless wood drilling.
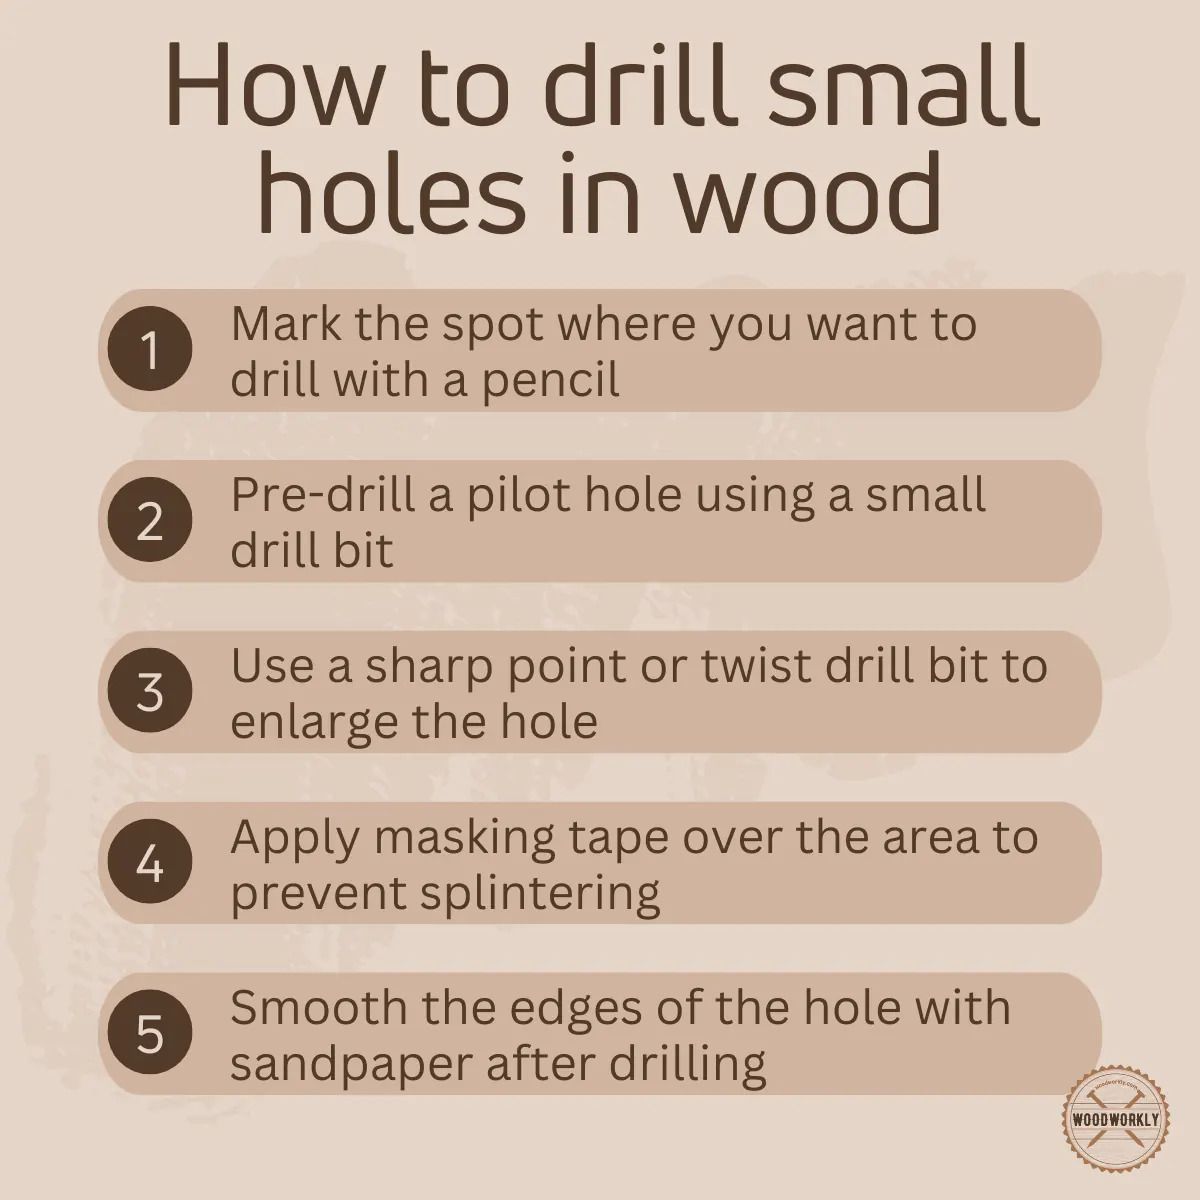
Step 2: Mark Your Spot
After picking the right bit, I learned that marking the spot for the hole is critical.
Don’t just eyeball it; precision is key here. Use a pencil to make a small mark on the spot you want to drill.
I remember working on a DIY shelf project when I accidentally misplaced a hole by a few millimeters. Lesson learned – measure twice, drill once.
Step 3: Pre-drill a Guide Hole
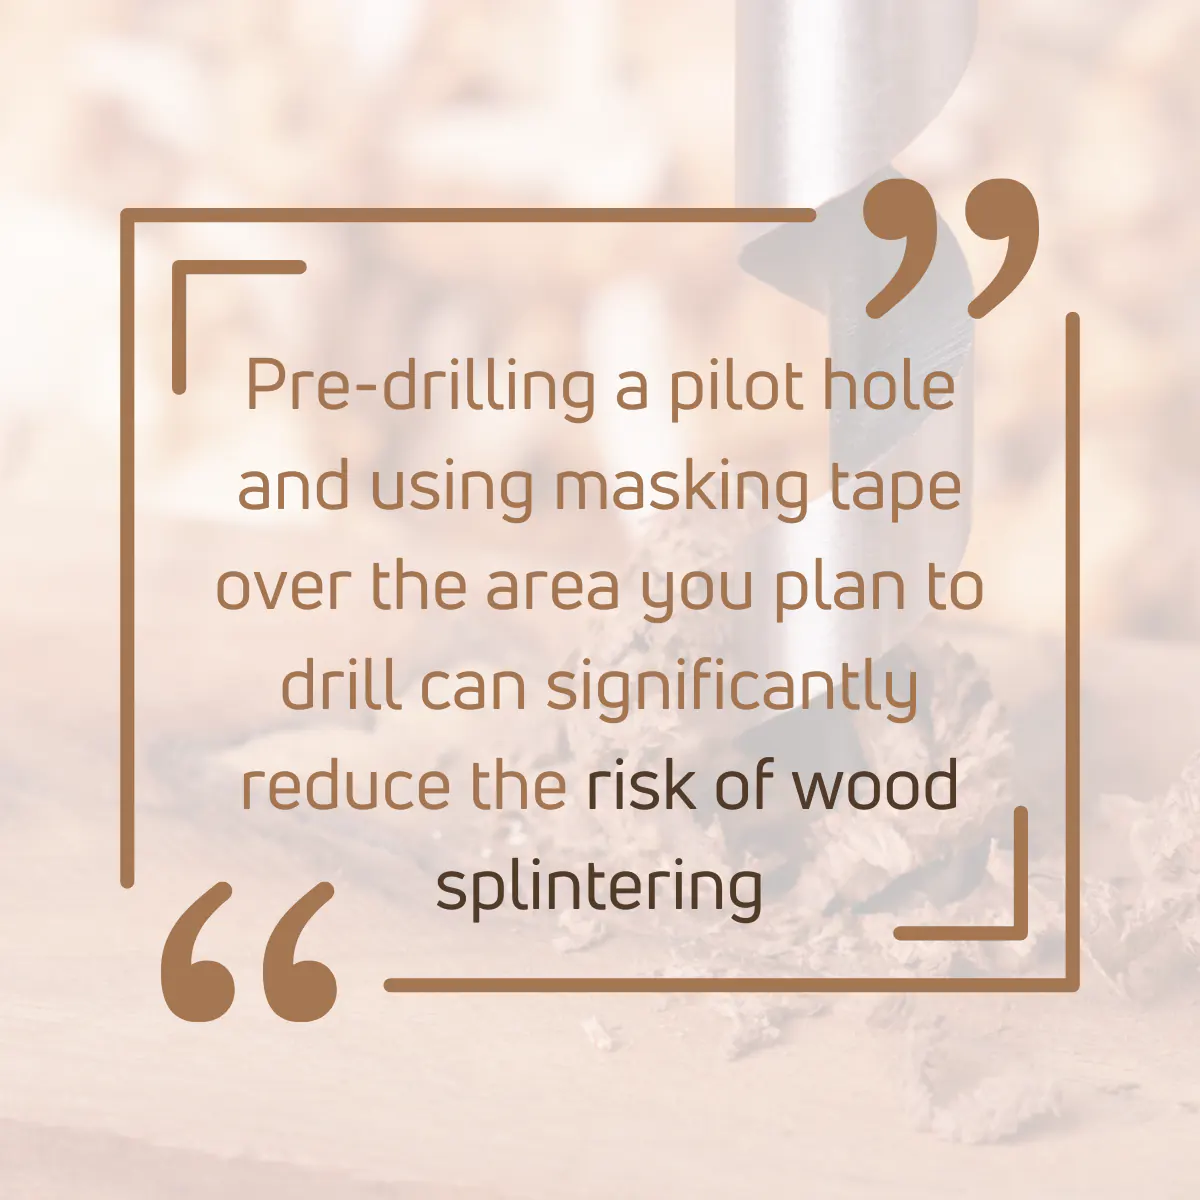
This step is something of a game-changer. Pre-drilling a guide hole with a smaller drill bit can significantly reduce splintering.
I started using this technique when I was making a wooden planter box, and the difference was night and day.
Step 4: Position Your Point Drill Bit
Now, it’s time to bring in your point drill bit. Place it directly on your marked spot, ensuring it’s perpendicular to the wood surface.
I can’t stress enough the importance of this alignment – it can be the difference between a clean hole and a splintered mess.
Step 5: Start Drilling
With the drill bit in position, start drilling at a slow speed. Maintain steady pressure, but don’t rush.
I learned it the hard way when I was too enthusiastic with my first couple of holes and ended up with splintered edges.
Remember, patience is a virtue in woodworking!
Step 6: Use a Backer Board
Finally, don’t forget to place a backer board behind the wood you’re drilling.
It’s like having a safety net – it catches the wood fibres as the drill bit exits, preventing tear-out and splintering.
Trust me, the first time I used a backer board, it was a revelation!
Making Small Holes in Wood with Twist Drill Bits
Standard twist drill bits are also used to make small clean holes like pilot point drill bits.
Standard drill bits have twisted shapes that make fine holes up to ½”. But they don’t have larger bits like point drill bits.
If you use a punch to make a notch for these bits, they work fine for the sizes over 3/16”. But above that size, bits may wander the wood grain.
Twisted drill bits have limited maximum size and are not appropriate to make large holes because of the lack of pilot points.
How to Make Small Holes in Wood with Twist Drill Bits?
Here’re the steps you need to follow when drilling a small hole in wood with twist drill bits,
Step 1: Select Twist Drill Bit
Twist drill bits, as their name suggests, have a twisted flute running up the sides.
This design helps with removing debris and reducing friction, which can lead to cleaner holes.
I recall when I first discovered the effectiveness of these bits while working on a hardwood bench project – it was a real game-changer!
Step 2: Spot Marking is Essential
The excitement of drilling can sometimes lead us to skip important steps – like spot marking.
Ensure you take the time to mark the exact spot where you want to drill the hole.
Remember, accuracy is a virtue in any woodworking project.
Step 3: Pre-drill is a Must
Just like with point drill bits, pre-drilling a guide hole using a smaller bit can be a life (or wood) saver.
It might seem like an extra step, but the payoff in the form of a splinter-free hole is worth it.
I’ve learned this the hard way while crafting a wooden photo frame – a memory etched in sawdust and splinters!
Step 4: Align Your Twist Drill Bit
Now, bring your twist drill bit to the pre-drilled hole. Check its position carefully to ensure it’s perpendicular to the wood surface.
A small alignment error can lead to an imperfect hole, as I found out while drilling holes for a treehouse project.
Step 5: Drill with Confidence
With everything in place, you’re ready to start drilling. Start slow and maintain steady pressure without pushing too hard.
Patience and persistence are key here. Trust me, the resulting clean hole will make you proud of your newfound skill.
Step 6: Backer Board for the Win
Using a backer board is a pro tip that I was happy to learn.
Place it behind the wood you’re drilling to catch the wood fibres as the drill bit exits, preventing any potential splintering.
It’s a simple trick, but it’s saved my work from unsightly tear-outs more times than I can count.
Watch, How to Use Self Tapping Screws Into Wood (Is It Okay)
Now you have a clear idea about making small holes in wood without splintering. Let’s have a look at making a medium-size hole with less issues.
Drilling Medium Holes in Wood Without Splintering
Medium-size holes mean holes with a diameter of 10mm to 25mm (0.39” to 0.98”).
To drill medium size holes, you should drill at a slower speed than drilling small holes to make fine cuts.
There’re main two types of drill bits you can use to make a medium hole in wood without splintering. They are,
- Drilling with auger drill bits
- Drilling with flat/spade drill bits
So, let’s discuss how to make a medium hole in wood without splintering with the help of the above tools.
Making Medium Holes in Wood with Auger Drill Bits
Auger drill bits are popular for making straight medium holes in wood because of the length of the bits. This is why they’re popular in morticing wood.
Drill at a slower speed to make precise holes.
Auger drill bits are equipped with cutting-edge and guiding and pulling thread.
Auger drill bits sizes are available from 10mm to 25mm. to make deep holes you can get auger drill bits up to 400mm as well.
Clamping the wood while drilling with sharp auger drill bits helps to avoid wood splintering.
How to Make Medium Holes in Wood with Auger Drill Bits?
Here’re the steps you need to follow when making medium holes in wood with auger drill bits,
Step 1: Select the Auger Drill Bit
With its unique corkscrew design and self-feeding screw tip, an auger drill bit makes medium-sized hole drilling seem like a breeze.
It’s an interesting bit of engineering that adds finesse to the drilling process.
My first project with it was a wooden birdhouse, and let me tell you, it was an absolute revelation!
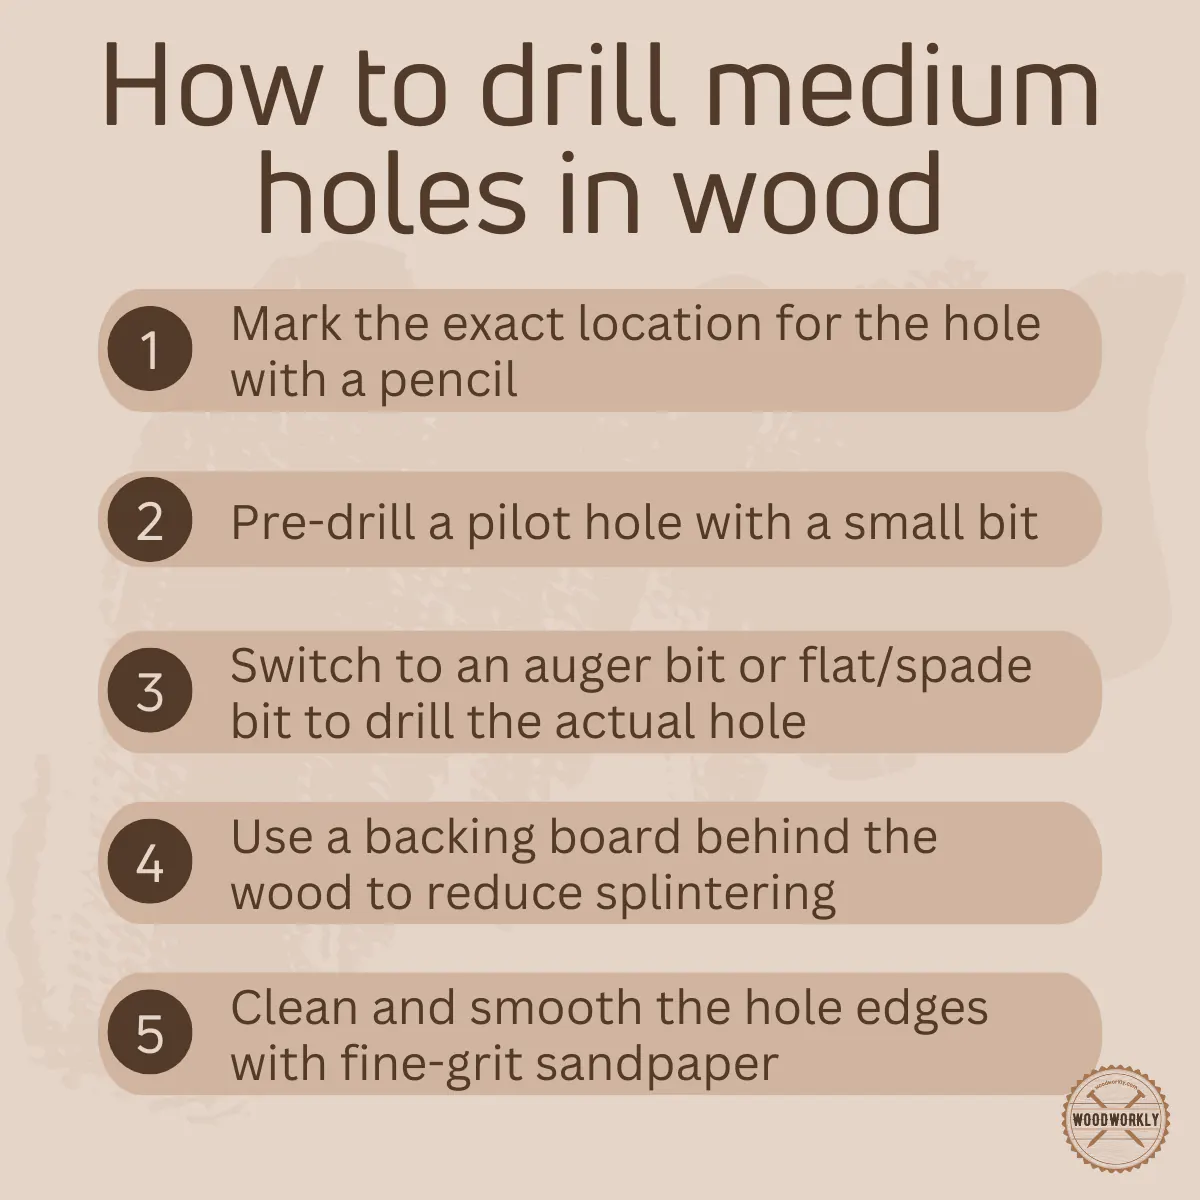
Step 2: Plotting the Hole Position
Marking the desired position for your hole is a crucial step that often gets overlooked.
With medium-sized holes, this accuracy becomes even more important.
So, grab that pencil or marking tool and clearly define where you want that hole to be.
Step 3: Time to Pre-drill
Just as with smaller holes, pre-drilling is a must when working with larger ones too. Use a smaller bit to create a guide hole.
It may feel redundant, but it’s a vital step in preventing the dreaded splintering.
It’s a lesson I learned when I was working on a beautiful oak table and ended up with an unintended abstract design!
Step 4: Align and Brace
Position your auger bit with the guide hole and make sure the drill is aligned correctly. I would also suggest using a brace for added stability.
One time, while I was making a bookshelf, a little misalignment led to an angled hole, and, let’s just say, that bookshelf had a bit more character than I intended!
Step 5: Drilling with Grace
Begin to drill slowly, allowing the self-feeding screw tip to pull the bit into the wood.
A gentle, steady pace works best here. Remember, this isn’t a race.
I can’t count the times I’ve had to remind myself of this, especially during that intricate chair leg project!
Step 6: Backer Board Magic
Don’t forget to use a backer board! When the bit starts to exit the wood, the backer board catches the wood fibres, preventing any possible tear-outs.
I learned this handy trick during a workshop, and it’s saved countless pieces since then.
Making Medium Holes in Wood with Flat/Spade Drill Bits
Flat/spade drill bits are able to make clean holes when drilling without splintering the wood.
But if you’re drilling too deep with flat/spade drill bits, it may wander the wood. This prevents drilling straight.
Flat/spade drill bits are equipped with cutting edge and guide points to make precise holes.
It is available in sizes from 10mm to 25mm (0.39” to 0.98”)
Flat drill bits are mostly used for power drills and screwdrivers.
It has a transverse hole. When the hole is drilled, the wire can be fed through it when the drill bit is retracted.
Flat/spade drill bits are mostly used by electricians and plumbers to make holes in wood studs and walls to run pipes and wires.
How to Make Medium Holes in Wood with Flat/Spade Drill Bits?
Here’re the steps you need to follow when making medium holes in wood with Flat/Spade Drill Bits,
Step 1: Choosing the Right Spade Bit
When it comes to drilling medium-sized holes, the spade bit is a game-changer. It’s broad, flat, and has a pointed tip for precise drilling.
But remember, not all spade bits are created equal. Some are designed for specific types of wood.
Choose wisely, your project depends on it. I’ve found out the hard way when I had to work on a reclaimed wood table!
Step 2: Marking the Spot
Just like a pirate marking a treasure spot on a map, you need to mark the spot where you want to drill the hole.
Be precise, your woodworking project’s success depends on it. I learnt this during one of my early projects, a wooden chest.
A slightly misplaced hole can shift the balance of the whole structure!
Step 3: The Pre-Drill Stage
Some may skip this step, but I consider it essential. Use a smaller bit to pre-drill a guide hole.
The guide hole will help you drill more accurately with your spade bit, and it’s a great precaution against splintering.
It saved my walnut cabinet project once!
Step 4: Line Up and Brace
Line up your spade bit with the guide hole, and ensure the drill is braced against your body for stability.
I had a funny incident once when my drill slipped out of alignment and I ended up drilling an extra hole.
Let’s just say my dog got a bonus peephole on his wooden house!
Step 5: Slow and Steady Drilling
Once you’ve got everything in position, start drilling slowly.
The spade bit should cut through the wood effortlessly, creating a clean hole.
Remember, the hare may be fast, but the tortoise wins the race!
Step 6: Use a Backer Board
This is my secret weapon against splintering. Position a piece of scrap wood or a backer board behind your workpiece.
It’ll catch the bit when it exits, preventing tear-out and giving you a clean hole both front and back.
I learned this the hard way when I drilled through a beautiful piece of cherry wood and ended up with a splintered mess on the other side.
Now you know how to make medium size drill holes in wood without splintering.
So, let’s step into the final step of making a large hole using the correct drill bit to make a fine perfect straight hole with ease.
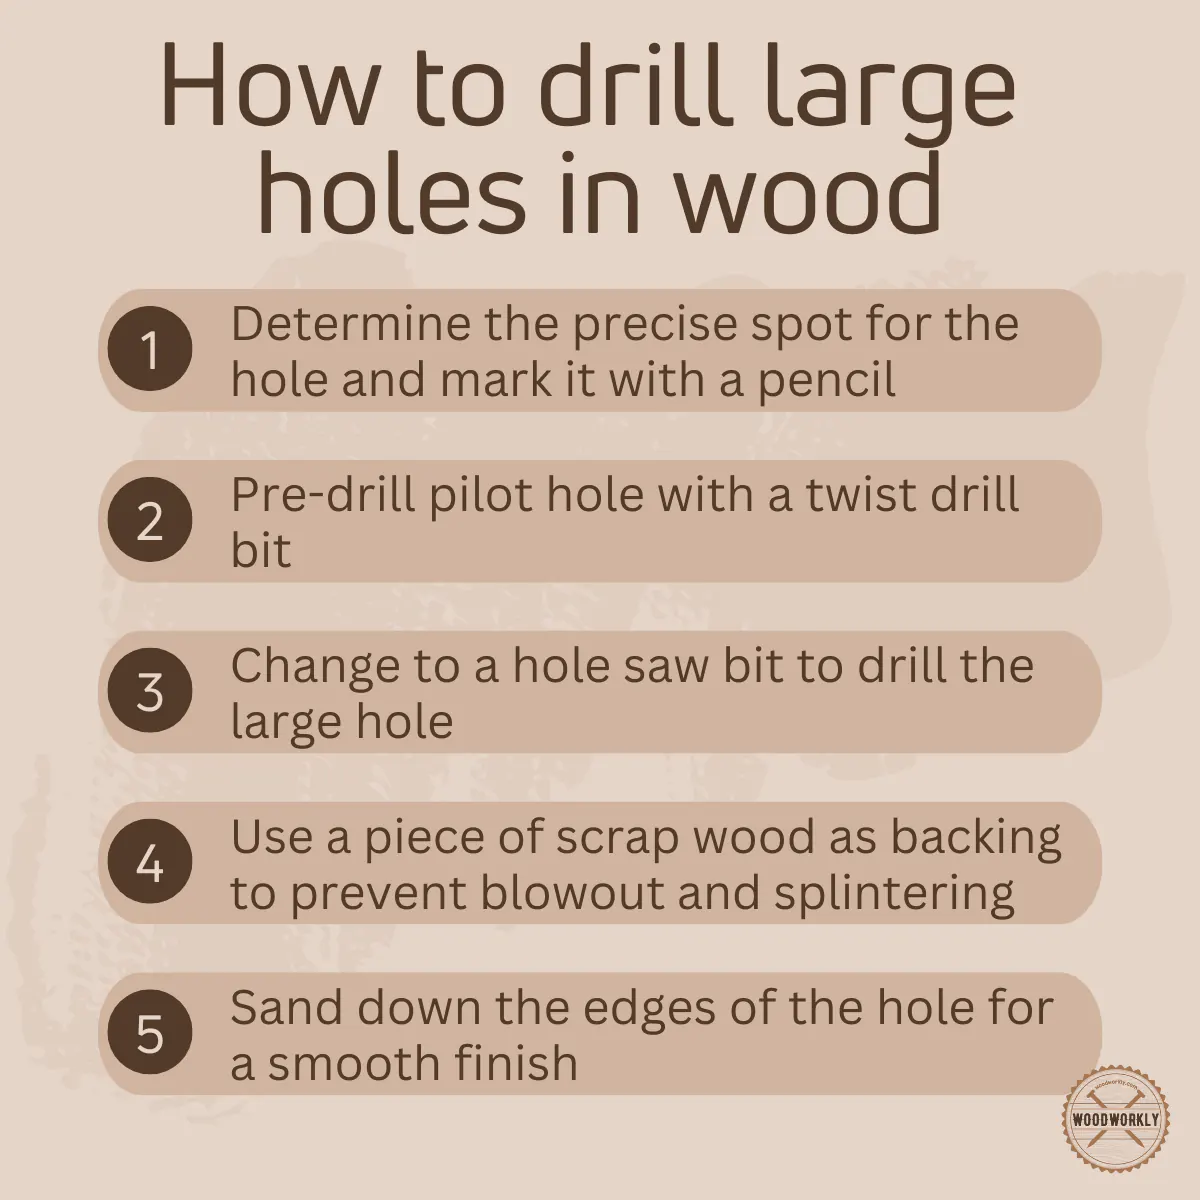
How To Drill Large Hole in Wood Without Splintering?
Holes with a diameter above 20mm can be considered large holes. Mostly large holes are dilled by plumbers to make pipe openings.
The average diameter of large holes varies from 19mm to 57mm.
To make even straight cuts to make a large hole in wood you’ll need a set of hole saws.
Use the correct size of the drill bit according to the hole you’re going to make.
A hole saw is made from an arbor which is able to hold a round tube and pilot bit with sharp cutting edges. The pilot bit has a flat shank in place with a grub screw in the arbor.
So, let’s figure out how to make a large hole in wood using hole saws.
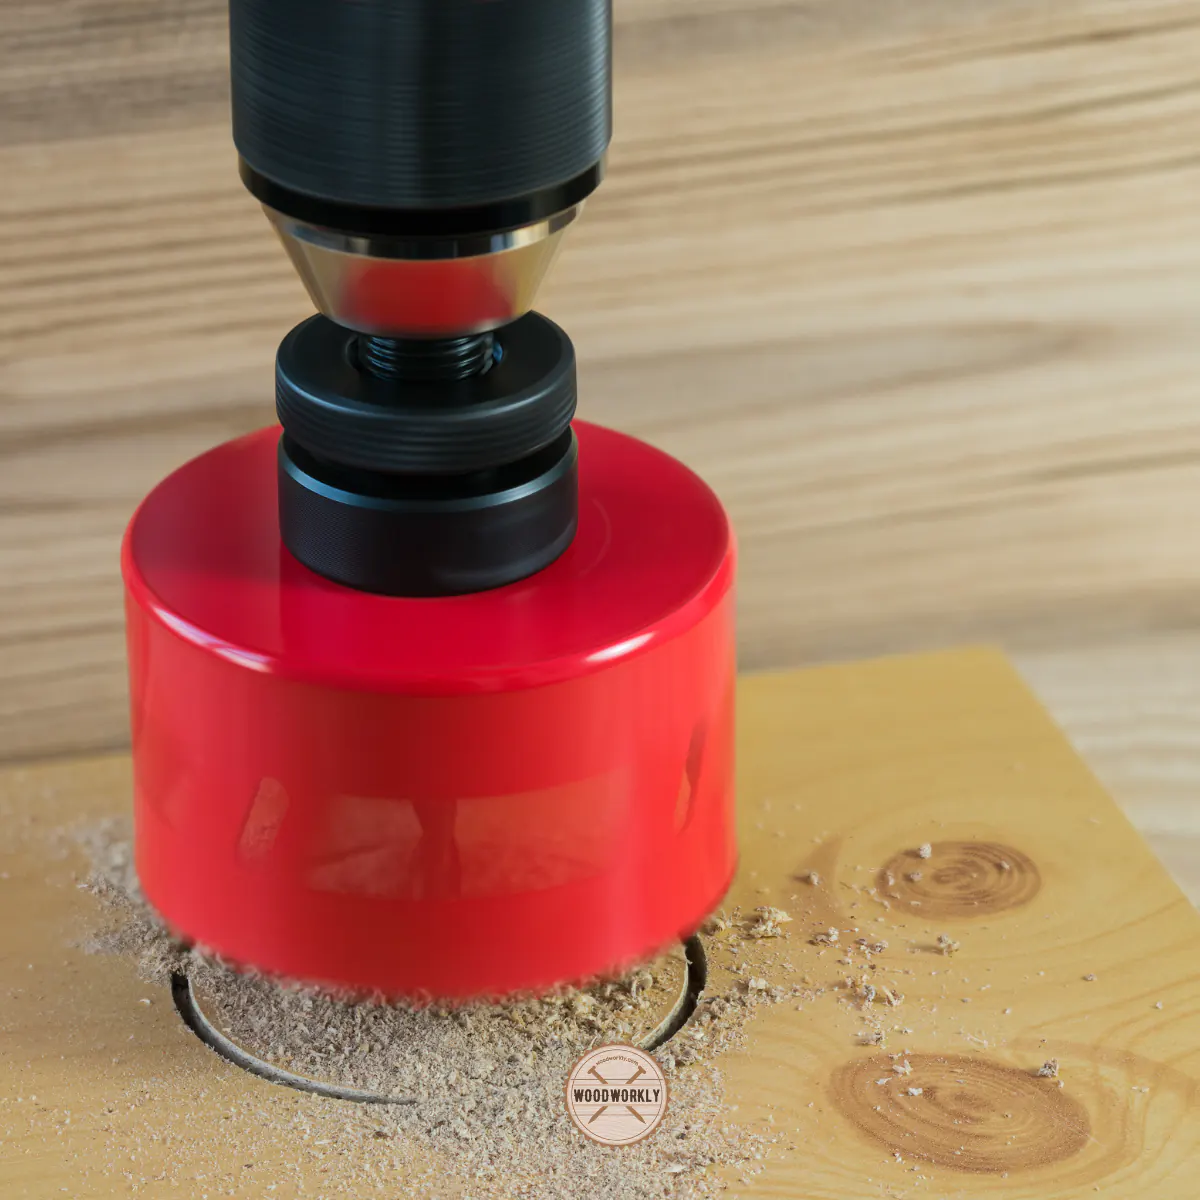
Making Large Holes in Wood with Hole Saws
The saw teeth of the hole saw protrude outwards and therefore help to ensure that the saw stays in the way instead of wandering through the wood surface in the middle.
Make sure to set speed and apply low gear settings when using hole saws.
Because when you set the speed to maximum, the sawing biting can be damaged and spin hole saw drill instead of the bit
The drilling depth is also will be limited to the hole saw body if you set the speed too fast.
To make a deep large hole, you need to drill as much as possible.
Once you’re done with sawing, remove it and chisel out the dust and waste. By using a flat wood bit or auger bit you’ll be able to remove waste quicker.
After achieving the required depth use hole saw again and keep drilling the wood to get a fine straight wood hole.
Drill from both ends, if possible, to avoid wood tearing. Start drilling at average speed and reduce it once the drill reaches the other end. Then start drilling from the other side at the same spot to make a clean cut.
By using carpenter tape on both sides, the wood fibers intact from splintering and you’ll be able to get a clean straight hole. When the job is done, easily pull off the tape.
Never apply much pressure because it can bend the drill bit and you won’t get a straight hole in the end.
Unscrew the saw body from the arbor and insert a screwdriver through the hole to remove off cut from the body of the saw by pushing the offcut.
How to Make Large Holes in Wood with Hole Saws?
Here’re the steps you need to follow when making large holes in wood with hole saws,
Step 1: Select Your Hole Saw
Choosing the right hole saw for the job is critical. There are different types, with varying tooth designs and sizes.
For wood, you’d want a hole saw with larger teeth.
I had an incident once where I tried using a hole saw meant for metal on a wood project. Trust me, it wasn’t pretty.
Step 2: Mark Your Spot
Just like in our previous methods, you’re going to need to mark the spot where you want the hole to be.
Accuracy is crucial here, so double-check before you start drilling. I had a near miss with a birdhouse I was making, and since then, I always triple-check.
Step 3: The Pilot Hole
In the center of the spot you’ve marked, you’ll want to drill a pilot hole.
This hole serves as a guide for the hole saw and also helps to prevent slipping or wandering.
Remember my birdhouse story? Yeah, that was due to skipping this step.
Step 4: Drill the Wood
Once your pilot hole is ready, it’s time to put the hole saw to work. Line it up with the pilot hole, start your drill at a slow speed, and then gradually increase it. Too much speed and you risk causing splintering. I learned this when I was working on a beautiful oak table and nearly ruined it with my eagerness.
Step 5: Maintain Pressure
While drilling, maintain a consistent, steady pressure. It’s a bit of a balancing act.
Too much pressure and you could cause splintering or, even worse, break the saw.
Too little and you won’t make much progress. It’s something that comes with practice.
I remember drilling dozens of holes on scrap wood just to get the feel for it.
If the screw hole you made is too big, read my comprehensive guide to fixing screw holes that are too big!
How To Fix Splintered Wood Holes?
You can fix the splintered wood hole by removing the damaged fibers carefully at the hole edge.
Apply wood glue and let it set to stabilize the wood fiber. Then use a sharp cutter to clean the hole.
Next, apply wood putty to fill the splintered wood hole.
But generally fixing splintered wood holes is a difficult task because wood holes damage the internal structure of the wood and reduce the wood’s strength.
Therefore, always make sure to drill wood holes with one single attempt by following the correct procedure to avoid such mistakes.
How To Drill Holes in Plywood Without Splintering?
Drilling plywood needs lots of practice because plywood is generally not strong as raw wood.
But by following the correct procedure you’ll get surprising results with plywood.
Here’re the steps you need to follow to drill holes in plywood without splintering.
- Drill a small pilot hole first before making the final hole. This is important to mark the exact location that is visible on both sides.
- Then make the final wood hole through the existing pilot hole.
- Drill from both sides to make a clean hole
Tips:
- Apply carpenter’s tape on both sides to avoid splintering.
- By putting wood pieces under the board, you’ll be able to make clean straight cuts.
- Clamping the board before drilling will give you added advantage to keeping the plywood steady during the drilling process.
Woods That Are Prone to Wood Splintering
- Mahogany
- Hickory
- Aspen
- Redwood
- Red cedar
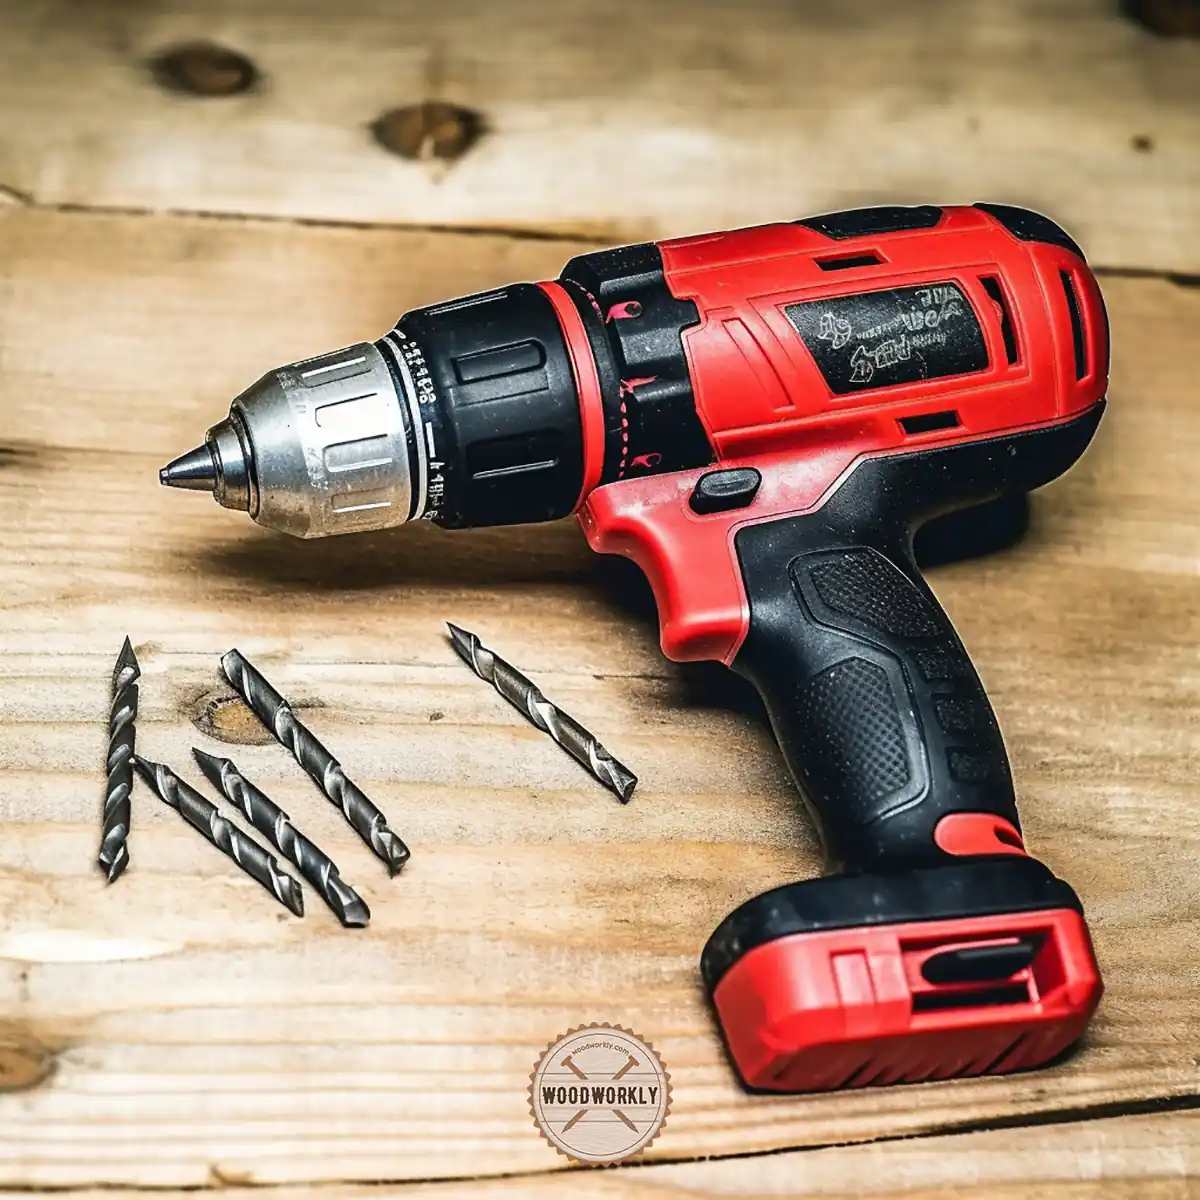
Best Drill Bit for Clean Holes in Wood
- Brad point drill bit
- Twist drill bit
- Auger drill bit
- Hole saw
- Self-feeding bit
- Spade drill bit
Follow the below table to select the best drill bit for your project according to the size of the wood hole.
| Wood Hole Size | Drill Bit Type |
| Small Hole | Twist drill bits, Point drill bits |
| Medium Hole | Auger drill bits, Spade drill bits |
| Large Hole | Hole saw drill bits |
Let’s answer some frequently asked questions as well.
FAQs
Can I drill a hole in wood without a drill?
Yes, you can drill a hole in wood without a drill. While it might take a little more effort and time, a nail and a hammer can come to your rescue. However, be careful and patient while using them, as they’re less precise than a drill.
What kind of drill bit should I use to prevent splintering?
For the best results, opt for a brad point drill bit for smaller holes or a Forstner bit for larger ones, as they offer a clean, precise hole without causing much splintering.
Does the type of wood affect splintering?
It sure does! Softer woods tend to splinter less than harder ones, so consider your project’s material carefully when planning your drilling strategy.
Why does my wood keep splintering when I drill?
Splintering can be due to many factors such as using the wrong drill bit, applying excessive pressure, or drilling at high speeds. Slow down, adjust your pressure, and consider using a different bit for better results.
Do I always need to drill a pilot hole?
It’s highly recommended. A pilot hole guides your drill bit and helps prevent slipping or wandering, which can lead to splintering or inaccurate drilling.
What can I do if I’ve already splintered my wood while drilling?
If you’ve already splintered wood while drilling, a bit of sandpaper can smooth out smaller splinters. For larger ones, wood filler can be your best friend, just make sure to match it to the color of your wood.