Tired of dull auger bits ruining your woodworking projects? Learn how to master the art of sharpening your auger bits and drill like a pro! Ready?
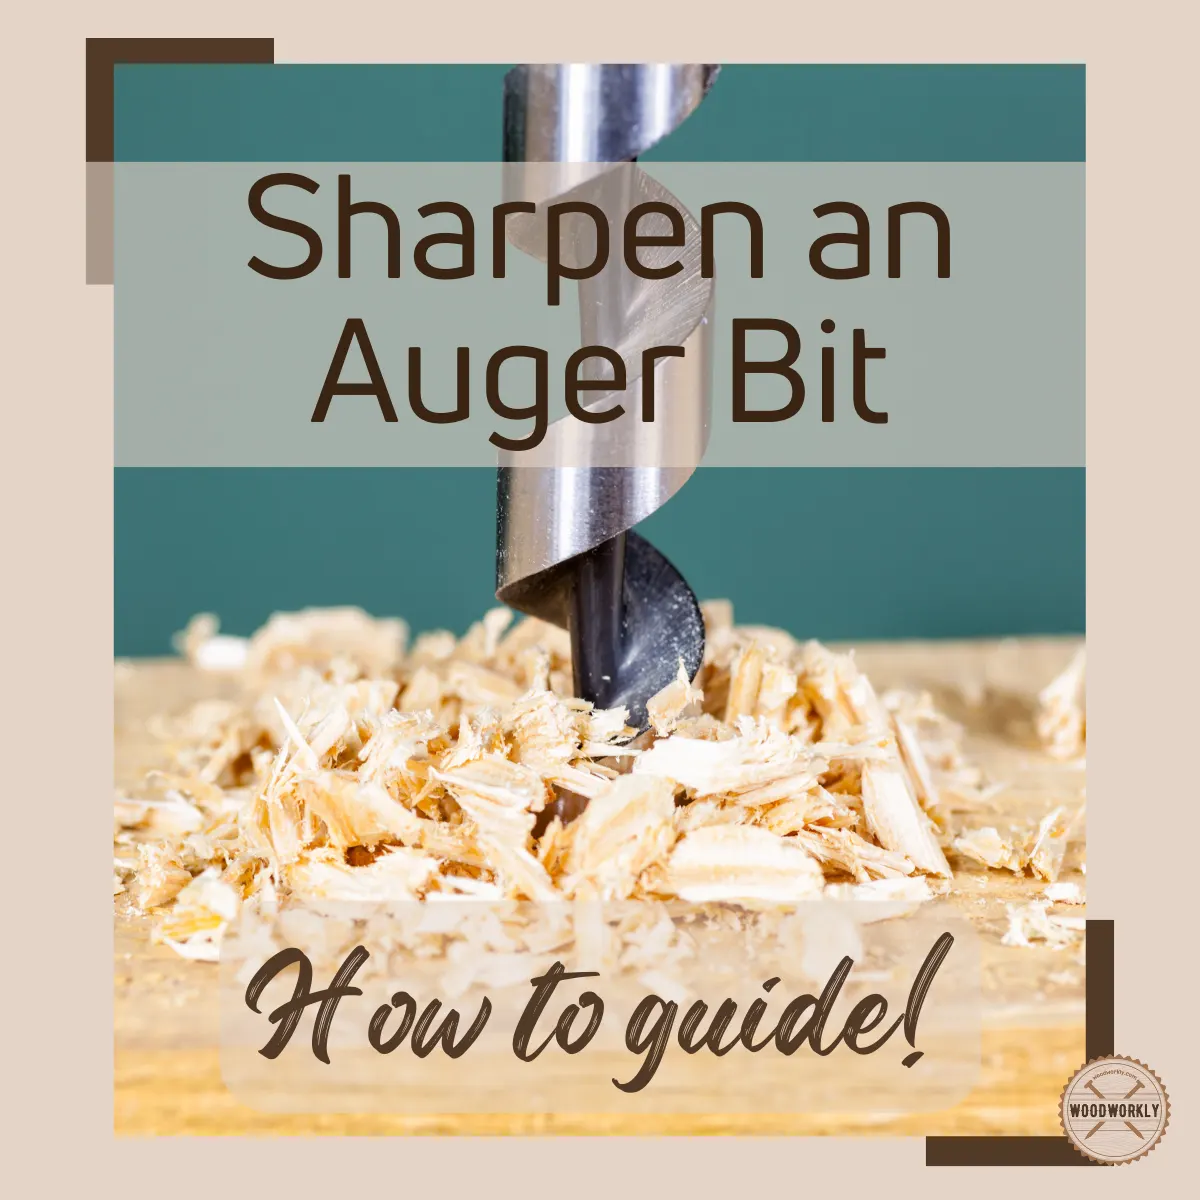
Auger bits are used to drill holes into wood. They are used in different woodworking projects since auger bits are able to make deep, neat, and uniform holes.
Holes made of auger bits are free of clogging of boreholes.
In order to get precise control when drilling, your auger bits need to be well sharpened. But how to do that? That’s what this article is all about.
Let’s talk, How to sharpen an auger bit?
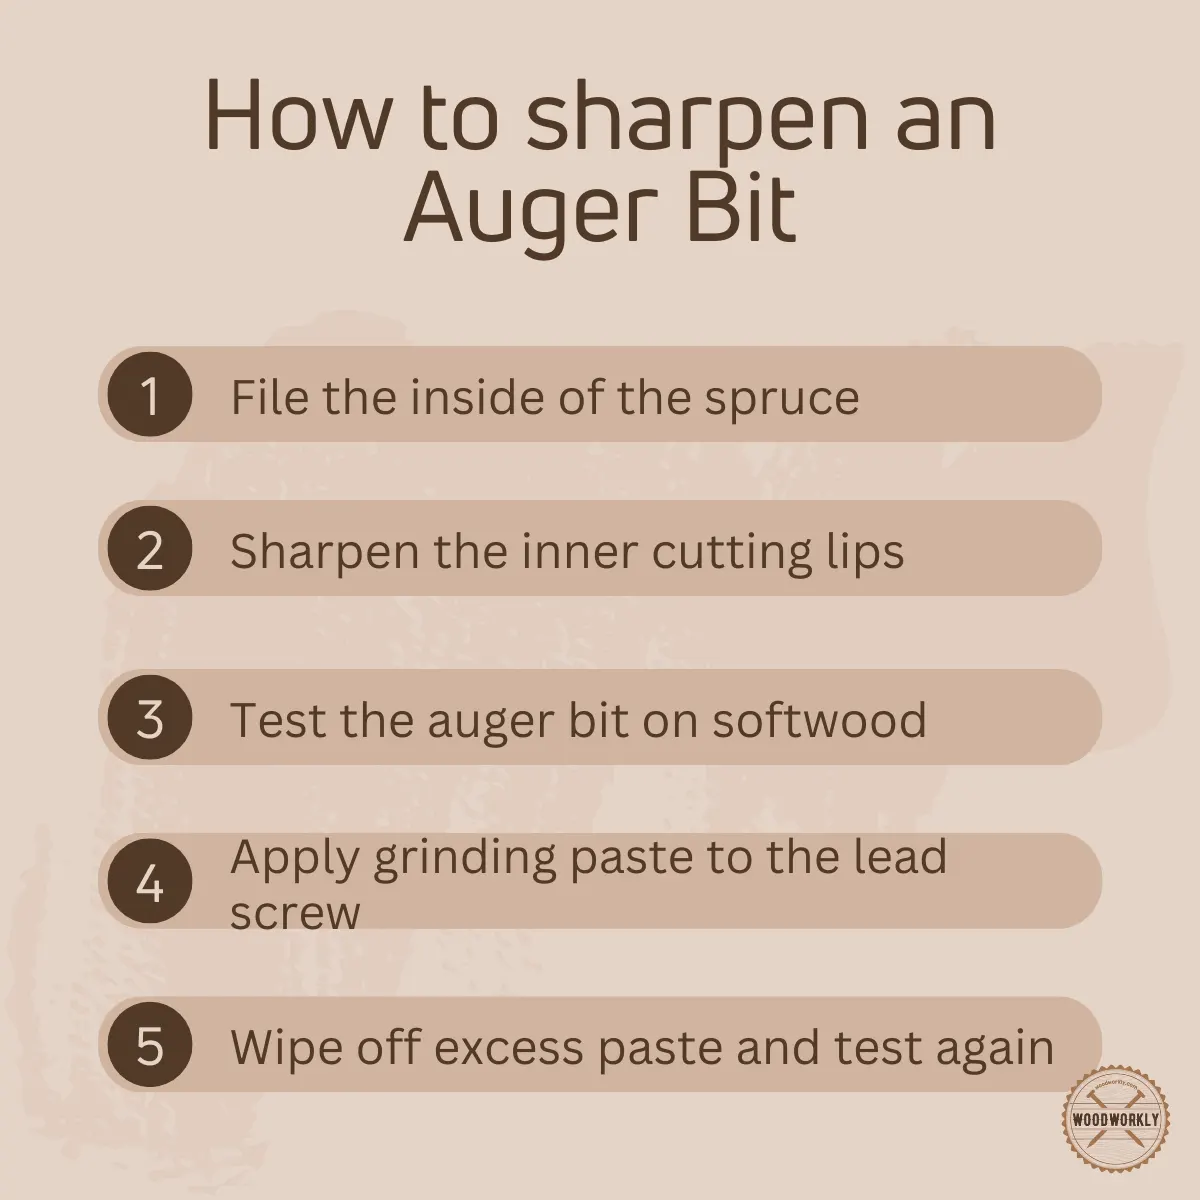
To sharpen an auger bit, first, file the inside of the spruce with an auger bit file until it gets a sharp edge. Maintain the round profile of the spruce while sharpening an auger bit. Then light file the inner cutting lips. Finally, fix the burr in the lead screw of an auger bit with a file and grinding paste
Simple as that!
You don’t need to throw away good auger bits anymore when they get dull.

But there’s a lot more to know about, how to sharpen an auger bit properly.
In this article, I’ll explore, what tools and materials you’ll need and how to sharpen auger bits by discussing all the steps with lots of tips and techniques
Furthermore, I’ll answer some frequently asked questions.
Let’s jump in!
Can You Sharpen Auger Brill Bits?
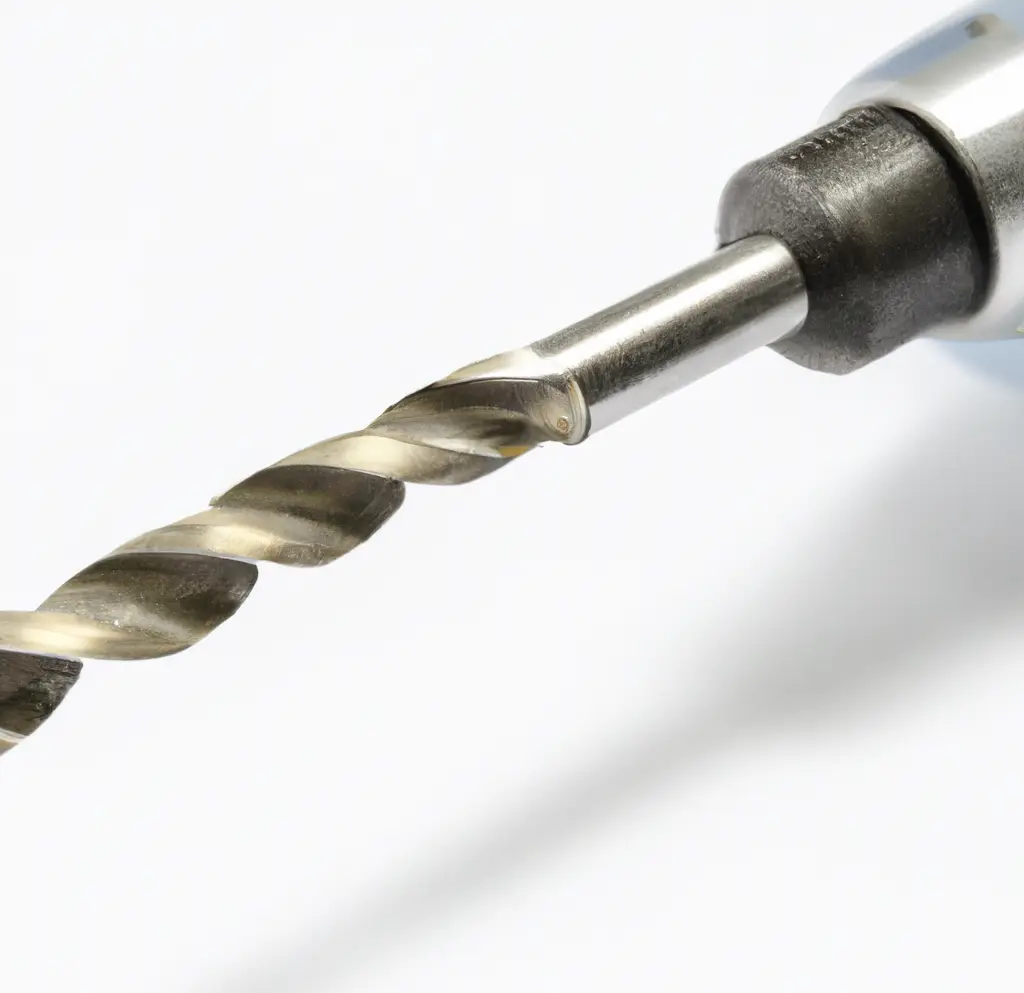
Yes, you can sharpen auger drill bits using an auger bit file which is specialized for sharp auger bits.
Due to the frequent use or when not using auger bits for so long, the edges of spruce, and cutting lips get dull and the lead screw with the main cutter can develop burr.
In order to sharpen spruce and cutting lips of an auger bit you need to have an auger bit file.
To get off the burr from the lead screw and reshape some of the threads you need a saw sharpening file or a tapered file or a little needle file.
By sharpening an auger bit, you’ll be able to make a precise drill hole with control.
Auger bit file has two taped ends with opposing smooth edges on each end.
On one end the teeth are filed on the wide faces and the edges are smooth. That means no teeth or cuts on that edge.
On the other side, the teeth are placed on the narrow edges and the faces are smooth with no teeth.
Safe faces are useful to file tight to an inside corner when sharpening an auger bit without damaging the metal.
Generally, faces with teeth are used to sharpen normal auger bits.
But auger bits that are smaller than the usual ones and have abnormal shapes can be sharpened with narrow edges with teeth.
What If You Don’t Have An Auger Bit File?
What if you don’t have and don’t want to buy a dedicated auger bit file to sharpen the auger bit?
No problem. You can make your own with a simple popsicle stick by gluing some sandpaper to it.
Use two different grist of sandpaper. one for coarser sharpening of the auger bit and fine grit sandpaper for fine honing.
But I highly recommend you purchase an auger bit file especially if you’re a professional woodworker since filing with an auger bit file is the one that does the sharpening process perfectly since it is specialized for it.
Tools And Materials to Sharpen An Auger Bit
- Auger bit file
- Auger bit
- Softwood piece
- Fine-grain grinding paste
- Toothbrush
- Water Displacing oil (WD-40)
Get the tools ready and ready for the sharpening process.
How To Sharpen An Auger Bit?
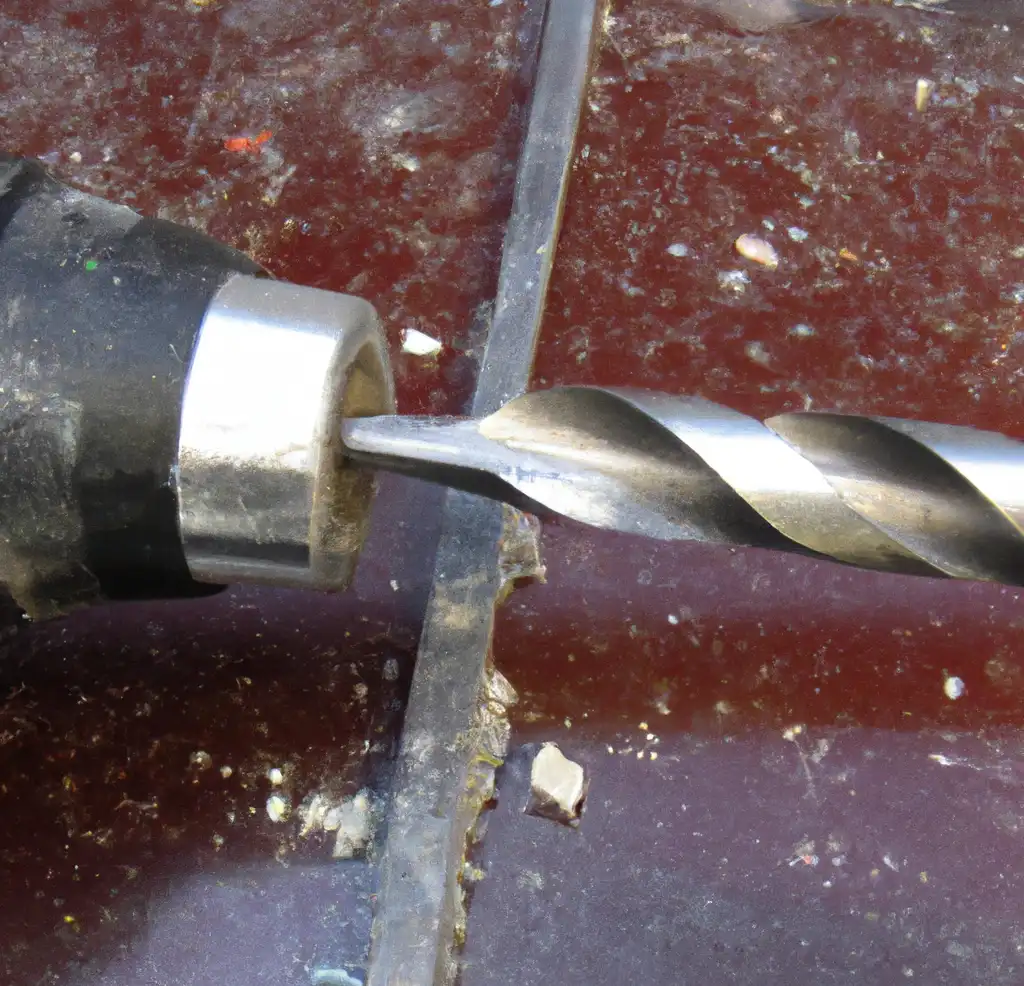
Sharpening an auger bit can be done in simple steps using the correct methods.
You need to be careful about handling and turning the auger bit during the process without losing the rounded profile of the bit due to the coarse teeth of the auger file.
Here’re the steps you need to follow when sharpening an auger bit,
- Sharpen The Inside of Spruce
- Sharpen The Inner Cutting Lips
- Test The Auger Bit
- Make A Reservoir
- Apply Grinding Paste on the Screw
- Sharpen The Screw Edges
- Wipe Off the Excess Paste
So, let’s discuss each of the above steps in detail to get a clear idea about the sharpening process of the auger bit.
1. Sharpen The Inside of Spruce
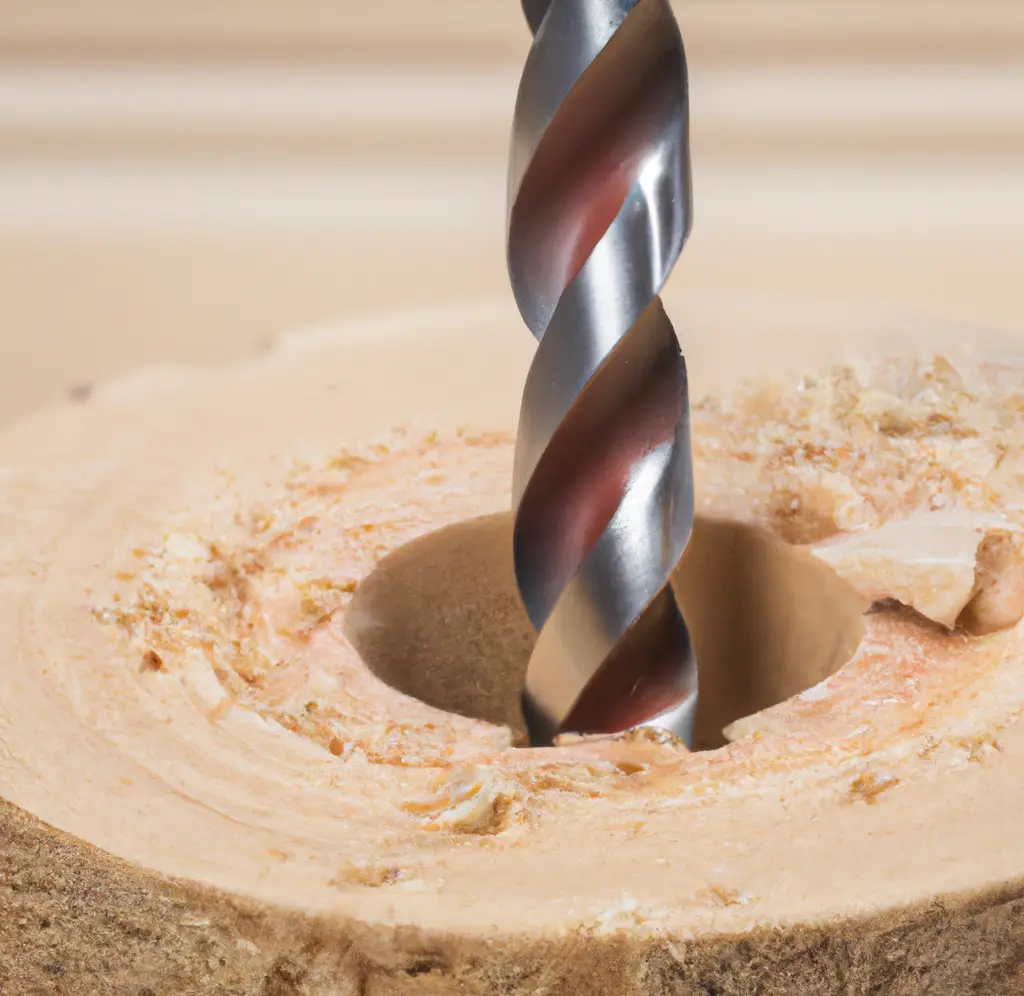
First, take the auger bit you need to sharpen and start sharpening the inside areas of the spruce.
The purpose of the spruce is to screw the outside of the hole before the waste is removed by the inner cutting lips.
So, the sharper the spruce get, the cleaner the edges of the hole will be.
Sharpen the inside area of the spruce by stroking them with an auger bit file.
Take the wide edge of the auger bit file and file the inside of the spruce until getting them to a sharp edge.
During the sharpening of the spruce, make sure to maintain the round cutting geometry or the round profile of the spruce.
Losing shape during the sharpening will reduce the efficiency of the auger bit.
Do the sharpening only the edges without changing the original shape of the spruce.
Repeat the sharpening process several times back and forth until the spruce are well sharpened.
Never sharpen the outside area of the spruce since it may wear off the material of the auger bit and reduce the width of the hole when drilling.
2. Sharpen The Inner Cutting Lips
Now you can head into sharpening of inner cutting lips. For this, you can use whatever edge of the auger bit file is easiest based on the size of the auger bit.
Inner cutting lips are placed at the bottom of each spiral curve close to the lead screw.
Stroke the top edge of the inner cutting lips with the proper angle using an auger bit file until they are sharp.
If the auger bit is regular or large in size, using the wide flat edge is easier for you to get in and sharpen the top of the cutting lips.
If the auger bit is small, use the smaller bit file to file the top of the cutting lips.
Make sure to maintain the marked cutting angle until the end of sharpening the inner cutting lips to get a nice sharp blade on the top of the edge which makes the cutting process much easier.
3. Test The Auger Bit
Now you’re done with sharpening the spruce and inner cutting lips of the auger a bit. It’s time to see the progress before heading into the sharpening process of the guide lead screw.
You can check how sharp the auger bit is by drilling a softwood piece.
If it drills softwood like butter, congratulations you’ve succeed in the mission of sharpening the spruce and cutting the lips of the auger bit.
But what if the auger bit is struggling to bore a hole?
Don’t worry!
Take the argue bit file again and repeat the same sharpening of spruce and cutting lips procedures above until they are sharp.
After that, test it again using a softwood piece like this.
Now the tips and spruce of the auger bit are sharp. it’s time to move on to the sharpening of the lead-guided screw.
When sharpening the lead-guided screw you’ll have to use grinding paste which is equipped with a compound containing abrasive particles that are designed to wear down the imperfections, dust, and dirt on metal surfaces that are hard to reach.
Let’s dive in!
4. Make A Reservoir
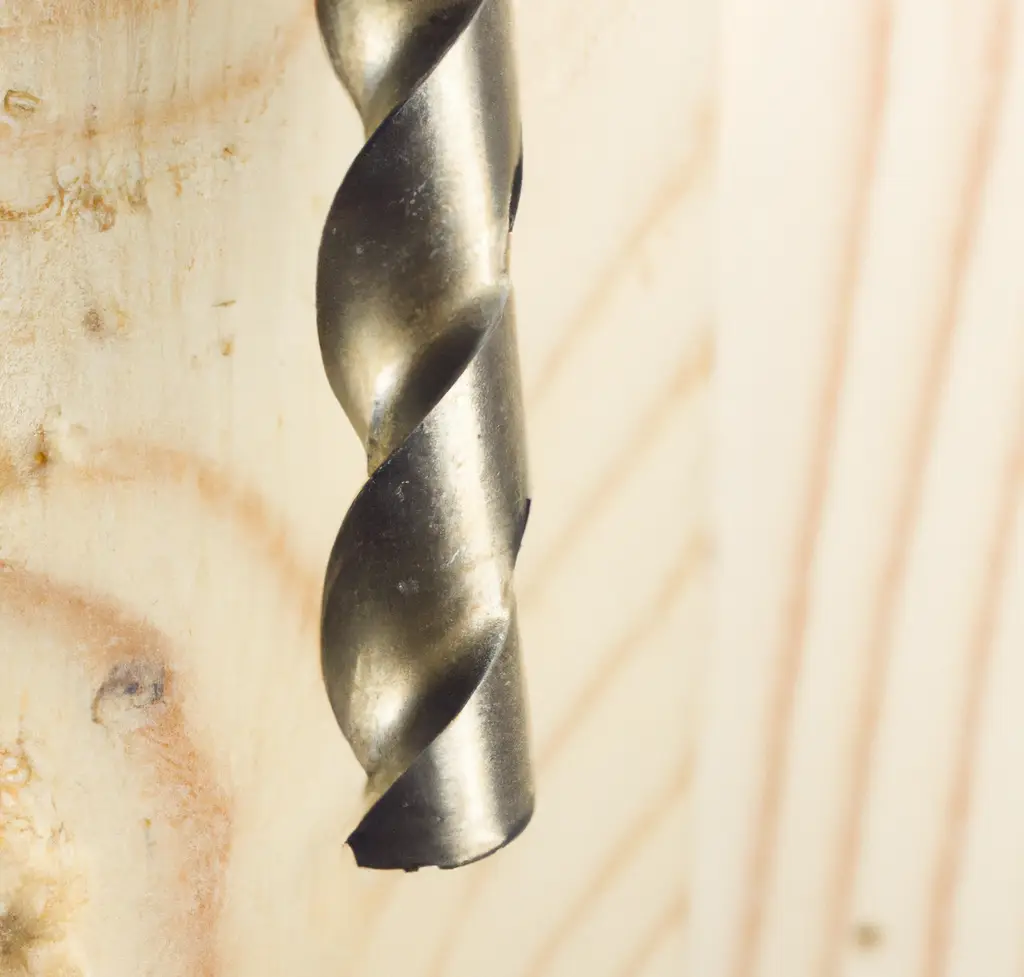
First, take the soft wood piece and make a reservoir on it by boring far enough into the wood.
The depth of the hole should be enough for the guided screw to enter fully.
Then take off the auger bit.
5. Apply Grinding Paste On the Screw
Now apply some fine grinding paste on the guided lead screw without missing any spots using a toothbrush, scope, or popsicle stick,
Grinding paste contains abrasive particles that help to wear down burr, and imperfections on metal surfaces and polish it down.
Twist the guided screw and apply the grinding paste all over it.
6. Sharpen The Screw Edges
After applying the grinding paste insert the guided screw again into the hole we made on the softwood and twist it forward and backward at average speed.
Due to the abrasion between the metal surface of the guided screw and the softwood surface grinding paste gets enough room to do the job of polishing the surface by removing the imperfections.
The abrasive particles in grinding paste remove dust, dirt, and burr from the metal surface and sharpen the edges of the guided screw or auger bit.
7. Wipe Off The Excess Paste
After sharpening and polishing the screw edges, take it off the hole and wipe off the excess grinding paste on the metal surface with a tack cloth.
If the grinding paste, you selected for this job is water-soluble (check the manufacturer’s label) you can remove the excess grinding paste on the metal surface simply by rinsing it with water.
Then remove the water on the surface with a microfiber cloth.
If the grinding paste you selected is not water-soluble, simply spray water displacing oil (WD-40) and wipe it off with a microfiber cloth.
That’s it, folks! This is how to sharpen an auger bit properly without messing things up.
What Two Areas Are Sharpened On Auger Bits?
Inside the spruce and inner cutting lips are the two areas sharpen on auger bits.
Use a specialized auger bit file to sharpen spruce and cutting lips. Sharpen only the inside areas of them by keeping the sharpening angle the same throughout the entire process.
Maintain the rounded geometer of the auger bit during the sharpening of spruce and cutting lips.
Are All Auger Bits The Same?
All auger bits are not the same. They are designed with various diameters to make different sizes of holes. Some are used for woodworking and some are used by fishers and gardeners.
Here are some of the popular types of auger bits that are used in different industries,
- The wood boring auger bit
- Carbide-tipped auger bit
- Ice auger bit
- Earth auger bit
- Triple-fluted auger bit
Each of the above auger bits consists of a screw, cutting lips, twist, shank, tang, and flue. But they have different functions.
How Do You Sharpen A Lead Screw On An Auger Bit?
You can sharpen the lead screw on the auger bit by applying the grinding paste with an abrasive particle on the led screw and twisting back and forth by inserting it into a hole in softwood until imperfections, dust, and dirt get removed upon abrasion.
Upon abrasion between the metal and wood surfaces inside the hole of softwood, grinding paste removes imperfections and sharpens the lead screw of the auger bit.
After that, wipe off the excess grinding paste on the metal surface by rinsing with water or by spraying WD-40.
So, let’s answer some frequently asked questions.
FAQs
What tools do I need to sharpen an auger bit?
You’ll primarily need an auger bit file specialized for this task, along with softwood for testing, fine-grain grinding paste, a toothbrush for application, and water-displacing oil like WD-40. These essentials ensure a thorough and professional sharpening process.
Can I sharpen an auger bit without a specialized file?
Absolutely. In a pinch, you can use a popsicle stick with glued sandpaper to sharpen your auger bit. However, for precision, a dedicated auger bit file is recommended.
What parts of the auger bit need sharpening?
You’ll be focusing on two areas: the inside of the spruce and the inner cutting lips. A well-sharpened spruce and cutting lips enhance both the control and efficiency of the drilling process.
How do I know if I’ve successfully sharpened my auger bit?
The real test comes when you drill into softwood. If your bit sinks into the wood smoothly, like slicing butter, you’ve successfully sharpened it.
Can I use any abrasive compound for sharpening the lead screw?
While grinding paste is commonly used, ensure it contains abrasive particles to effectively wear down imperfections. Check the label to confirm it meets your needs.
How often should I sharpen my auger bit?
The frequency depends on your usage. However, if you notice that your bit is struggling to bore holes or is losing its efficiency, it’s likely time for a sharpening session.
Are all auger bits the same when it comes to sharpening?
No, the sharpening technique may vary depending on the type of auger bit you have—wood-boring, carbide-tipped, ice, or earth auger bits, for instance.
What happens if I sharpen the outside area of the spruce?
Doing so will compromise the auger bit’s ability to create precise holes, as it may wear off material and reduce the hole’s width.
Can I use water to clean off the grinding paste?
You can, but first check the manufacturer’s label to see if the paste is water-soluble. If it’s not, WD-40 will do the trick.
How long does a well-maintained auger bit last?
With proper maintenance and sharpening, an auger bit can serve you efficiently for a lifetime. Remember, a dull auger bit doesn’t mean it’s time for a new one; it just needs some sharpening love.
Did I cover all you wanted to know about: How To Sharpen An Auger Bit?
In this article, I’ve deeply discussed how to sharpen an auger bit by discussing each step in detail without missing any. Plus, we’ve talked about the tools and materials you need to use with some tips and techniques as well.
To sharpen an auger bit, use an auger bit file to carefully hone the inside of the spruce and the inner cutting lips. Test the bit on softwood to ensure it bores smoothly. Regular sharpening maintains the bit’s efficiency and prolongs its lifespan.
Furthermore, I’ve answered some frequently asked questions as well.
Hope you learned all you need to know about how to sharpen an auger bit correctly with easy steps.
Next time make sure not to throw auger bits with dull blades without sharpening them. Auger bits can use for a lifetime with proper maintenance and keeping the blades sharp.
Some genuinely fantastic content on this site, thankyou for contribution.
Hi Zoritoler!
Thank you so much.