Ever noticed a menacing crack crawling across your cherished wooden piece? Can it be stopped, or is it the end of your beloved item? Dive in to discover the answers!
Did you know that when wood dries, it gets smaller and can crack and split? In woodworking, this is called ‘wood checking.’
When I was just starting out, I got really frustrated because my cupboard had small cracks that got much bigger when it was too hot.
So, I decided to learn how to stop that from happening, and professionals helped me figure it out.
Now, after many years, I know the best way to keep cracks from spreading, and I want to share it with you.
Here is How to stop a crack in wood from spreading?
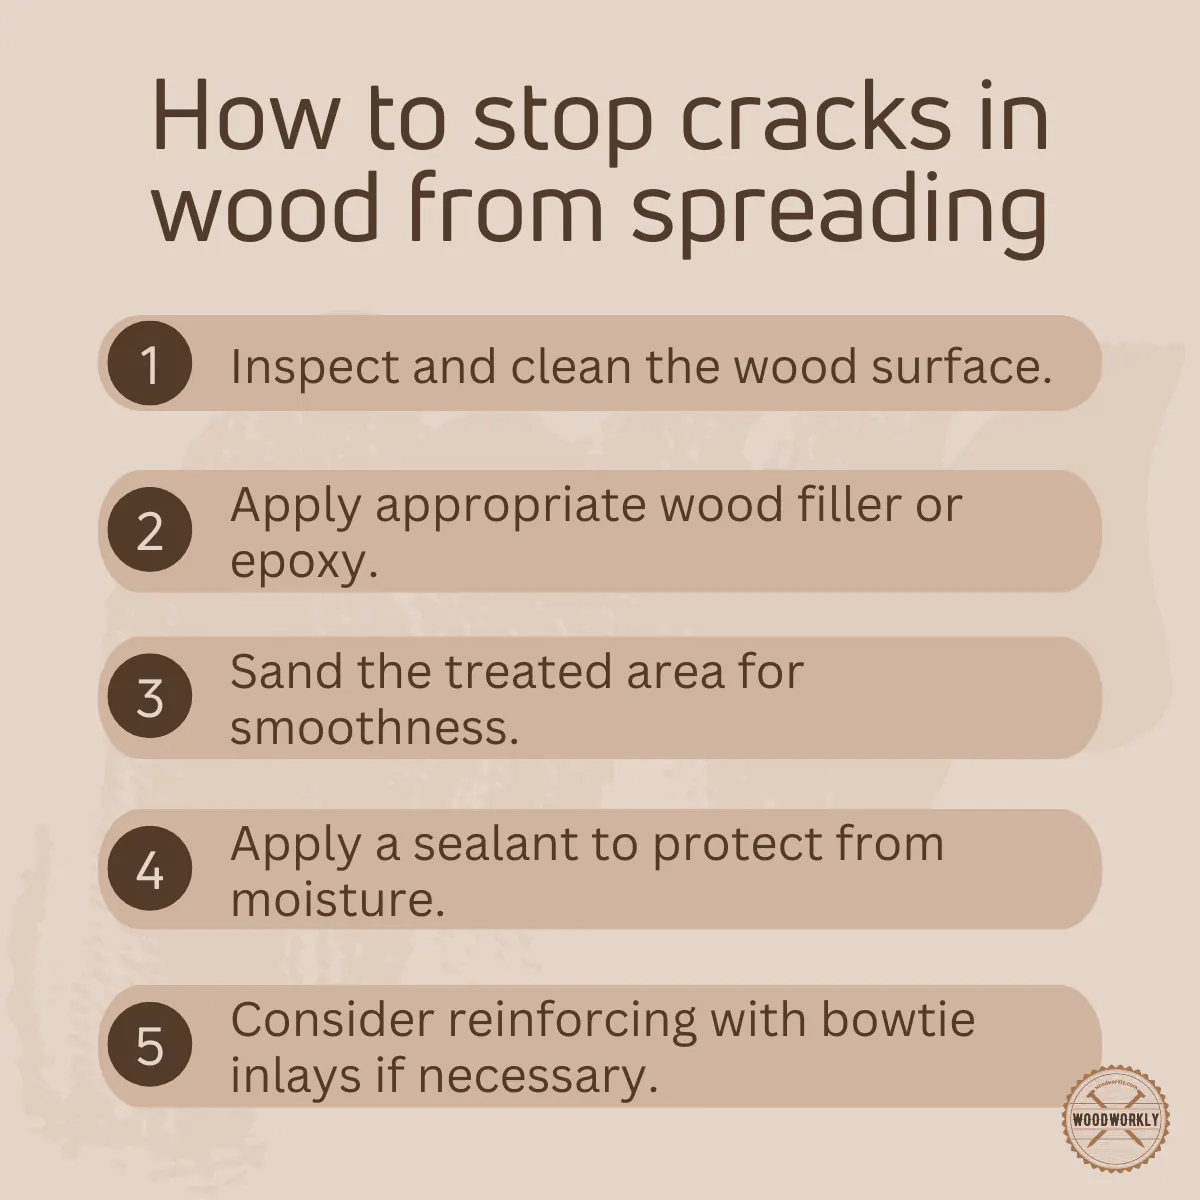
To stop a crack in wood from spreading, clean the area and apply a suitable wood filler or epoxy resin into the crack, overfilling it slightly. Allow it to dry, then sand it smooth. For added strength, consider using bowtie inlays or mixing sawdust with wood glue to fill the crack.
But that’s just a quick snapshot!

Are you trying to say that you know everything now?
So, you’re wrong, there are actually a lot of things you need to know about stopping the spread of this wood crack.
In this article I hope to look at the reasons behind the cracks, stressing the importance of early intervention.
I will also provide you with a comprehensive guide on ways to stop the spread of cracks, including the use of wood putty, sawdust wood glue mixes, and epoxy resins.
Let’s dig in!
Why Do Cracks Spread in Wood?
Have you ever wondered why cracks spread in wood?
The simple answer is that wood cracks occur mainly due to shrinkage.
Normally when wood is dried, it undergoes a shrinking process that causes splits and cracks, commonly known as wood checks in woodworking.
This shrinkage occurs twice as fast along the growth rings as compared to across them, resulting in uneven shrinkage that causes cracks to develop.
It is essential to embrace the fact that wood is subject to shrinkage, and with a good understanding of how to fill these cracks effectively, one can navigate this inherent aspect of wood without significant problems.
With modest effort and careful application, the challenges posed by wood shrinkage and cracking can be met and resolved.

Can You Stop a Crack in Wood From Spreading?
Yes, a crack in the wood can be prevented from spreading.
For this, you have to do a very simple thing. Applying glue or wood filler to the crack and gluing the wood together can stop the crack from getting bigger.
Additionally, you can prevent further spread by reinforcing the cracked area with screws or dowels to provide additional support.
Regular maintenance, such as keeping the wood well-sealed and moist, can also help you reduce the risk of cracks widening.
Be aware that taking prompt action and addressing cracks as soon as they appear is key to successfully stopping their progression.
What are the Wood Cracks Fillers?
Now you know that wood cracks are a common occurrence due to the natural drying and shrinkage of the wood.
Filling is often required to restore both the structural integrity and visual appeal of the material.
There are different filling options for each specific needs and preferences.
Here are some of the best wood cracks fillers available,
- Water-Based Wood Fillers
- Oil-Based Wood Fillers
- Wood Putty
- Epoxy Fillers
- Powdered Fillers
- Homemade Fillers
Let us now talk about each of these fillers separately.
Water-Based Wood Fillers
Water-based wood fillers offer an easy solution for filling wood cracks.

In their natural form, these fillers can be powdery, but upon contact with water, they apply easily, clean quickly, and dry quickly.
After application, only a little sanding is required to create a smooth and even surface, ready for a matching finish.
Oil-Based Wood Fillers
Oil-based wood fillers come pre-smoothed, requiring a simple application to fill cracks.
Their composition makes them more resistant to moisture and the primary cause of cracking is the shrinkage of the wood during drying.
Keep in mind that this type of filler is particularly beneficial in preventing further damage by keeping moisture in.
Wood Putty
Wood putty is another ready-to-use option that is already smooth and highly flexible.

This is especially true of oil-based fillers, where wood putty is resistant to moisture and temperature fluctuations, making it a durable choice for filling cracks.
However, it is essential to take into account that due to its composition, wood putty can have negative effects on raw wood.
Epoxy Fillers
Epoxy fillers, available in both putty and liquid forms, offer a versatile solution for filling cracks in wood.
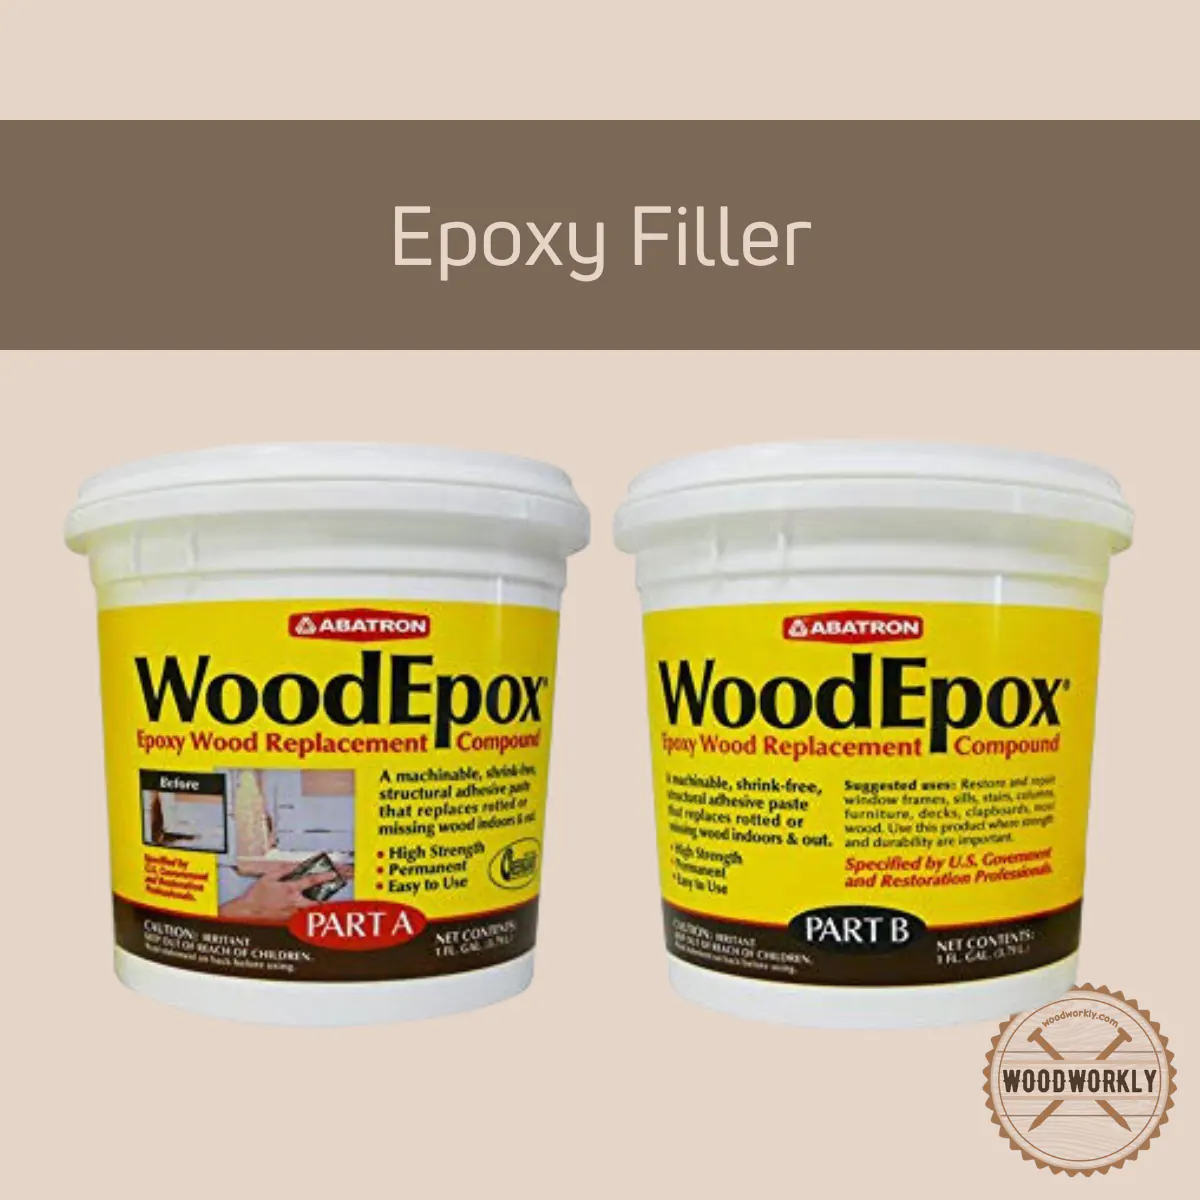
With a quick drying time, for example, in as little as 15 minutes, they are effective in addressing cracks and holes.
Epoxy fillers are particularly useful for some decayed woods, and they have become popular for aesthetic applications, allowing color to be added to enhance the surface.
Powdered Fillers
Powder fillers, made by mixing sawdust and wood chips with water, create a paste suitable for small splits.

However, their structural rigidity limits their effectiveness for large gaps and cracks. This type of filler is a quick and simple solution for small imperfections.
Homemade Fillers
Homemade filters provide an inexpensive and customizable option for filling wood cracks.
Those made from common items found in a woodworking shop can be a practical choice in specific situations.
While not as universally applicable as store-bought options, homemade fillers offer a budget-friendly alternative for some woodworking needs.
Methods to Stop a Crack in Wood From Spreading
Let me tell you some ways to stop a wood crack from spreading when working with wood.
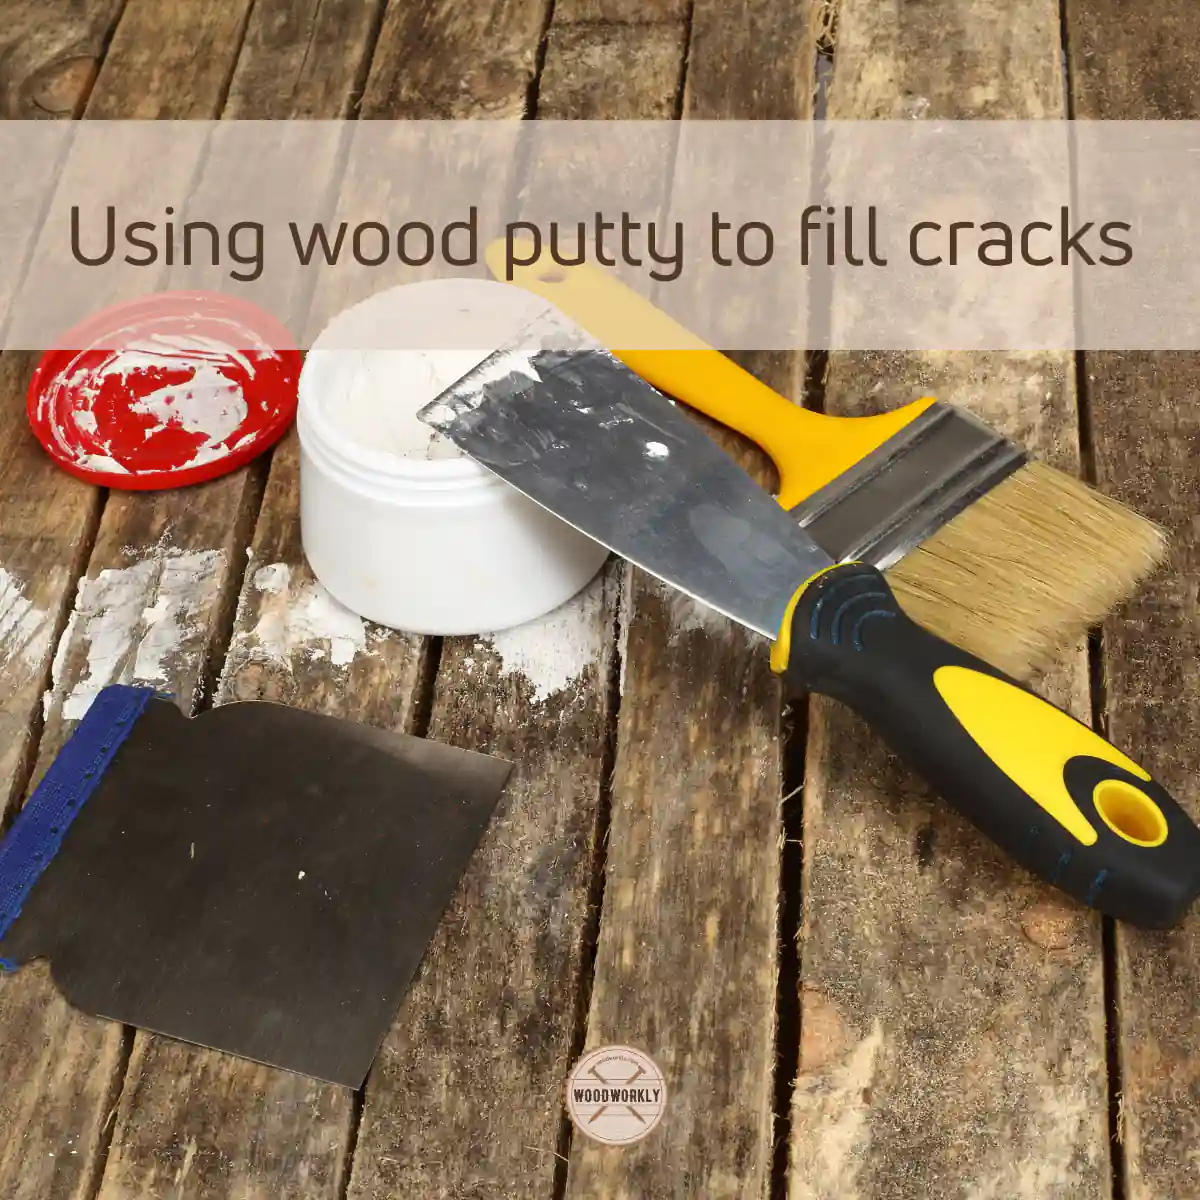
1. Using Wood Putty and Wood Filler
One of the main methods you can use to stop a wood crack from spreading when working with wood is to apply wood putty and filler to fill the crack.
This will help you restore the look of the wood and prevent further spread.
2. Using Sawdust and Wood Glue
Here you can mix sawdust with wood glue to create a thick paste that can be used to fill cracks.
Then provides stability and stops them from expanding.
3. Repair Minor Cracks
This method allows you to cut or remove the jagged edges of the wood to remove weak spots. This prevents the crack from spreading deeper into the wood.
4. Remove Cracked Edges
Small cracks in edges can be effectively addressed by applying suitable materials such as wood putty or filler to stop them from getting bigger.
5. Filling Large Cracks with Epoxy Resin
With this method, you can use epoxy resin, known for its strong bonding properties, to fill and seal large cracks in wood.
It will help you prevent further spread and strengthen the damaged area.
How to Stop a Crack in Wood From Spreading?
Let’s now look in detail at the methods I mentioned above to stop a crack in wood from spreading.
1. Using Wood Putty and Wood Filler
Wood cracks can be effectively addressed using wood putty and filler.
Also, this not only stops the cracks from spreading but also provides you with a solution to restore the visual integrity of the wood.
Wood putty and filler are flexible materials designed to fill gaps, voids and cracks in wood.
They are particularly effective for addressing small cracks and imperfections in wood surfaces, and wood putties are often oil-based, while wood fillers are water-based.
This difference gives you specific advantages depending on the nature of each repair.
Here are some simple steps I use to stop wood cracks from spreading using wood putty and wood filler,
- Clean the Crack
- Apply Wood Putty or Filler
- Smooth the Surface
- Allow to Dry
- Sand for Finishing
Now I will tell you in detail how to stop the spread of wood cracks using wood putty and wood filler.
1. Clean the Crack
First of all, start by cleaning the crack thoroughly.
You can remove loose debris, dust, or contaminants from the crack to ensure proper adhesion of the wood putty or filler.
2. Apply Wood Putty or Filler
In this step, using a putty knife, spatula, or your fingers, apply wood putty or filler to the crack.
Then do not forget to make sure that the material fills the entire length and depth of the crack.
3. Smooth the Surface
After the crack is filled, you can use a putty knife or sandpaper to smooth the surface.
This step helps to blend the repair with the surrounding wood to create a seamless finish.
4. Allow to Dry
Did you know that wood putty and filler usually have a drying or curing time?
One thing you must do is to allow the applied material to dry completely according to the product instructions. That way you can ensure a solid and stable repair.
Check out, Does Wood Putty Harden? Debunking the Myth!
Read to know, Does Wood Filler Harden? Debunking the Myths
5. Sand for Finishing
After the wood putty or filler has dried in this step, use sandpaper to further refine the repaired area.
Sanding helps achieve a smooth and even surface, and the repair is visually seamless with the rest of the wood.
Remember that wood putty and filler are great for addressing small cracks and imperfections.
They provide a quick and versatile solution, but for large or structural cracks, alternative methods such as epoxy resin or reinforcement with screws may be preferable.
2. Using Sawdust and Wood Glue
When addressing wood cracks, the combination of sawdust and wood glue gives you a practical and economical solution.
This method not only prevents the spread of cracks but also ensures a strong and visible repair.

What is simply done here is that sawdust and wood glue are mixed together to form a thick paste that can be applied to wood cracks.
Sawdust, preferably from the same or similar type of wood, serves as filler and, when combined with wood glue, creates a binding agent that solidifies the repair.
By using sawdust and wood glue I follow the steps below to prevent wood cracks from spreading,
- Collect Sawdust
- Mix with Wood Glue
- Apply the Mixture
- Smooth the Surface
- Allow to Cure
Now I will tell you in detail step by step how to stop the spread of wood cracks using sawdust and wood glue.
1. Collect Sawdust
First, sawdust must be added from the same wood or type of wood of the same color and texture as the cracked piece.
This ensures you blend the repair more seamlessly with the original wood.
2. Mix with Wood Glue
Combine the sawdust added in this step with wood glue to form a paste.
The ratio can vary, but generally, you want a consistency that allows for easy application and effective filling of the crack.
3. Apply the Mixture
By spreading a mixture of sawdust and wood glue into the crack, ensure that it fills the entire space.
Use a putty knife or similar tool to press the mixture firmly into the crack.
Check out, How To Make DIY Wood Filler Without Sawdust? (6 EASY Steps!)
4. Smooth the Surface
After the crack is filled, use a putty knife or other tool to smooth the surface of the repair.
This step will help you achieve a more refined finish and help the repair blend in with the surrounding wood.
5. Allow to Cure
Allow the sawdust and wood glue mixture to cure thoroughly during this step.
Don’t forget to follow the recommended drying or curing time specified by the wood glue manufacturer.
Remember that this method is especially suitable for small cracks and imperfections.
The combination of sawdust and wood glue not only prevents further cracks, but also ensures structural repair.

3. Repair Minor Cracks
Addressing minor cracks in wood involves a nuanced approach that can effectively prevent further spread and enhance the longevity of the wooden structure.
Minor surface cracks can often be caused by factors such as drying, changes in humidity, or general wear and tear.

Repairing these cracks is essential not only for aesthetic reasons but also to maintain the structural integrity of the wood.
Here are some steps I follow to prevent the spread of wood cracks,
- Clean the Crack
- Assess the Crack
- Apply Wood Glue
- Press and Clamp
- Remove Excess Glue
- Allow to Dry
Now let’s look at this step in detail.
1. Clean the Crack
First of all, start by cleaning the crack thoroughly.
Remove dirt, dust, or loose particles from the crack using a brush, compressed air, or a similar tool.
2. Assess the Crack
Second, assess the size and depth of the crack.
For small cracks, where the structural integrity of the wood is not compromised, simple repair methods may be sufficient.
3. Apply Wood Glue
For small and superficial cracks, applying wood glue directly to the crack may be sufficient.
Make sure the glue penetrates the crack for a solid bond.
4. Press and Clamp
Here, press the torn edges together, aligning them as closely as possible. Then use clamps to hold the edges while the glue dries.
This will greatly help you in getting a hassle-free repair.
5. Remove Excess Glue
At this step, wipe off any excess glue that may have squeezed out during the clamping process. This ensures a neat and clean finish.
6. Allow to Dry
Allow the glued area to dry completely before finally removing the clamp. Remember that drying times may vary depending on the type of wood glue used.
This technique is a relatively simple process to repair small cracks, often requiring basic tools and materials.
The emphasis is on preserving the appearance of the wood and preventing further damage.
Keep in mind that more extensive or structural cracks may require alternative methods such as wood filler, epoxy resin, or reinforcement.
4. Remove Cracked Edges
Cracked edge removal is a strategic approach to addressing cracks in wood, especially when the integrity of the wood structure is at risk.
This method involves removing the weakened or damaged parts to prevent the crack from growing further.
When a crack extends to the edges of a piece of wood, it is essential to remove these compromised edges.
This process aims to remove weaknesses that may contribute to crack propagation, thereby stopping its propagation.
Here are the simple steps I used to remove cracked edges,
- Check the Crack
- Mark the Damaged Areas
- Use a Saw or Chisel
- Smooth the Cut Edges
- Evaluate the Result
- Consider Additional Reinforcements
Now let’s look at these steps separately.
1. Check the Crack
First, carefully examine the crack to assess its depth and size. It is very important to identify areas where the crack reaches or compromises the edges of the wood.
2. Mark the Damaged Areas
In this step, use a pencil or marking tool to clearly identify and mark the sections of wood affected by the crack.
Remember that this serves as a guide to the removal process.
3. Use a Saw or Chisel
In this step, use a saw or chisel to carefully remove the marked parts of the wood.
This may involve cutting along the length of the crack or removing damaged parts.
4. Smooth the Cut Edges
After removing the ragged edges here, use sandpaper or a wood file to smooth the cut edges.
This step not only refines the appearance of your finish but also minimizes the chance of cracking.
5. Evaluate the Result
Here the effect of removing the cracked edges on the overall structure and appearance of the wood is evaluated.
Removal Ensure weak areas contributing to cracking are removed.
6. Consider Additional Reinforcements
As a final step, depending on the severity of the crack and structural requirements, consider additional reinforcement methods.
This may include using screws, dowels, or other materials to reinforce the repaired part.
Removing the cracked edges is a proactive step to prevent the crack from spreading further.
Although it may change the original dimensions of the piece of wood, the focus is on preserving the overall structural integrity and aesthetics.
5. Filling Large Cracks with Epoxy Resin
Addressing large cracks in wood requires a durable and strong solution, and filling them with epoxy resin is an effective method.

Epoxy resin not only prevents the spread of cracks but also provides structural reinforcement to create a long-lasting repair.
Epoxy resin is a versatile and strong adhesive that can be used to fill and bond large cracks in wood.
It is known for its excellent adhesion, durability, and resistance to various environmental conditions.
Filling large cracks with epoxy resin ensures a stable and reliable repair, especially in cases where structural integrity is a concern.
Now I will share with you the simple steps I use to fill large cracks with epoxy resin,
- Prepare the Crack
- Mix Epoxy Resin
- Apply to the Crack
- Press the Edges together (if applicable)
- Smooth and Shape
- Allow to Cure
Let us now talk about each of these steps in detail.
1. Prepare the Crack
Start by cleaning the crack first and ensuring it is free of dust, debris and any loose wood particles.
It improves the adhesion of epoxy resin to a clean surface.
2. Mix Epoxy Resin
Here I advise you to follow the manufacturer’s instructions for preparing the epoxy resin.
Epoxy resins usually come in two parts, which must be mixed in the correct proportions for effective curing.
3. Apply to the Crack
Use a spatula, putty knife, or similar tool to apply the mixed epoxy resin to the larger crack.
Then ensure that the resin fills the entire length and depth of the crack.
4. Press the Edges together (if applicable)
This step should only be done if necessary and depending on the nature of the crack, it may be necessary to press the cracked edges together to minimize the gap.
This step is especially applicable to cracks that span two separate pieces of wood.
5. Smooth and Shape
While the epoxy resin is still flexible, use a tool to smooth the surface and adjust it to fit the contours of the surrounding wood.
This step contributes to the repair without visual interruption.
6. Allow to Cure
Finally, allow the epoxy resin to cure completely. Cure times may vary depending on the specific epoxy product, so I advise you to follow the manufacturer’s instructions.
Filling large cracks with epoxy resin is a robust solution suitable for situations where structural stability is paramount.
Epoxy resin is not only a cosmetic remedy but also increases the strength of the wood.
This method is especially effective for cracks that can compromise the load-bearing capacity of the wood.

Tips for Stopping a Crack in Wood From Spreading
Here are some tips I use to stop the spread of wood cracking.
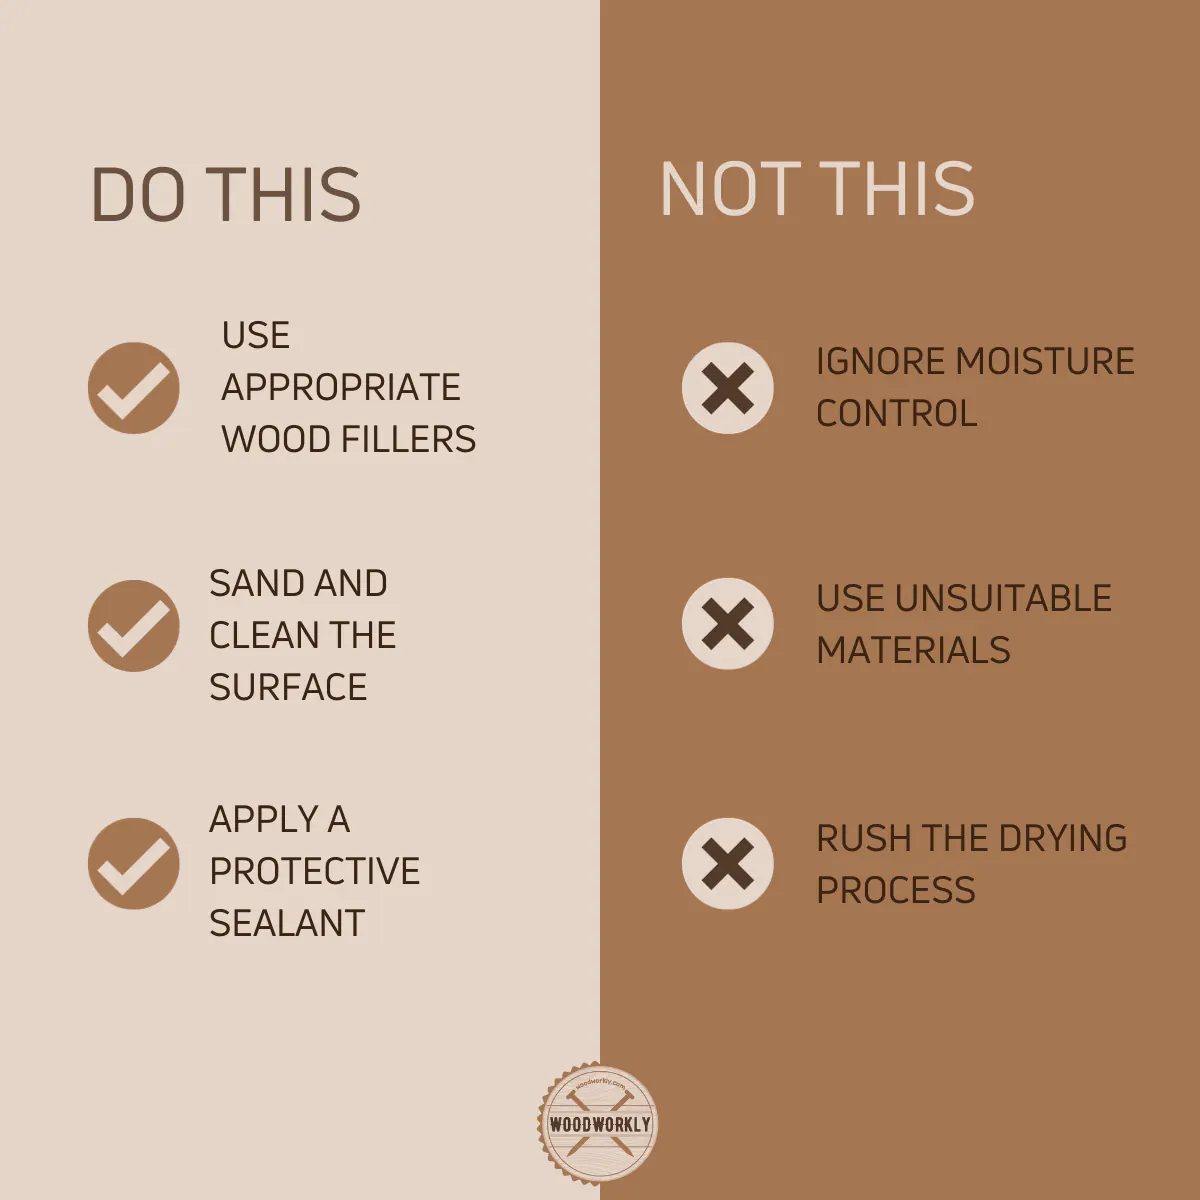
- Always address cracks as soon as they appear. Early intervention can prevent further spread and minimize the amount of repair required.
- Always keep the wood moist to reduce the chance of cracking. Dry wood is more prone to cracking especially in dry environments.
- Apply wood sealant regularly to protect the wood from the outside elements. Sealing helps maintain the integrity of the wood and prevents the development of cracks.
- Avoid exposing the wood to extreme temperature fluctuations and changes in humidity. Sudden shifts can contribute to the contraction and expansion of the wood, causing cracks.
- Always select the appropriate filler according to the size and nature of the crack. Wood putty, filler, epoxy resin, or other materials may be suitable according to specific needs.
- For large cracks or structural problems, consider reinforcing the wood with screws or dowels. This additional support can prevent further spread.
- Periodically inspect wooden structures for signs of cracks. Repair and remedy small cracks quickly before they develop into more significant problems.
- When using fillers such as sawdust and wood glue, make sure the sawdust comes from the same or similar type of wood to maintain a cohesive and natural look.
- For complex or extensive cracks, seek the advice of a professional woodworker to ensure a thorough and effective repair.
Familiarize yourself with the characteristics of the particular wood you are working with.
Different types of wood can react differently to environmental conditions, affecting their susceptibility to cracking.
Congrats folks! Now you know exactly how to stop a crack in wood from spreading using different effective methods.
So, let’s answer some frequently asked questions.
FAQs
Why do cracks occur in wood?
Cracks in wood often occur due to the natural drying process, where the wood shrinks and causes splits. Environmental factors such as changes in humidity and temperature can also exacerbate the cracking.
Can I use wood filler to stop cracks from spreading?
Yes, wood filler can effectively fill and conceal cracks in wood, preventing them from spreading. It should be applied after cleaning the wood surface, allowed to dry, and then sanded for a smooth finish.
Is epoxy resin effective for filling large cracks in wood?
Absolutely, epoxy resin is not only a filler but also acts as an adhesive, securing the sides of the crack together and preventing further spreading. Ensure to follow the curing time instructions for optimal results.
What’s the difference between wood putty and wood filler?
Wood putty is best for finished surfaces and can be harmful to raw wood, while wood fillers are safer and suitable for all wood types but may not be as durable. Both are effective in filling and concealing cracks.
Can a mixture of sawdust and wood glue be used to fill cracks?
Yes, a mixture of sawdust and wood glue can effectively fill and prevent cracks from spreading. Ensure the mix is well-applied into the crack, allowed to dry, and then sanded for a seamless finish.
How can I prevent wood from cracking in the first place?
Applying sealants like boiled linseed oil or Anchorseal can help reduce wood cracking. Additionally, ensuring that the wood is well-dried before use can mitigate the occurrence of cracks.
Is it necessary to remove cracked portions before working on wood?
Removing cracked portions is often advisable to prevent the crack from extending further into the wood. Carefully marking and cutting away the cracked parts ensures a healthy piece for your woodworking project.
How do I ensure the epoxy resin doesn’t flow out of the crack before it cures?
Utilizing masking tape on the bottom and ends of cracks can help contain the epoxy resin. Ensure the workpiece is placed on a flat surface to avoid the resin flowing out.
How long should I wait for the wood filler to dry before sanding?
The drying time can vary, but generally, waiting for about an hour for the wood filler to harden is recommended. Always refer to the manufacturer’s instructions for specific drying times.
Is wood putty an effective adhesive for stopping crack spread?
Wood putty isn’t an adhesive and is primarily used for filling small gaps and cracks. While it’s effective for concealing cracks, it doesn’t inherently stop them from spreading.
Did I cover all you wanted to know about: How to Stop a Crack in Wood From Spreading
In this article, I’ve deeply discussed how to stop a crack in wood from spreading from various perspectives and various DIY methods.
With enough practice, you can become a pro and any of the mentioned methods above since they are super easy and take no excessive time.
You can stop a crack in wood from spreading, apply wood putty or filler, making sure it reaches the full length of the crack. Smooth the surfaces, let it dry, and sand it for a finished look. For larger cracks, use epoxy resin for a stronger and more durable repair.
Furthermore, I’ve answered some frequently asked questions.
Hope you’ve learned all you wanted to know about how to stop a crack in wood from spreading in detail including experts’ tips.
Now it’s time for you to select the method that suits you the most, practice with scrap wood first, and then go for the main project like a champ!