Wondering if you can sand pressure-treated wood and how to do it right? Discover the pros, cons, and essential steps in our comprehensive guide below!

Pressure-treated wood is widely used for outdoor projects like decks, fences, and pergolas, thanks to its durability and resistance to pests and rot.
But when it comes to achieving a smooth finish, the question of sanding becomes crucial.
When I was working on some woodworking projects with pressure treated wood, there was a common question that often arises, and I got the experts’ help to fix it. So, let’s find out, Can you sand pressure treated wood?
Yes, you can sand pressure treated wood since it enhances the adhesion for paint or stain, improve the appearance, and smoothen the surface to prevent splinters. But on the other hand, sanding pressure treated wood is time-consuming, can damage the wood, and expose it to potentially harmful chemicals.
But that’s a quick snapshot and there’s a lot more you need to know about sanding the pressure treated wood.

In this article, we’ll explore whether can you sand pressure treated wood, ins and outs of sanding pressure-treated wood, diving into the benefits, potential drawbacks, and best practices from a seasoned woodworker’s perspective.
So, whether you’re a DIY enthusiast or a professional carpenter, this comprehensive guide will help you make an informed decision and achieve the perfect finish for your pressure-treated wood projects.
Grab your sanding block and let’s get started!

Should I Sand Pressure Treated Wood?
Sanding pressure treated wood is not really a necessary thing because the surface is already smooth, and the wood’s appearance is also at a good level.
But sanding can enhance all the properties of pressure positively treated wood.
For example, sanding can improve the wood’s appearance, prepare the surface before painting and staining, and help to hide and fix splinters, scratches, and dents on the wood surface.
As a seasoned woodworker, I understand that the decision to sand pressure -treated wood can be a bit of a dilemma. Some people and articles say, yes, you should sand the pressure treated wood, while some say you shouldn’t.
But don’t worry! To help you make an informed choice, I have mentioned the advantages and disadvantages you’ll get by sanding pressure treated wood and finally I have weighed the pros and cons.
By referring to those benefits and drawbacks, you can make the decision by yourself whether you should sand the pressure treated wood or you shouldn’t.
Let’s see some advantages of sanding pressure treated wood.
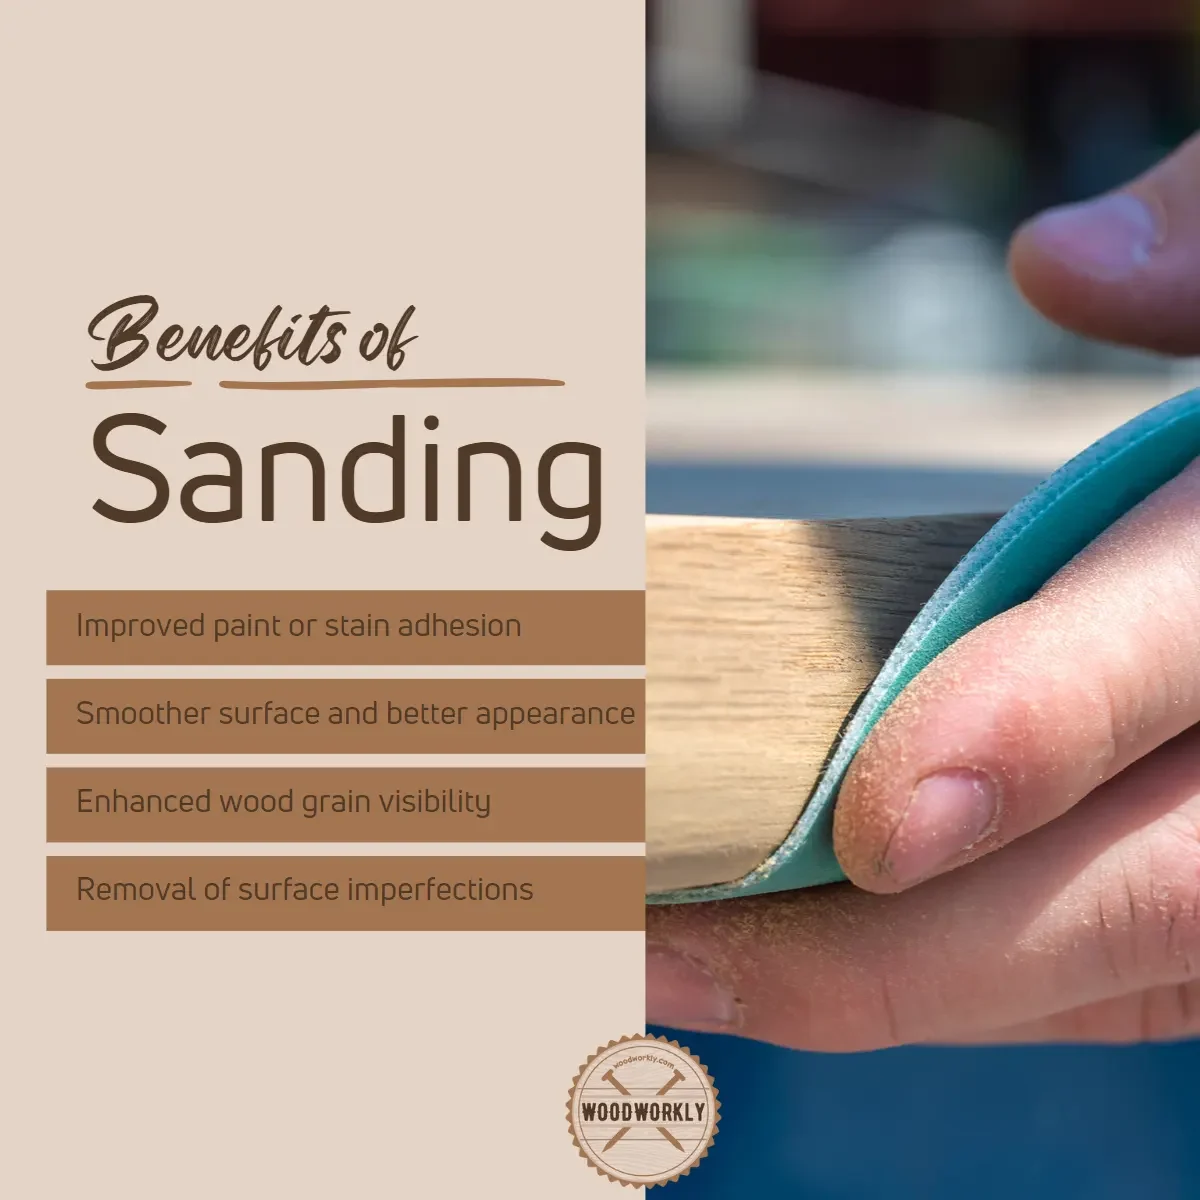
Benefits Of Sanding Pressure Treated Wood
1. Improved appearance
Sanding can help remove rough patches and uneven surfaces, giving your pressure-treated wood a more polished and refined look.
For example, if you’re working on a deck, sanding can transform a rough surface into a beautiful, smooth finish that’s more inviting for your family and guests.
2. Enhanced adhesion for paint or stain
A smooth surface is key to ensuring that paint or stain adheres well to the wood.
By sanding the pressure-treated wood, you’re creating a better foundation for the finish to grip onto, ensuring a more uniform and longer-lasting result.

3. Smoother surface to prevent splinters
Nobody enjoys getting splinters, especially when it comes to outdoor furniture or playsets.
Sanding pressure-treated wood can help create a smoother surface, reducing the risk of splinters and making your project safer for everyone to enjoy.
You can sand pressure treated wood to achieve those advantages. Now, let’s see what’s on the other side to compare, the disadvantages of sanding pressure treated wood.
Drawbacks Of Sanding Pressure Treated Wood
1. Exposure to potentially harmful chemicals
Pressure-treated wood is often infused with chemicals to protect it from pests and rot. Sanding can release these chemicals in the form of dust, posing a risk to your health.
However, by using proper protective gear and working in a well-ventilated area, you can minimize this risk.
2. Time-consuming process
Sanding pressure-treated wood can be labor-intensive and time-consuming, especially for larger projects.
Depending on the size and scope of your project, you’ll need to carefully consider whether the benefits of sanding outweigh the time and effort required.

3. Risk of over-sanding or damaging the wood
If not done carefully, sanding can remove too much material, weaken the wood, or cause damage to the surface.
To avoid these issues, it’s crucial to use the appropriate sandpaper grit and sanding techniques.
I know you’re confused right now and unable to tell whether you should sand or not the pressure treated wood.
No worries, I have weighed the advantages and disadvantages of sanding pressure treated wood to help you to get a decision.

Weighing The Pros And Cons Of Sanding Pressure Treated Wood
When deciding whether to sand pressure-treated wood, consider the specific needs of your project and the desired outcome.
For some projects, like a utility shed or a fence, sanding pressure-treated wood may not be necessary.
However, for projects where appearance and comfort are crucial, such as decks and outdoor furniture, sanding can significantly improve the end result.
If you decide to sand, prioritize safety by wearing proper protective gear and working in a well-ventilated area.
Consider the following factors to make the best decision for your specific project:
1. Assessing the need for sanding based on the project
Evaluate the importance of sanding in the context of your project.
If aesthetics and smoothness are crucial for the project, such as a deck or outdoor furniture, sanding may be a worthwhile investment.
On the other hand, for projects where appearance is less critical, like a utility shed or a fence, sanding might not be necessary.

2. Considering alternatives, such as using non-pressure-treated wood
If you’re concerned about the potential drawbacks of sanding pressure-treated wood, you could opt for alternatives like naturally rot-resistant or untreated wood species.
Cedar, redwood, and teak are popular options that offer durability and beauty without the need for chemical treatments.
Keep in mind that these alternatives might require additional maintenance or come with a higher price tag.
3. Prioritizing safety precautions if sanding is deemed necessary
If you decide that sanding pressure-treated wood is essential for your project, make safety a top priority.
Use proper protective gear, such as safety goggles, a dust mask or respirator, and gloves.
Work in a well-ventilated area and follow best practices for sanding techniques, tools, and materials to minimize the risks associated with sanding pressure-treated wood.
By following best practices and using the right tools and techniques, you can transform your pressure-treated wood project into a stunning masterpiece.
That’s it! The above information was gathered from experts to help you to decide what is the best method. Hope you’ve made a decision.
From here onwards, I’ll help you to sand the pressure treated wood properly without creating a mess.
Why Sand Pressure Treated Wood?
Sanding pressure treated is more beneficial than not sanding it. I’ll provide you with the primary reasons for sanding pressure-treated wood and the benefits it can bring to your projects.
Here’re the reason why sanding pressure treated wood is important,
- Preparing for staining or painting.
- Removing surface imperfections.
So, let’s discuss each of the above advantages to prove why sand pressure treated wood.
1. Preparing For Staining Or Painting
One of the main reasons to sand pressure-treated wood is to prepare the surface for staining or painting.
A smooth, well-prepared surface is essential for achieving a professional-looking finish.

During the sanding of pressure treated wood, the wood surface gets smoother and sanding helps to make a good adhesion between the wood surface and the finishing coats by giving adhesive properties to the wood surface.
Here’s how sanding can help:
1. Importance of a smooth surface
A smooth surface allows paint or stain to adhere evenly and prevents unsightly patches or streaks.
For example, if you’re building a deck and want to apply a semi-transparent stain to showcase the wood’s natural beauty, sanding will ensure the stain absorbs uniformly and showcases the wood grain consistently.
2. Enhancing wood’s ability to absorb finishes
Sanding pressure-treated wood opens up the wood’s pores, making it more receptive to paint or stain.
This improved absorption not only leads to a better-looking finish but also increases the longevity of the paint or stain, reducing the need for frequent touch-ups or refinishing.

2. Removing Surface Imperfections
Sanding helps to fix and hide small dents, and scratches on the pressure treated wood surface and gives a nice and even wood color.
Here’s how sanding can make a difference:
1. Splinters and rough areas
Pressure-treated wood can have rough patches or splinters, which can be uncomfortable or even dangerous.
Sanding the wood smooths these areas, making your project more inviting and user-friendly.
For example, if you’re building a playset for your kids, sanding the pressure-treated wood ensures they can play safely without the risk of painful splinters.
2. Minor damage and inconsistencies
Transporting, handling, and cutting pressure-treated wood can sometimes result in minor surface damage, such as scratches or dents.
Sanding can help remove these imperfections and create a more consistent surface.
This attention to detail can make a significant difference in the final appearance of your project, whether it’s a pergola, bench, or fence.
As you see, sanding pressure-treated wood can greatly enhance the appearance and functionality of your woodworking projects.
By preparing the surface for painting or staining and removing surface imperfections, sanding can help you achieve professional results that will stand the test of time.

So, roll up your sleeves, and let’s get sanding!
Safety Precautions When Sanding Pressure Treated Wood
You should follow safety precautions when before, during, and after sanding the pressure treated wood.
The chemicals used in pressure-treated wood are harsh and there’re health risks if proper precautions aren’t taken.
I’ll discuss personal protective equipment, ventilation, and dust control, and about proper sanding techniques and tools to get a good view of the safety precautions you should follow during the process.
1. Personal protective equipment (PPE)
Wearing appropriate PPE is crucial when sanding pressure-treated wood. The following items should be part of your safety gear:
- Safety goggles: Protect your eyes from dust and debris by wearing safety goggles or glasses.
- Dust mask or respirator: To prevent inhaling harmful chemical-laden dust, wear a dust mask or respirator with a particulate filter, such as an N95 mask or a half-face respirator with a P100 filter.
- Gloves: Wear gloves to prevent skin contact with chemicals and reduce the risk of splinters or cuts.
- Hearing protection: If using power tools like orbital sanders or belt sanders, wear earplugs or earmuffs to protect your hearing from loud noise.
Wear the above equipment to keep you away from harsh chemicals that release upon sanding the pressure treated wood.

2. Ventilation and dust control
Having proper air circulation is a must to remove dust directly from the working area which can cause skin and eye irritations.
Ensure proper ventilation and dust control when sanding pressure-treated wood:
- Work outdoors: If possible, sand pressure-treated wood outdoors to minimize exposure to dust in an enclosed space.
- Use a dust-collection system: When using power sanders, attach a dust-collection bag or connect the sander to a shop vacuum to help collect dust and keep your work area clean. Or you can use a proper dust collection pipe system to remove dust from the working area quickly.
- Clean up dust promptly: Regularly clean up dust and debris using a shop vacuum or damp cloth. Avoid sweeping or using compressed air, as these methods can disperse dust into the air.
3. Proper sanding techniques and tools
Always use the right techniques and tools when sanding to have proper handling without getting harm for yourself.
Your tools need to well be sharpened to get the promising results you look for.
Using the right techniques and tools can help minimize risks when sanding pressure-treated wood:
- Choose the correct sandpaper grit: Start with a coarser grit, such as 80-grit, to remove rough spots and imperfections. Gradually work your way to finer grits, such as 120 or 220, for a smooth finish. Avoid using excessively coarse grits that may damage the wood.
- Sand with the grain: Always sand in the direction of the wood grain to prevent cross-grain scratches and achieve a uniform finish.
- Avoid over-sanding: Over-sanding can weaken the wood or remove too much of the protective treatment. Sand just enough to achieve the desired smoothness and finish.
By following these safety precautions and using proper sanding techniques, you’ll be able to confidently sand pressure-treated wood without compromising your health or the quality of your woodworking project.
So, suit up, stay safe, and let’s get to work on that perfect finish!

Choosing The Right Sanding Tools And Materials For Pressure Treated Wood
Selecting the right tools and materials for sanding pressure-treated wood is essential for a successful project.
Let’s see some various sanding tools and materials to help you achieve a smooth, even finish on your pressure-treated wood projects.
I’ll discuss the advantages and drawbacks of each option and offer recommendations for the best results.
So, let’s dive in and explore the world of sanding tools and materials!
1. Manual Sanding Tools
Manual sanding tools are perfect for smaller projects or for those who prefer a more hands-on approach.
Manual sanding tools are enough for beginners who are new for sanding pressure treated wood. Make sure all of your woodworking hand tools are sharpened enough before starting the project to keep them from blunting.
Read for some of the best woodworking hand tools for beginners.
Here’re the manual sanding tools required for sanding the pressure treated wood:
- Sandpaper: Sandpaper sheets are versatile and can be used by hand, wrapped around a sanding block, or attached to a hand sander. Choose the appropriate grit based on your project requirements, starting with coarser grits (80-100) and working your way up to finer grits (120-220) for a smooth finish.
- Sanding block: A sanding block provides a flat surface to ensure even sanding pressure and helps prevent unintentional rounding of edges. Simply wrap your sandpaper around the block and start sanding.
- Hand sander: Handheld sanders, such as a rubber sanding block with a clamp system, offer more control and efficiency than sandpaper sheets alone. These tools are ideal for small to medium-sized projects and can accommodate various sandpaper sizes and grits.
2. Power Sanding Tools
For larger projects or those requiring more aggressive sanding, power sanding tools are the way to go.
Here are some popular power sanding tools to sand pressure treated wood:
- Random orbital sander: A random orbital sander combines both orbital and spinning motions, creating a random sanding pattern that helps reduce visible swirl marks. This versatile tool is perfect for sanding flat surfaces and provides a smooth, even finish. Use hook-and-loop sanding discs in the appropriate grit for your project.
- Belt sander: A belt sander uses a continuous loop of sandpaper to remove material quickly and efficiently. This powerful tool is ideal for leveling uneven surfaces, removing old finishes, or smoothing rough edges. Choose the right sanding belt grit based on your project’s needs, but be cautious not to remove too much material or damage the wood.
3. Sanding Materials
When sanding pressure-treated wood, it’s crucial to choose the right sanding materials to achieve the desired results.
Selecting the right sanding material help to smoothen the pressure treated wood without leaving sanding marks or scratches on the surface.
Here’re some of the best sanding materials for pressure treated wood:
- Aluminum oxide sandpaper: Aluminum oxide is a durable and long-lasting abrasive ideal for sanding pressure-treated wood. It works well for both manual and power sanding and is available in various grits.
- Silicon carbide sandpaper: Silicon carbide sandpaper is another option for sanding pressure-treated wood, especially when wet sanding is required. This type of sandpaper is waterproof and can be used with water or other lubricants to minimize dust and achieve a finer finish.
Now you can clearly see, choosing the right sanding tools and materials for your pressure-treated wood project is essential for achieving professional results.
Consider the size and scope of your project, as well as your personal preferences, when selecting the best tools and materials.

Enough chit chats! Let’s have a look at the most important section, which is the sanding procedure of pressure treated wood. Gather the tools and get ready for action!
How To Sand Pressure Treated Wood?
Sanding pressure treated wood is easy when you follow the right procedure and well-sharpened tools.
Make sure to inspect your pressure treated wood while sanding to avoid forming scratches.
I know sanding pressure-treated wood can be a bit daunting, especially for beginners.
However, with the right tools, materials, and techniques, you can achieve a smooth and even finish on your pressure-treated wood projects.
I’ll walk you through a step-by-step guide on how to sand pressure-treated wood, ensuring you get the best results possible.
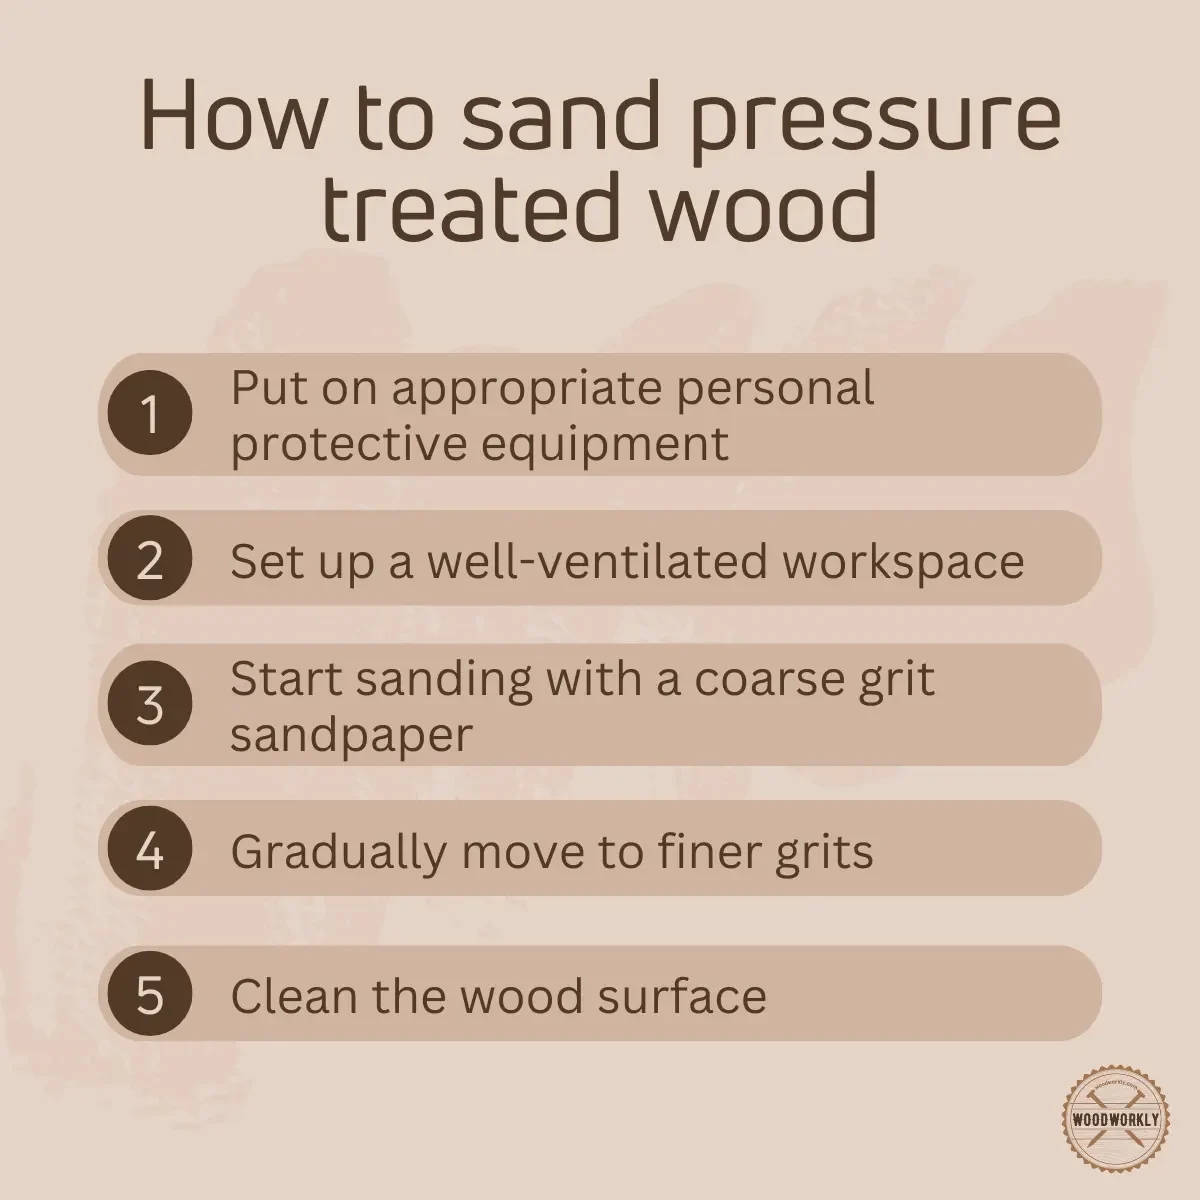
Here’re the steps you need to follow when sanding the pressure treated wood,
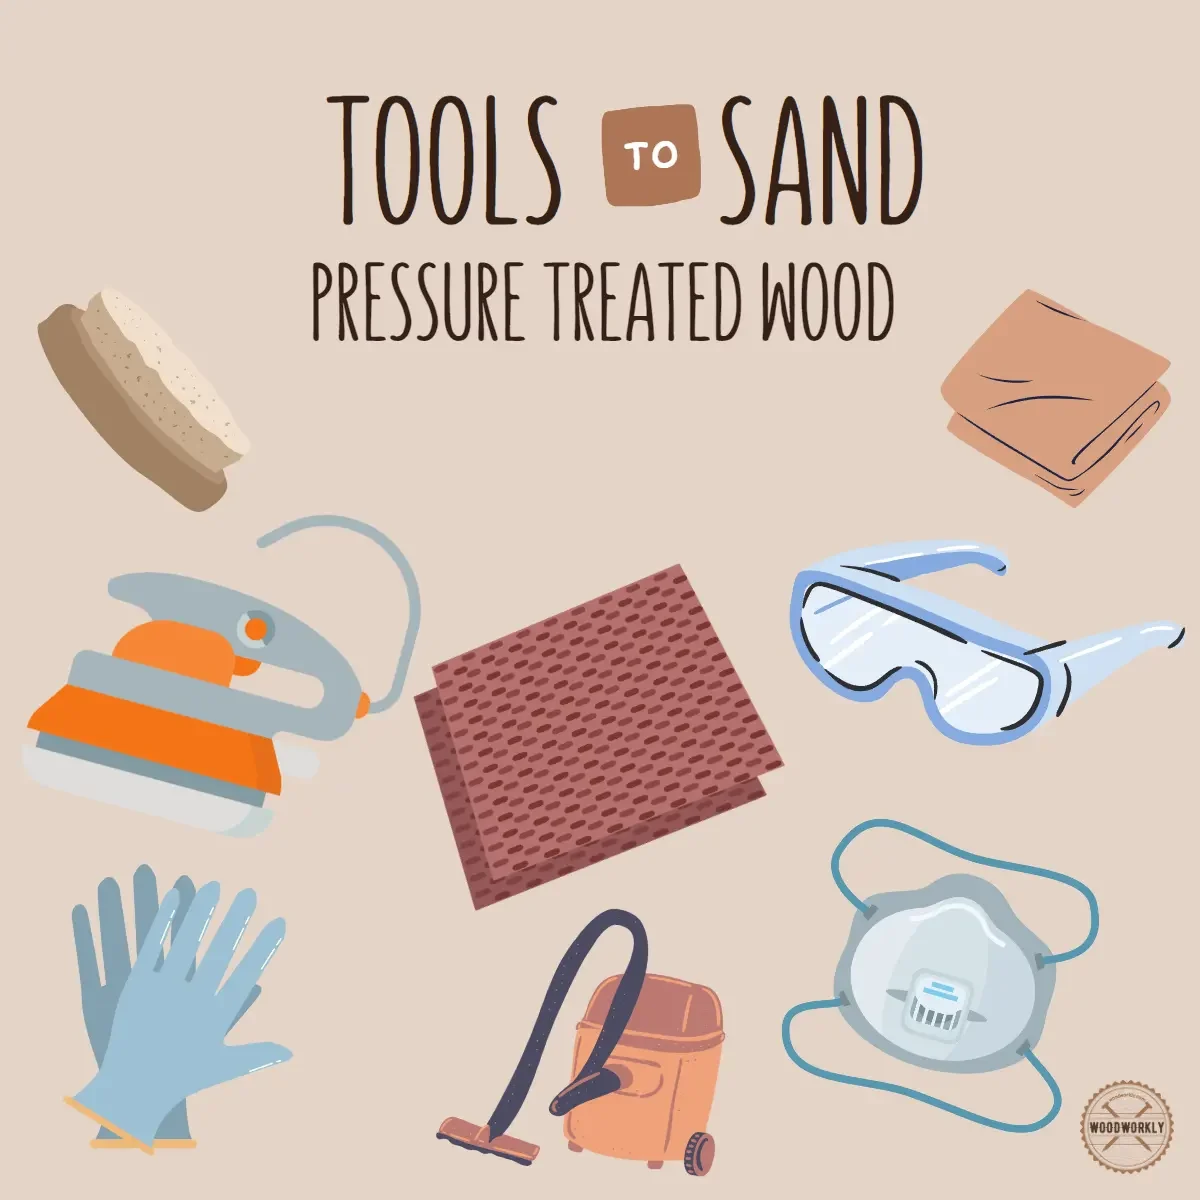
- Gather your tools and materials.
- Inspect and clean the wood.
- Begin sanding with coarse grit.
- Sand with medium grit.
- Finally, sand with fine grit.
- Clean the surface.
- Apply wood finish or stain (optional)
So, let’s discuss each of the above steps in detail to get a better view of sanding the pressure treated wood without getting things messed up.
1. Gather your tools and materials
Before you begin sanding, make sure you have all the necessary tools and materials, including:
- Sandpaper in various grits (80, 120, 220)
- Sanding block or hand sander (for manual sanding)
- Random orbital sander or belt sander (for power sanding)
- Personal protective equipment (safety goggles, dust mask, gloves, hearing protection)
- Shop vacuum or dust-collection system
- A clean, damp cloth
Make sure the above tools are well-sharpened or you should sharpen them before starting the job to avoid issues during the process.
Gather the above materials and get ready for sanding.

2. Inspect the wood and clean the wood
Before you start sanding, inspect the pressure-treated wood for any nails, screws, or other debris that could damage your sanding tools or the wood itself.
Remove any debris and ensure the wood surface is clean and ready for sanding.
Plus, clean the wood surface to remove dust and stubborn dirt using clean rags. Having a clean surface is good to achieve a smooth surface upon sanding.

3. Begin sanding with a coarse grit
Start by sanding with a coarse grit, such as 80-grit sandpaper. This will help remove rough spots, imperfections, and any old finish.
Sand along the direction of the wood grain of the pressure treated wood with an even pressure to avoid forming scratches and sanding marks.
Plus, this helps to get an even color all over the wood, which helps to achieve an even color finish in the end.
If using a power sander, move the sander in the direction of the wood grain, applying even pressure without pressing too hard.
For manual sanding, wrap the sandpaper around a sanding block or use a hand sander for better control and even pressure.

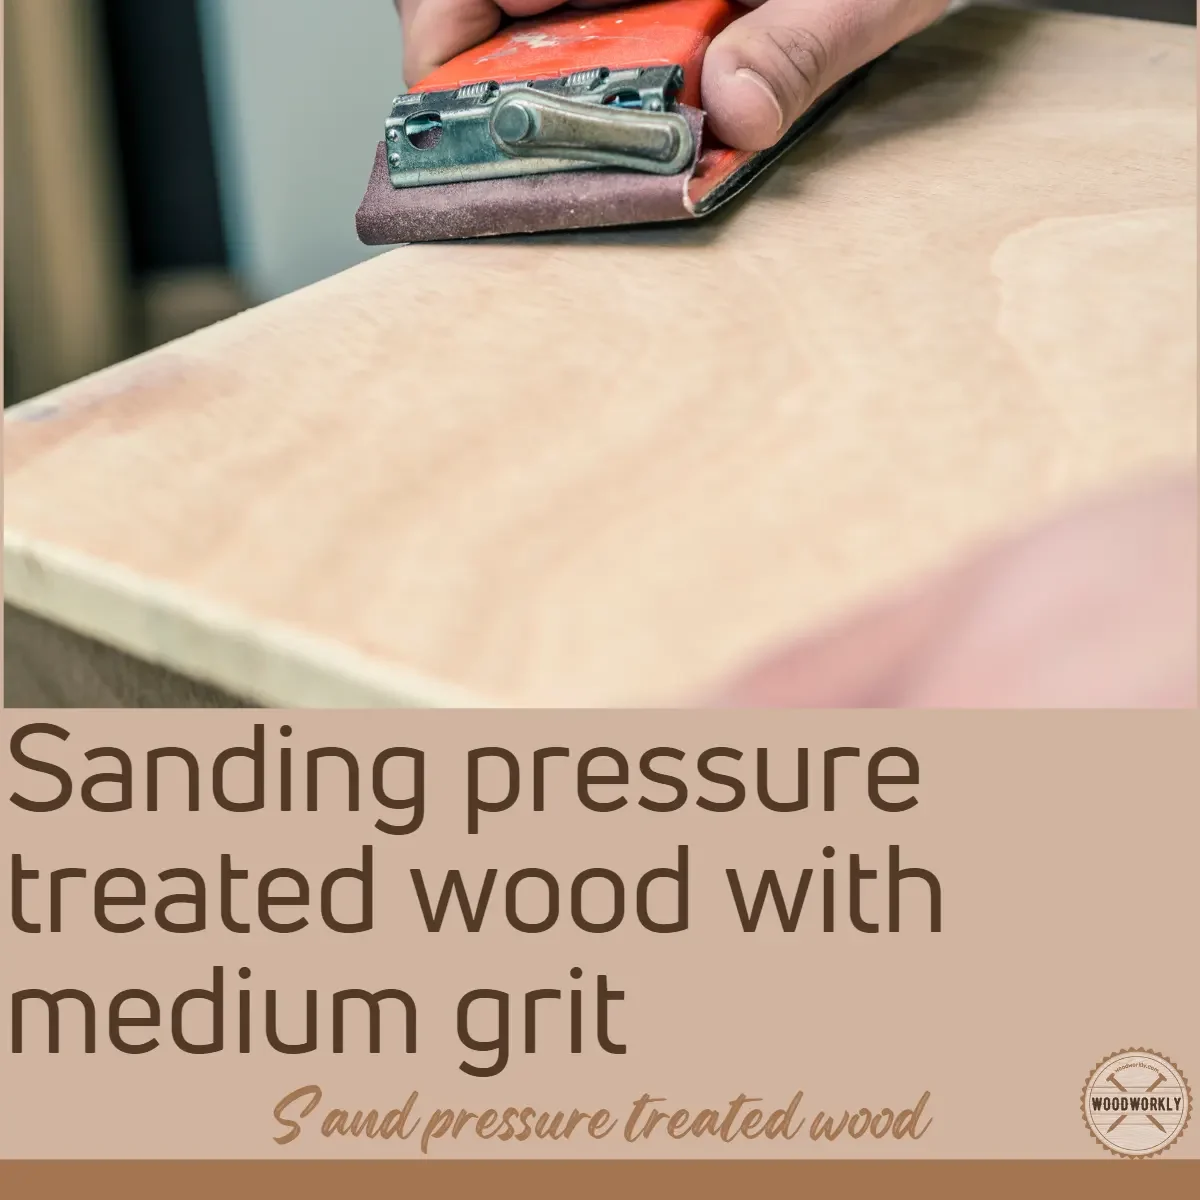
4. Sand With Medium Grit
Once you’ve removed any major imperfections and achieved a more uniform surface, switch to medium-grit sandpaper, such as 120-grit, to further smooth the wood.
Make sure to sand evenly and consistently, along the direction of the wood grain for a smoother finish with no damage to the wood.
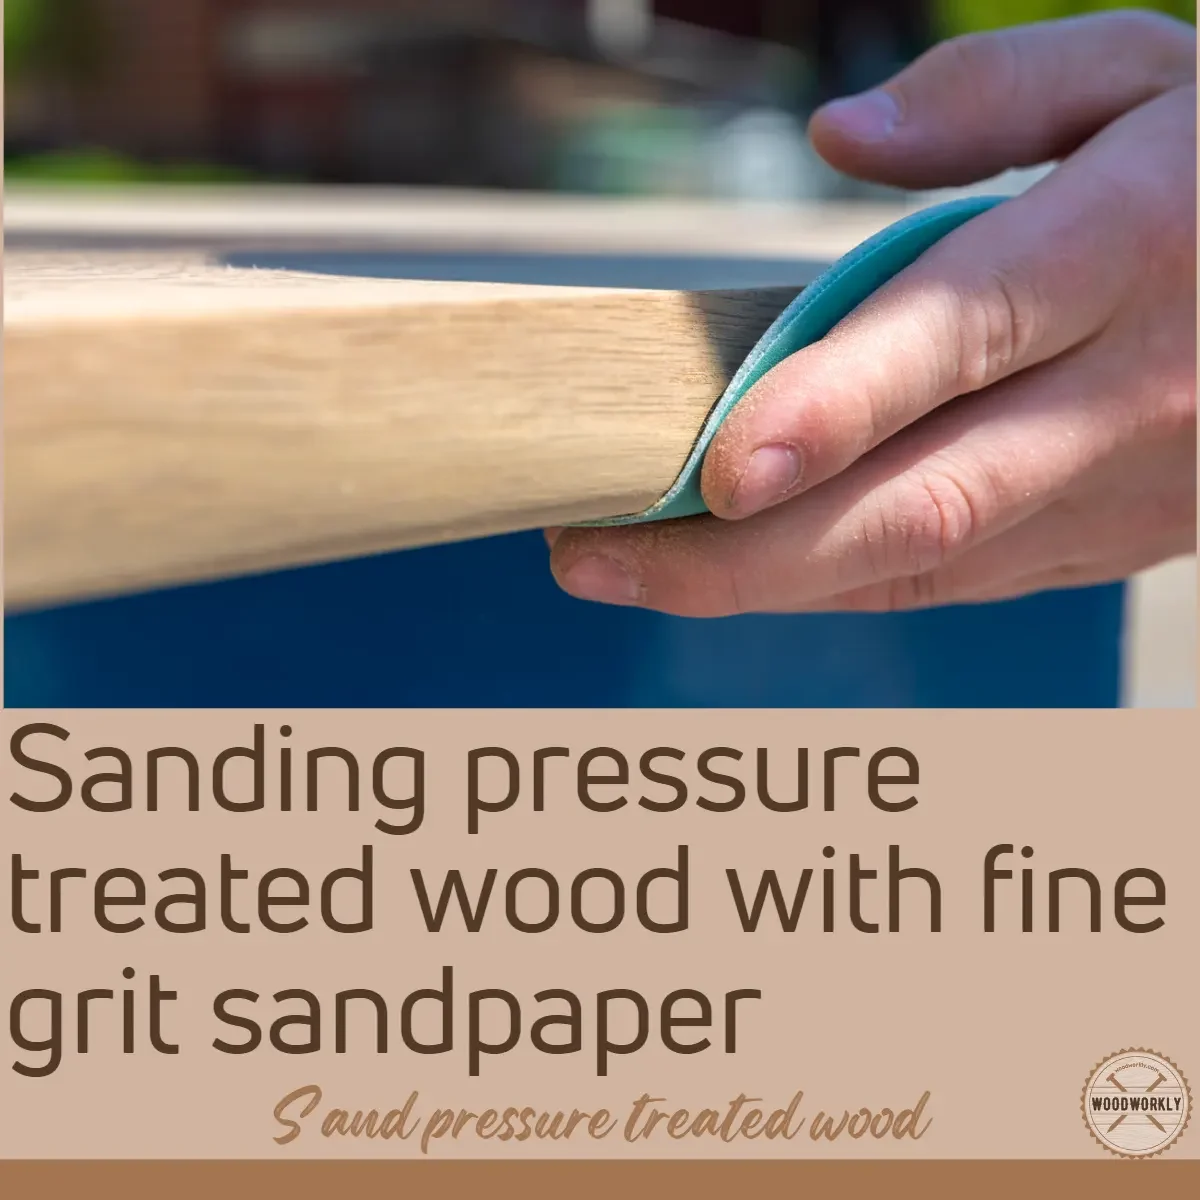
5. Finally Sand With Finer Grit
Finally, move on to fine grit, such as 220-grit sandpaper, to achieve a smooth and polished finish.
Remember to sand in the direction of the wood grain and maintain even pressure to prevent cross-grain scratches or uneven surfaces.
6. Clean the surface
After you’ve finished sanding, use a shop vacuum or dust-collection pipe system to clean up any dust and debris from your work area.
Wipe down the pressure-treated wood with a clean, damp cloth to remove any remaining dust.
Inspect your work to ensure you’ve achieved a smooth, even finish. If necessary, repeat the sanding process with finer grits until you’re satisfied with the results.

7. Apply finish or stain (optional)
Once your pressure-treated wood is sanded and smooth, you can apply a finish or stain to protect the wood and enhance its appearance.
Follow the wood grain and apply a thin coat of finish for promising results.
Be sure to follow the manufacturer’s instructions for the specific product you’re using.
By following these steps and using the right sanding techniques, tools, and materials, you can successfully sand pressure-treated wood and achieve professional results.
Remember to always prioritize safety and work patiently along the wood grain to achieve a smooth, even finish.
That’s it, folks! Now you know how to sand pressure treated wood properly using the proper technique.
Now I’m going to give you some expert advice about the things you should do after sanding the pressure treated wood.
Disposal And Cleanup After Sanding The Pressure Treated Wood
After sanding the pressure treated wood it is important to focus on proper disposal and cleanup.
This helps not only to keep your workspace clean and safe but also ensures that you’re protecting the environment and adhering to proper disposal guidelines.
Here’re the essential tips and techniques for disposing of waste materials and cleaning up your workspace after sanding pressure-treated wood,
- Collecting sawdust and debris.
- Bagging and sealing the waste materials.
- Disposing of waste materials properly.
- Cleaning workspace and tools.
- Washing protective gear.
So, let’s dive into each and every step you need to follow after sanding and tackle your next sanding project with confidence and expertise.
1. Collecting Sawdust and Debris
During the sanding process, pressure-treated wood generates a significant amount of sawdust and debris.
It’s essential to collect and dispose of this waste material properly, as it may contain chemicals used in the pressure-treating process.
Use a shop vacuum or proper dust-collection pipe system throughout the sanding process to minimize airborne dust and make cleanup easier.
Don’t forget to wear personal protective equipment (PPE) like safety goggles, a dust mask, and gloves to protect yourself from exposure.
2. Bagging and Sealing Waste Materials
Once you’ve collected the sawdust and debris from sanding pressure-treated wood, transfer it into heavy-duty plastic bags.
Seal the bags securely to prevent any leakage or spills during transportation.
You may also want to double-bag the waste material for extra protection.

3. Disposing of Waste Materials Properly
As a woodworker, it is your responsibility to keep the environment clean even after finishing your project.
Pressure-treated wood waste should never be burned or used as mulch, as the chemicals can release harmful toxins into the air or leach into the soil.
Instead, dispose of the waste material at a designated facility or landfill that accepts pressure-treated wood waste.
Check your local regulations and guidelines to find an appropriate disposal site in your area.
4. Cleaning Your Workspace and Tools
After disposing of the waste material, thoroughly clean your workspace and tools to remove any residual sawdust or debris.
So, you need to wipe down surfaces with a damp cloth or sponge, and use a shop vacuum to remove any remaining dust from the floor and surrounding areas.
Clean your sanding tools and equipment according to the manufacturer’s instructions, ensuring they’re free of dust and debris before storing them away.
5. Washing Your Protective Gear
Finally, don’t forget to wash your PPE, including dust masks, gloves, and safety goggles, to remove any residual dust or debris.
Keeping your protective gear clean is a nice habit since when you wear it for the next woodworking project, you just have to give it a little rub to remove dust.
Washing your gear ensures it’s ready for the next time you need it and helps to maintain its effectiveness in protecting you from potential hazards.
By following these disposal and cleanup guidelines, you’ll keep your workspace clean, safe, and environmentally responsible.
Remember that proper disposal of pressure-treated wood waste is crucial to protect both your health and the environment.
By following the above steps and tips, you can easily tackle your next sanding project with confidence and expertise.
So, let’s answer some frequently asked questions.
Is It Dangerous To Sand Pressure Treated Wood?
Yes, Sanding pressure-treated wood can be potentially dangerous due to the chemicals used in the pressure-treating process.
These chemicals can become airborne in the form of dust during sanding, posing health risks if inhaled or ingested.
However, you can safely sand pressure-treated wood by taking appropriate safety precautions.
To minimize the risks associated with sanding pressure-treated wood, follow these safety guidelines:
- Wear personal protective equipment (PPE) such as safety goggles, a dust mask or respirator, gloves, and hearing protection if using power sanders.
- Use a shop vacuum or dust-collection system to reduce airborne dust and make cleanup easier.
- Work in a well-ventilated area to help disperse dust and reduce the risk of inhalation.
- Wash your hands thoroughly after sanding to avoid accidental ingestion of any residual dust.
- Dispose of sawdust and waste materials properly, as they may contain hazardous chemicals.
By following these safety precautions, you can minimize the risks associated with sanding pressure-treated wood and complete your project safely and effectively.
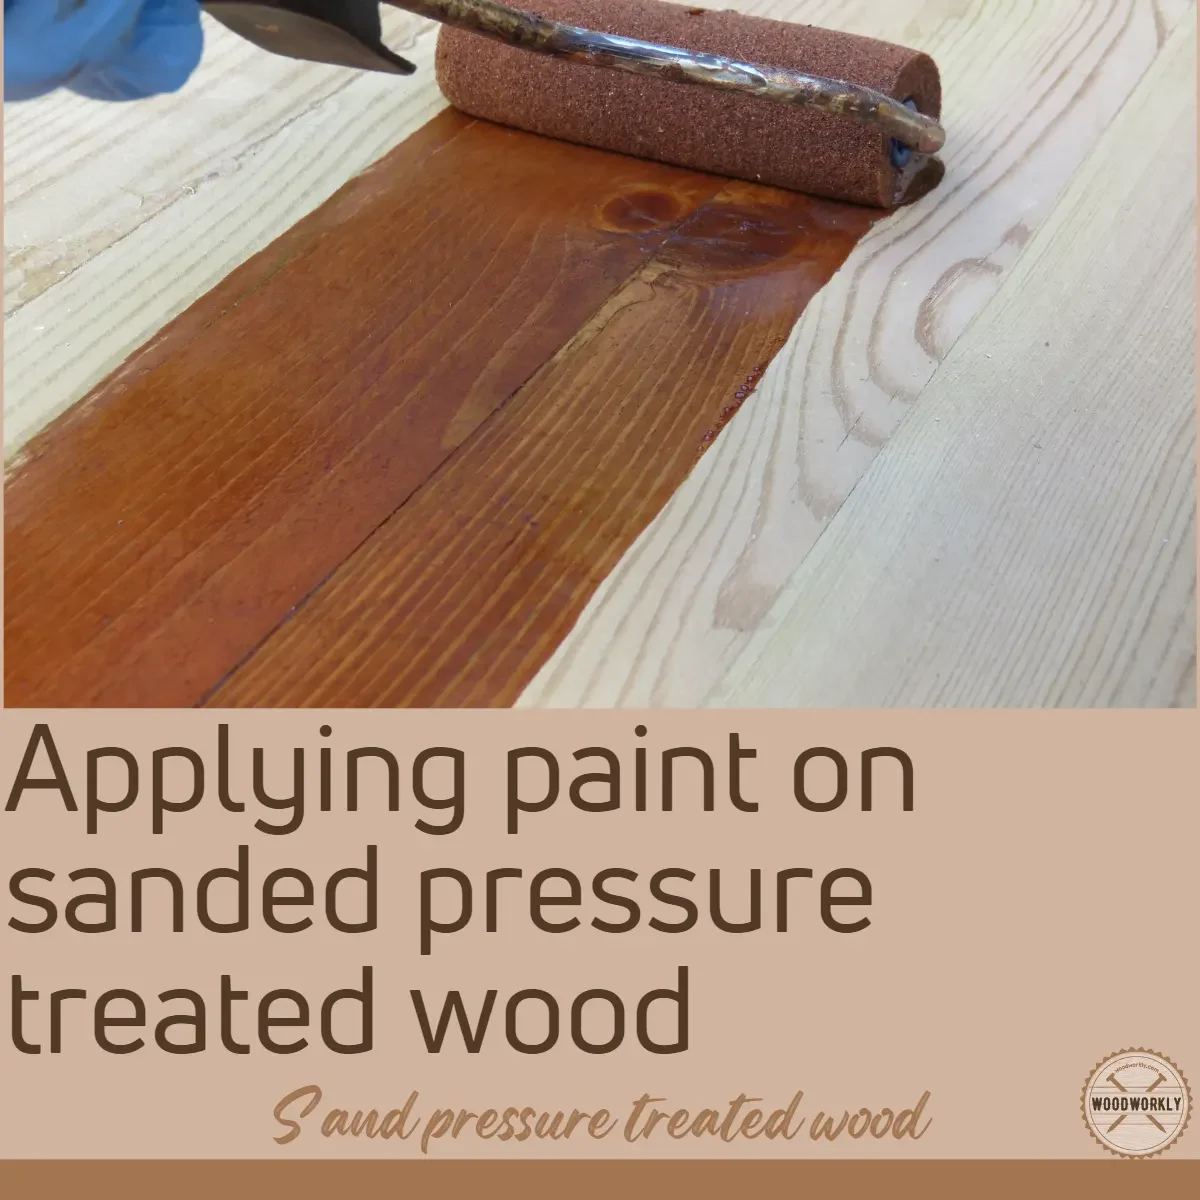
Do You Sand Pressure Treated Wood Before Painting?
Yes, it is generally recommended to sand pressure-treated wood before painting.
Sanding helps remove any surface imperfections, creates a smooth surface for the paint to adhere to, and opens up the wood’s pores, allowing the paint to penetrate and bond better.
Before painting, ensure the wood is dry and clean, then lightly sand using fine-grit sandpaper (120-150 grit) to achieve a smooth surface.
After sanding, remove any dust and debris with a tack cloth or a slightly damp rag, and then proceed with applying a primer followed by the paint.
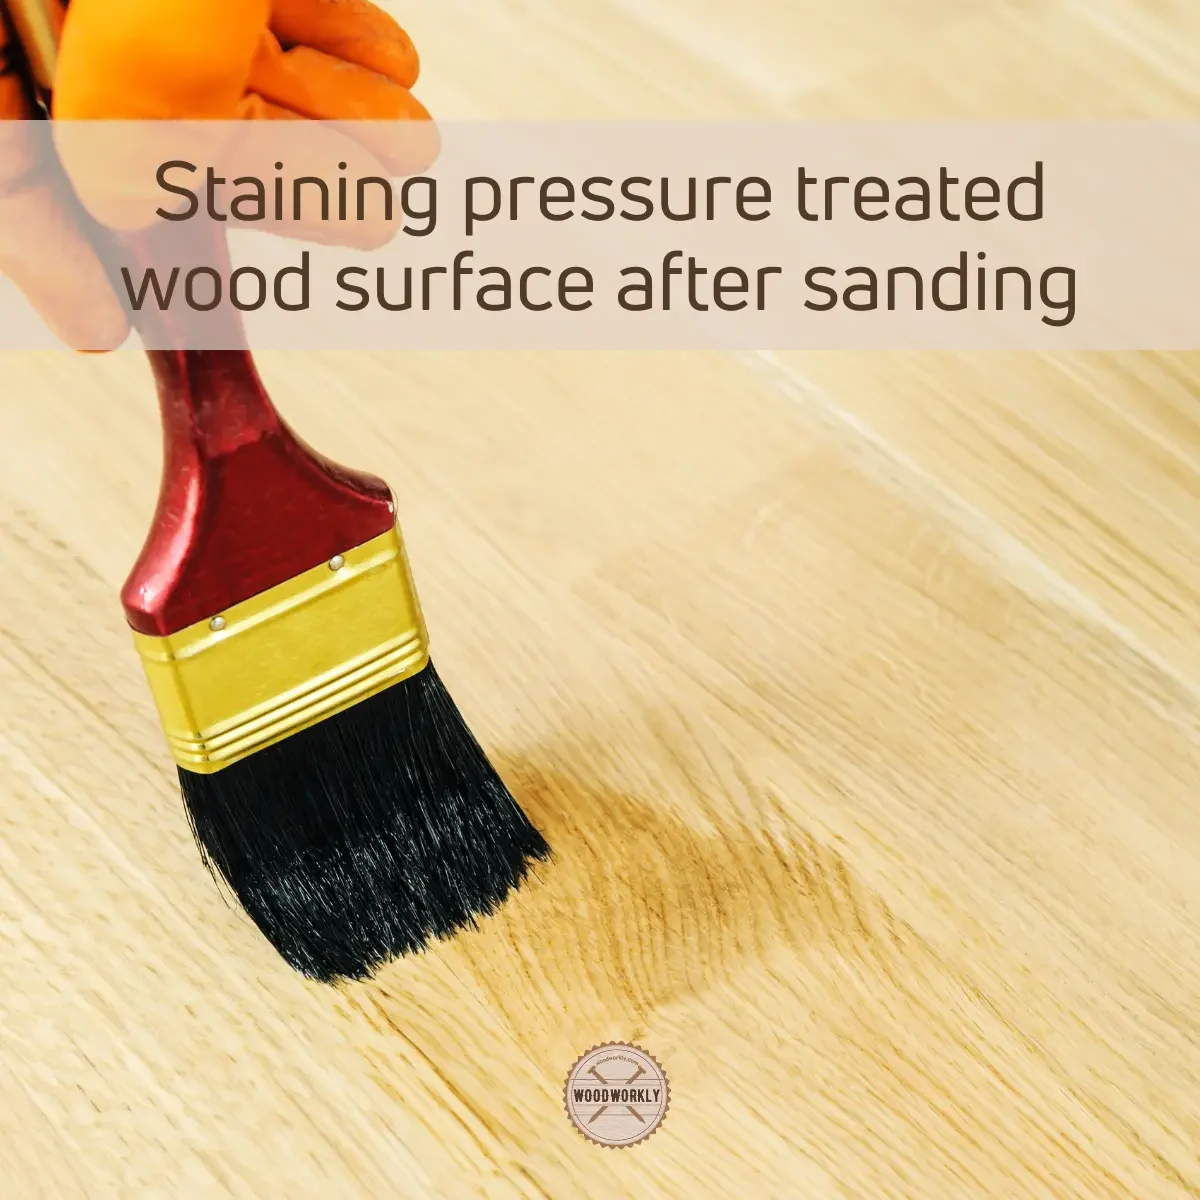
Do You Sand Pressure Treated Wood Before Staining?
Yes, sanding pressure-treated wood before staining is recommended since sanding helps remove surface imperfections, creates a smoother surface for the stain to adhere to, and opens up the wood’s pores, allowing the stain to penetrate more effectively.
Before staining, ensure the wood is dry and clean, then lightly sand using fine-grit sandpaper (120-150 grit) to achieve a smooth surface.
After sanding, remove any dust and debris with a tack cloth or a slightly damp rag, and then proceed with applying the wood stain according to the manufacturer’s instructions without making any mistakes..

How To Get Green Off Pressure Treated Wood?
To get the green off pressure-treated wood, you can use a wood cleaner or a mild bleach solution.
Follow these simple steps to get green off your pressure treated wood:
- Mix a wood cleaner or a mild bleach solution (1 part bleach to 4 parts water) in a bucket.
- Apply the cleaning solution to the pressure-treated wood using a brush or sponge, working in small sections.
- Allow the solution to sit on the wood for about 10-15 minutes, but don’t let it dry completely.
- Use a stiff-bristle brush to gently scrub the wood, removing the green discoloration.
- Rinse the wood thoroughly with clean water, using a garden hose or pressure washer on a low setting.
- Allow the wood to dry completely before proceeding with any further treatment or finishing.
For more detailed information and expert tips on getting the green off pressure-treated wood, be sure to read our comprehensive article on the subject.
We’ve got you covered with everything you need to know to make your pressure-treated wood look like new again.
Read to know, Can You Use Pressure Treated Wood Indoors: Uses & Dangers!
Did I cover all you wanted to know about: Can You Sand Pressure Treated Wood?
In this article, I’ve deeply discussed can you sand pressure treated wood and the pros and cons of sanding pressure-treated wood, emphasizing the importance of safety precautions and proper technique.
Yes, you can sand pressure-treated wood, but it’s essential to follow safety precautions, use the right tools, and dispose of waste properly. Sanding helps create a smooth surface for painting or staining, ensuring a professional finish. By adhering to our friendly guide, you can successfully sand pressure-treated wood for your project.
We discussed suitable sanding tools, materials, and disposal methods, and answered frequently asked questions.
Our guide offers helpful advice for woodworkers considering sanding pressure-treated wood, ensuring a successful and safe project.
Happy woodworking!