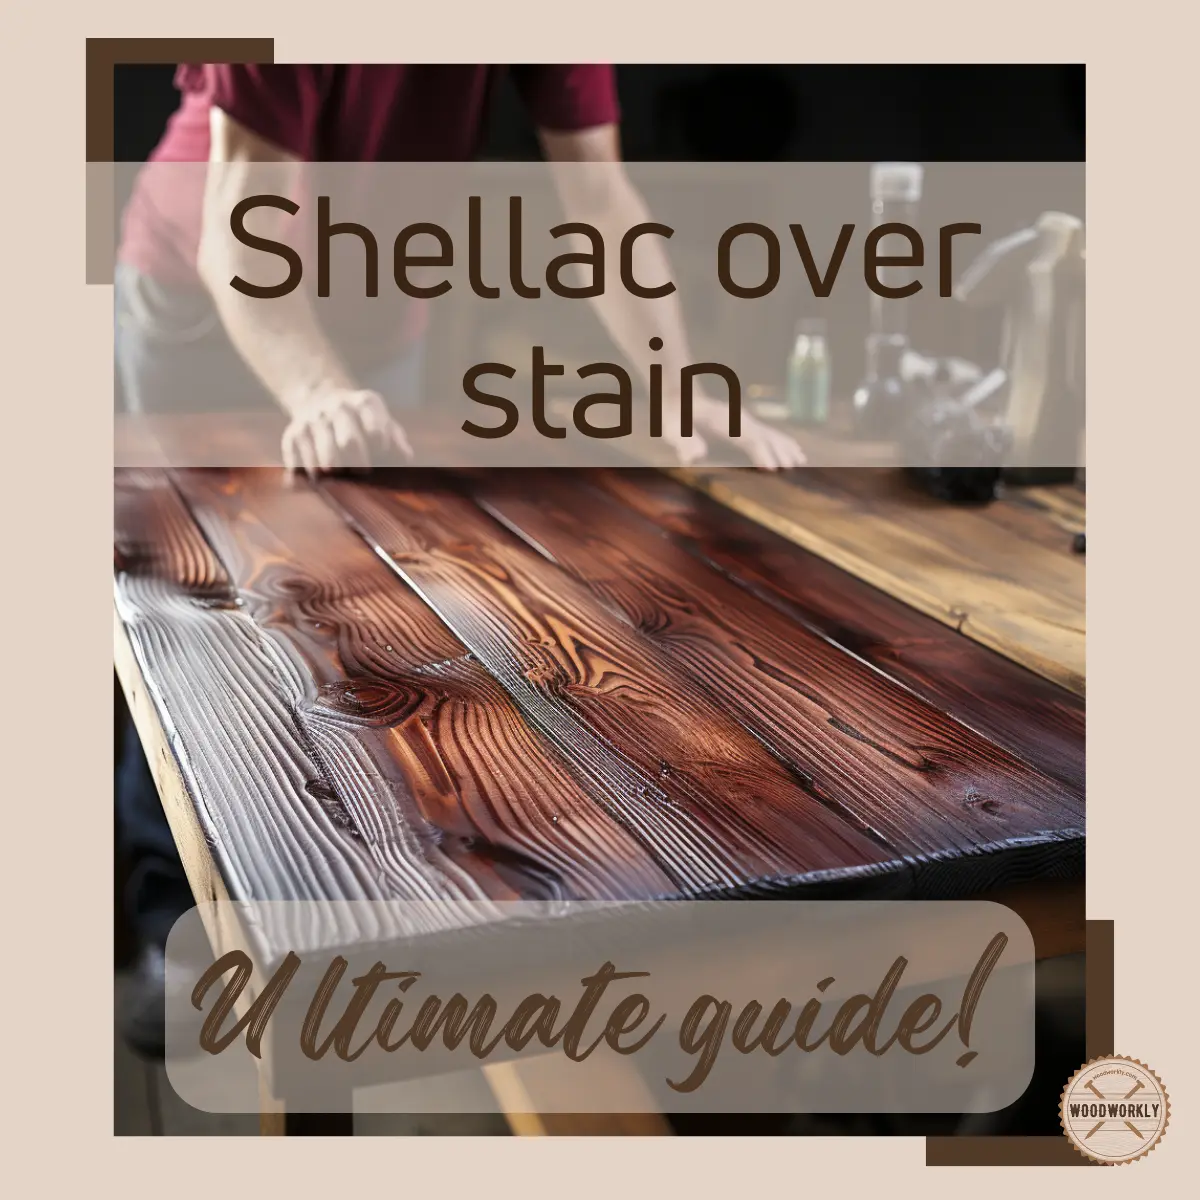
Ever wondered if shellac can go over that fresh wood stain? Dive in as we unravel this intriguing finishing conundrum!
In my early days as a woodworker, I was intrigued by the idea of applying shellac over stain to give my furniture an added layer of protection.
Admittedly, not all of my initial attempts were successful, leading to frustrating do-overs.
What was I doing wrong? Dive into this article as I share insights from experts on the do’s and don’ts of marrying shellac with stain, ensuring your projects shine without a hitch.
So, let’s talk, Can you shellac over stain?
Yes, you can apply shellac over stain. Ensure the stain is completely dry before applying shellac. Shellac serves as a protective finish, enhancing the wood’s appearance and providing a barrier against moisture and wear. Always test on a scrap piece to check compatibility and desired appearance.
But there’s a lot more to know about can you shellac over stain and how it should be done?

So, in this article, I’ll dive into topics like how can you shellac over stain, how long should stain dry before shellac, can you stain over shellac, and how to do that as well.
Furthermore, I’ll answer some of the frequently asked questions as well.
So, let’s get going!

Factors Need To Consider Before Applying Shellac Over Stained Wood
Applying shellac over stained wood can be a game-changer for the look and durability of your woodworking projects.
However, to get that polished, professional finish, there are certain factors you must keep in mind.
Let’s dive into these considerations and understand their importance.
1. Understand Your Wood Type
Different woods absorb stains and finishes differently.
For example, while oak has an open grain that readily accepts stain, a dense wood like maple might resist stain penetration.
- Example: Imagine using a deep, dark stain on both oak and maple. While the oak may give you a rich, dark hue, the maple might turn out blotchy and uneven due to its tighter grain.
2. Type of Stain Used
Oil-based or water-based? The type of stain can significantly influence the choice of shellac.
- Example: If you’ve used a water-based stain, it will dry faster than its oil-based counterpart. So, while you might be ready to apply shellac in a day after a water-based stain, an oil-based stain might require a longer wait.
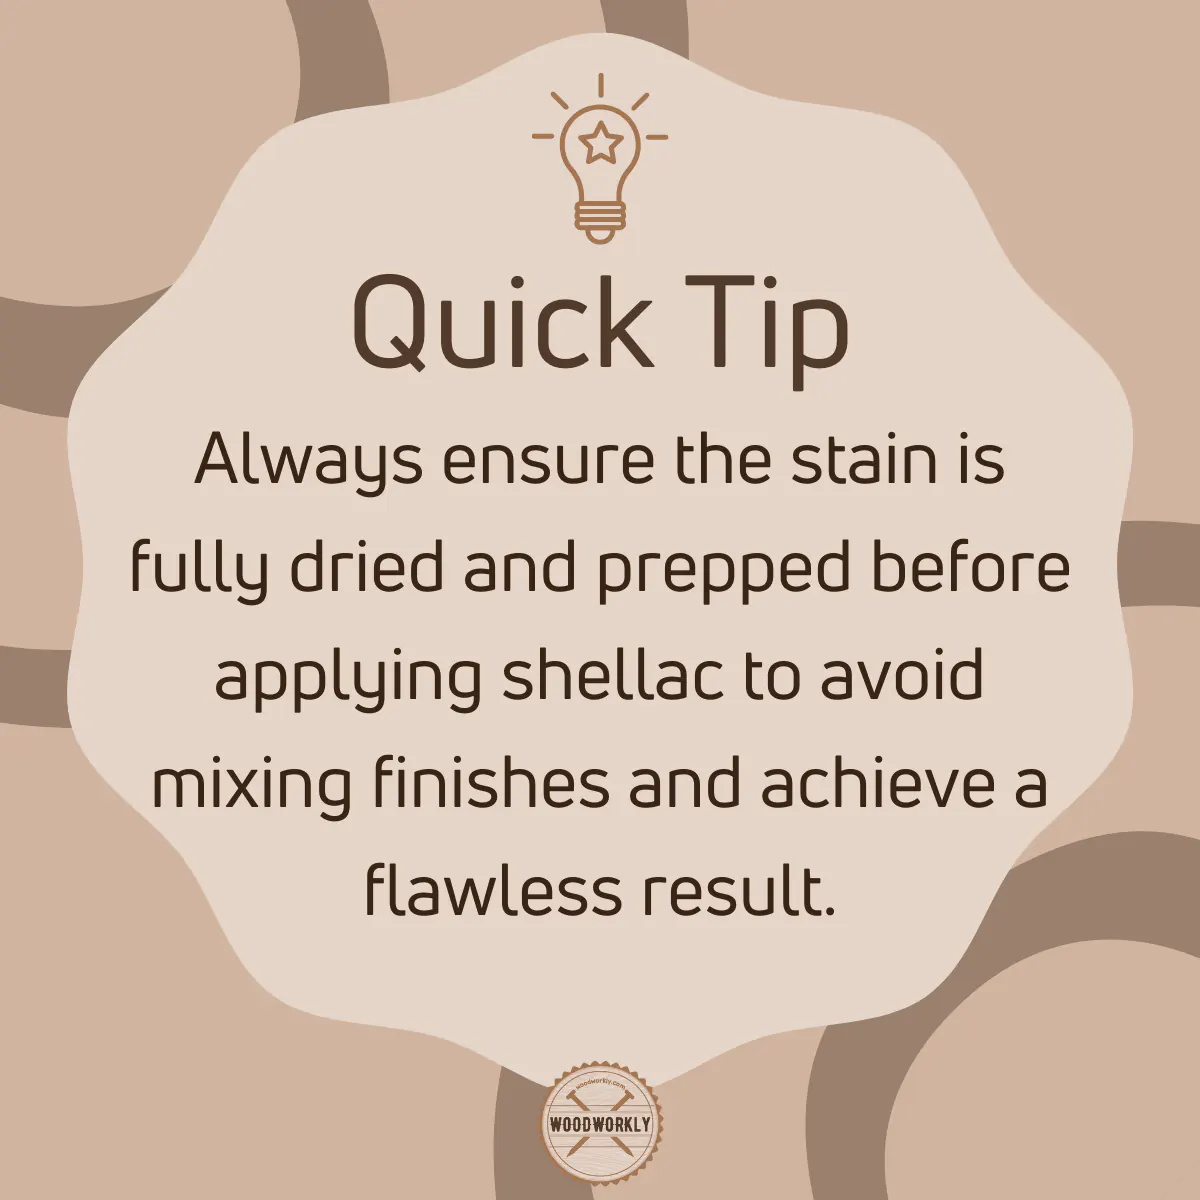
3. Complete Drying of the Stain
Jumping the gun and applying shellac over a stain that hasn’t fully dried can be a recipe for disaster.
- Anecdote: I remember a project where I got impatient and applied shellac over a stain that had dried only for a few hours. The result? An uneven finish that took days to correct. Trust me, patience pays off!
4. Safety Concerns
As pointed out in the article, if your project involves items used in food preparation, shellac might not be your best bet due to potential health risks.
- Example: For kitchen items like cutting boards or salad bowls, consider alternative finishes that are food-safe.
5. Environmental Factors
Humidity, temperature, and ventilation can all influence how shellac dries.
- Personal Experience: Once, while working in a particularly humid environment, I noticed the shellac took way longer to dry than usual. This was a stark contrast to when I worked on a similar project during a dry, cool day.
6. Test for Compatibility
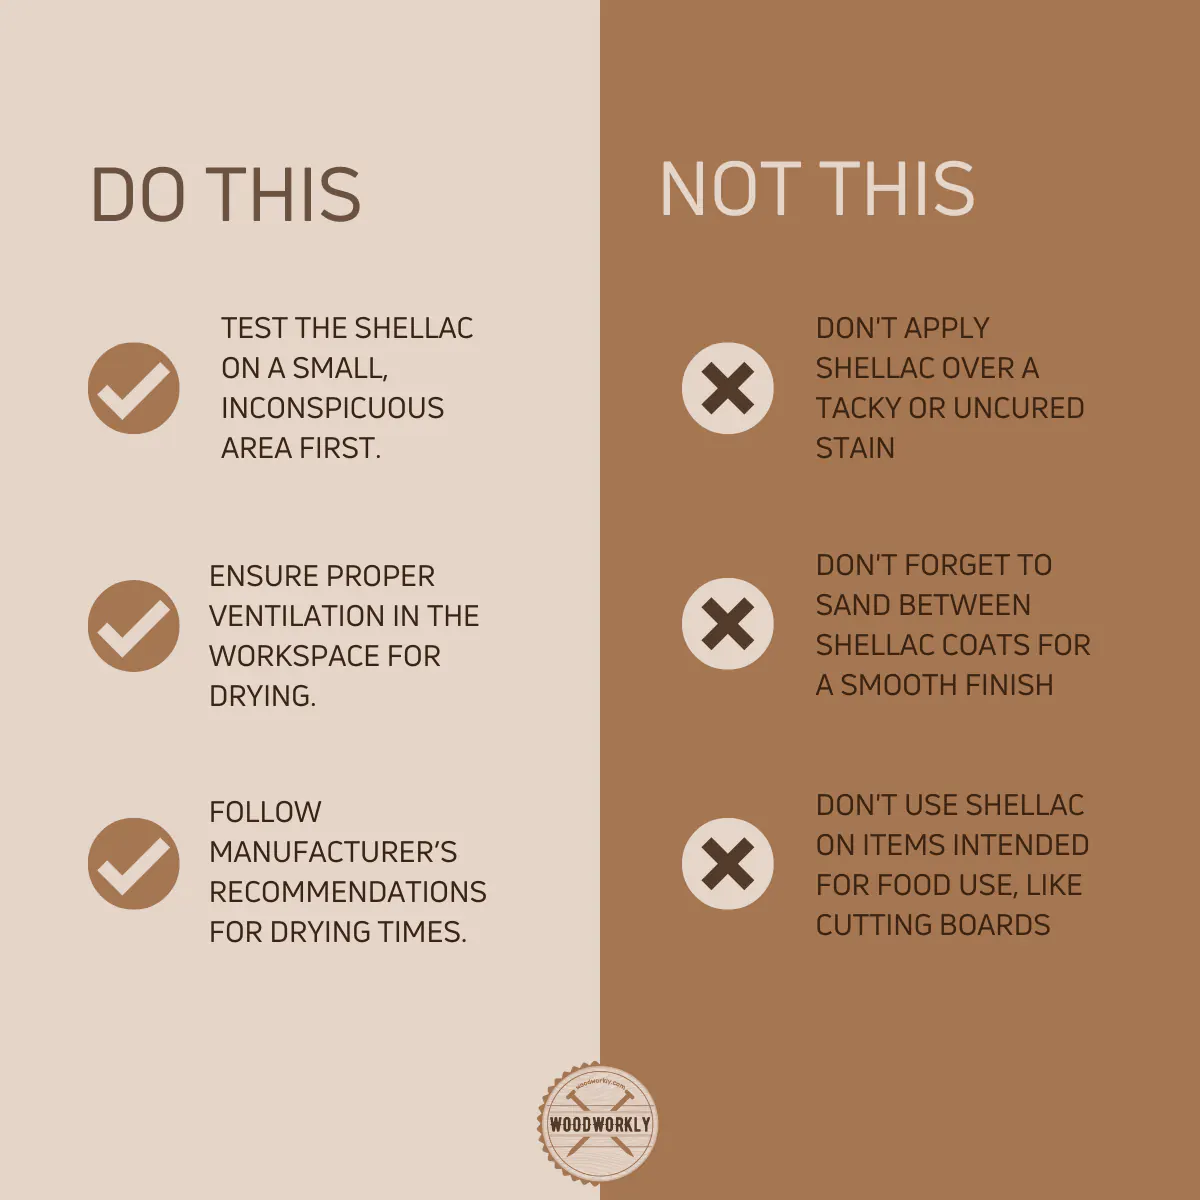
It’s always a good idea to test shellac on a small, hidden portion of your stained wood to ensure they’re a match made in heaven.
- Example: Before finishing a beautiful walnut coffee table, I tested the shellac on the underside. To my surprise, the combination I used added an unwanted reddish tint. It was back to the drawing board, but that small test saved my final project.
7. Prepping the Surface
Before shellac application, ensuring the surface is free from dust, debris, and any residue is crucial.
- Anecdote: My friend once skipped the sanding step and applied shellac directly on a stained wooden piece. Tiny dust particles got trapped under the shellac, giving the surface a rough texture. She had to redo the entire finishing process.
8. Quantity of Shellac Coats
Depending on your desired finish, the number of shellac coats can vary. Typically, three coats suffice for most projects.
- Tip: After each coat, sand the surface gently for a smoother finish.
9. Potential Yellowing Over Time
Shellac, especially if amber-toned, can impart a yellowish tint over time.
- Example: If you’re working with light-colored wood and want to retain its original hue, be wary of this characteristic of shellac.
How Shellac Works When Apply Over Stain
Applying shellac over stain is quick, easy, and fantastic. You can apply shellac to any woodworking project.
But never apply it over stained cutting boards or any kitchen utensils because it is not food safe.
But you should know the stain that has already been applied on the wooden surface is oil-based or water-based.
Because if the stain is oil-based, the shellac you’re going to use should be oil-based as well.
I highly recommend going with oil-based stain products, because they always perform better than water-based ones.
You can get shellac in 2 different ways. They are,
- Readily available shellac from the supply store
- Buy flakes and mix your own to make shellac
Buy flakes and mix your own to make shellac is also pretty simple by mixing flakes with denatured alcohol.
If you don’t have much time best to go with readily available shellac such as Zinsser shellac which works pretty well.

How Long Should Stain Dry Before Shellac?
The wood stain layer will dry completely within 24 hours. But this can change because of the wood type you’re using, humidity levels, and the place where you live.
Before applying shellac, you need to make sure that the stained wood surface is completely dried.
Otherwise, both shellac and stain layers will get destroyed, if the stain layer is tacky and wet.
Also, make sure not to make any mistakes during wood stains. Read how to fix wood stain mistakes for your knowledge.
Things To Consider When Applying Shellac Over Stained Wood
So, you’re ready to take the plunge and apply shellac over that freshly stained piece of wood.
But wait! It’s not just about brushing on a coat or two.
To achieve that glossy, professional finish that you’re envisioning, you’ll need to consider a few key things. Let’s walk through them together.
1. Preparation is Key
Before any shellac touches your wood, ensure that the surface is immaculate.
- Personal Experience: On one of my earlier projects, I overlooked a tiny stain smudge. Guess what? It was magnified under the shellac, and I spent hours fixing that oversight.
2. Check the Stain Dryness
One cannot emphasize enough the importance of ensuring the stain is bone dry.
- Anecdote: My neighbor once tried to speed up a project by applying shellac over semi-dry stain. The result? A sticky mess that looked like a marbled cake!
3. Choose the Right Shellac Type
With options like blonde, amber, or garnet shellac, it’s essential to pick one that complements your stained wood.
- Example: Blonde shellac is usually clearer and lighter, making it suitable for light-colored woods. In contrast, amber might add a warm, yellow hue.
4. Layering Approach
Don’t go all in with a thick coat. Thin, multiple layers will yield a much smoother and even finish.
- Tip: Use a soft cotton cloth or a brush to apply shellac. Remember, the key is in the layering!
5. Mind the Environment
Temperature and humidity can play tricks on your shellac drying time.
- Personal Experience: I once applied shellac on a humid summer day, and it remained tacky even after hours. Using a fan or working in a controlled environment can help.
6. Sand Between Coats
This step is a game-changer. After each shellac layer dries, lightly sanding it will help the next coat adhere better and give a flawless finish.
- Example: Think of it as applying nail polish. The base coat, followed by multiple thin coats with drying time in between, gives that salon-like perfection!
7. Don’t Skimp on Quality
Always use good quality shellac. Remember, it’s the final touch to your masterpiece.
- Anecdote: A woodworking friend once used a cheap shellac variant to save some bucks. The result? The finish started peeling off after a few months, much to his dismay.
8. Be Patient with Drying
While shellac generally dries quickly, don’t rush. Giving ample drying time between coats ensures a hard, protective finish.
- Tip: To check if shellac is dry, lightly run a piece of low-grit sandpaper over it. If it powders up easily, it’s good to go!
9. Ensure Safety
Working in a well-ventilated space is a must. Also, keep shellac away from open flames.
- Personal Experience: The strong odor of shellac can be overwhelming. I always make sure to work in my airy garage and wear a mask for added safety.
Once you feel ready, It’s time to apply shellac over stain.
Supplies You’ll Need When Applying Shellac Over Stain
- Can of Shellac
- Cotton cloth
- Rag or Cloth
- 320 grit sandpaper
- Denatured alcohol (optional)
- Latex gloves, face mask
Grab the above supplies from quality manufacturers and get ready to start the shellac application process over stained wood.
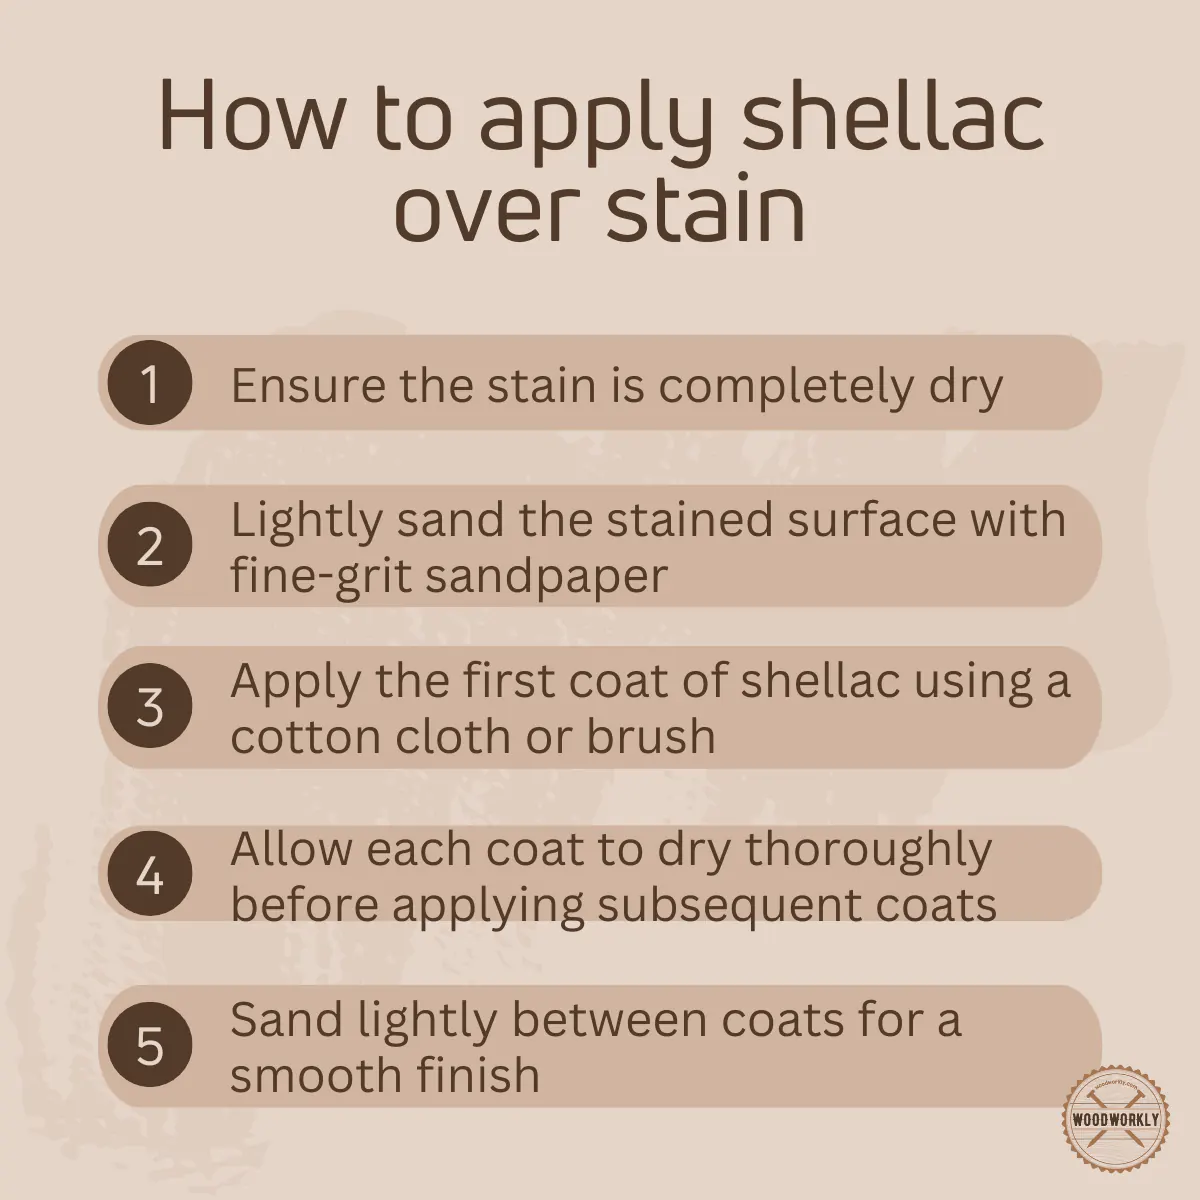
How To Apply Shellac Over Stain?
Here’re the steps you need to follow applying shellac over stained wood surfaces,
- Prepare the workspace
- Sand the surface
- Clean the stained surface
- Apply the first coat of shellac
- Let the shellac coat dry
- Lightly sand the surface again
- Apply more coats of shellac
- Apply paste wax
Let’s discuss each of the above steps in detail to get a better understanding of the correct procedure for applying shellac over the stain.
1. Preparare the Workspace
Before diving into the actual application, you’ve got to ensure everything’s set.
- Personal Experience: I once dived straight into shellacking without preparing my workspace. Let’s just say the spilled shellac was no fun to clean up!
- Ensure you have a clean, dust-free environment. Any particles that land on wet shellac will become unwelcome permanent fixtures.
- Materials: Lay out your cotton cloth, can of shellac, denatured alcohol, and fine-grit sandpaper. Organize them in a manner that’s easy to access.
2. Sand the Surface
Before you even think about the shellac, ensure that the stained surface is as smooth as a baby’s bottom.
- Anecdote: I gifted a shelved cabinet to a friend. She adored it, but I kept noticing her absent-mindedly running her fingers over a tiny rough patch. Lesson learned!
- Tip: Use 320-grit sandpaper to gently sand the wood’s surface. Remember, you’re just smoothening it out, not stripping off the stain.
3. Clean the Stained Surface
Post-sanding, you might notice a fine powder on the wood.
- Example: Think of it as prepping your face before applying makeup. You wouldn’t want any residue, right?
- Step: Take a lint-free rag and wipe down the entire surface to remove any residual sanding dust.
4. Apply the First Coat of Shellac
The start sets the tone for the final look.
- Personal Experience: On my very first attempt, I went a little too generous with the shellac. It pooled in places and dried unevenly. Trust me, thin is the way to go.
- Technique: Dip your cotton cloth or brush into the shellac and apply it in thin, even strokes. Always work along the grain of the wood. This minimizes visible stroke marks and enhances the wood’s natural patterns.
5. Let the Shellac Coat Dry
Shellac dries relatively quickly, but you want to ensure it’s completely set before adding another coat.
- Anecdote: Once, in my eagerness to finish a project, I rushed the drying process with a hairdryer. Bad idea! The finish turned out blotchy.
- Tip: Let the shellac dry naturally. You can touch-test after about 30 minutes. It should feel dry, not tacky.
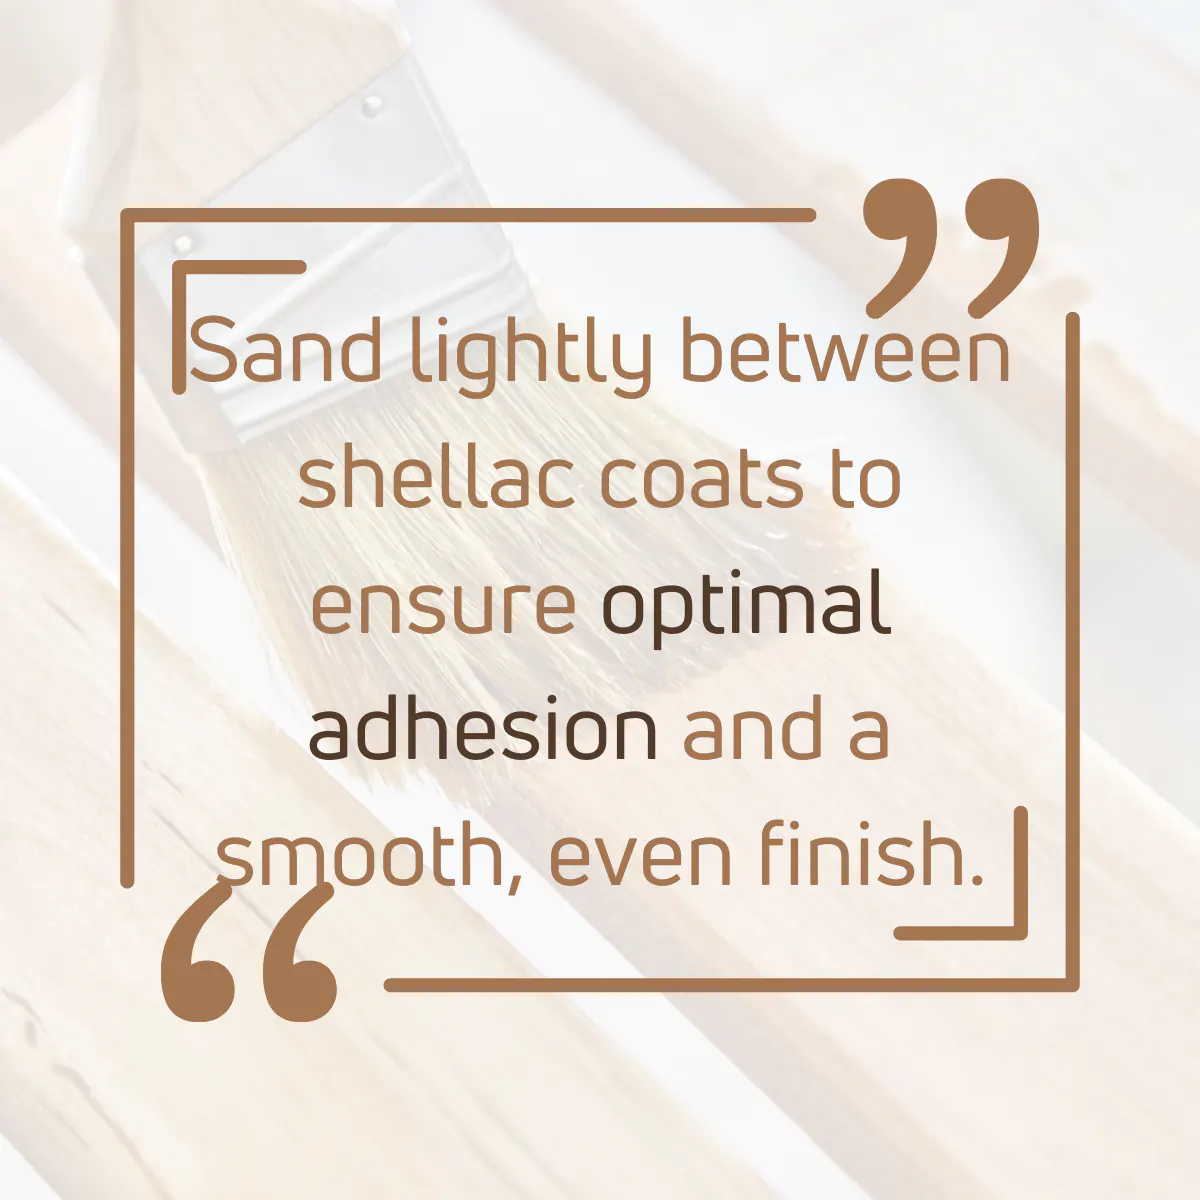
6. Lightly Sand the Surface Again
This might feel redundant, but it’s crucial for that ultra-smooth finish.
- Technique: Lightly sand the dried shellac layer with your 320-grit sandpaper. This ensures the next layer adheres beautifully.
7. Apply More Coats of Shellac
Depending on the depth of sheen you desire, you’ll need to repeat the shellac application (and the sanding) a few times.
- Personal Experience: I’ve found that three coats usually hit the sweet spot for most of my projects. But it’s always subjective. Go with what pleases your eye!
8. Apply Paste Wax
For those who want an extra dose of shine, here’s a little secret.
- Anecdote: I discovered the magic of paste wax when I accidentally knocked over a tin while searching for my sandpaper. Best accident ever!
- Technique: Once your last shellac layer is completely dry, apply a thin coat of paste wax using a soft cloth. Buff it gently, and watch your wood glow!

Tips and Tricks When Applying Shellac Over Stain
Three coats of shellac are well enough for small and medium woodwork.
It’s going to last a long time, is easy to repair, and is easy to put on.
When you’re taking a cloth applicator from the covered bag to apply the second coating of shellac, you’ll feel it is a little harder.
But as soon as it touches the shellac, it is going to free, moisture up, and be ready to go again.
The drying time of shellac depends on,
- The climate of your area
- Ventilation level of the room
- Humidity level
You can easily check whether it is dried or not by running light sandpaper a couple of times all over the surface and you’ll get nice powder left it is fully dried.
If it starts to clog your sandpaper, it is probably a bit wet, so give extra 15 minutes and try again.
The end grain will take a lot of shellac finish. So, feel free to be liberal in your application on end grain.
You’ll probably go back and touch the end grain of the stained wood a few extra times while you’re putting on your coats of shellac.
Once you apply the shellac layer over the stain, it doesn’t mess up if you wipe over it. It’s stable as that much.
When you’re applying shellac, if you notice you’d get runs or drops, just touch them up. If you miss one, that’s fine.
They stand up super quick. You can simply wipe the drops that are landed on the surface while applying shellac coating.
When you’re applying shellac over stain getting down into tight corners of woodwork can be a little hard.
Probably the easiest thing to do is just make sure your cotton cloth applicator is nice and saturated and almost bring it out.
So that the drains of shellac will drain down into those tight corners easily.
Also, make sure to sand with the grain when you’re sanding between coatings.
Because sanding across the grain could leave marks and stained layer does not have any resistivity against those marks and they’ll highlight once we’re done with finishing.
So, that’s it about how can you shellac over the stain. Let’s have a look at the opposite side of this same procedure.
Can You Stain Over Shellac?
Yes, you can apply shellac fist and then apply stain only if the wood type doesn’t take stain well. Woods with fewer pores structures don’t absorb stain so well.
They’ll reject the stain and therefore best to apply the stain after applying shellac coating first.
Here’re the woods that better apply shellac over stain.
- Pine
- Birch
- Maple
- Teak
- Rosewood
- Cherry
- Other exotic woods
Never apply shellac fist and then stain for the woods that take stain so well like Ash, Oak, Hickory.
Stain only does the color change and it’s not very durable to face outside.
Applying stain over shellac is no use because the shellac is the layer that gives the protection and its cover-up because of stain. The wood will get damaged very soon.
Stain doesn’t cure the wood because of not have any curing agents. The pigments that change the color of the wood lay on the shellac surface without penetrating inside of the wood.
Therefore, no color change can expect if you stain over shellac.
Ultimately, staining over shellac will create a mess for the woods that take stain well and it’s just a waste of money and your effort.
Read more about applying stain over shellac from this informative article.
You can check the wood you select, takes the stain well or not by testing to stain a sample piece of wood before starting the main application.
Can You Shellac Over Tacky Stain?
Never apply shellac over the tacky stain. This will destroy both stain and shellac layers.
Always make sure to let the stained wood dry completely before applying shellac.
You can remove tacky stains by wiping excess stain on the surface or by wiping tacky areas with stain thinner.
Can You Shellac Over Water-Based Stain?
Yes, you can apply shellac over water-based stain.
Let’s waltz through this together!
1. Understanding Water-Based Stains
To make an informed decision, it’s essential first to understand what water-based stains are and how they behave.
- Characteristics:
- Fast Drying: One of the main benefits of water-based stains is their quick drying time.
- Low Odor: Unlike oil-based variants, water-based stains tend to have a much less pungent smell.
- Eco-Friendly: They’re often chosen for their lesser environmental impact.
Remember the time I tried staining a bench in my living room? I went with a water-based stain solely because I didn’t want my entire house smelling like a paint factory!
2. Steps for a Shellac Over Water-Based Stain
Want that professional touch? Here’s how:
- Preparation: Ensure the water-based stain has dried completely. This typically takes a few hours, but I recommend waiting 24 hours to be safe.
- Shellac Mixing: If you’re using shellac flakes, mix them with denatured alcohol. Pre-mixed versions are available too.
- Application: Use a high-quality brush or cloth to apply thin, even coats. Remember, multiple thin layers are better than one thick one!
- Drying: Allow each coat to dry thoroughly before applying the next. Usually, 1-2 hours between coats will do.
3. Potential Concerns and Tips
While the combination is generally compatible, there are a few things to keep in mind.
- Humidity: High humidity can impact the drying time. So, pick a dry day for your project, or work in a controlled environment.
- Test First: I can’t stress this enough – always test on a scrap piece of wood before committing to your main project.
Can You Shellac Over Oil-Based Stain?
Yes, you can apply shellac over oil-based stain.
Rejoice, DIYers and professionals alike! Shellac is entirely compatible with oil-based stains.
The deep penetration of the oil-based stain followed by the sealing and enhancing power of shellac creates a robust and beautiful finish.
Let’s embark on this journey to explore the relationship between shellac and oil-based stains.
1. Oil-Based Stains
Before diving into the chemistry, it’s crucial to grasp what makes oil-based stains special.
- Characteristics:
- Rich and Deep: Oil-based stains penetrate wood fibers deeply, resulting in a vibrant, lush color.
- Longer Drying Time: Unlike their water-based counterparts, they take a bit longer to dry.
- Odor: They do come with a distinct smell, which some find overpowering.
Remember that big bookshelf project of mine? The oil-based stain gave the wood such a profound, rich hue that I was getting compliments for weeks!
2. Steps for Applying Shellac Over Oil-Based Stain
Achieving that flawless finish isn’t rocket science. Just follow these steps:
- Wait it Out: Given the longer drying time of oil-based stains, patience is key. Wait at least 24-48 hours, ensuring the stain is completely dry.
- Preparation: If using shellac flakes, mix them with denatured alcohol. Ready-made options are also on hand.
- Smooth Moves: Apply shellac with a high-quality brush or cloth, emphasizing thin, consistent coats. Thin layers are your best friend here!
- Patience, Again: Allow each shellac coat to dry well before venturing for another, typically waiting around 1-2 hours.
3. Pro Tips and Tricks
While the synergy between these two is exceptional, here are some pointers for that extra touch.
- Stir, Don’t Shake: When preparing shellac, a good stir is better than a vigorous shake. This prevents bubbles.
- Ventilation: Given the odors of both products, ensure you’re working in a well-ventilated area.
- Always Test: Before diving in, test the combo on a scrap piece. It’s always better to be safe than sorry.

Can You Shellac Over Gel Stain?
Yes, you can shellac over gel stain. The trick, though, is ensuring the gel stain has completely dried before applying shellac.
Since gel stains sit more on the surface, the risk of smudging or shifting is higher if not dried properly.
Let’s see how it should be done.
1. Gel Stain
To understand the relationship between gel stain and shellac, we must first get acquainted with our modern maverick.
- What’s in a Gel?:
- Thick and Forgiving: Unlike traditional stains, gel stains have a thicker consistency, akin to pudding, which makes them less prone to drips and runs.
- Surface Stainer: Gel stains, instead of penetrating deep into the wood, primarily sit on the surface, giving a more uniform look.
- Versatile: They can be used on various surfaces, including those less absorbent ones where traditional stains might fail.
My kitchen cabinets? All touched up with gel stain. The even finish and lack of drip marks had my neighbor asking for my “professional” contact!
2. Steps to Apply Shellac Over Gel Stain
For those keen on diving in, here’s your roadmap:
- Patience in Drying: Ensure the gel stain is thoroughly dry. Depending on the humidity and temperature, it might take between 24 to 72 hours.
- Prep the Shellac: If using shellac flakes, dissolve them in denatured alcohol. Pre-mixed shellac solutions are also available for convenience.
- Application Time: With a quality brush, apply thin, even coats of shellac over the dried gel stain.
- Drying: Give each shellac layer ample time (around an hour or so) to dry before adding another coat.
3. Expert Advice
A project is only as good as the little details we remember. Keep these in mind:
- Test First: Always apply your gel stain and shellac combo on a scrap piece first to gauge the outcome.
- Brush Quality: Investing in a good brush can make all the difference, ensuring a streak-free application.
- Clean Workspace: Dust and debris can be your worst enemies. Make sure your workspace is clean before starting.
Congrats folks! now you know can you shellac over stain and how to do that properly without messing things up.
So, let’s answer some frequently asked questions.
FAQs
Can I use shellac over any type of wood stain?
Yes, Shellac is a versatile finish that can be applied over various types of stains including water-based, oil-based, and gel stains. However, always ensure the stain is thoroughly dry before application.
How long should I wait after staining before applying shellac?
For best results, allow the stain to dry completely, which can range from 24 to 72 hours, depending on the type of stain and environmental conditions.
Is shellac a durable choice for high-traffic areas?
Shellac provides a robust finish, but in very high-traffic areas, you might want to consider a top coat of polyurethane for added durability.
Can I tint or color my shellac before applying over the stain?
Yes, shellac can be tinted with alcohol-based dyes. But remember, this will change the final look, so always test on a scrap piece first.
Does shellac change the color of the underlying stain?
While shellac can slightly deepen or enrich the color of the wood, it doesn’t drastically change the hue of the underlying stain.
What happens if I apply shellac over a not-so-dry stain?
Applying shellac over undried stain can lead to smudging, uneven coloration, and reduced adhesion. Patience is key!
Can I use a spray gun to apply shellac over stain?
Certainly! Shellac can be sprayed, brushed, or padded on, but ensure a smooth, even application regardless of the method.
How many coats of shellac should I apply over my stained wood?
Typically, 2-3 coats of shellac are recommended for a smooth, protective finish, but the final number can vary based on personal preference and the project’s demands.
How do I maintain a shellac finish over a stain?
Shellac is relatively easy to maintain. For light cleaning, just use a damp cloth. For deeper cleans or minor repairs, consider a reapplication or touch-up with fresh shellac.
Does temperature and humidity affect the application of shellac over stain?
Yes, environmental factors play a role. Ideally, apply shellac in a moderate temperature and low humidity setting for best results.
Did I cover all you wanted to know about: Can You Shellac Over Stain?
From this article I’ve deeply discussed can you shellac over stain and how it should do.
Plus, I’ve talked about all the tips and tricks you can follow to do apply shellac coating over stained wood correctly based on my personal experince.
You can shellac over stain. But that depends on the type of wood. If the wood takes stain so well, then better to apply stain first and they apply shellac over stain. But if the wood doesn’t take stain well, apply shellac first and then apply stain for the best results.
While wood stain changes the color shade of the wood, shellac gives better protection from outside elements.
Furthermore, I’ve answered some frequently asked questions as well.
Hope you have gained good knowledge about the finishing stained wood process in detail. Enjoy woodfinishing!