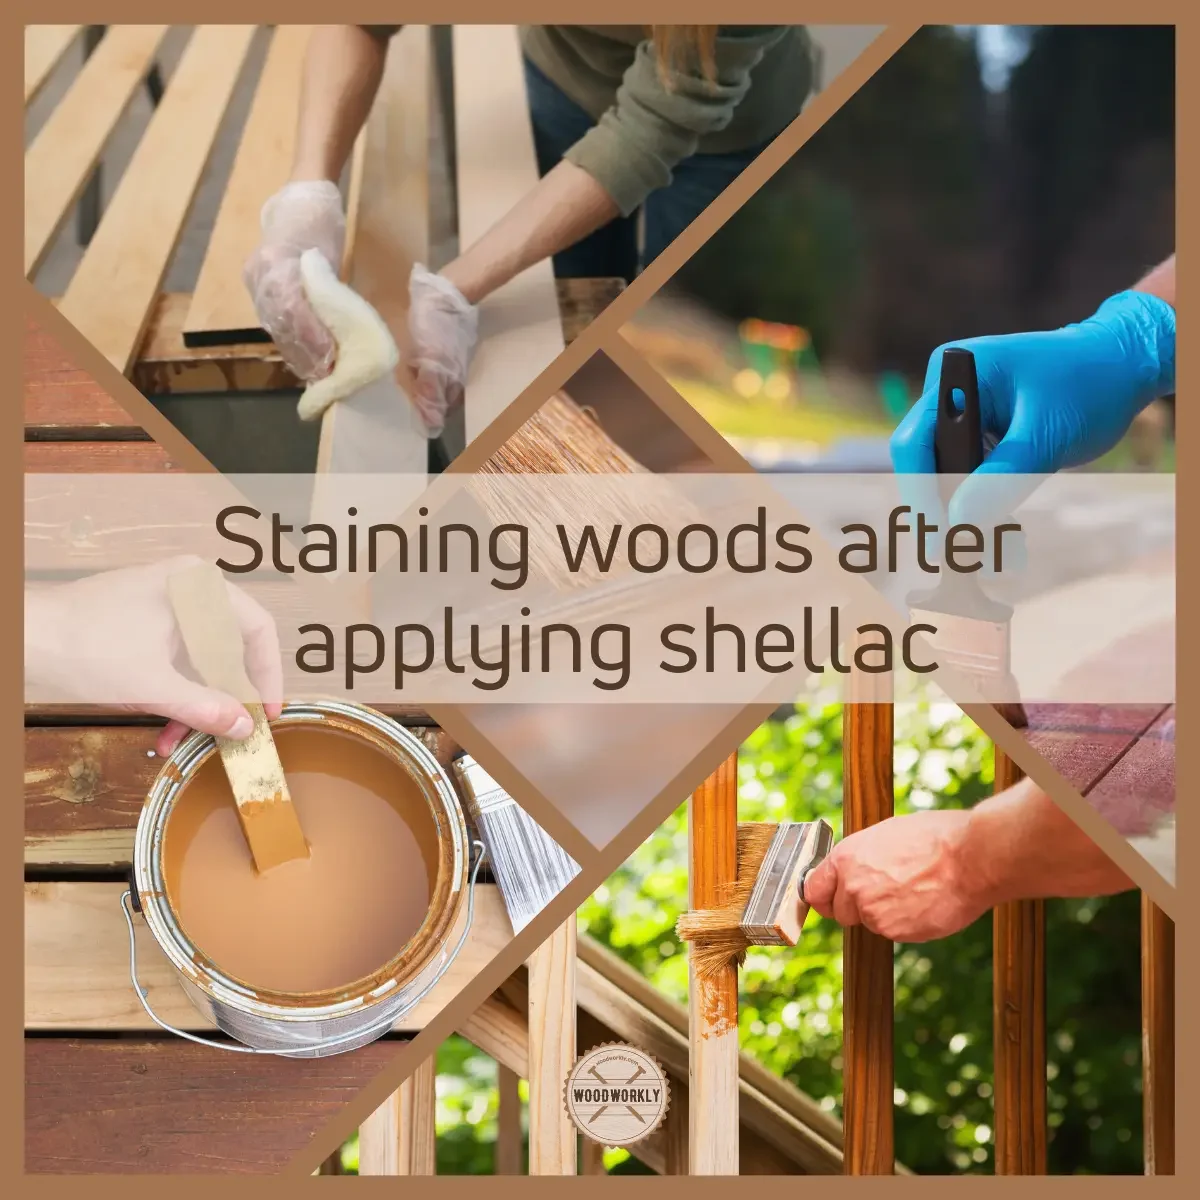
Ever wondered if staining over shellac is possible? Dive into our guide to discover the secrets and transform your woodwork projects!

Shellac is an eco-friendly, water-resistant finish that uses as a wood sealer that provides an ideal protective coat over environmental elements.
The wood stain helps to highlight the wood grain by enhancing the natural color of the wood while sealing the wood properly.

Both are excellent finishes. But when you use both, what comes first? Stain or shellac? I was curious about this and did deep research to find out if should you stain over shellac or the other way around.
First figure out the most commonly asked question, Can you stain over shellac?
Yes, you can stain over shellac only for the woods that do not take stain well. Apply stain before shellac for the woods that take stain well. To apply stain over shellac, first light sand the shellac surface and then apply 3 to 4 thin coats of stain with a paintbrush.
But that’s just the tip of the iceberg!
So, in this article, we’ll explore whether can you stain over shellac, what woods to stain over shellac and what woods to shellac over stain, and how to stain over shellac with some tips and techniques.
Furthermore, I’ll answer some frequently asked questions as well.
Let’s dive in!
Can You Stain Wood After Applying Shellac?
Yes, you can stain and tint the wood after applying shellac. Shellac seals the wood and provides good resistance from water and weather elements. It is a durable finish.
On the other hand, wood stain seals the wood while enhancing the color of the wood. You can tint or change the wood color with stain, and it avoids wood discoloration and protects wood from UV light and water damage.
By combining wood stain and shellac both, the wood will get a super protective durable finish that lasts for so long. They blend well with each other.

But when it comes to the question which should come first? That depends upon the wood type.
If the wood takes stain so well and absorbs and spreads stain uniformly and evenly all over the wood without forming blotches or streaks. That wood should first finish with wood stain and then apply shellac over it to get a good finish.
If the wood does not like to take stain well or it has visible surface blotchiness upon finishing with wood stain, that wood should first finish with shellac and then apply stain over it to avoid any issues.
Apart from that, shellac gets stained well with both water-based stain and oil-based stains. It is a matter of fact that which comes first.
I know now you are curious to know which woods can I shellac first and then do the staining and for which ones should I stain first and then go for staining.
Don’t worry! We’ll discuss it next.
Woods To Stain Over Shellac
Woods that should apply shellac first and then apply stain are non-porous woods that don’t take stain well. They form blotches and streaks if you apply stain before shellac.
Here’re the woods to stain over shellac,
- Maple
- Birch
- Pine
- Rosewood
- Cherry
- Teak
- Other non-porous woods
For the above woods, shellac work as a pre-stain wood conditioner. Shellac goes into the wood fibers and controls their absorption rate evenly before applying the stain.

When you apply stain over shellac, the stain will absorb evenly all over the wood without forming random spots and blotches.
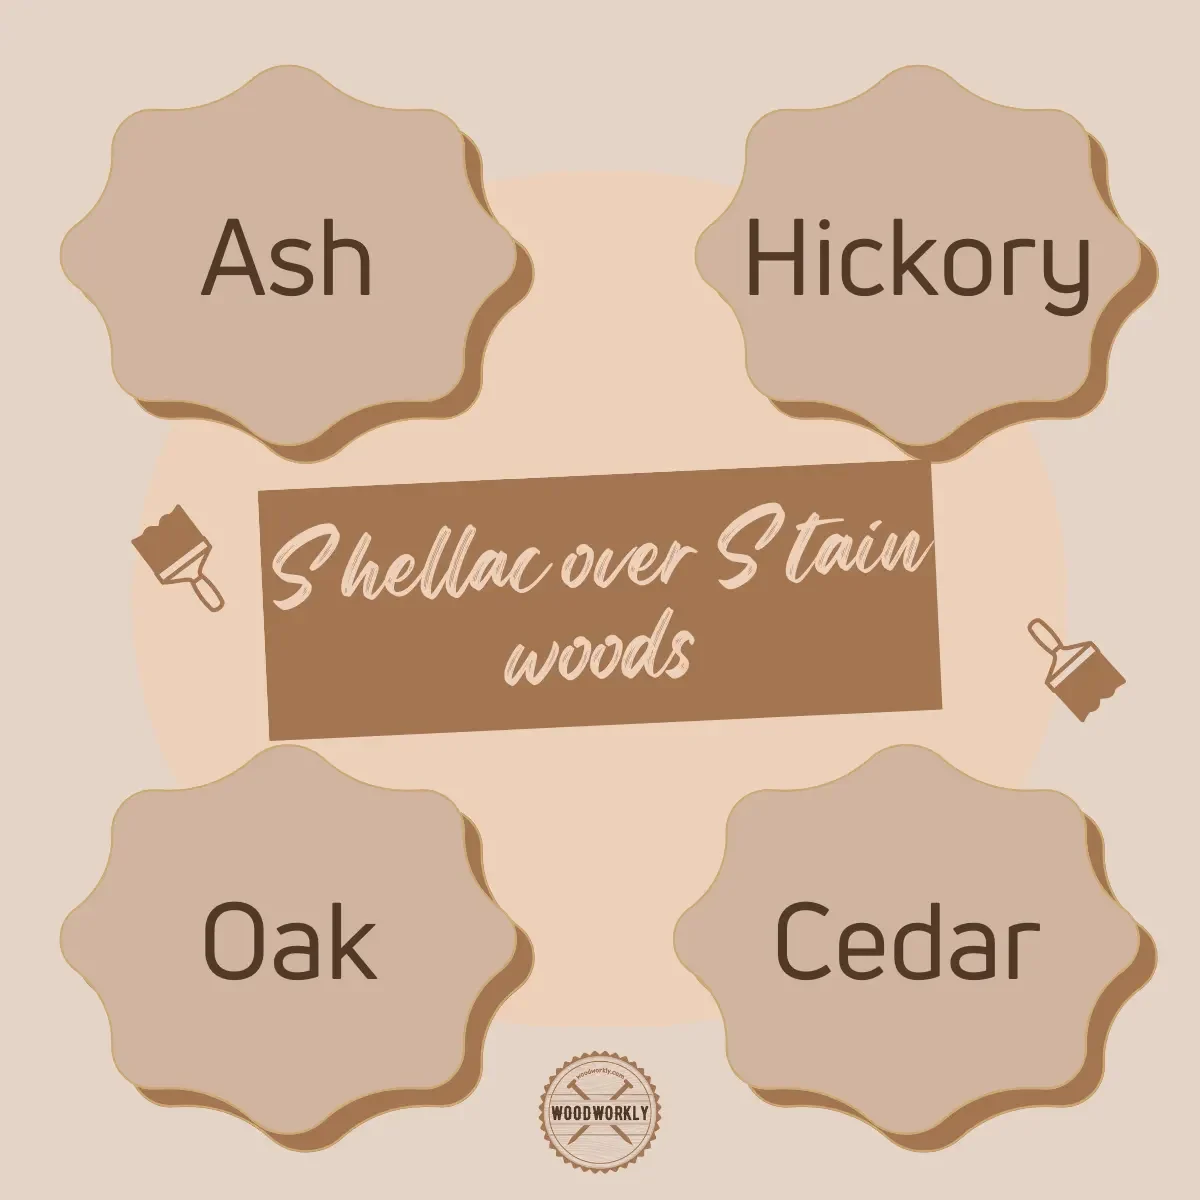
Woods To Shellac Over Stain
Woods that should apply stain first and then apply stain are porous woods that take stain evenly without forming blotches or streaks.
Here’re the woods to shellac over stain,
- Ash
- Hickory
- Oak
For the above woods since they take stain evenly, better to apply stain first. Stain saturates the wood fibers and tints the wood.
Shellac works as the sealer that protects both wood and stain coat from moisture and weather elements.
To get more details about applying shellac over stain, refer to this informative article about how to use shellac over stain properly.
Before starting to talk about the procedure, there’re things you should know before applying stain over shellac. Let’s discuss this.
Things To Know Before Applying Stain Over Shellac
1. Apply a thin coat of shellac before staining.
Both stain and shellac are water-resistant. Therefore, shellac tends to repel stain coat as it repels water when you apply stain over shellac.
But stain will find its way through penetrating the tiny ridges and pores of the wood.
Therefore, apply a thin coat of shellac before applying the stain to avoid covering all the tiny ridges of the wood. Otherwise, wood stains face a hard time sticking onto the wood.

2. Light sand the shellac coat before applying the stain
Shellac covers the pores structures of the wood completely. This makes wood stain hard to stick onto the wood.
Light sanding gives adhesive properties to the shellac coat and makes wood stain easier to stick onto the wood.
3. Thin shellac coat before staining
To avoid shellac coat from covering all the pores of the wood you can thin it. Thinning reduces the number of pores covered by shellac and leaves some pores for wood stain.
Once you apply wood stain, it will penetrate those remaining pores and stick well onto the wood.
4. Water-based stains stick better than oil-based stains.
Water-based stains do not need to penetrate deep into the wood as oil-based stains. Water-based stain can stick well onto the wood by sitting a high percentage on the wood without penetrating it.

Since the wood is already covered with shellac, applying a water-based stain is better since it sticks over the shellac coat without trying to penetrate deep into the wood like an oil-based stain.
Let’s head into the application process of stain over shellac.
Tools And Materials To Stain Over Shellac
- 320 grit sandpaper and 400 grit sandpaper
- Wood stain
- Shellac
- Denatured alcohol (optional)
- Clean cotton cloth
- Paintbrush
- Plastic container for mixing
Check out the Best Brushes For Staining Wood!

Let’s discuss the procedure of using stain over shellac coat.
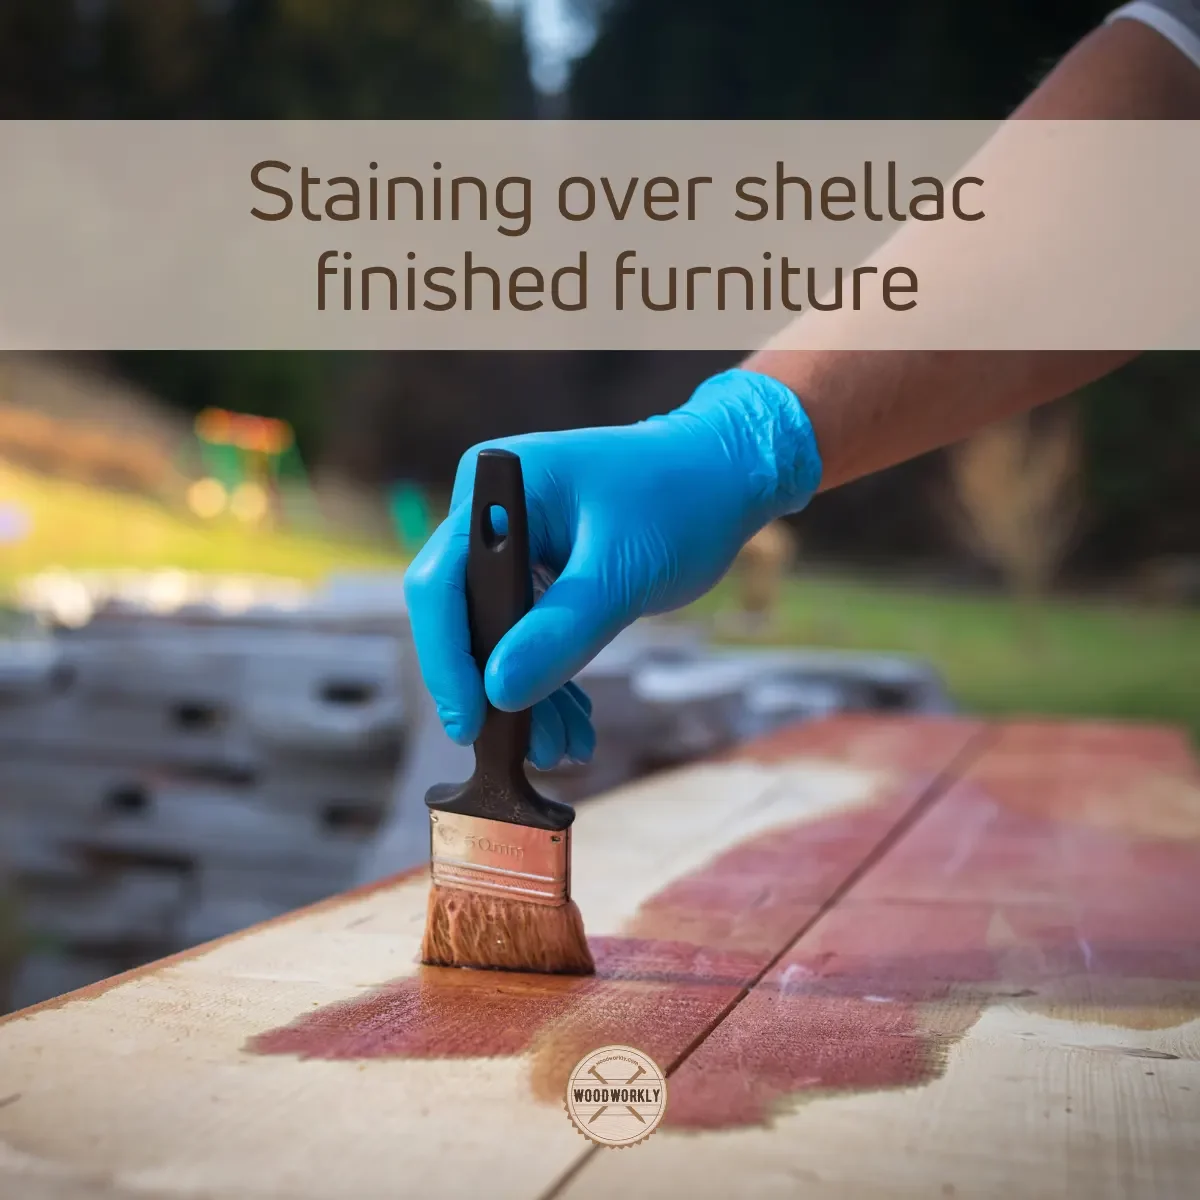
How To Stain Over Shellac?
Staining over shellac is easy. I highly recommend you use a fresh stain that can stick well onto the wood and apply thin coats to dry faster.
Thinning shellac before applying is good to apply a thin coat of shellac which makes wood stain easier to stick onto the wood.
But if you have already finished the wood with shellac, forget about thinning. It’s just an optional step.
You can achieve the same results by making wood stain easier to stick onto the wood by light sanding the shellac coat before staining.
Here’re the steps you need to follow stain over shellac,
- Thin shellac
- Sand and clean the wood
- Apply shellac on wood
- Let the wood dry
- Light sand the wood
- Apply wood stain
- Seal the stain
Please ignore the 1st, 2nd, 3rd, and 4th steps if your furniture is already finished with shellac and willing to apply stain over it.

Let’s discuss each of the above steps in detail to stain over shellac without messing things up.
Tip:
Better to practice shellac over the stain with scrap wood from the same wood. This way you can identify whether wood takes stain well or not.
1. Thin Shellac
Before applying shellac over the wood, thin it by mixing it with denatured alcohol in the mixing container.
Mix one part of shellac with two parts of denatured alcohol and mix well without letting to form bubbles since bubbles are hard to avoid once they get stuck in a thick shellac coat.
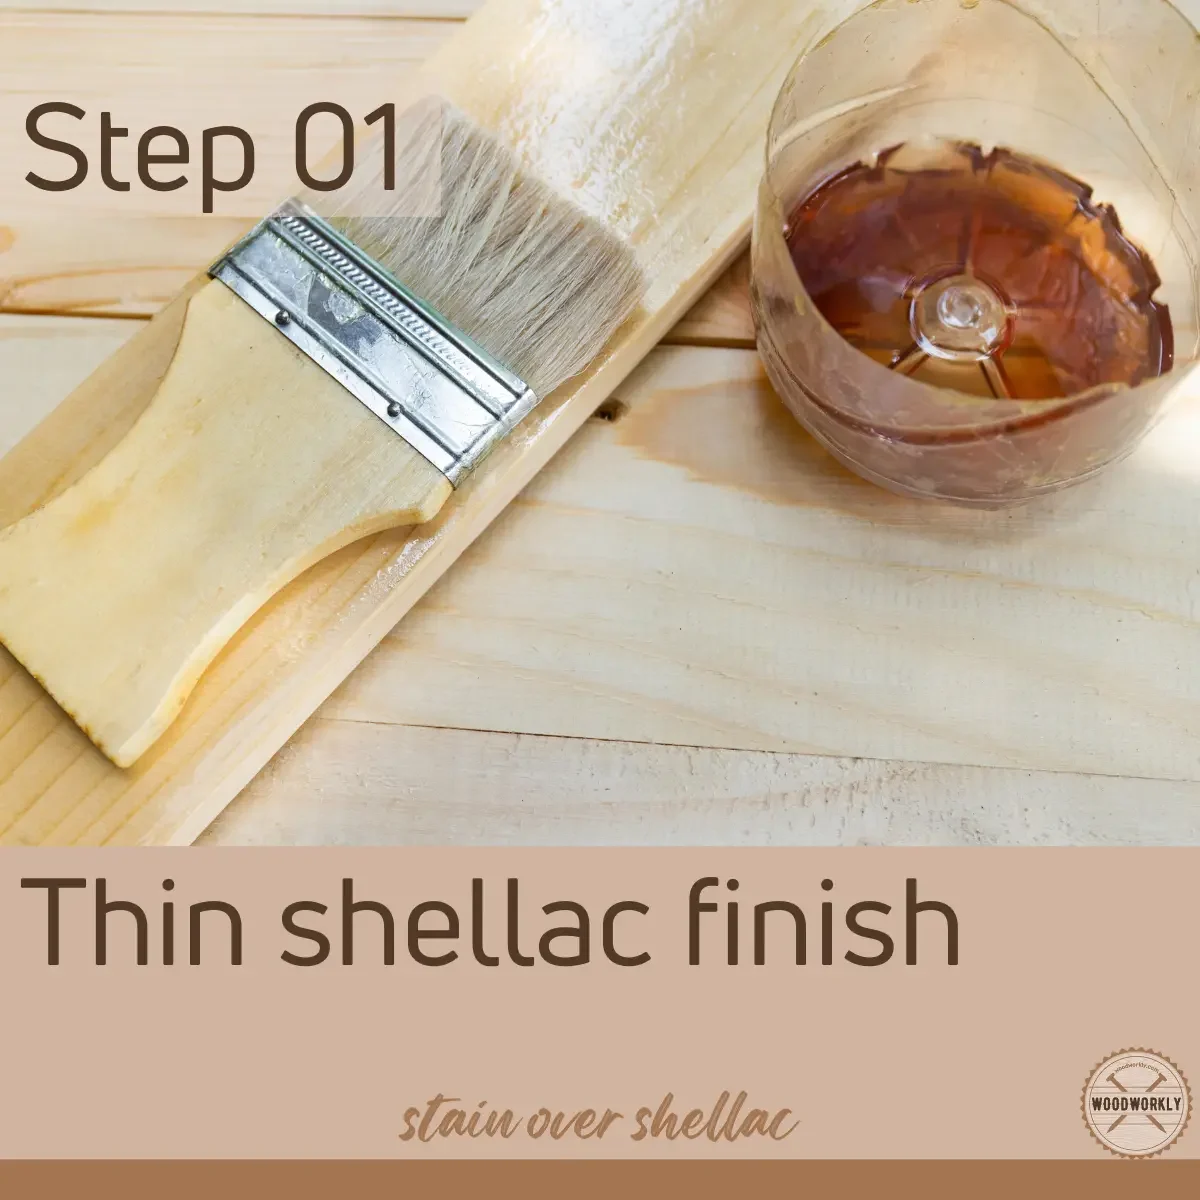
After mixing both for a few minutes, your shellac is thinned enough to apply to the wood. Close and seal the container until the application process begins.
2. Sand And Clean The Wood.
Before applying shellac to wood, clean the wood properly by removing dust and debris.
When the wood surface is clean enough, sand the entire surface with 320 grit sandpaper lightly without leaving scratch marks on the wood.
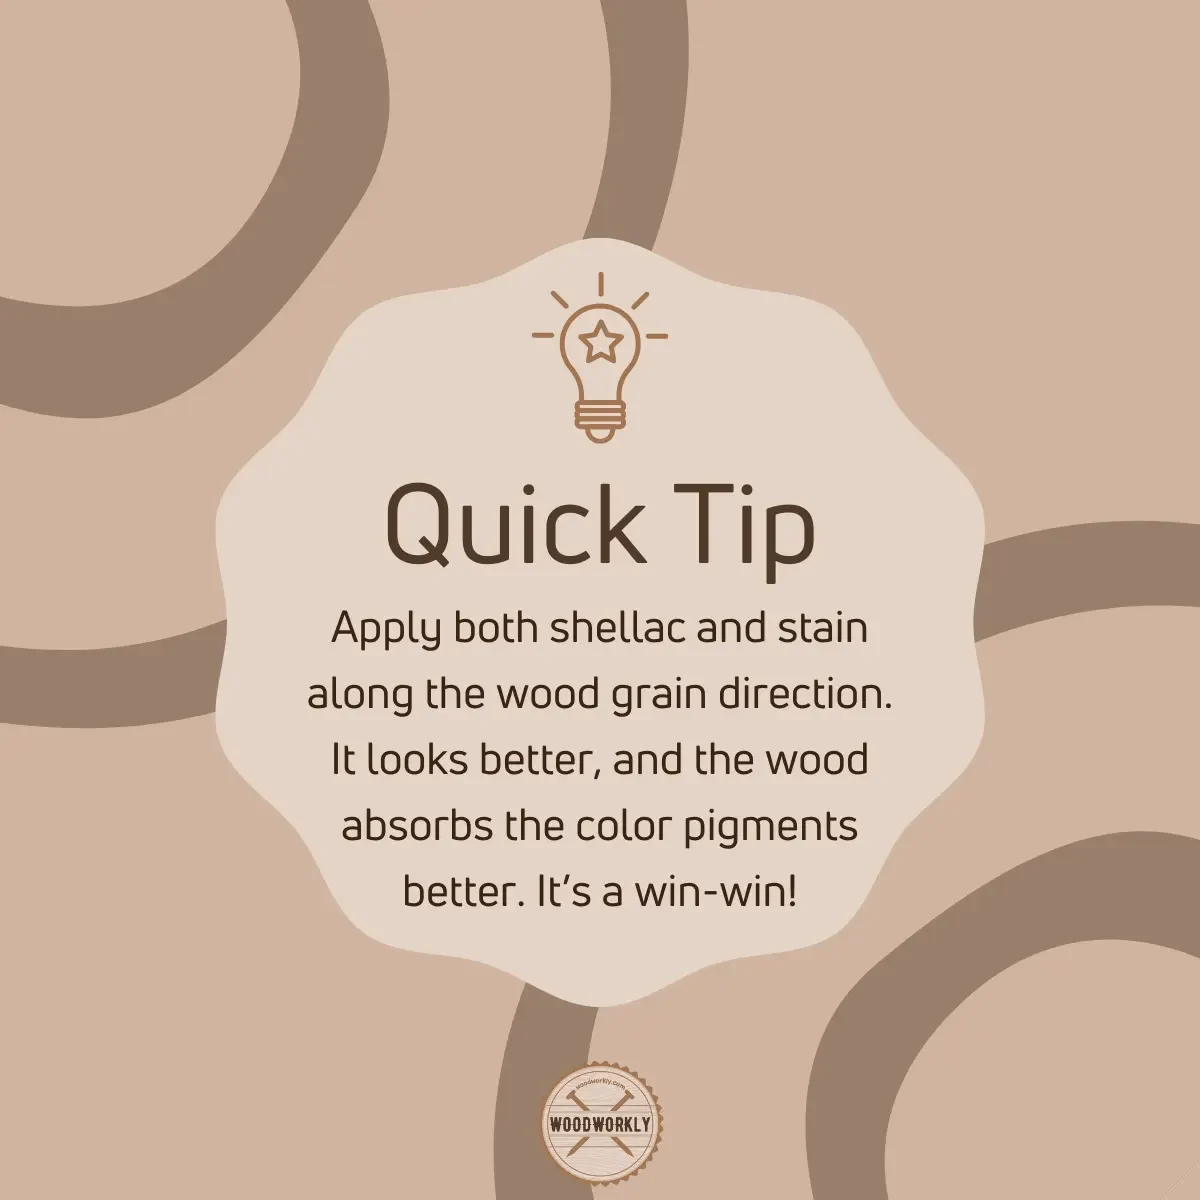
Sand with even pressure along the direction of the wood grain to achieve a super smooth surface.
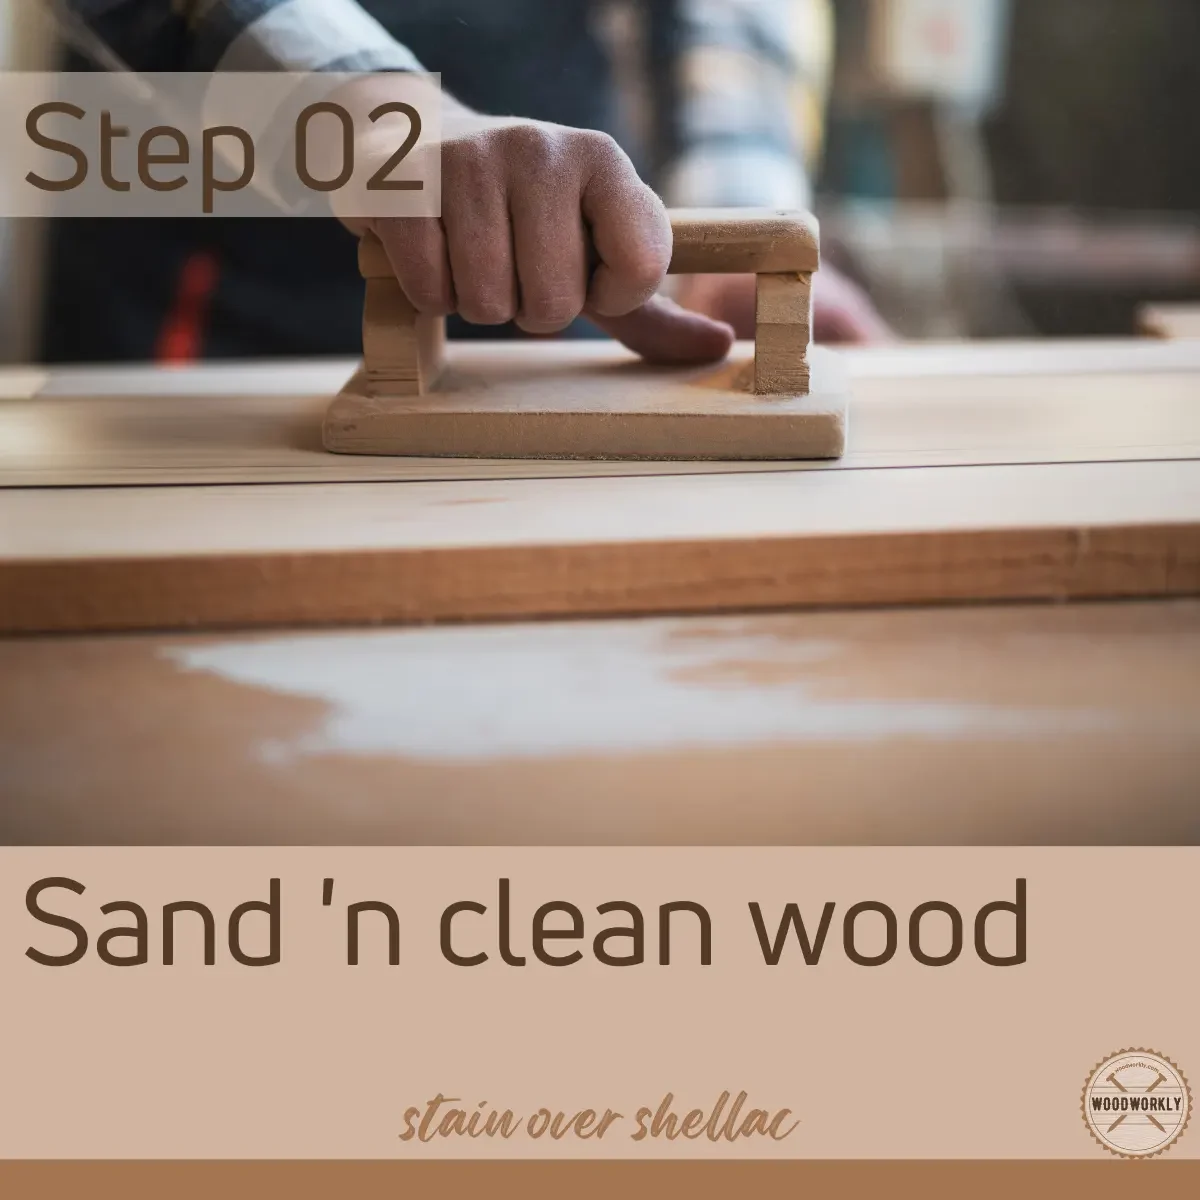
Sanding opens up the pores on the wood surface and makes it easier to absorb shellac so well without forming a tacky surface.
Once you’re done with sanding, remove sawdust using a dust collection pipe system or clean the surface well using clean rags.
Now your wood is super ready to take on shellac.
3. Apply Shellac On the Wood
Before applying shellac on wood, you should make a cotton ball as the applicator.
First, take the cotton cloth and roll and wrap it like a little ball. Or you can place a small piece of cotton in the middle of the cotton cloth and wrap the cotton cloth around it.
However, the shape should look like a ball made of cotton.
The round ball area is what saturate with shellac that contact with the wood surface while the head part is used for handling the ball.
Tie the top part of the cotton ball with a rubber band and close it securing the ball. This is what we dip in shellac and wipe on the surface to apply the shellac coat.
Flatten the cotton ball before dipping it in shellac to cover a large area of the cotton ball with shellac.
Now open the sealed container with thinned shellac and saturate the cotton ball we made with it and rub it on the wood surface to apply shellac on the wood.
Apply a thin coat of shellac all over the wood surface along the direction of the wood grain.
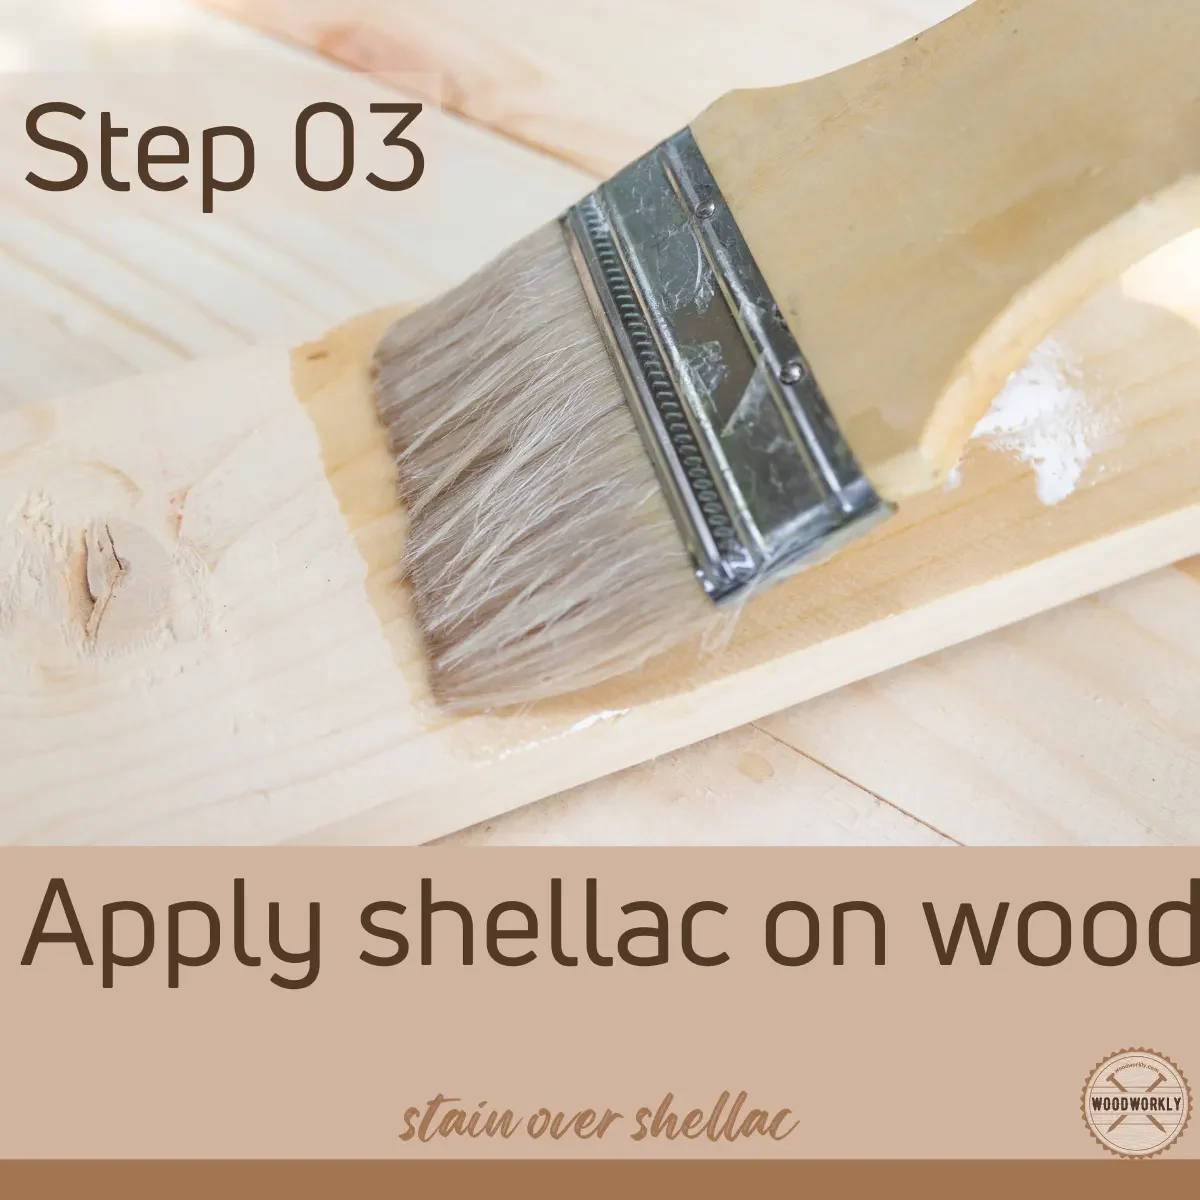
Shellac penetrates the wood quickly and absorbs well into the wood forming a protective coat over the wood.
Applying a thin coat of shellac is essential for fast and efficient drying. Plus, it helps stains to stick better onto the surface.
Re-saturate the cotton ball repeatedly until the whole wood surface is covered with a thin coat of shellac.
4. Let The Shellac Coat Dry
After applying the first coat of shellac let it dry for around 1 hour. After that, you can apply another coat of shellac, or you can directly head into the applying stain.
But that depends on how deep you want to saturate the wood with shellac.
If you want to get a deep dark color with a thick protective coat over the wood, apply 2 – 3 coats of shellac before applying the wood stain.
If you need a thin light coat of shellac, a single coat of shellac is totally fine.
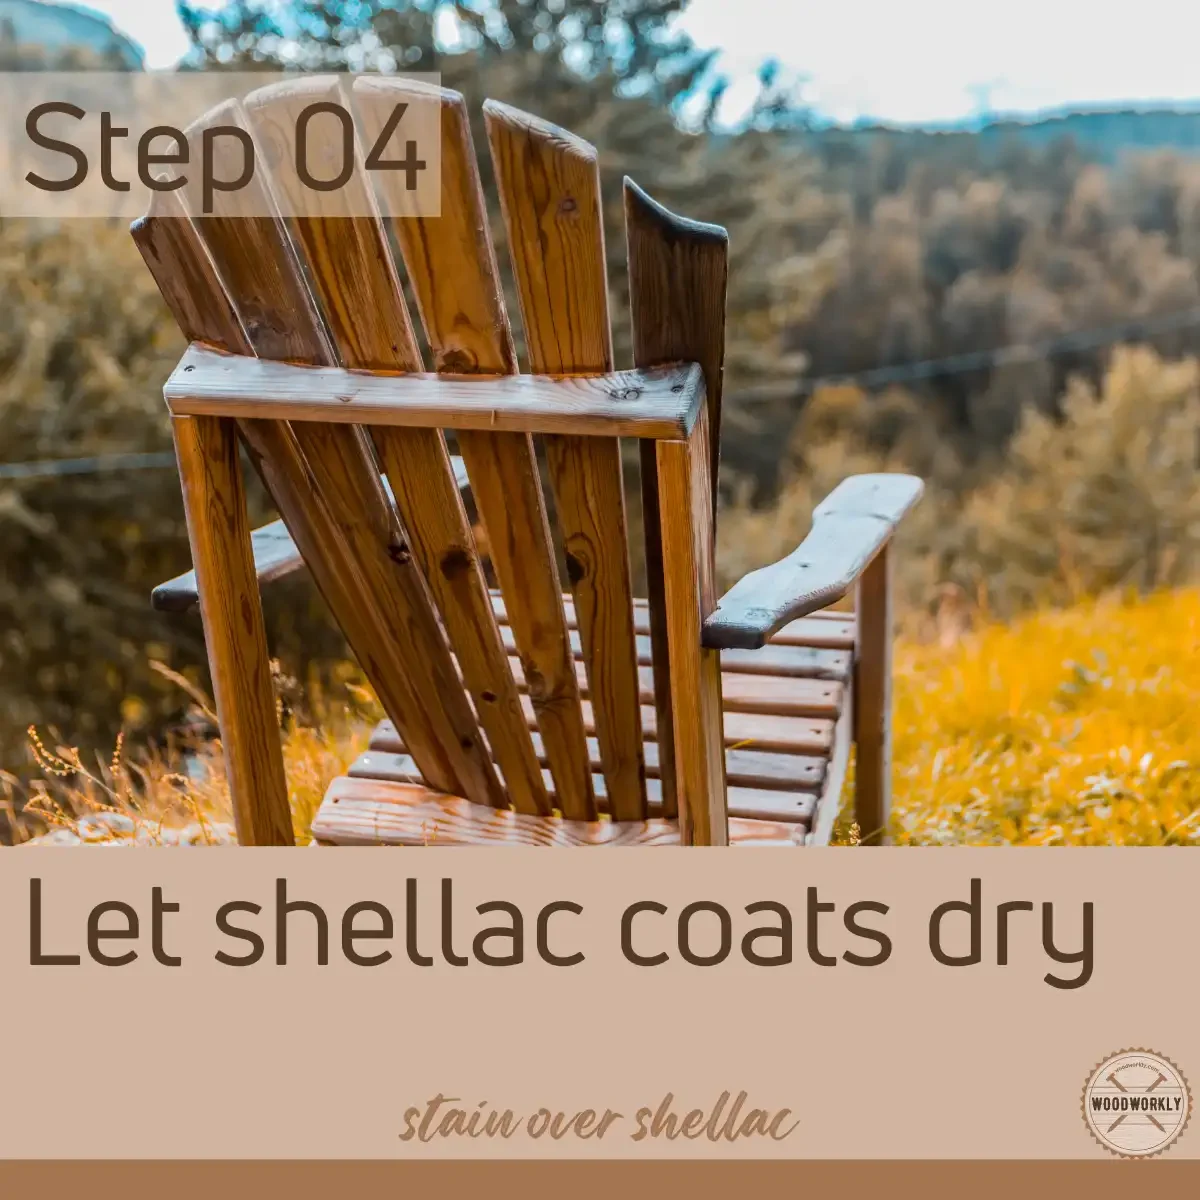
Applying many shellac coats before the stain reduces the absorption rate of the stain. Therefore, I highly recommend you not to go above 2 coats of shellac since that makes the staining process hard.
After applying shellac coats let the final coat dry and cure for at least 4 to 6 hours before applying wood stain.
5. Light Sand The Wood
When the final coat of shellac is dried properly after 4 to 6 hours you should lightly sand the entire shellac coat with super fine grit or 400 grit sandpaper to give adhesive properties to the shellac coat to stick with the stain coat.
Make sure to clean the surface well with clean rags before light sanding the surface.

Sand along the direction of the wood grain with even pressure to make the surface super smooth while giving adhesive properties to the coat.
Tiny ridges on the surface appear upon light sanding. The stain will penetrate the wood through those ting ridges to stick well with the shellac coat.
Once you’re done with sanding, clean the surface well with clean rags to remove dust and residues.
6. Apply Wood Stain
Now take the wood stain can and dip the edge of the paintbrush in it and apply a thin coat of stain along the direction of the wood grain all over the wood.
Or you can use a sprayer to apply a thin coat of wood stain, which makes the application process lot easier and help the stain coat to dry faster.
Apply a thin coat of stain with even pressure to get an even color all over the wood.
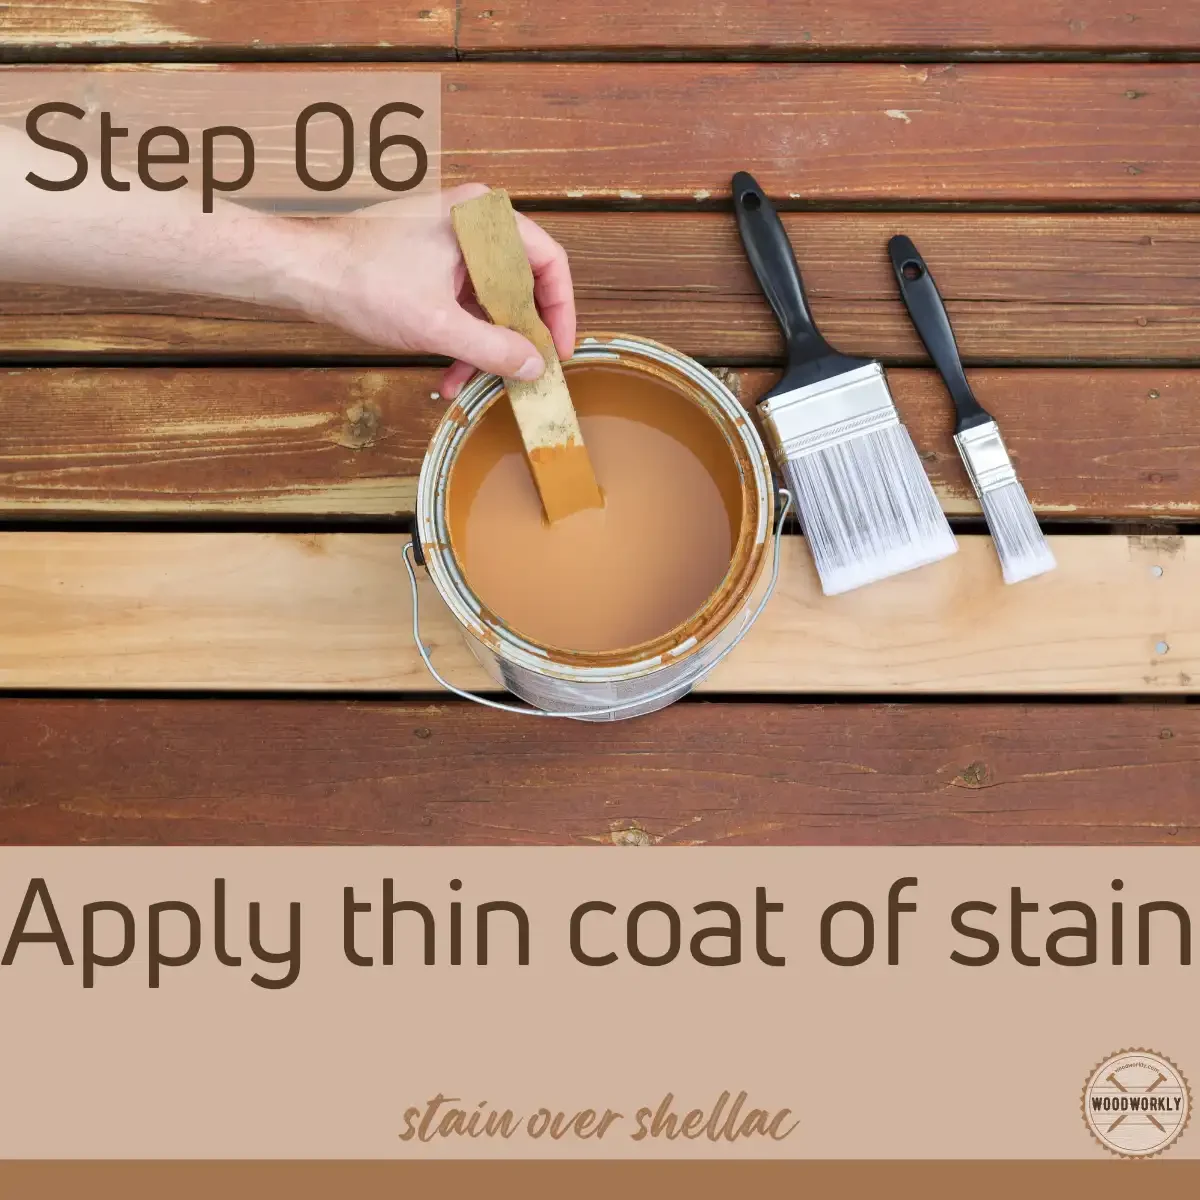
Remove the excess by wiping with a clean tack cloth after 30 minutes of the application once the stain settles on the wood.
Apply 3 to 4 coats of stain and make sure to let each stain coat dry and cure well before applying another lightly sand the previous stain coat before applying another to stick better onto the surface with good adhesion.
After applying the final coat of stain. Let it dry properly and sand gently with 400 grit sandpaper before sealing the wood.
7. Seal The Stain Coat
After applying the final coat of stain, you can seal the stain coats with a waterproof sealer because the stain is not too resistant to water. Its main task is to color tint the shellac.
So, seal the wood when the stain coat is fully dried and cured with a waterproofing sealer such as polyurethane, polycrylic, varnish, or wax.
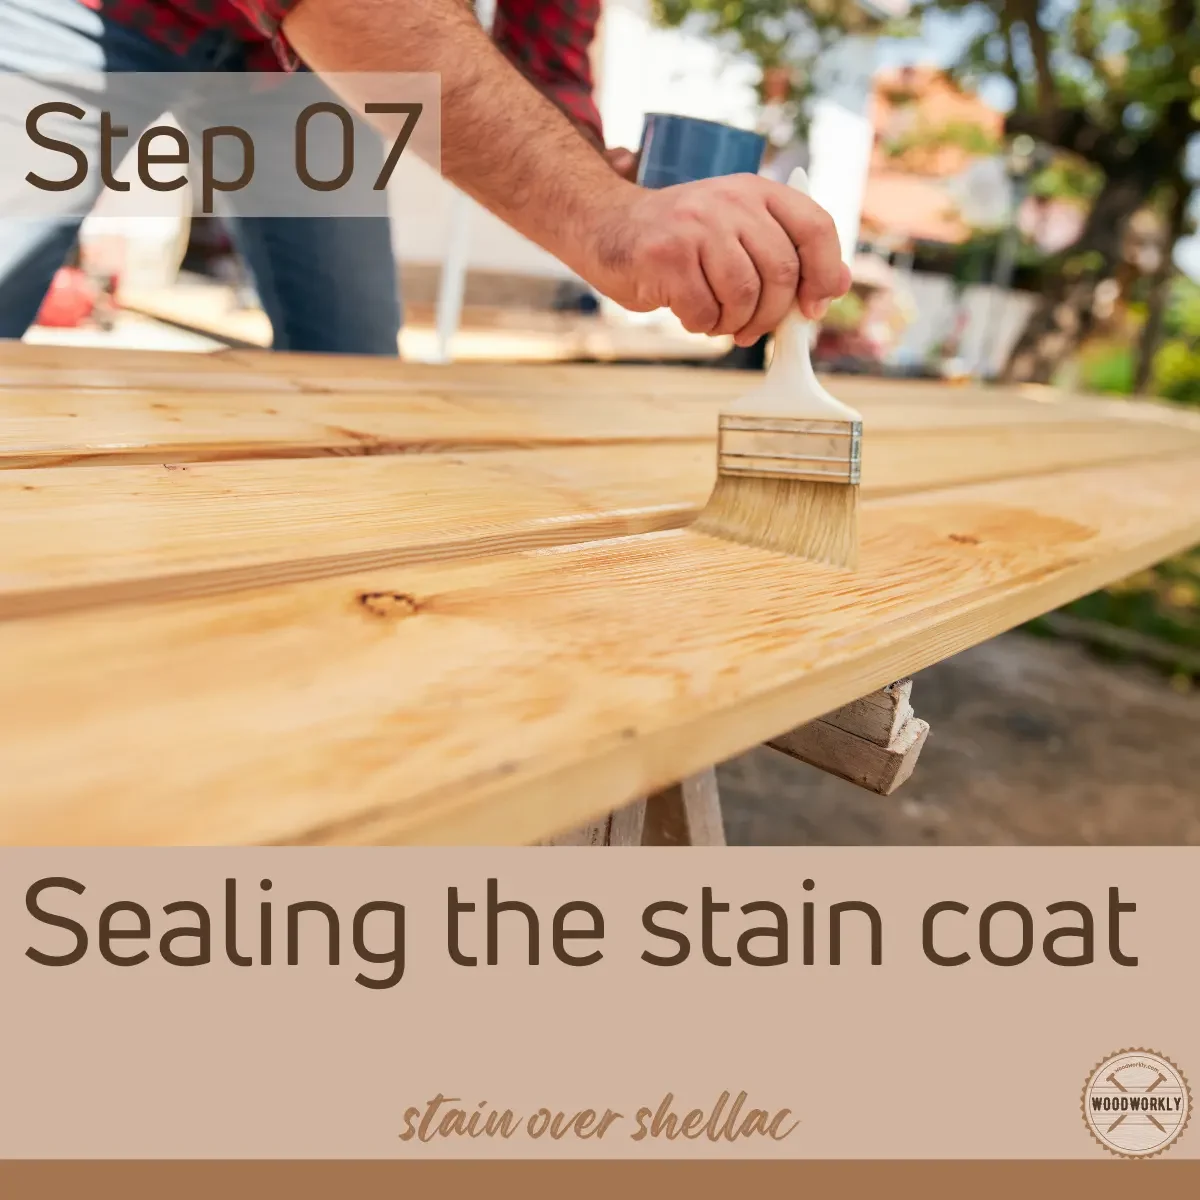
The sealer will make a clear glossy coat over the stain that helps the wood to get protected from environmental elements while enhancing the wood’s appearance.
That’s it, folks! That’s how you should stain over shellac properly without messing things up.
Can You Gel Stain Over Shellac?
Yes, you can gel stain over shellac since gel stain sits on the shellac surface without penetrating the wood.
Shellac has already sealed in the pores of the wood and you need to select a wood stain that mostly stays and sits on the surface without trying to go deep into the wood.
Gel stain is so good to apply above the shellac coat since it attaches well onto the shellac and is able to apply with no wood stains mistakes like forming blotches and streaks.
Gel stain is one of the best to apply over shellac without occurring trouble.
How Long Should Shellac dry Before Staining?
Let the shellac dry for 4 to 6 hours before staining since the shellac need to dry and cure properly before applying stain. Applying stain on a wet coat of shellac from never drying tacky surface.
Plus, applying stain on a wet shellac coat destroys the wood’s appearance.
After 4 to 6 hours shellac reaches its final appearance and builds a strong protective coat over the wood.
Water-based shellac dries faster than oil-based shellac. Therefore, oil-based shellac takes about 8 hours to dry.
Therefore, if you applied oil-based shellac wait at least 8 hours to dry before staining the wood.

Therefore, wait until the shellac coat dries completely and do a light sanding with 400 grit sandpaper before staining to build good adhesion between shellac and stain with no layer separation.
Light sanding helps the wood stain to stick well onto the shellac coat underneath.
Let’s answer some frequently asked questions.
Can You Shellac Over Stain?
Yes, you can shellac over stain only if the wood takes stain so well without forming blotches or streaks.
Here’re some of the woods that takes stan so well forming an even finish,
- Ash
- Hickory
- Oak
After applying stain coats, let it dry and lightly sand before applying shellac to build a good adhesion between shellac and stain.
Can You Paint Over Shellac?
You cannot paint over shellac. First, you should remove the shellac on the surface by dissolving it with denatured alcohol and then applying paint.
Soak a clean rag in denatured alcohol and rub it on the shellac surface thoroughly to remove shellac from the surface.
After that let the surface dry properly. Then clean it with rags and apply primer before applying paint.
When the primer hits the surface, let it dry and apply paint over it. Basically, you cannot apply paint directly over shellac since the glossiness of shellac does not adhere to paint.
Plus, the pores of the wood are already sealed with shellac and paint has nothing to stick onto. Therefore, prepare the surface first by removing the shellac and then apply the paint.

How Do You darken the Shellac Finish?
You can darken the shellac finish by mixing the shellac in denatured alcohol, thin it, and apply. Then apply dark color wood stain over shellac. This tints the shellac finish and gives a dark color to the shellac finish.
Make sure to let each coat dry properly before applying another and lightly sand the dried shellac coat well before applying wood stain to hold the stain well on the shellac coat.
Stain is what makes the shellac finish darker.
Can You Tint Shellac With Stain?
Yes, you can tint shellac with stain. Select the stain from your preferred color and apply it over the shellac finish to tint the shellac with the stain.
Make sure to let the shellac coat dry for 4 to 6 hours before staining and light sand before staining to adhere the stain well onto the shellac finish.
Did I cover all you wanted to know about: Can You Stain Over Shellac?
In this article we reviewed, can you stain over shellac and how to do that, and what kinds of wood as good to apply shellac first and then stain and what isn’t. we discussed some tips and tricks to make your project succeed.
You can stain over shellac if the wood is non-porous and does not take stain so well. Apply shellac along the wood grain and let it dry for 4 to 6 hours and stain it. Light sand the shellac coat before applying the stain to hold the stain coat well onto the shellac.
Furthermore, I’ve answered some frequently asked questions as well.
Hope you learned everything you wanted to know about, can you stain over shellac in detail.
Try to apply shellac over stain with the things you learned and comment down the question that may occur during the project.