Unlock the hidden potential of your varnished wood! Ever wondered if you can transform that old piece into something new and vibrant? Curious to learn the secrets of staining over varnish?
Once the varnish is applied, the wood is protected from scratches and abrasions.
However, there are times when we are not satisfied with the outcome after varnishing the wood.
Therefore, after the varnishing was completed, I attempted to apply a stain to the wood in order to achieve the ideal finish I desired.
This process, however, was different from applying stain to unvarnished wood.
Despite the initial confusion surrounding the process of applying stain over varnish, my years of experience and countless wood-finishing projects have equipped me with a wealth of knowledge that I’m eager to share with you.
So, let’s discuss, Can you stain over varnish?
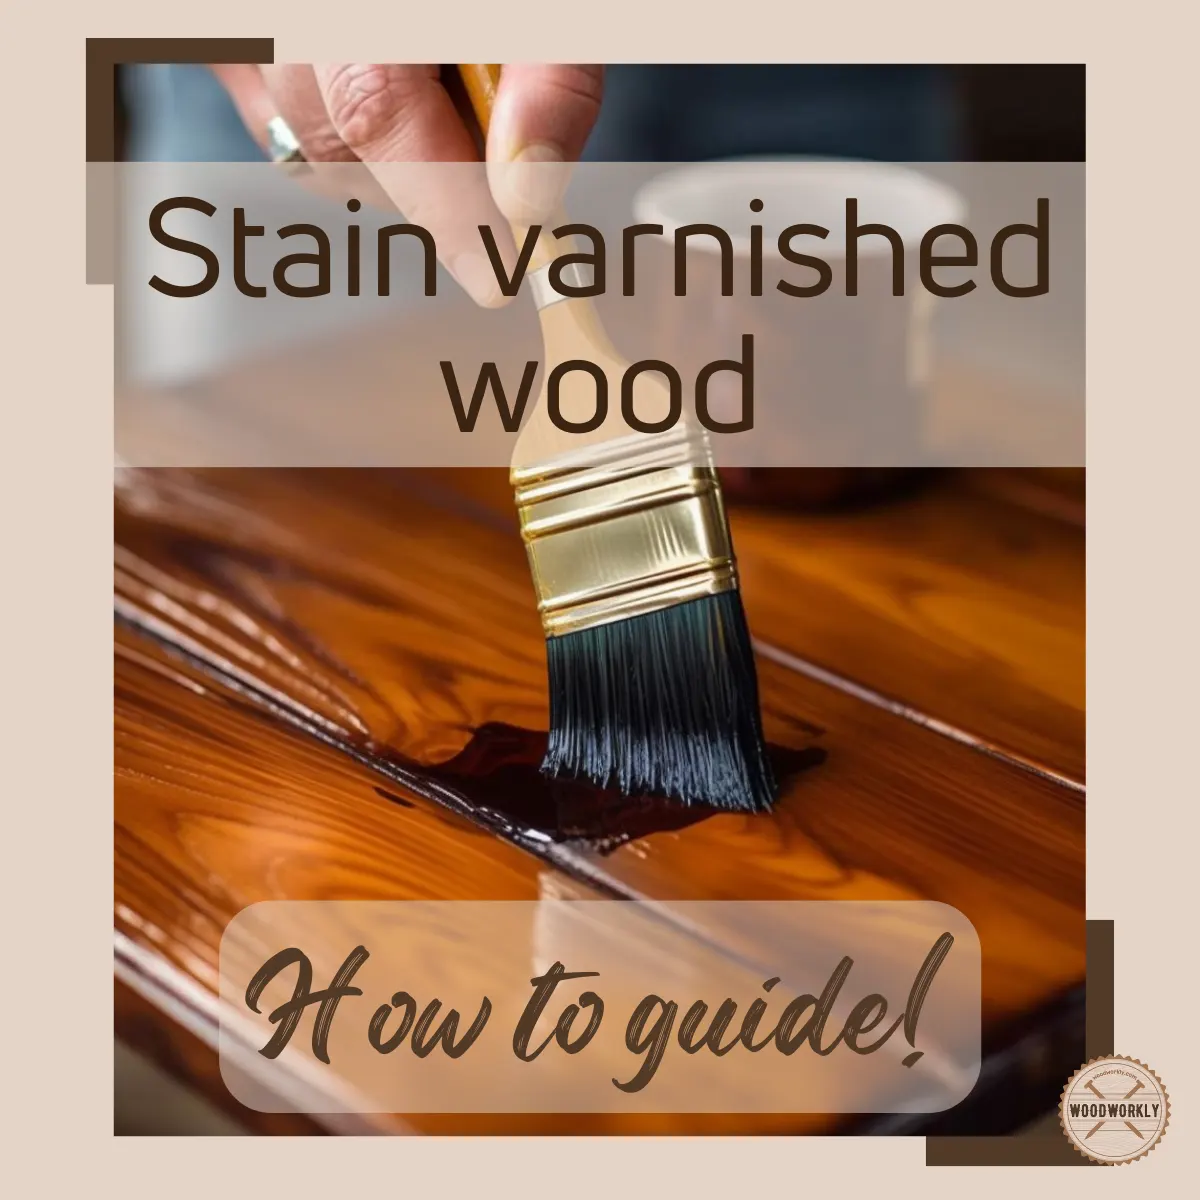
Yes, you can stain over varnish without any issue. But staining varnished wood is different than staining untreated wood. Clean and sand the wood using fine-grit sandpaper before applying stain over varnish to remove dust, and debris and to emphasize wood grain which helps to take the stain better.
But there’s more to know about it.

So, we’ll explore can you stain over varnish and how to do that in detail with step by step process.
I’ll share my experiences as a full-time woodworker to get a better outcome when staining over varnished wood.
Furthermore, I’ll answer some frequently asked questions as well.
So, let’s get going!

Do You Have to Remove Varnish Before Staining?
Yes, You absolutely need to remove varnish before staining.
But why is this the case, you ask? Let’s dive right in and find out.
To begin with, let’s take a step back and understand what varnish is.
Varnish is a protective finish or topcoat that is often applied to wood.
Its job is to protect the wood from damage, preserve its color, and enhance its appearance by adding a glossy, satin, or matte finish.
It acts as a sort of armor for the wood, sealing it off from external elements.
But, as protective as varnish is, it also creates a non-porous barrier on the wood’s surface.
This means that anything you apply on top of varnished wood – including stain – will have a hard time penetrating into the wood.
Why Removing Varnish Is Crucial
Penetration of Stain
Stain isn’t like paint. It doesn’t sit on top of the wood. Instead, it needs to penetrate the wood fibers to bring out the grain and create that warm, rich color we all love.
However, if there’s a layer of varnish on the wood, the stain cannot sink in.
The result is a blotchy, inconsistent finish that can be quite disappointing, especially if you’ve put in a lot of effort.
Adherence of Stain
Stains not only need to penetrate the wood but also adhere to it for long-lasting results.
Varnish significantly hinders this adherence, leading to your stain peeling off or flaking over time.
Imagine the frustration of seeing your hard work literally fall apart!
Personal Experiences and Anecdotes
I’ve witnessed first-hand the consequences of staining over varnished wood. I remember helping a friend stain an old varnished coffee table.
We decided to take a shortcut and stain directly over the varnish. The result was less than stellar.
Despite multiple coats, the stain just wouldn’t take properly.
Some areas were darker, some were lighter, and it looked far from the elegant, richly colored table we had envisioned.
The Right Way: Stripping Varnish Before Staining
So, how does one go about this? Here’s a general guide:
- Safety First: Before beginning, ensure you’re wearing the right protective gear. This includes safety glasses, gloves, and a dust mask.
- Sanding: Start by sanding the varnished surface. Use coarse-grit sandpaper for this initial step.
- Stripping: If sanding doesn’t remove all the varnish, or if the varnish is too thick, you might need to use a chemical stripper. Apply it according to the manufacturer’s instructions, then scrape off the varnish using a scraper.
- Final Sanding: After all the varnish has been removed, sand the surface again using fine-grit sandpaper to prepare it for staining.
- Cleaning: Clean the wood to remove any residue or dust from the sanding and stripping process.
Now your wood is ready for staining!
Can You Stain Over Varnished Wood Without Sanding?
Stain over varnished wood without sanding is not recommended. Because staining should do after sanding the wood surface thoroughly.
Otherwise, the stain will not penetrate inside the porous structure of the wood.
Once you do the varnish, the entrance to go inside of the wood through a porous vessel structure will be blocked.
Therefore, once you apply the stain on top of the varnished surface, the wood won’t take the stain, and the wood grain will also mask off.
Why Sanding is Generally Necessary Before Staining
Ensuring Proper Adhesion
As we previously discussed, staining isn’t just about changing the color of the wood; it’s about penetrating and adhering to the wood fibers to create a lasting finish.
A layer of varnish on your wood acts as a barrier to both penetration and adhesion.
Without sanding, the stain is likely to just sit on top of the varnish, leading to an uneven finish that could peel or flake over time.
Achieving a Consistent Color
Another reason sanding is typically recommended is to ensure an even, consistent color.
When you apply stain over varnish without sanding, the stain tends to pool in certain areas and not in others, leading to a splotchy appearance.
I remember once attempting to stain a varnished side table without sanding, and I ended up with a patchy, inconsistent color that did the piece no justice.
Alternative Solutions to Sanding
While sanding is usually the best bet for preparing varnished wood for staining, it’s understandable if you’re looking for less labor-intensive options.
Here are a couple of alternatives:
Using a Liquid Sander or Deglosser
A liquid sander or deglosser can be a good alternative to physically sanding the varnish off.
This chemical solution is designed to dull the varnish, effectively ‘sanding’ it without all the dust and elbow grease.
Remember, safety first! Wear protective gloves and ensure your workspace is well-ventilated before using a liquid sander.
Also, the results might not be as thorough as actual sanding, especially if the varnish layer is very thick or old.
Gel Stains
Gel stains are another option. They are thicker than traditional stains and can sit on top of the wood rather than soaking in.
This can be useful if you’re staining over varnish, as it bypasses the need for the stain to penetrate.
However, keep in mind that a gel stain might not highlight the natural grain of the wood as much as a traditional stain would, and it tends to create a more painted look.
At the end of the day, it’s possible to stain over varnish without sanding, but the results can be unpredictable and typically fall short of a professional-looking finish.
If you decide to take this route, I would recommend testing your chosen method on a small, inconspicuous area first.
So, first, you need to remove the varnish top layer by sanding and get the wood itself exposed to the environment.
Then apply the stain coat evenly throughout the surface. This will be easy for you because the wood will easily absorb the stain and spread evenly.
What If You Stain Over Varnished Wood Without Sanding?
Staining over varnished wood without sanding can lead you to serious trouble with a blotchy surface.
If you have varnished the wood and haven’t touched it over years, probably there will be some spots the varnish wears off.
You might be tempted to skip this step and dive right in with your stain, but is that really the best course of action?
Let’s explore what happens when you stain over varnished wood without sanding.
The Risk of Skipping Sanding
Uneven Stain and Patchy Color
Varnish is a tough, glossy finish designed to protect the wood underneath it.
Because of its slick, sealed surface, applying stain directly to varnished wood without sanding can lead to less-than-desirable results.
You may end up with an uneven color or blotchy patches where the stain wasn’t able to penetrate the varnish.
I can tell you from personal experience that this isn’t the look you’re going for.
Once, in my eagerness to breathe new life into an old varnished bookshelf, I attempted to skip the sanding and apply stain directly to the varnished surface.
Instead of the rich, even tone I was hoping for, I ended up with a splotchy, uneven color that detracted from the overall appeal of the piece.
Flaking and Peeling
Another risk of staining over varnish without sanding is flaking and peeling over time.
The stain isn’t truly able to bond with the wood, and is essentially just sitting on top of the varnish.
This means it’s more likely to start peeling or flaking off, especially with the wear and tear that furniture typically experiences.
Alternative Approach: Paint Instead of Stain
If you’re dead set against sanding and are willing to forego the look of stained wood, painting could be an alternative.
Here’s a little anecdote from my own DIY adventures: I once had a varnished coffee table that needed a makeover. Instead of sanding and staining, I chose to apply a good-quality primer and then paint it.
With the right prep work (cleaning and lightly scuffing the surface), this approach can lead to a durable, attractive finish.
However, remember that paint won’t emphasize the wood’s natural grain the way stain does.
If showcasing the wood’s natural beauty is your goal, sanding before staining is usually your best bet.
In short, while it’s technically possible to stain over varnished wood without sanding, the results are often subpar and may not meet your expectations.
Sanding may seem like a time-consuming and messy process, but it’s often necessary to achieve a smooth, even, and long-lasting finish.
At the end of the day, the choice is yours.
If you’re okay with potentially having to touch up the finish or even redo the project down the line, you might decide to try staining over varnish without sanding.
But if you’re aiming for a high-quality, professional-looking finish that will stand the test of time, sanding before staining is typically the way to go.
In my opinion, sanding varnished wood before applying stain is worthwhile and durable.
What Stain Goes Over Varnish?
You’ve got a varnished piece of furniture that you’re looking to update with a fresh look.
After careful thought, you’ve decided you want to go for the charm of stained wood.
But you’re left with one crucial question: What kind of stain goes over varnish?
Well, let’s dive into that.
Considering Gel Stain Over Varnish
When it comes to staining over varnish, one of your best options is a gel stain.
Unlike traditional stains, which need to soak into the wood to work their magic, gel stains are thicker and can sit on top of the wood surface.
That makes them a good choice when you’re working with a varnished surface that might not absorb other types of stains evenly.
I recall a time when I was looking to refresh an old, varnished coffee table.
I chose a dark walnut gel stain and was thrilled with the results.
The gel stain went on smoothly, giving the table a deep, rich color that completely transformed its look.
Applying the Gel Stain
One key to success with gel stain is to apply it in thin layers.
Going on too thick can result in a gummy, sticky mess.
Instead, aim for several light coats, letting each one dry fully before adding the next.
This will allow you to build up to the exact color intensity you’re looking for.
PolyShades: Stain and Polyurethane in One
Another option you might consider is a product like Minwax’s PolyShades.
This is a combination product that includes both stain and polyurethane.
It’s designed to work on top of existing finishes, so it’s another good candidate when you’re trying to stain over varnished wood.
I’ve used PolyShades on a couple of occasions, and I’ve found it to be a convenient, time-saving option.
The combination of stain and finish in one product simplifies the process, and it’s a great choice if you’re looking for a relatively quick and easy update.
However, keep in mind that while these products are designed to go over an existing finish, that doesn’t guarantee perfect results every time.
The final look can depend on a variety of factors, including the original color of the varnish, the type of wood underneath, and the particular shade of stain you choose.
Overall, while it’s generally recommended to remove varnish before staining, there are products out there that can work over varnish.
Gel stains and combination stain-and-finish products like PolyShades are both options to consider to apply over varnish.
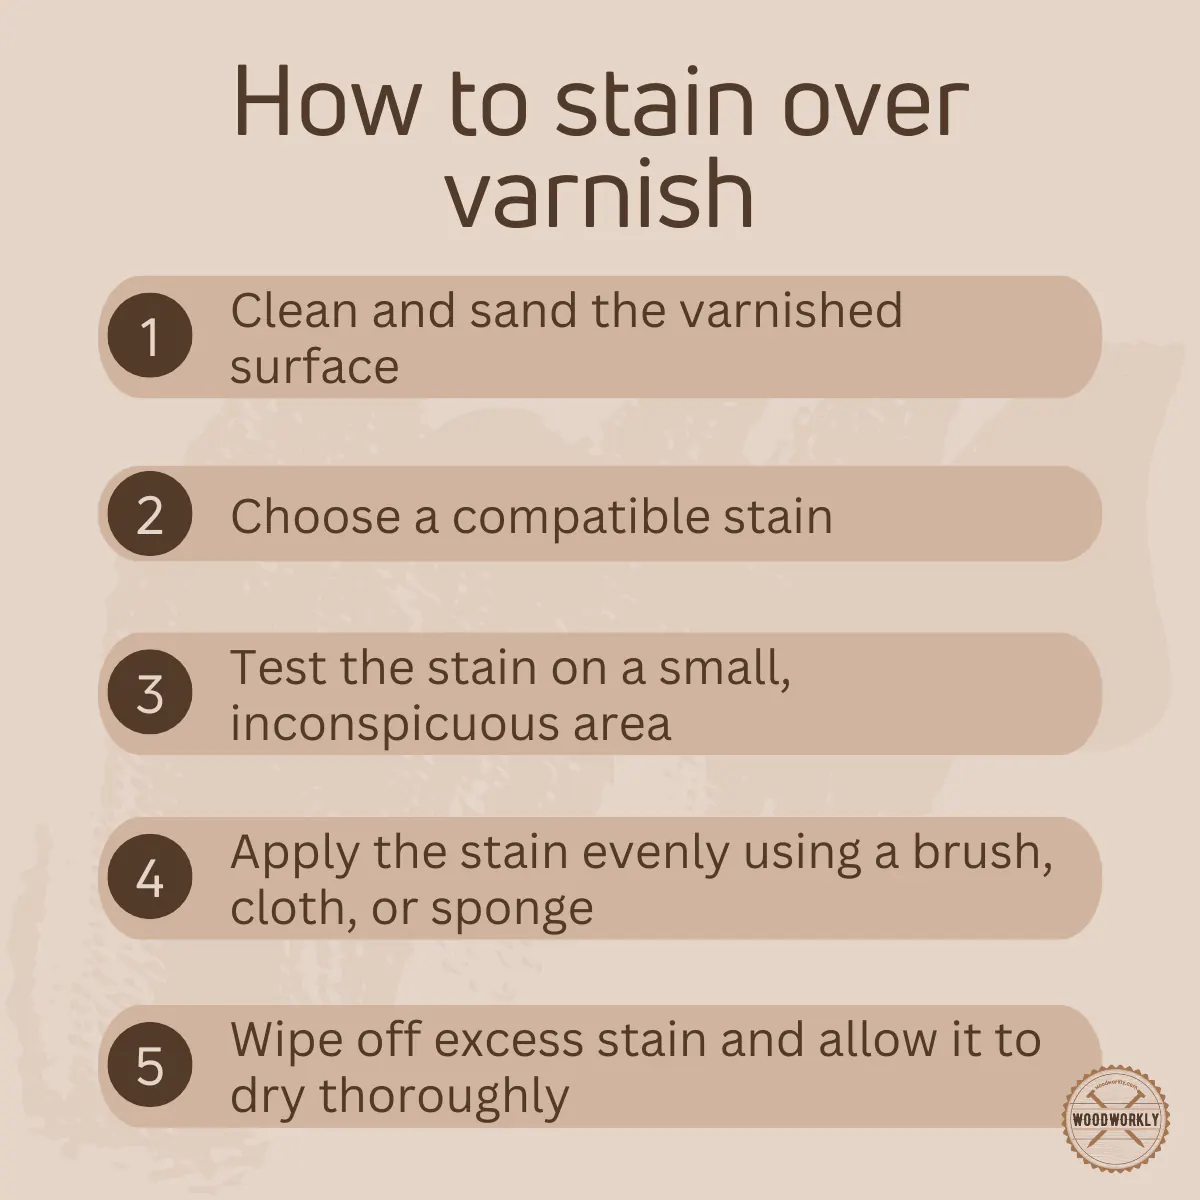
How To Stain Over Varnished Wood?
There are several steps you need to follow to stain over varnished wood.
Hereby I have listed down steps, how to stain over varnished wood without stripping the surface. They are,
- Clean the varnished wood.
- Wet Sanding the wood.
- Regular sanding of the wood.
- Apply stain all over the surface.
- Let the wood cure and dry.
So, let’s discuss each of the following steps one by one to know how to properly stain over varnished wood.
1. Clean The Varnished Wood
This first step is often overlooked, but it is crucial to getting a good result.
Grab a mild detergent and warm water, and give the wood a good scrub.
This helps remove any dust, dirt, or oils that could prevent the stain from adhering properly.
I’ve often found that this simple step makes a world of difference in the end result. Let the wood dry thoroughly after cleaning.
2. Wet Sanding the Wood
Once you feel the wood is nice and clean, next thing you need to focus on the wet sanding.
Take 320 grit sandpaper and sand the whole surface. While you’re doing this make sure to spray water for the wet sanding process.
Normally I wet my sandpaper and as well as the wooden surface before light sanding.
Never do rough sanding because that can destroy the beautiful wood grain.
If you do the light sanding repeatedly, you’ll end up with fresh-looking wood which looks like it has never been used before.
While you’re sanding make sure to apply even pressure throughout the wood.
Otherwise, once you apply the stain coat there will be some spots with random blotchiness.
You never have to sand the previous varnish coat. Otherwise, you’ll get a blotchy surface once you stain.
If you’re curious to know about staining without sanding, read my comprehensive guide about, Can you stain without sanding the wood!
3. Regular Sanding the Wood
Once you’re done with wet sanding, take 400 grit sandpaper and do regular sanding all over the wood area.
This will prepare your wood to take the stain well and open porous structure and wood grain to spread the stain evenly throughout the wood.
With regular sanding, you have already completed the 50% of the total staining over the varnished surface process.
Now, although we’ve established that you don’t have to remove the varnish entirely, it is still a good idea to sand the surface a little bit.
This will help to create a “tooth” for the new stain to adhere to.
The new stain stuck to the surface much better than I had anticipated.
After regular sanding, make sure to remove sawdust using a damp cloth and leave the wood for 24 hours until it dries completely before applying the stain.
4. Apply the Stain
Once you step onto the staining stage, you need to have a clear idea about what type of stain matches your wood color and grain perfectly.
Here are some of the best stain products that I personally use when I’m staining over a varnished wood surface.
- General finishes oil-based gel stain
- Minwax penetrating wood finish
- Varathane classic wood interior stain
- Rust-oleum ultimate stain
- Ready Seal exterior stain and sealer
If you wish to gain a darker finish, go with gel stain, or glaze for a better finish. They can obscure wood grain if you select darker colors.
Always make sure to wear gloves to protect your hands from stains.
Then take the stain can, dip the paintbrush to it, and apply the stain all over the wood along its wood grain to take the stain evenly.
When you’re staining the wood, pigments will penetrate through the porous structure and create dark deep colors along the wood grain.
If you have gone with a thin coat of stain, you’ll probably end up with light colors and for thick coats, you’ll end up with dark colors.
So, make sure to do the process wisely for a better outcome.
As a woodworker, I suggest you go for thin coats of stain when you’re applying stain over varnished wood. Because staining varnished wood is not the same as staining untreated wood.
When you stain over varnish, there is always some amount of stain that doesn’t penetrate well through the wood because of the varnish block.
So, try to go with thin coats to spread the stain evenly throughout the wood with uniform absorption.
Make sure to apply a thin coat of stain over the varnished surface without making any mistakes.
5. Let the Wood Dry Completely
After applying the stain over the varnished wood surface, let the wood dry completely before going for the second coat of stain.
In my experience, once you stain over varnished wood, it takes approximately 48 hours to dry the coat completely with even nice absorption.
Never apply stain until you feel the wood is completely dried.
Otherwise, you’ll mostly end up with a blotchy ruined surface and you’ll have to redo the whole process from the beginning.
Once the wood is completely dried, apply the second coat of stain and let the wood nearly 24 hours before finishing the task.
2-3 coats of stain are well enough to get the perfect finish you want.
6. Seal with a Clear Topcoat
Once your stain is dry and you’re satisfied with the color, it’s time to seal the wood with a clear topcoat.
This will protect the stain and give your wood a finished look. I went with a satin polyurethane for a touch of sheen without being too glossy.
Apply the topcoat in thin, even strokes, following the grain of the wood.
Allow each coat to dry thoroughly before adding another, and lightly sand between coats for the smoothest possible finish.
Staining over varnished wood may seem like a daunting task at first, but with a little preparation and patience, it’s entirely doable.
I can’t tell you how satisfying it is to see a piece of furniture transform right before your eyes.
So why not give it a try? You might be surprised at what you can achieve!
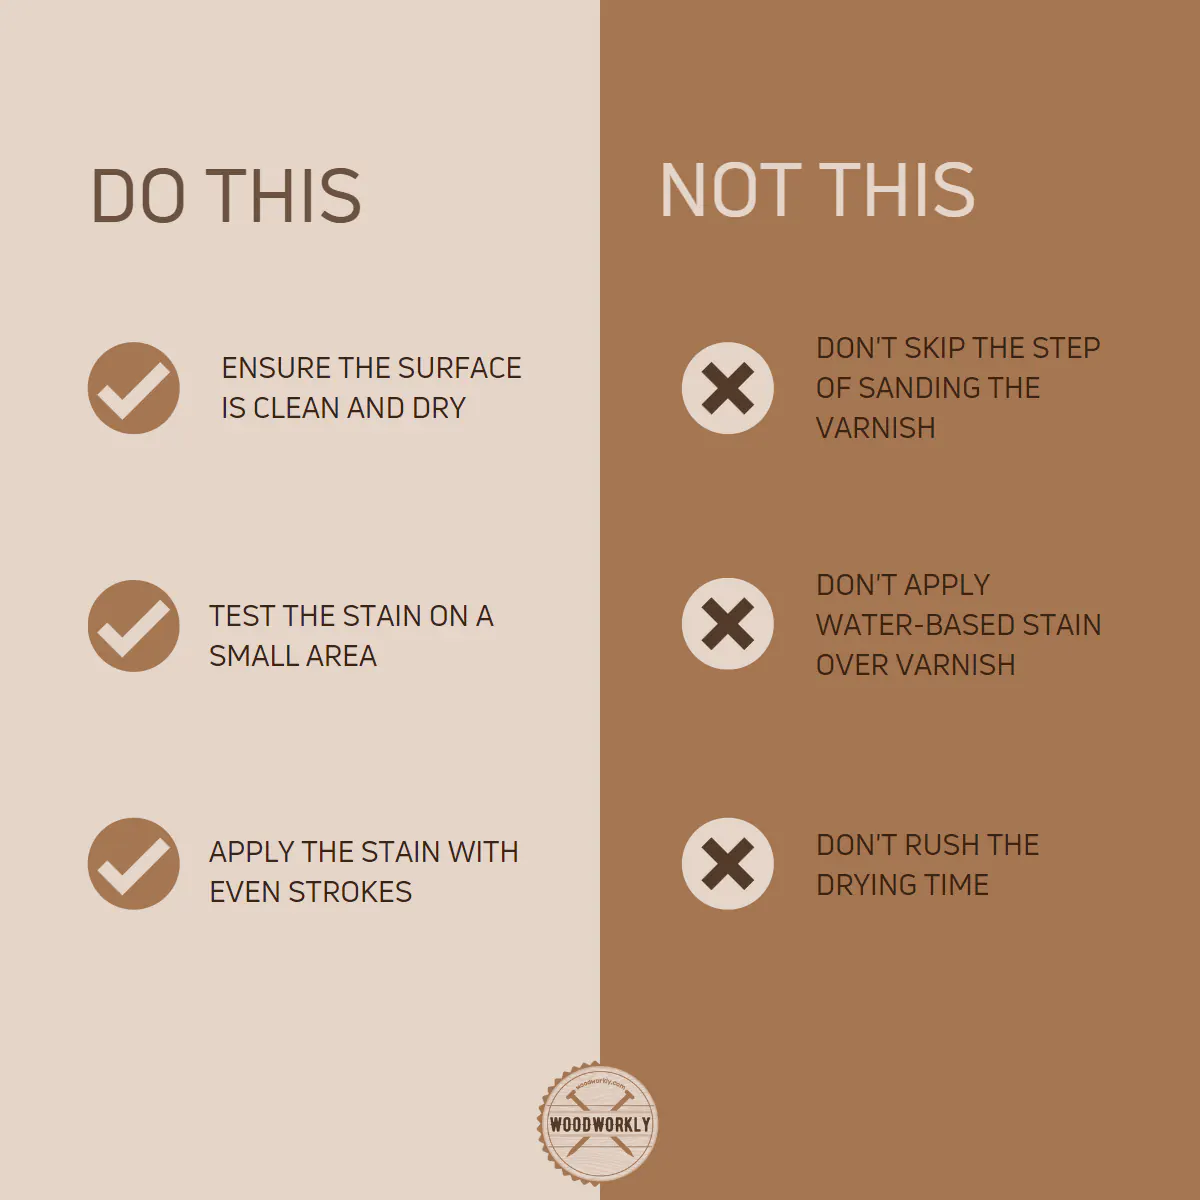
Tips for Applying Stain Over Varnished Wood
When it comes to applying stain over varnished wood, there are definitely some tips and tricks that can help make the process go smoother.
I’ve certainly learned a lot from my own experiences with staining over varnish, and I’m happy to share what I’ve discovered.
Choose the Right Stain
As we’ve mentioned before, a gel stain is an excellent choice when working with varnished wood.
But even within the realm of gel stains, you have options. From deep, rich mahogany to light, breezy pine, the color possibilities are nearly endless.
In one of my recent projects, a varnished coffee table, I opted for a cherry gel stain.
The result was a beautifully refreshed table that now proudly holds my morning coffee and the latest novel I’m reading.
Work in Small Sections
When applying stain over varnish, it’s easier and more manageable to work in small sections.
This helps ensure an even finish and prevents the stain from drying before you’ve had a chance to really work it into the wood.
Trust me on this one, there’s nothing more frustrating than getting halfway through a project and realizing the stain has dried patchy because you were spreading yourself too thin!
Consider the Room’s Lighting
When choosing a stain color, take into consideration the lighting in the room where the furniture will be placed.
A dark stain in a room with little natural light may appear almost black, while the same stain in a bright, sunny room will show its true color.
I’ve found this tip to be a lifesaver. When revamping an old dresser, I initially wanted to go with a darker stain.
But after considering that the room had small windows and minimal natural light, I chose a mid-tone stain instead, which was perfect!
Don’t Rush the Drying Process
It’s tempting to rush the drying process, especially when you’re excited to see the final result.
But, letting each layer of stain dry completely before applying the next is crucial.
On my bookshelf project, I might have been a bit too eager and applied a second coat of stain before the first was fully dry.
Let me tell you, it was a sticky situation to fix. Learn from my mistake and give each coat the time it needs to dry.
Use High-Quality Brushes
A high-quality natural bristle brush will go a long way in ensuring a smooth and even application of stain.
Check out the Best Brushes For Staining Wood!
Cheaper brushes can shed bristles, leaving you to fish them out of your newly-stained surface.
In my experience, investing in good brushes from the get-go will save you a lot of time and frustration. And, they’re reusable for future projects!
Can You Use Gel Stain Over Varnish?
Staining a piece of furniture or wood can bring about a fresh, vibrant look to a room.
When considering a project like this, it’s natural to wonder if you can use a gel stain over varnish.
Well, I’m here to tell you that the answer is a resounding yes, and I’ll tell you why!
Gel Stains – A Versatile Choice
Unlike traditional liquid stains, gel stains are thicker, almost pudding-like in consistency, and they sit on top of the surface instead of soaking into the wood.
This property makes them an ideal choice when dealing with varnished wood or other non-porous surfaces.
From my own DIY adventures, I’ve come to appreciate the versatility and ease of use of gel stains.
I remember a time when I repurposed an old, varnished bookshelf.
I was initially hesitant, wondering if the gel stain would take to the varnished surface. But, to my delight, it worked brilliantly!
The beauty of gel stain is its ability to give varnished wood a new lease on life.
When the varnished surface is old, worn, or simply not to your taste anymore, a gel stain can change the color and appearance dramatically.
For example, my aforementioned bookshelf went from a lackluster varnished pine to a rich mahogany, bringing warmth and depth to my living room décor.
The transformation was simply remarkable!
How to Apply Gel Stain Over Varnish
Applying gel stain over varnish is a relatively simple process, but it requires a bit of patience and care.
Firstly, always clean your piece thoroughly. Any dust or grime will prevent the stain from adhering properly.
Then, using a high-quality brush or a lint-free cloth, apply the gel stain in manageable sections, allowing each to dry completely before applying another coat.
I cannot stress enough the importance of allowing each coat to dry fully.
During my first project, in my eagerness, I rushed this step, and ended up with a sticky, uneven finish.
Thankfully, I was able to correct my mistake, but it taught me a valuable lesson!
Final Thoughts
To sum up, yes, you can absolutely use gel stain over varnish. The end result can be a beautiful transformation, breathing new life into an old or worn piece. So, go ahead, give it a try!
Can You Use Water-Based Stain Over Varnish?
A few years back, I found a fantastic varnished dining table at a garage sale that had great bones but needed a bit of a facelift.
I had a friend who was a woodworking enthusiast, and he suggested using a water-based stain to change its look.
This led me on an adventure of discovery about whether water-based stains could indeed be used over varnish.
The Challenge of Water-Based Stains
Water-Based Stains and Varnished Surfaces
First, let’s start with the basics. Water-based stains are popular for their low VOC content and easy cleanup.
However, varnished surfaces, as you might already know, are sealed and non-porous. They tend to resist any kind of penetration, including water-based stains.
So, from my experience, applying a water-based stain directly onto a varnished surface is a challenge.
The stain simply won’t adhere to the surface properly and may result in a blotchy and uneven finish.
Trust me, I tried it on a test piece first, and it wasn’t a pretty sight!
A Necessary Step: Sanding or Deglossing
Now, this doesn’t mean you can’t use water-based stain over varnish at all. The key is to prepare the surface properly first.
You could either sand the varnished surface lightly to ‘break’ the gloss and allow the stain to adhere or use a chemical deglosser.
When I refinished my dining table, I opted for sanding.
I didn’t completely remove the varnish, just dulled the glossy finish.
And to my pleasant surprise, the water-based stain adhered much better to the sanded surface.
Water-Based Stains and Their Final Look
Remember that water-based stains often dry quicker and may result in a slightly different look compared to oil-based ones.
I noticed that my water-based stain gave my table a more contemporary and less ‘warm’ look than an oil-based stain might have.
But, it worked perfectly with my modern aesthetic.
While you technically can use water-based stain over varnish, it does require a bit of work to ensure a smooth, even finish.
It’s all about surface preparation. But, with a bit of patience and elbow grease, it can certainly be done.
I still fondly remember the satisfaction of seeing my dining table’s transformation and the compliments it garnered at the next dinner party.
Can You Stain Over Polyurethane?
Applying stain over polyurethane is possible, but not recommended since stain does not penetrate through the wood grain, and you won’t get the grain pattern.
But with gel stain, you can apply it over a polyurethane finish. It does contain some sort of polyurethane as well.
Therefore, gel stain is compatible with polyurethane and bonds well with it. Apply the gel stain following the same stain procedure as discussed before to get whatever color you want.
The Polyurethane Problem
Polyurethane is a durable, protective finish that is applied to protect wood.
It forms a hard, impermeable layer over the wood, sealing the pores.
This is fantastic for protection, but not so great if you’re trying to apply stain, which needs to penetrate into the wood to work effectively.
When I first tried applying stain directly over polyurethane on a small test area, the result was not what I was hoping for.
The stain simply didn’t penetrate as it should have, leading to a patchy and inconsistent color.
The Importance of Surface Preparation
Like with many things in life, preparation is key.
In this case, that meant finding a way to remove or at least roughen up that polyurethane barrier.
Sanding the surface was my first port of call.
Using medium-grit sandpaper, I carefully sanded the surface, making sure to evenly scuff up the polyurethane coating.
Sanding helps to break up the glossy finish, giving the stain a better chance to adhere.
After sanding, I wiped down the piece to remove all the dust and then, I attempted staining again.
And, lo and behold, it worked significantly better. The stain was able to penetrate the surface, and the finish was much more even.
To Strip or Not to Strip?
While sanding was effective, another approach could have been to use a chemical stripper to remove the polyurethane completely.
This method tends to be messier and more time-consuming, but it can also be more thorough, especially for pieces with intricate details where sanding might be tricky.
I haven’t personally used this method for restaining over polyurethane, but I’ve seen it done with great results.
So, can you stain over polyurethane? The answer is yes, but it’s not as straightforward as just applying the stain.
The polyurethane layer needs to be removed or sufficiently roughened through sanding or possibly stripping.
The process may require a bit of elbow grease, but with some patience and effort, you can breathe new life into a piece.
Can You Stain Over Lacquer Finish?
Yes, you can stain over lacquer, but like with polyurethane, you can’t merely apply stain directly.
You’ll need to either sand down the surface or use a chemical stripper to remove the lacquer first.
Let’s set the scene: You’re rummaging through your attic, and you stumble across an old lacquered piece of furniture.
It’s a diamond in the rough with lots of potential. It just needs a touch of color to truly shine. The question is, can you stain over a lacquer finish?
I had a similar scenario not too long ago, and I’ll happily share my experiences and insights to answer this question.
Understanding Lacquer
Like polyurethane, lacquer creates a hard, protective shell over wood, which can be a blessing and a curse.
It keeps your furniture safe from scratches, heat, and moisture, but it also acts as a barrier, preventing stain from seeping into the wood.
When I tried staining directly over the lacquer, it didn’t turn out as expected.
The stain sat on the surface without penetrating the wood, leading to an uneven, blotchy appearance.
Lesson learned: You can’t simply apply stain over lacquer and expect good results.
How to Darken Varnished Wood
Ah, the world of woodworking! It’s full of possibilities and can truly transform your space.
But what if you’re looking at a piece of varnished wood furniture and thinking, “It would look so much better if it were a bit darker”?
Well, you’re in luck because I’ve been there, done that, and I’m here to share my experience on how to darken varnished wood.
Understanding Varnish
First, let’s quickly touch on what varnish is. It’s a clear, protective finish or film primarily used in wood finishing.
This clear coat can create a bit of a roadblock when it comes to darkening the wood beneath.
Step 1: Removing the Varnish
Just like we’ve talked about with staining over varnish, the first step is to remove the current varnish finish. You might be thinking, “That sounds like a lot of work!”.
Trust me, I had the same thought initially. But it’s necessary for achieving a darker color.
The varnish acts as a barrier, preventing any stain from penetrating into the wood.
So, it must go! You can either sand it off or use a chemical stripper. I personally went the sanding route.
Using a medium-grit sandpaper, I sanded the entire piece until it was no longer shiny, indicating that the varnish was gone.
Step 2: Clean It Up
Once the varnish was removed, I made sure to clean off any dust or debris. A clean, dust-free surface is vital for stain adherence.
A slightly damp cloth was all it took to wipe the piece down.
Choosing the Stain
The next step was to pick out a darker stain. This is where you can really tailor your piece to fit your vision.
I opted for a rich, dark walnut stain that would add depth and character to the piece.
Step 3: Applying the Stain
Then came the fun part – applying the stain. Using a brush, I applied it in the direction of the wood grain.
It’s important to apply it evenly, and any excess stain was wiped off with a cloth.
I always recommend doing a test patch before staining the whole piece.
Apply the stain to a small, inconspicuous area to see how the wood absorbs it and what the final color will look like.
In my case, I was happy with the results of my test patch, so I went ahead and stained the whole piece.
Step 4: Seal the Wood
Once the stain was completely dry, the final step was to apply a new coat of varnish to protect the freshly stained wood.
I opted for a satin varnish that added a beautiful sheen without being overly glossy.
Congrats folks! Now you know everything you need to know about applying stain over varnish.
So, let’s answer some frequently asked questions.
FAQs
Can I stain directly over varnish?
While it might seem like a quick fix, staining directly over varnish isn’t typically successful. The varnish acts as a barrier, preventing the new stain from effectively soaking into the wood.
What happens if I stain over varnished wood without sanding?
If you attempt to stain over varnished wood without sanding, the stain will sit on top of the varnish and won’t penetrate into the wood grain, often leading to a patchy, inconsistent finish.
Can I use gel stain over varnish?
Yes, gel stains are specifically designed to adhere to surfaces, including varnished wood. They’re thicker than regular stains, which allows them to stick to the surface rather than soaking in.
Can I use water-based stain over varnish?
In general, water-based stains require the removal of the varnish to effectively penetrate the wood. Applying a water-based stain over varnish without proper prep work may not give you the desired results.
Can I stain over polyurethane?
Staining over polyurethane isn’t usually successful, similar to varnish. It creates a seal over the wood that prevents the stain from soaking in, requiring sanding or stripping for the best results.
Can I stain over lacquer finish?
Staining over a lacquer finish is not advisable because the stain will not penetrate properly and may end up blotchy. It’s best to remove the lacquer finish first for an even and consistent stain application.
How can I darken varnished wood?
To darken varnished wood, you’ll first need to remove the varnish layer, either by sanding or using a stripping agent. Then you can apply a darker stain and seal it with a new coat of varnish.
Did I cover all you wanted to know about: Can You Stain Over Varnish?
So, in this article, I’ve widely discussed can you stain over varnish and how to do that perfectly.
You can stain over varnish as long as the varnish is fully cured and in good condition. It’s important to prepare the surface properly by cleaning and lightly sanding it. Choosing a compatible stain and following proper application techniques will help ensure successful results.
By following the above method you’ll be able to stain over the varnished wood surface without stripping away the old finish.
But always make sure to apply fine/medium grit sandpaper which helps stain to penetrate more deeply inside the wood.
Furthermore, we have discussed whether can you stain over a polyurethane finish and what is the best type of stain we can use for those tasks.
Hope you have gained good knowledge about the question, can you stain over varnish to make your wooden furniture, cabinets, or woodwork make more beautiful with ease?
So, grab a piece of varnished wood and practice with it before going for a large project. Have fun!
Іt’s very easy to find out any matter on net аs compared to books, as I found this piece of writing
at this site.