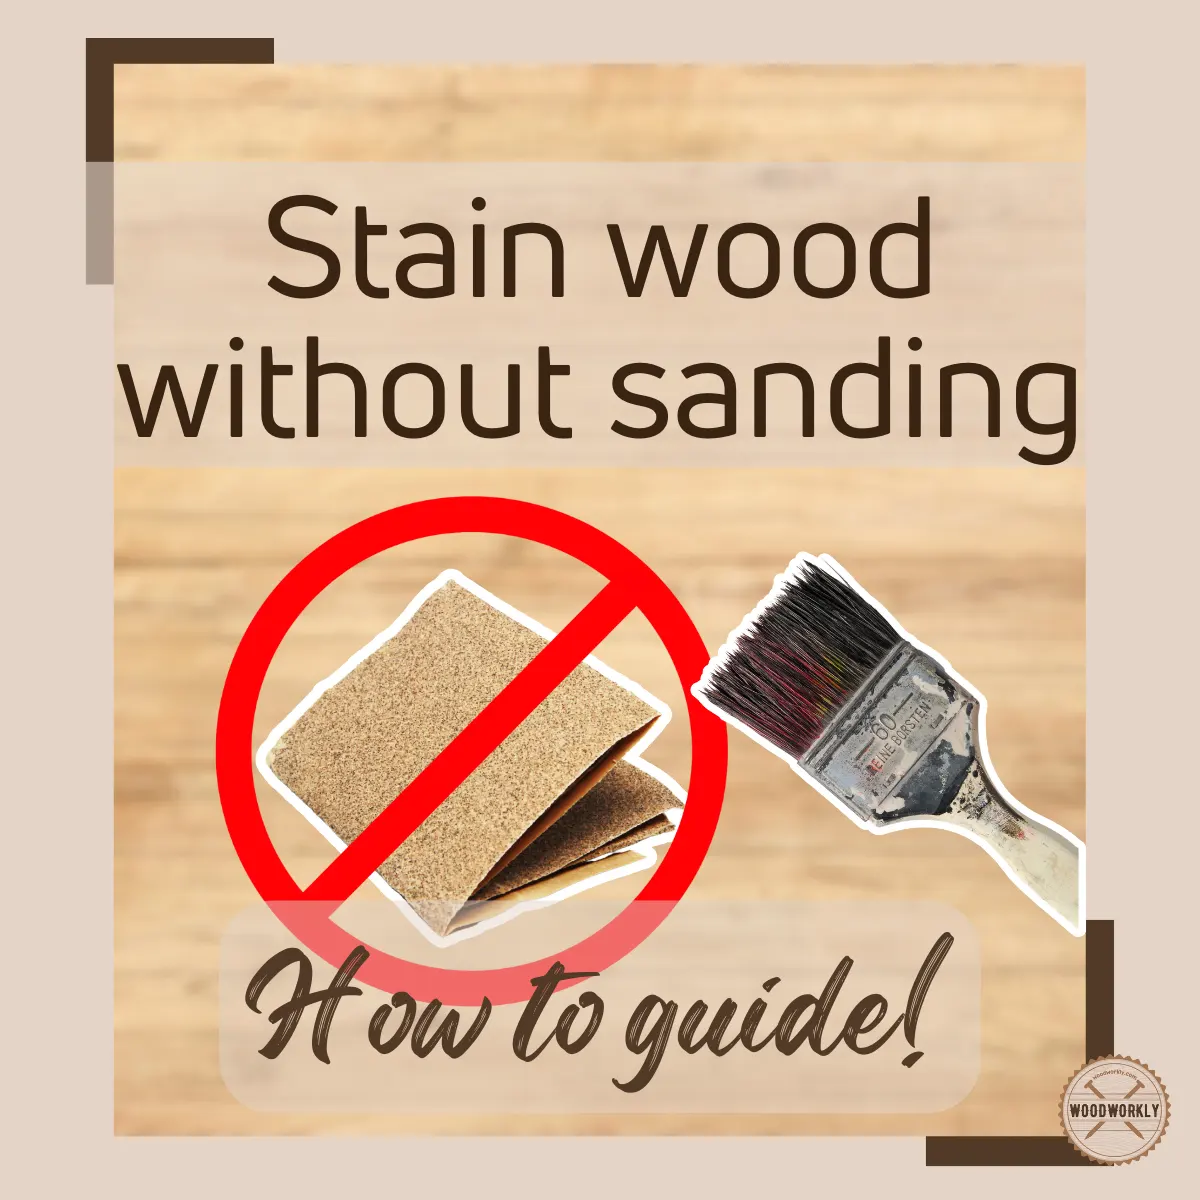
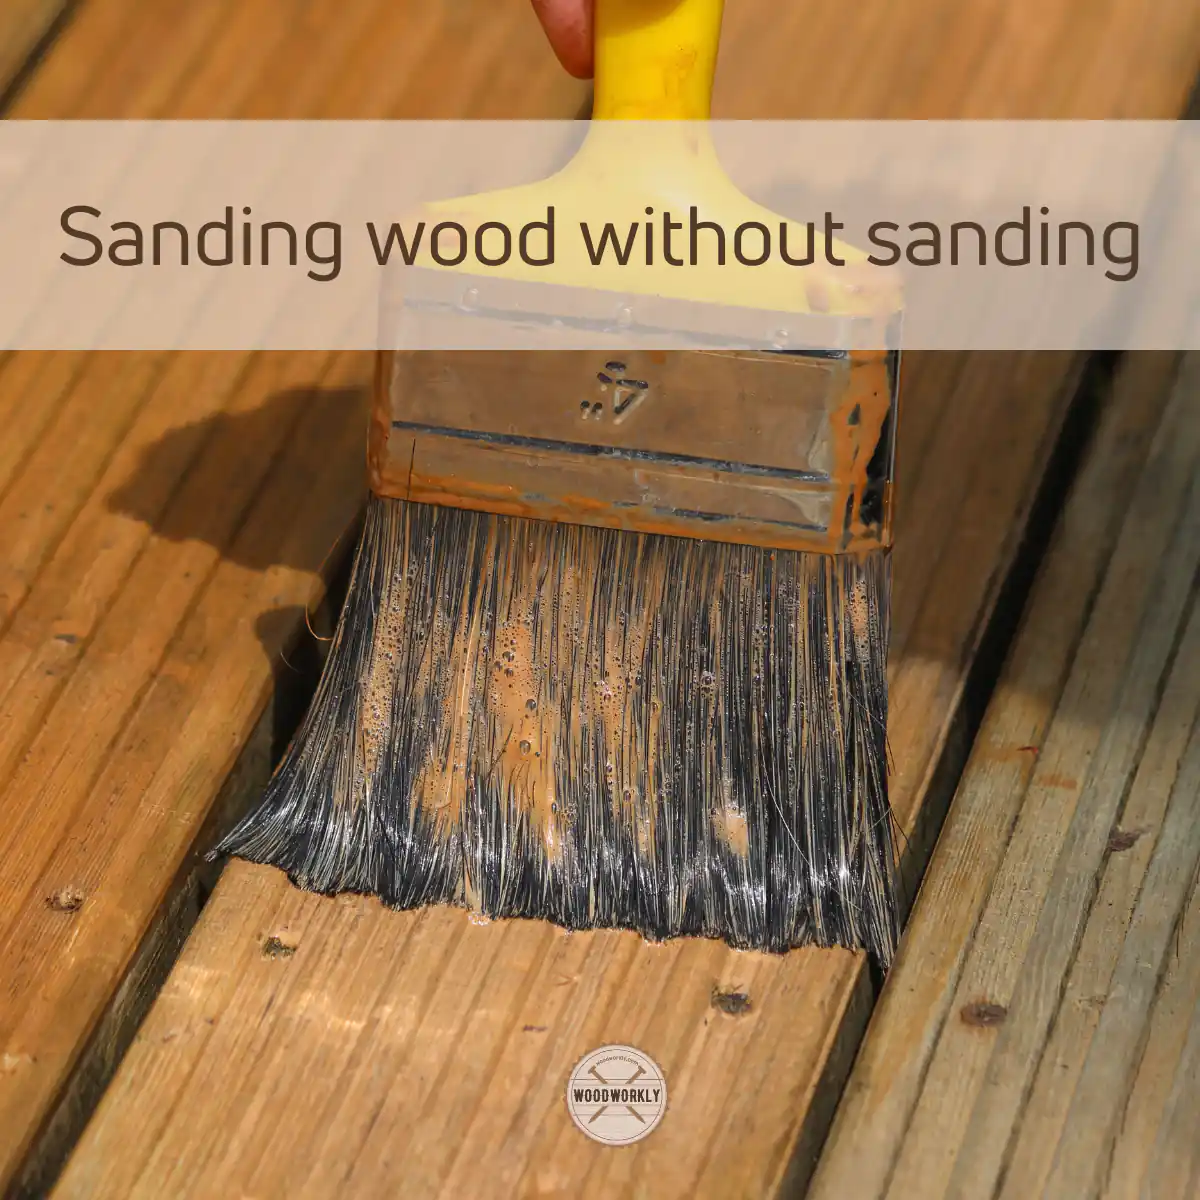
Ever wondered if you can bypass the tedious task of sanding before staining your wood? Dive into the world of hassle-free wood staining and discover how!
Most woodworkers usually sand furniture and other wood items before they stain them. That’s what they’re used to doing.
But what if I told you that you can stain wood without having to sand it first?
Yes, it’s true! I didn’t discover this myself. Experts recommended this method to me, and I’ve been using it for the last ten years on many of my woodworking projects.

Ready to learn? Say no more!
So, let’s figure out, Can you stain wood without sanding
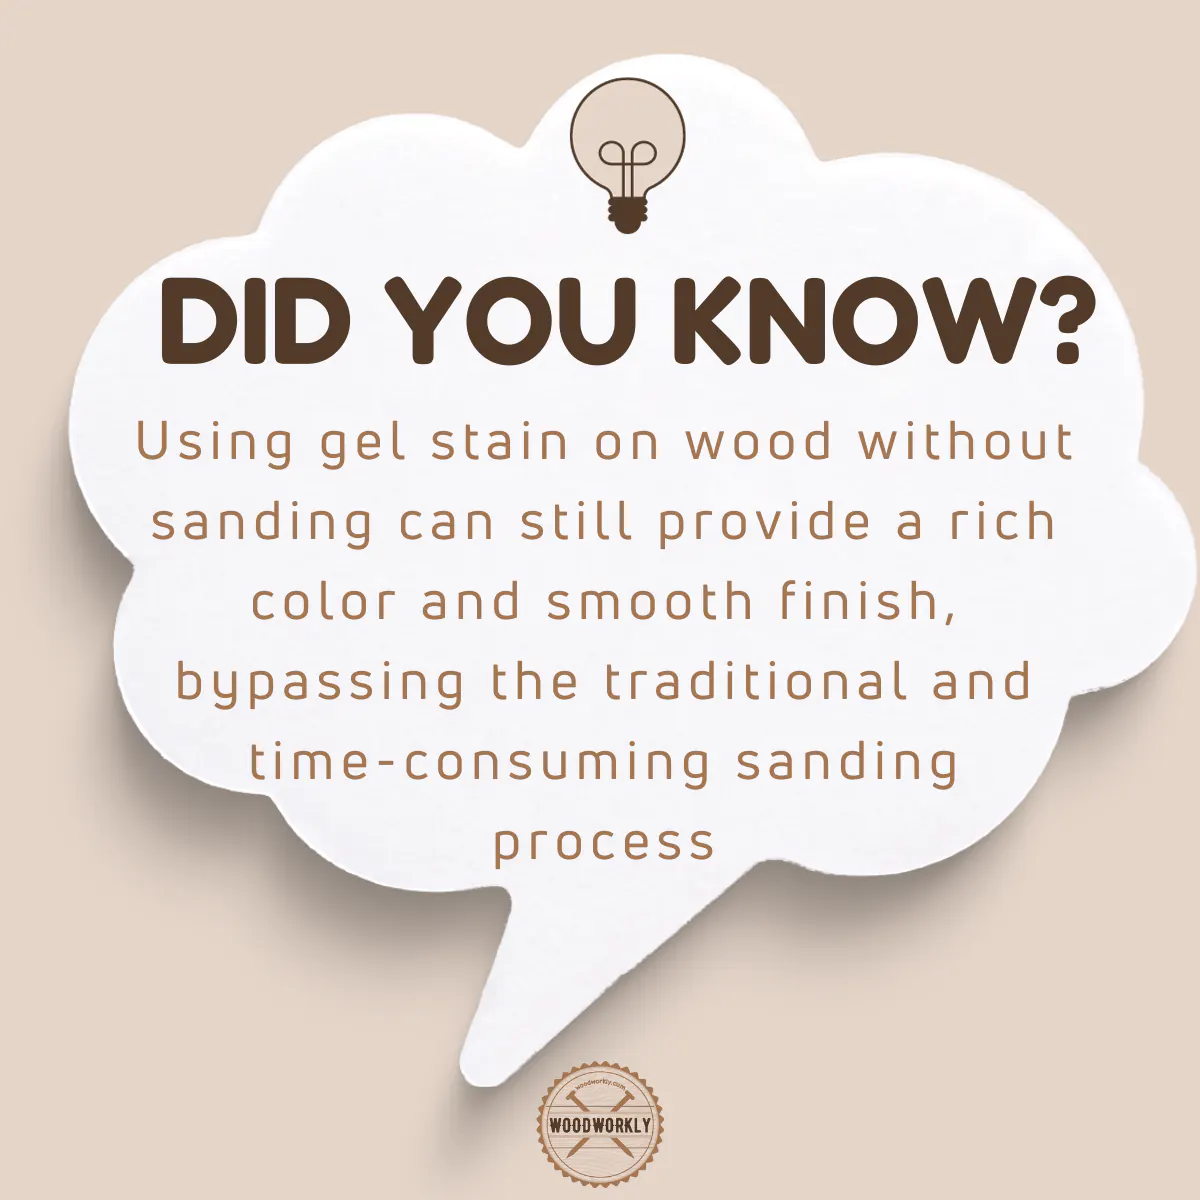
Yes, you can stain wood pretty well without sanding by cleaning the wood properly and applying Gel stain. Gel stain can be applied over finished wood without sanding. Gel stain darkens the stain wood color or remains the same color. But for bare wood, a light sanding is essential before staining.
But that’s a quick snapshot and there’s a lot more to know about staining wood without sanding.
So, in this comprehensive guide, I’ll explore whether can you stain wood without sanding, what happens if you didn’t sand before staining wood how to stain wood without sanding, and much more.
Furthermore, I’ll answer frequently asked questions as well.
Just keep reading!

What Happens If You Don’t Sand Before Staining Wood?
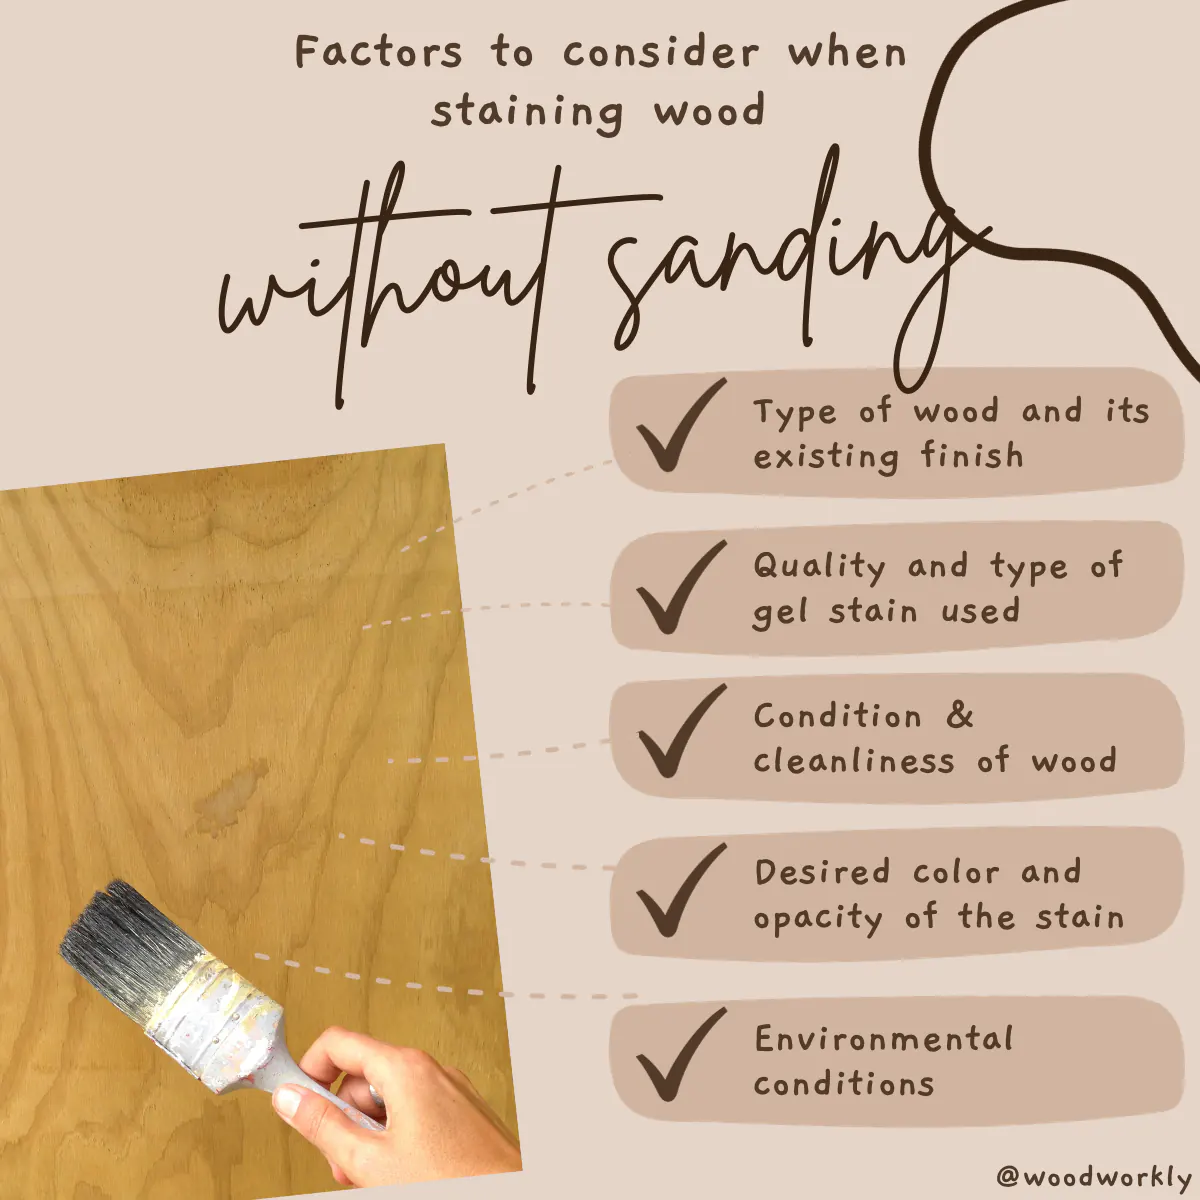
For finished woods, you don’t need to sand the wood before staining only if you’re willing to use gel stain for staining. But you need to clean the surface well with a quality wood cleaning product.
But for bare woods, you should lightly sand the wood before staining. Otherwise, you won’t get a smooth surface without surface randomness and the wood stain won’t attach well to the bare wood without sanding.
First of all, let’s see how sanding helps with the staining process,
- Sanding helps to open up the porous structures of wood surfaces and to make wood fibers absorb stains well
- Sanding will eliminate surface bumps and randomness
- Sanding will smoothen the surface for an even stain finish
- Sanding helps to prevent of happening wood staining mistakes like blotches and patchy areas
This is why sanding is highly recommended light sanding before staining for bare woods.
But for the finished woods, the situation is totally different since they are already stained or finished by sanding and applying an evenly spread finisher all over the wood.
Therefore, it is not necessary to sand the finished wood since they already have a smooth surface with no randomness.
Since there’s no need for sanding, here you only have to think about what type of stain should you use.
Oil-based stains, water-based stains, or gel stains generally work so well with any wood to darken or color up the wood while enhancing the wood’s appearance.
But when it comes to finished woods, better to apply gel stain to darken the wood or remain the wood in the same color with no sanding.
Gel stain does not absorb into the wood fibers like oil-based and water-based stains. It sits on the wood surface and provides an even finish with an enhanced look.
Many of the gel stains usually darken the wood color. But some don’t change the wood color and increase the natural appearance of the wood.
Best Gel Stain Products to Stain Without Sanding
When choosing the best gel stain products for staining wood without sanding, it’s crucial to select ones known for their quality, ease of application, and the ability to provide a desirable finish without the need for a sanded surface.
Here are some top gel stain products recommended for this purpose:
- General Finishes Gel Stain: Widely popular among DIY enthusiasts and professionals, General Finishes offers a range of gel stains known for their rich pigmentation and ease of application. This semi-solid stain is ideal for projects where sanding isn’t feasible, as it can adhere well to both raw and previously finished wood surfaces. It’s particularly notable for its ability to hide surface imperfections and provide a smooth, even finish.
- Minwax Gel Stain: Another reputable brand, Minwax, offers a gel stain that is thicker than traditional stains, allowing for better control during application. It’s suitable for use on a variety of surfaces, including wood, plywood, and even non-wood surfaces like metal and fiberglass. This versatility makes it a go-to choice for projects involving multiple materials.
- Old Masters Gel Stain: Known for its high-quality formulation, Old Masters Gel Stain is excellent for achieving a uniform look without the prerequisite of sanding. It works well on both interior and exterior projects, providing good coverage and a consistent finish that highlights the natural beauty of the wood.
- Varathane Gel Stain: This brand is praised for its thick consistency and ease of use, especially on vertical surfaces where dripping can be a concern. Varathane Gel Stain is designed to offer a rich color and can be applied to both bare and previously finished wood surfaces.
Among the above three top gel stain products, General Finishes Gel Stain is the most popular one and I recommend it the most because it can hide any surface imperfections with ease.
General Finishes Gel Stain is a semi-solid stain that can hide some grain after application. It can be applied on any wood surface without sanding or stripping the existing finish.
Even with raw wood, you don’t need to sand deeply if you’re going to use General Finishes Gel Stain since sits quickly and easily on the wood surface.
So, let’s find out how to stain over wood without sanding to get a clear idea about how it should be done.
How To Stain Over Wood Without Sanding?
With gel stain, you don’t need to strip the existing finish on the wood. Even the bare woods don’t need to sand deep down if you’re willing to apply gel stain since sticks with any wood resulting even finish.
Please note that the below procedure is only applicable for finished surfaces with an existing finish. For bare woods, you need to do the sanding before staining.
So, let’s see how to stain over wood without sanding,
Supplies You Will Need
- General Finishes Gel Stain (Any Color you prefer)
- Foam brushes
- Lint-free tack cloth
- Clean rags
- Fine Grit sanding block for smooth finishes
- Medium Grit sanding block for rough finishes
- Gloves
- Trisodium Phosphate cleaner (TSP cleaner)
- Wipe on Polyurethane in satin sheen
Check out the Best Brushes For Staining Wood!
Here’s the procedure for staining wood without sanding,
- Surface Preparation
- Clean the wood
- Sand the wood
- Apply Gel stain
- Seal with Poly
So, let’s discuss each of the above steps to get a crystal clear idea about staining without sanding any wood.
1. Surface Preparation
First, you need to take your furniture or woodwork to a well-ventilated area for the staining project since you’ll have to deal with chemicals.
Or you can open the windows in your working area for good circulation.
Chemical fumes of Trisodium Phosphate (TSP) can cause skin and eye irritation upon deposition. Plus, wood stain chemicals upon application can cause breathing issues.
This is why staining in a well-ventilated area is important.
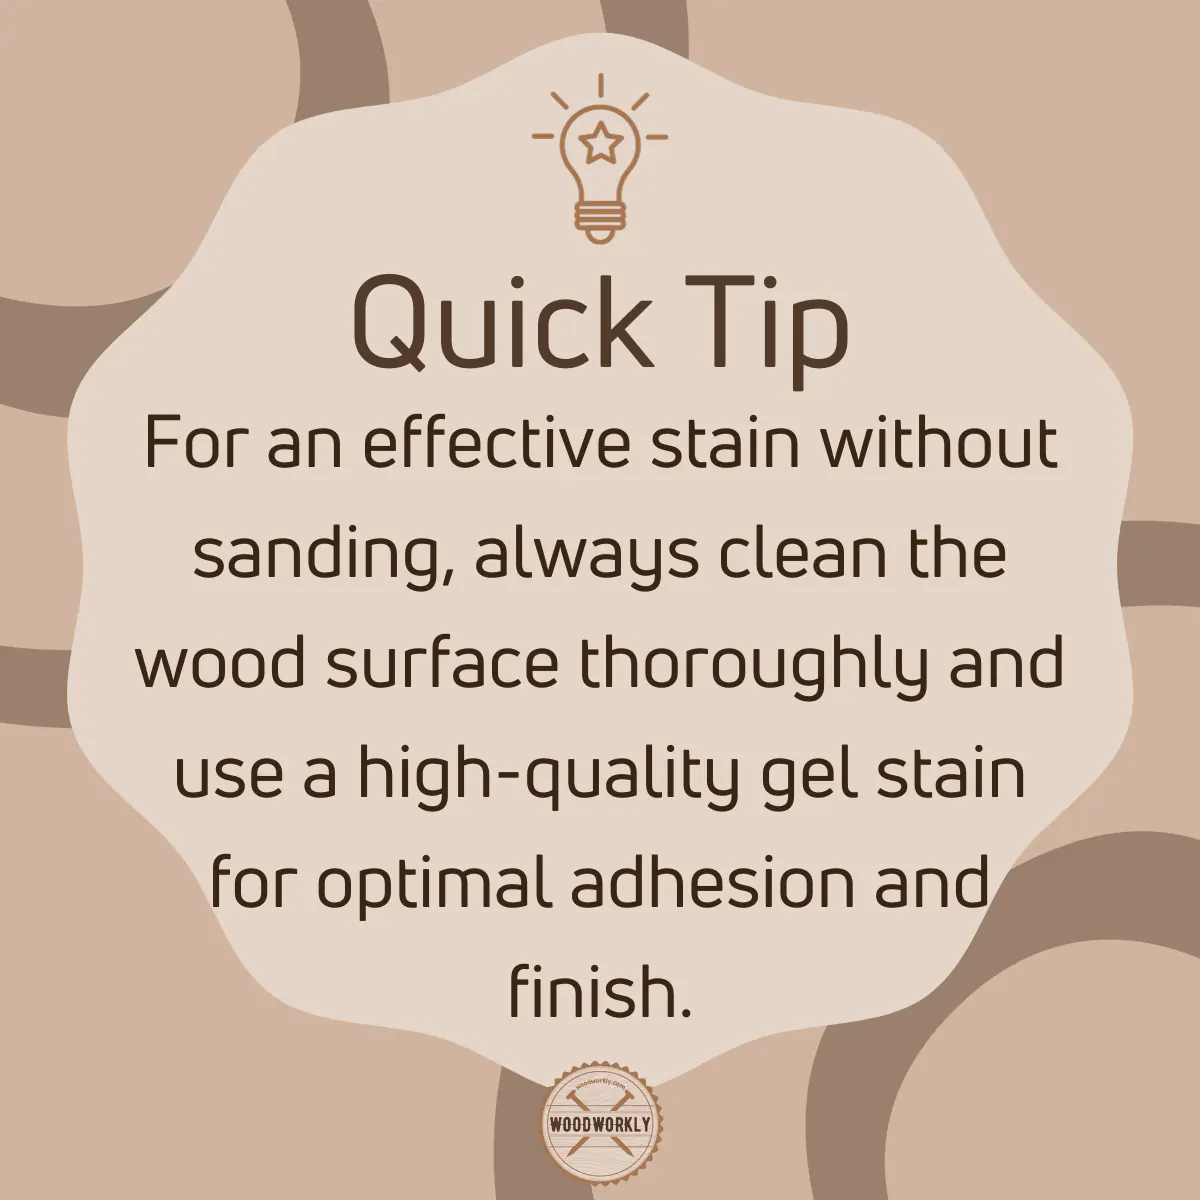
2. Clean The Wood
Cleaning is the essential step in most woodworking projects.
In this project, cleaning is a must because you won’t do sanding much before staining and dust collection pipes in your work area won’t be working since there’ll be no deposition of sawdust.
You’ll have to do the cleaning part manually with a lint-free tack cloth and clean rags.
Wipe down the finished wood surface to remove dust, debris, grease, dirt, and other residues.
Removing dust and dirt before staining is important because they can cause trouble when staining and once, they got trapped in the stain layer they’ll cause blotches and streaks.
Therefore, do the cleaning without missing any spots.
Once you’re done with dry cleaning with cloths, use TSP cleaner (Trisodium Phosphate) as a cleaning agent to remove dirt, grease, and other residues that are hard to remove simply by wiping with a tack cloth.
Wipe down the entire wooden surface with TSP cleaner without missing any spots.
Once you’re done with the cleaning part, let the wood dry completely before moving on to the next step.
3. Sand The Wood
Don’t get confused. Here we do not sand the wood entirely removing the existing finish. We just do light sanding over the existing finish to smoothen up the surface a little more.
The sanding block you need to choose depends on the roughness of your old finish,
- If the existing finish is smooth
Take the Fine Grit sanding block and lightly sand the entire surface along the wood grain direction without damaging or scratching the old finish.
Light sanding the old finish will roughen it up a little bit to attach with the gel stain so well.
- If the existing finish is rough or uneven
Grab the Medium Grit sanding block and lightly sand the entire surface along the wood grain direction and remove only the top layer of the old finish.
Make sure not to sand off completely the previous finish.
Light sanding the old finish will smoothen it up a little bit to attach with the gel stain so well.
This is how you should work with sanding blocks to smoothen up the previous old finish to make it ready to accept the new coat of stain.
Clean the whole surface by wiping it down with tack cloths to remove stain residue.
4. Apply Gel Stain
Now it’s time to apply the first coat of gel stain over the finished surface. Apply a thin coat of gel stain using a foam brush.
Apply gel stain along the direction of the wood grain for better absorption to the previous layer and to get an even finish with no troubles.
Apply gel stain over the finished surface by applying light and even pressure to the foam brush. Wrong gel stain application methods can form a thick layer of gel stain that can take so long to dry completely.
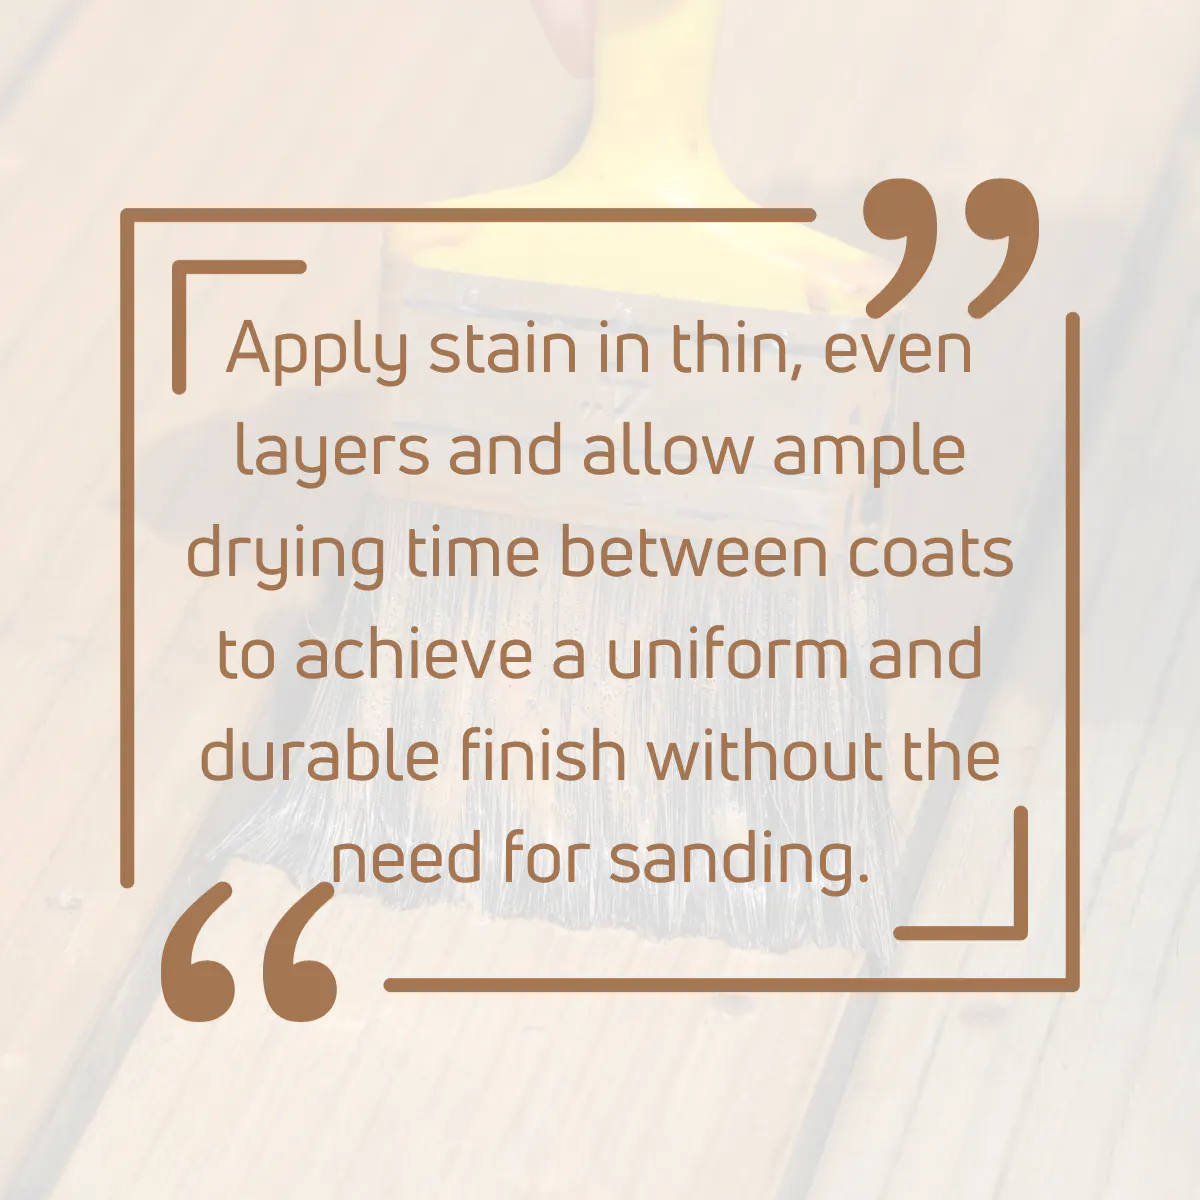
Therefore, always go for thin layers of coats for quick and efficient drying between coats.
After applying the first coat of gel stain let it dry for 72 hours and then apply the second coat of stain.
Apply 2 coats of gel stain to get the preferred color as you wish. Most of the time, gel stain gives dark color with additional coats. Apply more gel stain coats to get an even darker finish.
Or you can limit the number of coats and let the wood color remain the same throughout the process.
Let each coat of gel stain dry and cure well for at least 72 hours between coats. Never apply another stain coat before the previous one dries completely since that can result in never drying tacky surface.
5. Seal Wood With Poly
Even though wood stain has the ability to protect the wood from environmental impacts while changing the wood color, the protection can easily break under harsh weather conditions.
This is where polyurethane (also means Poly) comes for help.
Polyurethane finishes are specially designed to protect wood surfaces from environmental elements such as moisture, UV light, rotting, decaying, and insect attacks.
Once the final coat of stain dried and cured completely, apply 5 to 6 coats of Wipe On Poly with Matte Finish to seal the surface.
Apply Poly using the same procedure that we applied for staining. Use a foam brush for the application, apply along the direction of the wood grain and let each coat dry well between coats.
Make sure to apply polyurethane correctly on the finished wood surface without making mistakes since we’re already in the final stage which is hard to go back.
Matte Finish Poly washes up the surface e nicely without making the surface too glossy.
Or you can use General Finishes High-Performance Topcoat instead of Poly to seal the wood with extra protection.
That’s it, folks! Now you know how to stain any wood without staining. Gel stain is the key player in this project.
How Can I Change The Color Of My Wood Without Sanding?
You can change the color of your wood without sanding by applying a gel stain. Gel stain is great for changing the color of finished wood without sanding or stripping down the existing finish.
For bare woods, a light sanding is recommended to smoothen and level the surface for stick gel stain well with the surface.
Apply 2 to 3 coats of gel stain and let each coat dry and cure for at least 72 hours between coats.
Can You Stain Varnished Wood Without Sanding?
Never stain varnished wood without sanding since the stain won’t attach well to the varnish coat. Better to apply the wood stain first and then apply varnish over the wood stain.
Wood stain prefers to stick on bare wood than sitting on an existing varnish finish.
Therefore, strip down the existing varnish layer and apply wood stain all over the surface along the direction of the wood grain and apply 3 to 4 coats of stain until you get the color you wished.
Then apply 3 to 4 coats of varnish to seal the stain finishing including wood. Doing the opposite is just a waste of time.
Can You Darken Stain Without Stripping?
Yes, you can darken the finished wood without stripping by applying a dark gel stain over the finished surface.
Apply 2 to 3 coats of gel stain on the finished surface to get a darker tone.
Applying more gel stain coats results in an even darker finish.
Let each coat dry and cure completely between coats and apply gel stain along the wood grain for an even finish.
So, let’s answer some frequently asked questions regarding stained wood without sanding.
FAQs
What Kind of Stain Works Best on Wood Without Sanding?
High-quality gel stains are ideal for staining wood without sanding, as they are thicker and can cover the wood’s surface without the need for penetrating the wood grain deeply.
Is Sanding Necessary for All Types of Wood Before Staining?
Sanding is not strictly necessary for finished or previously stained wood, especially when using gel stains, but it is advisable for bare wood to achieve a smooth finish.
What Are the Risks of Staining Wood Without Sanding?
Staining without sanding might result in uneven color, less vibrant shades, and potential peeling or chipping of the stain over time, especially if the wood’s surface is not properly prepared.
How Long Should Gel Stain Dry When Applied to Unsanded Wood?
Gel stain should be allowed to dry for at least 72 hours between coats when applied to unsanded wood to ensure proper adhesion and curing.
Can Lighter Stains Be Applied Over Darker Stains Without Sanding?
Applying a lighter stain over a darker one without sanding can lead to uneven results; it’s more effective to apply darker stains over lighter ones for better coverage.
Can You Achieve a Smooth Finish When Staining Wood Without Sanding?
A smooth finish can be achieved with careful application of gel stains and proper surface preparation, although it might not be as even as a sanded and stained surface.
Did I cover all you wanted to know about: Can You Stain Wood Without Sanding
In this article, I have deeply discussed whether can you stain wood without sanding, what happens when staining without sanding and how to stain any kind of wood without sanding including bare and finished wood.
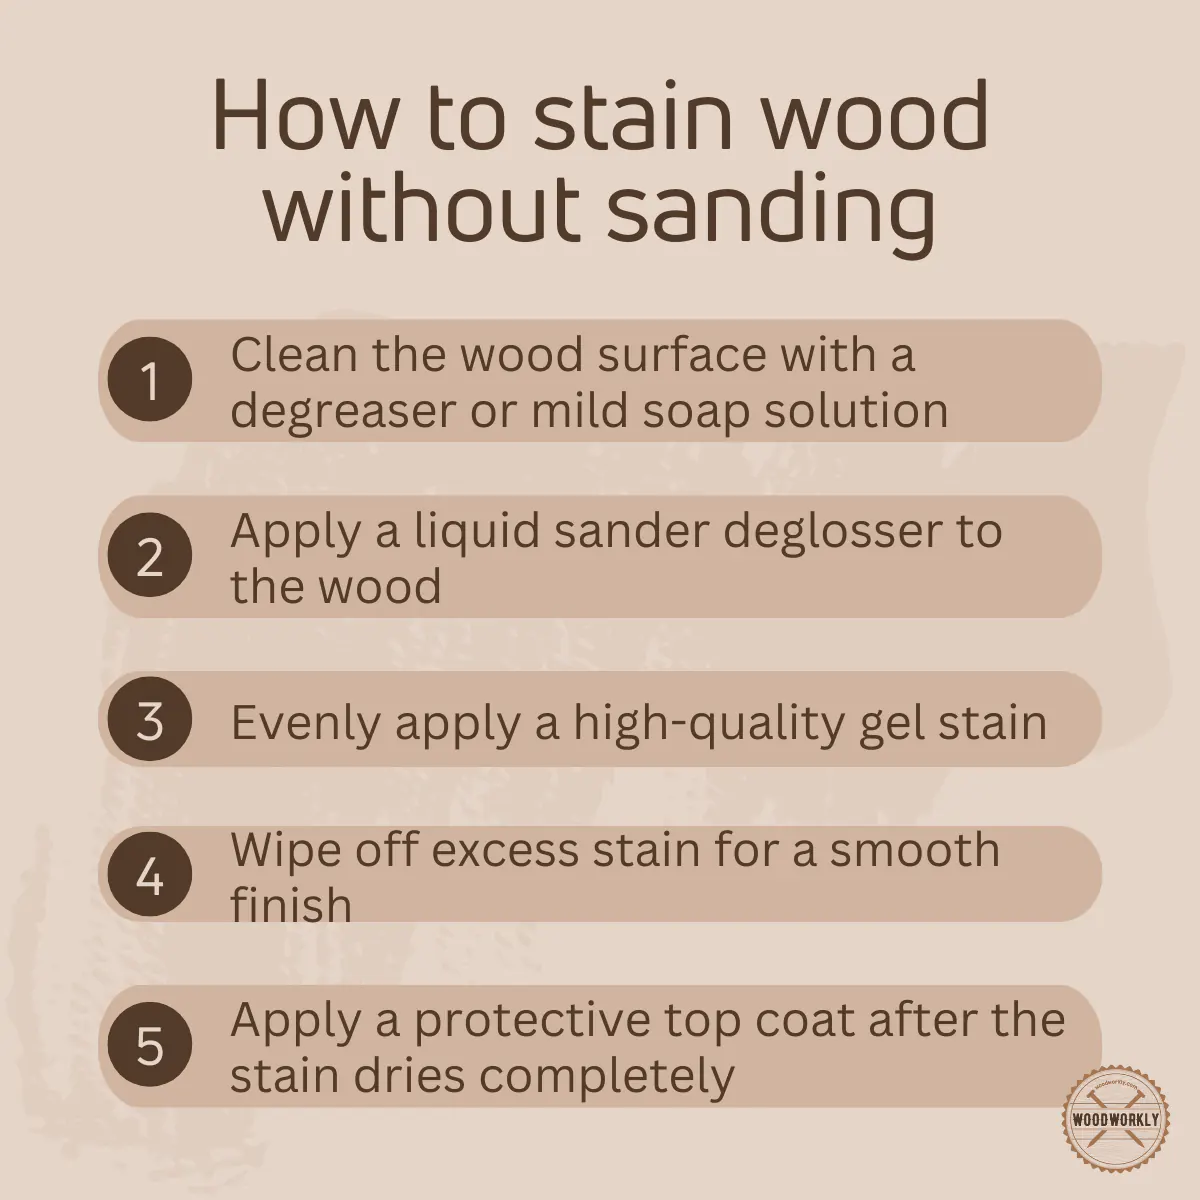
You can stain wood without sanding by using gel stain. To do so, clean the wood thoroughly, apply a coat of deglosser, then evenly apply the gel stain. Allow it to dry completely before applying a protective top coat for a smooth finish.
Furthermore, I’ve answered some frequently asked questions as well.
Hope you have gained good knowledge about staining wood without sanding.
Try to stain your next finished woodworking project with gel stain and try to get the dark tone you wish with ease. Keep practicing!