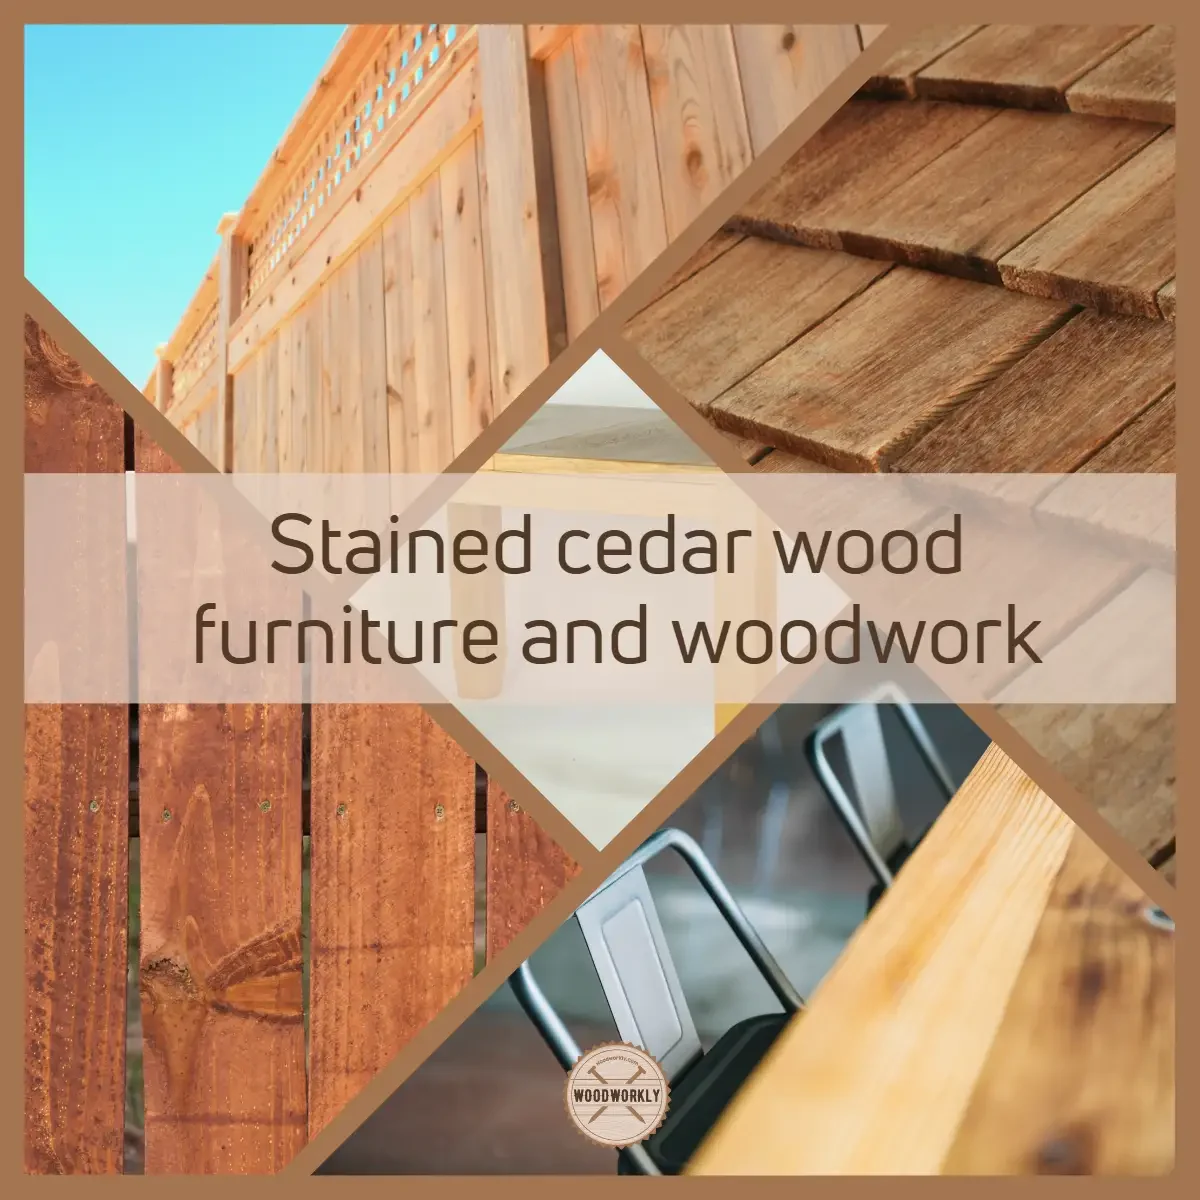
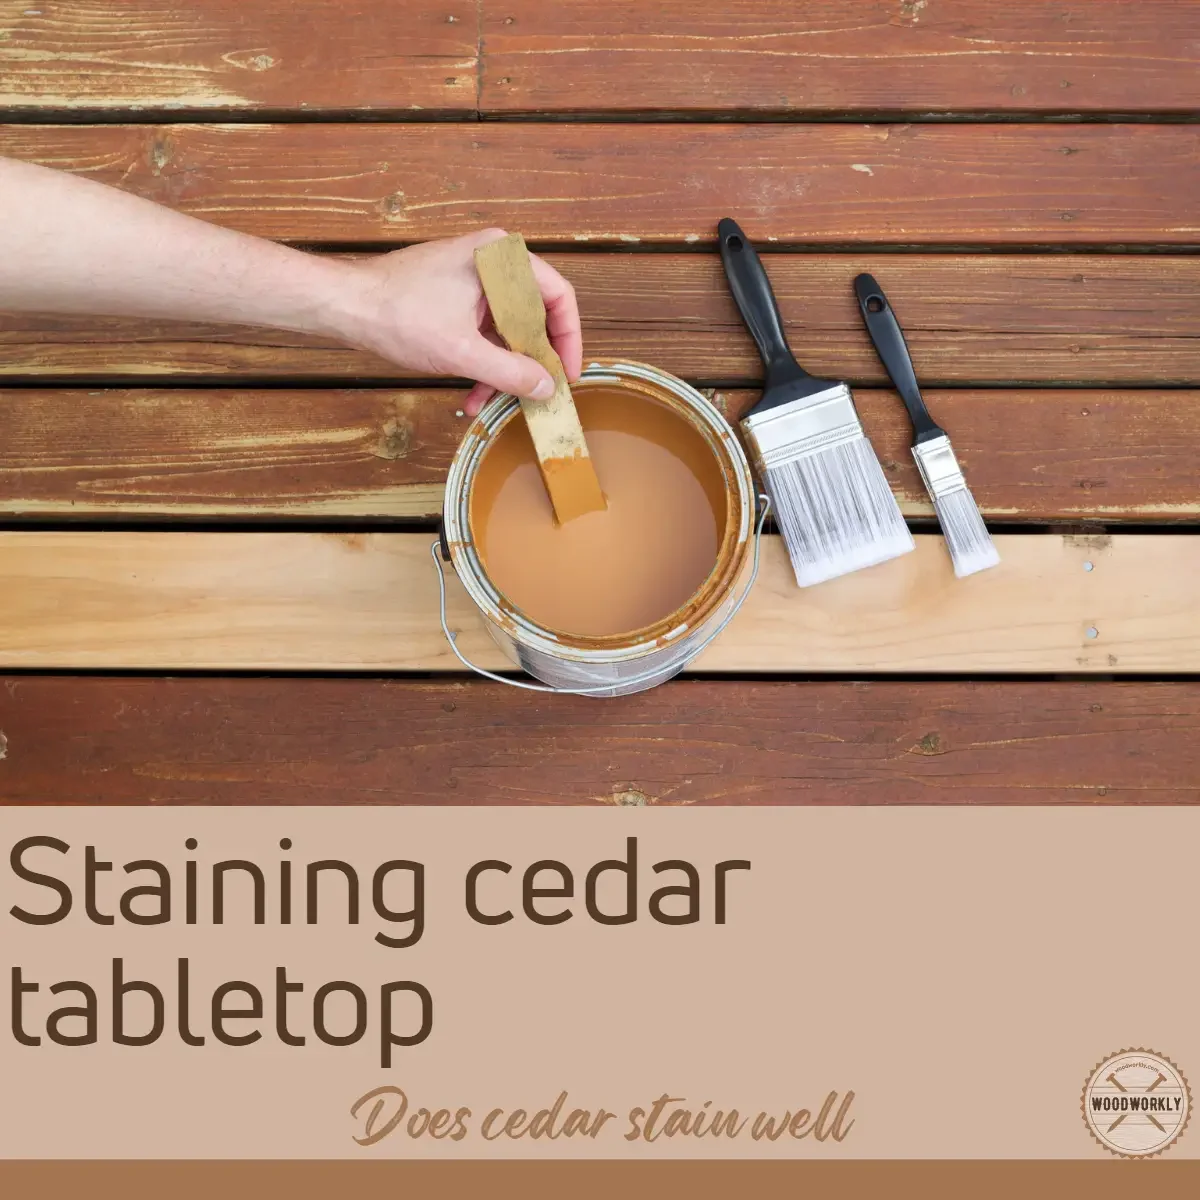
Ever wondered, “Does cedar stain well?” As a seasoned woodworker, I’ll reveal the secrets to stunning cedar finishes and guide you through the staining process. Ready to transform your cedar project? Read on!

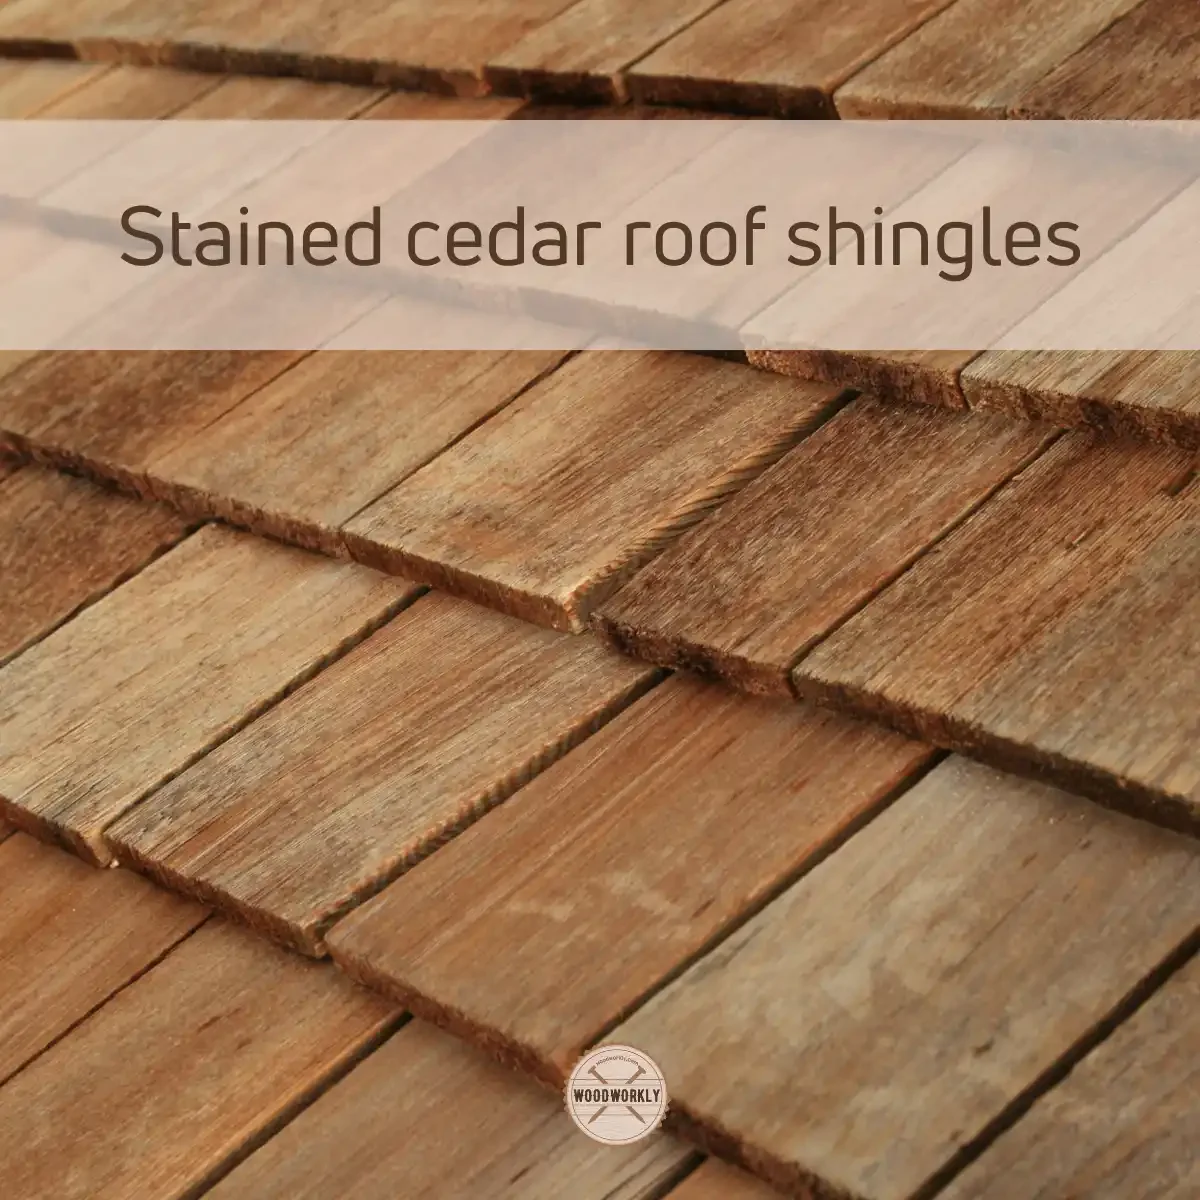
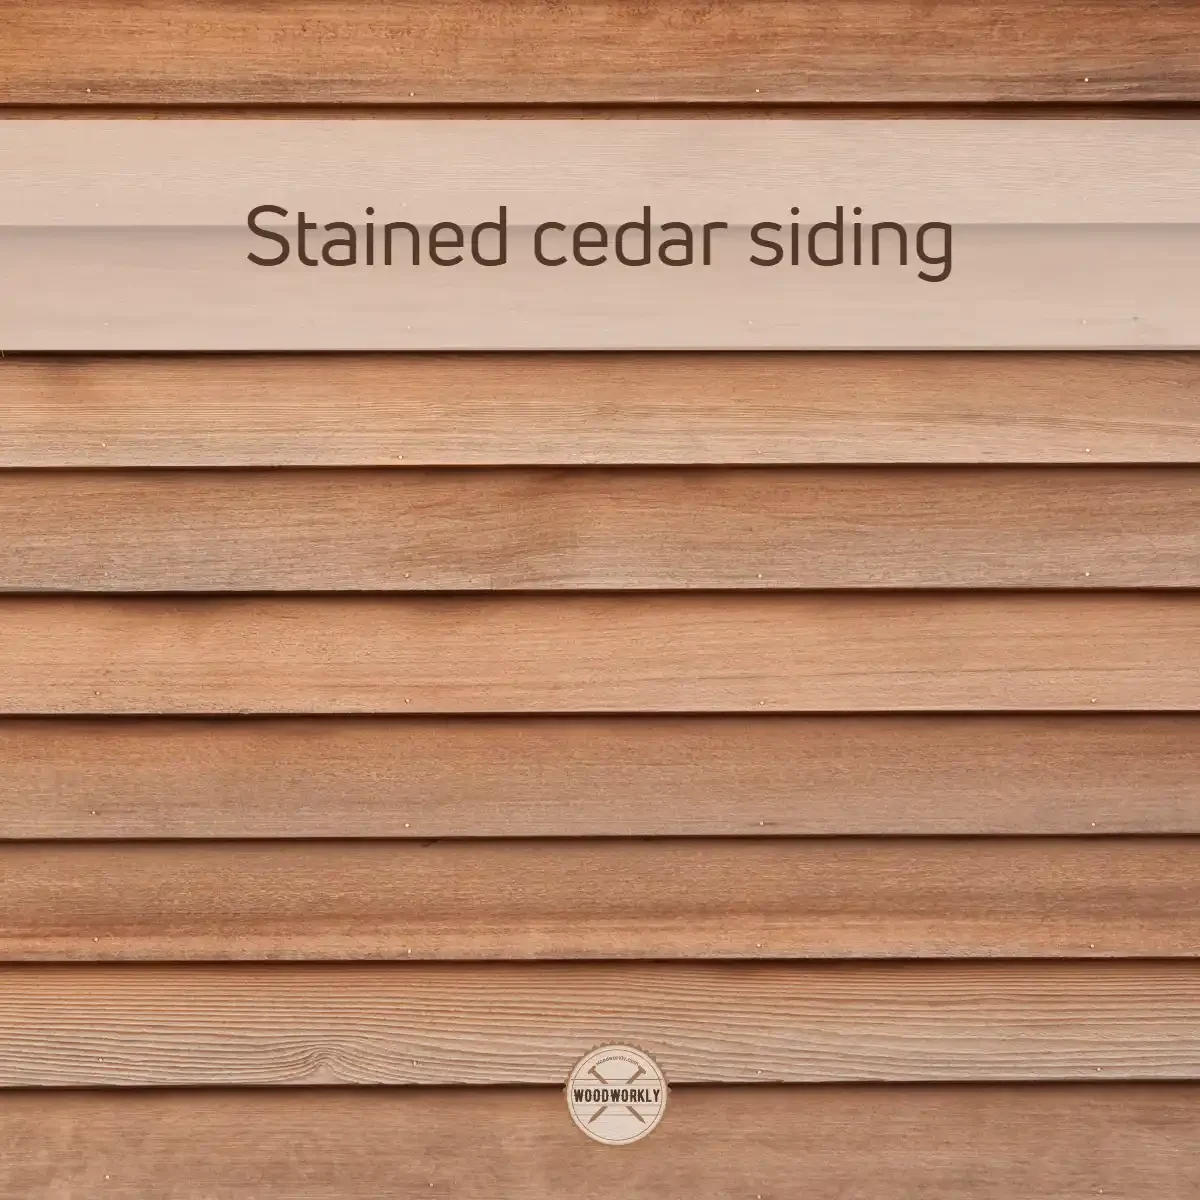
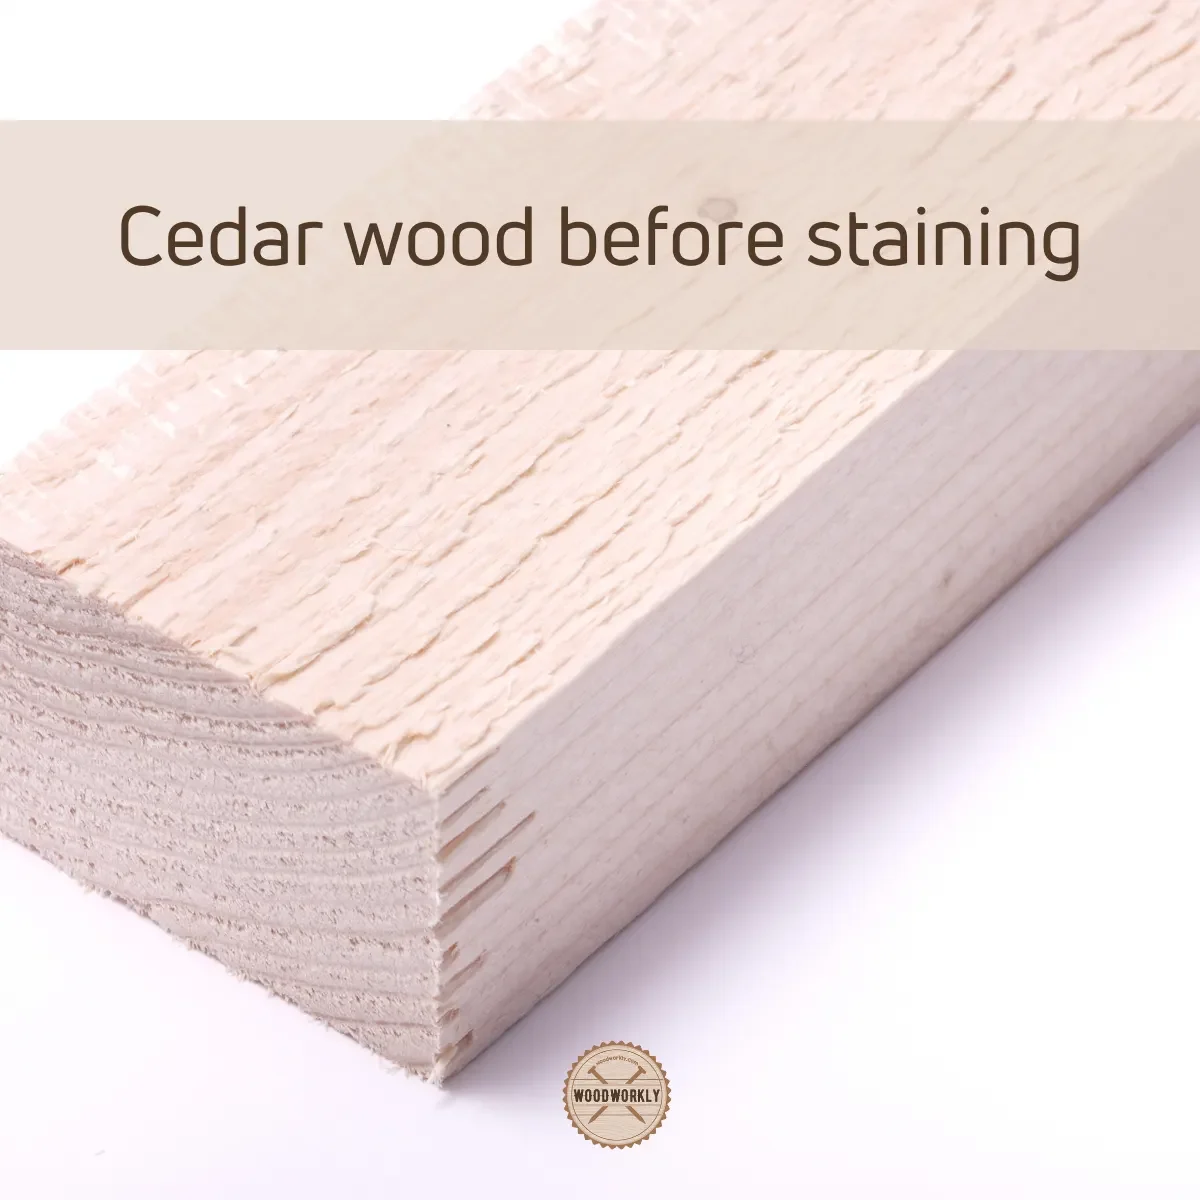
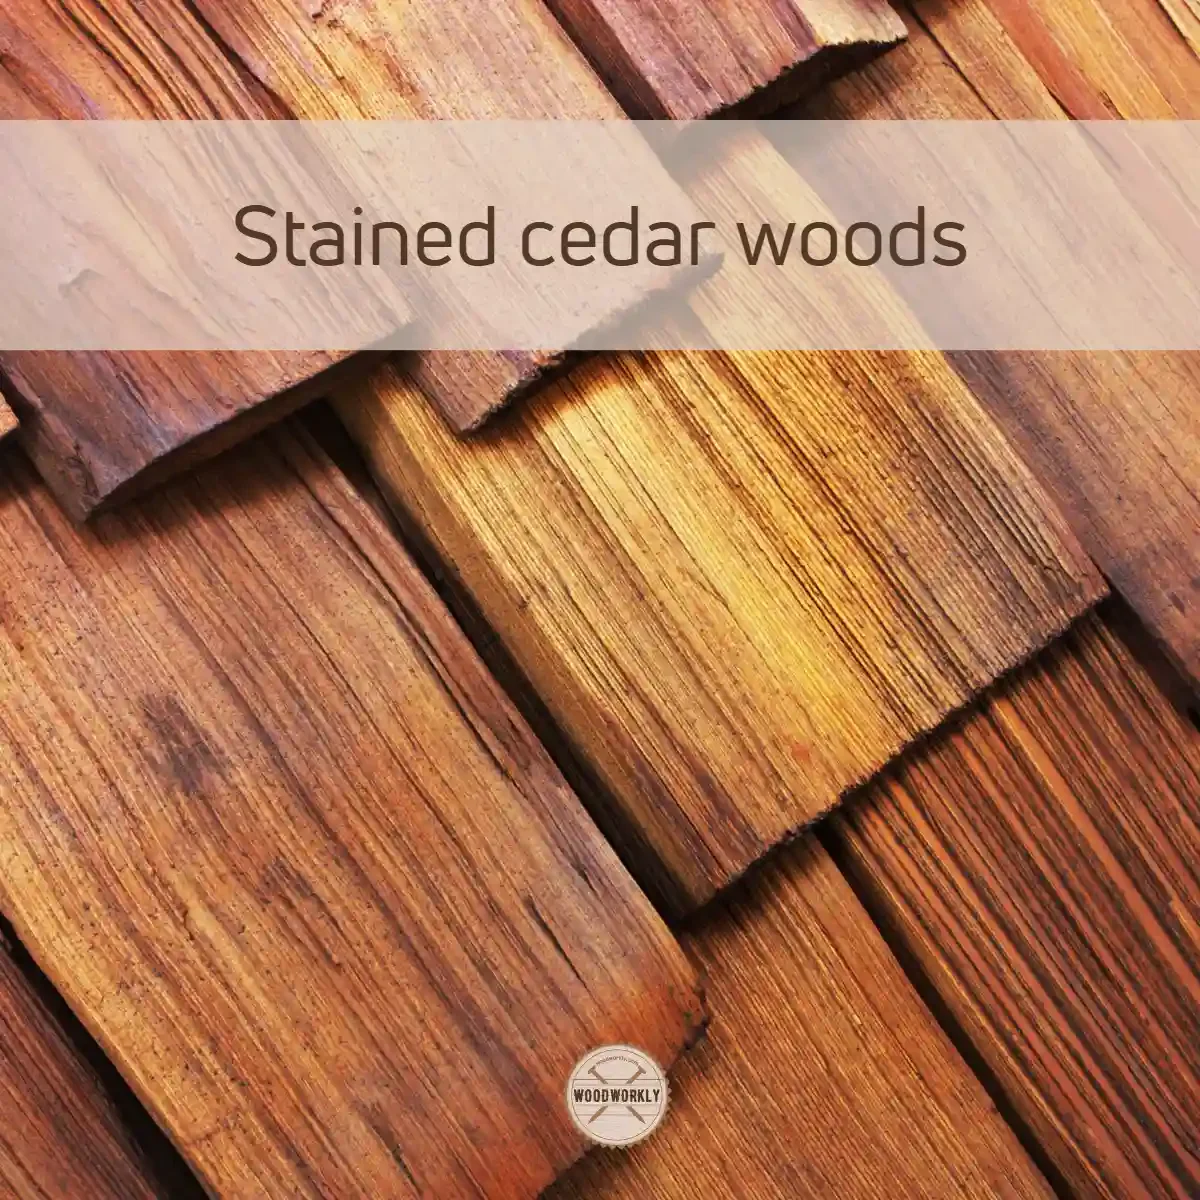
Cedar is a useful wood in paneling, siding, flooring, fencing, interior, and exterior furniture. But because of being a softwood, finishing is a must to increase its durability.
When it comes to finishing by staining, most people are curious about the staining Cedar and how to do that!
So, let’s find out, Does Cedar stain well?
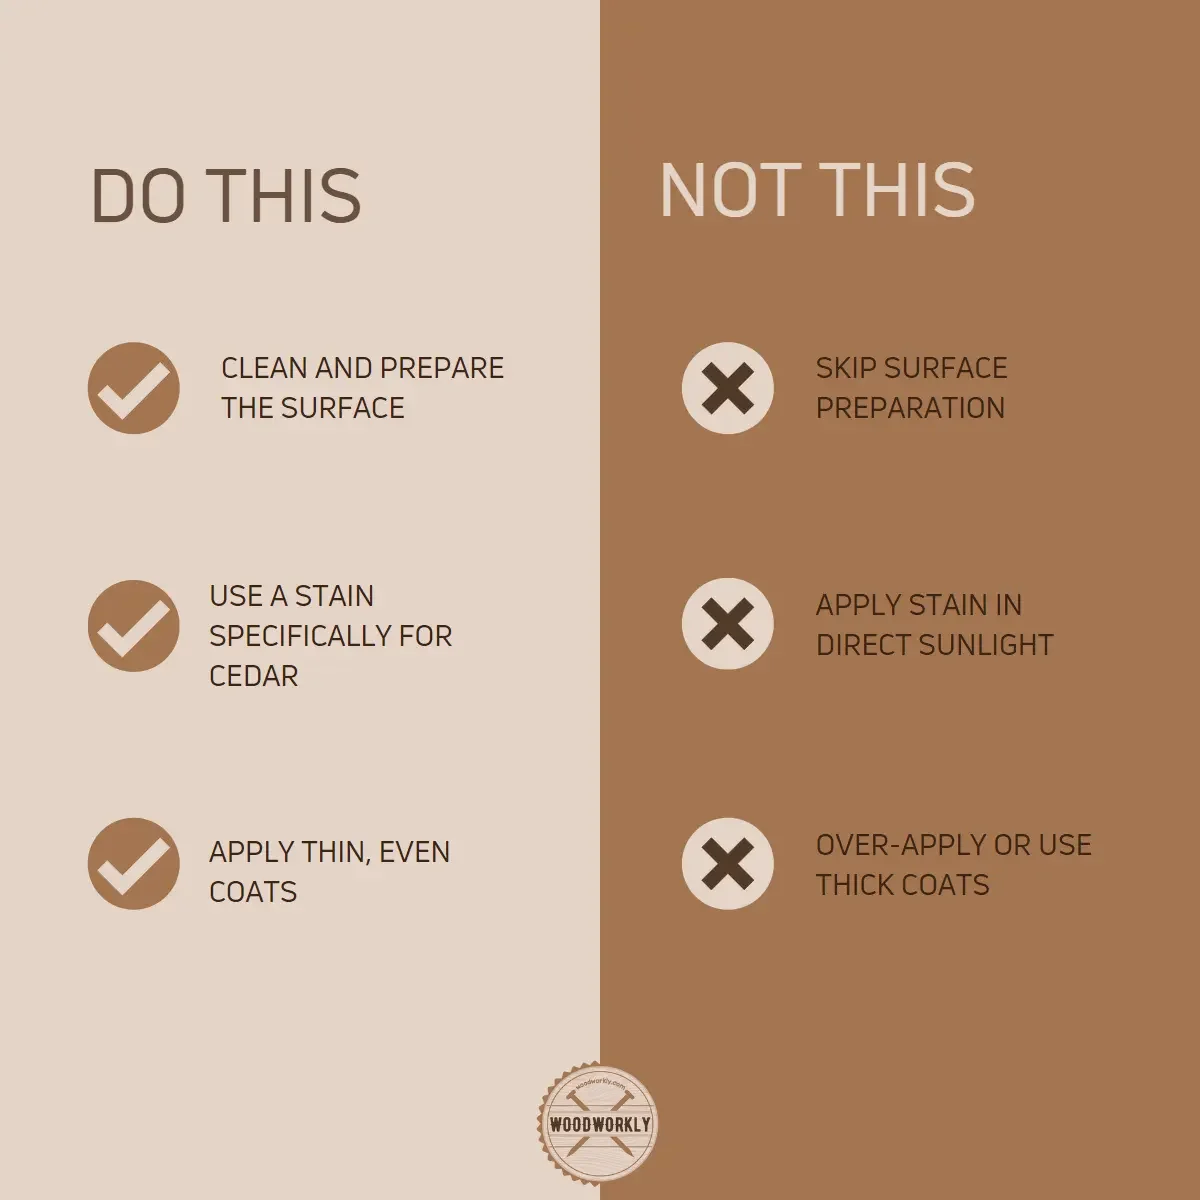
Yes, Cedar stains so well. There’re four staining options for Cedar: opaque, semi-opaque, semi-transparent, clear, or natural. Stain can protect Cedar wood from turning grey because of UV rays, moisture, and mildew. Apply a wood conditioner for even stain absorption. Apply thin coats of stain on cedar and let each coat dry properly.
But that’s a lot more to know about staining Cedar wood than just that!

So, in this article, we’ll explore, does Cedar stain well, is Cedar good for staining, the best stain products for Cedar, and how to stain Cedar properly using correct finishing methods.
Furthermore, I’ll answer some frequently asked questions about staining Cedar as well.
Let’s jump in!
Is Cedar Good for Staining?
Cedar is an excellent wood for staining. It takes stain so well. Staining Cedar is useful to prevent the wood from greying and weathering due to UV rays, moisture, mildew, and other climate changes.
Stain can protect the wood from environmental elements while enhancing the natural beauty of Cedar wood with a nice, smooth, and shiny finish.
After you install or make Cedar woodwork or furniture, stain within the first 2-3 months period is best to avoid wood from cracking, chipping, and peeling. You’ll get better results by staining your Cedar sooner.
Cedar wood possesses remarkable properties that make it a popular option for a wide range of woodworking projects, from outdoor furniture and decks to siding and fences.
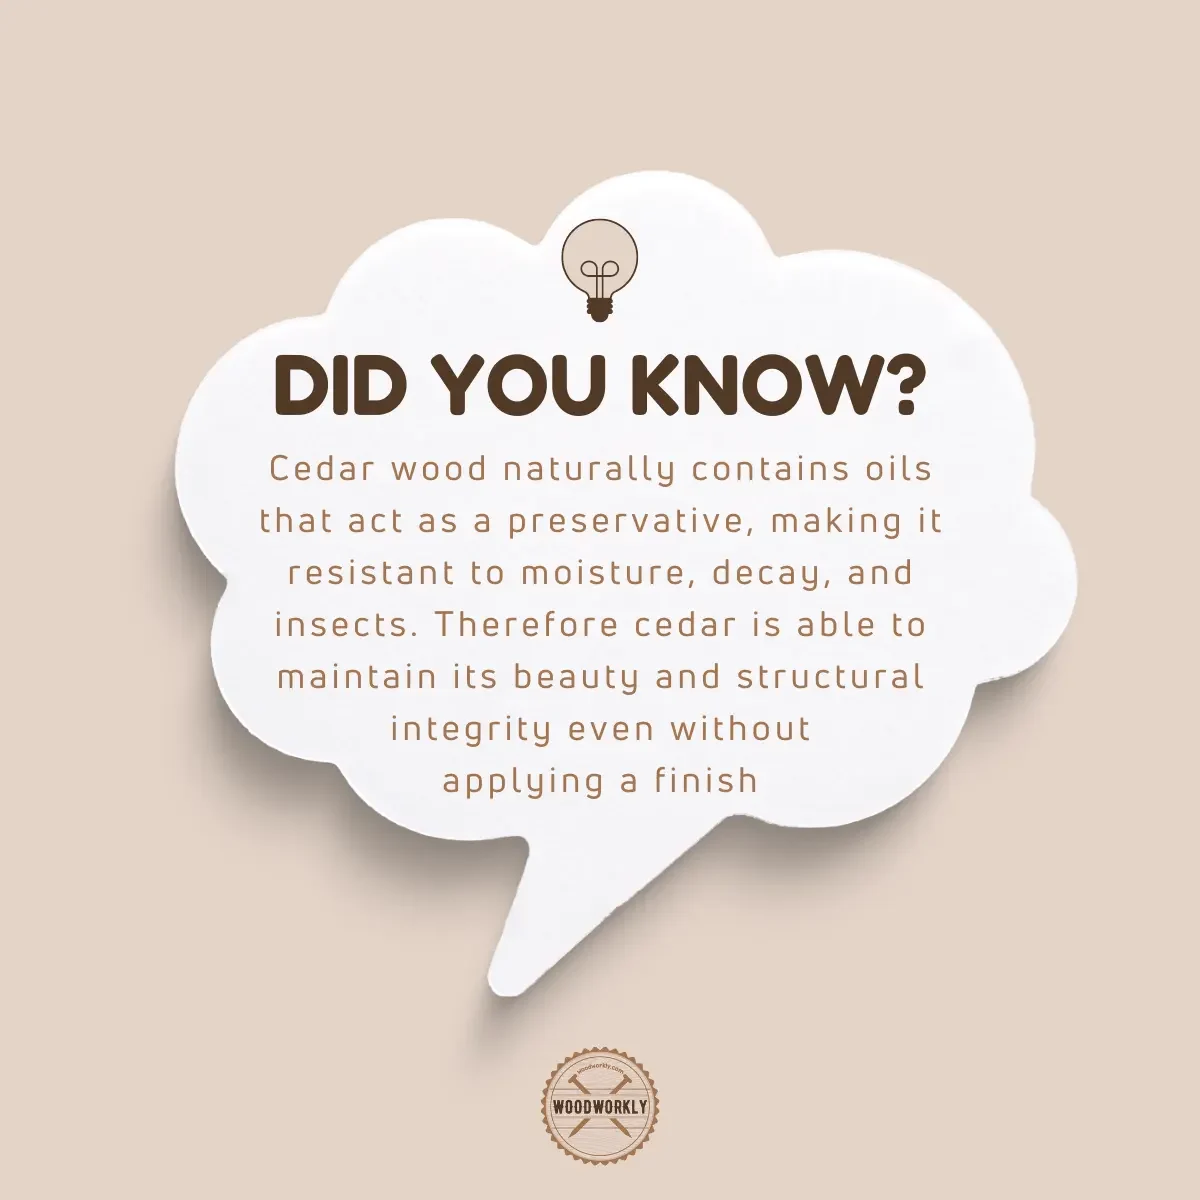
One key reason for its popularity is cedar’s natural resistance to decay and insects. Cedar wood is rich in natural oils and tannins, which help protect it from moisture, rot, and insect damage.
This inherent durability enables cedar to maintain its integrity and appearance for a long time, even without applying any stain or finish.
Even though Cedar has natural resistance against rotting, and it has the ability to repel bugs and insects, the durability of the wood is less because of being a softwood.
Stain helps the wood to prevent deterioration and improve its lifetime.
Cedar can be stained easily compared to wood types like Pine, Poplar, and Fir because it spread out stain evenly throughout the wood.
Keep in mind that cedar wood is available in various grades and quality levels, so ensure you select a top-quality cedar wood for your project.
Western Red Cedar, for instance, is renowned for its vibrant color and tight grain pattern, making it an ideal candidate for staining.

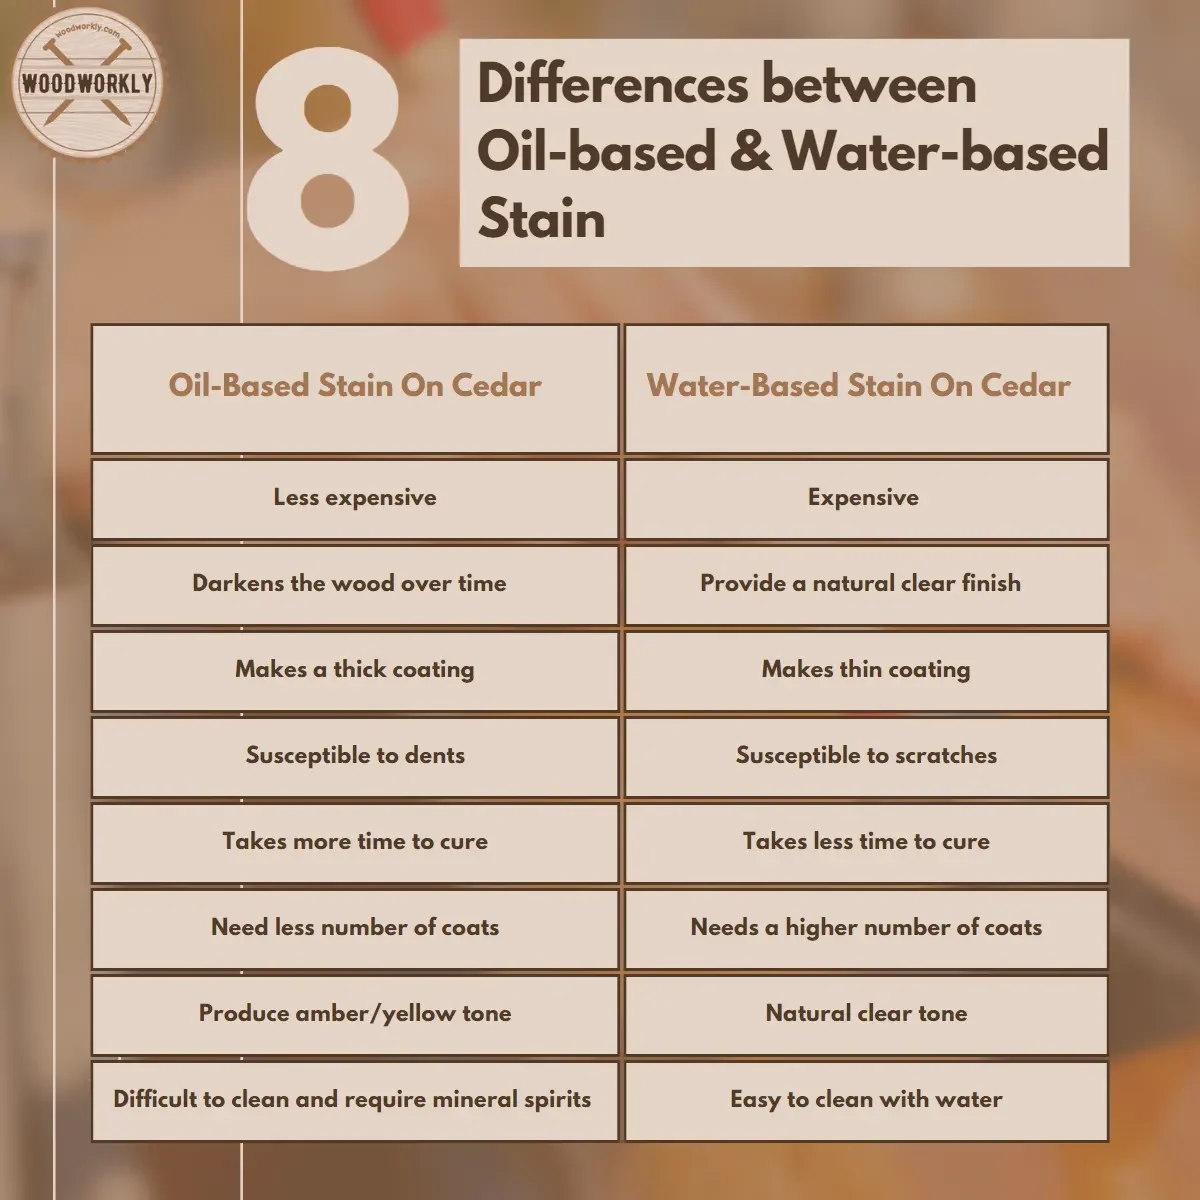
Cedar wood takes well to both oil-based and water-based stains. The choice between these two options will depend on your specific project and personal preferences.
Oil-based stains generally penetrate deeper into the wood, offering a more durable finish.
Conversely, water-based stains boast lower VOC levels and are easier to clean up, which may be a consideration for some woodworkers.
Even a beginner in woodworking can stain Cedar pretty well by following the correct procedure.
Types of Stains for Cedar Wood
I can attest to the importance of choosing the right stain for your cedar wood project.
With so many options available, it’s crucial to understand the differences between stain types, their best uses, and applications, and weigh the pros and cons of each.
In this section, I’ll dive into the various types of stains suitable for cedar wood, covering opaque, semi-opaque, semi-transparent, and natural or clear stains.
There’re four different types of stains you can use on Cedar,
- Opaque stains
- Semi-Opaque stains
- Semi-transparent stains
- Natural or clear stains
So, let’s discuss each of the above stain types and how they work on Cedar wood.
Opaque Stains on Cedar
Opaque stains mean solid color stains that protect Cedar wood from water, UV light, mildew, and many more while increasing the durability of the wood. it has a high concentration of pigments.
Opaque stains give a glossy and shiny look to your Cedar wood surface by entirely covering the natural grain of the wood.
Opaque stains hide the wood grain, knots, and blemishes and help to cover up surface imperfections as well.
Some people misunderstand opaque stains by thinking they are the same as paint. But it’s not.
Because paints cover up the wood grain 100% completely, after applying opaque stains, you’re able to see some sort of details of wood grain means it does not cover up the wood grain 100% as paints do.
Opaque stains should reapply once every 4 – 5 years.
Characteristics of opaque stains:
- Provide a solid, uniform color
- Hide wood grain and knots
- Offer maximum protection against UV damage
Best uses and applications:
- Siding
- Fences
- Outdoor structures
Here’re some advantages and disadvantages of using opaque stains on Cedar,
| Pros | Cons |
| Protect from UV rays | Cover up the almost entire wood grain |
| Protect from water | More challenging to apply evenly |
| Cover up surface imperfections | Can be harder to remove for refinishing |

Semi-Opaque Stains on Cedar
Semi-opaque stains cover up the entire Cedar surface just like the opaque wood stain, but it does not hide the wood grain completely.
After applying semi-opaque stains on Cedar, we’re able to notice details of the wood grain through the stain layer.
Semi-Opaque stains should reapply once every 4 – 5 years.
Characteristics of semi-opaque stains:
- Provide a rich color while still showing some wood grain
- Good balance between appearance and protection
- Offer moderate protection against UV damage
Best uses and applications:
- Decks
- Fences
- Outdoor furniture
Here’re some advantages and disadvantages of using semi-opaque stains on Cedar,
| Pros | Cons |
| Good balance between color and protection | Less UV protection than opaque stains |
| Easier to apply evenly | May require more frequent maintenance |
| Allows some wood grain to show through | Not ideal for projects where transparency is desired |

Semi-Transparent Stains on Cedar
Semi-transparent stain is the best stain for Cedar when you want to emphasize the natural color of Cedar wood with a little amount of hue with good protection from environmental elements.
Semi-transparent stain does not hide the wood grain entirely. It prevents water from getting inside wood fibers.
But make sure to dry completely after the application to prevent getting a blotchy surface.
Semi-Transparent stains should reapply once every 3 – 5 years.
Characteristics of semi-transparent stains:
- Enhance wood’s natural beauty
- Allow wood grain and knots to show through
- Offer some protection against UV damage
Best uses and applications:
- Decks
- Outdoor furniture
- Accent pieces
Pros and Cons of using semi-transparent stains on cedar:
| Pros | Cons |
|---|---|
| Accentuates wood’s natural beauty | Less UV protection than opaque stains |
| Easier to apply and maintain | May require more frequent reapplication |
| Suitable for showcasing wood grain and character | Not ideal for hiding imperfections |
Natural or Clear Stains on Cedar
Natural stain is useful if you just want to improve the natural color of the wood with protection from moisture and UV rays.
The natural stain gives a shinny smooth look to your Cedar furniture or woodworks without affecting the true color of the wood.
But natural stains are not durable as opaque stains. It needs regular maintenance to remain on wood with a warm touch to the Cedar surface.
Clear stains should reapply at least once per year.
Characteristics of natural or clear stains:
- Provide little to no color change
- Preserve wood’s natural appearance
- Offer minimal protection against UV damage
Best uses and applications:
- Accent pieces
- Interior woodwork
- Projects where natural wood appearance is desired
Pros and Cons of using natural or clear stains on cedar:
| Pros | Cons |
|---|---|
| Preserve and enhance wood’s natural appearance | Minimal UV protection |
| Easy to apply and maintain | May require more frequent maintenance |
| Ideal for showcasing natural wood beauty | Offers limited protection against the elements |

Best Stain for Cedar
Water-based stain is the best stain for Cedar.
Water-based stains are able to give rich deep color to the Cedar wood and emphasize its natural beauty.
It gives good protection against environmental elements such as moisture, UV light, and climate change.
Water-based stains are easy to clean. You just need to wipe off the surface with a soft cloth after soaking it in soapy water.
There’re some oil-based stains as well that work pretty well on Cedar.
They usually have high durability than water-based stains. But on the other hand, oil-based stain surfaces are hard to clean and maintain.
With numerous stains on the market, it can be challenging to identify the right one for your specific project.
In this section, I’ll discuss some of the top stains for cedar wood, based on my experience and the experiences of other professionals in the field.

Keep in mind that the best stain for your project will depend on your desired appearance, protection level, and maintenance requirements.
Here’re some popular stain products for Cedarwood,
- DEFY Extreme Semi-Transparent stain
- READY Seal Exterior stain
- Thompson’s WaterSeal stain
So, let’s discuss how each of the above stains works on Cedar wood.
DEFY Extreme Semi-Transparent Stain On Cedar
DEFY Extreme semi-transparent stain is a water-based stain that works perfectly on Cedar.
As per my experience, DEFY Extreme semi-transparent stain is the best stain product for Cedar.
It gives a deep rich look to your Cedar wood furniture and woodworks without affecting its natural beauty. It protects wood from decay, mold, and mildew.
DEFY extreme semi-transparent stain is available in many different colors. Take the one that matches your Cedar wood perfectly.
It uses advanced nano-particle technology to provide superior resistance to UV rays, which helps maintain the wood’s natural color and prevents fading.

This stain is easy to apply and maintain, making it a popular choice among woodworkers.
Here’re the main qualities of DEFY Extreme semi-transparent stain,
- It gives a lustrous finish to your Cedar wood furniture
- Has good resistance against darkening and fading
- Able to apply evenly
- Easy to maintain
- Protect wood from UV light
Here’re some specifications of DEFY Extreme semi-transparent stain,
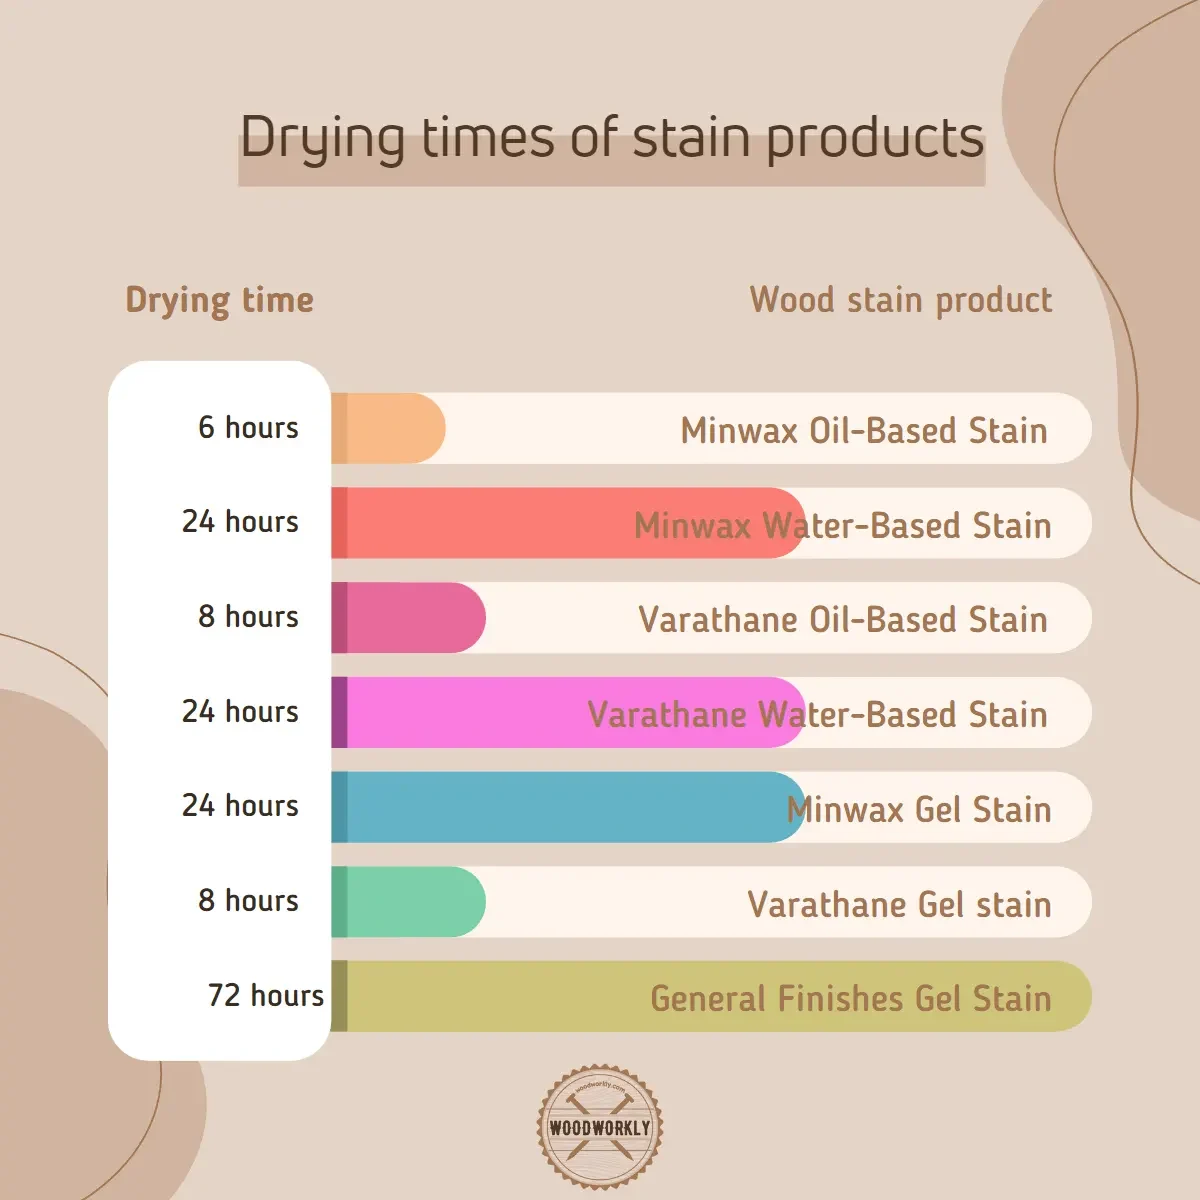
| Drying Time | 24 Hours |
| Wood Stain Type | Water-based |
| Applications | Exterior and interior Cedar furniture |
READY Seal Exterior Stain on Cedar
READY seal exterior stain is an oil-based stain that works perfectly on Cedar.
It protects Cedar from UV light and is commonly used for fences, decks, rooftops, and many other exterior Cedar woodworks and furniture.
Its unique formula enhances the natural beauty of cedar, while also offering excellent resistance to water, mold, and mildew.
READY Seal is designed to be goof-proof, meaning it goes on smooth and easy, making it an excellent choice for both seasoned professionals and DIYers.
Here’re the main qualities of READY seal exterior stain,
- It gives a unique aesthetic appearance to the Cedar furniture
- Able to apply evenly
- Difficult to clean
- Need regular maintenance
- Protect wood from UV light
- Mildew resistant
Here’re some specifications of DEFY Extreme semi-transparent stain,
| Drying Time | 48 -72 hours |
| Wood Stain Type | Oil-based |
| Applications | Exterior Cedar furniture |
Thompson’s WaterSeal Stain on Cedar
Thompson’s water seal stain is the best transparent stain for Cedar. It does not change the color of the wood grain.
It only gives a glossy finish while emphasizing the natural color of Cedar wood.
Thompson’s water seal stain is extremely resistant to environmental elements such as moisture and UV radiation.
But in terms of durability, transparent stains need regular maintenance and have poor durability.
This water-based, semi-transparent stain is specifically designed for cedar wood, providing a beautiful finish while also offering excellent water resistance.
Thompson’s WaterSeal Stain is easy to apply and maintain, making it an ideal choice for a wide range of cedar projects, from decks to fences and outdoor furniture.
Here’re the main qualities of Thompson’s WaterSeal stain,
- Protect wood from UV light
- Able to apply evenly
- Resistant to mildew, decay, and weathering
- Need regular maintenance
- Poor durability
Here’re some specifications of Thompson’s WaterSeal stain,
| Drying Time | 24 hours |
| Wood Stain Type | Water-based |
| Applications | Exterior Cedar furniture, fences, decks |
Now you have a clear idea about the best stain products that can use for Cedar woodworks and furniture to gain the best results.
Each of these stains has its own unique characteristics and benefits, so the best choice for your cedar project will depend on your specific needs and preferences.
Before selecting a stain, consider factors like the desired appearance, level of protection, ease of application, and maintenance requirements.
Choosing the Best Stain Color for Cedar Wood
Selecting the perfect stain color for your cedar wood project is crucial, as it can significantly impact the overall appearance and aesthetic of the finished piece.
Here’re the things you should consider when selecting stain color for cedar wood,
- Surroundings and desired look
- Effects of cedar wood’s natural characteristics
- compare stain colors
- Stain opacity
- Test stain color on a scrap wood
Let’s have a look at each of the above factors in detail to get the best color of stain for your cedar wood furniture or woodwork.
Assess the Surroundings and Desired Look
Take into account the surrounding elements and colors in the space where your cedar wood project will be placed.
This can help you select a stain color that complements and enhances the overall design.
Think about the look and style you want to achieve with your stained cedar wood.
Whether you’re aiming for a rustic, modern, or traditional vibe, the stain color can play a significant role in conveying that particular style.
Understand the Effects of Cedar Wood’s Natural Characteristics
Cedar wood has natural color variations, ranging from light honey to rich reddish-brown hues.
Keep in mind that the wood’s natural color will influence the final appearance of the stain.
Cedar wood has a unique grain pattern that can be accentuated or subdued, depending on the stain color and opacity you choose.
Determine whether you want to highlight the wood grain or create a more uniform appearance.
Research and Compare Stain Colors
Many stain manufacturers provide online color charts and visualizers to help you preview and compare different stain colors on cedar wood.
If possible, visit a local paint or home improvement store to view stain samples on cedar wood in person.
This can help you get a better sense of how the color will appear on your project.
Consider the Stain Opacity
The opacity of the stain can affect the final color and appearance. Transparent stains showcase the wood’s natural color and grain, while solid stains create a more uniform color and hide the wood grain.
Determine whether you want to prioritize showcasing the wood’s natural beauty or providing maximum protection against the elements.
This can help guide your decision in selecting the appropriate stain opacity and color.
Test the Stain Color on a Scrap Piece of Cedar Wood
Before committing to a specific stain color, it’s crucial to test it on a scrap piece of cedar wood or an inconspicuous area to ensure it meets your expectations.
Observe the test stain in various lighting conditions, both indoors and outdoors, to confirm it looks as you envisioned.
By following these tips and taking the time to carefully consider your options, you’ll be able to choose the best stain color for your cedar wood project.
Remember, the stain color can have a significant impact on the final appearance of your project, so don’t rush the decision-making process.
So, let’s consider the need for a wood conditioner before staining Cedar wood.
Does Cedar Need Wood Conditioner Before Staining?
Wood conditioner, or pre-stain conditioner, is typically applied to softwoods such as pine, fir, or spruce before staining.
The goal is to avert blotchiness and uneven stain absorption, leading to a more uniform and professional finish.
By partially sealing the wood’s surface, wood conditioner helps control stain penetration, creating a consistent color.
Now, cedar is a softwood, but its grain structure is notably uniform and tight compared to other softwoods.
This feature makes cedar less susceptible to blotching and uneven staining, which means cedar wood usually doesn’t need wood conditioner before staining.
Cedar takes wood stain pretty well even with or without using a wood conditioner.
But by applying wood conditioner before staining, most of the wood staining mistakes will be minimized.
However, not unlike other woods, when it comes to Cedar wood, applying wood conditioner before staining is an optional step.
But if live in an area that can find wood conditioner without much effort and if it’s under your budget, I highly recommend you apply wood conditioner before staining to get the maximum output.

Wood conditioner helps the wood stain to spread out evenly throughout the wood without getting a blotchy or splotchy surface.
It limits the absorption ability of Cedar wood and helps to get a thin coat of stain uniformly without missing any spots.
After applying wood conditioner, let it soak into the Cedar for about 15 -20 minutes and wipe excess to apply stain even better.
Wood conditioner basically prepares the wood surface to take on stain well.
For example, if you’re dealing with an especially porous or uneven cedar piece, wood conditioner can help achieve a more uniform stain finish.
Moreover, if you’re using a water-based stain that tends to raise the wood grain, wood conditioner can help mitigate this effect.
I advise you to use a pre-stain wood conditioner and the stain product from the same manufacturer to avoid any incompatible issues between stain and wood conditioner layers.
However, if you’re working with an unusually porous or uneven cedar piece or using a stain prone to raising the wood grain, applying a wood conditioner could be advantageous.

So, let’s get into the hot topic, Does Cedar stain well? Yes, and this is how to do that!
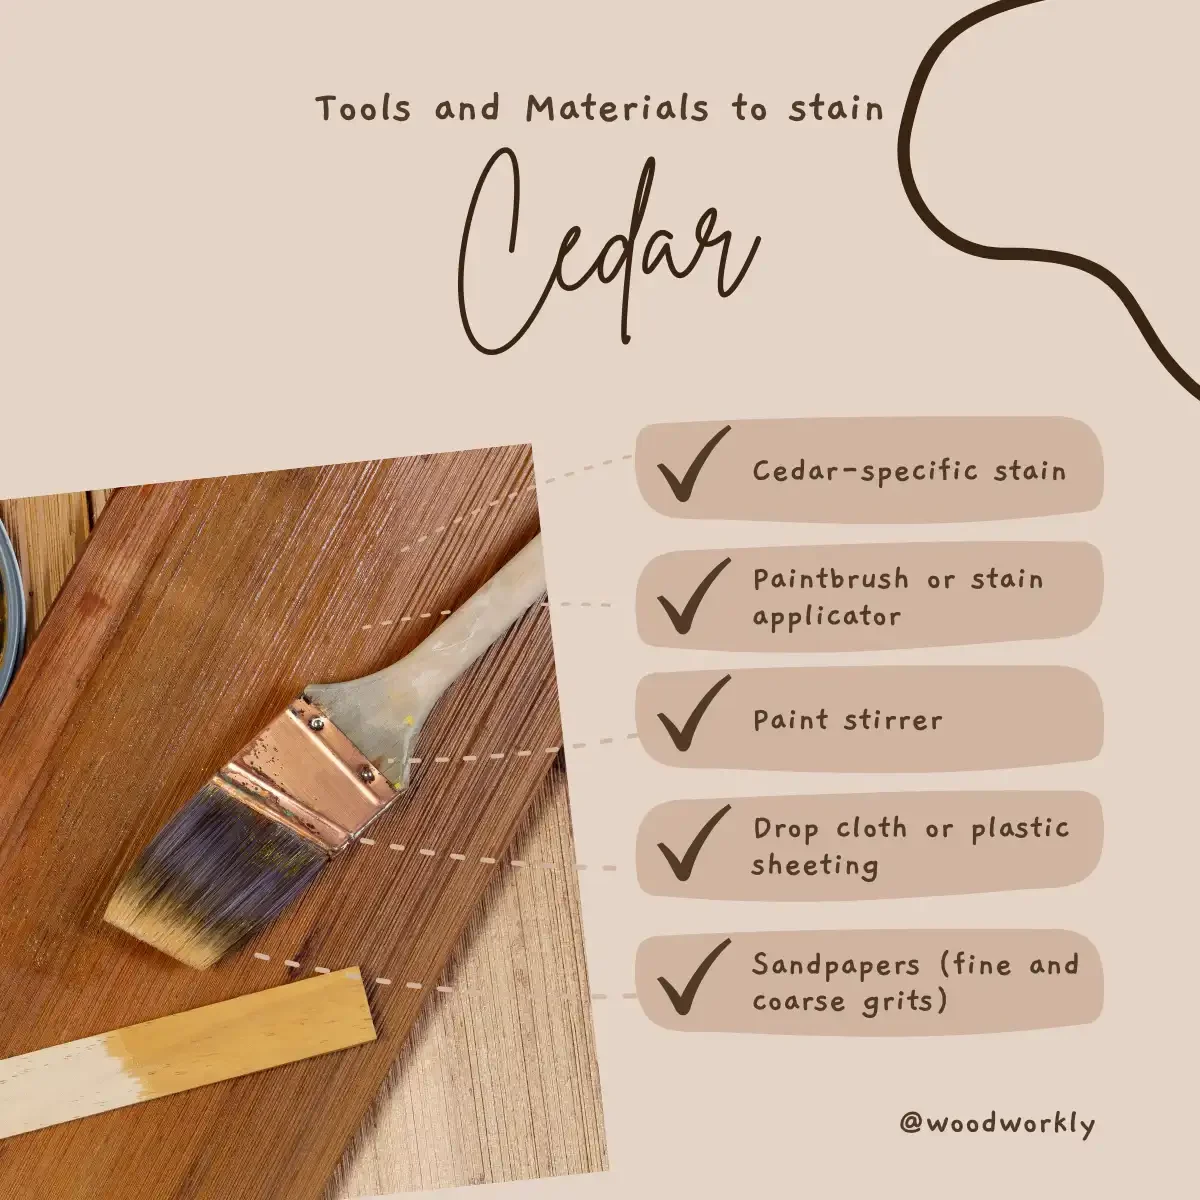
Tools And Materials To Stain Cedar
- 220 grit sandpaper (fine grit sandpaper)
- 80 grit sandpaper (coarse grit sandpaper)
- Pre-stain wood conditioner (optional)
- Wood stain product
- Gloves
- Clean rags
- Paintbrush
Check out the Best Brushes For Staining Wood!

How To Stain Cedar?
Cedar takes stain so well to achieve a nice, smooth, glossy surface with excellent protection from environmental elements.
Staining cedar is a process that requires attention to detail, but with the right steps and a bit of experience, you can achieve a stunning result.
By following the procedure below, you’ll be able to stain Cedar without making any wood staining mistakes.
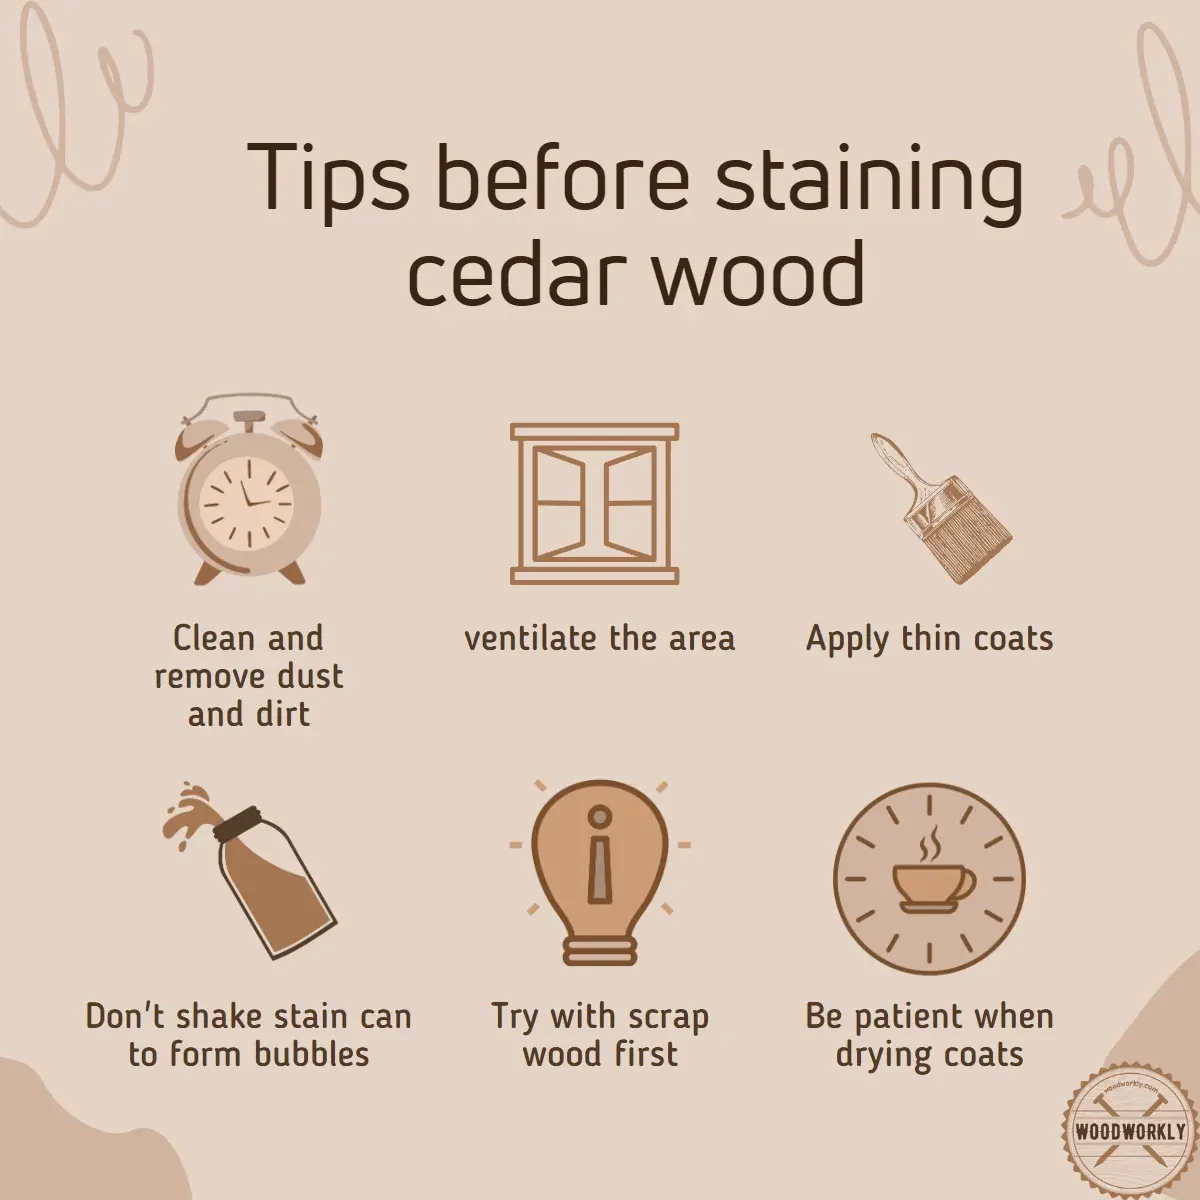
Here’re the steps you need to follow when staining Cedar wood.
- Clean and prepare the cedar wood
- Sand and remove sawdust
- Apply wood conditioner
- Let the wood dry
- Apply wood stain
- Let the stain dry completely
- Apply a protective finish
Tip:
Test the staining Cedar wood method with the same kind of Cedar scrap wood before heading on to the main project.
By practicing with scrap wood, you’ll be able to discover your way of staining Cedar wood correctly
So, let’s discuss each of the above steps in-detail to get an idea about staining Cedar wood using the proper method.
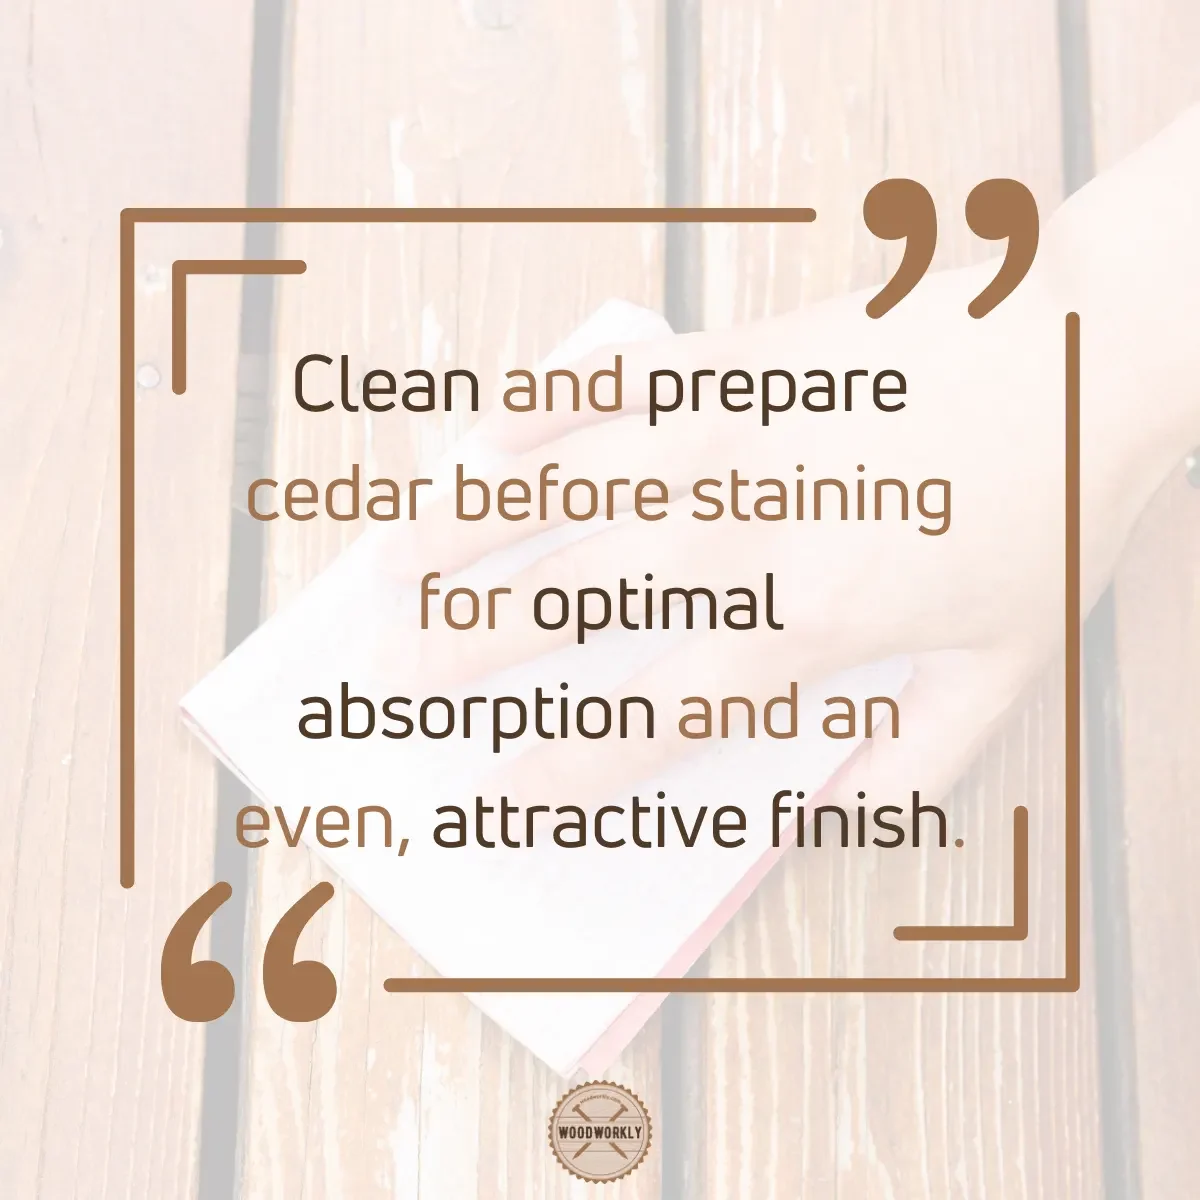
1. Clean And Prepare The Cedar Wood
Cleaning the wood before staining is an essential step in wood finishing.
Cleaning helps to eliminate dust and debris from Cedar wood surfaces.
If you directly go for the staining part skipping the cleaning step, the dust will probably get trapped inside the wood stain and you’ll end up with a blotchy or splotchy surface which is so hard to recover
Remove any dirt, dust, or debris from the cedar surface. You can use a soft brush, a vacuum, or a damp cloth to clean the wood.
If there are any stains, use a mild detergent and water to remove them.
Take a clean rag and soak it in soapy water and wipe down the entire Cedar wood surface without missing any spots.
After cleaning the wood properly, let it dry completely before moving on to the next step.
While the wood is drying, you’ll notice some areas dry faster than other areas. This is due to random densities of Cedar wood surface.
Those random areas should sand well during the next step because surface randomness causes trouble when staining the wood.
2. Sand and Remove Sawdust
after cleaning and drying the wood properly, and the entire Cedar wood surface with 80 grit and 220 grit sandpaper without missing any spots.
Sand the cedar surface to remove any imperfections and create a smooth surface for the stain to adhere.
Start with a coarser grit sandpaper (such as 80 or 100 grit) and work your way up to a finer grit (150 or 220 grit) for a smooth finish.
Plus make sure to sand the random areas that we have already noticed during the wood drying more to make them ready to accept wood stain.
Sand along the direction of the wood grain to avoid wood from scratching.
Never use higher-grade sandpapers because they might ruin the beautiful grain of Cedar, especially because of being a softwood.
Once you’re done with sanding, clean the entire surface to remove sawdust.
Tip:
For cedar, 150 or 220 grit sandpaper is usually sufficient. However, if you’re working with rough or uneven cedar, you may need to start with a coarser grit and progress to finer grits to achieve the desired smoothness.
At the end of the sanding process, you’ll get a nice and smooth Cedar wood surface that is ready to accept wood stain evenly.
3. Apply Wood Conditioner
Even though this is an optional step in staining Cedar wood, most woodworkers highly recommend using wood conditioner because not every Cedar wood works the same with all the stain types.
If the wood doesn’t go well with stain type, that can lead to a blotchy and tacky surface.
In those cases, you’ll have to remove the remaining stain and start over from the beginning.
Therefore, highly recommend applying wood conditioner before staining Cedar to accept wood stain evenly all over the wood.
4. Let the Wood Dry Completely
After applying the wood conditioner, let the wood dry completely before staining the wood.
Usually, it takes around 2 hours to settle the wood conditioner layer.
Drying helps the wood to gain a nice and beautiful finish. Patience is the key to succussing Cedar wood staining.

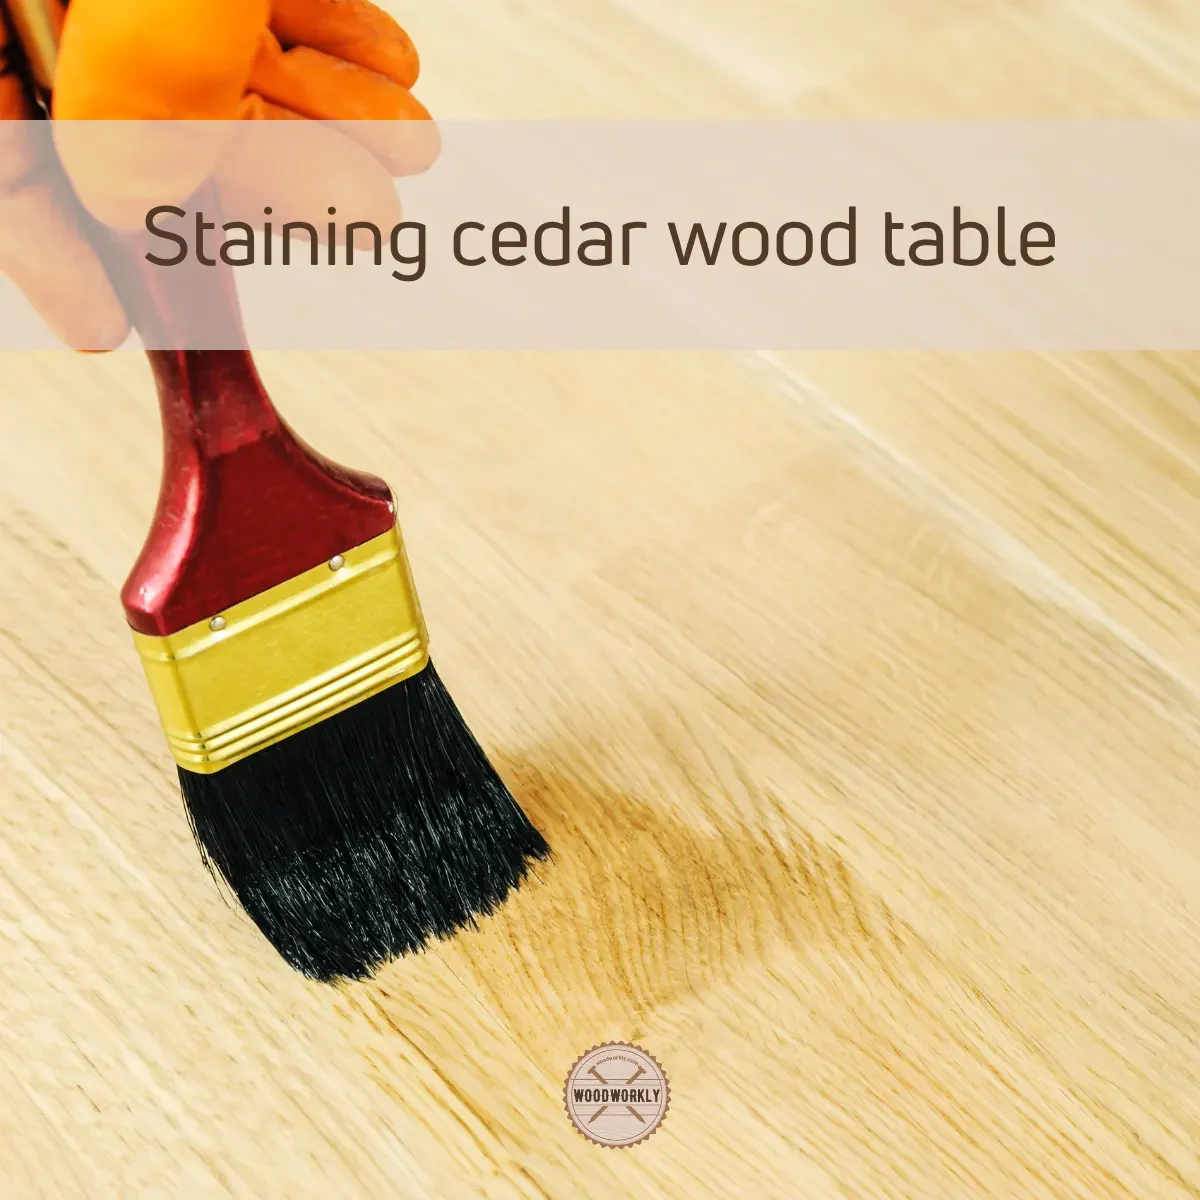
5. Apply Wood Stain on Cedar
There are several methods for applying stain, including using a brush, a rag, or a spray applicator.
The best method for your project depends on the size and complexity of the cedar piece, as well as your personal preference and experience.
Apply wood stain along the direction of the Cedar wood surface using the paintbrush.
Make sure to apply thin coats of stain for better absorption and spread-out stain evenly all over the wood.
Apply the stain in thin, even coats, working in the direction of the wood grain. Make sure to maintain a “wet edge” to prevent overlapping and uneven coloring.
If you notice any drips or runs, smooth them out immediately with a clean brush or rag.
Make sure not to miss any spots during staining because filling gaps is so difficult once the applied stains were already settled.
Plus, apply stain by applying even pressure to the paintbrush because when the pressure is high, the resulting tone will get much darker and deeper.
Apply two coats of wood stain for a better finish.
You can increase the number of stain coats up to a maximum of 5 times to get a much deep and darker color. To get lighter colors, 2 coats of stain are well enough.
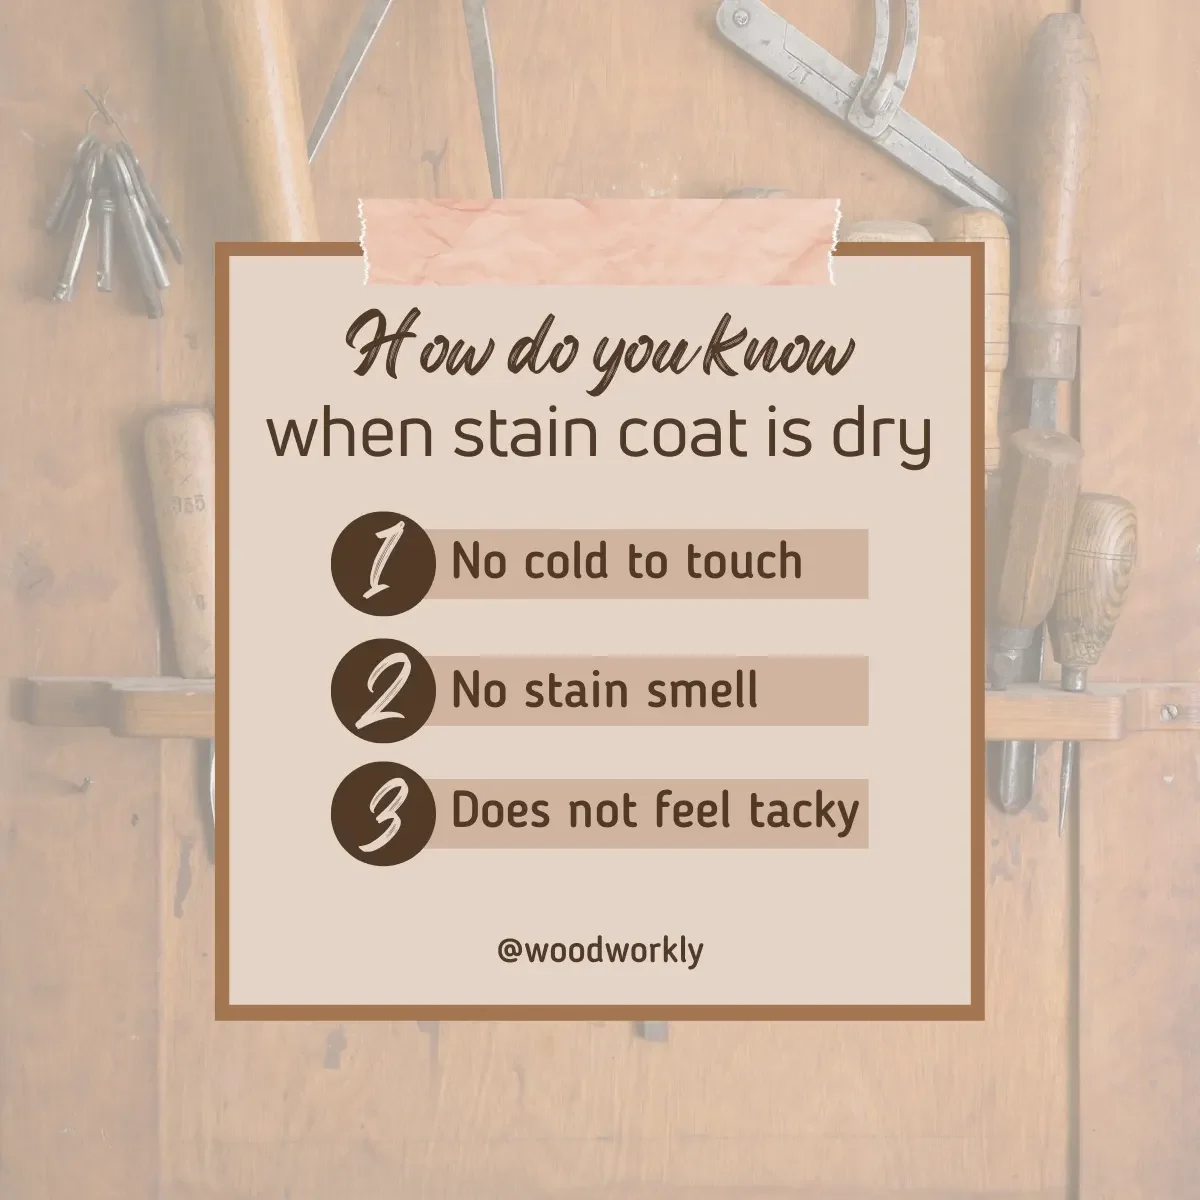
6. Let The Stain Dry Completely
Make sure to let the stain dry completely between each coat and once you’re done with staining let the wood dry completely for about 24 – 48 hours before using it.
Allow the stain to dry for at least 24 hours between coats, or as recommended by the stain manufacturer.
The number of coats required depends on the type of stain and your desired level of opacity.
Generally, 2-3 coats should suffice, but always test a small, inconspicuous area to determine the exact number of coats needed.
Now you know how to stain Cedar correctly with the simplest method.
The method that I discussed above is applicable even for beginners in woodworking to sharpen their knowledge in wood staining.
7. Applying a Protective Finish
Once the stain is dry, consider applying a protective finish:
Popular Types of protective finishes include varnish, polyurethane, and spar urethane. Each has its own set of advantages and application techniques.
Follow the manufacturer’s instructions for the specific finish you choose. Most finishes can be applied with a brush or spray applicator, but some may require a specific method or tool.
Maintenance and Care of Stained Cedar Wood
I understand the importance of maintaining and caring for your stained cedar wood to prolong its life and keep its appearance looking fresh.
With proper maintenance and care, your cedar wood can continue to look stunning for years to come.
Here are some tips and suggestions to help you take care of your stained cedar wood,
- Regular cleaning of stained cedar wood
- Inspect and repair stained cedar surface
- Recoat and refinish
- Protect stained cedar from weather and sun exposure
So, let’s discuss each of the above care and maintenance tips for stained cedar to keep the coat fresh as new for a long time.
Regular Cleaning
Gentle cleaning: Regularly dust and wipe down the cedar surface with a soft, dry cloth to remove dirt and dust.
For more thorough cleaning, use a damp cloth with a mild soap solution, making sure to wipe the surface dry afterward to prevent moisture buildup.
Pressure washing: If your stained cedar is outdoors (like siding or decking), you can use a pressure washer to clean the surface.
Use a low-pressure setting and a wide nozzle to avoid damaging the wood. Hold the nozzle at least 12 inches away from the surface and move it in a consistent sweeping motion.

Inspect and Repair
Check for damage: Periodically inspect your stained cedar wood for signs of damage, such as cracks, peeling, or fading.
Addressing these issues early can help prevent more significant problems down the road.
Repairing small damages: For minor scratches or dents, lightly sand the affected area with fine-grit sandpaper, then apply a thin layer of matching stain.
Finish with a protective topcoat to seal the repair.
Recoating and Refinishing
Timing: Depending on the stain type and the environmental conditions, you may need to recoat or refinish your stained cedar every few years.
Monitor the appearance of your cedar and recoat when the finish begins to wear or fade.
Preparation: Before recoating, clean the surface thoroughly and lightly sand it with fine-grit sandpaper to ensure proper adhesion of the new stain.
Applying a new coat: Follow the same steps as the initial staining process, making sure to maintain proper drying times and application techniques.
Protect from Weather and Sun Exposure
Sun protection: Prolonged sun exposure can cause the stain to fade and the wood to deteriorate.
Consider installing shades or awnings for outdoor cedar structures to protect them from direct sunlight.
Weather protection: Properly seal and maintain outdoor cedar structures to protect them from rain, snow, and other weather elements.
Routinely check for signs of water damage, mold, or mildew, and address any issues promptly.
By following these maintenance and care tips, you can preserve the beauty and longevity of your stained cedar wood.
With consistent care and attention, your cedar wood will remain a stunning addition to your home or outdoor space for many years to come.
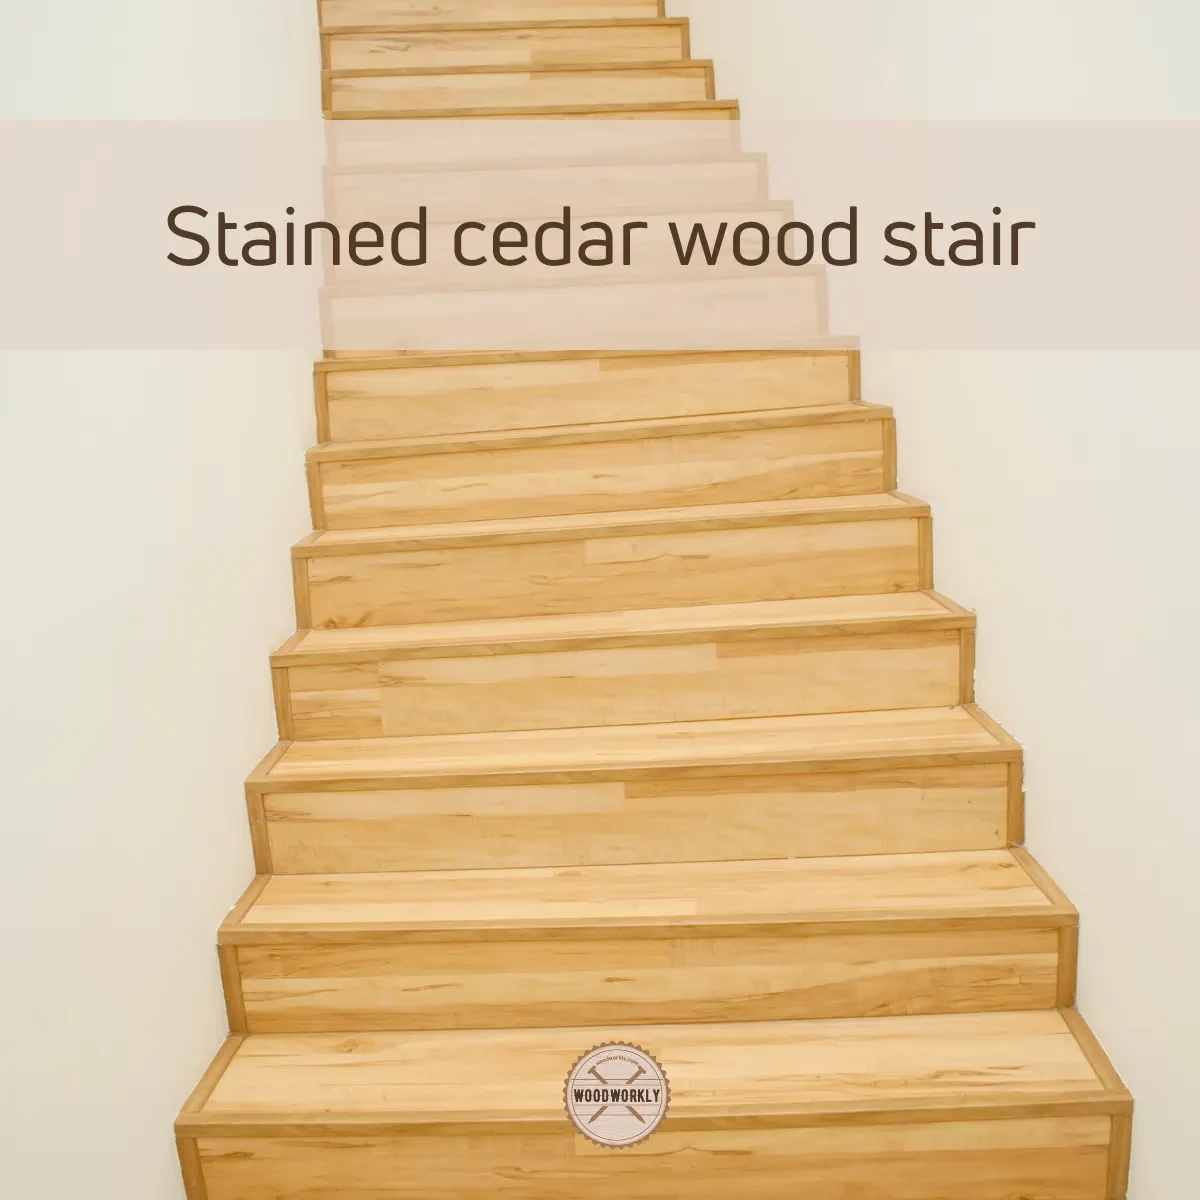
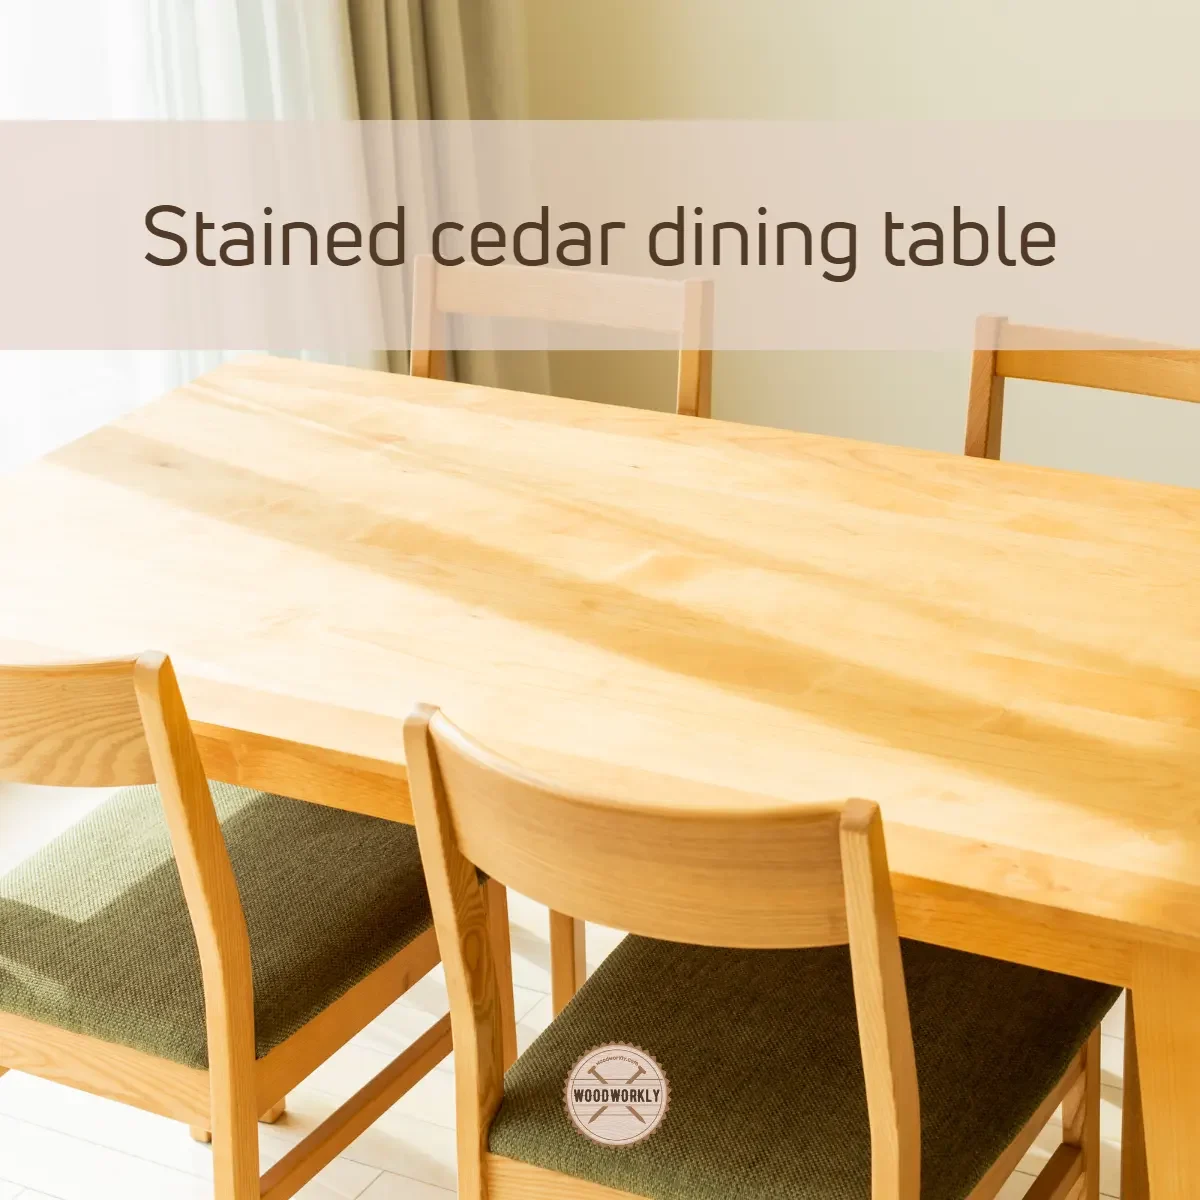
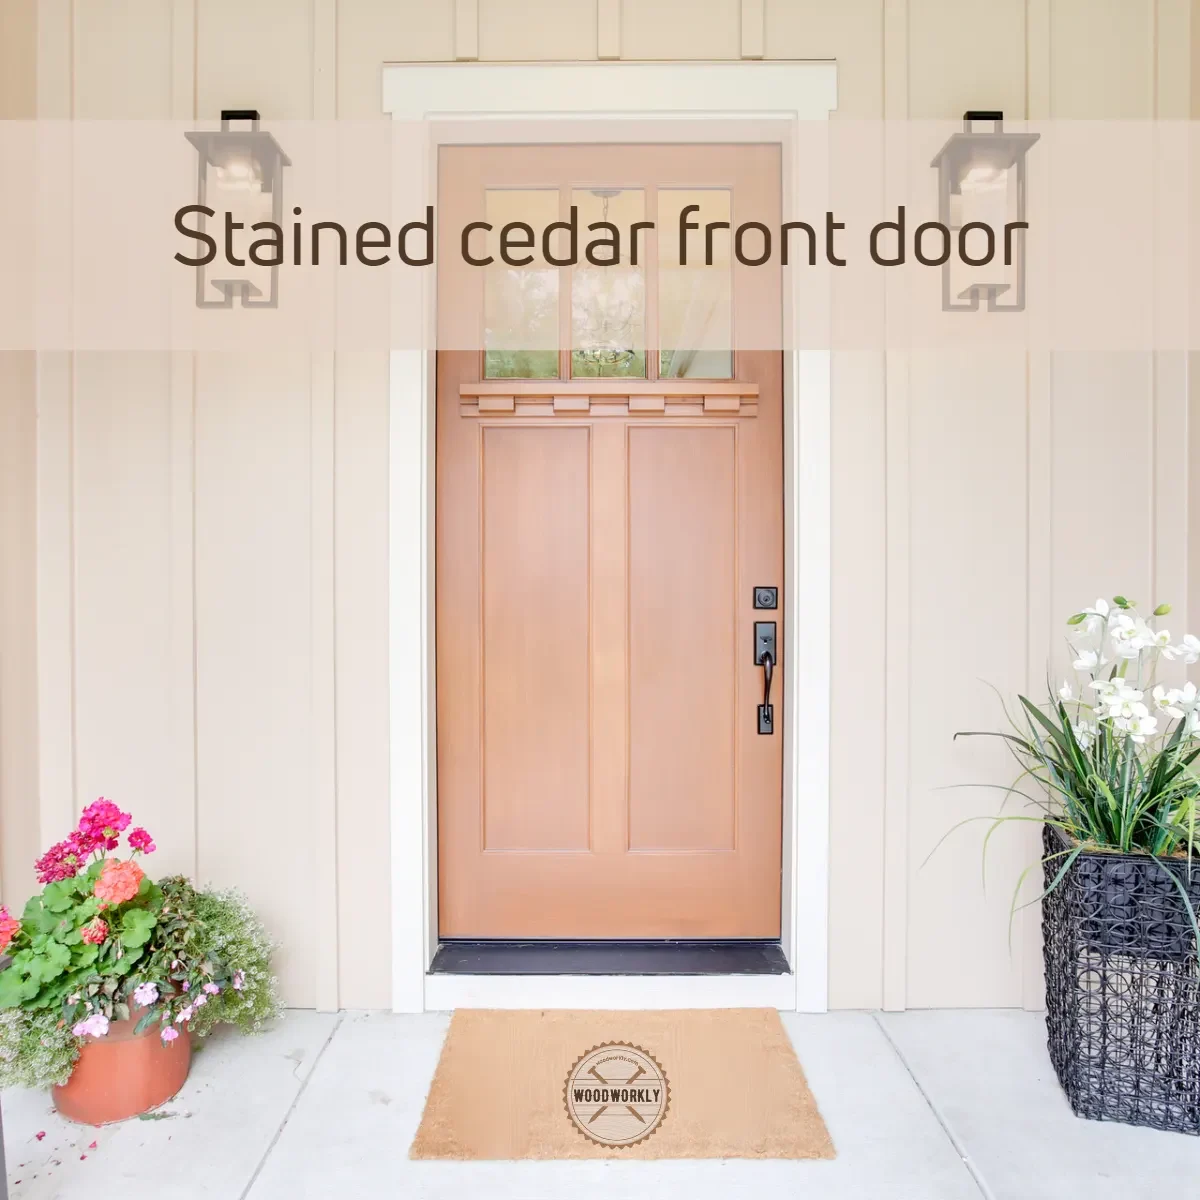
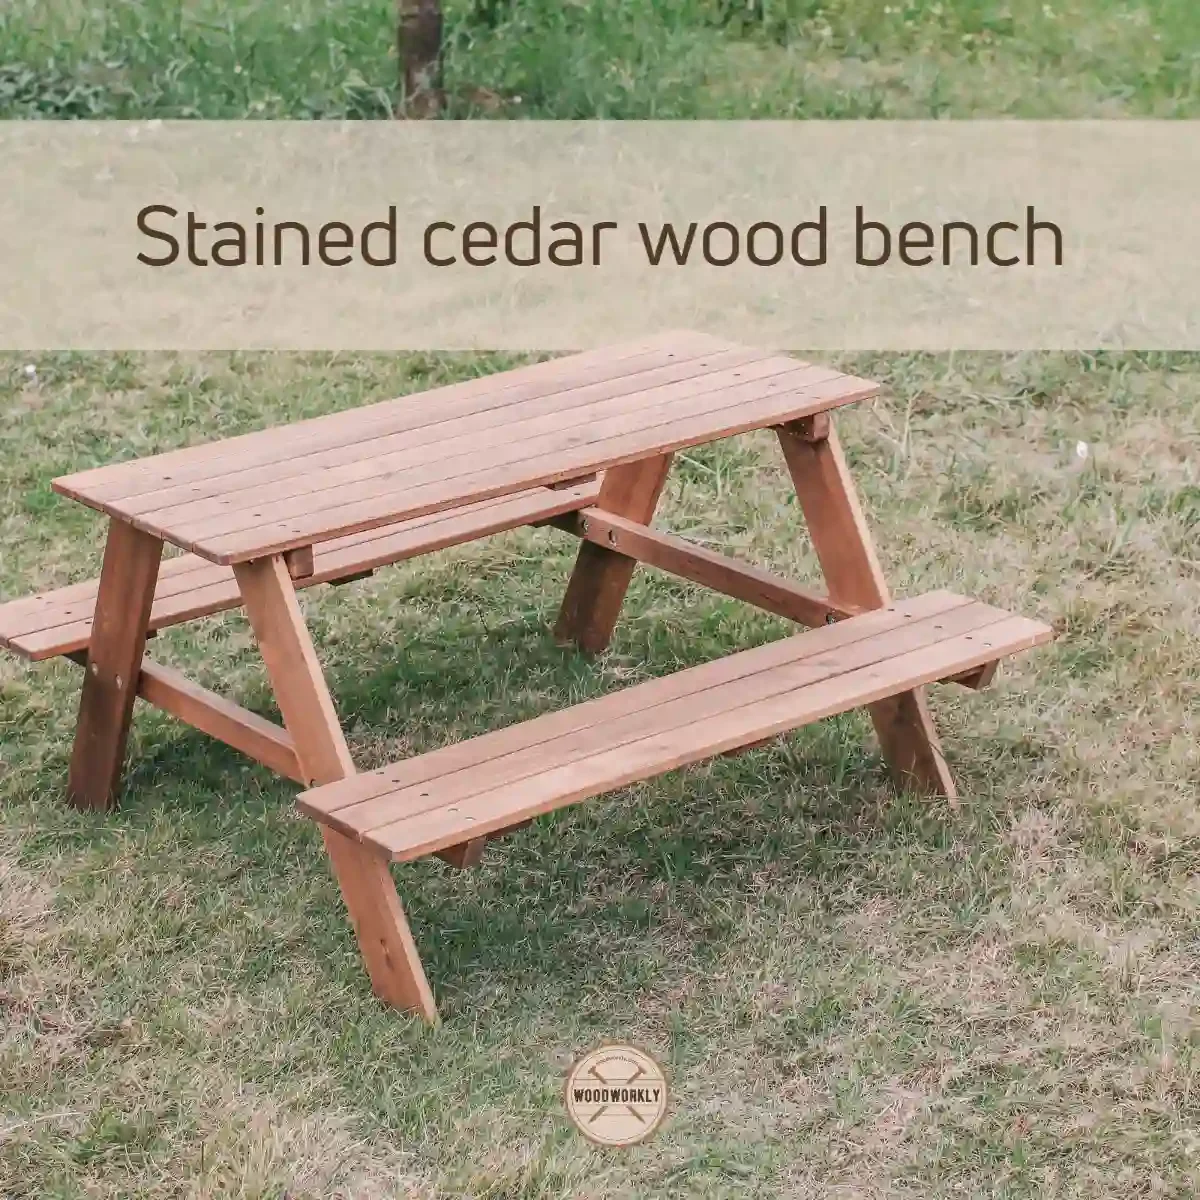
Staining Cedar Wood Furniture, Fences, and Decks
Cedar wood is incredibly versatile and can be used for various applications, such as furniture, fences, and decks. Each of these projects may require a different approach when it comes to staining.
Staining Cedar Wood Furniture
Choose the right stain: Cedar furniture often has intricate details and designs. Opt for a stain that highlights these features and enhances the overall look of the piece. A semi-transparent or semi-opaque stain is usually a good choice for furniture.
Sanding: Properly sand the furniture using progressively finer grit sandpaper, starting with 80-grit and working up to 220-grit. This will help ensure a smooth and even surface for stain application.
Apply the stain: Use a high-quality brush or lint-free cloth to apply the stain evenly. For intricate areas, a small artist’s brush can help with precision.
Protective finish: After the stain has fully dried, apply a clear protective finish, such as polyurethane or varnish, to protect the furniture and enhance its durability.
Staining Cedar Fences
Preparation: Clean the fence thoroughly with a pressure washer or a stiff-bristle brush and a wood cleaner to remove any dirt, debris, and mildew.
Choose the right stain: For fences, a semi-transparent or solid stain is recommended. These stains offer greater protection against the elements and UV damage.
Apply the stain: Use a roller, brush, or sprayer to apply the stain evenly on the fence, working on one section at a time. Be sure to catch any drips or runs as you go.
Maintain the fence: To prolong the life of your stained cedar fence, clean and restain it every few years, or as needed, based on the wear and tear it experiences.
Staining Cedar Decks
Preparation: Ensure the deck is clean and free of any debris, dirt, and mildew. Use a wood cleaner and a stiff-bristle brush or pressure washer for optimal results.
Choose the right stain: For decks, a semi-transparent or solid stain is ideal, as they provide better protection against foot traffic and weather conditions.
Apply the stain: Use a roller, brush, or sprayer to apply the stain evenly on the deck boards, working on one section at a time. Be mindful of any drips or runs, and smooth them out as you work.
Protective finish: Consider applying a clear protective finish, such as a deck sealer, to add an extra layer of protection against the elements and daily wear and tear.
By following these expert tips and tricks for staining cedar wood furniture, fences, and decks, you’ll be well on your way to achieving a stunning and long-lasting result.
Remember, proper preparation, the right stain, and good maintenance are key factors in ensuring the longevity and beauty of your cedar wood projects.

Expert Tips and Tricks for Staining Cedar Wood
I’ve learned a few tips and tricks over the years that can help make staining cedar wood a more efficient and successful process.
I’ll share these expert insights with you, so you can achieve the best possible results when staining your cedar wood.
1. Test Stain Colors on Scrap Wood
Cedar wood can have variations in color, and different stains can react differently on the wood.
To ensure you achieve the desired color, always test the stain on a scrap piece of cedar wood or an inconspicuous area before staining the entire project.
After testing the stain, let it dry and observe the color under different lighting conditions to ensure it matches your expectations.
2. Use a Pre-Stain Wood Conditioner
Applying a pre-stain wood conditioner can help prevent blotchiness and uneven coloring on cedar wood.
It’s particularly useful for woods that tend to absorb stains unevenly, like cedar.
Follow the manufacturer’s instructions for applying the wood conditioner, and make sure to wait the recommended time before applying the stain.
3. Start with a Properly Prepared Surface
A clean, smooth, and dry surface is essential for a successful staining job.
Take the time to thoroughly clean, sand, and dry the wood before applying the stain.
Always sand in the direction of the wood grain and use progressively finer grits of sandpaper to achieve a smooth finish.
4. Use High-Quality Stain and Application Tools
Invest in high-quality stain and application tools, like brushes and rags, for a more consistent and professional-looking result.
Choose a brush that’s specifically designed for staining, as it will help ensure a smooth and even application.
For larger surfaces, a staining pad or spray applicator might be more efficient.
5. Work in Manageable Sections
When staining large surfaces, like a deck or siding, work in smaller sections to prevent lap marks and maintain a consistent color.
Make sure to always maintain a wet edge when applying the stain, which means working from one end of a board to the other without stopping.
6. Allow Proper Drying Time
Follow the stain manufacturer’s recommendations for drying times between coats. Rushing the process can lead to uneven coloring and a less durable finish.
Most of the time, tacky or splotchy surfaces appear as a result of poor drying times.
Avoid staining on extremely hot, cold, or humid days, as it can affect the drying time and final appearance of the stain.
By following these expert tips and tricks, you’ll be well on your way to achieving a professional-looking, beautiful stained cedar wood finish.
Take your time, be patient, and remember that attention to detail is the key to a successful staining project.
Troubleshooting Common Cedar Staining Issues
Even as a seasoned woodworker, staining cedar wood can present its fair share of obstacles.
But fear not, for in this section, I’ll guide you through common issues that might arise and offer practical solutions to help you achieve a flawless finish.
1. Battling Blotchiness and Uneven Staining
Despite your best efforts, you might notice that the stain has absorbed inconsistently, leading to blotchy or patchy spots on the cedar surface.
Solution:
- Preparing the canvas: Double-check that you’ve sanded the cedar evenly using the right grit sandpaper and cleaned the surface to rid it of any lingering dust or debris.
- Embrace wood conditioner: Applying a wood conditioner on cedar can boost even stain absorption, lessening the chance of uneven results.
- Thin and steady wins the race: Take your time, working with precision to apply the stain in thin, even coats using a top-quality brush, lint-free cloth, or sprayer.
2. Stain’s Quick to Dry
On occasion, the stain might dry too swiftly on the cedar surface, culminating in an uneven or streaky appearance.
Solution:
- Divide and conquer: Break your project into smaller, manageable sections, ensuring that you can apply the stain evenly before it begins to dry.
- Refine your technique: Experiment with using a brush or cloth as opposed to a sprayer, granting you greater control over the speed of application.
- Keep an eye on temperature and humidity: Steer clear of staining during high heat, direct sunlight, or low humidity, as these conditions may cause the stain to dry too rapidly.
3. Stain Peeling or Flaking Away
Over time, it’s possible that the stain on your cedar wood starts to peel or flake off.
Solution:
- A solid foundation: Confirm that the cedar surface is spotless, dry, and devoid of any existing finishes prior to applying the stain.
- Pick the perfect stain: Opt for a top-tier stain specifically designed for cedar to guarantee better adhesion and durability.
- Maintenance is key: Clean and maintain your stained cedar wood routinely, reapplying the stain as needed to avert peeling and flaking.
4. Persistent Tackiness from Undried Stain
Issue: In some cases, the stain may refuse to dry properly, leaving behind a tacky or sticky cedar surface.
Solution:
- Patience is a virtue: Allow the stain ample time to dry between coats, adhering to the manufacturer’s recommendations.
- Even and thin coats prevail: Refrain from applying the stain too thickly, as this may prolong drying time and result in a sticky residue.
- Mind the weather: High humidity and cool temperatures can impede the drying process. Aim to stain on days with more favorable conditions.
By overcoming these common cedar staining hurdles, you’ll be well on your way to a beautiful and enduring finish for your cedar wood projects.
Apart from the above steps, you can read more details about fixing wood stain mistakes in this article.
Remember, thorough surface preparation, selecting the ideal stain, and adhering to best practices for application and maintenance are vital to achieving a showstopping result.

So, let’s have a look at the frequently asked questions about staining Cedar.
What Type Of Stain Is Best For Cedar Wood?
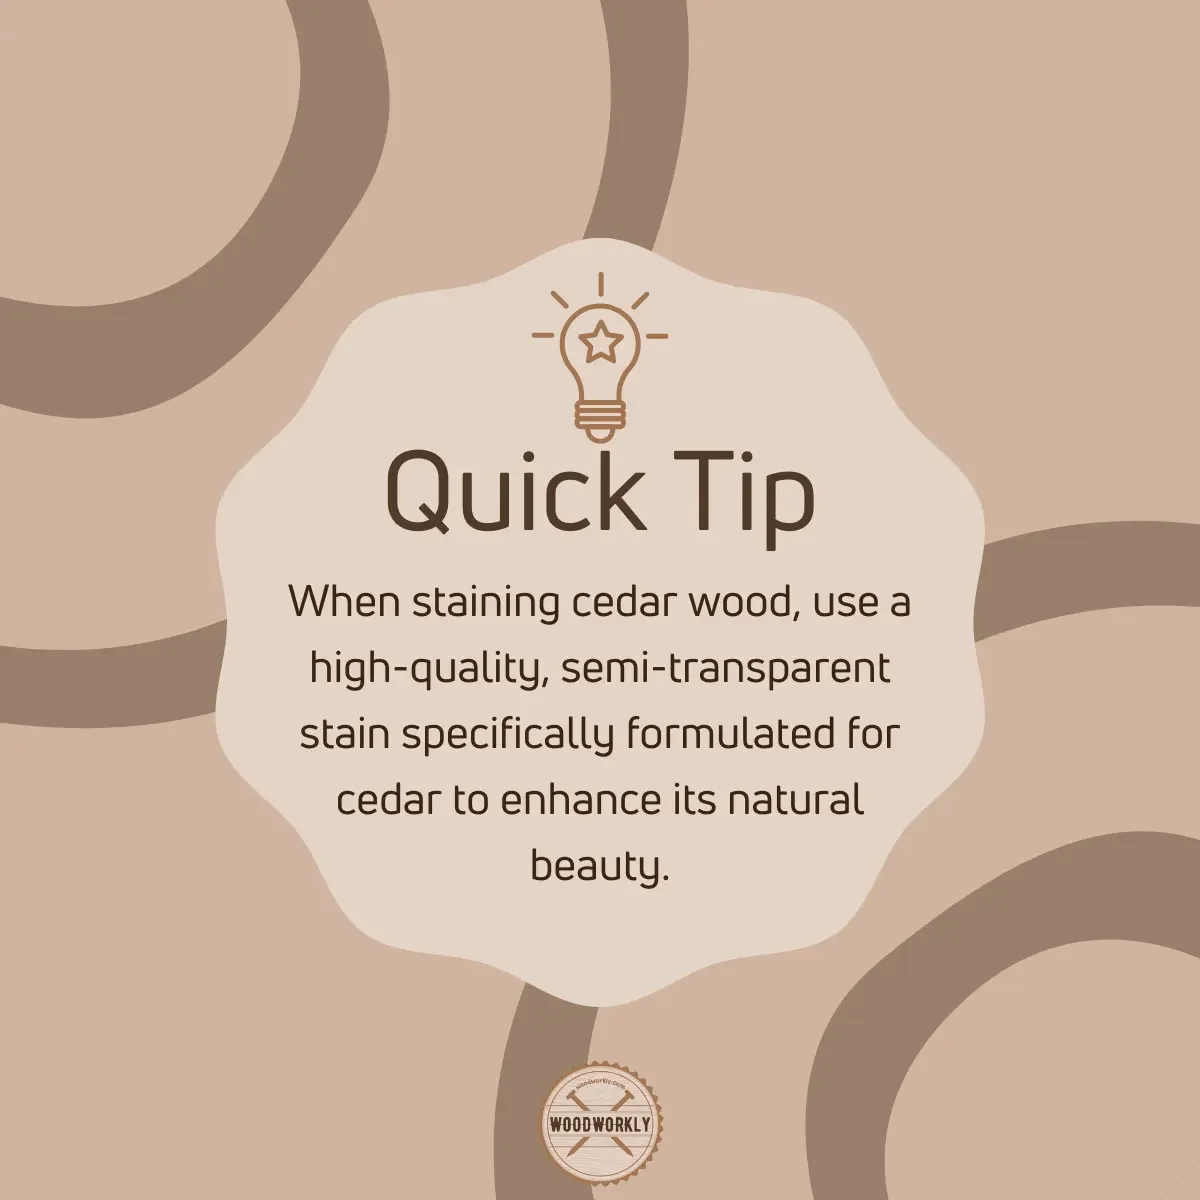
For cedar, semi-transparent stains are ideal, as they enhance the natural beauty of the wood while providing protection against the elements.
Do I Need To Use A Wood Conditioner Before Staining Cedar?
Generally, cedar doesn’t require a wood conditioner, but it can help ensure even stain absorption, especially if the wood is soft or porous.
How Many Coats Of Stain Should I Apply To Cedar?
It depends on the desired finish; Apply 1-2 coats of stain on cedar for a semi-transparent look, while 2-3 coats may be needed for a richer, opaque finish.
How Long Should I Wait Between Coats Of Stain On Cedar?
Allow each stain coat on cedar to dry for at least 24 hours before applying the next one, to ensure proper adhesion and even coloring.
Can I Use A Solid Color Stain On Cedar?
Yes, solid color stains can be used on cedar, but they’ll hide the wood’s natural grain pattern.
They offer more UV protection and last longer than semi-transparent stains.
What’s The Best Way To Maintain The Appearance Of My Stained Cedar Project?
Regular cleaning and reapplying a topcoat or sealer every 2-3 years will help prolong the life and appearance of your stained cedar. Address any signs of wear, such as fading or peeling, as needed.
Does Cedar Stain Fade?
The stain will last on Cedar for about 5 to 7 years. After that, Cedar stain tends to fade away with time.
Cedar stain fades away because of high temperature, moisture levels, climate changes, and many more.
Reapply stains on Cedar once per two years to prevent the stain from fading away.
But always make sure to apply Cedar using proper staining methods because with the incorrect method the Cedar stain fades much faster than its average age of fading.
Can You Stain Cedar Grey?
Yes, you can stain Cedar grey. But after staining Cedar into a grey color, you cannot reverse the process and get the natural color back.
You’ll have to take down the applied wood stain using methyl alcohol.
In order to stain Cedar grey, soak steel wool in white vinegar for 4 – 5 hours and apply it on the Cedar wood surface.
Or you can directly apply grey stain on Cedar wood to make it look grey.
Can You Stain Cedar White?
Yes, Cedar can be stained white. Cedar takes white stain pretty well. Therefore, applying wood conditioner before staining is not necessary.
Read out the article about how did I apply white paint on cedar.
Apply along the direction of the wood grain for better absorbance and to gain a nice and smooth finish.
Did I cover all you wanted to know about: Does Cedar Stain Well?
In this article, we have deeply talked does Cedar stain well, whether Cedar is good for staining, and how to stain Cedar without getting any wood stain mistakes as well.
Cedar takes stain pretty well. To stain cedar, start by cleaning and sanding the wood evenly with the appropriate grit sandpaper. Apply a wood conditioner if needed to ensure even stain absorption. Choose a high-quality stain designed for cedar and apply it in thin, even coats using a brush, cloth, or sprayer. Allow proper drying time between coats.
Furthermore, I’ve answered some frequently asked questions about staining Cedar as well.
Hope you have gained good knowledge about does Cedar stain well with many different staining techniques.
So, let’s give try to stain Cedar wood furniture to sharpen your knowledge with some particle examples. Have fun in woodworking!