Ever wondered if maple wood stains well and how to achieve a perfect finish? Discover the secrets to staining maple like a pro as we dive into the details!
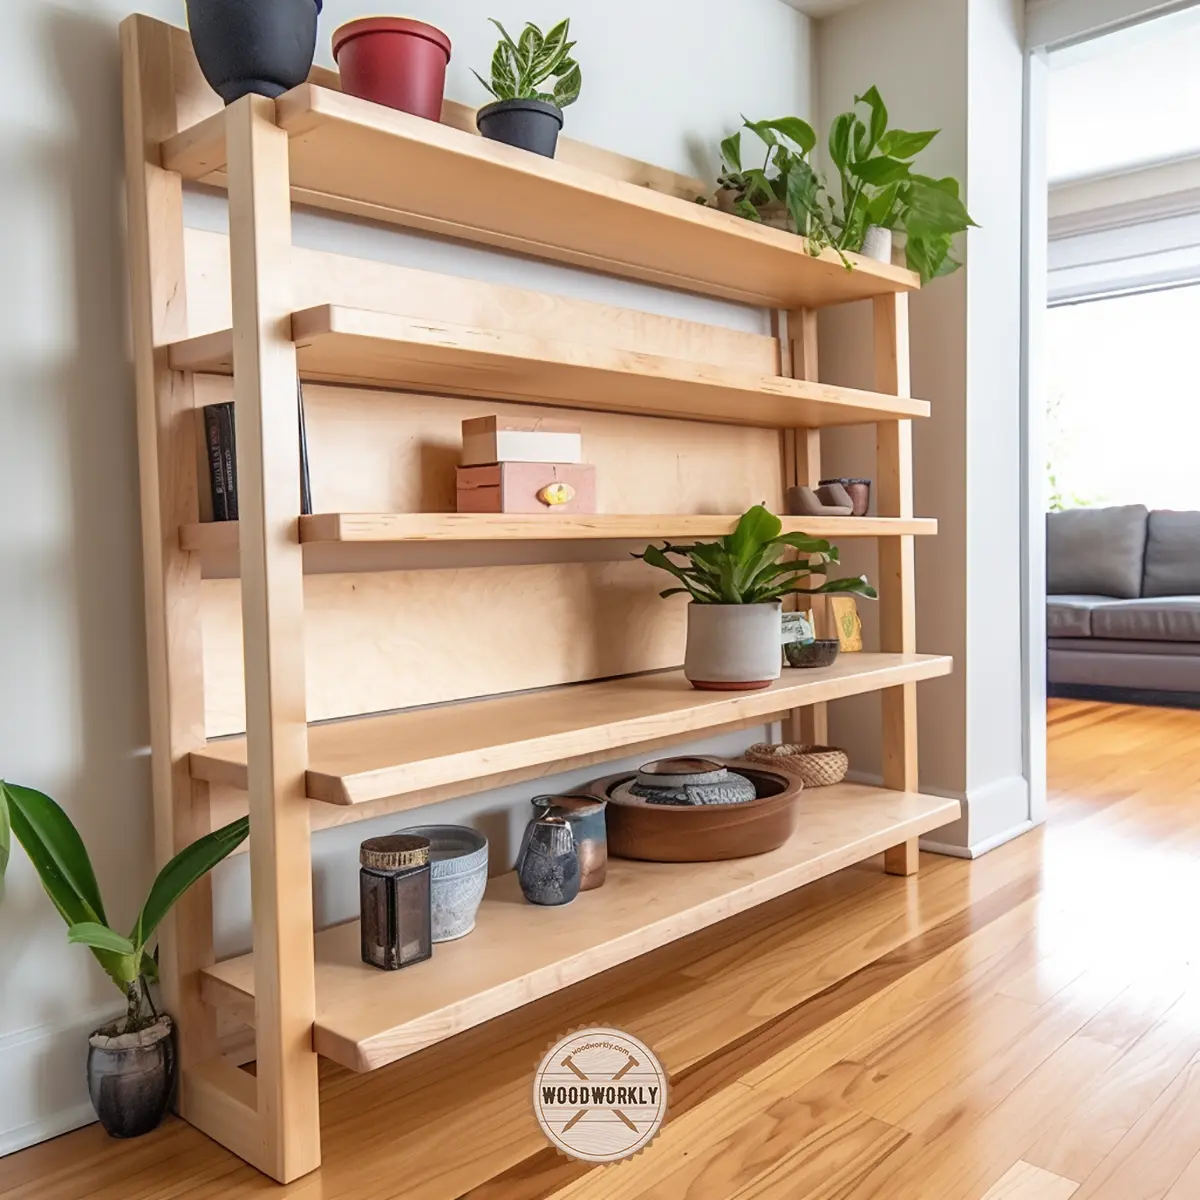
One of the most popular hardwoods in the woodworking community is maple, prized for its beauty, durability, and versatility.
But the question on many woodworkers’ minds is: Does maple stain well, and how can you achieve the best possible finish on this unique hardwood?
When I first started to work with maple wood for furniture making, I always wondered about staining maple wood and asked for expert advice.
Now. Here’s what I know about, Does Maple Stain Well?
Yes, Maple stain well. But staining maple is difficult without blotches because of its dense and tight grain structure. Stains don’t soak into the maple mostly and absorb stain unevenly. Ensure proper wood preparation, apply a pre-stain conditioner, and choose a suitable stain type for successful maple staining.
In this comprehensive guide, we’ll explore the ins and outs of staining maple, discuss the challenges associated with this particular wood species, as well as sharing expert tips and techniques to help you achieve a stunning finish that showcases the true beauty of maple.

Whether you’re a seasoned professional or a woodworking enthusiast looking to take on a new challenge, this guide is packed with valuable information that will help you master the art of staining maple.
So, roll up your sleeves, grab your favorite stain, and let’s dive in!
Is Maple Easy to Stain?
Maple is difficult to stain because of its tight grain structure and the natural color difference of the wood.
As a skilled woodworker, I’ve encountered many different types of wood throughout the years.
Some need little effort to stain, while others are a little more difficult. Where does maple fall on this spectrum, then?
Let’s explore the realm of maple staining and find out.
The Challenges of Staining Maple
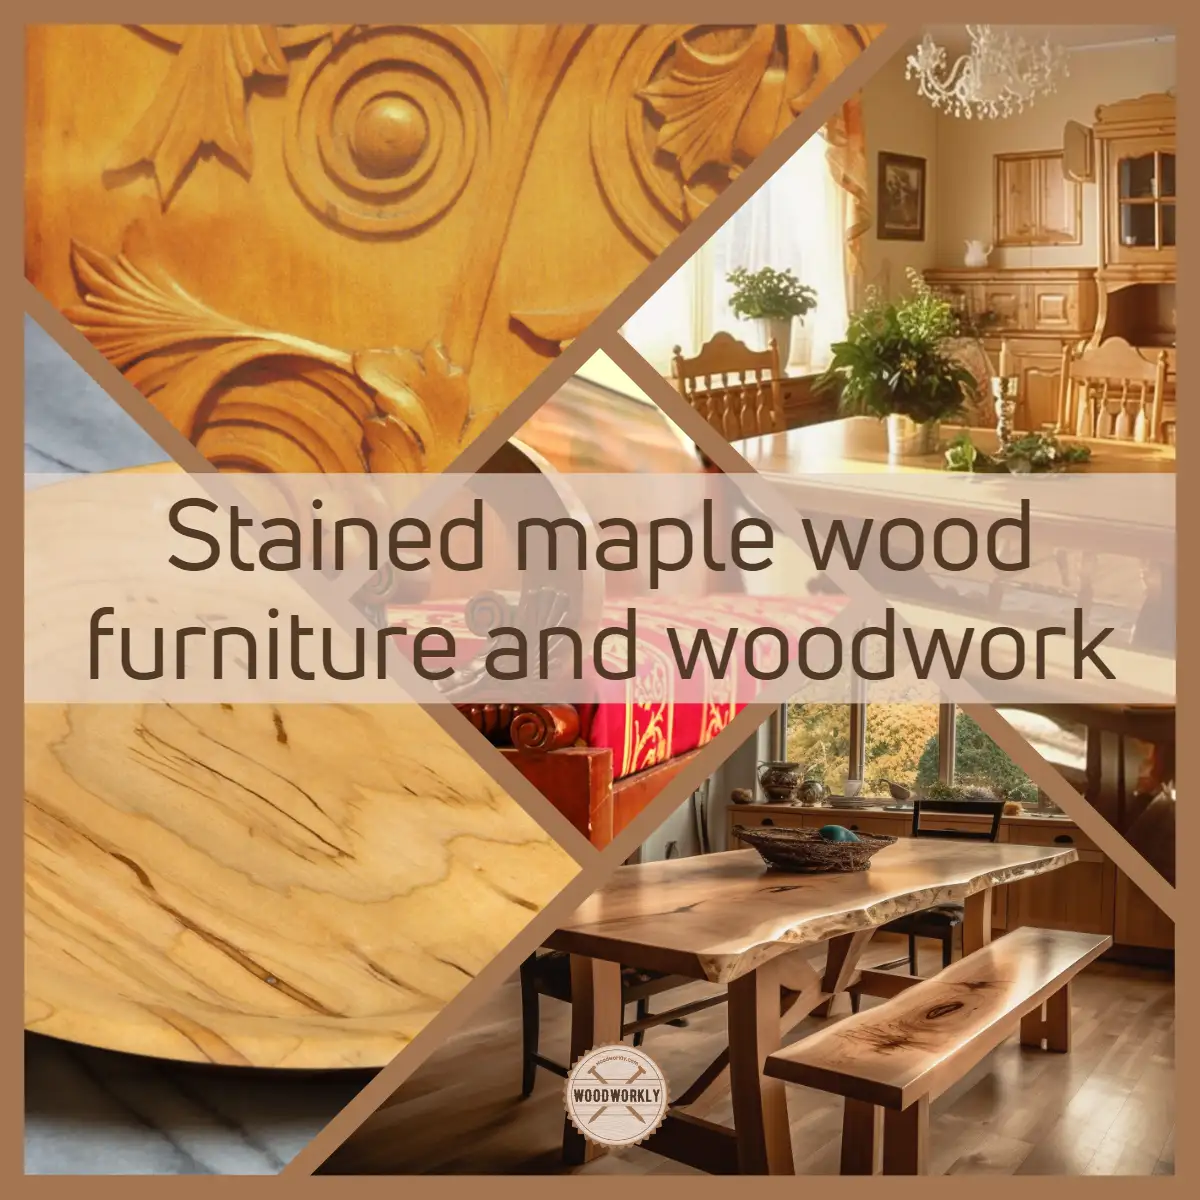
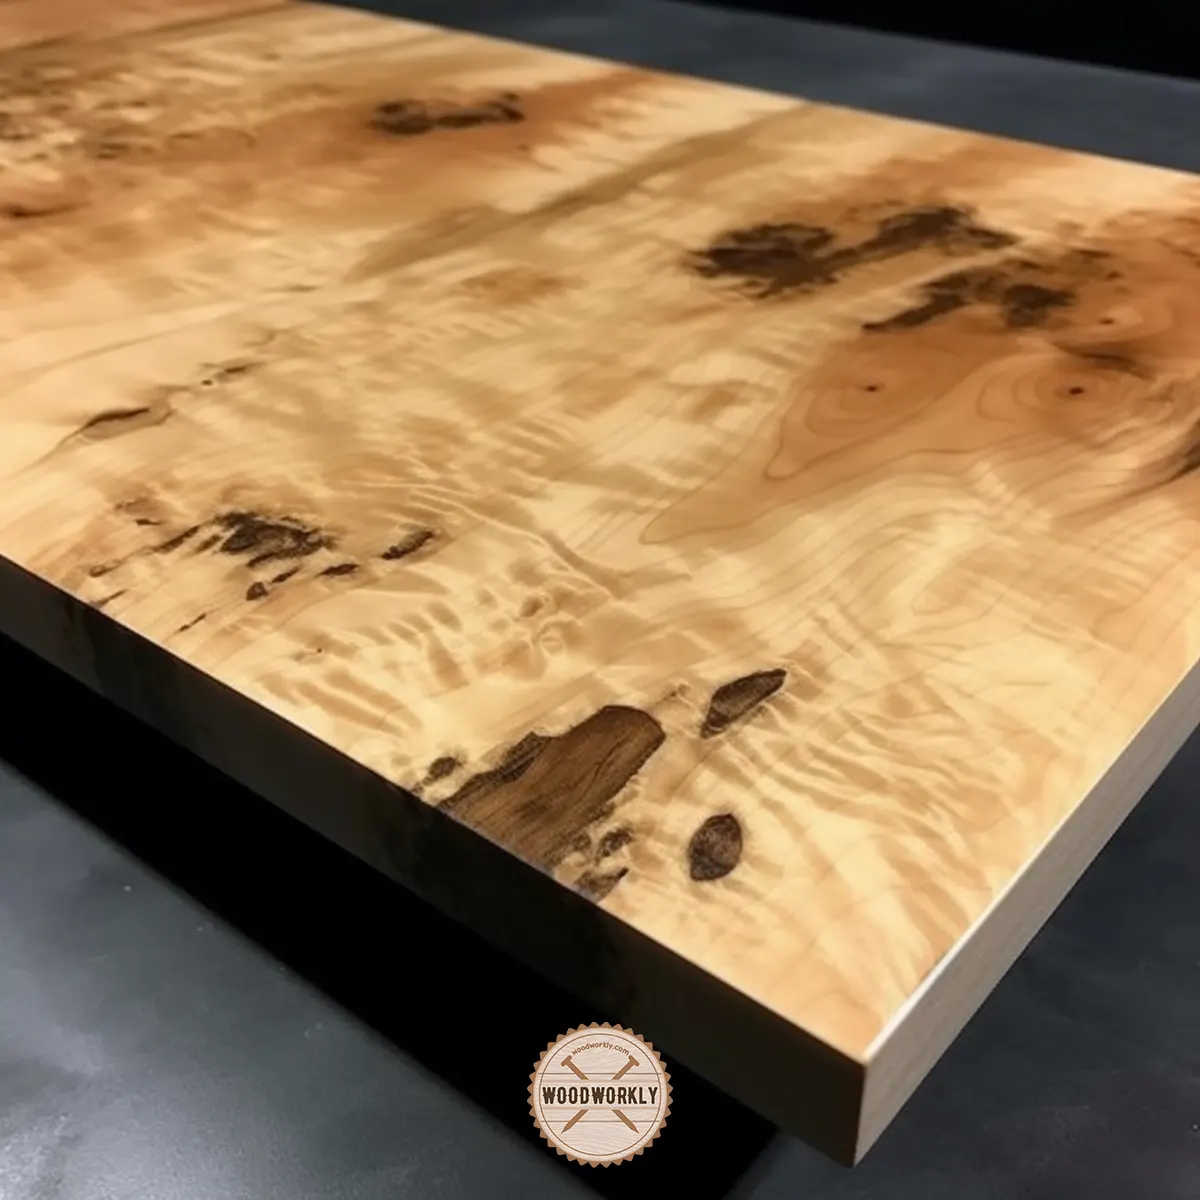
Maple is a popular hardwood known for its attractive grain patterns, durability, and natural beauty.
Maple has unique characteristics when it comes to staining, though. The tight, closed-grain structure of maple creates the most problem when staining it.
Because of this, it is challenging for the stain to penetrate uniformly into the maple wood, frequently leading to blotchy, uneven finishes.
The natural differences in color and density of maple can also add some complexity to the staining process.
These variations may result in uneven stain absorption, giving some regions a darker or lighter appearance than others.
The Importance of Proper Preparation and Technique
Given these challenges, it’s clear that staining maple isn’t as simple as slapping on a coat of stain and calling it a day.
And thus, my fellow woodworkers, worry not! When staining maple, you can get spectacular results with a little time and the appropriate method.
The secret is in using the right methodology and preparation. Starting with progressively finer grits of sandpaper, thoroughly sand the wood.
Proper sanding evens out the surface as well as somewhat opens up the grain, allowing the stain to absorb more evenly.
Then, think about applying a pre-stain conditioner. This process helps to equal out the porosity of the wood and lessen blotchiness.
Apply the conditioner as directed by the manufacturer, making sure to let it dry completely before beginning the staining procedure.
Work in manageable chunks and use a consistent method while applying the stain to guarantee even application.
Remember to quickly wipe off any extra stain to prevent streaks and uneven colour.
Comparing Maple to Other Hardwoods
How does maple stack up against other hardwoods now that we know it might be a little picky when it comes to staining?
For instance, oak’s open grain structure, which rapidly absorbs stain for a more consistent finish, makes it generally easier to stain.
On the other hand, due to its tight grain and inherent color differences, cherry can also be relatively difficult to stain, much like maple.
Finally, even though staining maple might not be a simple task, it is definitely doable.
You can create a lovely, even finish that highlights the special qualities of this adaptable hardwood with the appropriate strategy, good preparation, and a little perseverance.
And remember, practice makes perfect, so don’t be afraid to experiment and refine your technique to achieve the best possible results.
Choosing the Right Stain for Maple Wood
After talking about the difficulties in staining maple and the significance of using the right technique, it’s time to explore one of the most important steps in the procedure: selecting the proper stain for your maple wood project.
How do you choose wisely when there are so many options?
I’ll go over the various stains in this section and give you some suggestions for picking the best one for your maple masterpiece.
Oil-based Stains vs. Water-based Stains
You’ll typically come across two main types of stains when it comes to staining maple: oil-based and water-based.
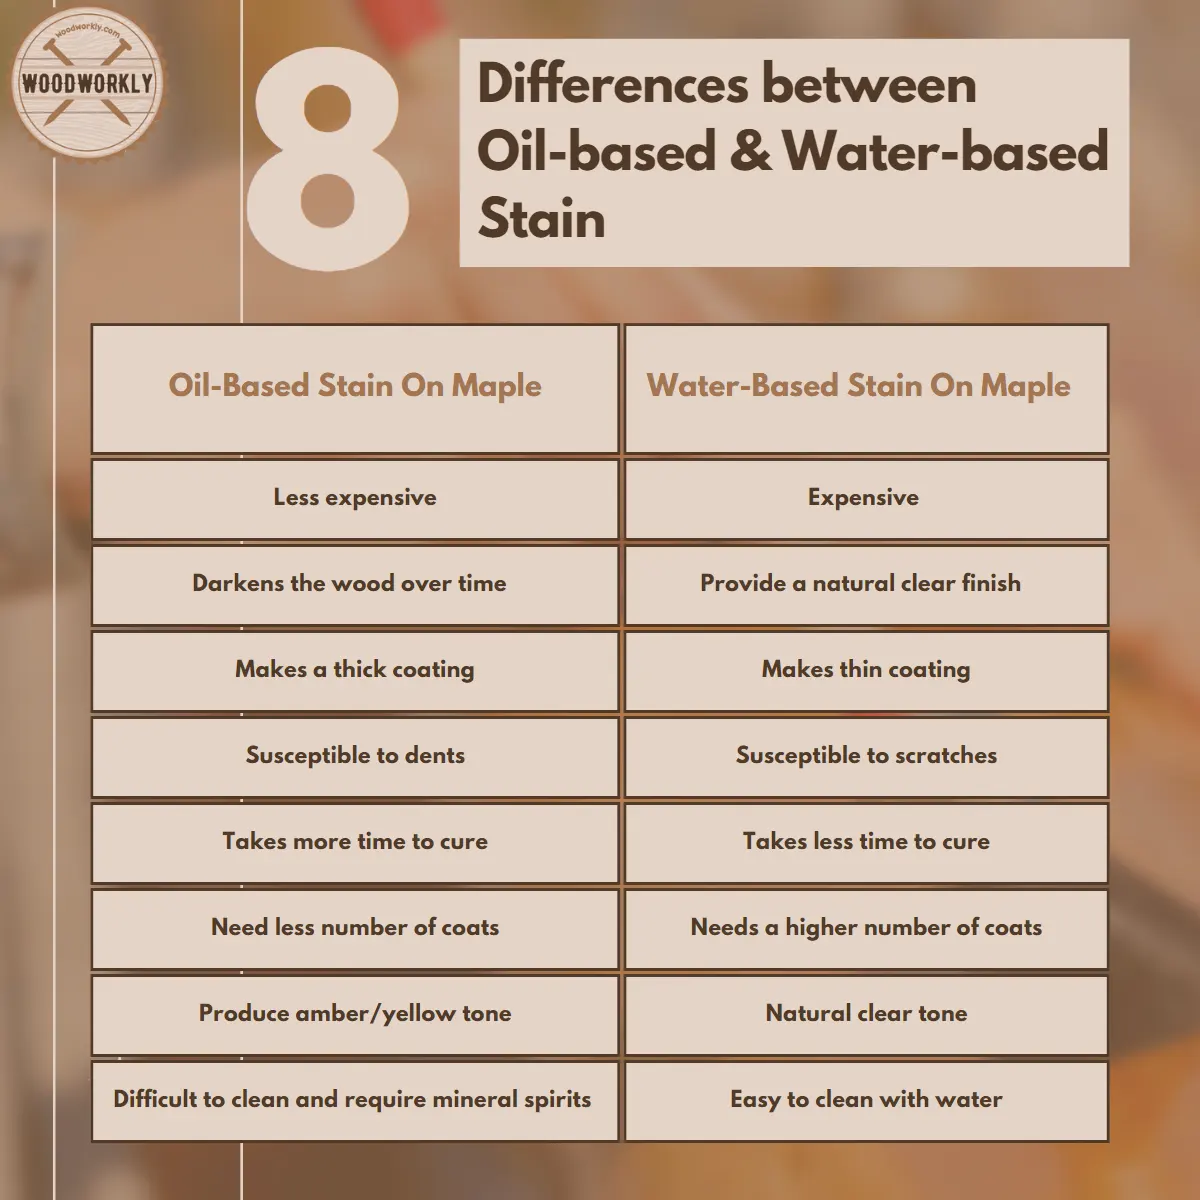
Oil-based Stains
- Pros: Offer longer working time, allowing you to adjust and perfect your application. They also tend to produce a richer, deeper color.
- Cons: Longer drying times and a more potent odor. Cleanup requires solvents like mineral spirits.
Water-based Stains
- Pros: Quicker drying time, easier cleanup with soap and water, and a lower odor.
- Cons: Less working time, which can make achieving an even finish on maple more challenging.
The decision between oil-based and water-based stains ultimately comes down to personal taste and the particular requirements of your project.
Gel Stains: A Popular Choice for Maple
For many woodworkers, gel stains have emerged as their go-to option when staining maple.
In order to reduce blotchiness and uneven color, these thick, creamy gel stains are designed to sit on top of the wood’s surface rather than absorb into it.
For best results, use a cloth, brush, or foam applicator to apply gel stain as directed by the manufacturer.
Dye Stains: Achieving a More Uniform Color
Another choice that can produce fantastic results on maple is dye stains.
Dye stains penetrate the wood more evenly because they are made of finely ground pigments suspended in a liquid carrier.
Dye stains are a desirable option for maple projects because they frequently offer a more vivid, consistent colour.
What Kind of Stain to Use on Maple?
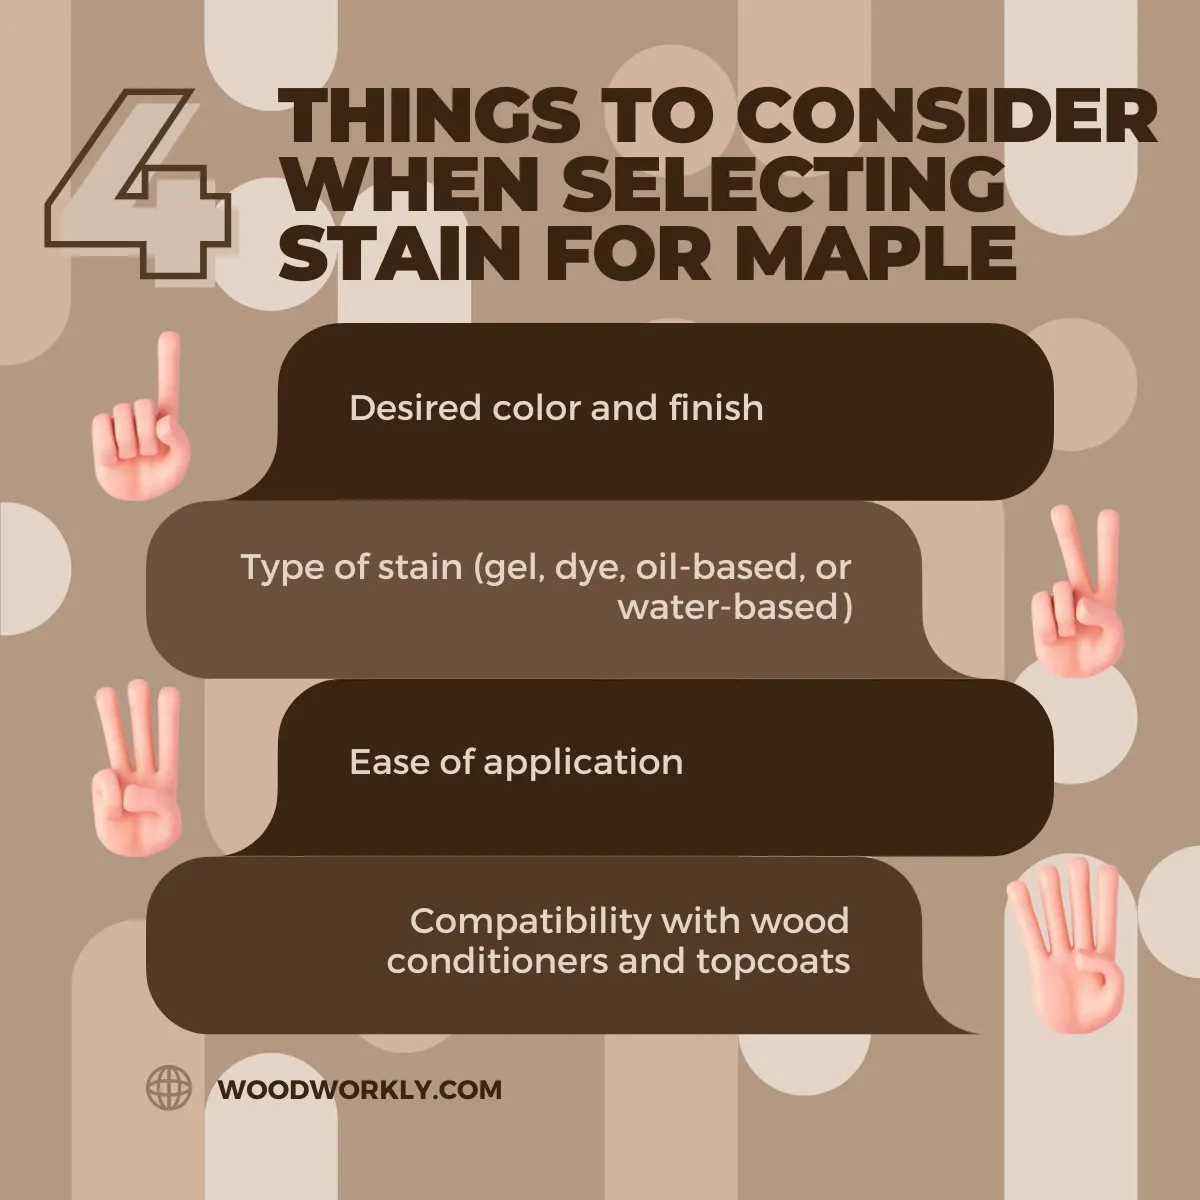
When selecting a stain for your maple wood project, consider the following factors:
- Desired color and finish: Each stain type offers different color options and finish characteristics, so choose one that aligns with your vision for the completed piece.
- Skill level and experience: If you’re new to staining maple, you might find gel or dye stains easier to work with, as they can help minimize blotchiness.
- Environmental factors: Water-based stains have lower VOCs (volatile organic compounds), making them a more environmentally friendly choice.

What is the Best Wood Stain for Maple?
It’s important to select a premium stain for maple that will bring out the natural beauty of the wood and offer a smooth, even finish.
While there’s no one-size-fits-all answer, some top stain brands consistently receive high marks from woodworkers for their performance on maple.
Here are some of the best stains for maple wood:
- General Finishes Gel Stain
- General Finishes Water-Based Dye Stain
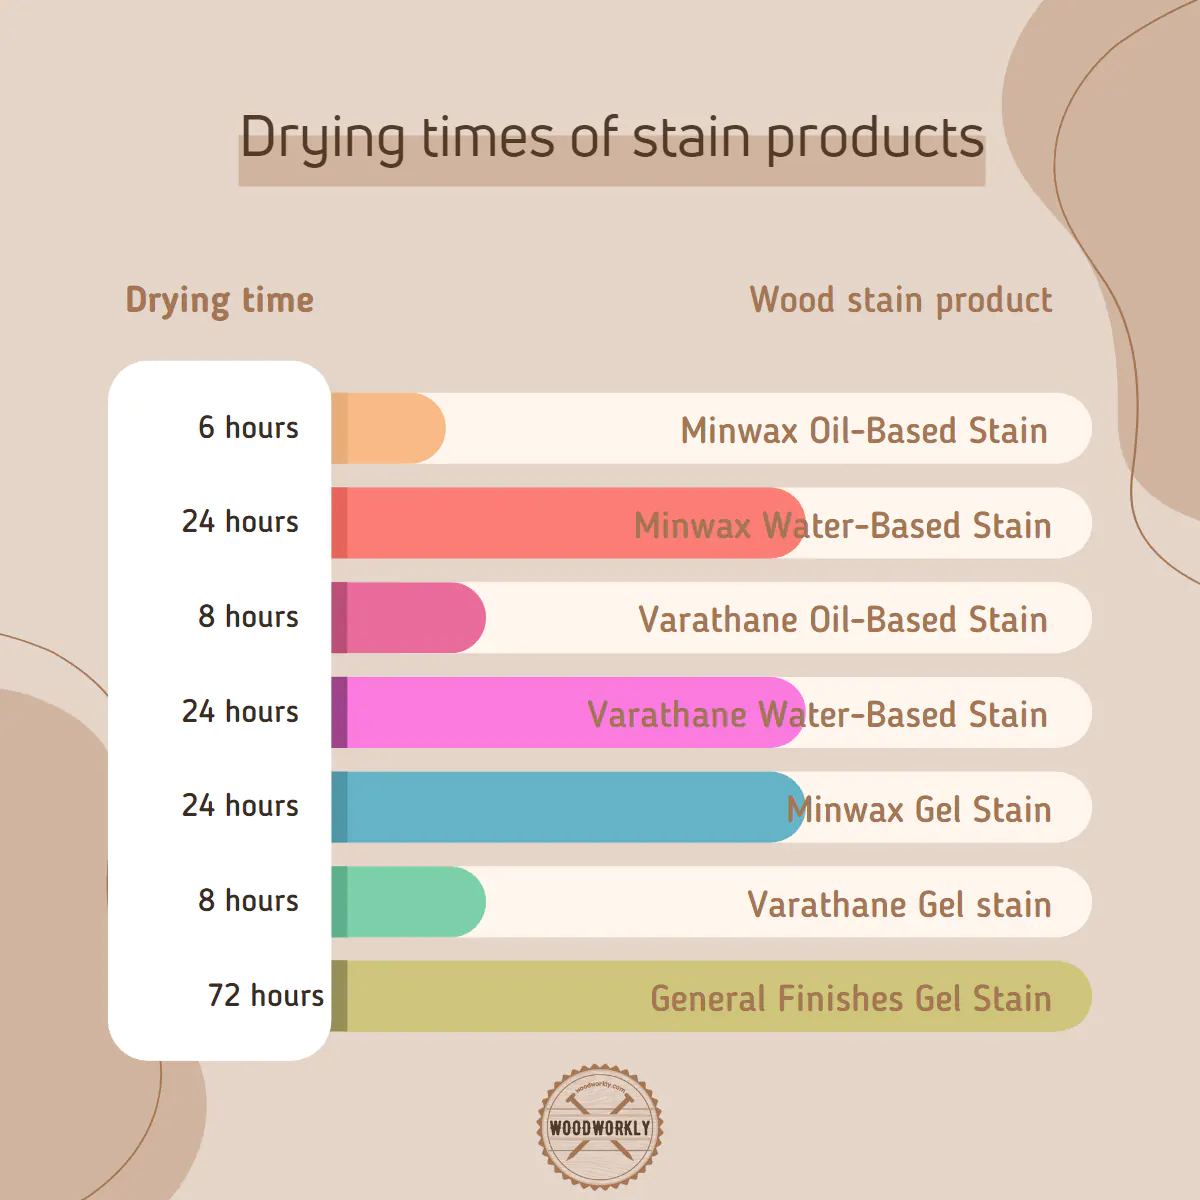
- Minwax Oil-Based Stain
- Minwax Water-Based Stain
- Varathane Water-Based Stain
Here, I’ll go through some of the top maple stain products that seasoned woodworkers have suggested.
General Finishes Gel Stain For Maple
Due to its thick viscosity, which reduces blotching and uneven color, General Finishes Gel Stain is a good pick for maple.
You can choose the ideal color for your project with this gel stain’s range of colors.
Both novice and expert woodworkers can benefit from the gel stain’s long open time, which allows you more control over the application.
General Finishes Water-Based Dye Stain For Maple
Another fantastic option for staining maple, this dye stain offers a more vivid, uniform color that penetrates the wood evenly.
Its availability in a variety of colors enables personalization and experimentation.
It is less smelly and easier to clean up than oil-based stains because it is a water-based stain.
Minwax Oil-Based Stain For Maple
Minwax is a reputable and well-known brand in the woodworking industry, and its oil-based stains are highly regarded for their effectiveness on maple.
It’s simple to get the ideal color for your project with Minwax oil-based stains thanks to their wide range of available hues.
They provide a longer working period, allowing you to fine-tune and perfect your application and produce a richer, deeper color as a result.
Minwax Water-Based Stain For Maple
Minwax also offers a range of water-based stains that work well on maple. Compared to their oil-based equivalents, these stains offer a quicker drying period, simpler cleanup, and less odor.
They do, however, work more quickly, which can make it harder to finish maple with a consistent finish.
For the finest results, it’s critical to perfect your technique and adhere to the manufacturer’s recommendations.
Varathane Water-Based Stain For Maple
Varathane is a well-known brand among woodworkers, and customers have commended their water-based stains for how well they work on maple.
These stains provide the advantages of water-based treatments, including rapid drying, simple cleanup, and minimal odor.
Varathane stains are available in a number of hues, letting you pick the ideal tone for your maple project.
It’s important to take into account elements like the intended color and finish, your skill level and expertise, and environmental issues when choosing the right stain for your maple project.
Take the time to research and test each of these stain products to determine which one would work best for you.
Each one has distinct qualities and benefits. The more you work with maple and various stain products, the better your results will be.

Does Maple Need to Be Conditioned Before Staining?
A common question among woodworkers is whether maple needs to be conditioned before staining.
The answer is not always a straightforward yes or no, as it depends on various factors.
However, conditioning maple can help you achieve a more even and consistent finish.
Since maple wood is relatively difficult to stain, you can get a nice, even stain finish by applying wood conditioner on the maple before staining.
Therefore, better to apply wood conditioner before staining maple to avoid surface blotchiness and tackiness.
In this section, we’ll explore why using a pre-stain conditioner is beneficial, how it helps prevent blotchiness, and the different types of conditioners available.
Reasons for Using a Pre-Stain Conditioner
Maple is a dense hardwood with a tight, closed grain structure. This characteristic can make it prone to blotchy and uneven absorption of stains, which can result in a less-than-desirable appearance.
A pre-stain conditioner, also known as a wood conditioner or blotch control, can help mitigate this issue by:
- Sealing the wood’s surface to promote even absorption of the stain.
- Reducing the contrast between the more absorbent earlywood and the less absorbent latewood.
- Allowing for better control over the final color and finish.
How Conditioning Helps Prevent Blotchiness
Conditioning maple before staining is all about preparing the wood’s surface for a more even and controlled stain application.
The conditioner partially seals the wood’s pores, which helps to:
- Minimize the risk of over-absorption in some areas and under-absorption in others.
- Create a more consistent base for the stain, reducing the appearance of blotches and uneven color.
- Allow you to achieve a more predictable final color and finish.
Comparison of Different Types of Conditioners
There are several types of pre-stain conditioners available, each with its own set of benefits and drawbacks.
Here’s a brief comparison of some common options:
Oil-based Conditioners
- Pros: Compatible with oil-based stains, providing a consistent finish. They tend to be easy to apply and provide reliable results.
- Cons: Longer drying times and cleanup requires solvents like mineral spirits.
Water-based Conditioners
- Pros: Quick drying times, easy cleanup with soap and water, and lower odor. Compatible with water-based stains.
- Cons: May raise the wood grain, requiring additional sanding after application.
DIY Conditioners
- Pros: Cost-effective and customizable to your specific needs. A popular DIY option is a 50/50 mix of denatured alcohol and dewaxed shellac.
- Cons: Results may vary, and the learning curve can be steeper than using a pre-made conditioner.
Conditioning maple before staining can be a crucial step in achieving a more even and consistent finish.
By understanding the benefits and limitations of different types of conditioners and properly preparing your wood’s surface, you’ll be well on your way to a stunning, blotch-free maple project.
Tip: According to my personal experience, use pre-stain wood conditioner and stain products from the same manufacturer to avoid any incompatibilities.

How To Prepare Maple Wood to Stain Well?
Preparing maple wood for staining is an essential and more important task than you think. Because unprepared maple flaws quickly and keeping a uniform stain is also difficult.
In order to prepare maple wood for staining, you need to follow the steps below.
- Fill nail holes with a wood filler.
- Sand the wood properly.
- Clean the surface and remove sawdust.
- Stir the stain well.
Sanding is the most important step when maple wood preparing before the stain. Once the stain is done, it will highlight dings, marks, and scratches in the wood.
So, firstly you need to eliminate those dings and scratches in the maple wood with proper sanding to clear wood.
While you’re sanding the wood, frequently check for swirls in orbital sanders.
Because they’re had to see in the beginning, but once the stain is applied, they’ll be visible more, and it’s frustrating.
Sanding with 220 grit sandpaper is recommended for the preparation of maple wood for staining.
Tools And Materials To Stain Maple
- Sandpaper in various grits (120, 180, and 220-grit are common choices)
- A tack cloth or vacuum to remove dust and debris
- A high-quality paintbrush or foam brush for applying the conditioner and stain
- Rags or cloth for wiping off excess stain
- Wood conditioner and stain of your choice
Check out the Best Brushes For Staining Wood!
How To Stain Maple Wood?
Staining maple can be a rewarding process when done correctly, resulting in a beautiful and professional-looking finish.
By following the right steps and using the appropriate tools, you can achieve a stain that enhances the wood’s natural beauty.
Here are the steps you need to follow when staining maple,
- Workspace preparation
- Surface Preparation
- Apply pre-stain wood conditioner
- Apply wood stain
Let’s discuss each of the above steps separately to get a better view at staining maple wood properly without messing things up.
1. Workspace Preparation
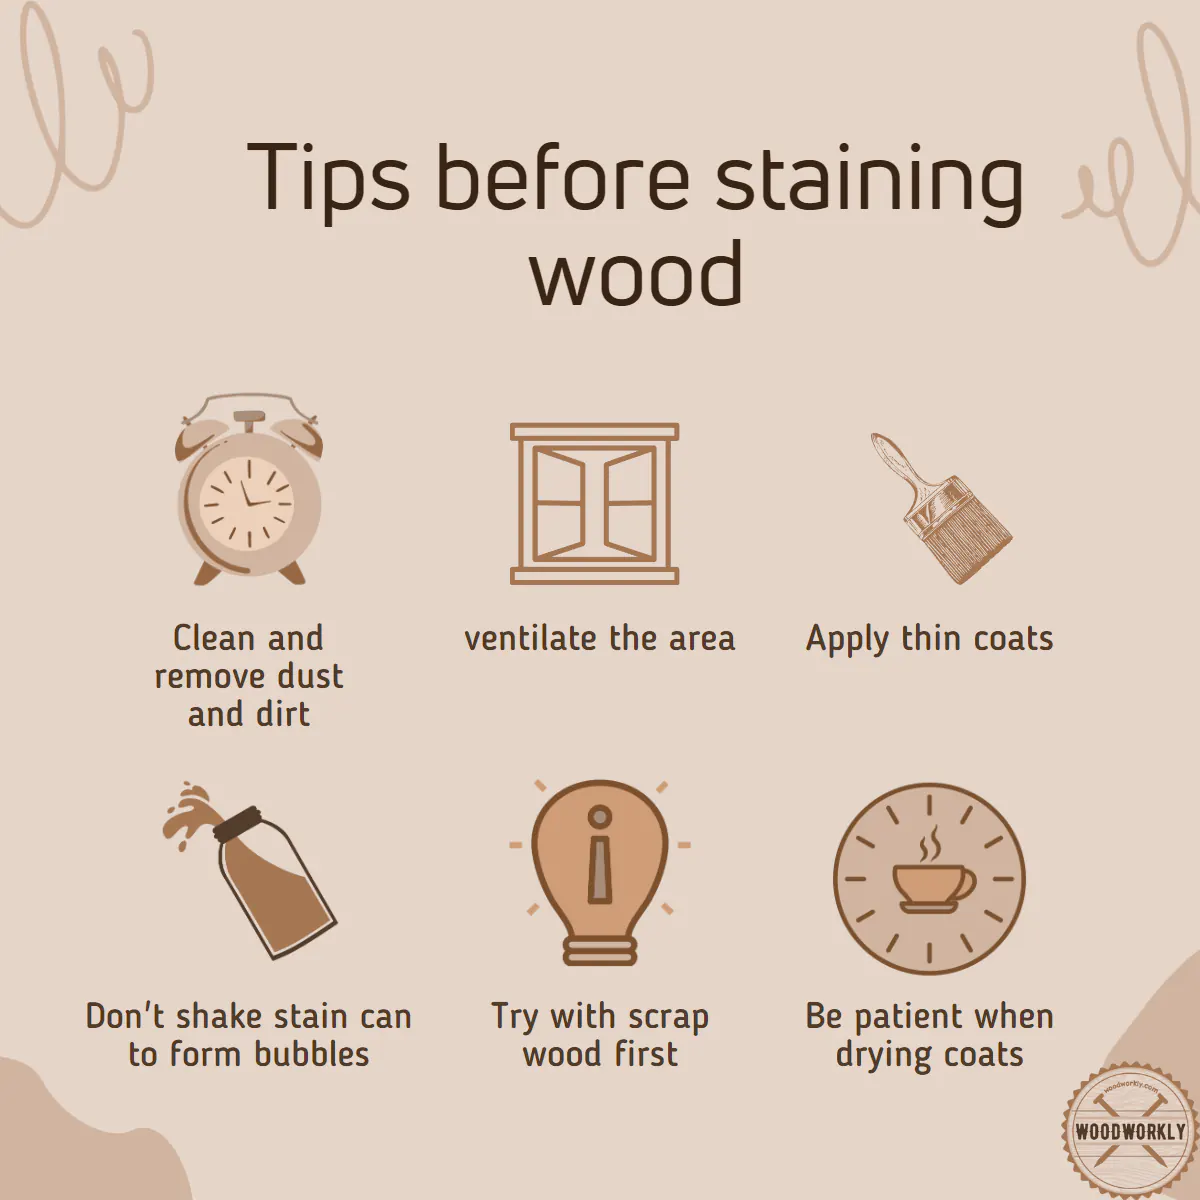
Before diving into the staining process, it’s crucial to prioritize safety and gather the appropriate tools. Here are some guidelines to keep in mind:
- Work in a well-ventilated area to minimize exposure to fumes from stains and conditioners.
- Wear gloves, safety goggles, and a dust mask to protect your skin, eyes, and lungs.
- Have a drop cloth or plastic sheeting to protect your work area from spills and drips.
Some stain products release harsh and harmful chemicals and fumes upon using. Therefore, having good air circulation is a must to remove those harmful chemicals directly from the working area.
Otherwise, those harsh chemicals can cause skin and eye irritations and breaking issues.

2. Surface Preparation
Proper wood preparation is essential for a successful staining project. Here’s how to prepare your maple surface:
- Sand the wood using progressively finer grits of sandpaper, starting with 120-grit and moving up to 180 or 220-grit. Sand in the direction of the wood grain to minimize scratches.
- Remove any dust or debris from the surface using a tack cloth or vacuum. Ensure the wood is clean and free of contaminants that could interfere with the staining process.
- If there are any dents, holes, or imperfections, use wood filler to correct them, and sand the area smooth.
3. Applying the Pre-Stain Conditioner
As discussed earlier, using a pre-stain conditioner is highly recommended for maple to prevent blotchiness and uneven color.
Follow these steps to apply the conditioner:
- Stir the conditioner well before applying to ensure a uniform consistency.
- Use a paintbrush or foam brush to apply a thin, even coat of conditioner, working in the direction of the wood grain.
- Allow the conditioner to dry according to the manufacturer’s recommendations, which typically range from 15 minutes to 2 hours.
- Lightly sand the surface with 220-grit sandpaper to remove any raised grain, and then remove any dust with a tack cloth or vacuum.
Once the conditioning is done, leave the maple wood for few hours until it is completely dried.
4. Apply wood stain
This is the most important step that we need to focus on more. Because of the tight grain structure of maple wood, the stain will absorb unevenly and cause to appear blotches.
Follow the below steps carefully when applying wood stain on maple properly,
- Stir the stain well to ensure even color distribution and consistency.
- Apply the stain using a paintbrush or foam brush, working in the direction of the wood grain. Apply the stain evenly, avoiding drips or pooling.
- Allow the stain to penetrate the wood for the recommended time, usually between 5 and 15 minutes. The longer the stain sits, the darker the color will be.
- Use a clean rag or cloth to gently wipe off any excess stain, again working in the direction of the grain.
- Allow the stain to dry according to the manufacturer’s instructions. This can range from several hours to overnight.
- If desired, apply additional coats of stain to achieve a darker color, allowing ample drying time between coats.
- Once the final coat has dried, apply a protective topcoat, such as a polyurethane or varnish, to seal and protect the stained surface.
We can reduce the uneven absorbance of maple wood by applying wood conditioner before staining because sealer can limit stain penetration.
You can apply stain coats as much as you want until meets your preferred color. But I advise you to apply a maximum of 3 coats of stain on the maple for a good result.
Make sure to apply stain by applying even pressure on the paintbrush along the direction of the wood grain for an even finish with no blotches and streaks.
Sometimes even though you have applied the stain correctly and evenly after several days’ blotches can be visible.
The main reason for this issue is the incompatibility of the conditioner and the stain. So, I highly recommend you use sealer and stain from the same manufacturer to avoid any issues.
Oil-based stains and gel stains work well with maple wood. Because they make the wood color.
Apply through the grain of the maple wood using a paintbrush while removing excesses.
After applying the stain properly, leave the wood to dry overnight. If you noticed any blotches, reapply the stain to those areas and let it dry.
Brush vs. Rag Application
Both brush and rag application methods have their pros and cons. Here’s a quick comparison to help you choose the best option for your project:
Brush Application
- Pros: Provides more control for even application, especially on intricate or carved surfaces. Can reach tight spots and crevices more easily.
- Cons: May leave brush marks or streaks if not applied carefully. Slower than rag application.
Rag Application
- Pros: Quick and efficient method for large, flat surfaces. Less likely to leave streaks or marks.
- Cons: Less control on intricate or carved surfaces. Can be messy and may require more stain to saturate the rag.
Regardless of the method you choose, the key to a smooth, even finish is to apply the stain consistently and carefully, always following the wood grain direction.

Applying Multiple Coats of Stain
In some cases, you may want to build color intensity with multiple layers of stain. To do this, follow these steps:
- Allow the first coat of stain to dry according to the manufacturer’s recommendations.
- Lightly sand the surface with 320-grit or higher sandpaper to smooth any raised wood grain and improve adhesion for the next coat.
- Remove any sanding dust with a tack cloth or vacuum with a soft brush attachment.
- Apply the second coat of stain, following the same application process as the first coat (brush or rag application, even coverage, wiping away excess).
- Allow the second coat to dry fully, then evaluate the color depth. If desired, repeat the process for additional coats until you achieve the desired color intensity.
Keep in mind that applying too many coats of stain can lead to a muddy appearance or obscure the wood grain.
It’s essential to strike a balance between achieving the desired color and maintaining the beauty of the natural wood.
Congrats! Now you know how to stain maple in the correct way without making any wood stain mistakes.

Sealing The Stain
After successfully staining your maple wood, it is crucial to seal it to maintain the finish’s durability.
In addition to improving the beauty of the wood, sealing the stain protects it from moisture, wear, and tear damage.
Top sealant recommendations for stained maple wood: In my experience, some excellent sealants for stained maple projects include water-based polyurethane, oil-based polyurethane, and spar urethane.
Let’s explore the significance of sealing and how to pick and use the appropriate topcoat for your project.
Importance of Sealing for Protection and Durability
It’s important to not skip the stage of sealing the stain. It offers a barrier of defense against normal wear and tear, avoiding dents, scratches, and water damage.
A sealed surface is also considerably simpler to maintain and keep clean.
Your project will look lovely for years to come if you seal your stained maple, which will protect all of your hard work.
Choosing the Right Topcoat
Selecting the right topcoat is vital for the overall success of your project. Consider the following factors when choosing a topcoat for stained maple:
- Compatibility: Make sure the topcoat is compatible with the type of stain you used. Check the manufacturer’s recommendations or test on a scrap piece of stained wood to ensure there are no adverse reactions.
- Sheen: Topcoats come in various sheens, including matte, satin, semi-gloss, and gloss. Choose a sheen that complements your project and suits your personal preference.
- Durability: Consider the durability of the topcoat, especially for high-traffic or frequently used surfaces. Polyurethane, for example, is a popular choice for its durability and resistance to water and wear.
- Application method: Topcoats can be applied using a brush, roller, or spray. Choose a method that works best for your project and skill level.
Tips for a Smooth, Professional Finish in Application
When sealing the stain, precision and perseverance are needed to achieve a smooth, professional finish.
As you apply the topcoat, keep the following in mind:
- Prepare the surface: Lightly sand the stained wood with fine-grit sandpaper (220-320) to remove any dust or debris and promote better adhesion of the topcoat. Wipe down the surface with a tack cloth to remove any remaining dust.
- Apply thin, even coats: Apply the topcoat in thin, even layers to avoid drips, runs, and an uneven finish. It’s better to build up the finish with multiple coats rather than trying to achieve full coverage in one thick coat.
- Sand between coats: Lightly sand between coats using fine-grit sandpaper (320-400) to remove any imperfections and ensure a smooth, even finish. Be sure to remove any dust with a tack cloth before applying the next coat.
- Allow ample drying time: Follow the manufacturer’s recommendations for drying times between coats and before using or handling the finished piece.
Your maple wood project’s look will be improved, and its ability to withstand the test of time will be increased if the stain is properly sealed.
Consequently, take your time and enjoy the procedure, knowing that your efforts will lead to a lovely and long-lasting finish.
Tips for Staining Maple Wood
Staining maple wood can be a rewarding and fulfilling experience, especially when you achieve the perfect finish.
To help you navigate the process and get the best results, here are some essential tips to keep in mind when staining maple:
1. Selecting the Right Sandpaper Grit
The sandpaper grit you choose is crucial for preparing the wood surface and achieving a smooth, even stain.
Start with a coarser grit (around 100-120) to remove imperfections and level the surface.
Gradually progress to finer grits (150-180) to smooth out the wood and create an excellent surface for the stain to adhere to.
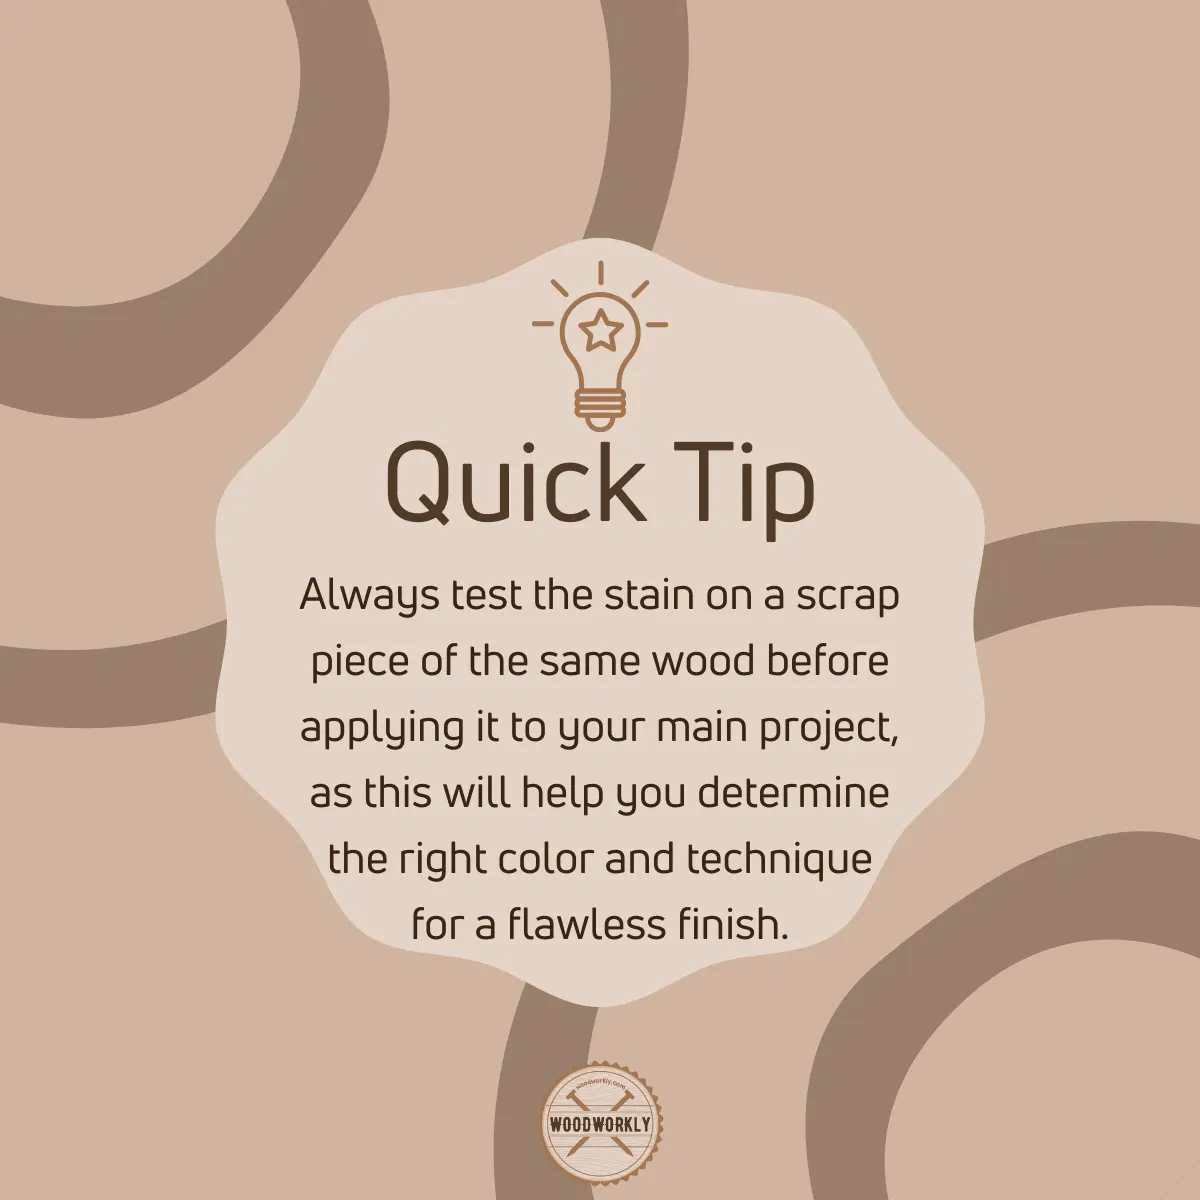
2. Testing Stain Colors on a Scrap Piece
Before committing to a stain color, it’s always a good idea to test it on a scrap piece of maple.
Testing before staining will give you a better understanding of how the stain will look on your actual project and allow you to make adjustments if needed.
Apply the stain using the same techniques you plan to use on your project, and make sure to test in similar lighting conditions.

3. Working in a Well-Ventilated Area
Staining maple wood can release fumes that can be harmful when inhaled. Always work in a well-ventilated area, such as a garage or workshop with open doors and windows.
If working indoors is necessary, make sure to use fans to help circulate fresh air and consider wearing a respirator or mask for added protection.
4. Wiping Off Excess Stain Promptly
One of the keys to achieving a consistent and even finish is wiping off any excess stain promptly.
Removing excess stain helps prevent the stain from pooling or creating dark spots on the wood surface.
Use a clean, lint-free cloth to wipe off the excess, following the direction of the wood grain.
Be vigilant in checking for drips and runs, especially in areas with intricate details or tight corners.
By following these tips and maintaining patience and attention to detail, you can successfully stain maple wood and achieve a beautiful, professional-looking finish.
Remember, practice makes perfect, so don’t be afraid to experiment and learn from your mistakes as you refine your staining technique.

How to Make Maple Stain Darker?
Staining maple wood dark is not an easy task. There are several ways you can follow to maple stain darker. They are,
- Toning topcoats with dye.
- Using dark walnut gel stain
So, let’s discuss each of the above methods to make maple stain darker.
Toning Topcoats with Trans Tint Dye to Make Maple Stain Darker
Toning lacquer topcoats with dry is a good way to make stain darker. By mixing trans tint dye with lacquer can get the dark stain color you want.
The only issue with this method is you may be losing grain clarity. To minimize that always use a small amount of dye.
But ultimately, you’ll be able to give the dark stain color to the maple wood furniture and other woodwork.

Using Walnut Dark Gel Stain to Make Maple Stain Darker
This is known as one of the easiest methods to get dark maple stain.
First, you need to sand the maple wood with 36, 80, 100, and 220-grit sandpaper to get an ultra-smooth surface.
Then take the walnut gel stain and apply it evenly throughout the wood.
The specialty of gel stain is it does not penetrate much to the wood and therefore there will be no or very smaller number of blotches can be visible.
By following the above two methods, you’ll be able to get the dark stain color on maple wood without any issues.
The trans tint method is the most popular one among them and the Walnut dark gel stain method is great for beginners.
Maple Stain Colors
There is a wide variety of color ranges available for maple wood. Using them you can get the natural, dark, and light maple color you want. The most popular maple stain colors are,
- Natural maple wood color
- Mahogany
- Country pine
- Cinnamon
- Cherry
- Walnut
- Golden oak
- Candlelight
- Danish teak
- Pecan
- Salem
Troubleshooting Common Maple Staining Issues
Despite careful preparation and attention to detail, you might encounter some issues when staining maple.
Don’t worry! Many common problems can be resolved with a bit of patience and know-how.
In this section, we’ll discuss some typical staining challenges and how to address them effectively.
Blotchy or Uneven Stain
One of the most common issues when staining maple is a blotchy or uneven appearance.
This occurs when the stain is absorbed unevenly due to the wood’s natural variations in density.
To fix this issue:
- Use a pre-stain conditioner: As mentioned earlier, applying a pre-stain conditioner helps prevent blotchiness by ensuring a more uniform absorption of the stain.
- Test on a scrap piece: Before staining your main project, test your stain on a scrap piece of maple to see how it behaves and make any necessary adjustments to your technique.
- Consider using a gel stain or dye stain: These types of stains are known to produce more even results on maple due to their consistency and formulation.
Stain Too Light or Too Dark
Sometimes, the final stain color might not turn out as expected, appearing too light or too dark.
Here’s how to address this issue:
- Adjust the number of coats: If the stain is too light, try applying additional coats to build up the color intensity. If it’s too dark, you might need to sand back some of the stain and reapply a lighter color.
- Mix stain colors: To achieve a custom color, try mixing different stain shades together. Always test the mixture on a scrap piece of wood before applying it to your main project.
- Experiment with different stain brands: Different brands of stains may produce different results on maple. If you’re not happy with the color, consider trying another brand.
Streaks or Brush Marks
Streaks or brush marks can occur if the stain is not applied evenly or if the brush or applicator used is of low quality.
To avoid or fix this issue:
- Use a high-quality brush or applicator: Investing in a good-quality brush or applicator can make a significant difference in the final outcome.
- Apply thin, even coats: Be sure to apply the stain in thin, even layers, working with the grain of the wood.
- Wipe off excess stain: After applying the stain, use a clean, lint-free cloth to wipe off any excess to prevent streaks and brush marks.
That’s it, folks! Now you know everything you wanted to know about does maple stain well and how to stain maple with simple steps.
So, let’s answer some frequently asked questions about maple wood staining.
Why is maple wood challenging to stain?
Maple, a dense hardwood with tight and often wavy grain patterns, can make staining tricky.
Its inconsistent grain structure may lead to uneven absorption of the stain, causing blotchiness.
Proper preparation and the right staining technique are essential for achieving a uniform finish on maple.
Can I use any type of stain on maple wood?
While you can use various stain types on maple, some may produce better results than others.
Gel stains and dye stains are often recommended for maple due to their consistency and ability to provide a more even finish.
Oil-based and water-based stains can also be used, but you may need to take extra precautions, such as using a pre-stain conditioner, to avoid blotchiness.
How can I avoid blotchy stains on maple wood?
To prevent blotchiness when staining maple, consider using a pre-stain conditioner, which helps ensure more uniform stain absorption.
Additionally, you can opt for gel or dye stains known for producing even results on maple.
Always test the stain on a scrap piece of wood to assess its behavior and adjust your technique accordingly.
How many coats of stain should I apply to maple wood?
The number of stain coats required depends on the desired color intensity and the type of stain used.
It’s best to start with a thin coat and gradually build up the color by applying additional layers as needed.
Always wait for the recommended drying time between coats, as specified by the stain manufacturer.

What kind of topcoat should I use to seal the stain on maple wood?
The choice of topcoat depends on your desired finish, durability requirements, and personal preference.
Common topcoats for sealing stained maple include polyurethane, lacquer, and shellac.
Each has its pros and cons, so consider factors such as ease of application, drying time, and resistance to water and abrasion when making your decision.
What should I do if the stain color on my maple project doesn’t match the desired shade?
If the stain color isn’t what you expected, try applying additional coats to build up the color intensity or sanding back some of the stain and reapplying a lighter color.
You can also mix different stain shades to create a custom color or experiment with different stain brands, as they may produce varying results on maple.
Always test the stain on a scrap piece of wood before applying it to your main project.

Can Maple be Stained to Look Like Walnut?
You can give maple stain any color you want. So, yes, maple can be stained to look like walnut.
But it can be. It is a quite difficult task because maple does not stain so easily.
In my experience even though it is possible, staining maple wood to look like walnut is not a good idea.
Because the result looks like walnut is painted brown color and there will be no natural look.
So, I recommend you glue up the walnut to the maple by contrasting wood.
Does Maple Dye Well?
Yes, Maple dyes well. But it is difficult without blotches because of its dense and tight grain structure. The sanding scratches are also visible once you apply dye on top of the maple wood.
So, I recommend using trans tint concentrated dye after mixing it with water.
When compared to dye with stain, I always go with stain with maple, because blotching is the most common problem that comes with dye rather than staining.
Did I cover all you wanted to know about: Does Maple Stain Well?
So, in this article we have widely discussed does maple stain well and how to prepare maple wood for staining, how to stain well with tips and techniques.
Furthermore, we have talked about maple stain colors and how to stain maple wood darker with real-life examples.
Maple can be challenging to stain due to its dense, tight grain and potential for blotchiness. However, with proper preparation, using a pre-stain conditioner, and selecting the right stain, such as gel or dye stains, you can achieve a beautiful finish on maple wood.
Hope you have gained good knowledge about does maple stain well and how to stain your beautiful maple furniture or woodwork with ease.
So, don’t wait, go and test it out!