Ever wondered how to make surfaces effortlessly glide with Polycrylic? Dive into our guide for slick, smooth finishes!

Polycrylic is one of the best finishes you can apply on cornhole boards to make them slippery and also protect the wood from environmental elements such as moisture, humidity, sunlight, and more.
I have finished several cornhole boards with polycrylic and they come out less slippery and less smooth than they need to be for the bean bags to slide across the surface.
I was curious about this issue and got advice from experts in the field to make the board more slippery and smooth. Those tips worked perfectly.
Here’s what I did. Let’s discuss, How to make polycrylic slippery?
To make polycrylic slippery, apply some cornstarch over it or gently sand the existing polycrylic coat and apply a thin coat of wipe on polycrylic using a foam brush along the wood grain without forming bubbles. Let it dry and cure for 24 hours and apply another coat.
But that’s a quick snapshot and there’s a lot more to know about making polycrylic slippery.
In this article, we’ll explore what tools you need and how to make polycrylic slippery and more smooth the best finish for cornhole boards, and a lot more.
Furthermore, I’ll answer some frequently asked questions as well.
Let’s jump in!
Is Polycrylic Slippery?
Yes, polycrylic is slippery only when the coats are dry and thin. It is a water-based finish that provides a clear coat upon finishing. Apply 5 to 10 coats of polycrylic to make it slippery.
Polycrylic is one of the best finishes for cornhole boards and it is even cheaper than polyurethane finish.
Polycrylic is slippery, smooth, dries fast, and does not discolor upon aging like oil-based finishes.
Polycrylic is slippery especially when the coats are thin with no blotches, bubbles, or streaks.
Proper application is a must to make polycrylic slippery and make it great to finish cornhole boards.
Why Is My Polycrylic Sticky and Not Slippery?
Several reasons can make your polycrylic sticky, not smooth enough, and less smooth.
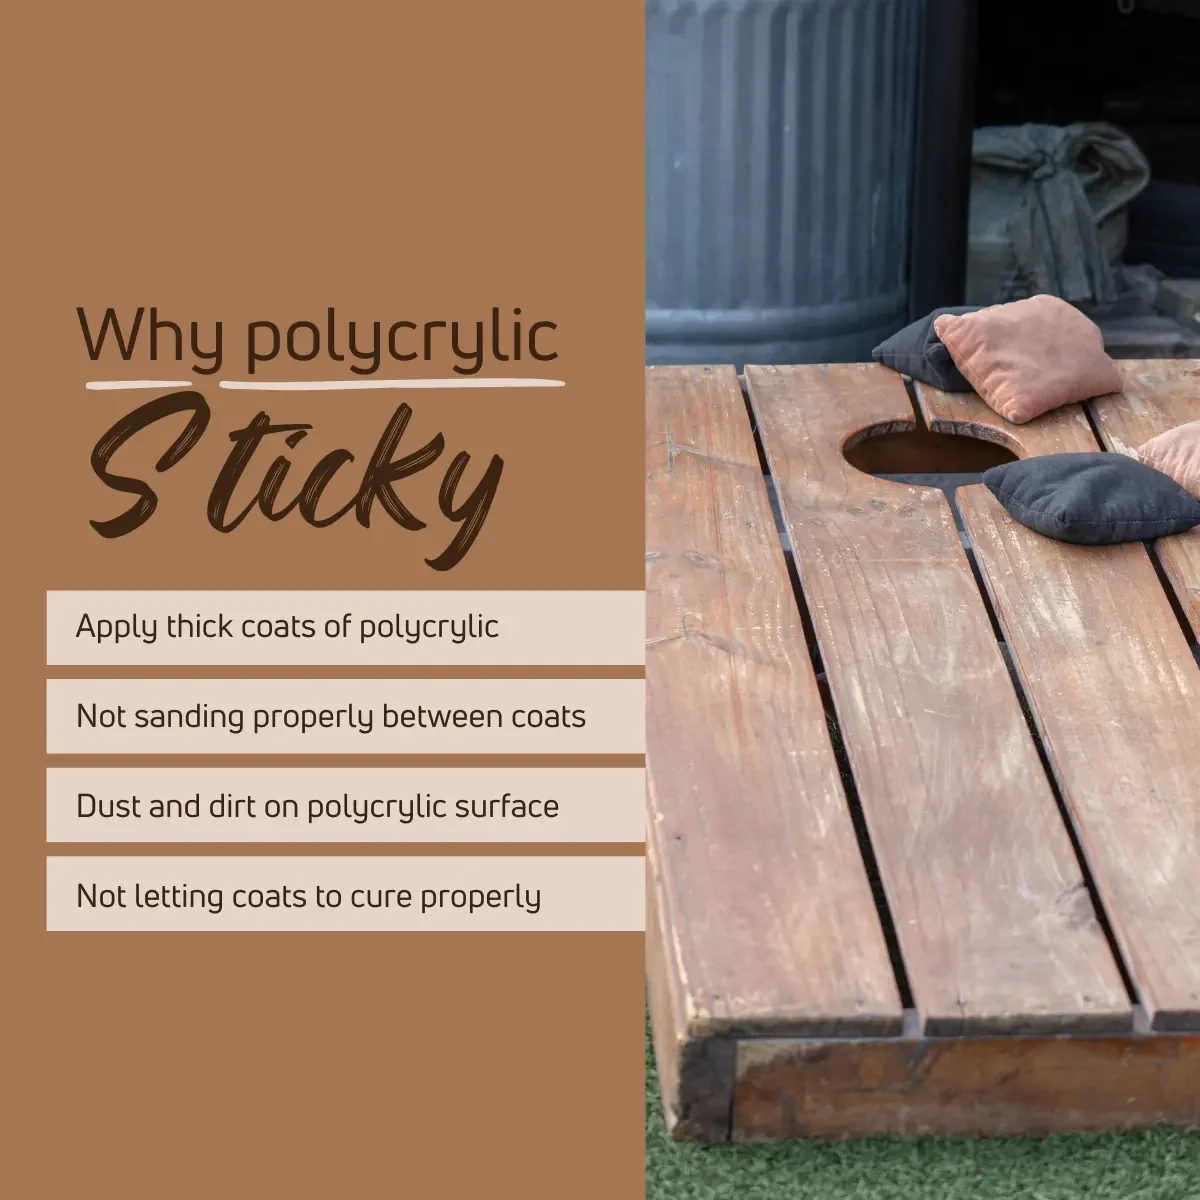
Here’re some common reasons that can make polycrylic finish sticky and less smooth,
- Shaking polycrylic during the application process can foam bubbles in the finish which can make polycrylic less slippery and smooth.
- Applying thick coats of polycrylic makes the surface look tacky and splotchy. This makes polycrylic less slippery and less smooth.
- Not sanding between each coat makes polycrylic less slippery and less smooth since there’s no good adhesion between layers.
- Not cleaning the wood board well before applying polycrylic makes it less slippery and less smooth. Dust, debris, and dirt can affect the polycrylic finish.
- Not letting the polycrylic finish dry and cure well before applying another makes it less slippery and smooth.
- Making mistakes when applying polycrylic makes the finish look sticky and less smooth because of forming blotches and streaks.
Apply polycrylic properly without making mistakes to make it more slippery and smooth.
How to do that? Don’t worry! That’s what we’re going to talk about next.
Tools And Materials To Make Polycrylic Slippery
- 320 grit sandpaper
- Abrasive pads
- Wipe on polycrylic
- Foam brush or bristle brush
- Clean rags
- Latex gloves
- Plastic mixing cup
How To Make Polycrylic Slippery?
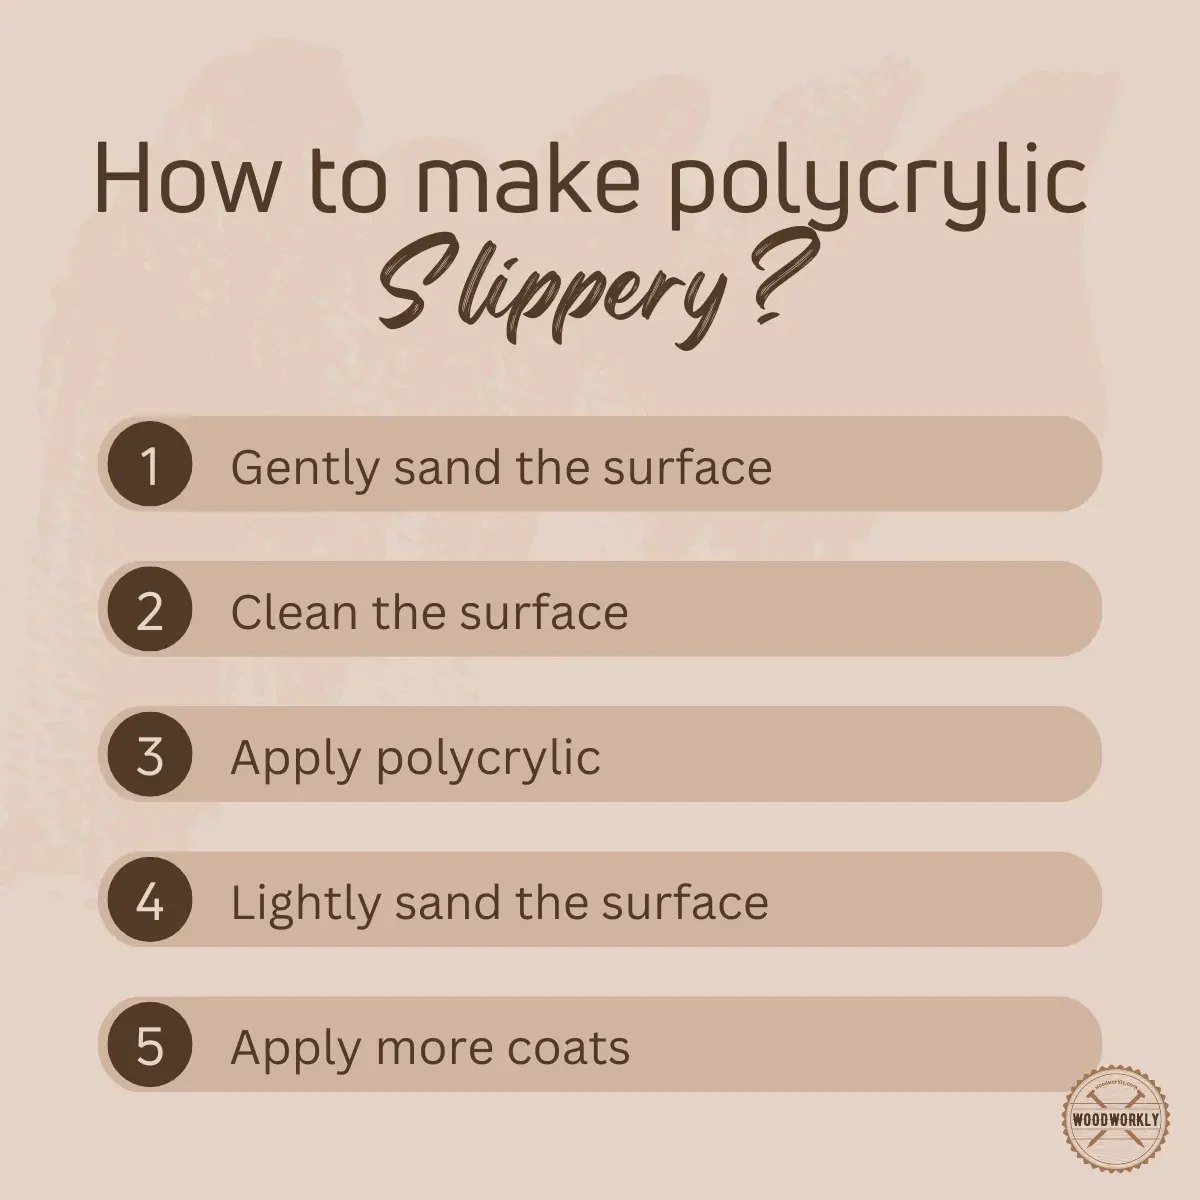
Here’re the steps you need to follow when making the polycrylic slippery,
- Gently sand the surface
- Clean the surface
- Apply polycrylic
- Lightly sand the surface
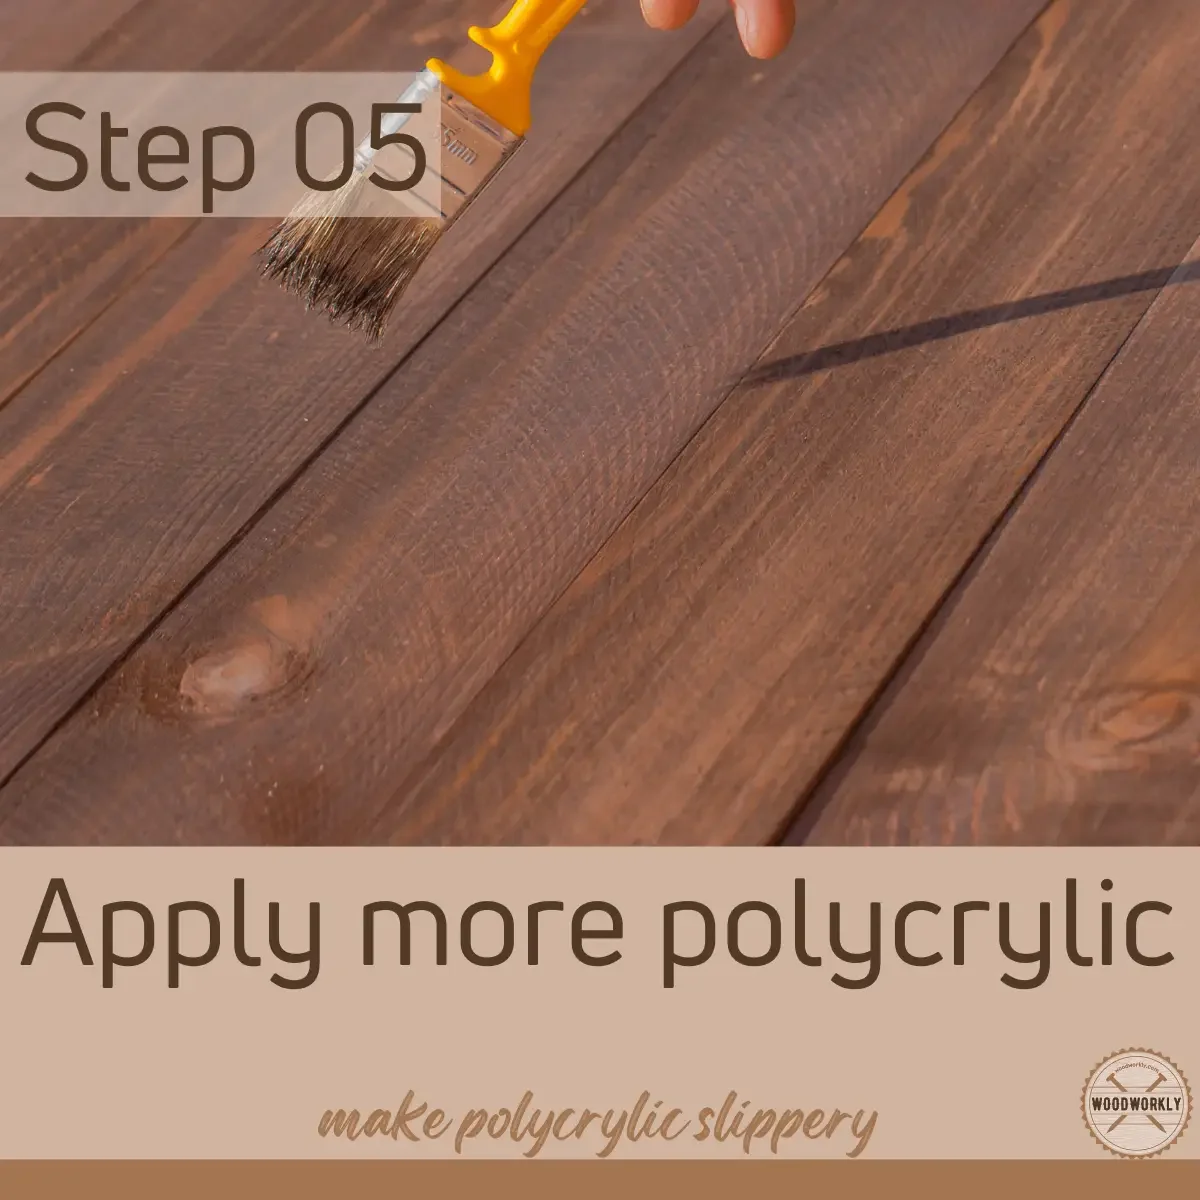
- Apply more coats
Let’s discuss all of the above steps in detail to get an oud and clear idea about fixing the polycrylic finish.
You can follow the above steps without removing the existing polycrylic finish
1. Gently Sand The Surface
First, you need to sand the existing polycrylic finish gently with 320 grit or finer sandpaper to smooth out surface imperfections.
Sand lightly over the decals.
Sanding provides adhesive properties to the existing polycrylic finish which helps to stick and blend well with the next polycrylic coat.
Sanding avoids layer separations and makes the polycrylic layer super smooth and slippery.
Make sure to sand lightly with even pressure along the wood grain to avoid making scratches.
If the surface is wet, let it dry completely before sanding since sanding wet surfaces can clog up the sandpaper and damage the existing polycrylic finish forming an ugly appearance.
2. Clean The Surface
Once you’re done with sanding, clean the entire surface to remove dust, debris, and residues that occurred when sanding to make the surface super smooth, nice, and clean.
Leaving dust and debris on the surface can affect the next polycrylic layers.
They stick with the finish and reduce its finishing performance by forming a tacky or splotchy surface.
Therefore, cleaning is a must.

After cleaning check, the slipperiness of the surface before applying additional polycrylic coats.
If the surface is smooth and slippery enough, you can use the board to play without worrying about adding additional coats.
Sanding is the cheapest option to make a polycrylic finish slippery and smooth.
If the surface is still not smooth and slippery enough, get ready to apply more polycrylic coats.
3. Apply Polycrylic
Apply a wipe-on poly on the surface and use a foam brush or clean rags. Use a form brush to apply wipe on poly on corners.
First, shake and wipe on the poly container well to mix contains well before applying it on the surface.
Then pour a sufficient amount of wipe-on poly into a plastic mixing cup.
Then dip the foam brush or clean rag in and start wiping it onto the board along the direction of the wood grain without forming bubbles.
Apply a thin wipe on the polycrylic coat on the cornhole board which makes it easy to dry without forming a tacky layer and helps to make it more slippery and smooth.
Apply a nice even coat across the cornhole board. This is a pretty quick and easy process.
You can use a foam brush to apply a wipe on poly on the edges. You can spread excess on the surface while working.
Apply wipe-on poly all over the surface without missing any spots.
After applying wipe on poly over cornhole board, let it dry for 2 to 3 hours and cure for 24 hours.
Wipe-on poly does not take 24 hours to cure, but in this case, we need to eliminate the tackiness and make the surface super smooth.
Therefore, 24 hours of drying time is a good boundary.
Here’s what’s special about wiping on poly,
- Wipe-on poly is dust friendly and you don’t have to worry about dust setting on because it dries quickly.
- Wipe-on poly makes super thin coats on wood board. Therefore, you’ll have to apply 3 or more coats to get good results.
- Plus, it dries quickly within a few hours. But I highly recommend keeping each coat dry and cure for 24 hours to make sure you won’t end up again with a sticky surface.
- The main drawback of wiping on poly is, it is more expensive than the regular brush on poly. Wipe-on helps to make the polycrylic layer more slippery and smooth.
- You won’t get a bad finish with a wipe-on poly.
4. Lightly Sand The Surface
When the wipe-on poly coat is fully dried and cured lightly sand the entire surface with 220-grit sandpaper to improve the adhesion between the layers.
Sand with even pressure along the wood grain covering the entire surface.
Sanding smoothens up the polycrylic layer and makes the upcoming coat easy to stick well onto the existing surface.
Sanding is one of the key steps to make polycrylic slippery.
Or you can use abrasive pads to scuff up the surface and get the bumps off and smoothen out the surface.
Once you’re done with the light sanding, clean the entire surface well with clean rags.
5. Apply More Coats
If your surface is already coated with polycrylic that was not slippery as you want, apply 3 to 5 coats more using the same procedure as discussed.
To finish the cornhole board apply a total number of 5 to 10 coats of polycrylic to get a slippery and smooth surface.
After applying the final coat of polycrylic, let it dry and cure. Then scuff up the surface with abrasive pads or fine-grit sandpaper.
After applying each coat let it dry and cure for 24 hours and lightly sand before applying another coat to build good adhesion between the coats.
Never sand over a wet polycrylic layer since you’ll end up with a rough surface and clean the surface well before applying polycrylic since dust can affect the smoothness of the surface.
Patience is the key factor to make the surface super smooth and slippery.
Congratulations! Now your cornhole board is ready to play!
This is how to make polycrylic slippery without getting things messed up.
Other Methods To Make Polycrylic Slippery
Apart from sanding or starting over by applying additional polycrylic coats, there’re some alternative ways to make polycrylic slippery.
They are super easy and effective.
Here’re those methods to make polycrylic slippery,
- Apply corn starch
- Apply olive oil
1. Apply Corn Starch To Make Polycrylic Slippery
Corn starch can make polycrylic slippery by removing its stickiness.
Bean bags/cornhole bags contain corn seeds that break down and make corn powder or corn starch.
Get a cornhole bag, toss it and play the game. When playing corn powder will release onto the polycrylic board and make it slippery.
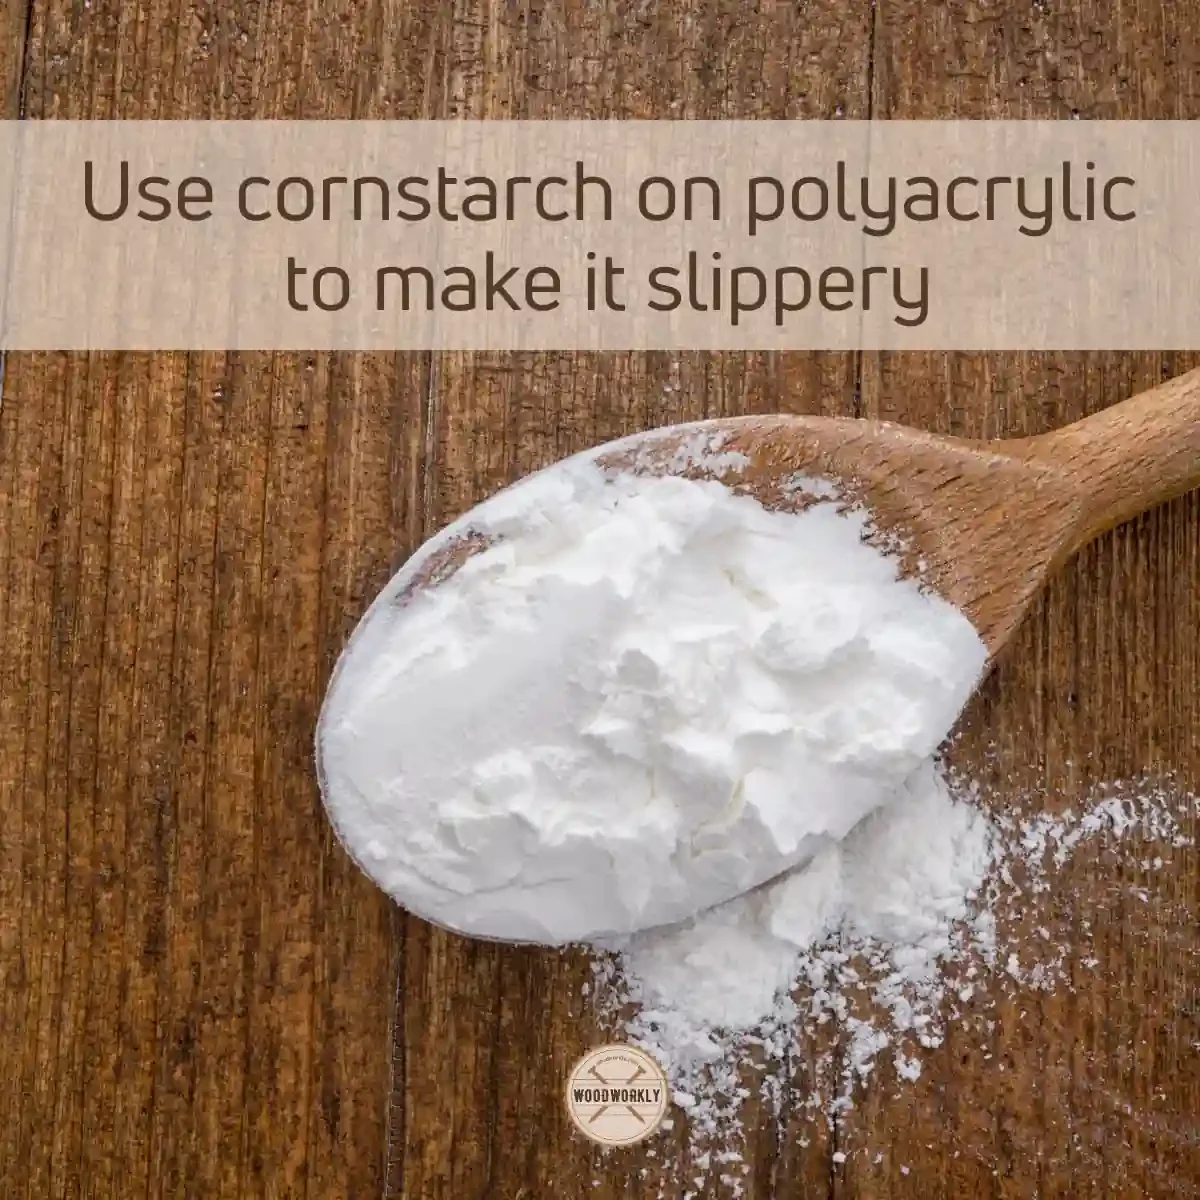
Or you can directly apply corn starch on a sticky polycrylic cornhole board to make it slippery.
Corn starch smoothens the surface by reducing the friction on the polycrylic surface.
Make sure not to inhale corn starch since it can cause breathing issues.
2. Apply Olive Oil To Make Polycrylic Slippery
When the polycrylic layer is fully dried and cured apply a little bit of olive oil onto the surface and spread it evenly all over to make the surface slippery.
Never apply too much olive oil since it may absorb into the surface and increase the stickiness even more.
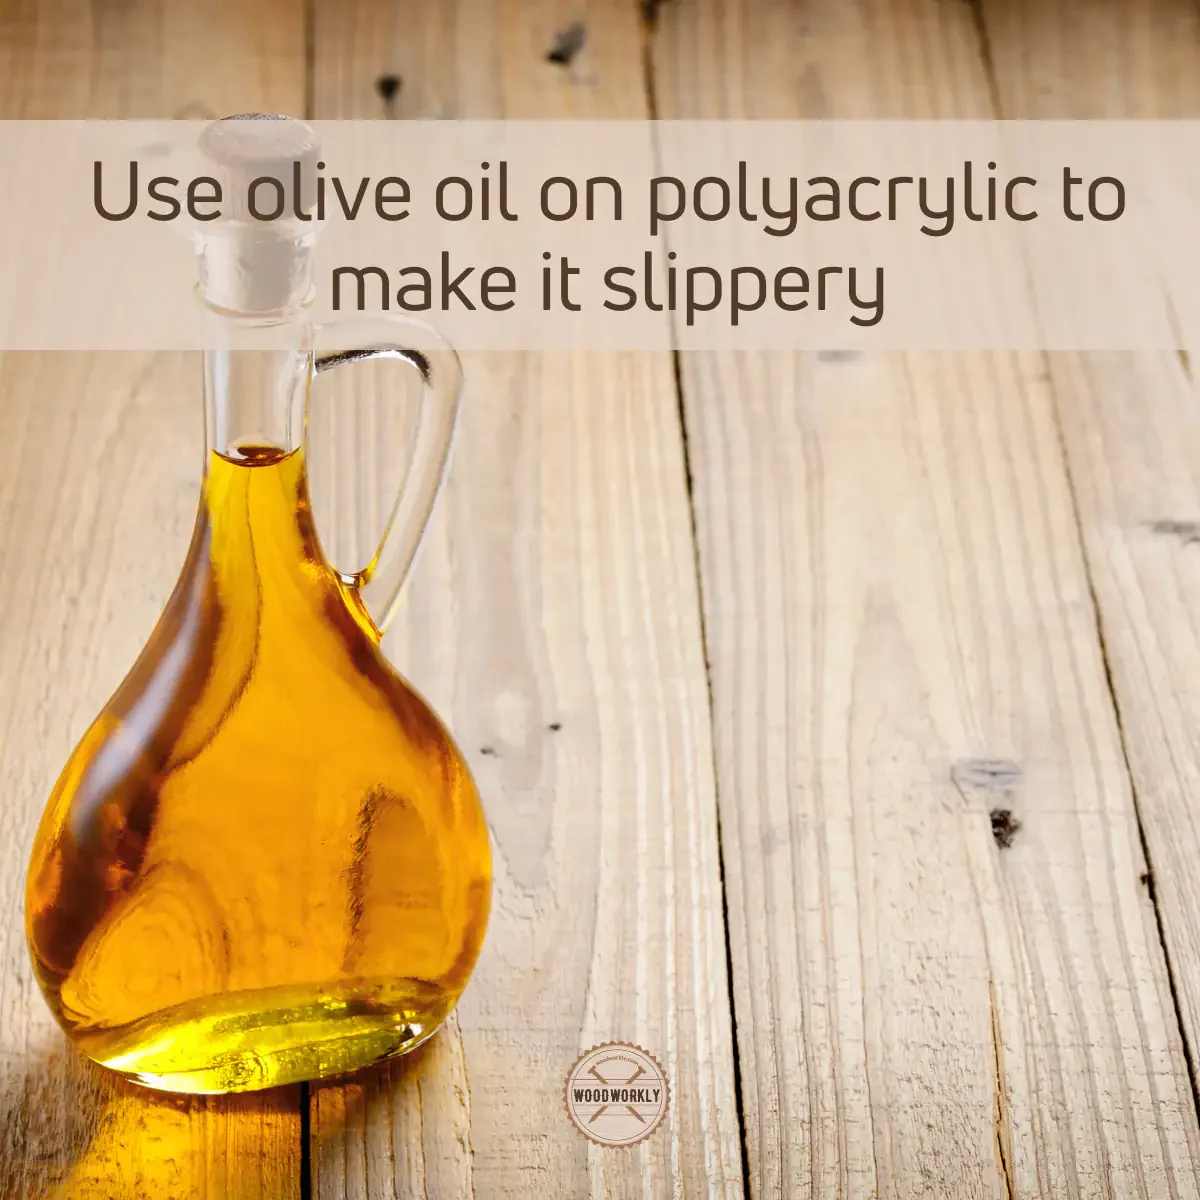
Apply olive oil only over polycrylic and applying olive oil on untreated wood does not make the surface slippery. You’ll end up with a tacky surface.
That’s it, folks! This is how to fix sticky polycrylic and make it smooth and slippery.
Let’s answer some frequently asked questions.
What Are The Best Finish For Cornhole Boards
Here are some of the best finishes for cornhole boards,
- Polyurethane finish (water-based or oil-based)
- Polycrylic finish
- Semi-gloss enamel paint
- Semi-gloss latex paint
Polyurethane finish is the best finish for cornhole boards. Polycrylic finish is a cost-effective finish for cornhole boards.
How Do You Make Bean Bag Boards Less Slippery?
You can make bean bag board less slippery by following methods,
- Rough up the surface by sanding.
- Use a wire brush to rough up the surface.
- Apply strip tape.
- Apply grip spray
Sometimes you’ll have to make the bean bag board less slippery when you feel the bean bags are constantly slipping off the cornhole board. It makes the scoring hard and makes the game look boring.
By reducing the slipperiness, you can score more, and ban bags won’t slip off often.
What Finish Is On ACL Boards?
ACL boards are finished with water-based and UV-cured finish. It is a clear coat with a smooth texture.
ACL boards are mostly made of Oak and Birch.
How To Finish A Bag Board?
You can finish a bagged board with slipperiness using the following steps,
- Clean the bag board dust and debris
- Sand the surface
- Apply a thin polyurethane finish along the wood grain
- Let it dry and cure for 24 hours
- Gently sand the surface
- Apply 5 to 10 coats of polyurethane
- Wait for drying and curing
Simple as that! Light sanding between coats and applying thin coats are recommended to make the polyurethane slick.
Did I cover all you wanted to know about: How To Make Polycrylic Slippery?
In this article, we deeply discussed, how to make polycrylic slippery and tips and tricks to fix the sticky polycrylic finish to make it smooth and slick.
You can make polycrylic slippery by applying corn starch over the surface, applying olive oil over the surface, gently sanding the surface, or applying thin more polycrylic layers over it using the correct method. light sand between each coat and let it dry well before sanding.
Furthermore, I’ve answered some frequently asked questions as well.
Hope you learned everything you wanted to know about making polycrylic slippery without making mistakes.
Try to finish cornhole boards with wipe-on poly instead of regular brush-on poly to get promising results without ending up with a tacky surface.