Ever found yourself with wet wood and a sanding deadline? Can you really sand wet wood, or is patience the key? Dive in, let’s explore this together!

My DIY dining table soaking wet from a surprise rain party, and bam, it hit me: can you actually sand wet wood?
To settle my brain itch, I chased down some top-notch woodwork gurus for their two cents.
What they spilled was pure gold, and I knew I just had to share this juicy knowledge nugget with you guys.
So, let’s find out, Can you sand wet wood?
Yes, you can sand wet wood, but it’s not recommended as it can lead to clogged sandpaper and an uneven finish. Instead, it’s typically advised to let the wood dry before sanding. Wet sanding, a technique using water and wet/dry sandpaper on dry wood, is often preferred for a polished finish.
But that’s just a quick snapshot!

In this article, I’ll explore can you sand wet wood and how to sand wet wood effectively without ruining the surface or the sandpaper.
Furthermore, we’ll discuss wet sanding and dry sanding processes and how they affect wet wood to get a fine smooth surface.
Let’s jump in!

Can You Sand Wood That Is Wet?
You can technically sand wet wood, it’s not often the best or most efficient approach for most woodworking projects.
Instead, most woodworkers prefer to let the wood dry before sanding.
However, the method of wet sanding, where water is used as a lubricant on dry wood, is a well-recognized technique to achieve a superior, polished finish on your projects.
From the sounds of it, you might think that sanding wet wood is a straightforward task.
However, the reality is a bit more complex, yet fascinating.
Let’s dig into this topic a bit deeper, understanding the nuances and methods involved.
Understanding The Nature of Wood
Firstly, it’s essential to grasp what wood is at its core.
The fibers in wood, particularly in freshly cut wood, contain water, making it moist. You might have noticed when you cut pressure-treated lumber, for instance, how moisture drips out.
This characteristic plays a significant role when it comes to sanding.
Sanding Wet Wood: Not Quite the Same as Wet Sanding
Interestingly, sanding wet wood is not the same as wet sanding dry wood.
These are two different methods that cater to specific project needs and requirements.
To clarify, wet sanding involves using wet/dry sandpaper and a lubricant (usually water) to sand wood that’s already dry, often to achieve a super-smooth, highly polished finish.
On the contrary, sanding wet or overly moist wood isn’t generally productive or recommended for practical purposes.
Why is Sanding Wet Wood a Challenge?
You might wonder why sanding wet wood can be a challenge. The problem lies in the water within the wood fibers.
When wood is overly moist or wet, it can clog the sandpaper, rendering it less effective.
Additionally, the wet wood fibers are more prone to tearing, leading to an uneven and rough finish.
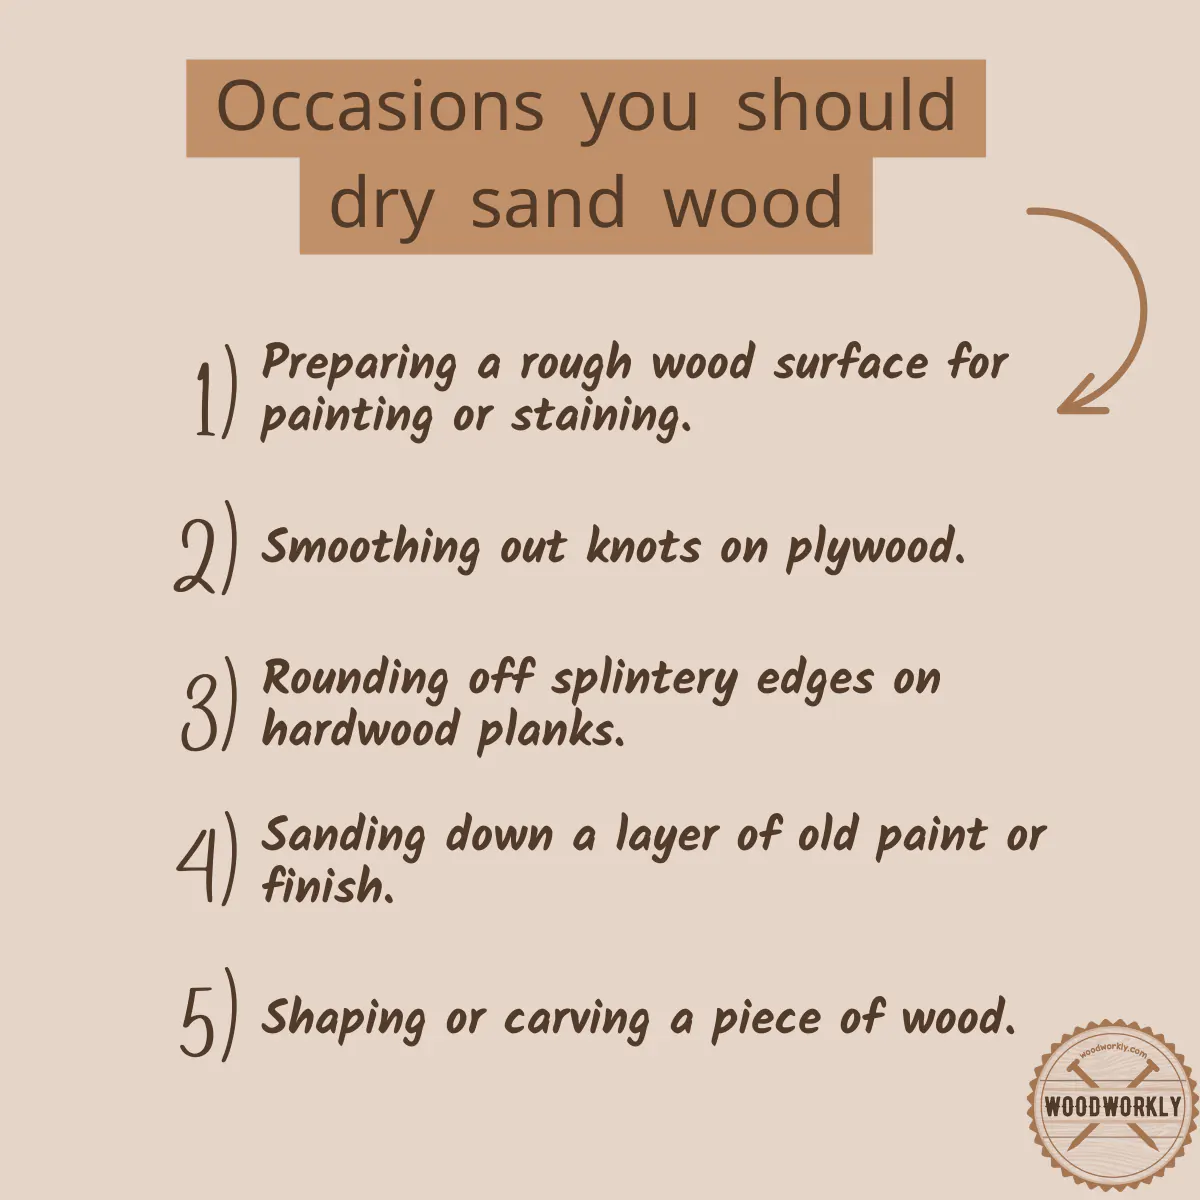
However, there are some cases where sanding wet wood is feasible.
For example, certain types of wood like green wood, used in specific woodworking projects, may be sanded while it’s wet.
But this requires specific techniques and tools to handle the moisture in the wood.

Can You Sand Wood in High Humidity?
No, you cannot sand wood when the humidity is high. Wait until the wood is dry. Wood may shred under high humidity and the sandpaper may clog up.
So, the best thing is to wait until the wood is completely dry and then do the sanding.
Then wooden fibers will cause to stand up and you can easily sand them off.
Cells in the woods act like a sponge. They can absorb water a lot under high humidity and make the wood wet.
Wet wood is usually expanded than the regular size of the wood because wood cells are almost filled with water that is absorbed from the outside environment.
Because of this absorbance of water popping the grain effect will happen due to the expansion of wood fibers.
If you sand wet wood that is already affected by popping the grain effect, it will expand further, and you’ll only get an uneven surface with clogged sandpaper. Moisture will make the grit of your sandpaper fall off.
So, always make sure to dry wet wood or wood in high humidity before the sanding process.
Never think drying wet wood is a waste of time because it’ll save you money and time. At the end of the project drying, wet wood will help you to get a nice and smooth finish.
Wet wood can sand through wet sanding and dry sanding once the wood is dried completely.
So, let’s find out what is dry sanding and how to dry sand the wood effectively.
What Is Dry Sanding?
Dry sanding comes prior to the wet sanding. Dry sanding reduces the roughness of the wood to the point where wet sanding should begin.
Therefore, sandpapers that use for dry sanding have low grit values than sandpapers that use for wet sanding.
During dry sanding, so much amount of sawdust will be created, and it can be eliminated by compressed air or vacuum.
Usually, dry sanding starts with 20 grit or near sandpaper and gradually increases up to 200 grit sandpaper until the surface gets nice and smooth.
After dry sanding, wet sanding is recommended to achieve further smoothness.
So, let’s find out how to do dry sanding effectively with wet wood to get the required outcome.
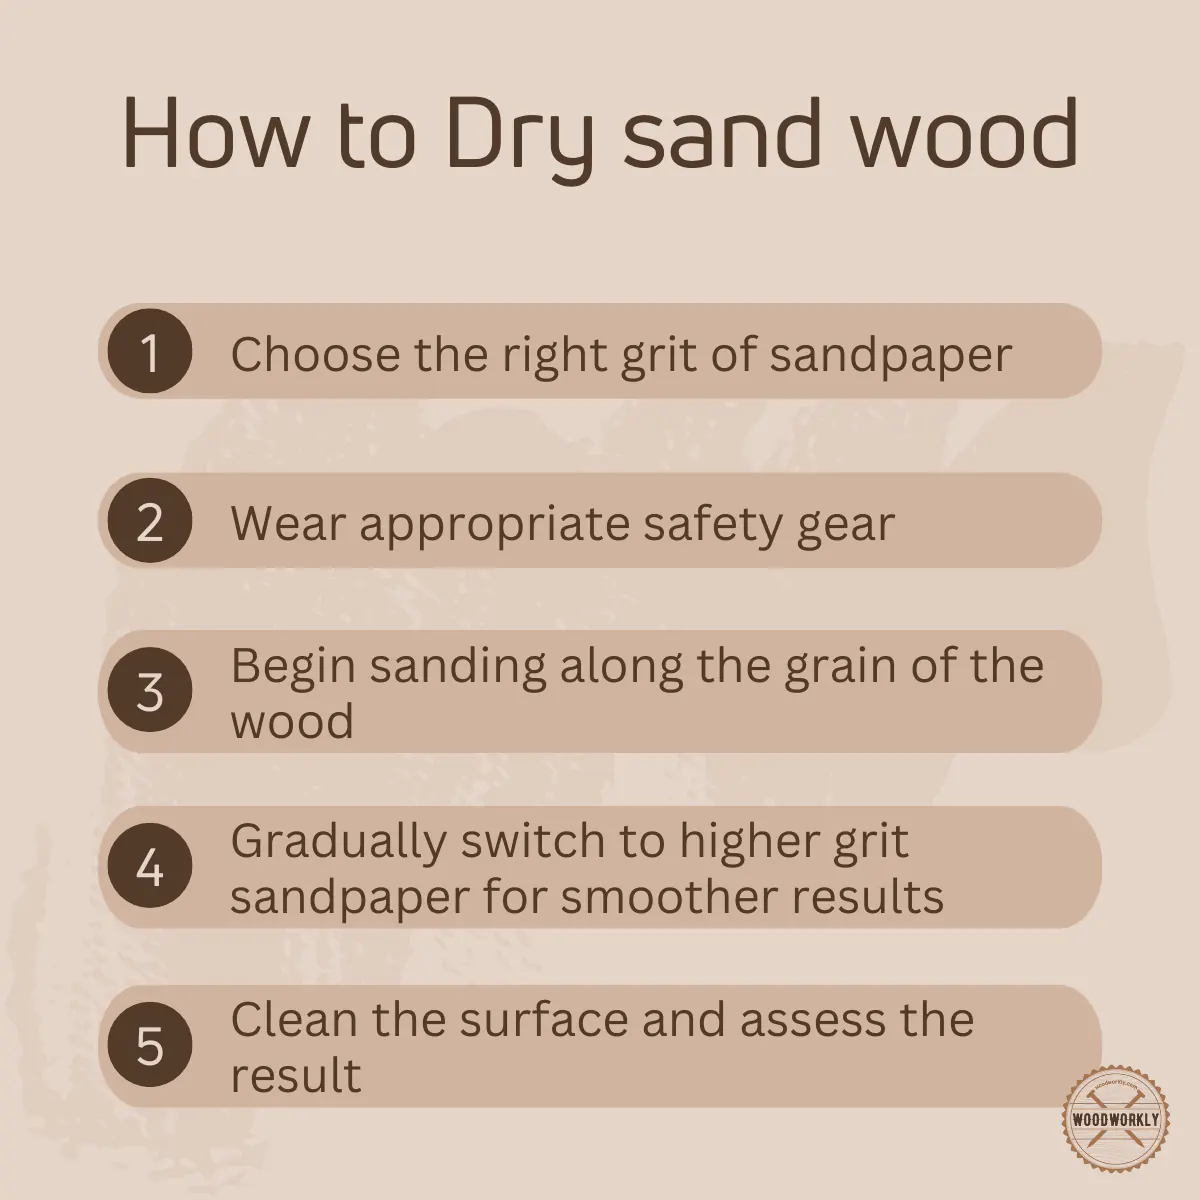
How To Dry Sand?
Here’re the things you need to have before dry sanding.
- Sandpapers (20-200 grit)
- Brush
- Rag
Here’re the steps you need to follow to dry sand the wood effectively.
- Dry the wet wood
- Sanding
- Clean
- Repeat
So, let’s discuss each of the above steps deeply to dry sanding more efficiently without making errors.
1. Dry the Wet Wood
Wet wood should dry completely before the sanding process. Wet wood cannot work well with sandpapers due to the high moisture level.
If you sand wet wood, eventually the wood surface will get cracked and with an uneven look.
The sandpaper will also get clogged and the whole project will be ruined. So always make sure to dry the wet wood before sanding.
Once the wood is dry with less moisture content, you’re good to go with dry sanding to achieve a nice and smooth surface without any unevenness, surface blotchiness, or cracks.
2. Sanding
After the wet wood is completely dried, take the sandpaper with the lowest grit value and sand the whole wooden surface along the direction of the wood grain.
When you’re sanding with the lowest grit sandpaper you can’t see dents and scratch marks from the manufacturing process.
When you’re sanding make sure to apply even pressure throughout the wood to avoid random blotchiness in future activities.
If you’re sanding using your hands, better to wrap sandpaper around woodblock for better handling.
Otherwise better to use an orbital sander to make the sanding process easier.
It is so much easy to gain a nice and smooth finish, by starting sanding with the lowest grit value sandpaper and gradually increasing it to a higher value.
3. Clean
After sanding with sandpaper with the lowest grit value, better to clean up the whole surface before moving to the next sandpaper.
Otherwise, sawdust will stick between sandpaper and wood surface and cause troubles like making deep scratches on wood which are hard to remove.
Better to use a compressed air blower or vacuum machine to remove the sawdust and make the surface clean during the dry sanding process.
4. Repeat
Once you are done sanding with 20 grit sandpaper or the lowest value one, gradually increase the grit value up to 200 or near value.
Usually, it’s not recommended to surpass 200 grit sandpaper because that will start closing the wood pores. Those higher grit value tasks belong to the wet-dry process.
However, at the end of the dry sanding process, you’ll get a smooth even surface with a nice appearance.
Wet sanding is great to improve its sharpness and smoothness to the top-notch. So, let’s discuss what is wet sanding and how it should be done especially with wet wood.
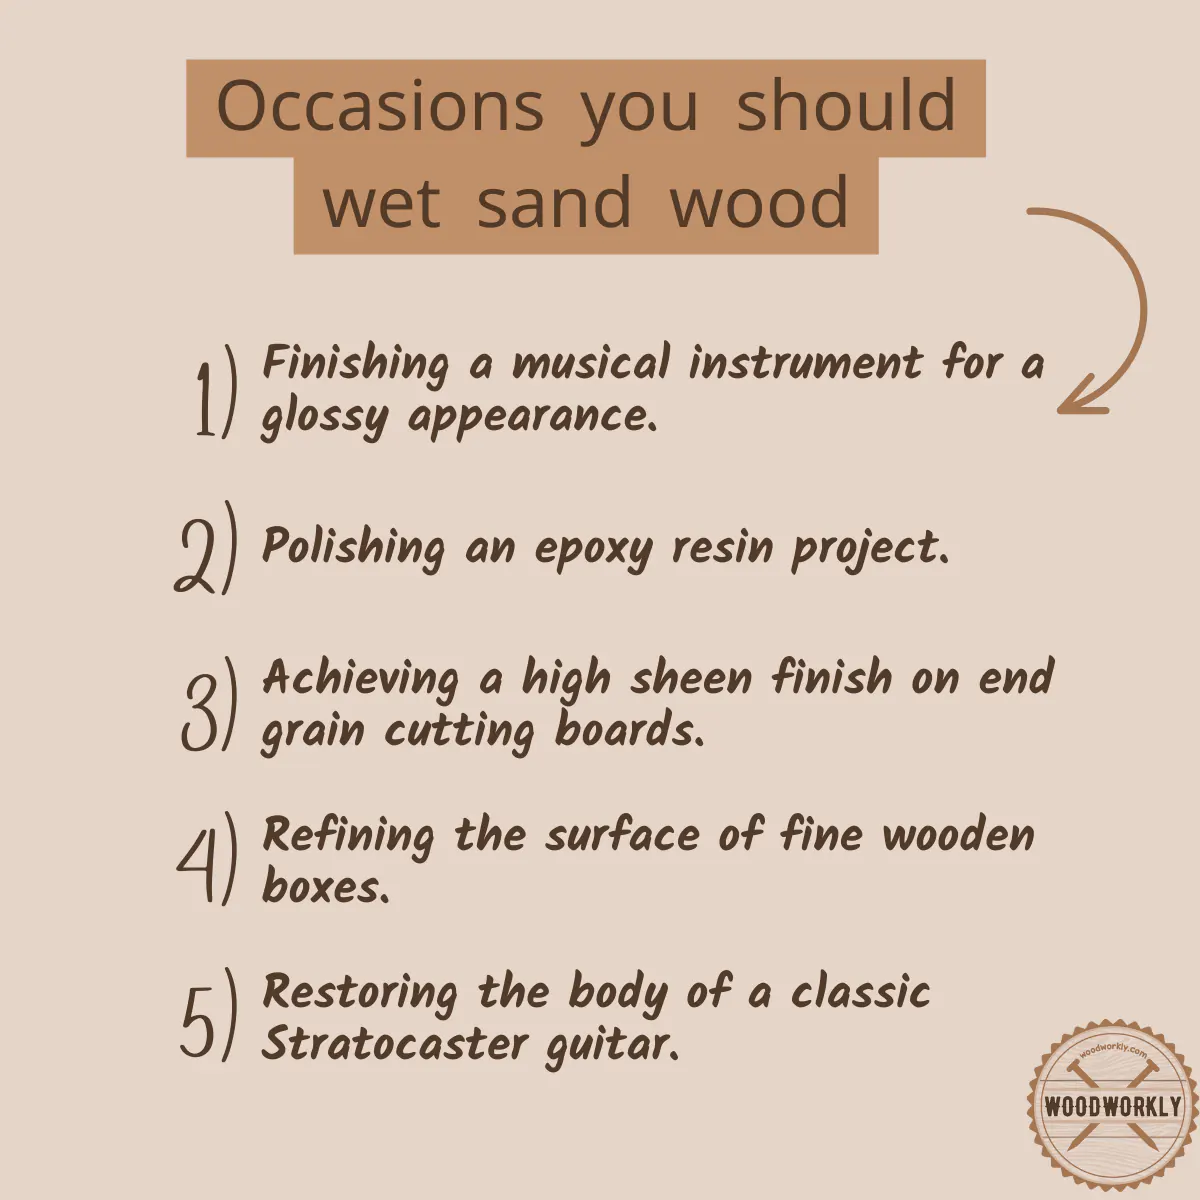
What is Wet Sanding?
Wet sanding is a less abrasive method that uses water as a lubricant to get a nice and smooth finish.
Wet sanding helps to give an even finish and special sandpaper is used for wet sanding.
Before the wet sanding it’s important to varnish the wood and dry sand it first.
The sandpaper should soak a while before using it. When you’re wet sanding the wood make sure to keep the sandpaper wet all the time and use it in gentle circles.
Sand the wood two-three times by increasing the grit of the sandpaper all the time.
Let’s find out how to sand wet wood using wet sanding to get a fine and smooth finish.
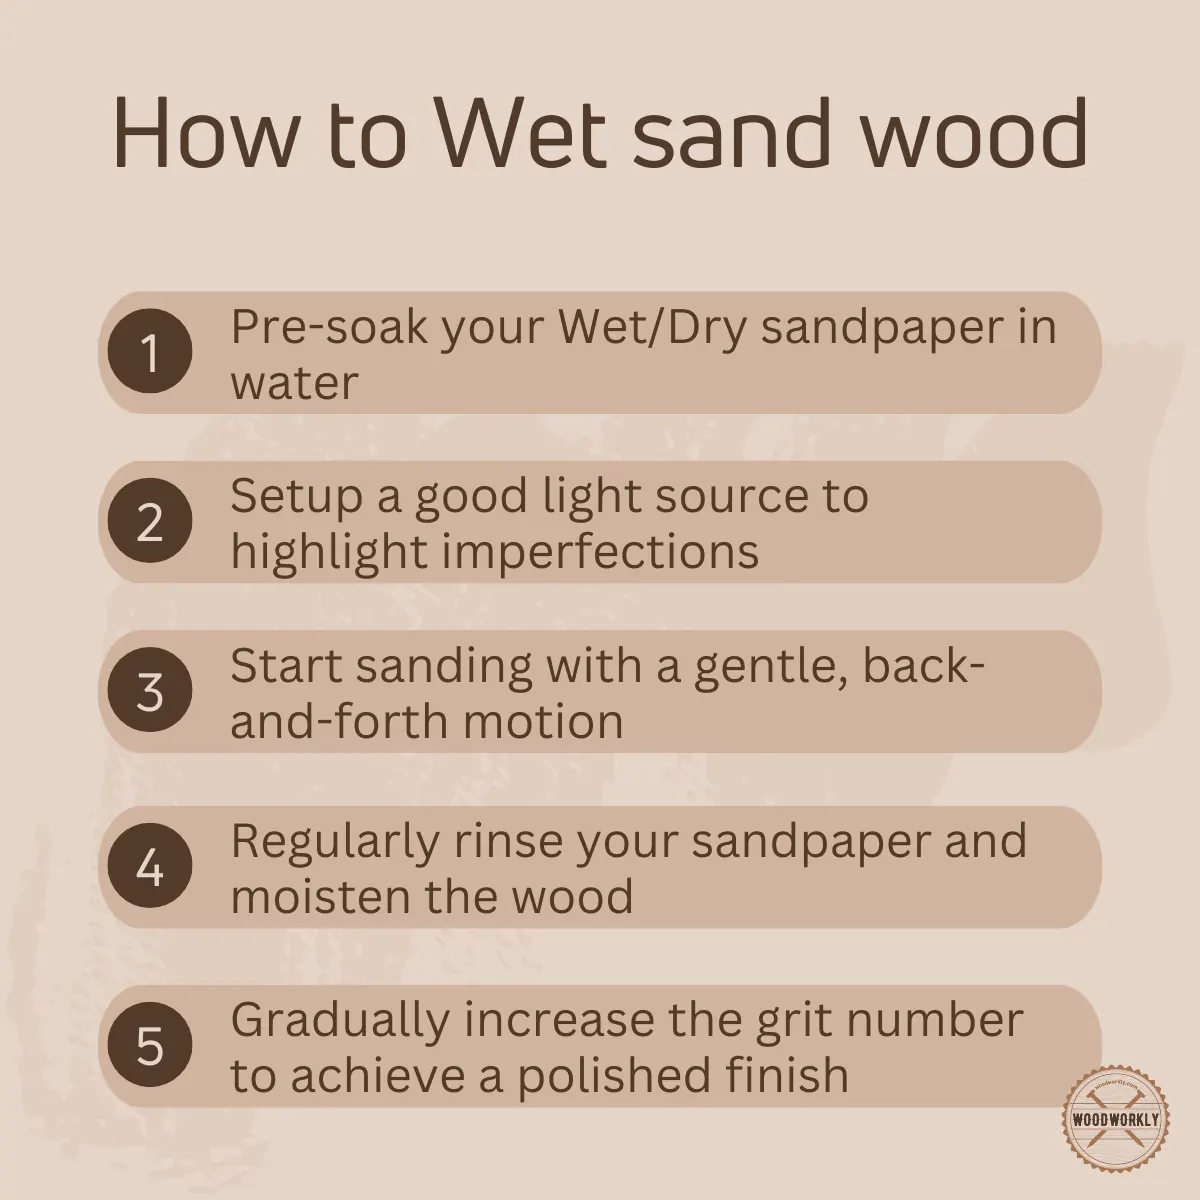
How To Wet Sand?
So, let’s discuss how to wet sand effectively to get a nice and smooth finish.
Here’re the things you need to have before starting the wet sanding process.
- Varnish or lacquer
- Sandpaper (200 to 2000 grit)
- Brush
- Water bucket
- Dish detergent
- Container
Selecting the right type of sandpaper for wet sanding is important. Mostly you can use the same sandpaper for both dry sanding and wet sanding but before the wet sanding process makes sure to soak the sandpaper while.
For wet sanding, you’ll need sandpapers with a high grit value above 200.
Here’re the steps you need to follow to wet sand the wood effectively.
- Mix the lubricant
- Sanding
- Repeat
Let’s discuss all the above steps in-depth.
2. Mix the Lubricant
First of all, take a water bucket and pour a considerable amount into the medium-sized container, and add a few drops of dish detergent into it.
Then thoroughly mix those two ingredients.
Dish detergent helps to turn water into a slippery version and make the whole mixture a better liquid for sandpaper to keep wet all the time.
Some people tend to use mineral spirit over water.
But I don’t see anything that makes the mineral spirit more advantageous than water.
According to me, it’s just a waste of money because water doesn’t damage the wooden surface and it’s free.
3. Sand
Now dip 200 grit or above sandpaper in the mixture of water and detergent and sand in gentle circles.
Make sure to cover whole the wooden area without missing any spots.
Apply even pressure throughout the wood when sanding to avoid surface blotchiness when painting or staining in the future.
To get a nice and smooth finish you need to have good patience and sand oval rounds along the direction of the wood grain.
During the sanding process keep the sandpaper wet all the time. To do that, dip sandpaper in a water detergent mixture as soon as when it’s trying to dry out.
During the process, you’ll notice sawdust won’t blow away easily because of the wetness of the surface.
Sawdust won’t blow away and stick between sandpaper grains to ruin the sandpaper. so, make sure to remove stuck sawdust using a brush or rag.
Do the sanding until you meet a nice and smooth surface as you wish.
4. Repeat the Sanding
After sanding with 200 grit or above sandpaper, gradually increase the grit value of sandpapers until you meet 2000 grit sandpaper.
This is helpful to make the surface super smooth gradually without any random patches or cracks.
That’s how you should sand wet wood using the wet sanding technique. You’ll get a nice and super smooth surface at the end of the project.
Is It Better to Sand Wood Wet or Dry?
Better to sand dry wood than wet wood. If you’re willing to sand wet wood, make sure to dry it completely before contact with sandpaper.
Sanding wet wood can ruin the whole wood with hard starch marks and the sandpaper will be clogged.
Sanding dry wood using wet sanding and sanding wood that is completely wet is different tasks. When you’re sanding dry wood using the wet sanding process only sandpaper will get wet, and you’ll get a super nice and smooth surface in the end.
But when you’re sanding wet wood, it is so much more difficult, and cannot get the expected results that you looked for.
So, always make sure to keep the wood dry to sand. It helps to remove mill glaze.
Differences Between Dry Sanding and Wet Sanding
In order to make this clear, I have created a table mentioning the differences between dry sanding and wet sanding.
| Dry Sanding | Wet Sanding |
|---|---|
| Uses regular sandpaper | Uses specially designed wet/dry sandpaper |
| Creates a large amount of dust | Keeps dust levels down due to the use of water |
| Generally used for initial sanding and shaping | Typically used for final finishing and smoothing |
| May cause overheating and clog the sandpaper | Prevents overheating and clogging with the use of water |
| Can be used on a variety of materials | Works best on specific materials like wood, metal, and plaster |
| Fast and aggressive, suitable for removing material quickly | Slow and careful, ideal for achieving a smooth, polished finish |
| Usually done before applying primer or paint | Often done between coats of paint or varnish |
Read to know, Can You Paint Wet Wood (Tips and Best Practices)
Can You Sand Wet Pressure Treated Wood?
It is not recommended to sand wet pressure-treated wood because sandpaper will damage the protective layer of pressure-treated wood and the wood will be ruined.
If you want to remove dust and debris from pressure-treated wood, better to use a pressure washer or detergent.
Once the wood is dried completely, apply a transparent stain to make it look fresh as new.
How Long After It Rains Can You Sand a Deck?
Wait until the wood deck is completely dry before sanding. Mostly paints or stains that have been applied on wood deck need around 24 hours to dry completely.
So, better to wait for 48 – 72 hours to dry before sanding the wet deck.
But the deck is protected with a waterproof sealer; you can wipe off the water droplets and keep it dry only for around 24 hours before sanding by assuming water has not penetrated inside of the wood.
What Happens If It Rains On A Freshly Sanded Deck?
It won’t any difference if it rains on a freshly sanded deck unless the pore structures of the wood have absorbed the moisture from the rain.
Because the wood tends to expand when it is wet and this can cause surface randomness.
Eventually, the smoothness of the surface will be gone and you’ll probably have to dry the deck completely and do the sanding again.
Congrats folks! Now you know exactly whether can you sand wet wood and what are the best practices you should follow to get a smooth surface.
So, let’s answer some frequently asked questions.
What’s the difference between sanding wet wood and wet sanding?
Sanding wet wood refers to the process of sanding wood that’s still moist or wet, while wet sanding is a technique where a lubricant (usually water) is used with wet/dry sandpaper on dry wood to achieve a super-smooth, highly polished finish.
Why does sandpaper get clogged when sanding wet wood?
When you attempt to sand wet or overly moist wood, the water contained in the wood fibers can cause the sandpaper to become clogged, reducing its effectiveness and making the task more challenging.
Does wet sanding create dust?
One of the advantages of wet sanding is that it keeps the dust down, as the water used as a lubricant collects the dust, preventing it from spreading into the air.
Is there any specific technique to sand green wood?
Sanding green wood, which is usually wet or moist, requires specific techniques and tools to handle the moisture in the wood. The specifics can vary depending on the type of wood and the nature of the project.
Can I immediately paint or stain wood after wet sanding?
After wet sanding, you should allow the wood to dry thoroughly before applying paint or stain to prevent any moisture-related issues.
What types of sandpaper should I use for wet sanding?
When wet sanding, it’s best to use wet/dry sandpaper, which is designed to be durable even when wet. You’d typically start with a lower grit and gradually work your way up to higher grits for a polished finish.
Did I cover all you wanted to know about: Can You Sand Wet Wood?
In this article we have deeply discussed can you sand wet wood and how to do that effectively without ruining the woodwork or furniture.
It is not recommended to sand wet wood because the wood is already increased in size due to the moisture content and once you hit the sandpaper the wood will try to work against it.
This will make deep scratches on wood which are hard to get rid of and the sandpaper will also get clogged. So, better to wait patiently until the wood is completely dried before sanding.
Furthermore, we have discussed, the main two sanding techniques, dry sanding, and wet sanding.
How to dry sand wet wood and how to wet sand wet wood. Drying the wood is the initial step of both methods.
Plus, we’ve answered some frequently asked questions under can you sand wet wood.
Hope you have gained pretty good knowledge about sanding wet wood and why sanding wet wood is not recommended in the woodworking industry.
Sanding is one of the best woodworking tasks that give you a nice and smooth finish if you did it correctly with proper methods.
Keep learning and enjoy woodworking!