Ever wondered how to preserve your Sharpie art on wood without it fading or smudging? Discover the secrets to sealing your masterpiece today!
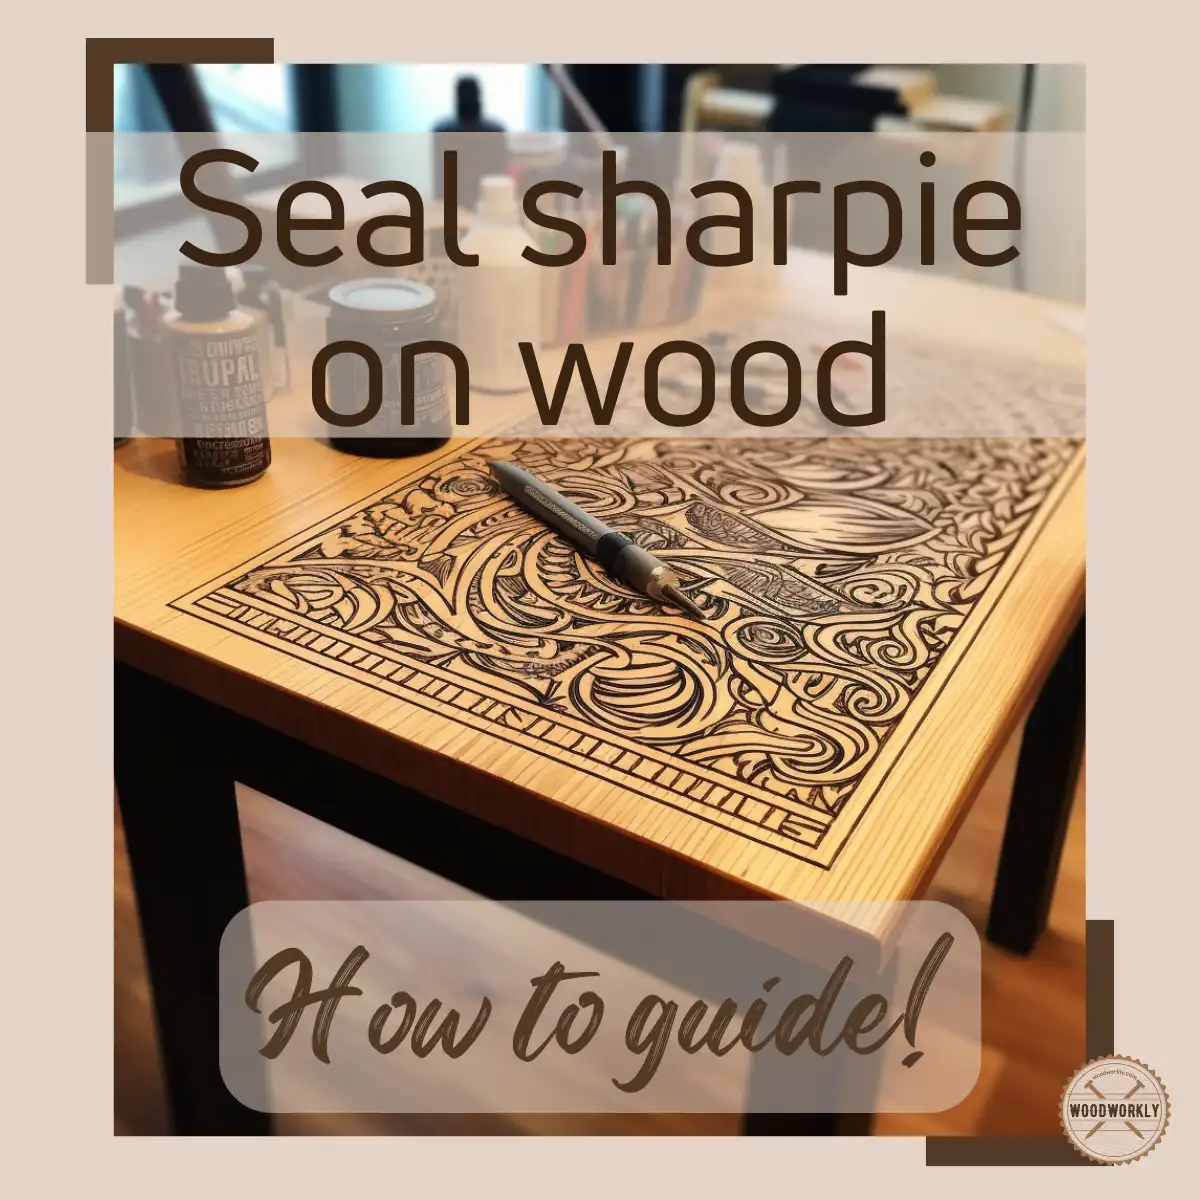
Sharpies are used to decorate wooden surfaces such as jewelry boxes, bowls, and frames. After decorating your favorite woodwork, have you ever thought of preserving it to keep for a long time as a memory?
After decorating one of my kitchen bowls with Sharpies, I was curious about sealing and protecting it for so long before placing it in the cabinet.
I went for the expert’s help and dig into some internet resources and found an ideal method to seal my wooden bowl decorated with Sharpie.
So, let’s discuss, How to seal Sharpie on wood?
You can seal Sharpie on wood by applying a suitable sealant, applying mod podge, or varnishing the Sharpie surface. To seal Sharpie on wood, first, let the ink dry for at least 24 hours and apply a protective sealant, like clear acrylic over the artwork. Then allow the sealant to dry completely.
But there’s more to know!
In this article, I’ll explore how to seal Sharpie on wood in many ways including with sealants, mod podge, and varnish, and help you to find the method that suits you the most.
Furthermore, I’ll answer some frequently asked questions as well.
So, let’s jump in!
Can You Seal Sharpie On Wood?
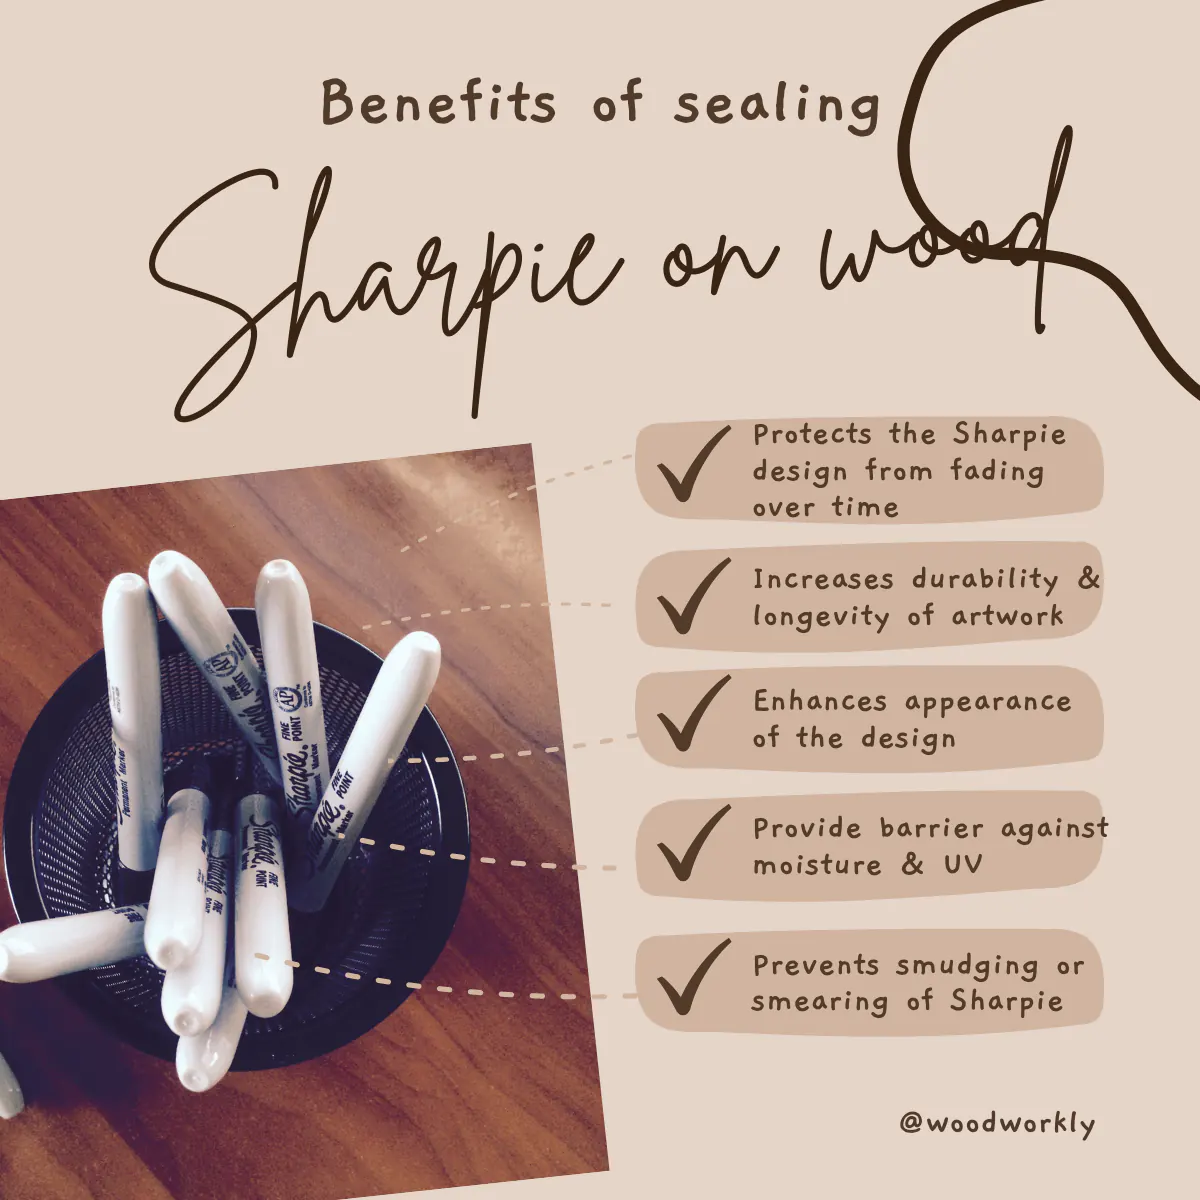
Yes, you can seal Sharpie on wood to protect and preserve your Sharpie artwork for so long without getting affected by moisture damage, UV damage, temperature variations, and weather elements.
Before applying the sealant, you need to make sure that the Sharpie ink is completely dried because applying sealer when Sharpie ink is wet can cause discolorations and smudging.
Wait at least 30 to 60 minutes until Sharpie ink is fully dried before applying the sealer.
Sealing Sharpie on wood is important to preserve the vibrancy and fine details of your artwork or writing.
Otherwise, those fine details tend to fade away over time due to various reasons.
By applying a protective sealant, you can protect the Sharpie ink from fading, smearing, and damage due to environmental factors such as UV light, moisture, and humidity.
For example, once I created a beautiful piece of calligraphy on a wooden plaque for my friend’s wedding gift. But unfortunately, I forgot to seal the Sharpie ink.
After several years when I visited his place, I noticed the writing have faded and some areas were smeared, and the original charm and appeal were not there.
That was the first time I was able to know the importance of sealing Sharpie on wood.
So, after that incident, I never missed the sealing step after decorating any kind of wooden surface with Sharpie ink.
By sealing the Sharpie artwork, you ensure it remains fresh as new vibrant, and intact for years to come.

How To Seal Sharpie On Wood?
There’re several methods you can try to seal the Sharpie artwork on wood. follow the manufacturer’s guidelines carefully to get in success when using them.
Here’re the most effective methods of sealing Sharpie on wood,
- Sealing with sealants
- Sealing with mod podge
- Sealing by varnishing the Sharpie on wood
The main purpose of each and every method above is to protect the Sharpie ink on wood without getting damaged by UV light, moisture, and weather elements.
So, let’s discuss each of the above methods in detail to seal your Sharpie artwork perfectly without messing things up.
Sealing Sharpie On Wood With Sealants
Sealing Sharpie on wood by applying a protective sealant is the popular method that many woodworkers use.
Sealants are able to protect Sharpie ink on wood for a long time without letting it fade or vanish due to weather elements, UV light, and moisture.
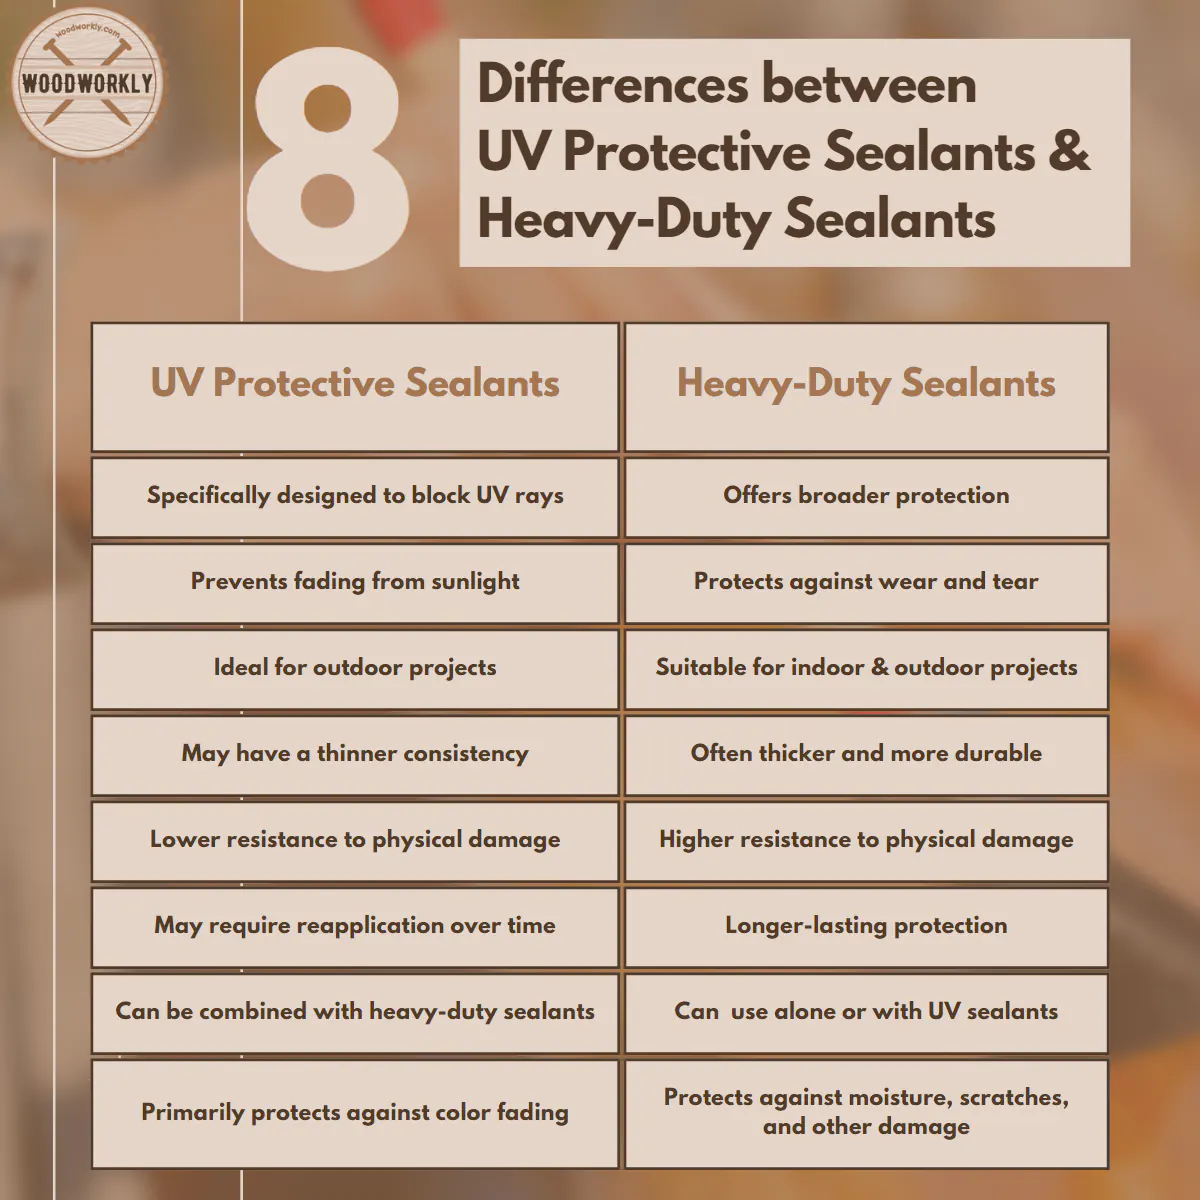
There’re two types of sealants you can apply on Sharpie on wood to protect it. They are,
- UV protective sealants
- Heavy-duty sealants
Let’s have a look at those sealants in detail.

UV Protective Sealants
UV protective sealants are great for sealing outdoor artwork. UV protective sealants have the ability to absorb UV rays from direct sunlight and prevent them from hitting the Sharpie ink on the wood underneath.
Exposure to UV rays can cause Sharpie ink to fade over time. UV rays can reduce the vibrancy and longevity of your artwork.
By applying UV protective sealant over your Sharpie artwork, you can shield your creation from the harmful effects of sunlight, maintaining its vivid colors and clarity.
You can keep your Sharpie on wood fresh as new for a long time with no UV damage and without any wood discoloration due to UV sealants.
UV sealants protect both the Sharpie ink and wood surface in pristine condition.
Let’s have a look at the way of applying UV sealant on Sharpie on wood.
How To Apply UV Sealant Over Sharpie On Wood?
Here’re the steps you need to follow when sealing Sharpie artwork on wood with UV sealants,
- Clean the wood surface and ensure the Sharpie ink is completely dry.
- Select a UV protective sealant, such as a clear acrylic spray or brush-on sealer, that’s compatible with wood surfaces.
- Apply the sealant in a well-ventilated area, following the manufacturer’s instructions. Apply thin, even coats, allowing each layer to dry fully before adding another.
- Depending on the product, 2-3 coats may be necessary to provide optimal UV protection.
So, let’s see how other types of sealant, the heavy-duty sealant protect Sharpie on wood effectively.
Heavy-Duty Sealants
Heavy-duty sealants are great for protecting Sharpie artwork on wood from wear and tear.
That means if your Sharpie artwork wood is handled or used many times, a heavy-duty sealant is great for sealing it to protect the fine details of your Sharpie artwork or writing for a long time.
Heavy-duty sealants give robust protection to the Sharpie on wood.
Here’re some of the best heavy-duty sealants for sealing Sharpie on wood,
- Polyurethane
- Lacquer
- Shellac
There’re several benefits you’ll obtain by applying heavy-duty sealants on Sharpie on wood.
Heavy-duty sealants make a hard protective layer over your Sharpie artwork on wood protecting the wood from wear, dent, scratches, tear, abrasions weather elements and, they’re able to fix small gaps and cracks on wood surfaces.
Heavy-duty sealants make the Sharpie on wood waterproof. Therefore, your creation won’t destroy due to moisture damage and humidity variations.
With heavy-duty sealants, you can ensure your Sharpie ink creations on wood remain intact and protected, even in high traffic or outdoor areas.
So, let’s have a look at the application procedure for heavy-duty sealants on Sharpie wood.
How To Apply Heavy-Duty Sealants Over Sharpie On Wood?
Here’re the steps you need to follow when applying heavy-duty sealants on Sharpie on wood,
- Prepare the wood surface by cleaning it thoroughly and allowing the Sharpie ink to dry completely.
- Choose a heavy-duty sealant, such as polyurethane, lacquer, or shellac, that’s compatible with your wood type and project requirements.
- Apply the sealant according to the manufacturer’s instructions, using thin, even coats. Allow each coat to dry fully before applying the next.
- For optimal protection, apply 2-3 coats, ensuring that the final coat is smooth and even.
As you can see, sealing Sharpie on wood with sealants can effectively protect your artwork from fading, wear, and environmental factors.
By considering the unique benefits and application processes of UV protective and heavy-duty sealants, you can choose the best option for your project and ensure your Sharpie creations remain vibrant and well-preserved for years to come.

Let’s have a look at the second method of sealing Sharpie on wood with Mod Podge.
Sealing Sharpie On Wood With Mod Podge
Mod Podge is a versatile, water-based adhesive material that can use to seal Sharpie artwork and writings on wood.
It can protect the wood from moisture, UV light, and weather elements and improve the wood’s durability to keep fresh as new for a long time.
Mod Podge is an excellent alternative to traditional sealants.
There’re several mod podge formulas available in the market. So, let’s see how to select the one that suits you the most for sealing Sharpie on wood.
Choosing the Right Mod Podge Formula
With several Mod Podge formulas available, it’s essential to select the appropriate one for sealing Sharpie ink on wood.

Let’s explore the differences between various Mod Podge formulas and identify the best option for this specific purpose.
Yellow Label Mod Podge for Best Results
The yellow label Mod Podge formula, also known as “Mod Podge Matte,” is ideal for sealing Sharpie ink on wood surfaces.
This formula dries clear, providing a matte finish that won’t interfere with your artwork’s appearance.
Additionally, it offers excellent adhesion and durability, ensuring your Sharpie ink remains protected against fading, smearing, and wear.
Avoiding Red, Blue, and Orange Label Formulas
While Mod Podge offers several other formulas, it’s best to avoid the red, blue, and orange label variants when sealing Sharpie ink on wood.
These formulas may not provide the same level of protection or may alter the appearance of your artwork.
For example, the red label Mod Podge (Mod Podge Gloss) has a high-gloss finish, while the blue label (Mod Podge Sparkle) contains glitter particles. Stick to the yellow label formula for optimal results when sealing Sharpie on wood.
Let’s have a look at the application procedure of sealing Sharpie on wood with mod podge with the yellow label.
How To Apply Mod Podge Over Sharpie On Wood?
Here’re the steps you need to follow when sealing Sharpie on wood with mod podge,
- Clean the Sharpie on the wood surface to remove dust and debris.
- Apply a thin layer of mod podge along the direction of the wood grain to avoid smearing the ink or creating a clumpy uneven finish.
- Use a foam brush or a flat, soft-bristle brush to spread the mod podge evenly all over the wood in one direction. Apply mod podge gently over the Sharpie to avoid smudging.
- Allow mod podge to dry completely between coats for a clear coat and durable seal. Let each coat of mod podge dry for 15 to 20 minutes. this drying time may vary on the environmental humidity and temperature levels of your working area.
- Apply 2 to 3 coats of mod podge evenly and let the final coat dry and cure completely.
Now your Sharpie on wood is protected from everyday wear and tear.
Likewise, using Mod Podge to seal Sharpie ink on wood is a viable option, especially when choosing the appropriate formula and following proper application techniques.

Let’s see how to seal your Sharpie on wood properly by varnishing the surface.
Sealing Sharpie On Wood With Varnish
Varnish is a popular wood finishing product that is mostly used to protect wood from moisture, and weather elements.
Likewise, you can apply varnish on Sharpie artwork on wood to protect the fine details of Sharpie ink.
Varnish makes a durable layer that shields Sharpie ink on wood from external elements, ensuring your artwork stays vibrant and intact.
Before sealing Sharpie on wood with varnish you need to consider about the compatibility between the varnish and the ink colors.
Because they’re some varnish formulas in the market that might react differently with various Sharpie colors and end up causing discoloration or smudging.
In order to avoid those circumstances, you should test the varnish you selected on a spare piece of wood with the same Sharpie colors you’ve used on your artwork or writing.
Apply varnish over the Sharpie ink and observe any changes in color, clarity, or consistency. This will help you to select varnish that suits your Sharpie on wood so well without ruining your original artwork.
Since there’re many different types of varnishes with different formulas, they yield various results when applied over Sharpie ink.
Some varnish products provide better protection or a more attractive finishing surface than others.
You need to experiment with different varnish types to select what suits your Sharpie ink woodwork the most.
Let’s have a look at the application procedure of sealing Sharpie on wood with varnish.
How To Apply Varnish Over Sharpie On Wood?
Here’re the steps you need to follow when sealing Sharpie on wood using varnish,
- Clean the Sharpie artwork wood surface well with clean rags to remove dust and debris.
- Apply a thin layer of varnish along the direction of the Sharpie wood grain with even pressure on the bristle brush, foam brush, or suitable applicator. Apply varnish in long, smooth strokes, working in one direction for a uniform coat.
- After applying the first layer of varnish, make sure not to apply it with too much pressure or overwork, as this could cause smudging and an uneven finish.
- Allow the varnish to dry completely for 2 to 6 hours between coats. Enough drying time is essential for a durable, clear seal. Drying time can vary on the varnish formula type and environmental humidity.
- Apply 2 to 3 coats of varnish with thin coats to seal the Sharpie artwork on wood perfectly from weather elements and moisture.
- Let the final coat dry and cure for 2 to 3 days and after that, your Sharpie artwork on wood will be well protected and ready to display or use.
Read to know about, How To Apply Varnish Without Brush Marks!

Congrats folks! Now you know all 3 effective methods to seal Sharpie on wood properly. Follow the given methods carefully to achieve the best results.
Watch, How to Remove Sharpie from Wood
Can You Polyurethane Over Sharpie?
Yes, you can apply polyurethane over Sharpie. Polyurethane is a popular wood finishing product for sealing various types of wood, including Sharpie ink on wood.
Polyurethane can create a durable and clear finish over Sharpie artwork on wood which helps to preserve your artwork and prevent damage from moisture and weather elements.
Apply a thin coat of polyurethane over Sharpie artwork without making any polyurethane mistakes like blotches and streaks.
Here’re some benefits you’ll receive by applying polyurethane over Sharpie on wood,
- Protection: A polyurethane coat helps protect the Sharpie ink from wear and tear, moisture, and UV damage, ensuring your artwork remains vibrant and intact over time.
- Durability: Polyurethane is known for its long-lasting and hard-wearing properties, making it an ideal choice for preserving your Sharpie artwork.
- Versatility: Available in various finishes, such as matte, satin, and glossy, polyurethane can be customized to match your desired look and feel for your project.
Can You Put A Clear Coats Over Sharpie?
Yes, you can put a clear coat over Sharpie ink to protect and preserve your artwork from weather elements.
Apply acrylic sealers, lacquer, or clear spray paints to make a clear coat on Sharpie. They prevent Sharpie ink artwork on wood from fading, smudging, or wearing over time.
Here’re the steps of the application to seal Sharpie on wood with a clear coat,
- Prepare the surface: Ensure the Sharpie ink is completely dry and the wood surface is clean and free of dust, debris, and oils. If necessary, lightly sand the wood with fine-grit sandpaper to create a smooth surface for the clear coat to adhere to.
- Test compatibility: Test the compatibility of the clear coat with your Sharpie colors on a spare piece of wood. This will help you determine if the clear coat causes any smudging, discoloration, or other adverse reactions with the ink.
- Select the clear coat: Choose a clear coat that is compatible with your Sharpie ink, such as acrylic sealers, lacquers, or clear spray paints. Check the manufacturer’s instructions for compatibility and application guidelines.
- Protect the surrounding area: Cover nearby surfaces and objects with drop cloths or masking tape to protect them from the clear coat.
- Apply the clear coat: Follow the manufacturer’s instructions for applying the clear coat. If using a spray-on clear coat, hold the can at a consistent distance and use a sweeping motion to ensure even coverage. If using a brush-on clear coat, use a high-quality, soft-bristled brush or foam brush, and apply the coat with long, even strokes in one direction.
- Allow the clear coat to dry: Let the clear coat dry according to the manufacturer’s recommended drying time. Drying times may vary depending on environmental factors, such as humidity and temperature.
- Apply additional coats: If necessary, apply two to three coats of clear coat for optimal protection, allowing each coat to dry thoroughly before applying the next one.
- Inspect and finish the surface: Once the final coat has dried completely, inspect the surface for any imperfections, such as bubbles or uneven areas. If necessary, lightly sand the surface with fine-grit sandpaper and apply an additional coat of clear coat. For a polished finish, you can buff the surface with a soft cloth after the final coat has dried.
That’s it, folks! Now you know how to seal Sharpie on wood properly without messing things up.
Let’s answer some frequently asked questions as well.
How Long Should I Wait For The Sharpie Ink To Dry Before Applying A Sealant?
It’s essential to let the Sharpie ink dry thoroughly before applying any sealant to avoid smudging or blending the ink.
Depending on the wood surface and environmental factors, drying times can vary.
As a general rule, allow at least 30 minutes to an hour for the Sharpie ink to dry completely before applying the sealer.
Which Type Of Clear Coat Is Best For Sealing Sharpie On Wood?
The ideal clear coat for sealing Sharpie on wood depends on your desired finish and project requirements.
Popular options include clear acrylic sealers, polyurethane, lacquer, and varnish.
Be sure to test the compatibility of your chosen clear coat with the Sharpie ink on a spare piece of wood to avoid any adverse reactions.
Will Sealing Sharpie On Wood Make It Waterproof?
Sealing Sharpie on wood provides a layer of protection against moisture, but it doesn’t make it entirely waterproof.
Although the sealant helps to preserve the Sharpie ink from fading or smudging, it’s crucial to avoid exposing the sealed wood to excessive moisture or submerging it in water.
How Many Coats Of Sealant Should I Apply Over Sharpie On Wood?
The number of sealant coats depends on the product used and the desired level of protection.
Generally, two to three coats of clear coat are sufficient for sealing Sharpie on wood projects.
Ensure you allow adequate drying time between coats, as specified by the manufacturer, for optimal results.
How Do You Stop Sharpie From Bleeding On Wood?
Follow the below steps to prevent Sharpie ink from bleeding on wood,
- Choose a wood surface with a smooth, even grain. Rough or porous surfaces can cause the ink to spread and bleed.
- Before applying Sharpie, consider lightly sanding the wood surface and applying a pre-sealant or primer to create a barrier that prevents ink bleeding.
- Use an archival-grade marker or a Sharpie specifically designed for signing art or documents, as these markers are more resistant to bleeding.
- Apply the ink with a light touch, avoiding pressing too hard or going over the same area repeatedly, as this can cause the ink to spread and bleed.
How Do You Preserve Sharpie On Wood?
Follow the below steps to preserve Sharpie on wood,
- Make sure to use a lightfast, waterproof, and acid-free permanent marker or an archival-grade marker designed for signing art or documents to ensure the ink won’t fade over time.
- Allow the Sharpie ink to dry completely before applying any sealant. This typically takes at least 30 minutes to an hour, depending on the wood surface and environmental factors.
- Choose a suitable clear coat or sealant, such as clear acrylic sealer, polyurethane, lacquer, or varnish, to protect the Sharpie ink from smudging, fading, and wear. Apply two to three coats, allowing each coat to dry as per the manufacturer’s instructions.
- If you want extra protection, consider using an artist’s medium or a final coat like paste wax or resin for added durability.
Did you know that you can apply paste wax over polyurethane coated surfaces as well.

Did I cover all you wanted to know about How To Seal Sharpie On Wood?
In this article, I have deeply explained how to seal Sharpie on wood effectively using different methods and I have discussed the characteristic features of each method which will help you to decide the one that suits you the most.
To seal Sharpie on wood, choose a compatible clear coat like an acrylic sealer, polyurethane, or Mod Podge. Apply two to three thin, even coats, allowing each layer to dry fully before applying the next. This process protects the Sharpie ink from smudging, fading, and wear over time.
Furthermore, I’ve answered some frequently asked questions as well.
Hope you were able to know everything you wanted to know about how to seal Sharpie on wood properly without making any mistakes.
Practice and test each method that I have described above and find the method that matches you the most for excellent results to keep your beautiful Sharpie artwork on wood forever.