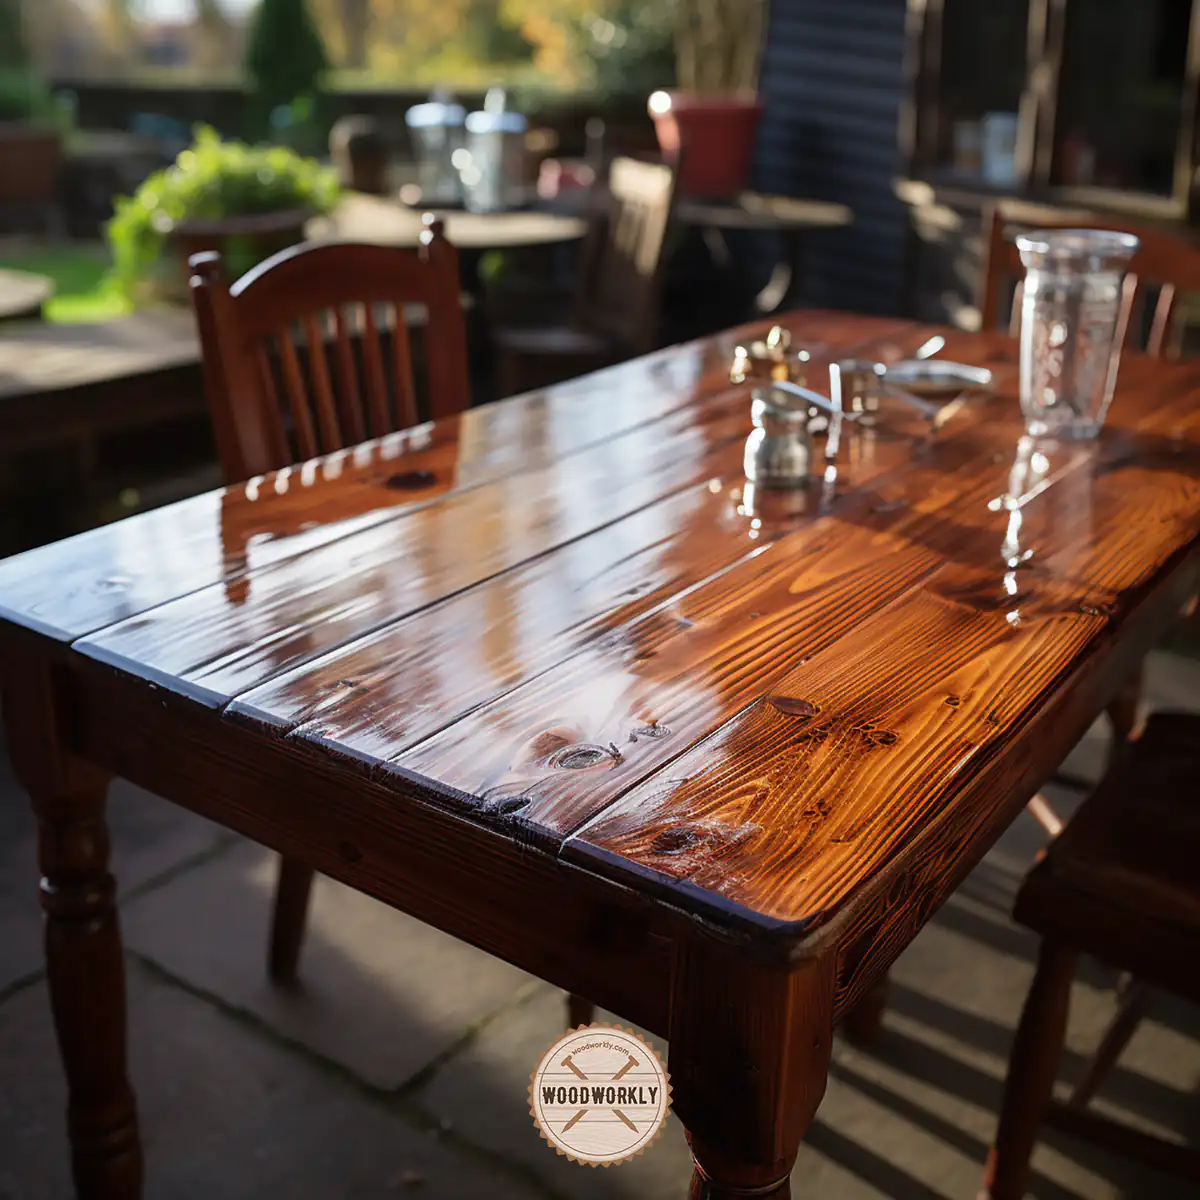
Ever marveled at flawlessly varnished wood? Wondering how to achieve that brush-mark-free finish? Dive in to unveil the secret!
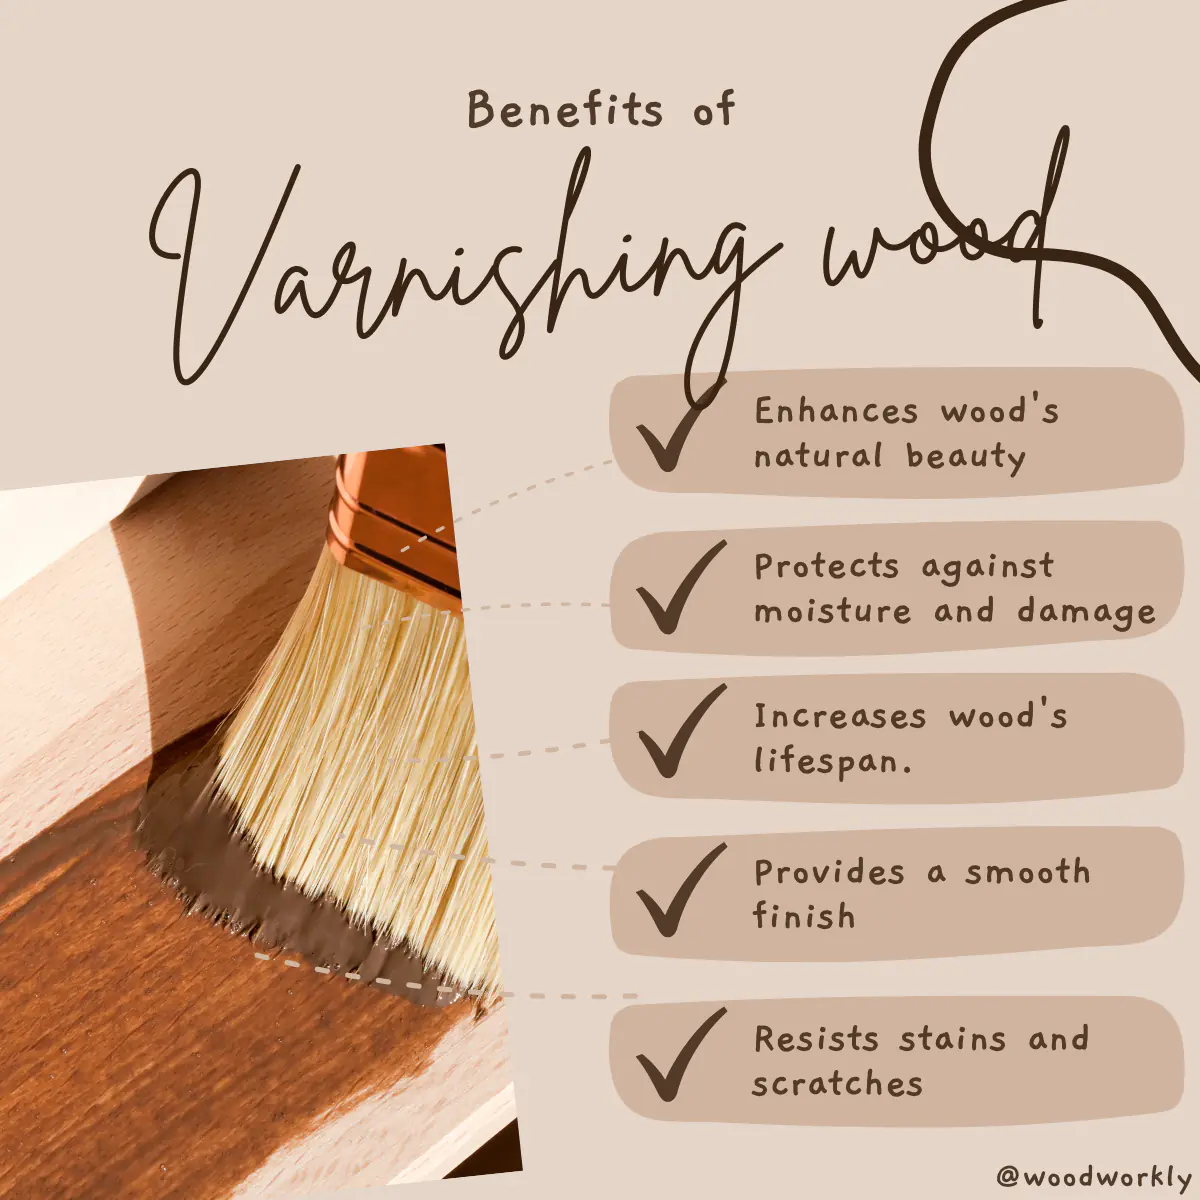
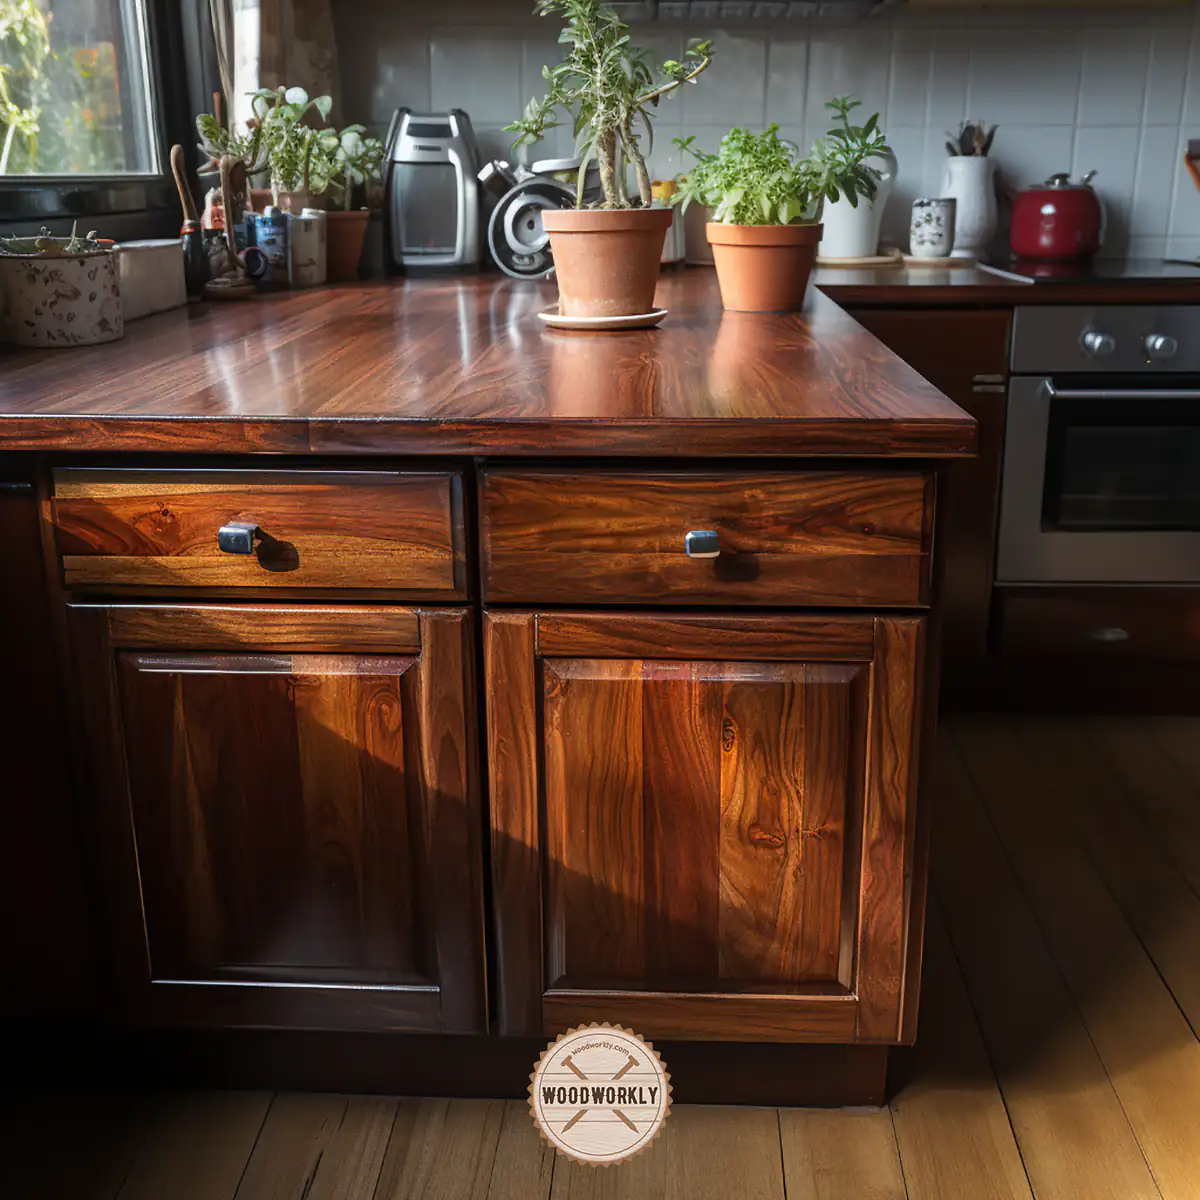
Varnish is known as one of the most popular wood finishers in the woodworking world since it can waterproof wood, fix small scratches and help the wood protect against moisture, rotting, and decaying.
When I was first working with varnish, I always ended up with brush marks. Brush marks are a sign of a bad varnish job.
So, I did some research and found the perfect solution to apply varnish without leaving any brush marks.
Let’s find out, How to apply varnish without brush marks
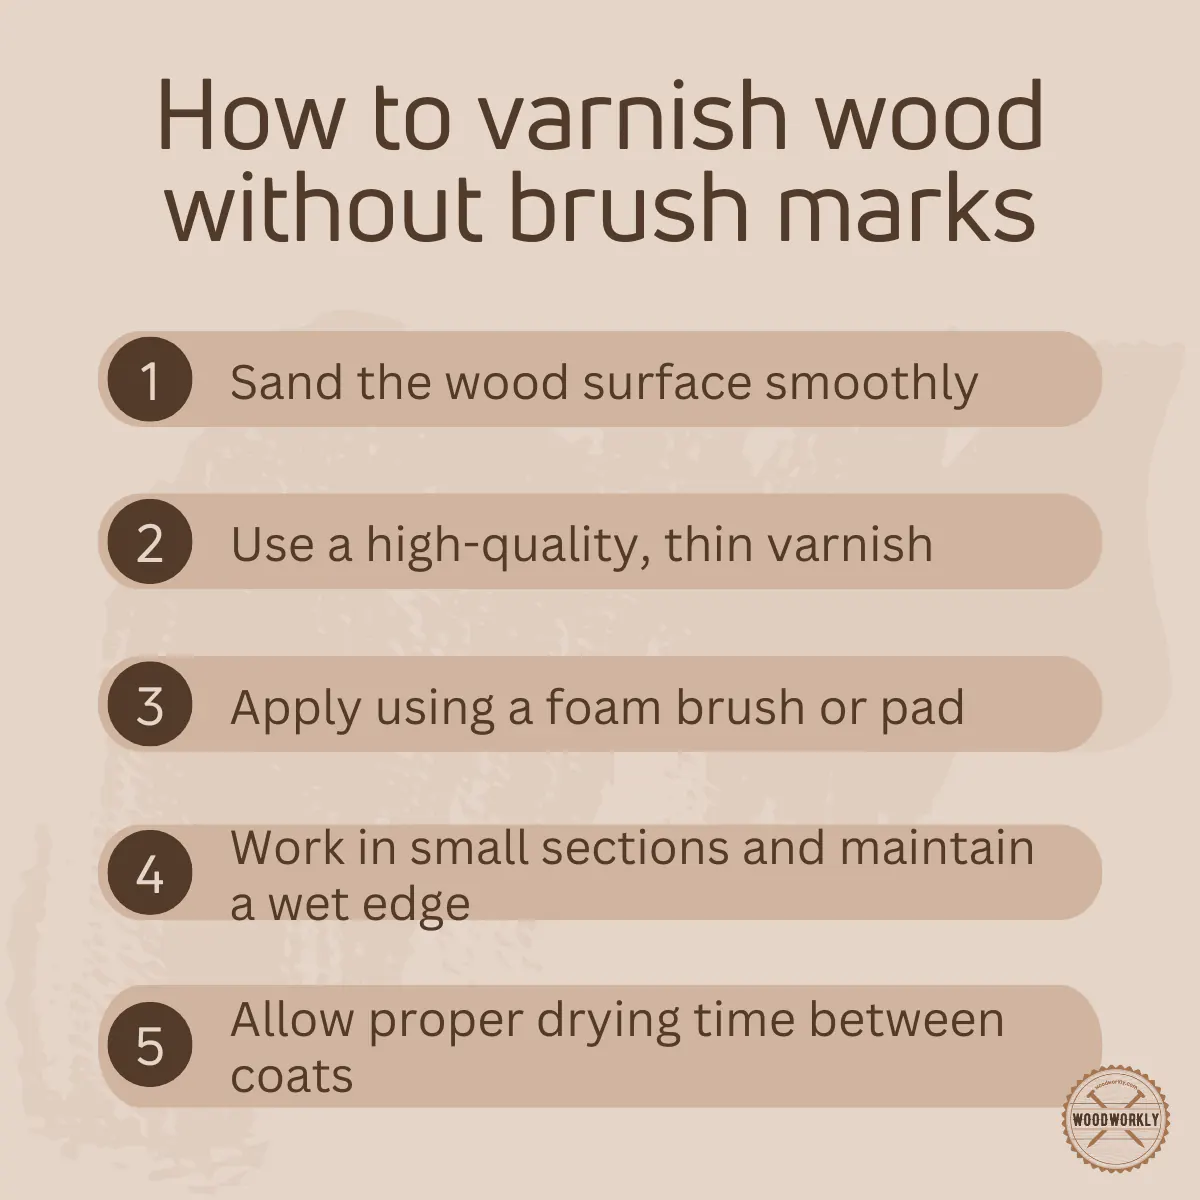
To apply varnish without brush marks, thin varnish with about 50% of mineral spirits. Hold the brush at a 10-degree angle to the surface and apply varnish along the wood grain. Let each coat dry well and sand lightly between each coat to get a smooth varnish finish without brush strokes.
But there’s more to know!

So, in this article, I’ll explore how to apply varnish without brush marks in detail, how to remove brush strokes from varnish, the best brushes for a smooth varnish finish and so much more.
Furthermore, I’ll answer frequently asked questions as well.
Let’s jump in!

Apply Varnish Without Brush Marks
You can apply varnish on any wood surface or furniture by thinning each coat of varnish with mineral spirit before the application.
You should mix each coat of varnish with different ratios of mineral spirits to make the surface smoother.
Handling the brush using angle and proper application techniques gives you a clear varnish surface with no brush strokes.
There’re two main parts you need to follow when applying varnish,
- Thin Varnish with mineral spirit
- Apply thinned Varnish mixture
Both of the above steps need to be followed to get a clear varnish finish with no brush strokes.
First, let’s have a look at what supplies you will need to apply varnish without brush marks,
Supplies You Will Need to Apply Varnish
- Varnish
- Bristle paint brush or synthetic brush for oil-based varnish
- Synthetic bristles for water-based varnish
- Mineral spirit
- Glass jar
- Measuring cup
- Clean stick for mixing
- Clean lint-free rags
- Tack cloth
- Wood surface or furniture
- 80 grit sandpaper
- 180-grit sandpaper or sanding block
- 220-grit sandpaper or sanding block
Yes, there are so many supplies you will have to use for both thinning process and the application process of varnish to get your desired finish with an enhanced look.
Here’s the list of steps you need to follow when applying varnish on wood without brush marks,
How To Apply Varnish Without Brush Marks?
- Clean the glass jar
- Pour a sufficient varnish amount
- Add mineral spirit
- Stir and mix varnish and mineral spirit
- Make and store thinned varnish mixture
- Clean the wood
- Sand the wood surface
- Apply thinned varnish
- Let the coat dry well
- Lightly sand before the next coat
- Apply next coat
So, let’s discuss each of the above 11 steps in detail to get a better and clear idea about how to apply varnish without brush strokes.
1. Clean the Glass Jar
We use a glass jar as the container to mix varnish with mineral spirit.
Here we don’t use a plastic container to thin varnish because it is difficult to see the reaction medium and pouring measured amounts can be hard to see in a plastic container.
Cleaning a glass jar is extremely important because if you use a glass jar without cleaning, contaminants can mix with varnish and may give you a bad finish.
It is the place where varnish meets mineral spirit and a reaction happens.
To thin varnish using mineral spirits, the reaction medium needs to be well-cleaned and free of dust and dirt.
Clean and remove dust, dirt, grease, and any other interferences in the glass jar using warm soap water.
You can remove stains and other oily substances by wiping them off using alcohol.
Read to know whether you can stain over varnish!
After cleaning the glass jar let it dry well before moving on to the next step.
2. Pour a Sufficient Amount of Varnish
Now open the varnish can and take a sufficient amount of varnish to the measuring cup. Make sure to take enough varnish amount to apply the first coat of finish.
Take the measurement reading into a notebook because in the next step, we have to take an equal amount of mineral spirit as varnish.
Then pour the varnish that was taken to the measuring cup into the glass jar slowly without letting air bubbles get inside.
Air bubbles are so hard to remove once they go inside the varnish.
Better to add little amount of varnish according to the area of your wood surface because that helps to make a thin coat of varnish that absorbs efficiently and dries quickly without making the surface blotchy or tacky.
Make sure to keep the glass jar away from dust since if dust gets embedded with varnish you’ll probably end up with a dull finish with no proper protection from outside elements.
You’ll have to reprepare the project again.
Clean the measuring cup with a tack cloth well before moving on to the next step.
3. Add Mineral Spirit
Now open the mineral spirit can and take the same amount of varnish to the measuring cup.
To apply varnish without brushing marks, you need to thin the first coat of varnish by mixing equal amounts of varnish into the mineral spirit.
Therefore take 50% of varnish and 50% of mineral spirit for the first coat.
After taking an equal amount of mineral spirit as varnish pour that into the glass jar without letting air bubbles go inside.
If you’re willing to spray varnish, better to use the varnish layer as light as possible.
Therefore, adding a mineral spirit of a little more than 50% is accepted according to the application type.
But in this case of applying varnish by brushing, make sure to apply equal amounts of varnish and mineral spirit for a better finish.
4. Stir The Mixture
Now take the clean stick and stir the varnish and mineral spirit mixture for about 10 minutes slowly.
Make sure to maintain an even slow speed when mixing and follow the figure 8 motion of stirring. Stirring too fast can form bubbles in the varnish mixture. Never shake the glass jar during mixing since shaking can cause the formation of air bubbles.
If the air bubbles are trapped inside, you’ll have to remove them using a stir as soon as possible before they travel deep into the mixture.
It is extremely difficult to remove them once the varnish coat is set.
When you’re stirring the mixture, varnish reacts with mineral spirit ingredients, and the thinning process of varnish initiates.
After a couple of minutes, you’ll get thinned varnish mixture that is ready to take wood surface.
5. Make and Store Thinned Varnish Mixture
Once you get thinned varnish mixture slowly mix varnish and mineral spirit in a glass jar close the lid and keep it in a safe place until you prepare the wood surface for varnishing.
If you have selected oil-based varnish, mix a sufficient amount of varnish with 10 – 50% of mineral spirit to get a thin solution for better penetration and cause fewer troubles during the application process.
But if you select water-based varnish, most of them are difficult to thin and you’ll have to follow the manufacturer’s instructions on the label for the thinning process since it may vary on the manufacturer.
Now it’s time to make the wood ready to apply varnish properly with no mistakes.
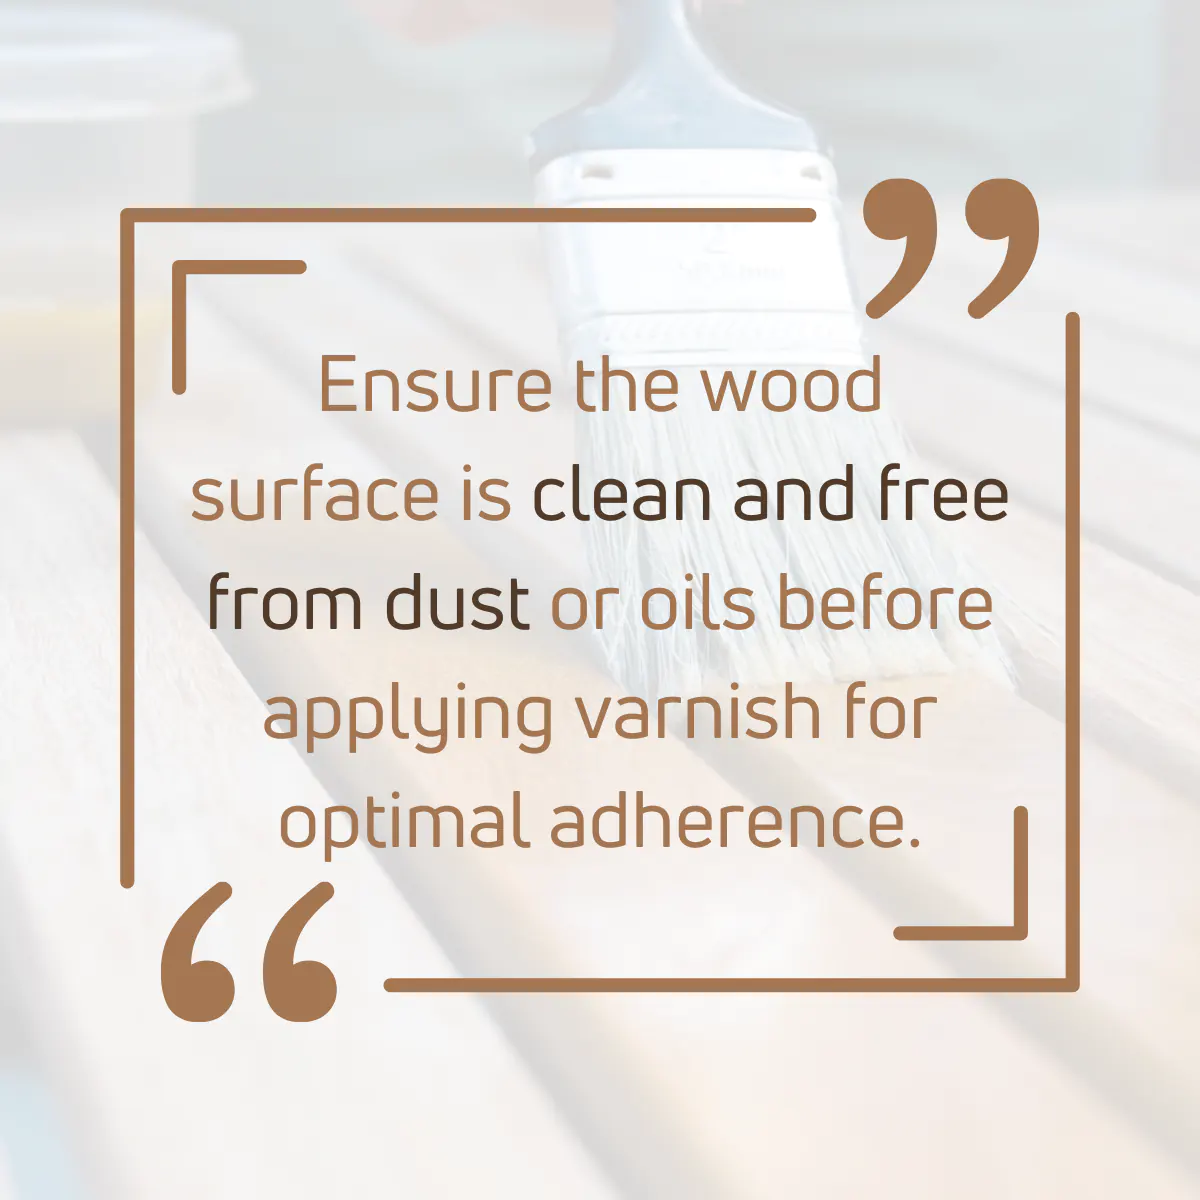
6. Clean The Wood
Take wood furniture or your woodwork to a well-ventilated area since good air circulation is useful for fast and efficient drying and to avoid irritations due to sawdust and varnish odor.
65 – 80 degrees temperature levels are best to apply varnish with moderate humidity.
Then clean the whole wood surface using tack cloths and rags to eliminate dust and debris.
Dust can be a huge problem when finishing with varnish since it can reduce the performance of varnish coatings and give a dull appearance to the wood surface.
Dust can be a reason to end up with a blotchy varnish surface since it blocks the varnish from setting on the wood.
If the cleaning is difficult with rag or tack cloths, wipe down the surface using soapy water to remove dust and dirt better.
Make sure to let the surface dry well before moving on to the next step.
7. Sand The Wood Surface
After cleaning and drying the wood properly, it is time for sanding to smoothen the surface to make the surface ready to take a varnish.
First sand the entire wood surface with coarse 80 grit sandpaper to level the surface. 80-grit sandpaper is tough and coarse.
It can eliminate surface imperfections and make it even.
Sand the surface by applying even pressure on sandpaper to avoid surface randomness.
Then do the light sanding with a 180-grit sanding block to smoothen the surface and make it ready to take varnish extremely well with no issues.
Then go for 220-grit sandpaper to get a super smooth, splinter-free surface.
Sand along the direction of the wood grain to avoid the wood surface from scratching.
Sanding helps to open pores structures of the wood surface and make them ready to absorb varnish.
Once you are done with sanding, remove sawdust using tack cloths and a proper dust collection pipe system to make the surface clean and smooth to take varnish coats.
8. Apply Thinned Varnish
Now take the stored glass jar, open it carefully and do the stirring again slowly with a clean stir stick for better mixing.
Before dipping bristle brush on varnish, immerse it in mineral spirits (for oil-based varnish) or water (for water-based varnish) and remove excess by shaking it off.
This priming method helps to clean the brush and makes it easier to work with.
Then dip the bristle brush lightly in a glass jar and load it with a sufficient amount of thinned varnish. In order to prevent rips and runs of varnish, dip only the tip of the bristle brush.
Don’t dip more than half the length of the bristle for better application.
Don’t drag the bristle brush inside the glass jar since it can form air bubbles and cause a lot of trouble.
Press the bristle brush against the varnish to get the necessary amount and remove the excess.
After taking the necessary amount of varnish to the bristle brush, apply it along the entire wooden surface along the direction of the wood grain for better absorption without making drips and runs.
Better to start varnishing from edges, and corners and then move into the flat surfaces for better penetration and to clean spillovers easily. Never drag the bristle brush against corners and edges since that can leave brush marks.
Make sure to apply varnish with even pressure to avoid random varnish thickness with a tacky surface.
Hold the brush at a 10-degree angle with the surface and work along the wood grain.
Angle the bristle bush slightly and face down during the application brush outward towards the nearest corner and then brush to another corner along the opposite direction.
Hold the brush at a steep angle and drag lightly along the surface. When you’re varnishing check for imperfections and do the varnish again for those areas by tipping off.
Then lightly preen varnish to remove runs and drips and to get a nice and smooth surface without brush strokes.
To varnish flat wood surface, dip the varnish so little on a glass jar and load it with varnish.
Then start from one end and pull the bristle brush slowly along the wood until the very end.
This prevents of appearing brush strokes on the surface.
Then move backward slowly to cover another area with a varnish coating. Increase the bristle brush angle to make the varnish finish flow smoothly without making thick patches on the surface.
Make sure to prevent bristles from crawling down the edges and corners since that doesn’t give a flawless finish.
Make sure to apply varnish along the direction of the wood grain, never drag the bristle brush along corners and edges, and spread runs evenly with a lightly loaded bristle brush to apply varnish without brush marks.
This is how you should apply the first coat of varnish properly without forming brush marks on the surface.
This is how you should repeat the application process for the second and third coats as well.
9. Let The Coat Dry Well
After applying the first coat of varnish without brush marks you need to let the coat dry well before applying the next coat.
Let the first coat of varnish dry and cure overnight for 24 hours. If you live in an area with high environmental humidity, the varnish coat may take more than 24 hours to dry completely.
However, you must wait until the first coat of varnish dries completely before moving on to the second coat because if you apply varnish when the surface is tacky or sticky, that’ll probably cause surface blotchiness.
10. Lightly Sand Before Next Coat
After applying the first coat of varnish, let it dry completely and do a light sanding with 320 grit sandpaper to remove dust nibs and provide excellent adhesion for the next varnish coat.
Make sure not to sand forcefully because that can scratch and damage the first coat of varnish and there’s a high possibility of forming sanding marks.
Sanding between varnish coats helps to smoothen and give a nice appearance to the wooden surface.
Plus, don’t scuff sand through corners and edges to avoid the varnish layer from peeling off.
Sand along the direction of the wood grain for better sanding and to get a good outcome.
After sanding clean the surface well with clean cloths to remove excess varnish residue and dust.
11. Apply the Next Coat of Varnish
Now for the second coat of varnish, you should take 75% of the varnish with 25% of mineral spirit and mix them slowly in a glass jar to make thin varnish.
Here we have used less amount of mineral spirit than the first coat to improve the varnish performance and for better adhesion.
Then apply the second coat of varnish over the first coat using the same brushing technique as discussed above.
Make sure to avoid runs and drips and apply varnish using the correct brush angles without forming brush marks.
After applying the second coat of varnish, let it dry and sand the whole surface again with 320 grit sandpaper.
Then clean the surface and apply another two coats of varnish over the wooden surface without mixing them with mineral spirit.
That means final coats of varnish should apply un-thinned.
This is to improve the adhesion and to make the best protective layer outside of the wood to make a shield to protect the wood from environmental attacks like moisture, UV light, and insect attacks.
After applying the final coat of varnish do the sanding with 600 grit sanding block to level the varnish coating without imperfections and to remove brush strokes.
Rubbing with steel wool or 600 grit sanding block gives glossier look, even sheen with improved protection from environmental elements.
Apply a total of 4 coats of varnish on the wooden surface to get a good protective finish with an enhanced wood appearance.
Optionally, Apply a wax coat over varnish coatings for a better finish.
Now you know how to apply varnish without brush marks.
You just have to follow the brushing techniques, tips, and thinning process as we discussed above. Clear flawless varnish is the goal to achieve.
Tips For Applying Varnish Without Brush Marks
- If you’re new to varnish, better to start with a new project because you’ll have to work faster to cover the wooden surface before the coat dries.
- Select a well-ventilated area for the varnish job for avoiding breathing issues and dry faster.
- 650 to 800 is the best temperature range to apply varnish
- Apply varnish in moderate environmental humidity
- In a cold environment, drying time is too slow and in a heated environment, the varnish coat tends to dry faster before leveling the surface
- Do the varnish in a light environment to easily monitor missed areas during the process
- Use triangular sticks and screws to keep the wood steady and for support.
- Make sure your work area is free of bugs because they get trapped on sticky varnish layers
- Don’t overload the brush with varnish
- Tip-off the surface after the application
- Never let drips and runs appear
- Brush outward an edge or corner
How Do You Remove Brush Strokes From Varnish?
Usually, brush strokes appear on a varnish finish because of not smoothing the coat after each layer of finish.
After applying each coat of varnish, let it dry and smoothen and level the surface by sanding lightly with 320 grit sanding block and the final coat with 600 grit sanding block to have a clear varnish coat without brush strokes.
But what if you already got brush strokes and you didn’t smoothen the surface after each coat of varnish?
This solution is for you,
You can remove brush strokes from varnish by wiping the varnish surface with a clean tack cloth after dipping it into mineral spirits.
Varnish will be thinned and dissolved in a mineral spirit and brush marks will be gone.
Then brush along the direction of the wood grain without dragging or pressing the bristle brush along corners and edges and spread the varnish evenly without forming brush marks.
Finally, let the varnish coat dry and cure properly and sand the topcoat of varnish with 600 grit to level the coating with a super smooth flawless finish with no brush marks.
Or you can hide brush marks by sanding the brush marks lightly with 320 grit sandpaper with even pressure.
Then clean the surface with a tack cloth and apply a thin coat of varnish evenly throughout the wood surface along the direction of the wood grain without forming brush marks.
Then sand the surface lightly.
Following the above procedures carefully, you’ll be able to remove brush marks from varnish coatings and let the desired finish as you wish.
How Do You Get A Smooth Finish With Varnish?
Follow below simple steps to get a smooth finish with varnish,
- Clean and sand the wood surface before varnishing
- Thin varnish by mixing equal volumes of varnish and mineral spirit
- Apply the first coat of varnish along the wood grain without dragging the brush
- Let the coat dry well for 24 hours
- Sand and remove brush strokes with 320 grit sandpaper
- Thin varnish by mixing 75% of varnish with 25% of mineral spirit
- Apply a second coat of varnish
- Let the coat dry well and sand
- Apply the final two coats of varnish without thinning.
- Let the coat dry well
- Sand the final varnish coat with 600 grit sandpaper to get a flawless, smooth, and glossy finish
Those are the simple steps you need to follow to apply varnish properly without creating a mess.
Over time, you’ll be a pro at varnishing. So, start with a simple project before focusing on the big one.

Selecting Brushes for Varnish
Using a quality brush for your varnish job is important to varnish without making any trouble.
Your brush should have the ability to load a high amount of varnish and release most of them evenly on the surface without making brush marks.
You need to select a brush according to the type of varnish you’re going to use for the job.
Here’s how you should select a brush based on your varnish type,
Brush For Oil-Based Varnish
- Use a natural bristle brush like a China bristle brush or a Synthetic brush made with nylon or polyester
- Select a brush with flagged tips
- Chisel edge brush for normal use
- Use a soft bristle brush for a smooth finish
- Use a sash brush for corners and edges
Brush For Water-Based Varnish
- Only use a Synthetic brush made with nylon or polyester
- Chisel edge brush for normal use
- Use a soft bristle brush for a smooth finish
- Use a sash brush for corners and edges
Never use a bristle brush for water-based varnish since water will splay the natural bristle brush.
Best Brushes for Varnish
There’re so many different types of brushes that do a great job in varnish to provide a flawless finish with no brush strokes.
The brush needs to be soft, easy to use, and able to apply varnish evenly over the surface.
Here’re some best brushes for varnishing,
- Liquitex Professional Freestyle Brush
- Royal Brush Golden Paint Brush
- Purdy Ox-Hair Brush
- Magimate Large Brush
Use any of the above brushes or use an inexpensive but quality brush to spread varnish well without leaving brush strokes.
How To Apply Spar Varnish Without Brush Marks?
Here’re some simple steps to apply spar varnish without brush marks,
- Clean and sand the wood surface before Spar varnishing
- Thin Spar varnish by mixing equal volumes of Spar varnish and mineral spirit
- Apply the first coat of Spar varnish along the wood grain
- Overlap the previous stroke by half when applying Spar varnish
- Let the coat dry well for 24 hours
- Sand and remove brush strokes with 320 grit sandpaper
- Thin Spar varnish by mixing 75% of Spar varnish with 25% of mineral spirit
- Apply the second coat of varnish
- Let the coat dry well and sand
- Apply the final two coats of Spar varnish without thinning.
- Let the coat dry well
- Sand the final varnish coat with 600 grit sandpaper to get a flawless, smooth, and glossy finish
As you can see you can apply spar varnish without brush marks by thinning spar varnish with mineral spirit and apply with a bristle brush along the direction of the wood grain, overlapping the previous strokes by half.
By following the above procedure, you can apply flawless spar varnish without forming surface blotchiness, bubbles, or brush strokes.
How Long Do I Wait Between Coats Of Varnish?
You should wait at least 24 hours between each coat of varnish until the coat dries and cures well.
Do varnish in ventilated are with 600 to 800 temperature levels under moderate humidity to dry varnish coats quicker.
Cold climates slow down the drying time of varnish coats and hot climates speed up the drying time.
When the environmental humidity is high, varnish coats may take more than 24 hours to dry completely because of the slow evaporation of moisture.
You should wait until the previously applied coat dried completely before applying another coat of varnish.
If you apply varnish while a previous coat of varnish is wet, you’ll probably end up with a tacky or blotchy surface that won’t dry quite well.
Same as regular varnish, you should wait for 24 to 36 hours to dry between each coat. this can vary on temperature levels, humidity, and the thickness of varnish coats.
Thin varnish coats dry faster than thicker ones because thick coats have higher moisture content and take more time for the evaporation process.
That’s it, folks! Now you know how to apply varnish without brush marks with super easy 11 steps. Hope you have covered everything so well.
So, let’s answer some related questions.
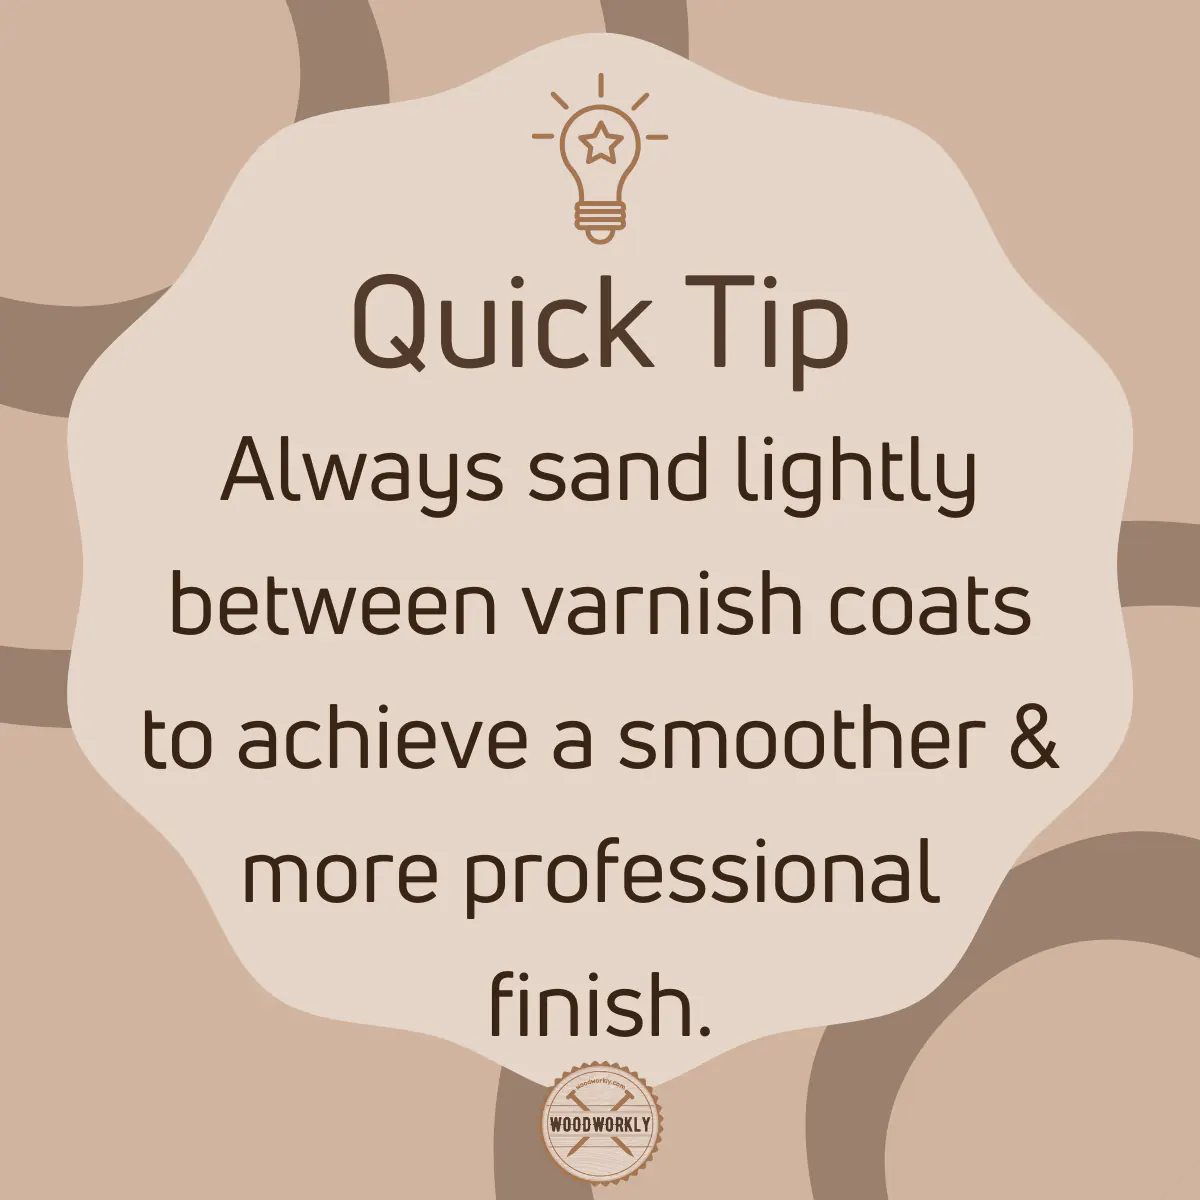
Should I Sand Between Coats of Varnish?
Yes, you should sand between coats of varnish with fine grit to remove brush strokes, smoothen the surface, and get a glossier look. Sanding between coats is helpful for the next varnish coat to adhere well to the surface and to level the surface.
Do the sanding between each coat of varnish using 320 grit sandpaper lightly. Sand with even pressure along the direction of the wood grain to sand without making scratches.
Light sanding is highly recommended since sanding with force can damage the previous varnish coats.
The final coat of varnish should sand with 600-grit sandpaper to get a super smooth finish with a glossier look.
You should sand between spar varnish coats as well using 320-grit sandpaper to eliminate drips and runs to get a flawlessly smooth finish with no brush strokes.
How To Remove Brush Marks from Polycrylic?
To remove brush marks from the polyacrylic surface, resand the surface with 220 grit sandpaper and reapply polycrylic properly along the wood grain slowly without dragging the brush and overlapping the previous strokes by half.
Make sure to do the sanding lightly because forceful sanding can cause lots of polycrylic errors like forming uneven polyurethane finish.
Tip: Polycrylic and polyurethane both are the same.
How To Apply Varnish With A Rag?
You can apply varnish with a rag by folding a cotton rag and dipping it into a varnish container.
Then take enough varnish and apply it all over the surface along the direction of the wood grain by wiping and overlapping previous strokes about a half.
Wiping with a rag takes more time than brushing but wiping doesn’t make brush marks and you’ll be able to get a thin smooth finish easier than the brushing method.
The wiping method seconds only to the spraying varnish method.
So, let’s answer some frequently asked questions.
FAQs
What is the best tool to apply varnish without leaving brush marks?
Using a high-quality, natural-bristle brush ensures a smoother finish. Alternatively, foam brushes or a spray system can help achieve a mark-free finish.
Does the type of varnish impact brush marks?
Yes, high-viscosity or thicker varnishes are more prone to leaving brush marks, so consider a thin application or using a varnish designed for easy application.
How can I reduce brush marks when applying varnish?
Maintaining a wet edge and applying varnish in thin layers, allowing each layer to dry completely before the next, reduces the appearance of brush marks.
How important is sanding between varnish coats?
Lightly sanding between coats using a fine-grit sandpaper helps eliminate brush marks and ensures a smooth final finish.
Why do I see bubbles or foaming when applying varnish?
Overworking the varnish or shaking the can too vigorously can introduce air, causing bubbles. Apply gently and avoid excessive brushing.
Can I use a roller to apply varnish?
Foam rollers can be used for large surfaces, but ensure it doesn’t introduce bubbles. Brushing might still be required for edges and corners.
Is there a way to fix brush marks after the varnish has dried?
Yes, once the varnish is dry, you can lightly sand the surface with fine-grit sandpaper and apply a thin, even coat over it.
Did I cover all you wanted to know about: How to Apply Varnish Without Brush Marks
In this article, I have deeply talked about how to apply varnish without brush marks with simple 11 steps and answered almost all the possible questions that raise when varnishing furniture or woodwork and how to get smooth flawless varnish with an enhanced look.
To apply varnish without brush marks, use a high-quality natural-bristle brush or foam brush. Apply thin layers in the direction of the wood grain, maintaining a wet edge. Sand lightly between coats with fine-grit sandpaper. Ensure moderate temperature and low humidity for best results. Avoid overworking the varnish to prevent bubbles.
Furthermore, I’ve answered some frequently asked questions as well.
Hope you have gained good knowledge about varnishing any woodworking project without forming brush strokes.
Try to finish your net woodworking project with varnish using the steps that we have talked about above and repeat the process until you become a pro at finishing wood!