Ever wondered how to perfect that shellac finish? Can sanding between coats be the secret? Dive in to unveil the magic!

Venturing into the world of woodworking, I remember the curiosity that bubbled within me about the nuances of finishing, particularly when using shellac on projects like my dining table.
“Should I sand between coats of shellac? If so, which sandpaper grit is ideal?”
These were questions I grappled with, and after diving deep into research and consulting with wood finishing experts, I’ve discovered the ins and outs of sanding between shellac coats.
So, let’s figure out Is it necessary to, Sand between coats of shellac.
You can sand between coats of shellac to enhance adhesion and smoothness. Use 180-220 grit sandpaper for the first coat and 320-400 grit for subsequent coats. Always sand in the direction of the wood grain and ensure each coat is dry before sanding.
But that’s a quick snapshot and there’s a lot more to know about sand between coats of shellac.

In this article, I’ll explore whether should you sand between coats of shellac, what grit sandpaper should you use, how to sand between shellac coats, and many more.
Furthermore, I’ll answer some frequently asked questions as well.
Let’s jump in!
Should I Sand Between Coats Of Shellac?
Yes, you should sand between coats of shellac to remove flaws, nibs, defects, and surface imperfections and to help the next coat stick well onto the surface.
Sanding improves the surface adhesion and helps the next coat of shellac bond well, making one layer.
Light sanding is recommended between coats of shellac to make the surface smooth and clearer without damaging the previous coat of shellac.
Coarse grit sandpaper can damage the shellac coat and make the surface look ugly and unprotected.
If you do forceful sanding with coarse grit sandpaper, burns may occur, and the surface will get an unpleasant appearance.
The main purpose of sanding between shellac coats is to remove surface imperfections. Don’t over sand or sand with a lot of force.
Sanding between wood finishing coats is not only unique to shellac. Varnish, lacquer, and all other finishes need to sand between coats to eliminate nibs and surface imperfections and make the surface super smooth.
Apply thin coats of shellac to minimize drips, runs, and nibs because thick coats of shellac take a lot more time to dry and cure.
Plus, they tend to make the surface look tacky and splotchy.
Sanding between shellac films eliminates surface blemishes and makes the next shellac coat easy to bond with the coat underneath by making one layer.
Properly applied shellac coats help to protect the wood surface from water damage, and rotting, prevent cracks and splits when drying, and seal the wood perfectly from the outside world.

Do You Sand The Final Coats Of Shellac?
Yes, sand the final coats of shellac with 180 to 220 grit or finer sandpaper to remove drips, flaws, and surface imperfections and make the surface nice and smooth for a clearer finish.
Sanding the final coat of shellac is optional because the previous shellac coats were smoothened by sanding, and they need to have good adhesion to stick well with the next coat.
But the final coat doesn’t really need good adhesion. Therefore, sanding the final coat is not much needed.
Sanding improves surface adhesion and makes the final coats of shellac stick well with the previous coats.
Sand along the direction of the wood grain using fine-grit sandpaper to prevent previous coats from scratching.
Apply even pressure on sandpaper during the process to make the surface even and clear.
Make sure to clean the surface well with lint-free yack cloth after sanding to remove dust because the finish may get blotchy if the dust particles are trapped inside.
What Grit Sandpaper Should You Use Between Coats Of Shellac?
Make sure to use fine grit sandpapers to sand between coats of varnish to remove surface imperfections and to improve surface adhesion without damaging the shellac coats and wood surface.
The first coat of shellac should sand with 180 to 220 grit sandpaper to remove flaws and make the surface adhesive for the next coats.
Second and third coats of shellac should sand with 320 to 400 grit sandpaper to smoothen the surface and improve the adhesion properties to stick well with final coats.
The final coat of shellac sand with 180 to 220 grit sandpapers to polish the surface and to get a super smooth clearer finish. But sanding the last layer of shellac is optional.
Make sure to sand lightly over all the coats with even pressure to prevent previous coats of shellac or wood surface from damaging.
As a summary, here’s the list of sandpapers you need to use for each coat of shellac.
| Shellac Coat | Sandpaper Grit |
| 1st Coat of Shellac | 180 grit – 220 grit sandpaper |
| 2nd and 3rd Coats of Shellac | 320 grit – 400 grit sandpaper |
| Final Coat of Shellac | 180 grit – 220 grit sandpaper |
Never do forceful sanding because it burns the previous shellac coat and creates a solid mass with an ugly appearance.
How To Sand Between Coats Of Shellac?
Sand between coats of shellac along the direction of the wood grain without scratching the surface with even pressure on the sanding block.
After applying a coat of shellac let it dries first completely for around 4 hours and sand with finer grit sandpaper to remove flaws, drips, and runs and make the surface clearer.
Never sand the coat of shellac before it dries completely because that will clog the sandpaper and damage the shellac coats and you’ll obviously end up with a blotchy surface.
Shellac coats dry quickly if your workplace has good ventilation with proper air circulation.
700F is the optimal temperature and 50% humidity is great for the fast drying of shellac coats.
Make sure to select quality sandpapers when sanding to get a quality outcome. Do the sand gently not against the wood grain.
Now you have a clear idea about sand between coats of shellac to get a super smooth finish with your desired look.
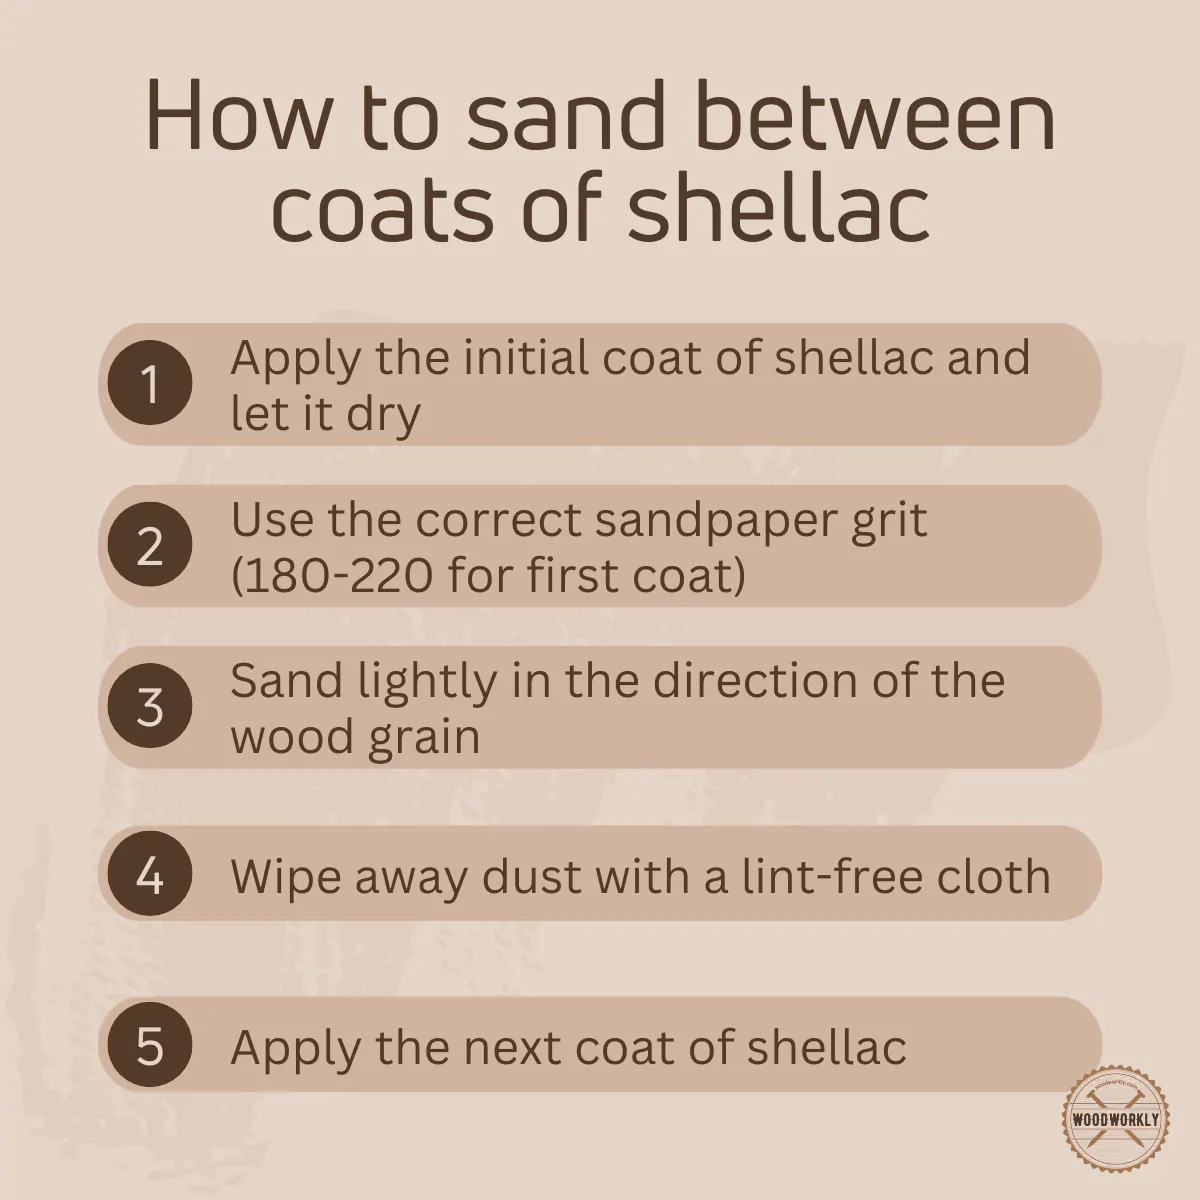
Overall, here’re the steps you need to follow when sanding between coats of shellac,
- Apply the initial coat of shellac.
- Let it dry completely.
- Choose the correct sandpaper grit (180-220 for first coat).
- Sand lightly in the direction of the wood grain.
- Wipe away dust with a lint-free cloth.
- Apply the next coat of shellac.
- Repeat steps 2-6, using 320-400 grit for subsequent coats.
- Optional: Sand the final coat for a smoother finish.
How Long Should Shellac Dry Between Coats?
Shellac should dry for 2 to 4 hours between coats. The drying time of shellac costa can vary on environmental humidity and temperature levels.
Let the previous coat of shellac dries completely to apply the next coat.
If you live in an area with high humidity, shellac coats dry slower due to poor moisture evaporation speed.
It may take around 12 hours to dry between coats of shellac.
Same as, in fewer humidity environments, shellac coats dry within 2 hours, and you can do the sanding and apply another coat of shellac in less amount of time.
Never apply another coat of shellac before the previous one dries completely because that can lead to surface blotchiness.

How Many Coats Of Shellac?
For best results, apply 4 coats of shellac on the wood furniture and woodwork. Shellac protects wood from environmental elements such as water, rotting, scratches, and decaying.
Plus, it will enhance the natural color of the wood.
Make sure to apply thin coats of shellac to achieve fast and efficient drying without getting a tacky surface.
Let each coat of shellac dry well between coats and light sanding helps to smoothen up the surface for a clearer finish.
Let the final coat of shellac dry and cure for 24 hours and keep for 3 days before using it.
Tips To Sand Shellac Between Coats
- Use fine grit sandpapers to sand shellac between coats
- Do the sanding with even and less pressure without damaging the coat
- Let the previous coat dry well before sanding
- Sand along the direction of the wood grain
- Sanding the first coat of shellac is a must and the final coat is optional
- Apply 4 coats of shellac to get the desired outcome
- Use quality sandpapers from branded manufacturers
That’s it folks! Now you know is it necessary to sand between coats of shellac and how to do that properly.
So, let’s answer some frequently asked questions.
FAQs
Why is it important to sand between coats of shellac?
Sanding between shellac layers enhances coat adhesion, providing a smoother, more consistent finish. By removing flaws and surface imperfections, each subsequent coat bonds better, ensuring longevity and clarity.
What sandpaper grit should be used between shellac coats?
For optimal results, begin with 180 to 220 grit for the first coat, followed by 320 to 400 grit for the second and third coats. The final coat, if sanded, should revert to 180 to 220 grit.
Is sanding the final coat of shellac necessary?
While sanding the final coat enhances surface adhesion and clarity, it’s optional. The primary purpose of sanding is to promote adhesion between coats, a factor not essential for the final layer.
How long should one wait between shellac coats?
Allow shellac to dry for 2 to 4 hours between coats. However, environmental factors, such as humidity, can alter drying times, sometimes requiring up to 12 hours.
How many coats of shellac are typically applied?
For the best protection and aesthetics, apply four thin coats of shellac. This not only guards against environmental damages but also amplifies wood’s natural beauty.
Which direction should sanding occur in relation to the wood grain?
Always sand along the direction of the wood grain. This method minimizes the risk of scratches and maintains the wood’s aesthetic integrity.
What’s the risk of forceful sanding or using coarse-grit sandpaper?
Over-sanding or using coarse sandpaper can damage the shellac layer, resulting in burns, an unpleasant appearance, and a compromised finish.
What conditions are optimal for shellac drying?
A well-ventilated workspace with a temperature around 70°F and 50% humidity typically offers ideal conditions for shellac drying.
What happens if shellac is sanded before it’s completely dry?
Sanding undried shellac can clog the sandpaper and damage the coating. This often leads to a blotchy and uneven finish.
Any quick tips for sanding between shellac coats?
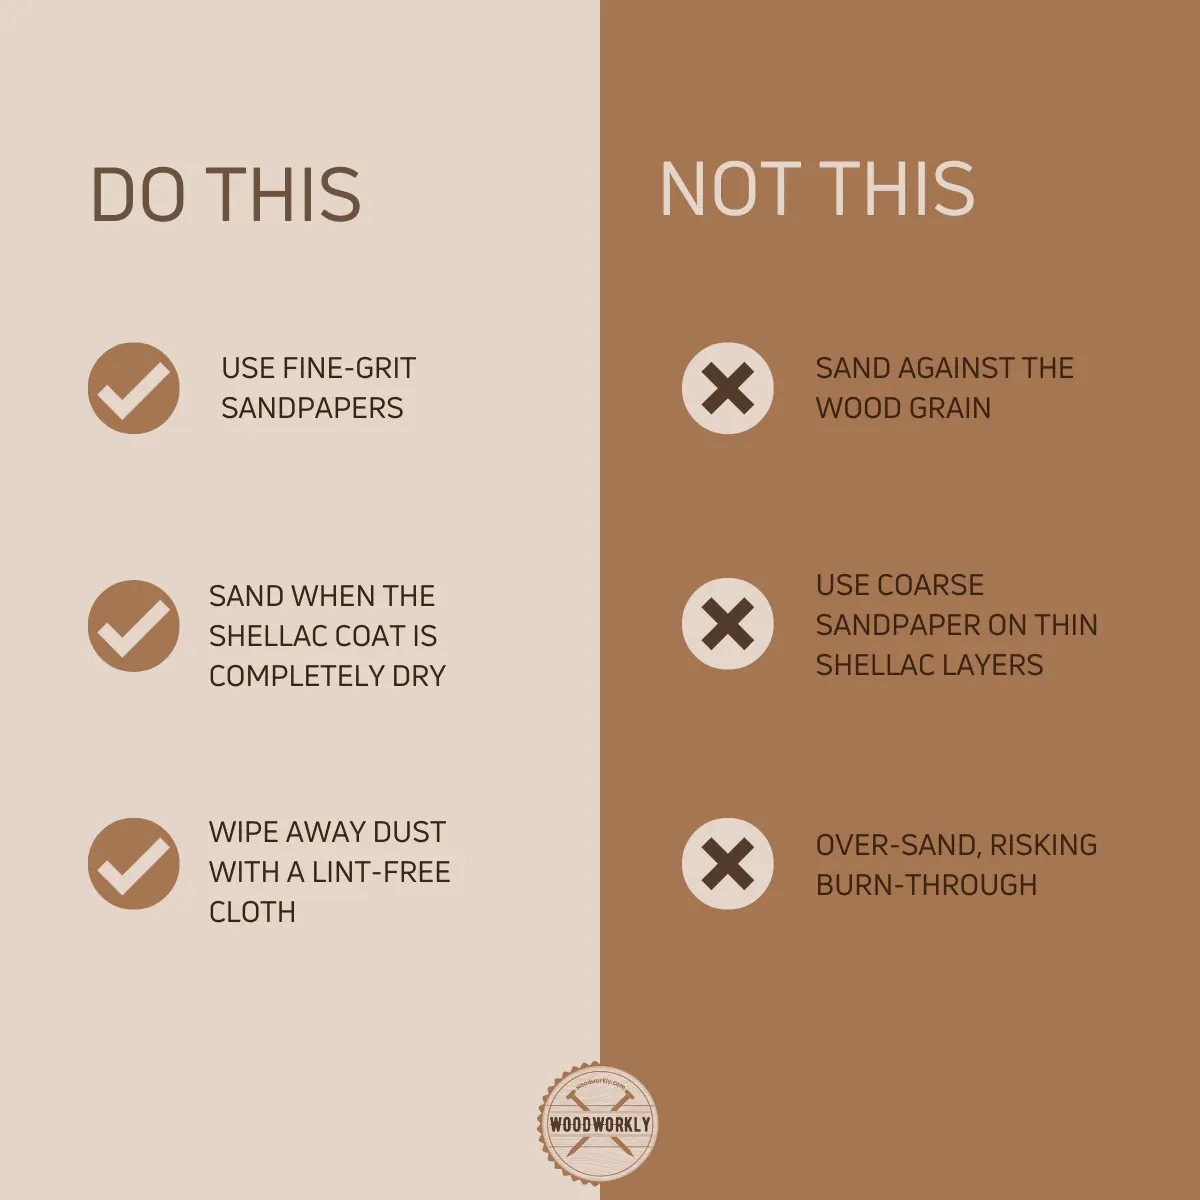
Use fine-grit sandpapers, ensure previous coats are dry before sanding, and always move with the wood grain. Quality sandpaper and gentle, even pressure are key to preserving the integrity of both the shellac and wood.
Did I cover all you wanted to know about Sand Between Coats Of Shellac?
In this article, I have deeply discussed sand between coats of shellac and how to sand between coats without damaging the surface and to get the smooth surface we wish.
Sand between coats of shellac is necessary to improve the adhesion of the previously applied coat of shellac. Sanding helps the next shellac coat bond well to the previous coat. Light sanding between coats of shellac is recommended with 320 to 400 grits. Sanding between shellac coats removes nibs, and imperfections and provides a clearer finish.
Furthermore, I’ve answered some frequently asked questions as well.
Hope you have gained good knowledge about sand between coats of shellac and how to do that perfectly without creating a mess.
Try to apply shellac on your next woodworking project and do the sanding as we discussed to get a smoother finish with no imperfections.