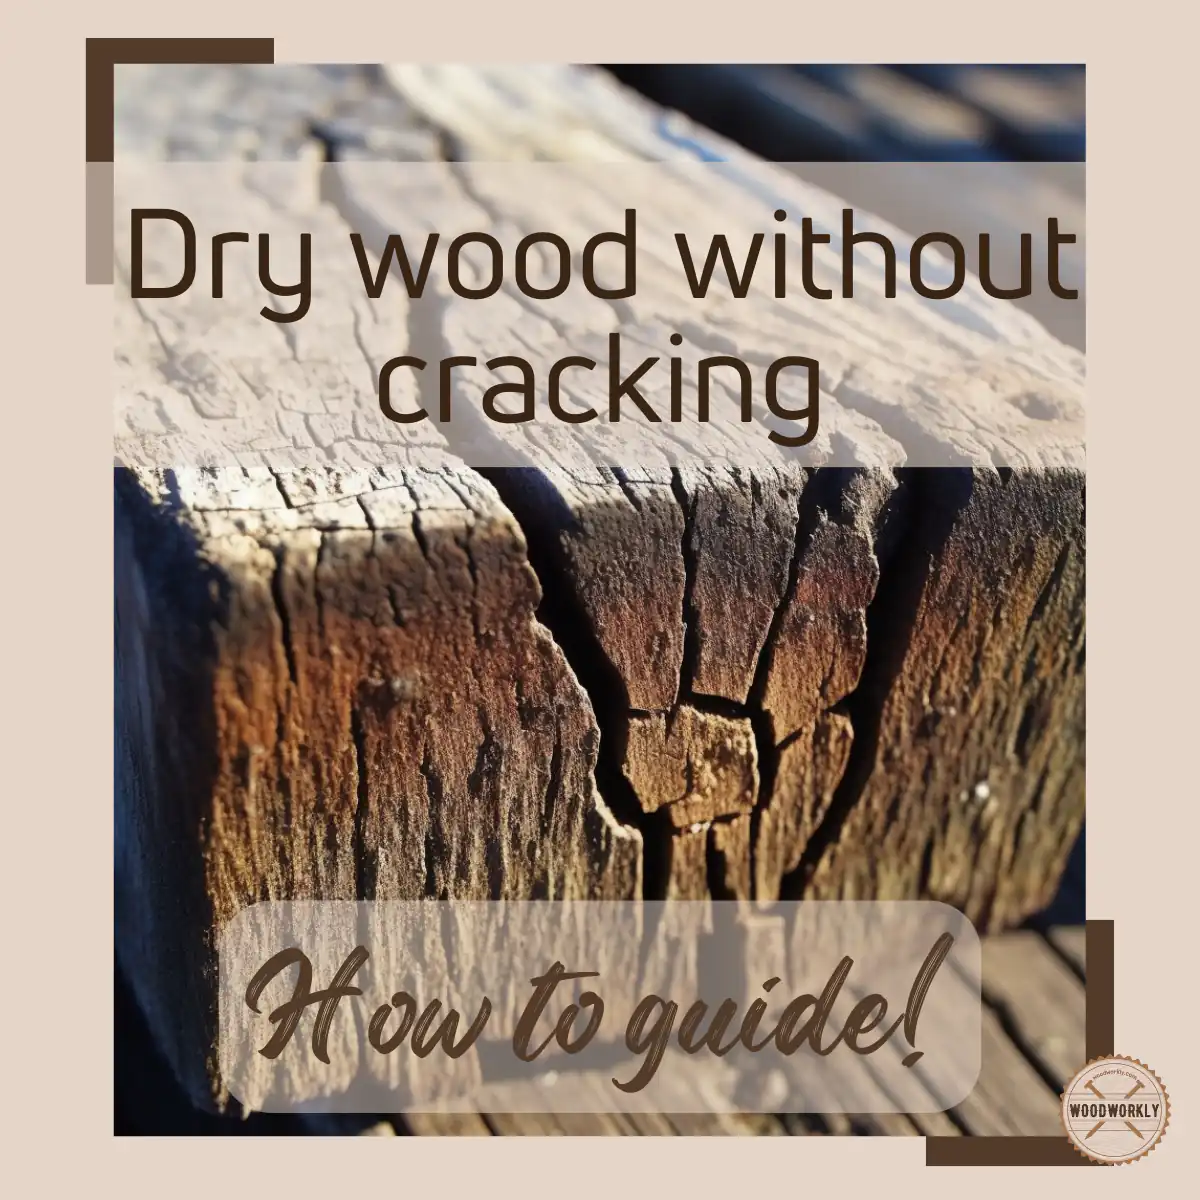
Ever struggled with cracked wood while drying? Let’s uncover the secrets to perfectly drying wood, no cracks included! Curious? Read on!
Drying wood slices is essential to get the maximum benefits out of them since working with wet wood is difficult and can damage the wood.
When the wood is drying, one of the major challenges that most woodworkers face is cracking in the wood.
I spent several months seeking a solution to this cracking issue that arises during wood drying, with the help of woodworking experts. I found some really useful information on the topic.
I’ve been practicing these methods for the last couple of years, and the techniques I employ are excellent for protecting wood during the drying process.
So, let’s find out, How to dry wood without cracking?
To dry wood without cracking, cut the wood and immediately apply a wood sealer to all surfaces. Dry the wood slowly in a cool, dry place, away from direct sunlight, for several weeks or even months, monitoring periodically to prevent cracking. Patience and proper sealing are key.
But that’s a quick snapshot of the question.

So, in this article, I’ll explore, how to dry wood without cracking, does wood crack when dry and what steps should we need to follow to stop that and how to dry wood slices naturally.
Furthermore, I’ll answer some frequently asked questions as well.
So, let’s jump in!
Does Wood Crack When Drying?
Yes, wood can indeed crack when it’s drying due to the evaporation of moisture from the wood to the atmosphere.
This is a common challenge faced by woodworkers, furniture makers, and anyone dealing with raw lumber.
The reduction of moisture content inside the wood can be a reason for wood cracking.
Generally, the environmental moisture content is higher than the moisture content inside the wood.
When the wood slices are drying, more and more moisture evaporates from the wood resulting in wood shrinking. Excess wood shrinkage may lead wood to crack.
When the wood is drying wood shrinks and cracks not only because of the moisture evaporation but also because of the thermal expansion of the wood fibers.
As a result of wood fiber expansions and contractions, the wood splices get cracks when drying.
Wood shrinkage in random areas of the wood when drying not only cause wood to crack but also cause wood to warp.
Wood cracks when drying because of the moisture evaporation from the wood to the air and the thermal expansion of the wood fibers.
To stop wood from cracking when drying, you need to have a proper understanding of wood movements.
So, in order to prevent the wood from cracking when drying, we need to minimize moisture evaporation and thermal expansion.
This is where wood treating comes for help.
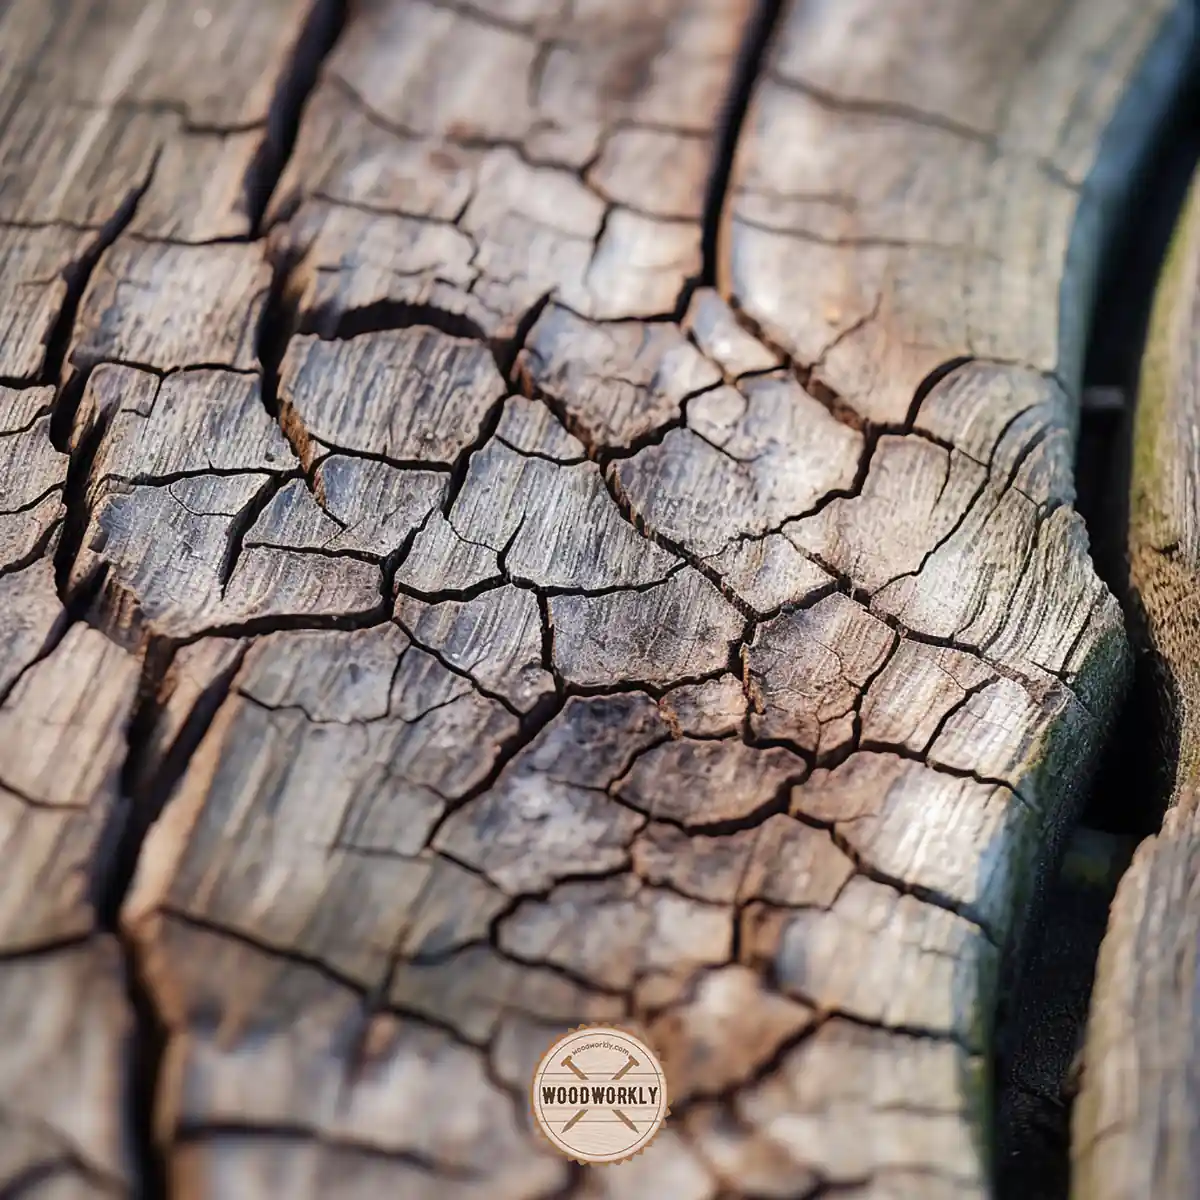
Why Does Wood Crack During the Drying Process?
Wood cracking, also known as checking, is primarily due to the moisture content in the wood and the rate at which it evaporates.
When a tree is first cut down, the moisture content can be quite high – up to 50% or more!
As the wood dries, the moisture content decreases, and the wood tends to shrink.
This shrinkage isn’t uniform, though. The outer layers of the wood dry out faster than the inner heartwood, causing stress that can lead to cracks.
Imagine you’ve spent an afternoon at the beach, and you’ve built the most amazing sandcastle.
Now, as the sun sets and the cool breeze starts to blow, the outer layer of your sandcastle dries out much quicker than the inner parts.
If you’ve ever seen this happen, you’ve probably noticed small cracks forming on the surface.
This same concept applies to wood.
Factors That Influence Wood Cracking
A variety of factors can influence whether wood will crack when drying. The species of wood, for example, plays a significant role.
Some woods are more prone to checking than others. Also, the way the wood was cut from the log – a practice known as milling – can have an impact.
Wood milled through the center of the tree (heartwood) is generally more likely to crack than wood milled from the outer sections (sapwood).
The drying environment also has a significant impact.
When the air is extremely dry, wood tends to lose moisture rapidly, increasing the chances of cracking.
On the other hand, if the wood is dried in a more humid environment, the drying process is slower and the risk of cracking is reduced.
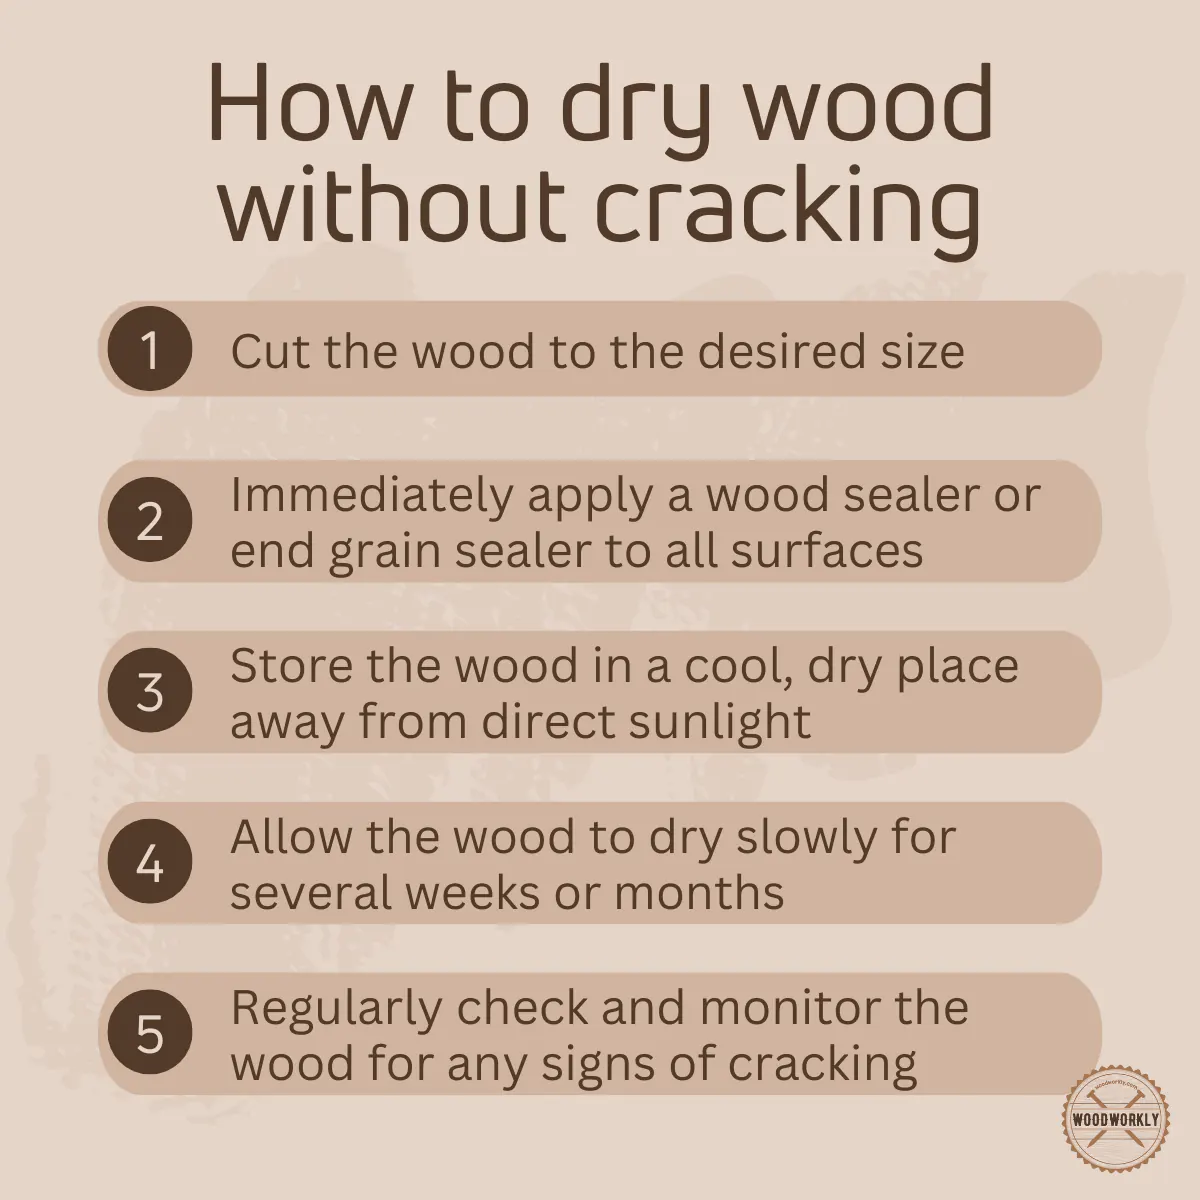
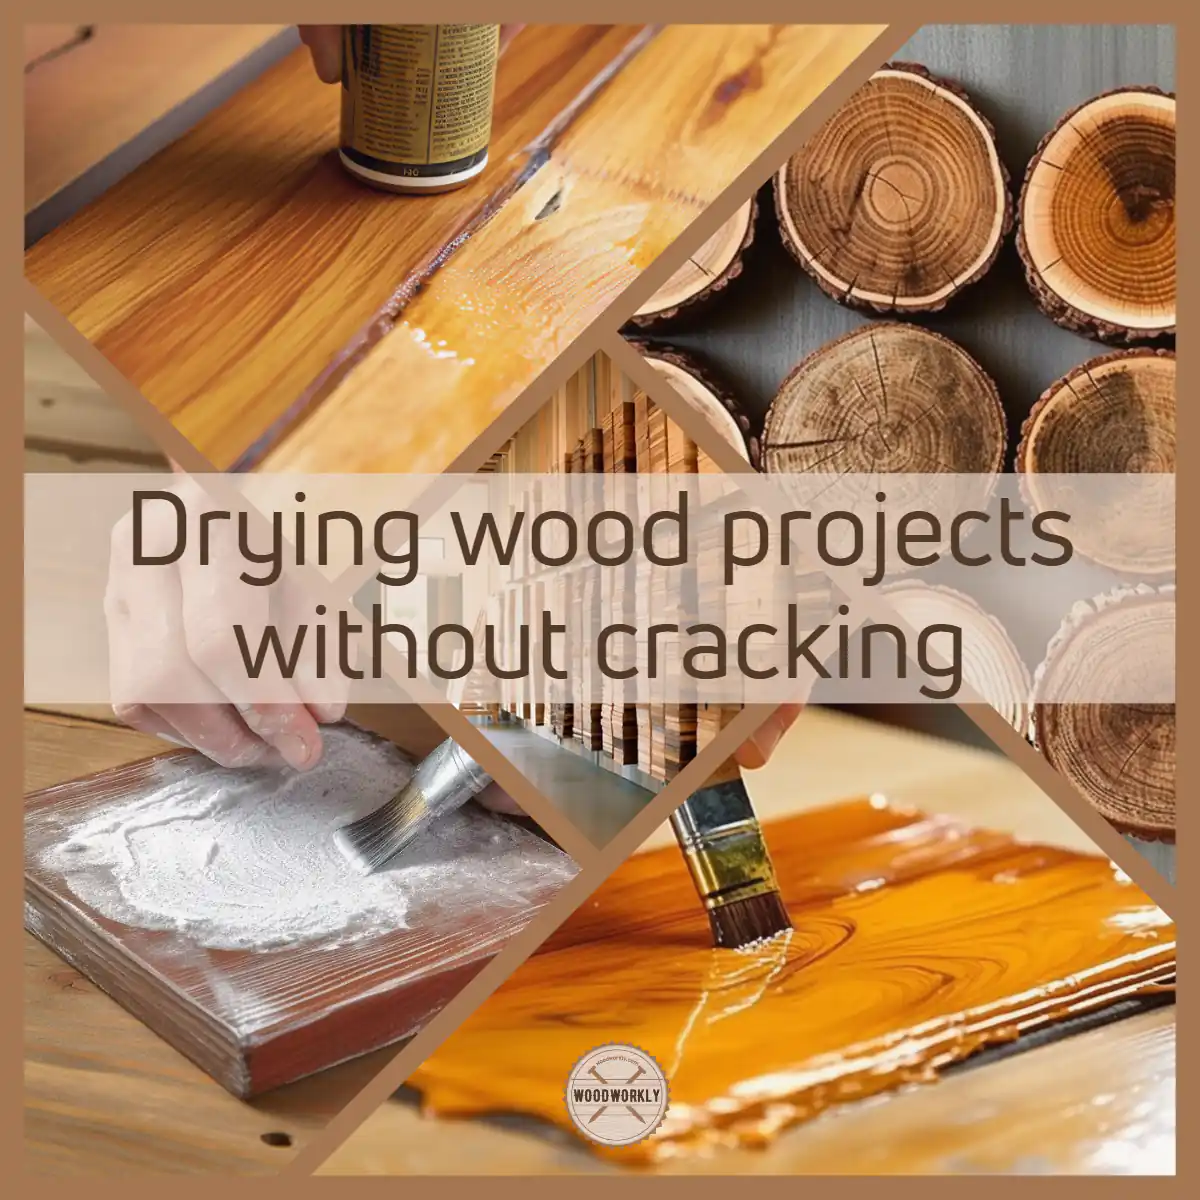
How to Dry Wood Without Cracking? – 6 Best Methods!
Drying wood without cracking is easy when you follow the correct methods. There’re several ways you can try out to dry wood slices without cracking.
Here’re the best methods to dry wood without cracking,
- Use paintable wax
- Apply sealant or stabilizer
- Apply salt paste
- Apply linseed oil
- Use Varnish
- Let wood logs dry as boards
So. Let’s discuss each of the above methods to get a clear idea about keeping wood from cracking when drying.
1. Use Paintable Wax
Paintable wax is a tool that woodworkers, furniture restorers, and DIY enthusiasts alike have come to love for its versatility and effectiveness.
And yes, it can also play a crucial role in drying wood without cracking.
Let’s delve into the details of how you can use paintable wax to maintain the integrity of your wood pieces as they dry.
The Magic Behind Paintable Wax
First, let’s understand what paintable wax is and why it’s a game-changer in the woodworking world.
Paintable wax is a sealant that dries hard and can be painted over, making it an excellent option for wood projects.
Unlike other waxes, you can apply paint or other finishes on top of it without any compatibility issues.
But beyond its versatility in aesthetics, paintable wax can also be instrumental in preventing wood from cracking as it dries.
Why Use Paintable Wax to Prevent Cracking?
The main benefit of using paintable wax when drying wood is that it slows down the rate at which the wood loses moisture.
Remember that friend of yours who always eats his ice cream too quickly and gets a brain freeze?
Well, if he slowed down his eating, he’d avoid the unpleasant outcome. The same principle applies here.
When wood dries too quickly, especially from the ends, it can cause stress that leads to cracks.
Applying paintable wax on the wood surface, particularly the end grain, creates a barrier that slows down the moisture loss, just like slowing down eating ice cream prevents brain freeze.
Step-by-Step Guide to Using Paintable Wax
Now let’s move on to the fun part – the how-to!
Step 1: Prep the Wood
Firstly, you need to prep your wood. If your piece has any dust or debris on it, give it a good wipe-down. The wax will adhere better to a clean surface.
Step 2: Apply the Wax
Next, apply a generous layer of paintable wax to the ends of the wood. This is where the wood tends to dry out the fastest, leading to end checks or cracks. You can use a brush or a rag to do this. Don’t be shy – the more, the better!
Step 3: Let it Dry
Allow the wax to dry. This could take anywhere from a few hours to overnight, depending on the brand of wax you’re using. Be sure to check the instructions on your specific product.
Step 4: Wax the Entire Surface (Optional)
If you’re drying a piece of wood that you’ll be using for furniture or any other piece where all sides will be exposed, you might consider waxing the entire surface. This can provide an extra layer of protection against cracking.
A Few Tips to Keep in Mind
Using paintable wax is pretty straightforward, but here are a couple of extra tips to keep in mind:
- Consistency is Key: Make sure to apply the wax evenly. Uneven applications could lead to uneven drying, which could result in cracks.
- Keep it Covered: If you’re drying your wood outside, consider covering it to protect it from the elements. Excessive sun or rain can impact the drying process, even with the wax applied.
There you have it – your guide to using paintable wax to dry wood without cracking.
With this technique in your woodworking arsenal, you’re well on your way to creating beautiful, crack-free pieces!
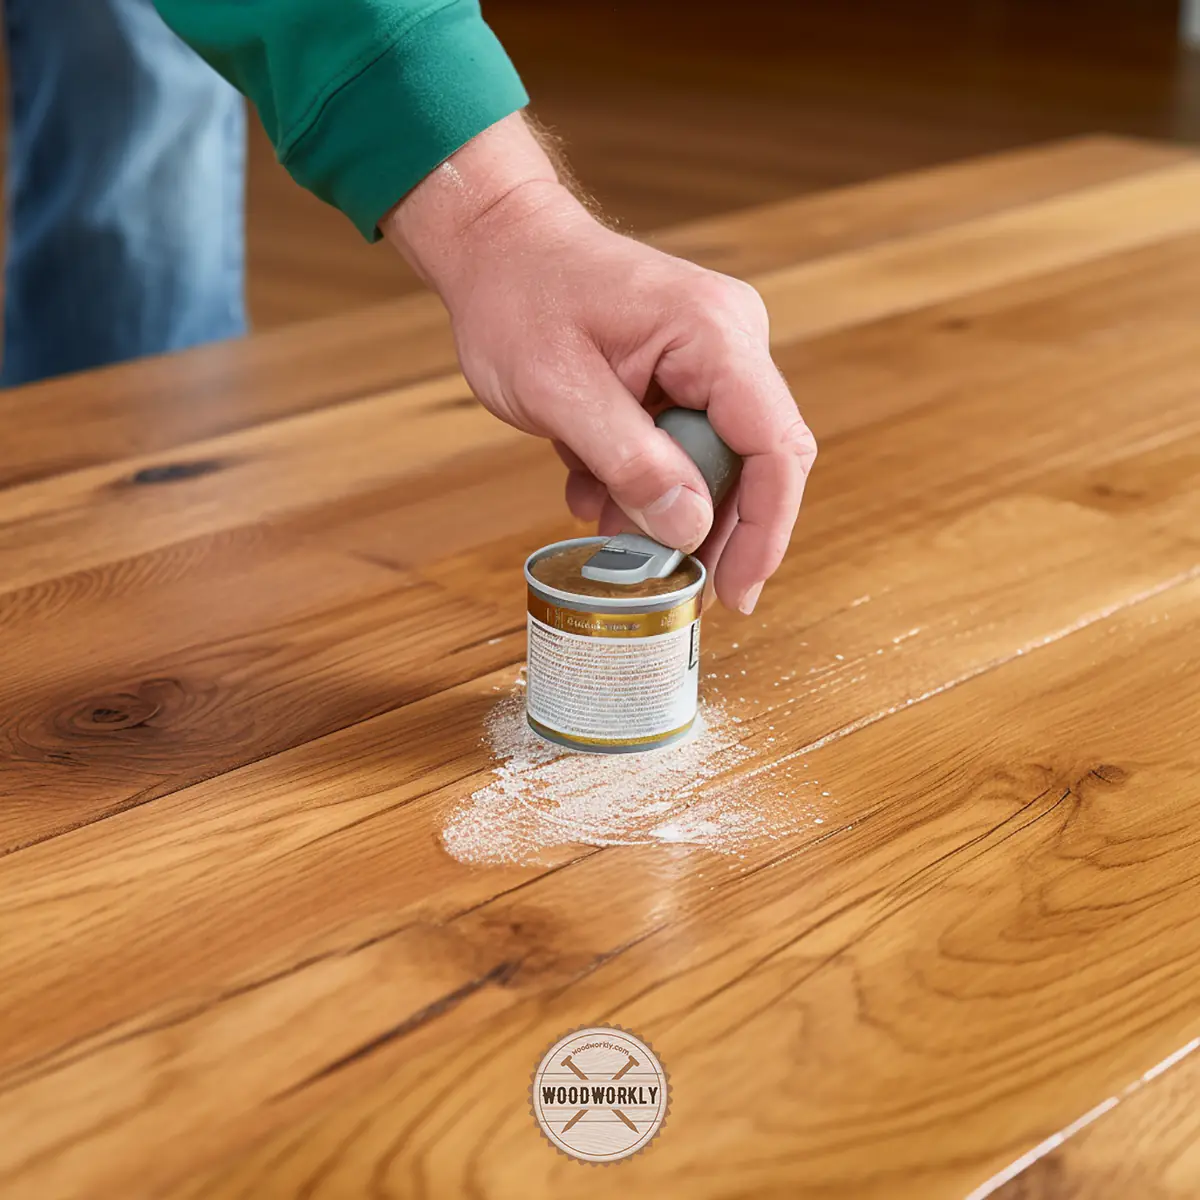
2. Apply Sealant or Stabilizer
By applying a sealant or stabilizing solution on wood before drying you’ll be able to keep it from cracking during the drying process.
Sealants and stabilizers break and make a barrier between the wood surface and the outside air.
Therefore, moisture won’t get evaporated from the wood when drying and prevent the wood from cracking.
Applying sealant or stabilizer is the easiest method to keep wood from cracking when drying because they are easy to apply without creating a mess.
Applying sealant or stabilizing solution is the fastest way to dry wood.
Anchor seal is the best sealant you can use to apply on wood before drying to avoid wood cracking.
Other than that, polyurethane and lacquer-type sealants are also good to use for furniture and woodwork because of having good waterproofing ability.
Supplies You Will Need
- Stabilizer or sealant
- Bristle brush
- Wood slices
- Rubber gloves
- Clean rags
Here’re the steps you need to follow when applying a sealant or stabilizer to avoid wood cracking when drying,
- Clean the wood
- Sand the wood
- Apply sealant or stabilizer
- Let it dry completely
So, let’s discuss each step separately to apply sealant on wood before drying.
1. Clean the Wood
Clean the wooden surface completely to remove dust, debris, grime, and other residue with rags.
Use soapy water to remove dirt and stains that are hard to remove. Cleaning before sealing is important to avoid surface blotchiness.
2. Sand The Wood
Sand the wood slices with 80-grit and 100-grit sandpaper to smoothen the surface.
Sanding prepares the wood surface to take on sealants and stabilizers evenly.
Sand along the direction of the wood grain to avoid making scratches without missing any spots.
Then remove sawdust using a rag and leave it for a few hours before applying the sealant.
Now your wood is ready to accept the sealant or stabilizer.
3. Apply Sealant or Stabilizer
Now dip the bristle brush on sealant or stabilizer and apply a thin layer all over the wooden surface without missing any spots.
Apply along the direction of the wood grain for better absorbance and to avoid surface bubbles.
A sealant or stabilizing solution needs to spread all over the wood evenly to get a nice protective coating. Otherwise, drying can be so difficult and wood may tend to warp.
A single coat of sealant or stabilizer is enough to cover up the entire wood surface.
Missing spots can interact with the outside world and may cause wood to crack during drying. Therefore, you need to cover the wood 100% with sealant or stabilizer solution.
4. Let The Wood Dry Completely
After applying a sealant or stabilizer, let the wood dry completely for 3 – 4 days before taking them to dry.
During the drying time, the sealant will absorb well into the wood and make a protective waterproofing shield on top of the wood to avoid wood contact with outside air.
Thinner wood slices dry faster than the thicker ones. You can touch and check whether the wood is still wet or not.
If it is still wet, better to give it more time to dry.
When the wood is completely dried, you can use it to dry. With proper sealant or stabilizer, your wood won’t get cracks when drying.
Air drying is recommended to dry wood properly without cracks and splits. Air drying prevents wood from warping, and it can take a couple of days to dry.
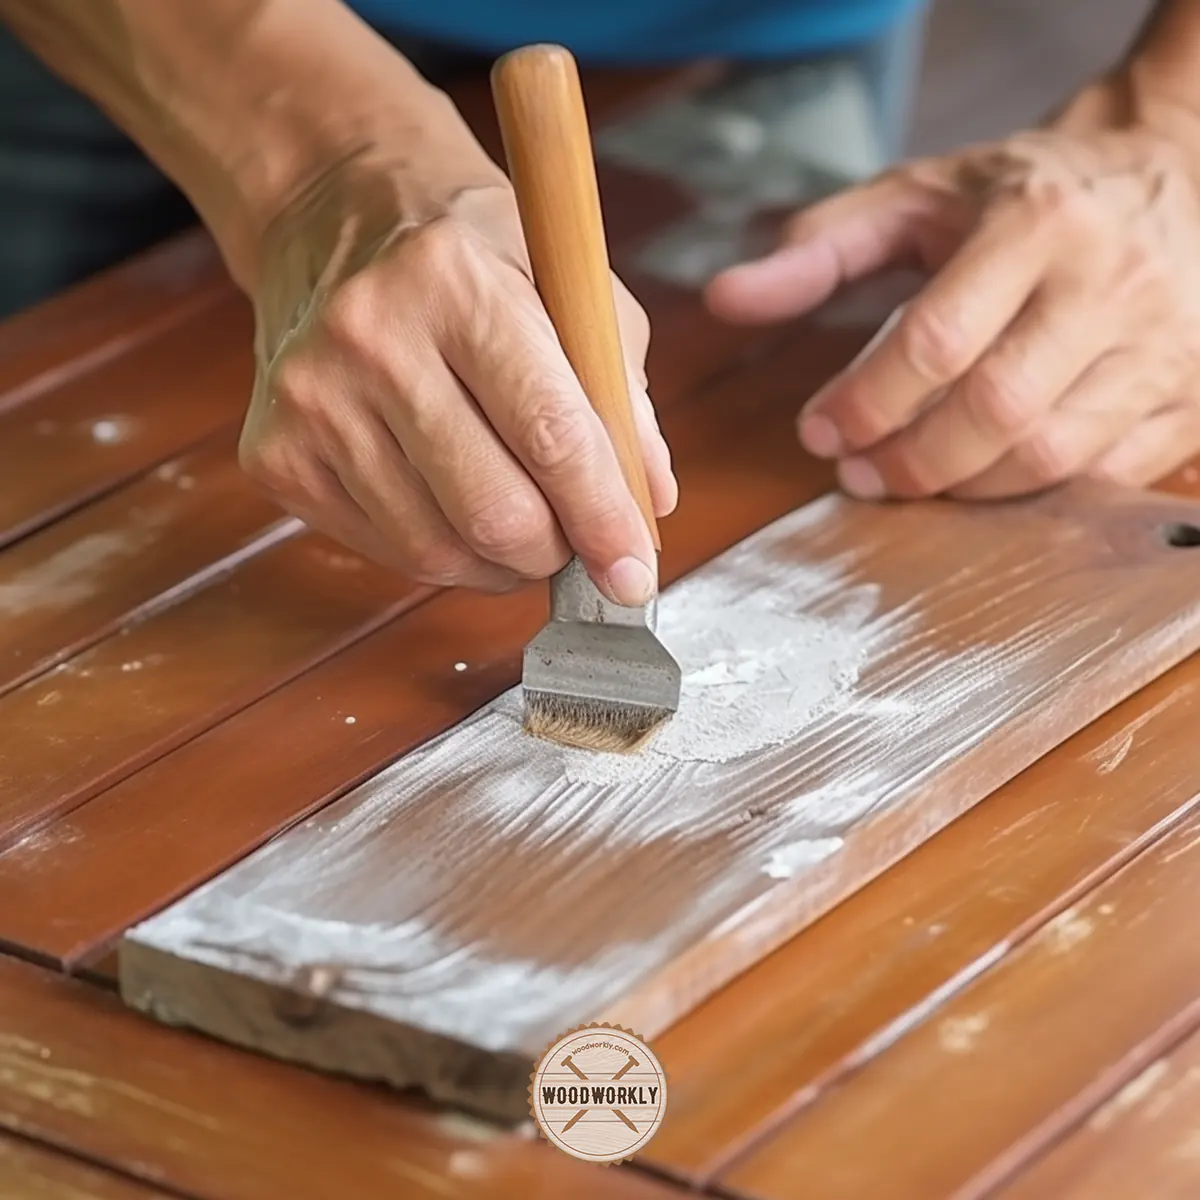
3. Apply Salt Paste
You can apply the salt paste on wood slices before drying them to avoid wood from cracking.
The salt paste dries the wood by absorbing moisture contents inside of the wood which can cause wood cracking.
Applying salt paste is the most environmentally friendly method to treat the wood before drying because it contains no harmful chemicals such as sealants.
Supplies You Will Need
- Salt
- Cornstarch
- Eggs
- Paintbrush
- Plastic container
Here’re the steps you need to follow when applying salt paste before drying the wood.
- Prepare salt solution
- Add cornstarch
- Add eggs
- Apply the salt paste
- Dry the wood
So, let’s discuss each of the above steps in detail to know how to apply the salt paste on wood before drying to avoid cracking.
1. Prepare Salt Solution
Take the plastic container and fill it will fresh water. Then add enough salt to it and stir well until it’s fully mixed.
Make sure not to oversaturate the solution with salt.
Once they are fully mixed keep them aside for about 4 hours.
2. Add Cornstarch
After keeping the plastic container for a minimum of 4 hours, add enough cornstarch to it and mix well.
Make sure not to add too much cornstarch since they won’t mix well, and the solution may get too hard. A little amount is sufficient for the job.
3. Add Eggs
After mixing the solution with cornstarch add eggs to the compound and mix well until they get disappeared in the salt paste solution.
Mixing eggs well is important because you may probably face displaying flake issues once the wood dries after applying the paste if the eggs didn’t mix well with the salt paste.
Therefore, mixing is essential for fewer troubles in the future.
4. Apply the Salt Paste
After mixing the salt paste solution well, apply it to the entire wooden surface using a paintbrush without missing any spots.
Dip the paintbrush well on salt paste since it’s a bit difficult to apply when the solution is hard.
Finally, you should end up with a uniformly applied salt paste coat over the wooden surface.
Good coverage is essential including edges, and corners. Paste won’t come off easily once it is fully cured.
5. Dry The Wood
After applying salt paste well over the wood, let it dry for several hours to make a stable coating n the wood. leave the wood in a dry area to dry.
The salt paste starts to absorb moisture from the wood and keeps avoid it from cracking.
Drying time varies on the thickness of the salt paste.
Once the surface is dried completely you can let the wood slices dry and salt paste will protect the wood from cracking.
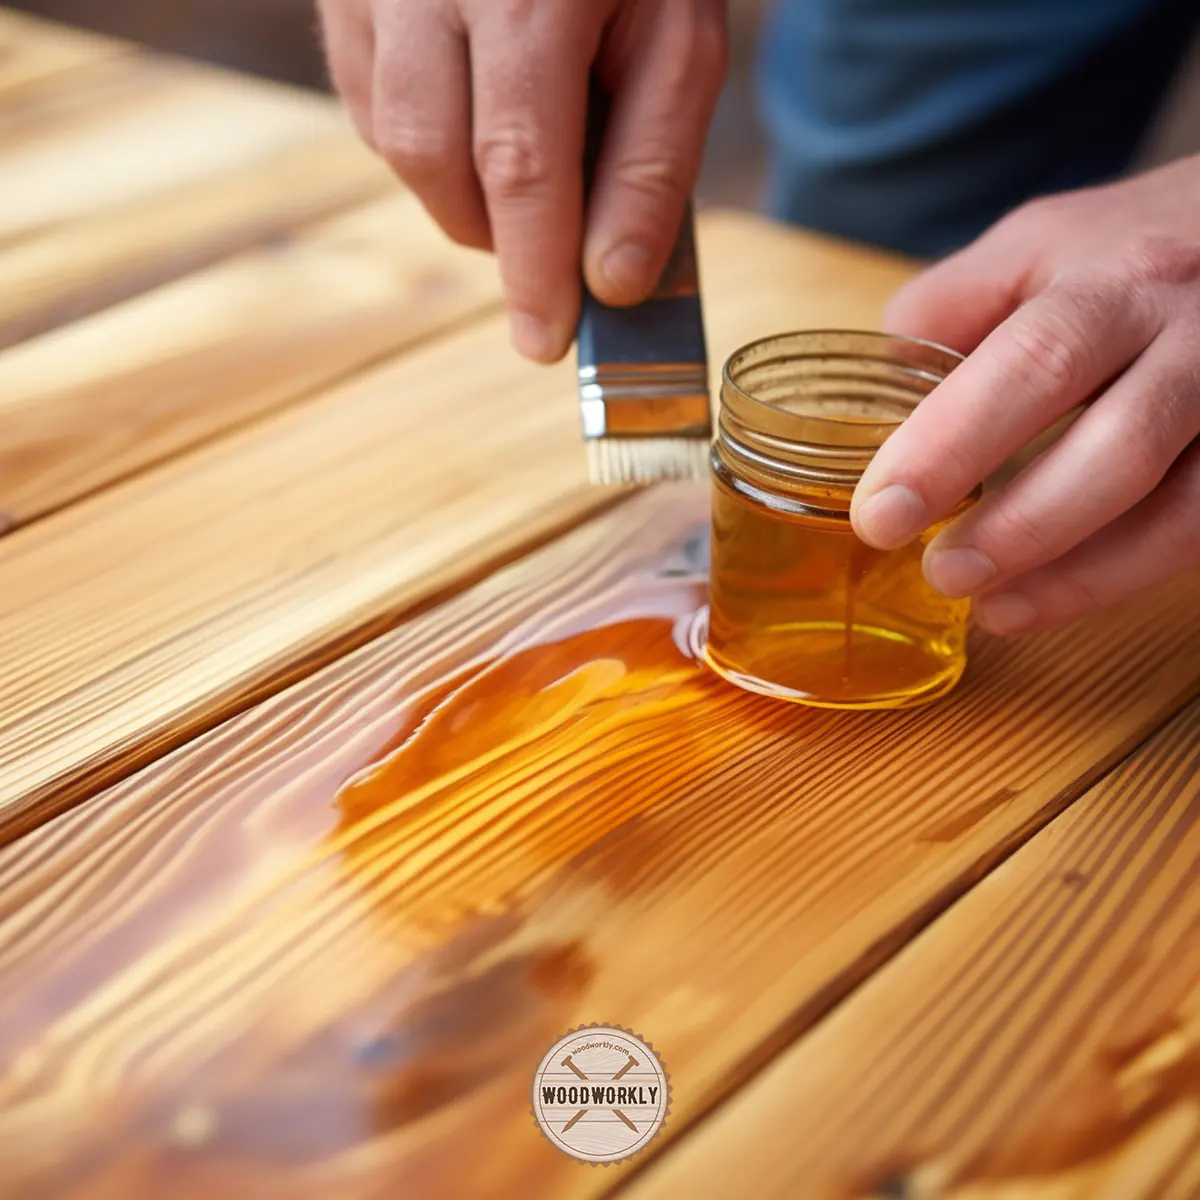
4. Apply Linseed Oil
Linseed oil protects wood from cracking during drying. Linseed oil repels water and prevents moisture evaporation from the wood.
Plus, linseed oil has good elasticity that can expand and contract with wood movements and avoid wood from cracking when drying.
Applying linseed oil on wood slices is an environmentally friendly method to prevent the wood from cracking since linseed oil comes from flaxseed.
Supplies You Will Need
- Linseed oil
- Wood slices
- Sandpapers
- Lint-free cloths
- Rags
Here’re the steps you need to follow when applying linseed oil on wood slices to avoid wood cracking when drying.
- Clean and prepare the wood surface
- Sand the wood
- Apply linseed oil
- Let the wood dry completely
Let’s discuss each of the above steps separately to get a clear idea about applying linseed oil on wood slices.
1. Clean and Prepare Wood Surface
Clean the whole wooden surface with rags to remove dust, debris, and grimes.
Cleaning is essential before any wood treating process to get maximum benefits out of it. Use soapy water to the stains that are hard to remove.
Make sure to dry the wood completely before sanding. Take wood to the well-ventilated area before the application and sanding process.
2. Sand The Wood
Sand and smoothen the wooden surface with 80 grit and 100 grit sandpapers. Sanding is essential to make the surface ready to take on the linseed oil.
Sanding helps to eliminate surface randomness and helps to spread linseed oil evenly throughout the wood.
Once you’re done with sanding, clean sawdust using rags. Now your surface is super ready to take linseed oil coating.
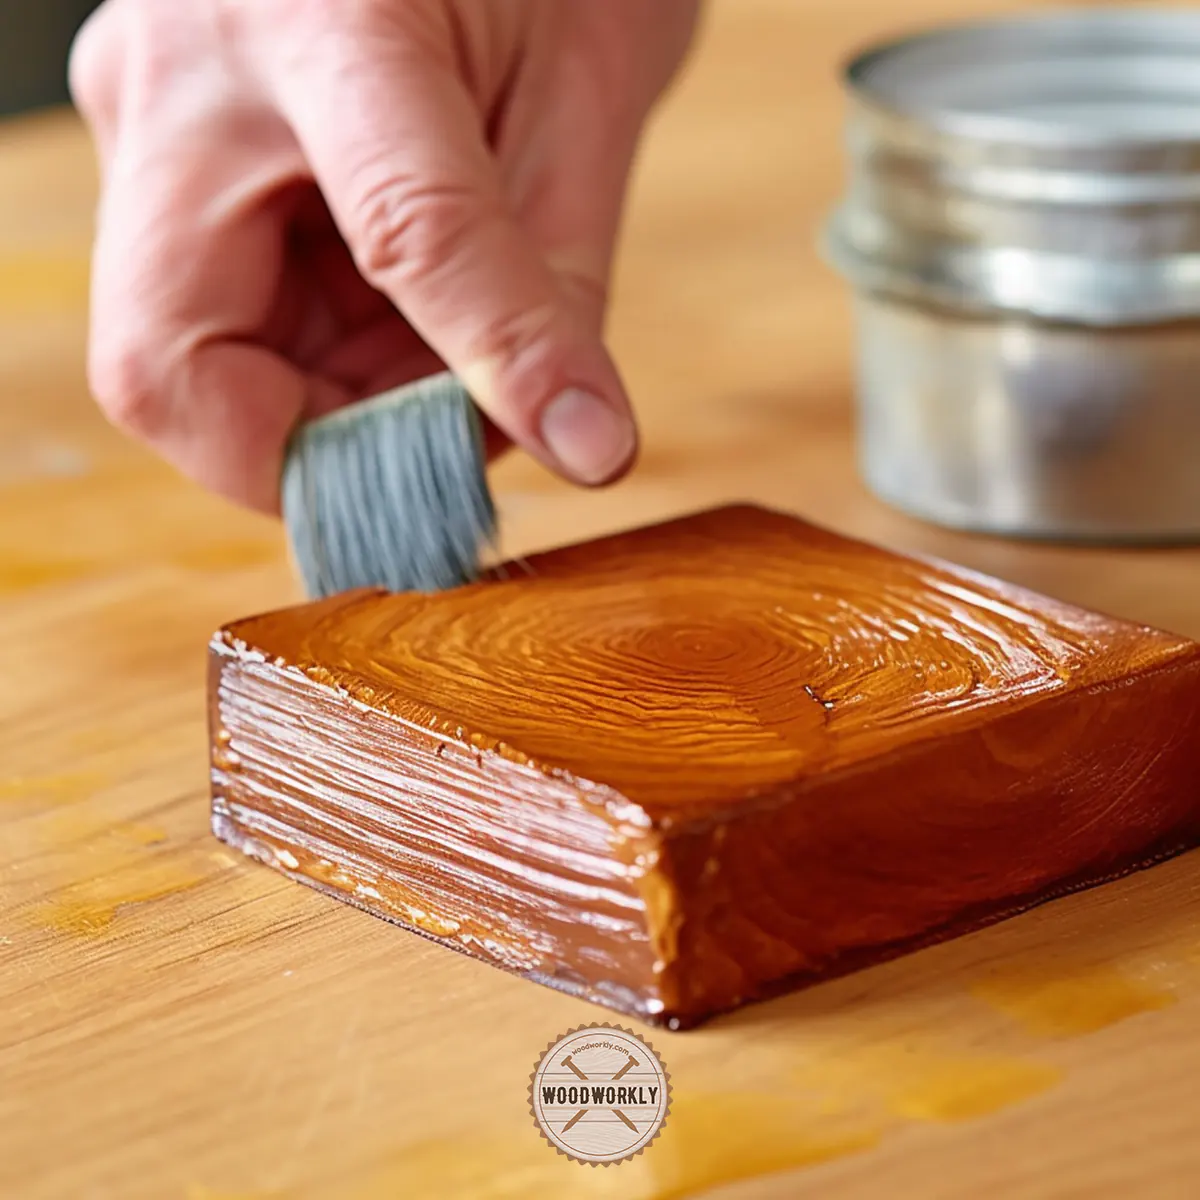
3. Apply Linseed Oil
Pour a sufficient amount of linseed oil into a lint-free rag and soak it.
Then wipe thorough the whole surface along the direction of the wood grain for better absorption to the wood.
Make sure not to miss any spot when applying linseed oil since moisture in the air can interact with the wood and can cause wood to crack through those missing spots.
Linseed oil penetrates the wood fibers and makes them saturated.
This will prevent the wood from cracking and improves its elasticity and flexibility of the wood.
Let the first coat absorb well into the wood and wipe excess oil for a better finish.
4. Let The Wood Dry Completely
Let the wood dry for 24 hours to dry and settle in linseed oil completely. Enough drying time is essential to get a good linseed oil coating with no blotches or streaks.
Light sand the entire surface with 400 grit sandpaper for an ultra-soft smooth finish.
Apply a second coat of Linseed oil to get the best results with excellent protection from outside moisture.
Linseed oil prevents moisture evaporation from the wood and stops the wood from cracking when drying.
Once the wood is dead after the linseed oil application, you can dry wood slices without worrying about cracks.
5. Use Varnish
Varnish has been a long-time ally in the woodworking world. Its primary role is to protect the wood, offering a shield against water, UV rays, and even daily wear and tear.
But, did you know that varnish can also assist in the drying process and prevent those dreaded cracks?
That’s right – just like a good superhero movie, varnish comes with an exciting twist.
When wood dries, it loses moisture. If this process is too fast or uneven, cracks can occur.
Varnish essentially acts as a protective layer, slowing down the drying process and helping to ensure it occurs evenly.
It’s a simple yet effective way to ensure your wooden masterpiece remains just that – a masterpiece.
Here’re the steps you need to follow when drying wood slices without cracking using varnish,
- Surface preparation
- Apply the first coat of varnish
- Let the surface dry
- Sand and repeat
Let’s discuss the above steps in detail.
1. Surface Preparation
Start with a clean slate – make sure your wood is dust-free and clean. Any dirt or debris can affect the varnish’s adhesion.
You can use a damp cloth to wipe down the wood, just remember to let it dry before you move onto the next step.
2. Apply the First Coat of Varnish
Next, it’s time to apply your varnish. Dip your brush into the varnish and apply it onto the wood with long, even strokes.
Pay particular attention to the end grain, as this is where wood usually dries out and cracks first.
Read to know more about applying varnish through my comprehensive guide about, How to apply varnish without brush marks!
3. Let the Surface Dry
Let the first coat of varnish dry. The drying time can vary based on the specific product, so it’s best to check the instructions.
Remember, patience is a virtue! Rushing this process may lead to less than optimal results.
4. Sand and Repeat
Once the first coat is dry, lightly sand the wood with a fine-grit sandpaper.
This will help the next coat adhere better. Wipe away any dust with a dry cloth, and then apply another coat of varnish. D
epending on the wood and varnish type, you might want to repeat this step a couple of times.
It’s important to note that every piece of wood is unique and may react differently to varnish and the drying process.
Some woods naturally have more moisture and may take longer to dry, even with varnish.
Similarly, the climate where you live can also impact the drying process.

6. Let Wood Logs Dry As Boards
This is an optional way of drying wood without cracking. When you cut logs or wood slices, place them immediately as boards and leave them to dry.
Better to use the air drying method because it takes a couple of days to dry and won’t cause immediate cracks on wood slices.
By letting wood logs and slices dry as boards you can not only prevent the wood from cracking when drying, but also it stops the wood from warping.
That’s it, folks! Now you know how to dry wood without cracking in 6 different methods.
How to Dry Wood Slices Without Cracking?
First, let’s delve into why wood cracks in the first place. When wood dries, it loses moisture.
The outer parts of the slice tend to dry faster than the inner parts, leading to differential shrinkage, which, in turn, causes the wood to crack.
It’s nature’s way of throwing a wrench in your DIY works,
but don’t worry – we’ve got some tips and tricks up our sleeve.
Let’s have a detailed look at the steps you need to take when drying wood slices to avoid cracking.
Step 1: Seal the Wood
Your first step to prevent cracking is to seal the wood slices as soon as you cut them.
A product called a green wood sealer can be used for this purpose. This sealer slows down the drying process, helping prevent cracks.
Coat the entire surface of the wood slice with the sealer and let it dry.
Step 2: Control the Drying Environment
Next, you need to control the drying environment. This means maintaining a balanced humidity and temperature level.
Too hot, and the wood will dry too quickly and crack.
Too humid, and it might not dry at all. Store the wood slices in a cool, dry place away from direct sunlight.
Step 3: Take Your Time
Patience is your friend here. Rushing the drying process is a surefire way to end up with cracked wood slices.
Depending on the size and type of wood, it could take several weeks to several months for the slices to dry fully.
Step 4: Keep an Eye on the Wood Slices
Monitor your wood slices regularly for signs of cracking. If you see a crack beginning to form, don’t panic. This is where our next step comes in.
Step 5: Fill Any Cracks
If you notice any small cracks starting to form, you can fill them in with wood filler or epoxy.
This can prevent the crack from spreading further and salvage your project.
There’s a special kind of joy in creating something beautiful from a slice of wood, something rustic yet sophisticated, and uniquely yours.
Although it might seem a bit challenging initially, with these steps, you’re well-equipped to dry wood slices without them cracking.
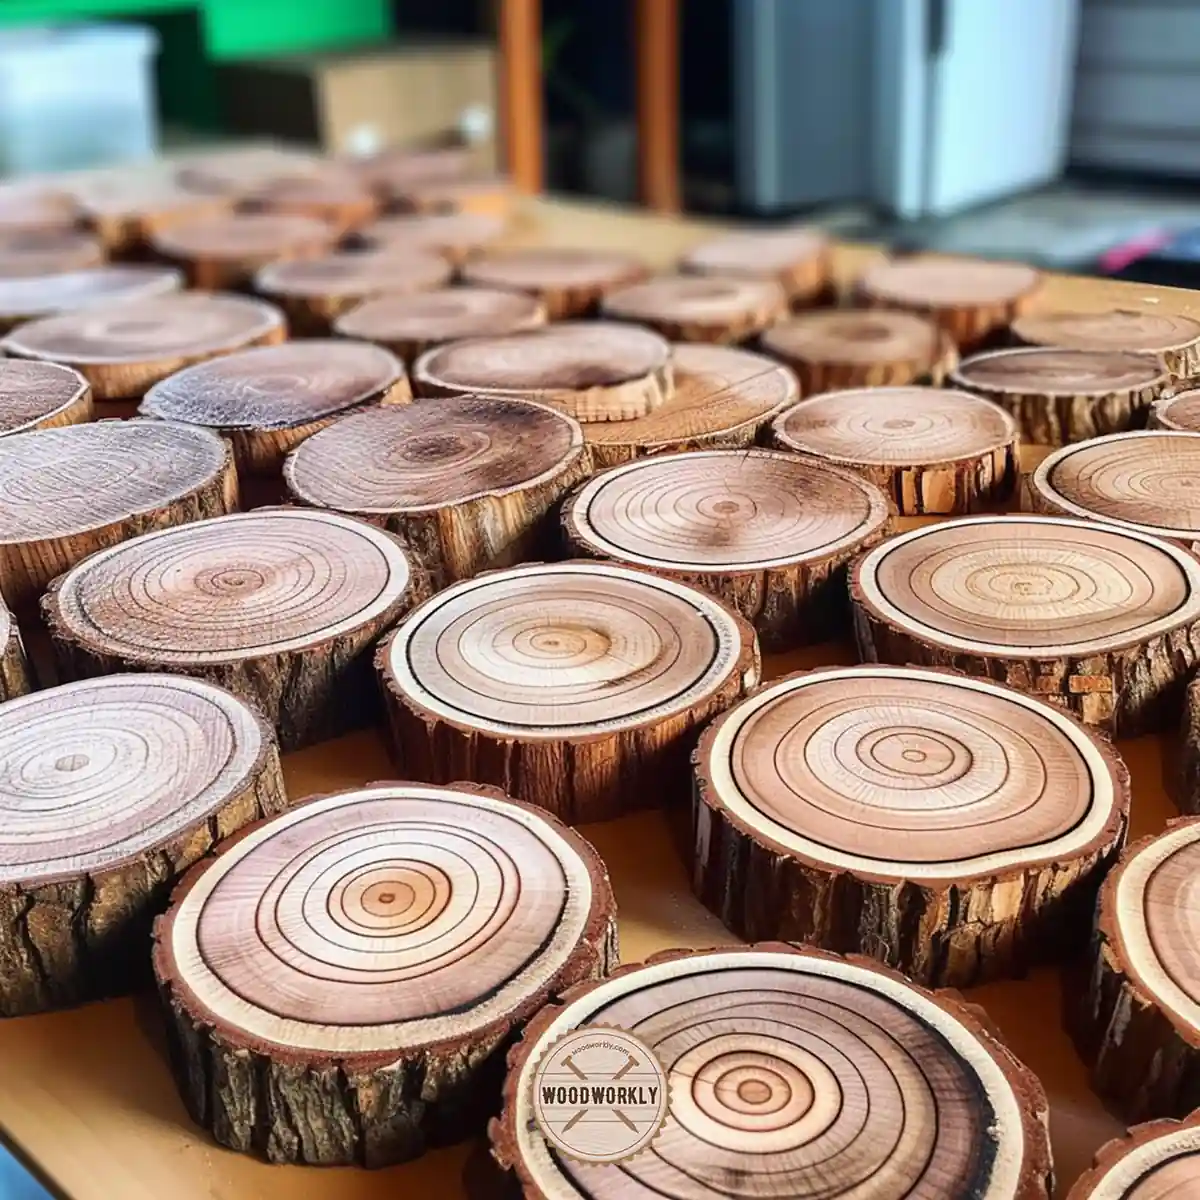
How to Dry Wood Cookies Without Cracking?
Cracks in wood cookies often occur due to uneven drying rates between the outside and the inside of the wood.
This typically results in tension, which causes the wood to crack.
However, with careful preparation and proper drying techniques, you can keep those pesky cracks at bay.
Let’s have a look at the steps you need to follow to dry wood cookies without cracking in detail.
Step 1: Freshly Cut is Best
For best results, start with a freshly cut log.
This allows you to have control from the get-go and helps to prevent any pre-existing conditions that might lead to cracking.
Step 2: Seal the Edges
As soon as you’ve cut your cookies, it’s crucial to seal the edges. A product such as a green wood sealer or even latex paint can be used to slow down the drying process. This step helps to prevent cracks by encouraging the wood to dry more evenly.
Step 3: Store Properly
The storage location is crucial. You should store your wooden cookies in a cool, dry place.
Avoid areas with high humidity or direct sunlight, as these can cause the wood to dry too quickly, increasing the risk of cracking.
Step 4: Play the Waiting Game
Patience is key. Wood cookies may take several weeks or even months to dry completely, depending on their size and the type of wood.
Remember, good things come to those who wait!
Step 5: Regular Check-Ins
Keep an eye on your wood cookies as they dry. If you notice any cracks starting to form, you can fill them with wood filler or clear epoxy.
This can help to halt the crack in its tracks and save your project.
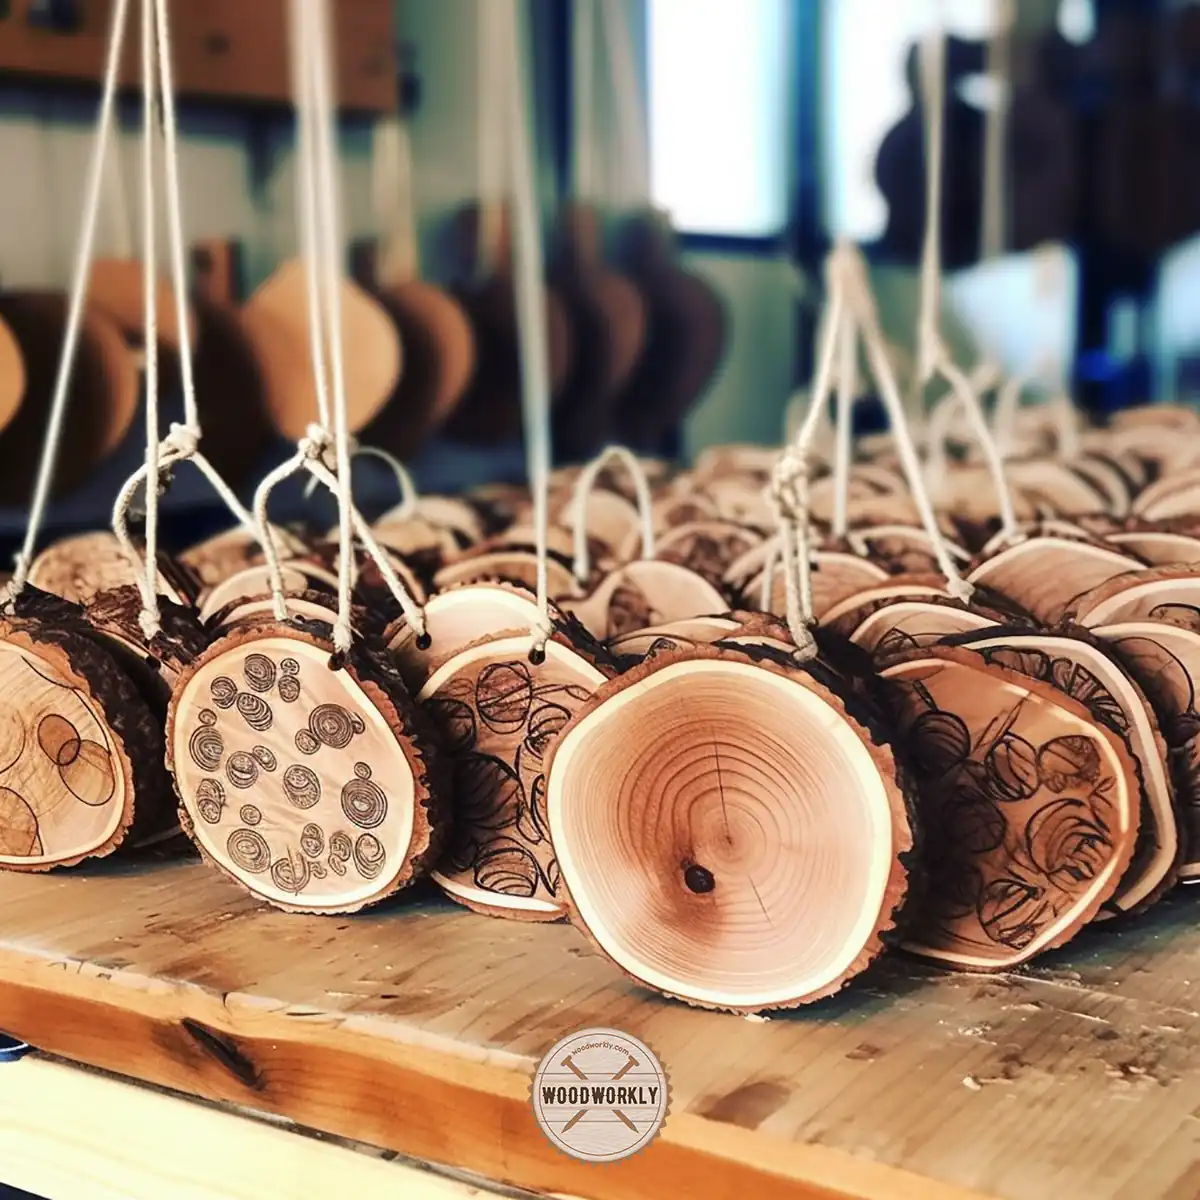
How to Keep Wood Slice Ornaments from Cracking?
First, it’s essential to understand why wood slice ornaments may crack.
The main reason boils down to the difference in moisture content between the interior and exterior of the wood.
As the outside dries faster than the inside, it causes stress, leading to cracking.
But don’t worry, armed with a little patience, the right technique, and a dash of festive spirit, you can keep your wood slice ornaments from cracking and enjoy a charming Christmas season!
Steps to Prevent Cracking in Wood Slice Ornaments
Step 1: Fresh Cuts and Sealing
Start with fresh, green wood if possible, and make your slices for the ornaments.
After you’ve cut your slices, immediately apply a wood sealer, or even a thick layer of wax or latex paint, to the ends.
This sealing process slows down the drying process, helping to prevent the ornament from cracking.
Step 2: Gentle Drying
Patience really is a virtue when it comes to drying wood slices. Rapid drying can result in cracking, so aim for a slow, even drying process.
Store your ornaments in a cool, dry place, out of direct sunlight and away from any heat sources.
A little air circulation can help, but avoid placing them in the path of strong drafts.
Step 3: Monitor the Drying Process
Keep an eye on your ornaments as they dry. If you see a crack starting to form, don’t panic!
You can fill it with wood filler or clear epoxy to stop the crack from progressing.
Step 4: Final Touches
Once your ornaments are dry, which can take several weeks or even a couple of months, you can add your final touches. Sand any rough edges, add a coat of varnish for protection, and then get creative with your decorations.
You could paint them, add glitter, or write names or messages—whatever makes your Christmas spirit shine!
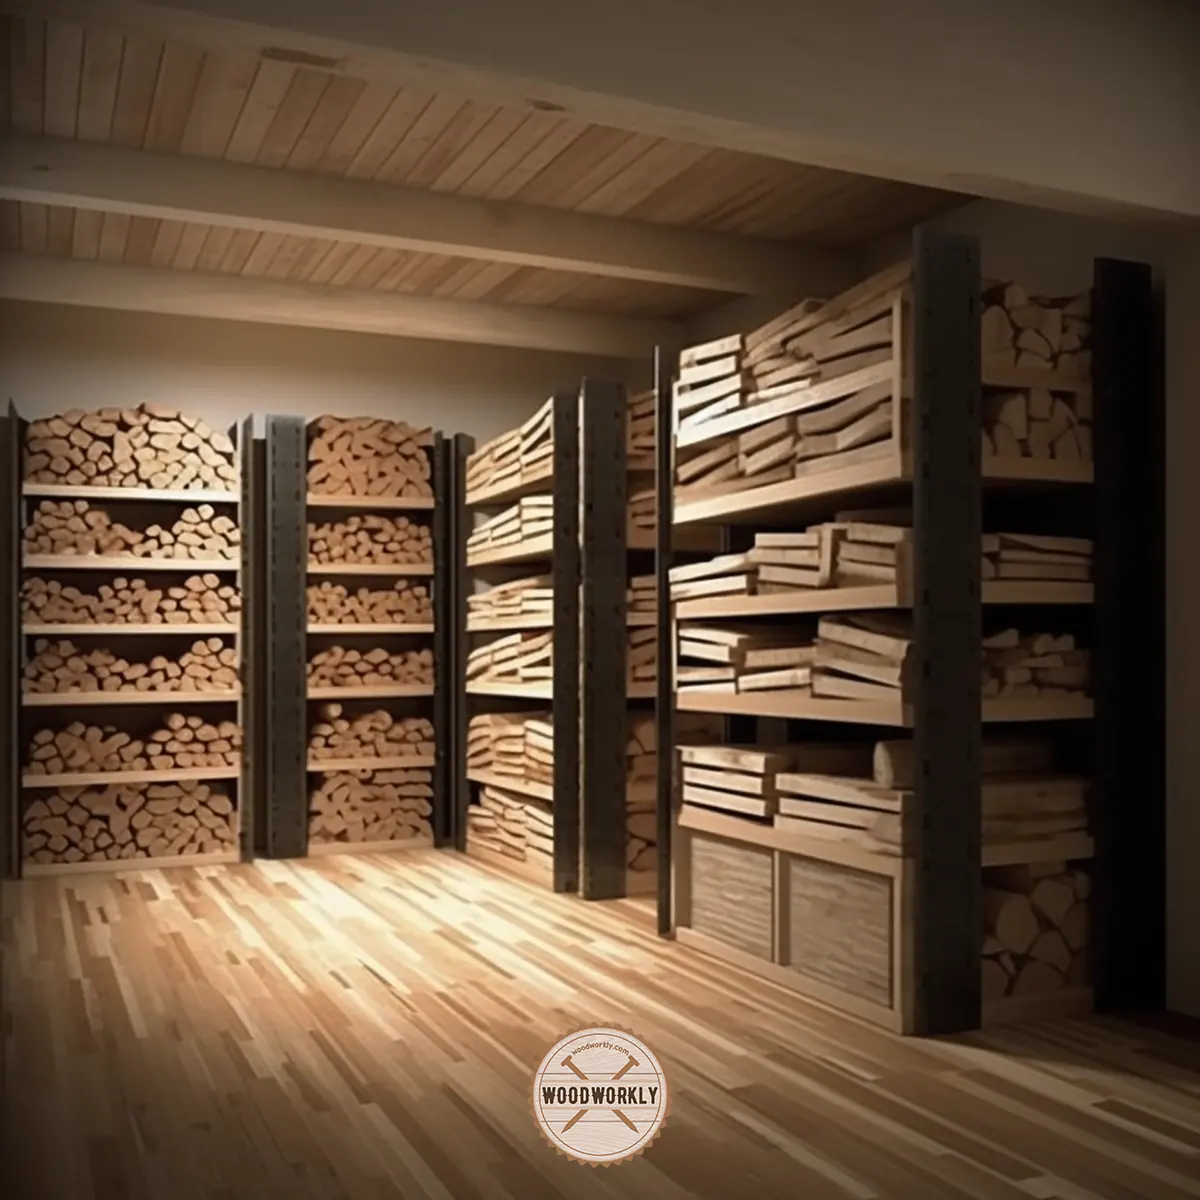
How Long to Air Dry Wood Slices?
24 hours of air-drying time is recommended time to dry wood slices without getting cracks and splits. Air-drying time can vary on the thickness of the wood slices.
You can reduce the air-drying time by cutting wood into thin pieces since thick pieces take so long to dry.
Some thick wood slices can take up to 3 – 4 days to complete the drying process.
Air drying is the best method to dry fresh-cut wood.
Does Dry Wood Split Easier?
Generally, dry wood is split easier than wet wood since dry wood contains less moisture content and they cut and split through wood fibers more easily than wet wood.
Dry woods are easier to cut than wet woods.
To keep wood from splitting, you can apply sealant, salt paste, varnish, paintable wax, or boiled linseed oil.
They will treat the wood well and stop the wood from splitting and improves the wood sheen.
How Do You Keep Wood Furniture from Cracking?
You can keep wood furniture from cracking by treating them with a suitable finisher.
They will prevent water from going inside your furniture and prevent the wood from not only cracking but also from rotting and decaying and improving the wood furniture’s appearance.
Here’re the best methods you can use to keep wood furniture from cracking,
- Apply sealant or stabilizer
- Apply salt paste
- Apply paintable wax
- Apply varnish
- Apply polyurethane
- Protect wood from harsh weather conditions
You can learn more about this by reading my comprehensive guide about, How to protect outdoor furniture from the elements!
Congrats folks! Hope you have learned everything you wanted to know about, how to dry wood without cracking.

Let’s answer some frequently asked questions as well.
FAQs
Why does wood crack when drying?
Wood tends to crack during the drying process because as the water evaporates, the wood shrinks. However, the outside of the wood dries faster than the inside, which can cause stress that leads to cracks.
Can paintable wax prevent wood from cracking when drying?
Yes, paintable wax can help prevent wood from cracking when drying. It serves as a sealant, slowing down the drying process and reducing the chance of cracks.
Can varnish be used to prevent wood from cracking when drying?
While varnish mainly protects the surface of wood, it can help retain some moisture during drying, but it’s not as effective as sealants specifically designed to prevent cracking in drying wood.
How can I dry wood slices naturally?
You can dry wood slices naturally by air-drying them. Once they’ve been sealed, place them in a cool, dry location with good air circulation. Make sure to keep them out of direct sunlight to prevent warping or cracking.
What are some effective methods to dry wood cookies without cracking?
The key to drying wood cookies without cracking lies in the slow, controlled drying process. Applying a sealant to the ends immediately after cutting, and drying in a cool, dry, out-of-sunlight area can prevent cracking.
How can I dry wood without a kiln?
You can dry wood without a kiln by using the air-drying method. Stack your wood in a dry, shaded area with plenty of airflow. It’s a slower process, but it’s cost-effective and requires little equipment.
How can I keep fresh cut wood from cracking?
To prevent fresh cut wood from cracking, promptly apply a sealant or wax, such as paintable wax or a specialized end grain sealer, to the ends of the wood. This helps slow the drying process and minimize cracking.
Did I cover all you wanted to know about: How to Dry Wood Without Cracking?
In this article, I’ve deeply discussed how to dry wood without cracking with 6 different methods and we discussed the pros and cons of each method as well.
You can dry wood without cracking by applying a sealant or stabilizing solution, applying the salt paste, or linseed oil, or letting wood slices dry as boards. Air drying is the best drying method to prevent the wood from cracking.
Furthermore, I’ve answered some frequently asked questions as well.
Hope you have gained good knowledge about how to dry wood without cracking properly.
Try to use methods you have learned from these posts to protect your wood slices from cracking when drying. Happy woodworking!