Ever struggled with wet wood for your woodworking project? Discover the factors influencing drying time and expert techniques to dry wood efficiently. Let’s dive in!
Are you a woodworking enthusiast or professional dealing with wet wood? Understanding the drying process is crucial for success in your projects.
Once your wood get wet and soaked due to various reasons, you may have asked the drying time of wet wood.
So, let’s find out, How long does wet wood take to dry?
Wet wood needs a minimum of 2 weeks to fully dry in warm, windy conditions. Drying time varies based on factors like moisture content, exposure to moisture, wood type, thickness, and environment. Aim for a 6% to 8% moisture reduction for dry wood.
But that’s not all there is to know about how long does wet wood takes to dry.

So, in this post, we’ll look at all the factors related to wet wood-like, how to make wet wood dry faster, how to dry out firewood, how long does it take wood to dry for woodworking, how to make sure the wood is dry and many more!
So, let’s get going!
Understanding Wood Moisture and Drying Process
The complex nature of wood, a living material, makes it vital to grasp the intricacies of its moisture content and drying mechanisms.
For successful woodworking projects, let’s embark on an exploration of wood moisture and the drying process to make informed decisions for your woodworking ventures.
Wood as a Moisture Sponge
Wood, being hygroscopic, absorbs and releases moisture to and from its surroundings.
Composed of cells that naturally hold water, wood’s moisture content can range from 30% to a whopping 200% upon cutting a tree, depending on its species.
As wood dries, it experiences shrinkage, potentially causing warping or cracking in your projects if not expertly managed.
Equilibrium Moisture Content (EMC)
The concept of equilibrium moisture content (EMC) denotes the balance between wood’s moisture content and the humidity of the air around it.
This balance is crucial in woodworking, as it ensures wood stability and reduces the risk of warping or cracking in projects.
Achieving EMC is contingent on various factors like local climate, indoor conditions, and specific project requirements.
Factors Affecting Wood Drying Time
Several factors influence the time it takes for wood to dry. These factors include:
- Wood species: Different species, with their unique densities and moisture content, impact drying rates.
- Initial moisture content: Wood with higher initial moisture content demands more time to dry.
- Humidity: Environmental humidity levels affect drying rates. High environmental humidity increases the drying time of wood.
- Wood thickness and size: Larger and thicker wood pieces take longer to reach the desired moisture content.
- Climate: Local hot, dry, and wet climate affect drying rates, with drier environments generally resulting in faster drying times.
- Air circulation and temperature: Enhanced airflow and elevated temperatures can expedite the drying process.
Let’s have a look at each of the above factors that impact the drying time of wet wood in detail.
1. Type of the wood
If your wet wood is a hardwood, mostly the moisture content will be lesser than softwoods that get soaked because of having less porous structure than softwoods.
But in the same way, the moisture that is trapped inside of hardwood cannot be easily eliminated as softwood and this can increase its drying time.
Different wood species have varying densities, which can influence the drying time.
Dense hardwoods, like oak or maple, often take longer to dry than less dense softwoods, such as pine or cedar.
As a general rule, the denser the wood, the longer it will take to dry.
Therefore, the type of wood and its qualities are significant when it dries after rain.
2. Initial Moisture Content
The initial moisture content of the wood plays a crucial role in determining the drying time.
Wood with a high moisture content will take longer to dry than wood with lower moisture levels.
Knowing the starting moisture content can help woodworkers anticipate how long the drying process will take.
You can measure the moisture content of the wood using a moisture meter and know exactly when your wood is dried sufficiently after rain exposure.
3. Humidity
If your wet wood is stored in an area of high humidity level, the drying time will be much longer than the average value.
Because when the humidity level difference between inside the wood and outside environment is low, the moisture elevation speed is also slow.
In regions with high humidity, wood will dry more slowly due to the increased moisture in the air.
So, make sure to keep your wet wood in a windy indoor area that has lesser humidity than other areas.
4. Wood thickness and size
The size of the wood is an important thing for wet wood to make them dry faster. If the size of the wet wood is small the surface area that is open to the outside environment is higher than the large wet woodblock.
Thicker pieces of wood will take longer to dry than thinner ones, as moisture must travel a greater distance to evaporate from the wood’s core.
Likewise, larger pieces will require more time to dry than smaller ones.
So, when the surface area is high, moisture reduction speed to the environment is also high. This will make the wet wood dry faster.

5. Climate
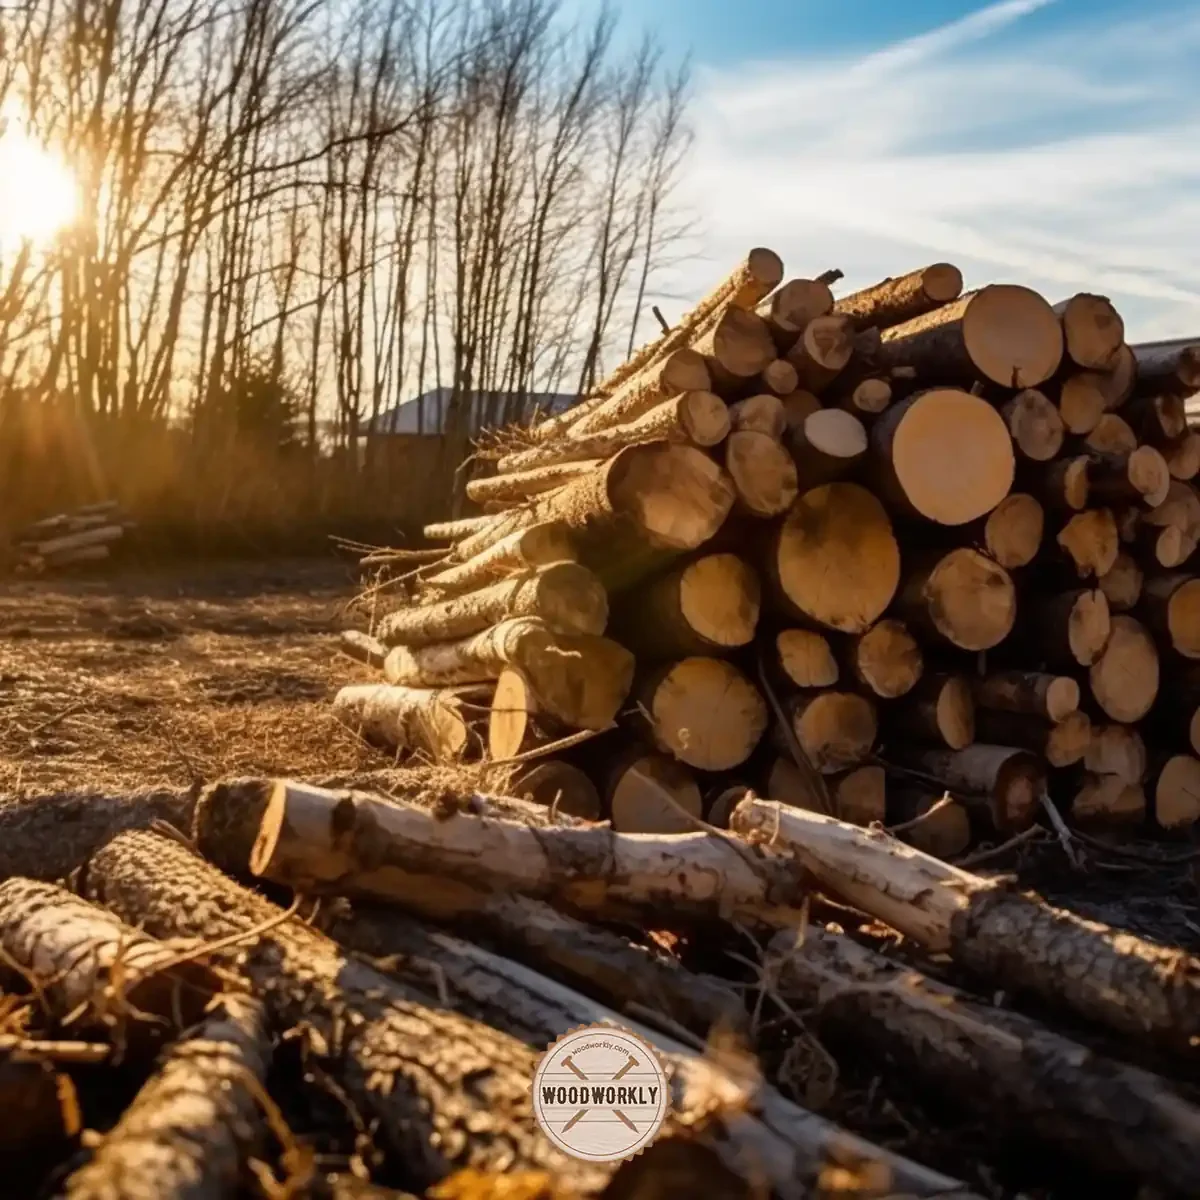
If you live in a dry and windy area with enough sunlight, the drying time will not last for weeks.
Probably 2-3 days are enough to dry the wood completely. But if you live in a wet and rainy area, drying time probably takes more than 2-3 weeks.
Wood will dry more quickly in arid climates. Seasonal changes in temperature and humidity can also impact the drying time.
If your wood is properly covered and stacked up into small pieces and raised above the ground additional rain won’t increase the moisture content of the wood that much.
6. Air circulation and temperature
Proper air circulation and temperature play a vital role in the wood drying process.
Good airflow ensures that moisture evaporates efficiently from the wood’s surface, while adequate temperature speeds up the evaporation process.
Inadequate airflow or low temperatures can slow down the drying process, extending the time it takes for the wood to reach the desired moisture content.
The Importance of Proper Wood Drying
Properly drying wood is crucial for the longevity and quality of your woodworking projects.
Wood that is not dried correctly can experience various issues, such as:
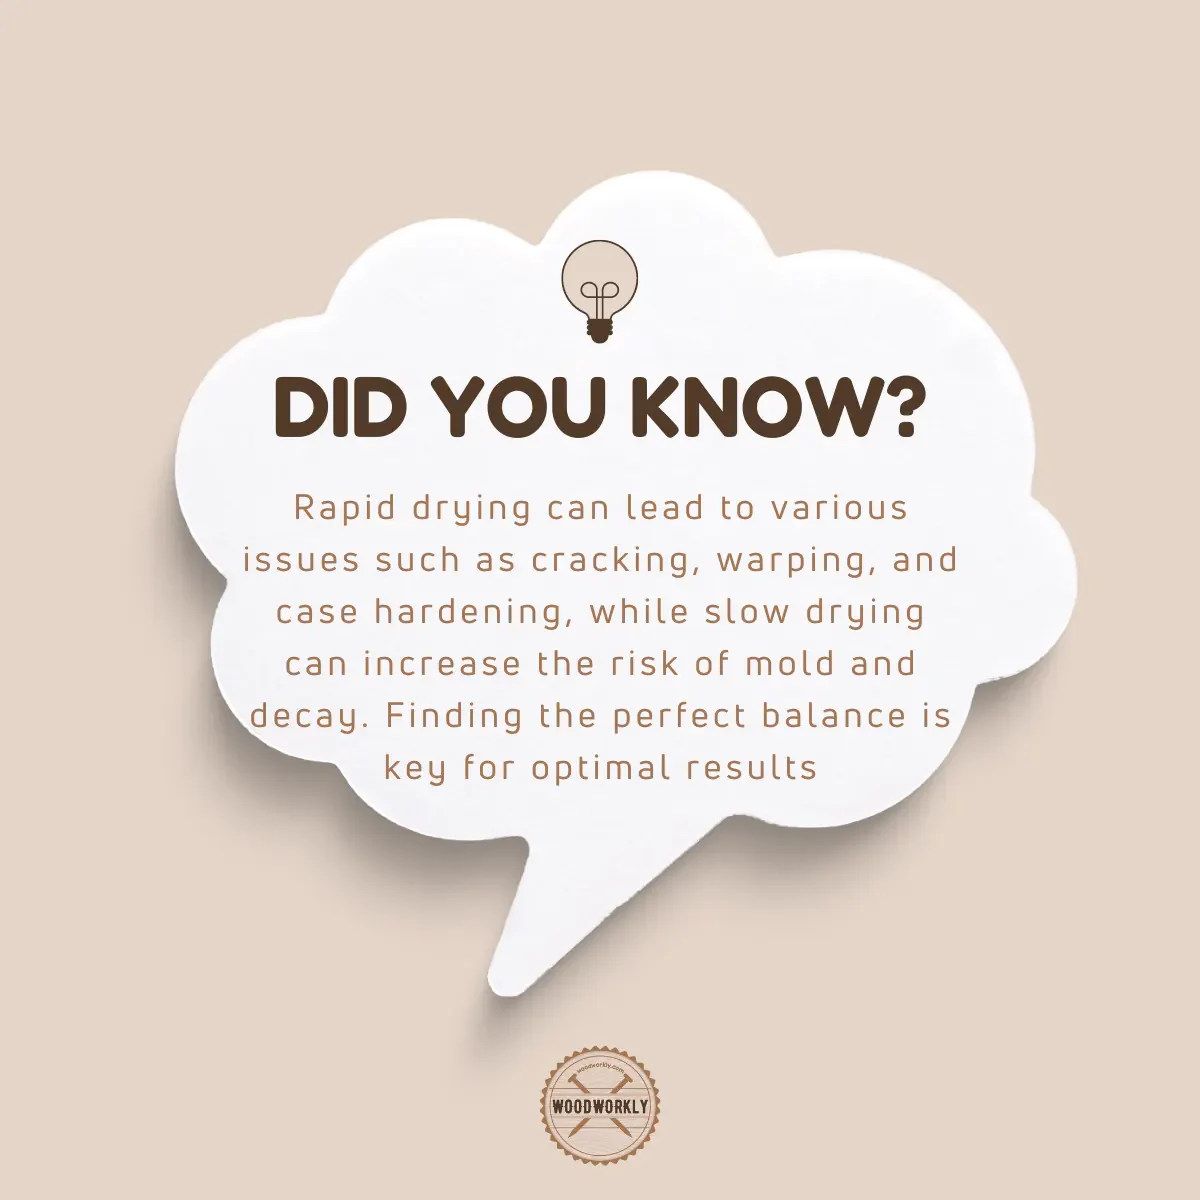
- Warping: Wood that hasn’t reached its EMC can warp in response to humidity or temperature fluctuations.
- Cracking and splitting: Rapid or uneven drying may lead to cracks or splits, undermining the structural integrity of your project.
- Glue joint failures: Wet wood can weaken glue joints, causing them to separate and fail over time.
- Unstable finishes: Wet wood may trigger finishes to peel, bubble, or become discolored.
By comprehending wood’s moisture content and the drying process, you’ll be able to circumvent these issues and ensure that your woodworking projects are durable, stable, and long-lasting.
Estimated Drying Times for Different Wood Types
When it comes to drying wood, one key aspect to consider is the type of wood being used.
Different wood types possess unique properties, which can impact their drying times.
In this section, we’ll delve into the approximate drying times for various wood types, including softwoods, hardwoods, and exotic woods.
Remember, these estimates are general guidelines, and actual drying times may fluctuate depending on specific circumstances and factors.
Softwoods (pine, spruce, fir)
Ah, softwoods! Comprised of pine, spruce, and fir, these wood types are typically less dense and have lower moisture content than hardwoods. Consequently, they dry more rapidly.
Under optimal conditions, air-drying softwoods can take anywhere from 2 to 4 months per inch of thickness.
However, using a kiln can significantly speed up the process, reducing drying time to as little as 2 to 3 weeks.
Hardwoods (oak, maple, cherry, walnut)
Now, let’s chat about hardwoods. Think oak, maple, cherry, and walnut. These wood types are denser than their softwood counterparts and boast higher moisture content. What does that mean? Well, they take longer to dry.
For hardwoods, air-drying can span anywhere from 6 to 12 months (or more) per inch of thickness, hinging on the species and specific conditions.
Kiln-drying, on the other hand, trims this time down to a few weeks or a couple of months, depending on the species and desired moisture content.
Exotic Woods (teak, mahogany, rosewood)
Exotic woods – teak, mahogany, rosewood – oh my! These unique wood types possess distinct properties that can affect drying times.
Generally denser than both softwoods and hardwoods, exotic woods can exhibit varying moisture content levels.
Air-drying these intriguing specimens can last from 6 months to 2 years (or more) per inch of thickness, contingent on the species and conditions.
Kiln-drying? That’s the go-to method for exotic woods.
Why? It ensures more controlled, predictable outcomes. Drying times range from a handful of weeks to a few months.
Drying times for diverse wood types can vary considerably. Softwoods typically dry faster than hardwoods, while exotic woods often need even more time.
Air-drying periods can span from several months to a couple of years, hinging on the wood type and thickness.
Kiln-drying provides a swifter, more controlled alternative to air-drying, cutting the drying time to just weeks or months.
Woodworkers must carefully weigh these estimates and tailor their projects accordingly, making certain the wood they employ is suitably dried for their specific requirements.
Drying Times Of Different Wood Types
| Wood Type | Air-Drying Time (months) | Kiln-Drying Time (days) |
|---|---|---|
| Pine (softwood) | 6-12 | 10-20 |
| Spruce (softwood) | 6-12 | 10-20 |
| Fir (softwood) | 6-12 | 10-20 |
| Oak (hardwood) | 12-18 | 20-30 |
| Maple (hardwood) | 9-15 | 15-25 |
| Cherry (hardwood) | 9-15 | 15-25 |
| Walnut (hardwood) | 9-15 | 15-25 |
| Teak (exotic) | 12-18 | 20-30 |
| Mahogany (exotic) | 12-18 | 20-30 |
| Rosewood (exotic) | 12-18 | 20-30 |
So, let’s have a look at the drying methods to find out the best method to dry out your wet wood.
Drying Methods: Air-Drying vs. Kiln-Drying
When considering how to dry wood for your projects, it’s crucial to understand the two primary drying methods: air-drying and kiln-drying.
Delve into the distinctions, pros, and cons of each technique to choose the most suitable method for your woodworking endeavors.
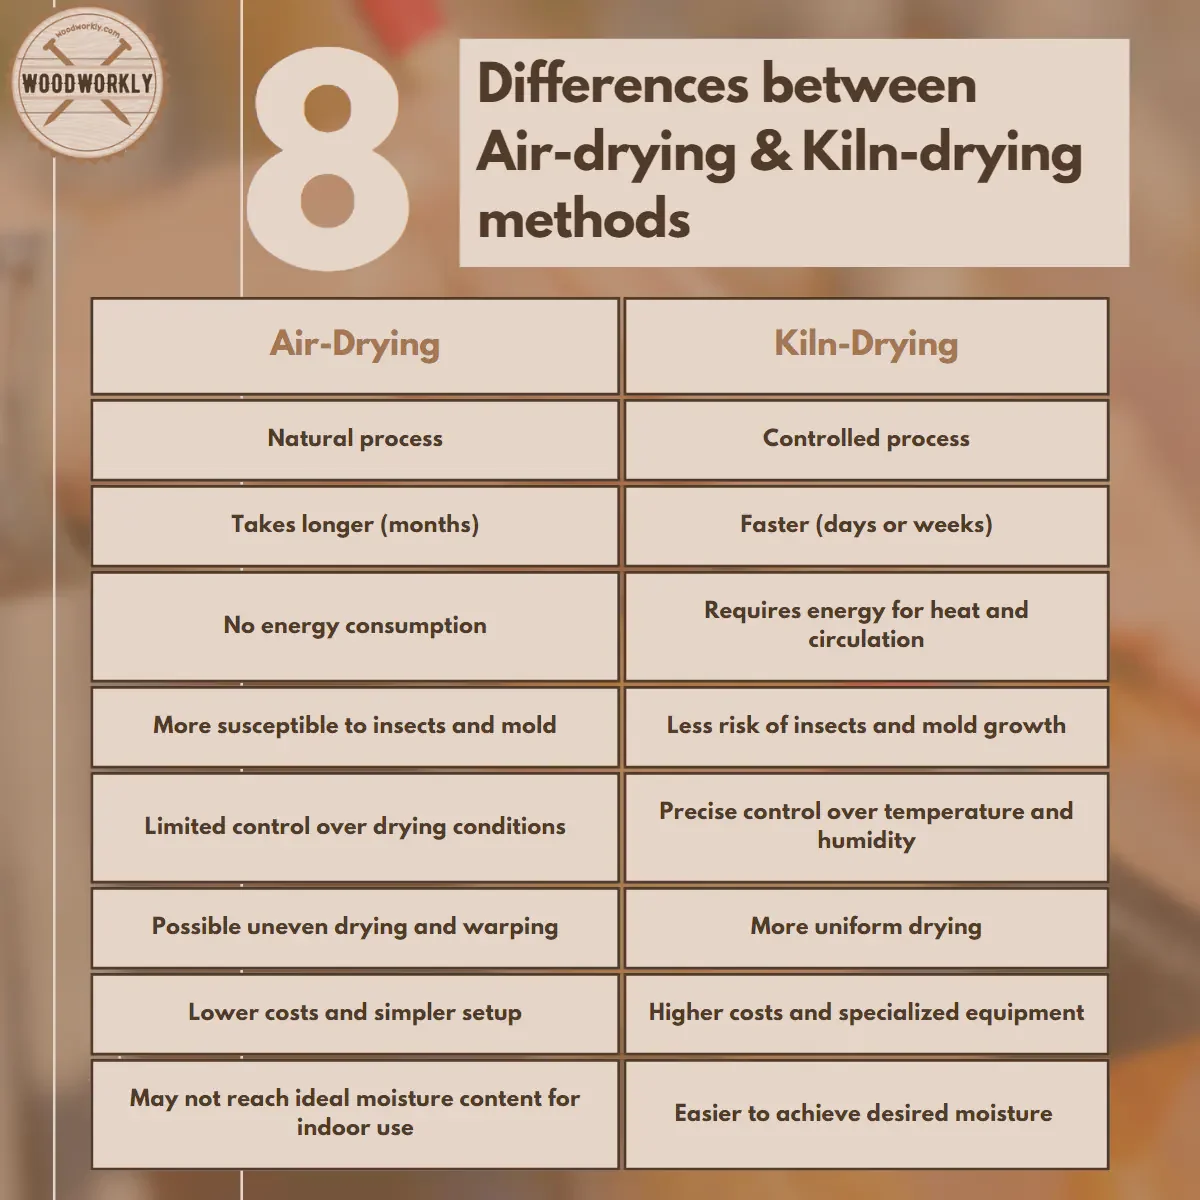
Air-Drying
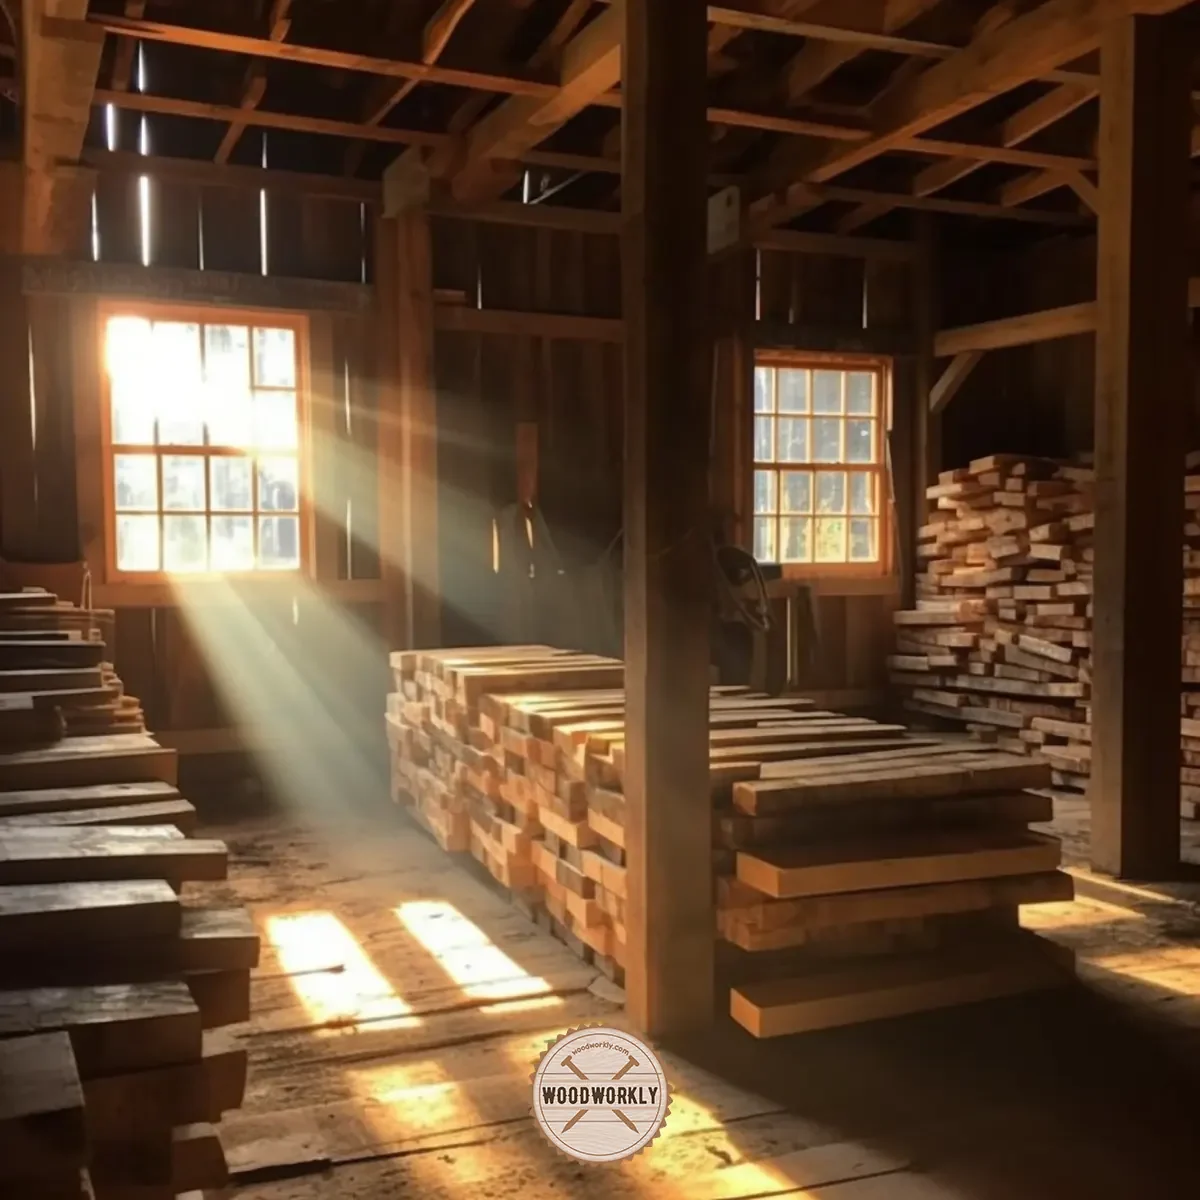
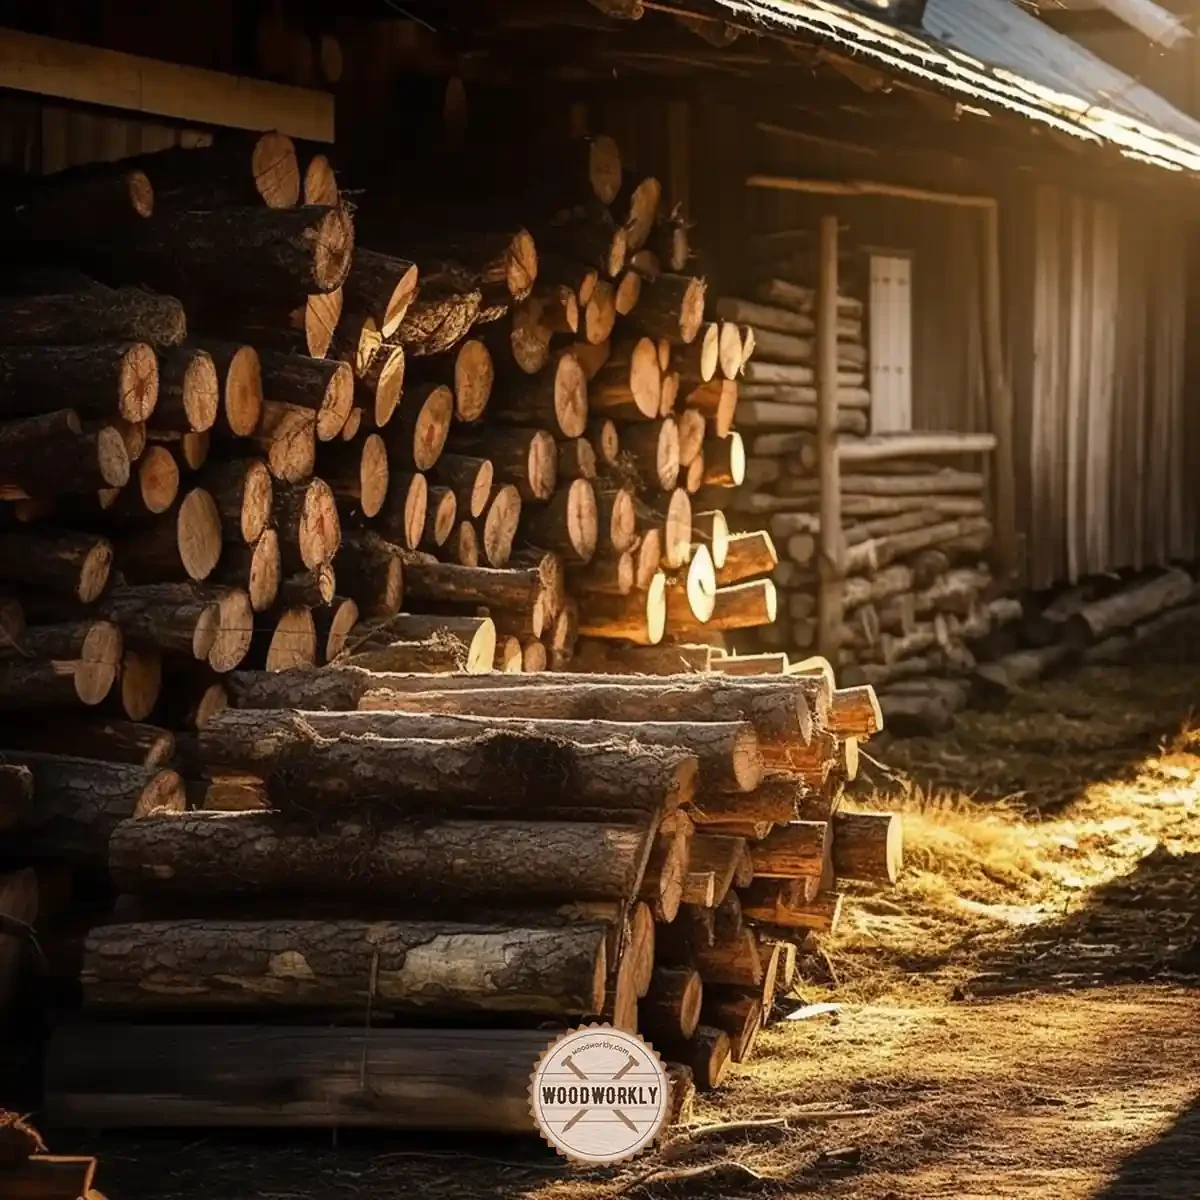
Air-drying is a more traditional approach, relying on the natural evaporation of moisture from wood over an extended period.
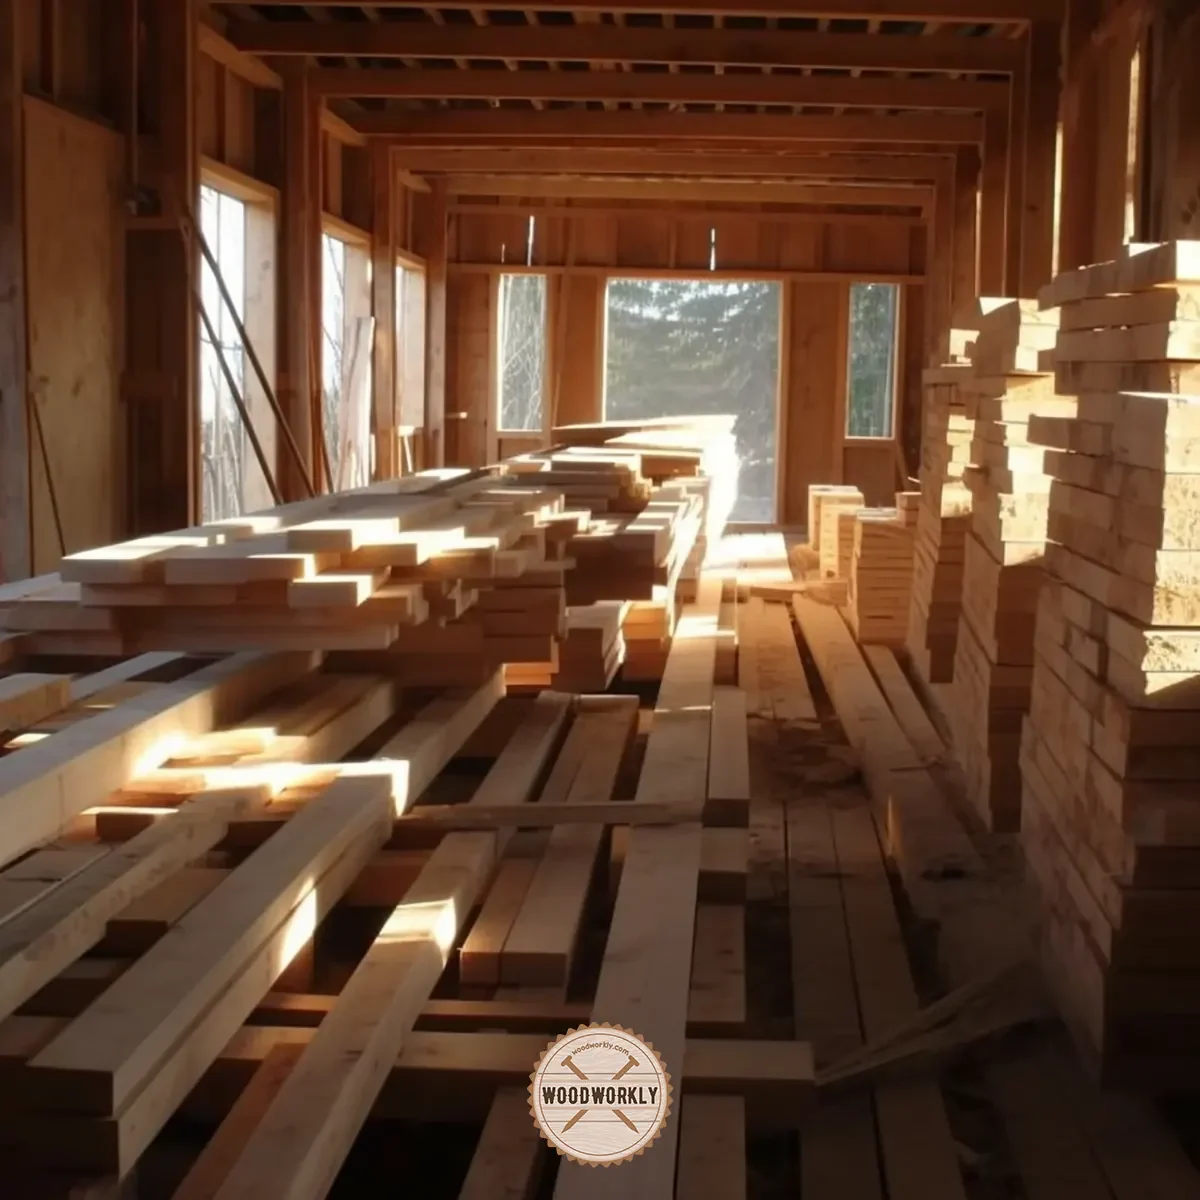
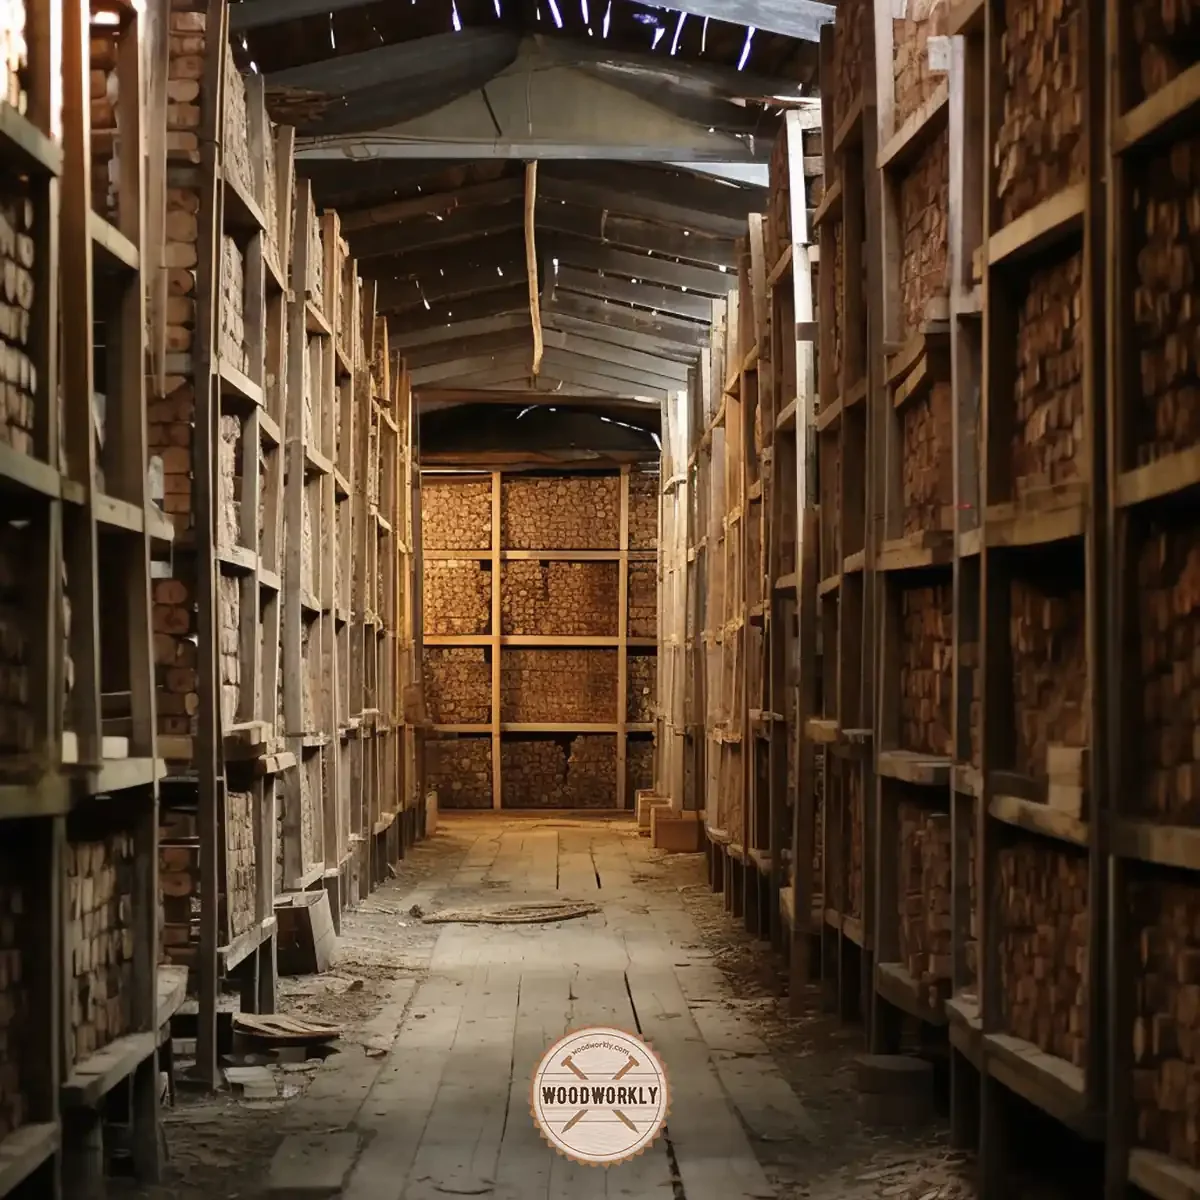
In this process, freshly cut lumber is stacked outdoors or in a well-ventilated area with spacers between layers, allowing airflow around the boards.
Air-drying involves stacking wood in a well-ventilated area with spacers between the layers, allowing air to circulate around the boards.
Moisture content in air-dried wood typically ranges from 12% to 20%, depending on the wood species and local climate.
Just a friendly reminder that it’s a bit tough to find super dry wood from sellers. They’re looking to make some money, so the wood they offer might be around 30% to 40% damp.

A smart move would be to order your firewood about half a year ahead of time. This ensures that when you need it, the wood will be perfectly seasoned and ready for use!
Here are some noteworthy aspects of air-drying:
- Cost-effective: Since air-drying requires minimal equipment and energy, it’s an economical choice for woodworkers.
- Slow process: Air-drying can take several months to years, depending on the wood species, thickness, and environmental factors.
- Susceptible to weather and insects: Exposure to the elements and potential insect infestations can pose challenges in the air-drying process.
Factors affecting air-drying rate:
- Wood species: Different species have varying densities and moisture contents, which impact drying times.
- Wood thickness: Thicker boards take longer to dry than thinner ones.
- Environmental conditions: Temperature, humidity, and airflow play a significant role in the drying rate.
- Stacking method: Proper stacking with spacers and enough air circulation is essential for effective drying.
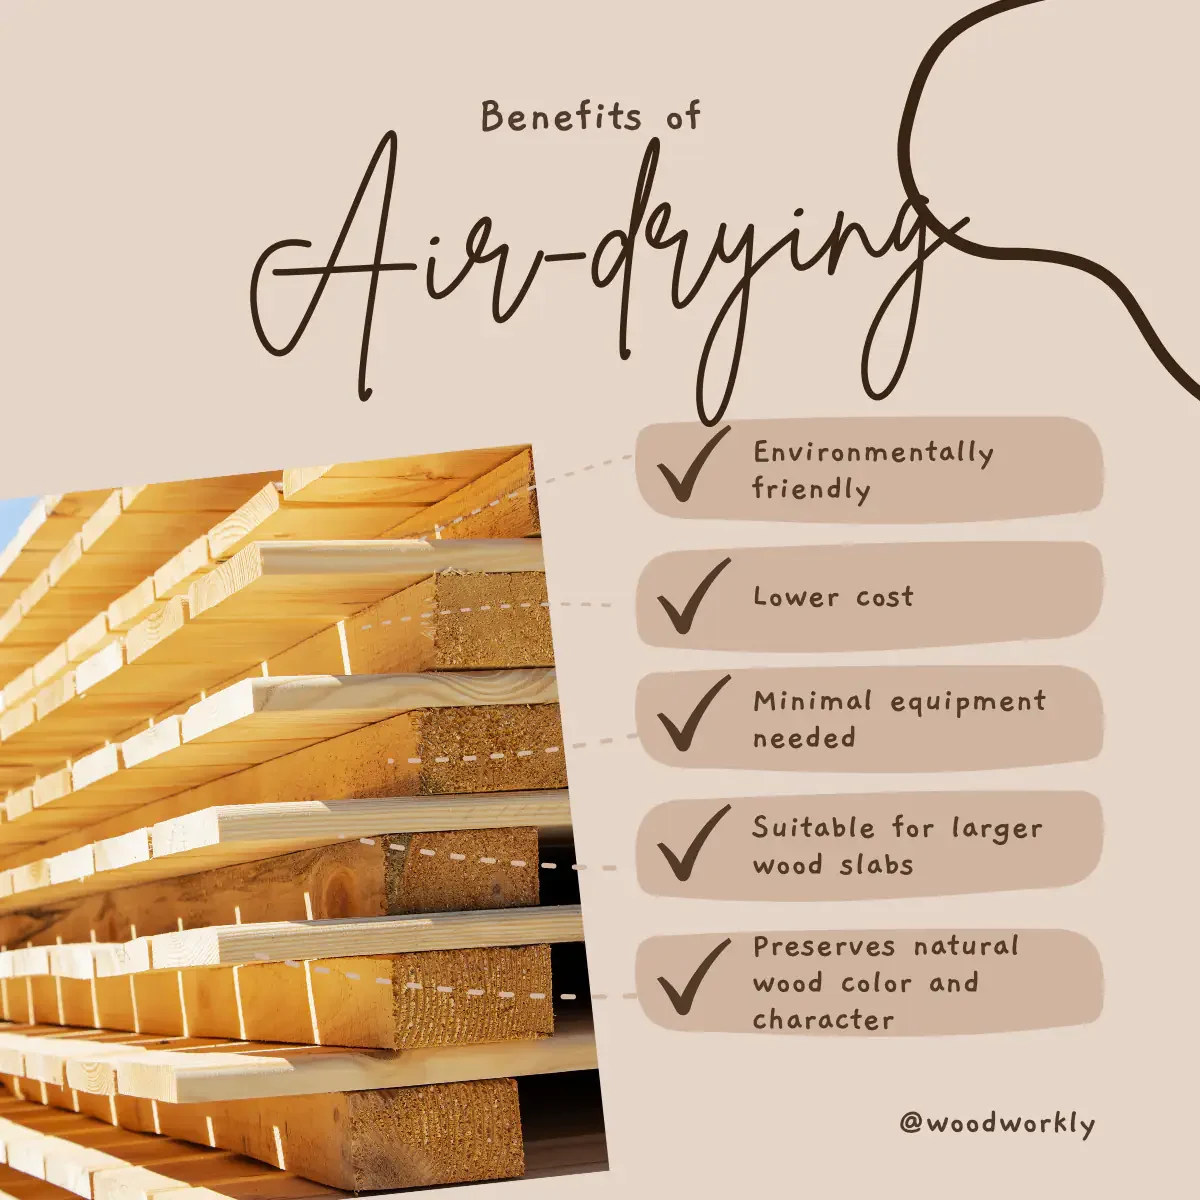
Pros of air-drying:
- Cost-effective: Air-drying requires minimal equipment and energy.
- Eco-friendly: It has a lower environmental impact than kiln-drying.
- Wood character: Air-drying can preserve certain characteristics, such as color and grain patterns.
Cons of air-drying:
- Slow process: Drying times can range from several months to years.
- Unpredictable results: Susceptibility to warping, cracking, and insect infestations.
- Inconsistent moisture content: Varies depending on environmental factors.

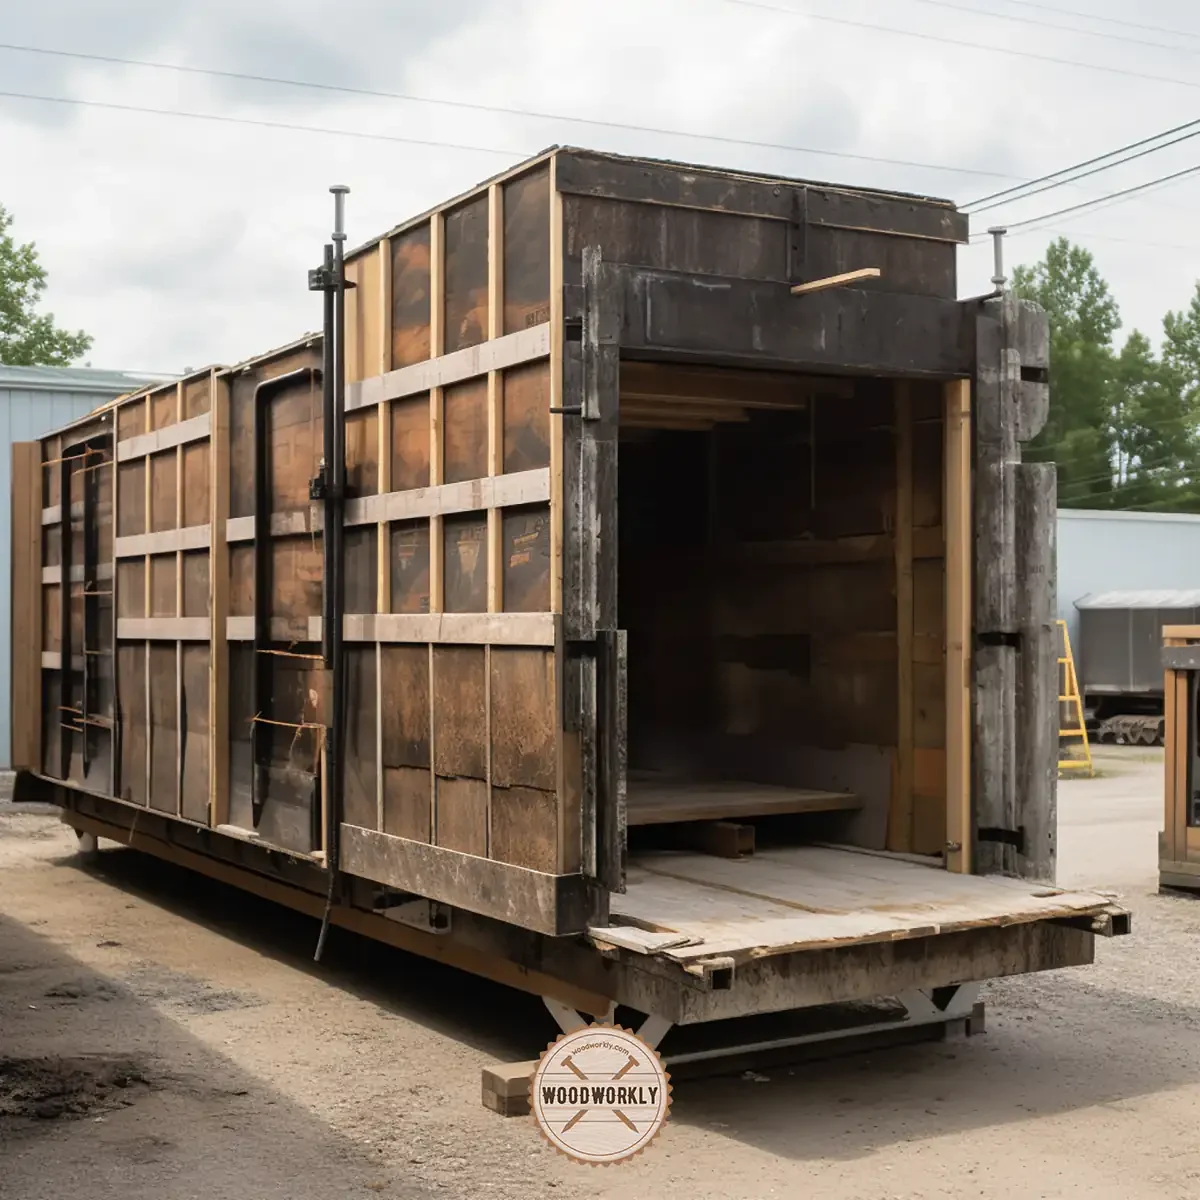
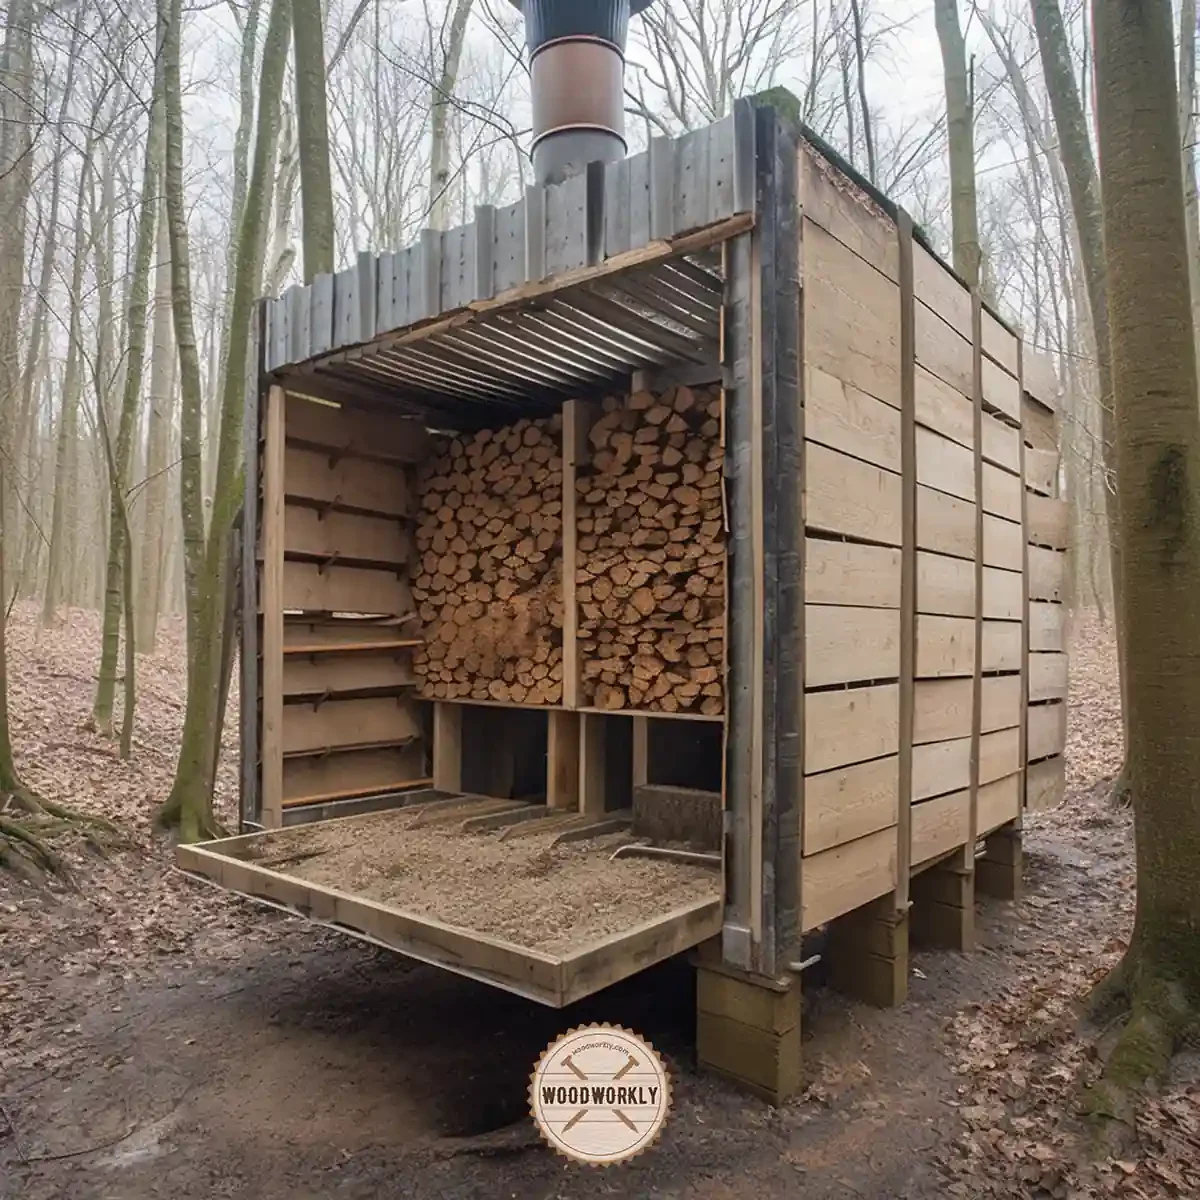
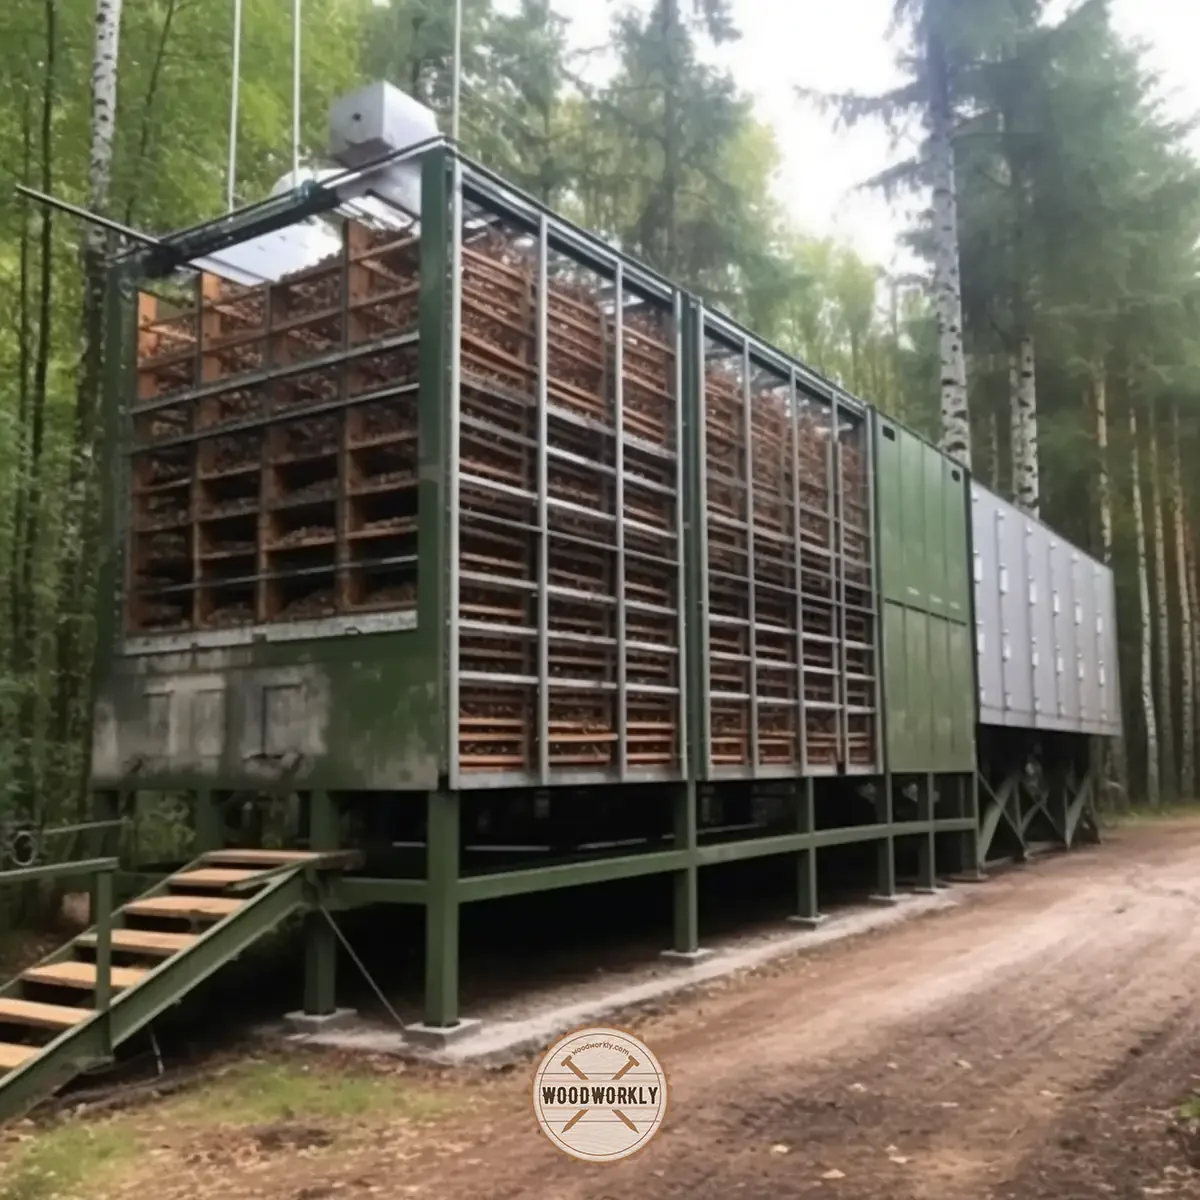
Kiln-Drying
Kiln-drying, on the other hand, involves placing lumber in a controlled environment with regulated temperature, humidity, and airflow.
The Klin drying method is a quicker way than air drying method to dry and reduce the moisture content of your wet wood.
Kiln-drying involves placing wood in a chamber with controlled temperature, humidity, and airflow.
Kiln-dried wood typically has a moisture content between 6% and 8%, making it more suitable for indoor use.
if you’re thinking about purchasing kiln-dried firewood, it’s a good idea to learn about the maker’s drying process. You see, there’s quite a difference between top-notch kiln-dried firewood and the premium stuff.
Just so you know, the USDA has some guidelines for drying wood. Manufacturers need to heat the wood at a minimum of 160 degrees for around 75 minutes.

This process takes care of any pesky bugs and brings the moisture level down to about 25%.
But if you’re aiming for the ultimate dry wood, you’ll want a kiln that reaches 250 degrees and lasts for 48 hours. This method can get most woods down to a mere 5% moisture!
By accelerating the evaporation of moisture, kiln-drying offers several advantages and drawbacks:
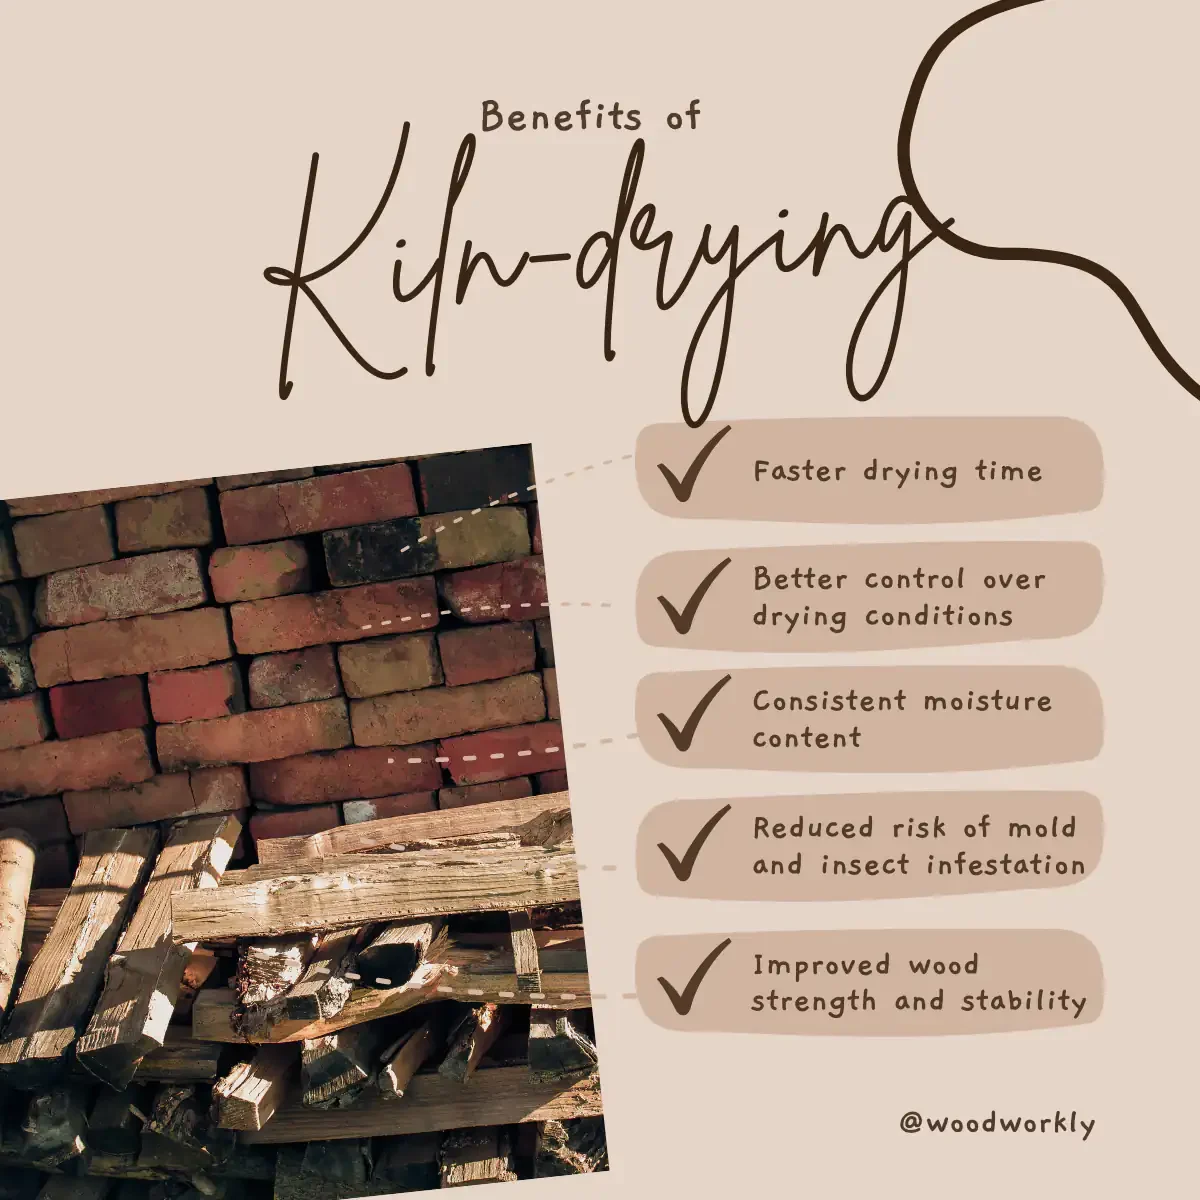
- Faster drying time: Kiln-drying can reduce the drying time to weeks instead of months or years, as in air-drying.
- Better control: The controlled environment allows for more predictable and consistent results, reducing risks of warping, cracking, or insect infestation.
- Higher costs: Kiln-drying requires specialized equipment and energy, making it more expensive than air-drying.
Factors affecting kiln-drying rate:
- Wood species: As with air-drying, different species have distinct drying characteristics.
- Wood thickness: Drying times vary according to board thickness.
- Kiln settings: Temperature, humidity, and airflow need to be carefully regulated for optimal drying.
Pros of kiln-drying:
- Faster drying time: Reduces drying time to weeks instead of months or years.
- Better control: Ensures more predictable and consistent results.
- Reduced risk: Lower chances of warping, cracking, or insect infestation.
- Uniform moisture content: Allows wood to reach a specific, consistent moisture level.
Cons of kiln-drying:
- Higher costs: Requires specialized equipment and energy.
- Environmental impact: Consumes more energy than air-drying.
- Possible loss of wood character: May alter color and grain patterns due to the high-temperature process.
Choosing the Right Drying Method
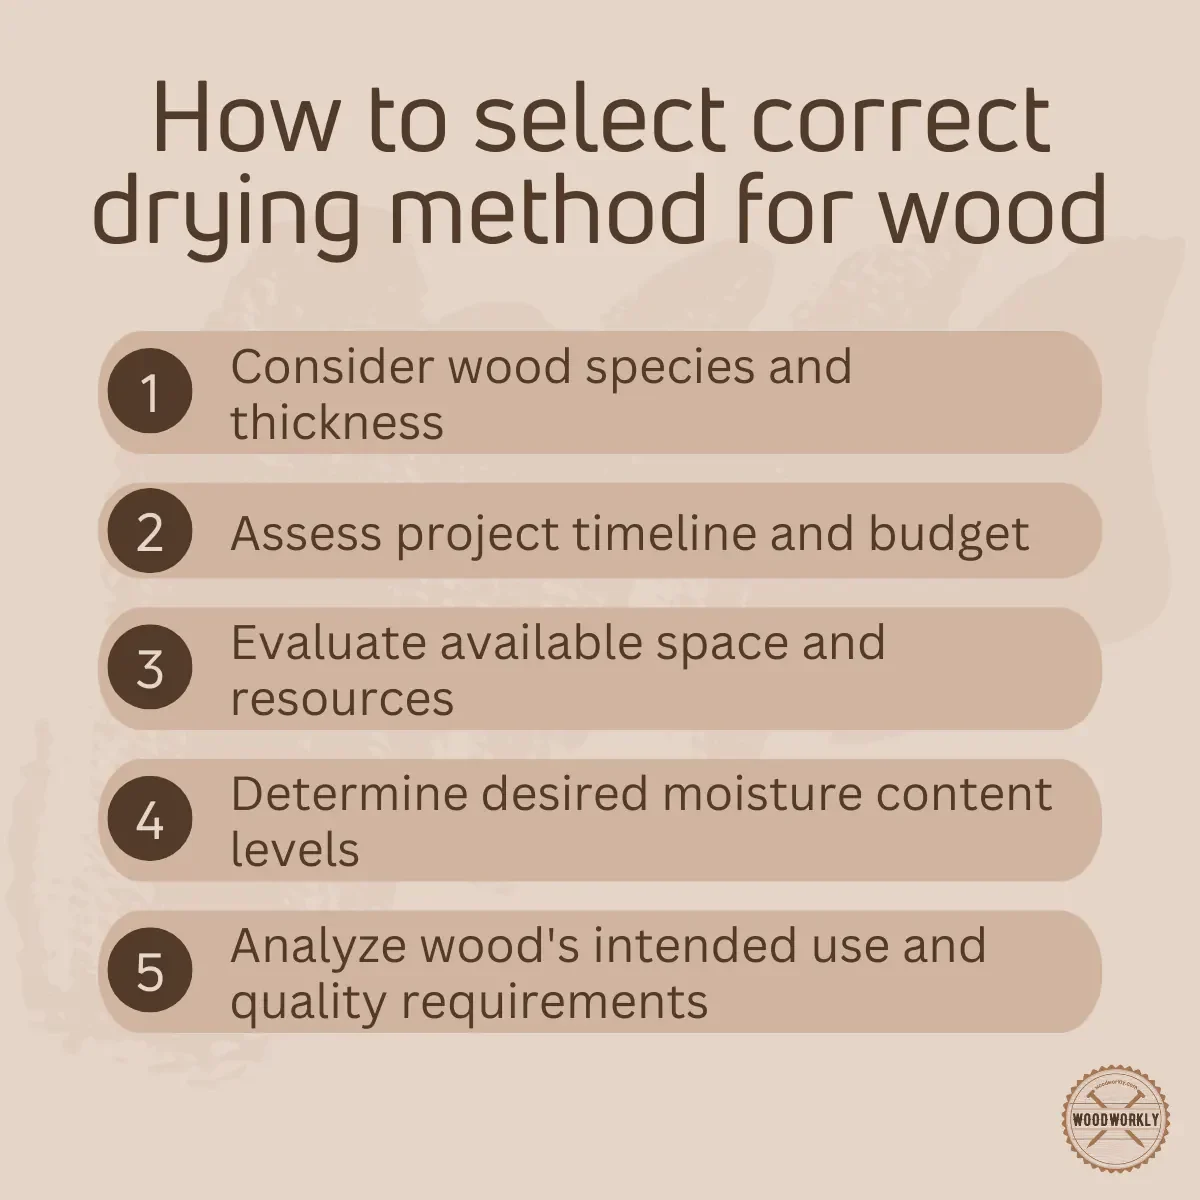
To determine the best drying method for your woodworking projects, consider the following factors:
- Budget: Air-drying is more cost-effective, while kiln-drying demands higher expenses.
- Time constraints: If time is of the essence, kiln-drying provides a quicker solution compared to air-drying.
- Project requirements: Certain projects might necessitate the precision and control of kiln-drying, whereas air-drying may suffice for others.
- Wood species: Some species are more prone to warping or cracking, making kiln-drying a safer option.
By examining the nuances of air-drying and kiln-drying methods, you’ll be better equipped to select the optimal approach that meets your specific needs, ensuring the success and longevity of your woodworking projects.
Let’s discuss each of the above drying methods a little more with some tips and techniques to use to make your drying process a lot easier.
Air-Drying Wood: Tips and Techniques
For those who opt for air-drying wood, it’s crucial to be aware of some essential tips and techniques that can help you achieve the desired moisture content while minimizing the risks of warping, cracking, or other issues.
Here’re some tips and techniques to make your air drying wood process more effective,
- Stack wood with spacers and proper airflow
- Target 7-9% moisture content for indoor projects
- Expose all sides of wood for better drying
- Use a fan to speed up the process
- Wait as long as possible before cutting final parts
Let’s explore each of the above valuable strategies to make air-drying more effective and efficient.
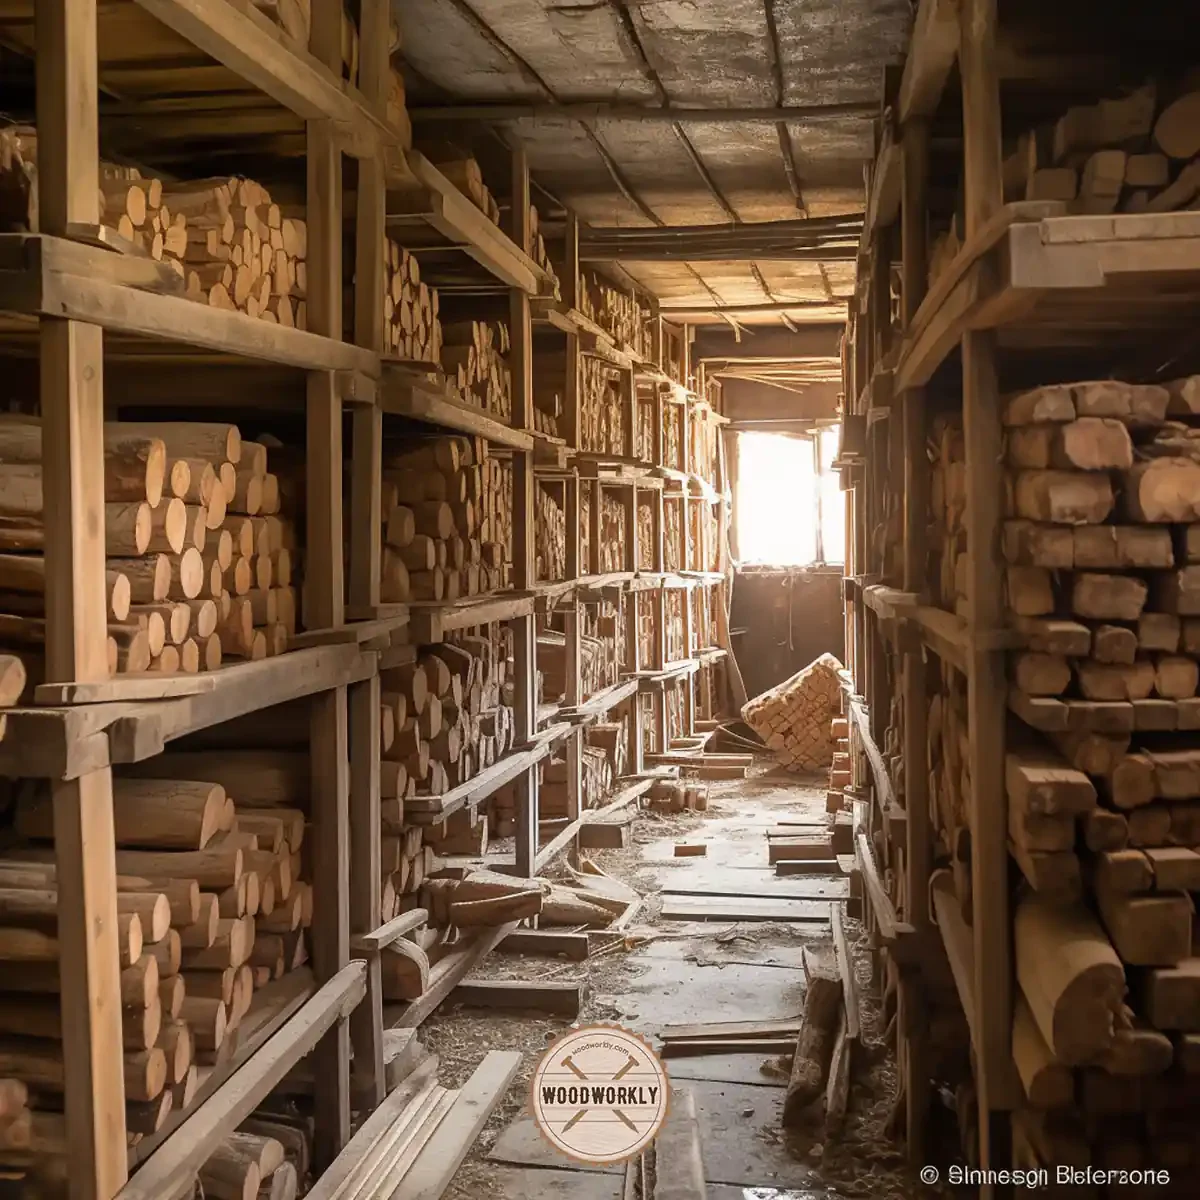
1. Stack Wood with Spacers and Proper Airflow
Proper stacking is the foundation for successful air-drying. Place spacers or stickers between each layer of wood to create gaps for air circulation.
Choose a location with sufficient airflow, such as an outdoor shaded spot or a well-ventilated shed, but avoid damp or enclosed areas like basements or garages.
2. Target 7-9% Moisture Content for Indoor Projects
For projects destined for indoor use, aim for a moisture content of 7-9% to prevent warping or cracking during dry seasons.
A moisture meter can be a valuable tool for tracking the wood’s moisture content throughout the drying process, ensuring you achieve the desired level before proceeding with your woodworking project.
3. Expose All Sides of Wood for Better Drying
To maximize the efficiency of air-drying, ensure all sides of the wood are exposed to the air.
This may involve standing the boards up, stacking them with spacer strips between layers, or arranging them in a manner that promotes airflow around each piece.
The more exposure to air, the more uniformly and effectively the wood will dry.
4. Use a Fan to Speed Up the Process
An electric household fan can significantly accelerate the air-drying process.
Pointing a fan at the wood between work sessions increases air circulation, helping the wood dry at least twice as fast.
It’s a simple yet powerful trick to expedite drying time and move forward with your project sooner.
5. Wait as Long as Possible Before Cutting Final Parts
Resist the temptation to cut parts down to their final size immediately. Instead, leave some room for the wood to misbehave as it dries.
Perform jointing, trimming, and planing only after the wood has fully stabilized.
A moisture meter can be helpful in determining when the wood is ready for these critical stages, taking the guesswork out of the process.
By following these tips and techniques for air-drying wood, you’ll be better prepared to tackle your woodworking projects with confidence, knowing that your wood has been dried properly and is less likely to cause issues later on.
Always remember to be patient and allow the wood ample time to reach the desired moisture content before proceeding with your project.
so, let’s have a look at the process, tips, and techniques of the kiln drying process.
Kiln-Drying Wood: The Controlled Approach
Kiln-drying wood is a popular and controlled method that allows woodworkers to achieve consistent moisture content levels in a shorter time frame.
In this section, we’ll delve into the kiln-drying process and explore the advantages it offers for specific woodworking projects.
Understanding the Kiln-Drying Process
Kiln-drying is a process in which wood is placed inside a specialized chamber called a kiln, where temperature, humidity, and airflow are carefully controlled to dry the wood efficiently.
The process typically involves several stages:
- Pre-drying: This stage removes excess moisture from the wood’s surface, preparing it for the main drying process.
- Main drying: In this phase, the kiln’s temperature is gradually increased, and humidity is reduced, allowing moisture from the wood’s core to evaporate.
- Conditioning: Once the desired moisture content is reached, the kiln’s conditions are adjusted to help relieve internal stresses within the wood, preventing warping or cracking.
- Cooling: The kiln’s temperature is gradually lowered, allowing the wood to cool and stabilize.
The entire kiln-drying process can take anywhere from a few days to several weeks, depending on the wood species, thickness, and desired moisture content.
Advantages of Kiln-Drying for Specific Woodworking Projects
Kiln-drying offers several advantages over air-drying, making it a preferred method for many woodworking projects:
- Faster drying time: Kiln-drying is significantly quicker than air-drying, allowing woodworkers to use the dried wood sooner. This is particularly beneficial for commercial operations where time is of the essence.
- Consistent moisture content: The controlled environment of a kiln ensures that the wood reaches a uniform moisture content, reducing the risk of defects like warping or cupping.
- Enhanced wood properties: Kiln-drying can improve wood’s stability, color, and resistance to decay and insect infestation, resulting in a higher quality finished product.
- Suitable for various wood species: Kiln-drying can be adjusted to accommodate different wood species, thicknesses, and moisture content requirements, making it a versatile option for woodworkers.
Now you know the drying process of wet wood in detail. Follow the given methods carefully and select the one that suits you the most.
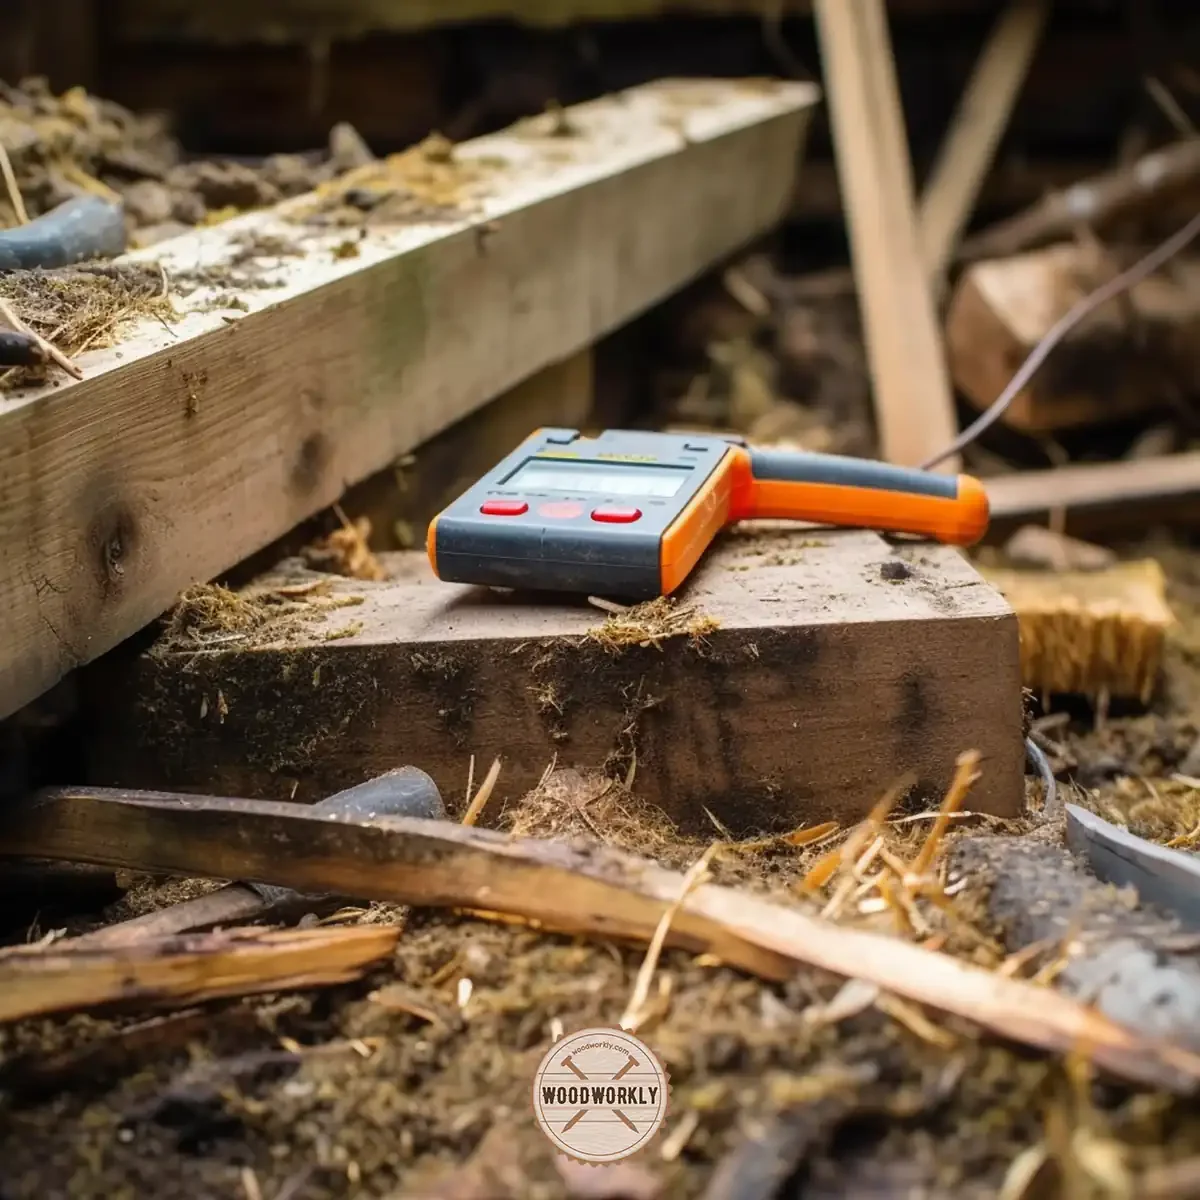
The Role of Moisture Meters
Moisture meters play a pivotal role in the wood drying process, ensuring that your wood is at the ideal moisture content for your woodworking project.
Understanding the importance of measuring wood moisture content and how to use different types of moisture meters is essential to achieve the best results.
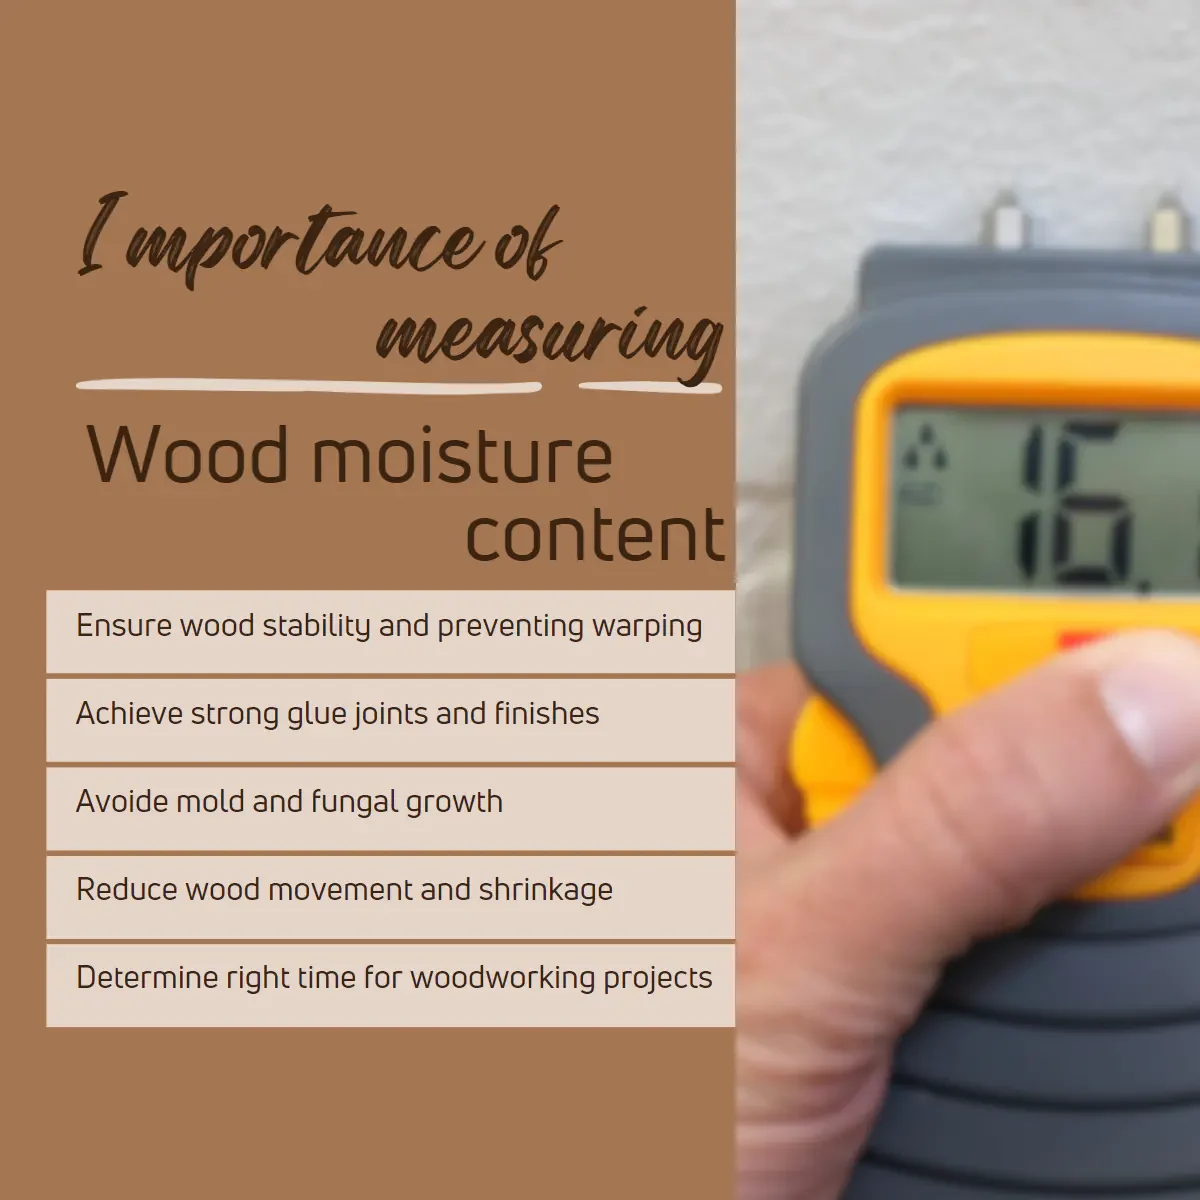
Importance of Measuring Wood Moisture Content
Measuring the moisture content of wood is crucial for various reasons.
Accurate moisture readings can help you determine the optimal drying time, prevent issues like warping or cracking, and ensure your finished product is of the highest quality.
Furthermore, wood with incorrect moisture levels can lead to adhesive problems, premature finish failure, or dimensional instability.
Using a moisture meter to keep track of the wood’s moisture content allows you to make informed decisions throughout the drying and woodworking processes.
Types of Moisture Meters and How to Use Them
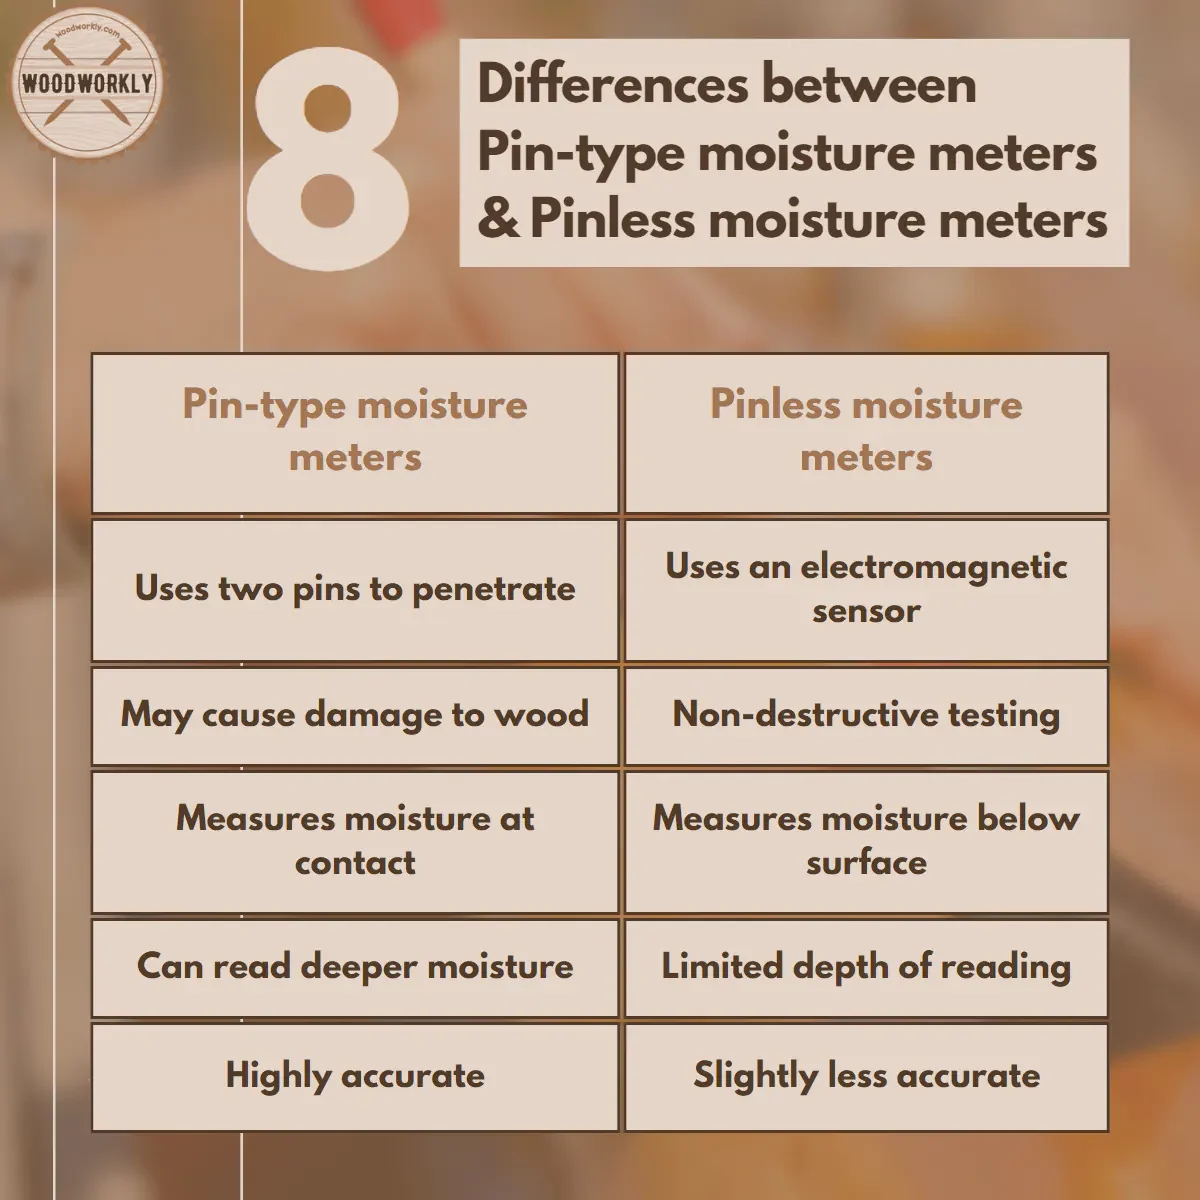
There are two primary types of moisture meters: pin-type and pinless. Each type works differently and has its unique advantages.
1. Pin-type moisture meters
These meters use two sharp pins that you insert into the wood to measure its moisture content.
The meter sends an electrical current between the pins, determining the wood’s moisture content based on the resistance encountered.
Pin-type meters are popular because they provide accurate readings, but they can leave small holes in the wood surface.
To use a pin-type moisture meter, press the pins into the wood at various points, avoiding knots or irregularities.
Take multiple readings to get a good average, ensuring a more reliable moisture content measurement.

2. Pinless moisture meters
These meters use electromagnetic waves to measure the moisture content without damaging the wood.
Pinless meters are non-invasive and provide quick readings but may be less accurate than pin-type meters, especially when used on rough-sawn lumber or surfaces with uneven moisture distribution.
To use a pinless moisture meter, press the sensor pad against the wood surface and hold it steady for a few seconds.
As with pin-type meters, take multiple readings at different locations to ensure accurate results.
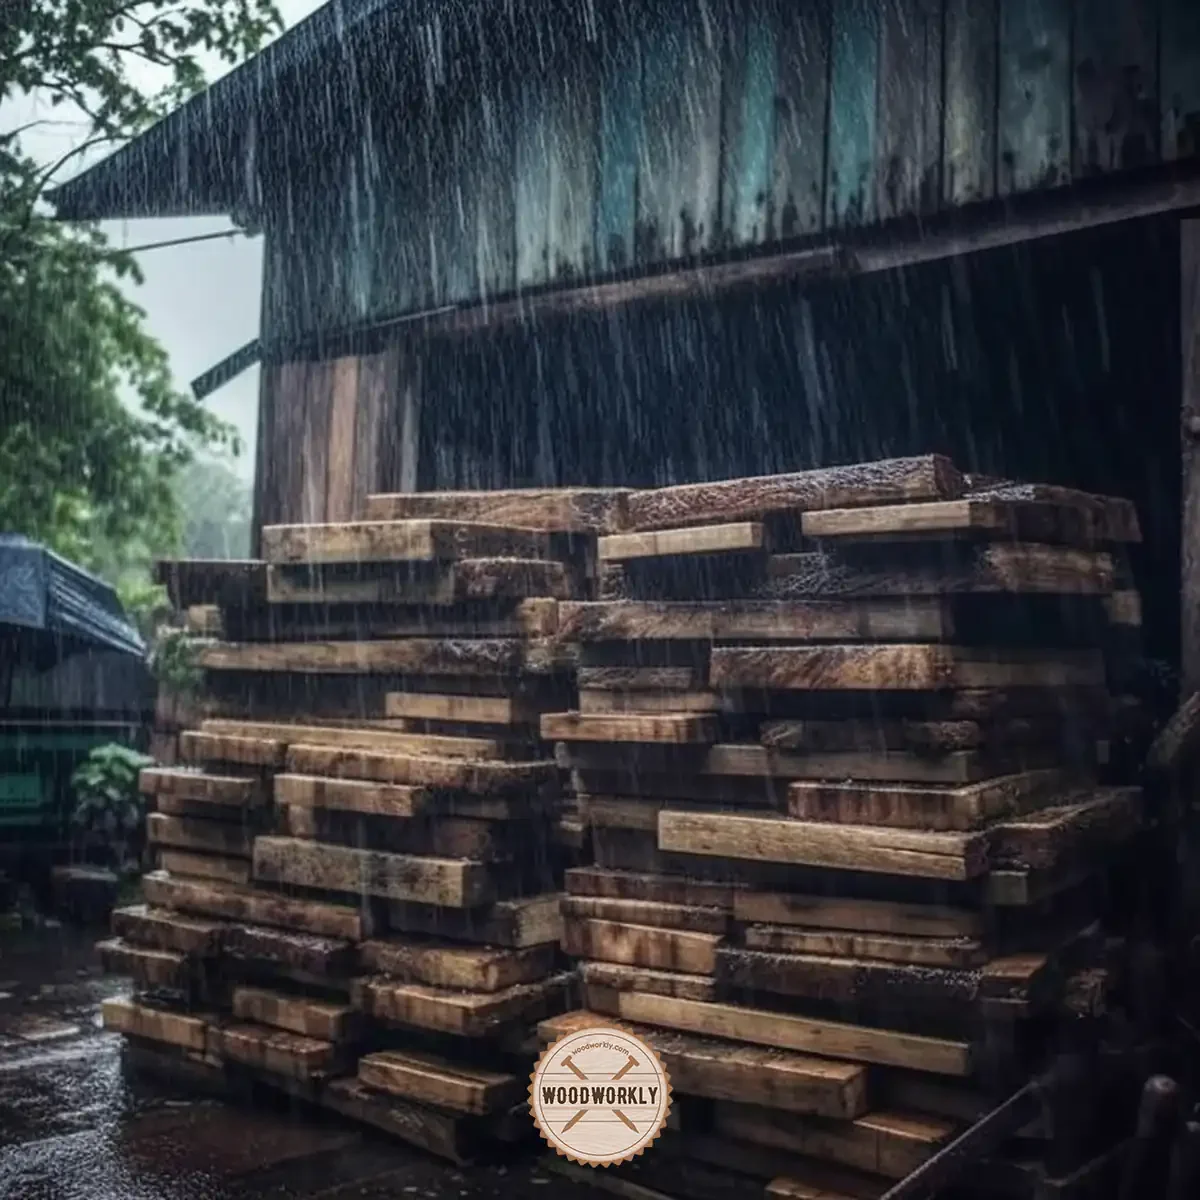
How Long Does It Take Wood To Dry After Rain?
Mostly wood takes no more than one week to dry after rain.
Normally moisture content of the wood will increase by around 30% after exposure to rain and once the moisture content reaches 15%, we can consider the wood dry.
Rainy days can make the process of drying wood a tad tricky. But fret not!
In this section, we’ll discuss how long it takes for wood to dry after getting drenched by a downpour.
We’ll explore the factors that influence drying time, the significance of proper storage and ventilation, and methods to hasten the drying process.
With a touch of patience and a dash of know-how, your wood will be dry in no time!
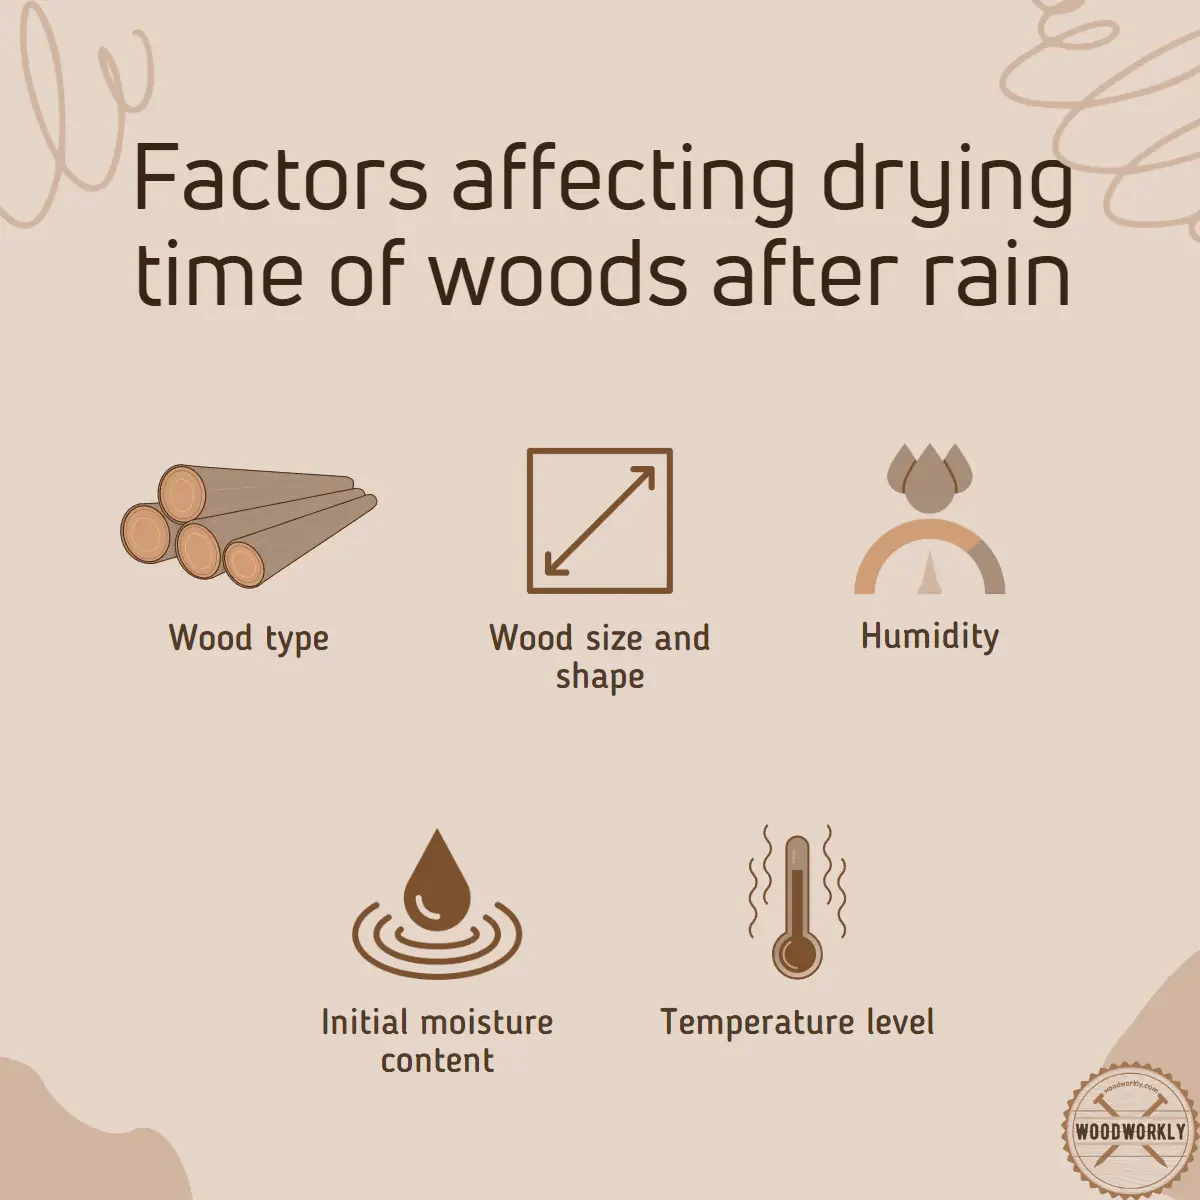
Factors Affecting Drying Time After Rain
Wood drying after a good ol’ rainstorm hinges on a handful of factors, some of which are:
- Wood species: Different types of wood have distinct densities and moisture absorption rates, impacting how quickly they dry.
- Wood size and shape: Larger or thicker pieces of wood require more time to dry than smaller, thinner ones.
- Humidity and temperature: High humidity and low temperatures can prolong drying times, while lower humidity and higher temperatures expedite the process.
- Ventilation and air circulation: Proper air circulation can whisk moisture away from the wood, accelerating drying.
Importance of Proper Storage and Ventilation
It’s crucial to store and ventilate your wood correctly after rain to prevent issues like mold, decay, or warping.
Proper storage and ventilation not only help your wood dry faster, but they also safeguard its integrity, ensuring it’s ready for your next woodworking masterpiece.
Some tips for effective storage and ventilation include:
- Storing wood off the ground: This prevents moisture from seeping into the wood from the soil or concrete.
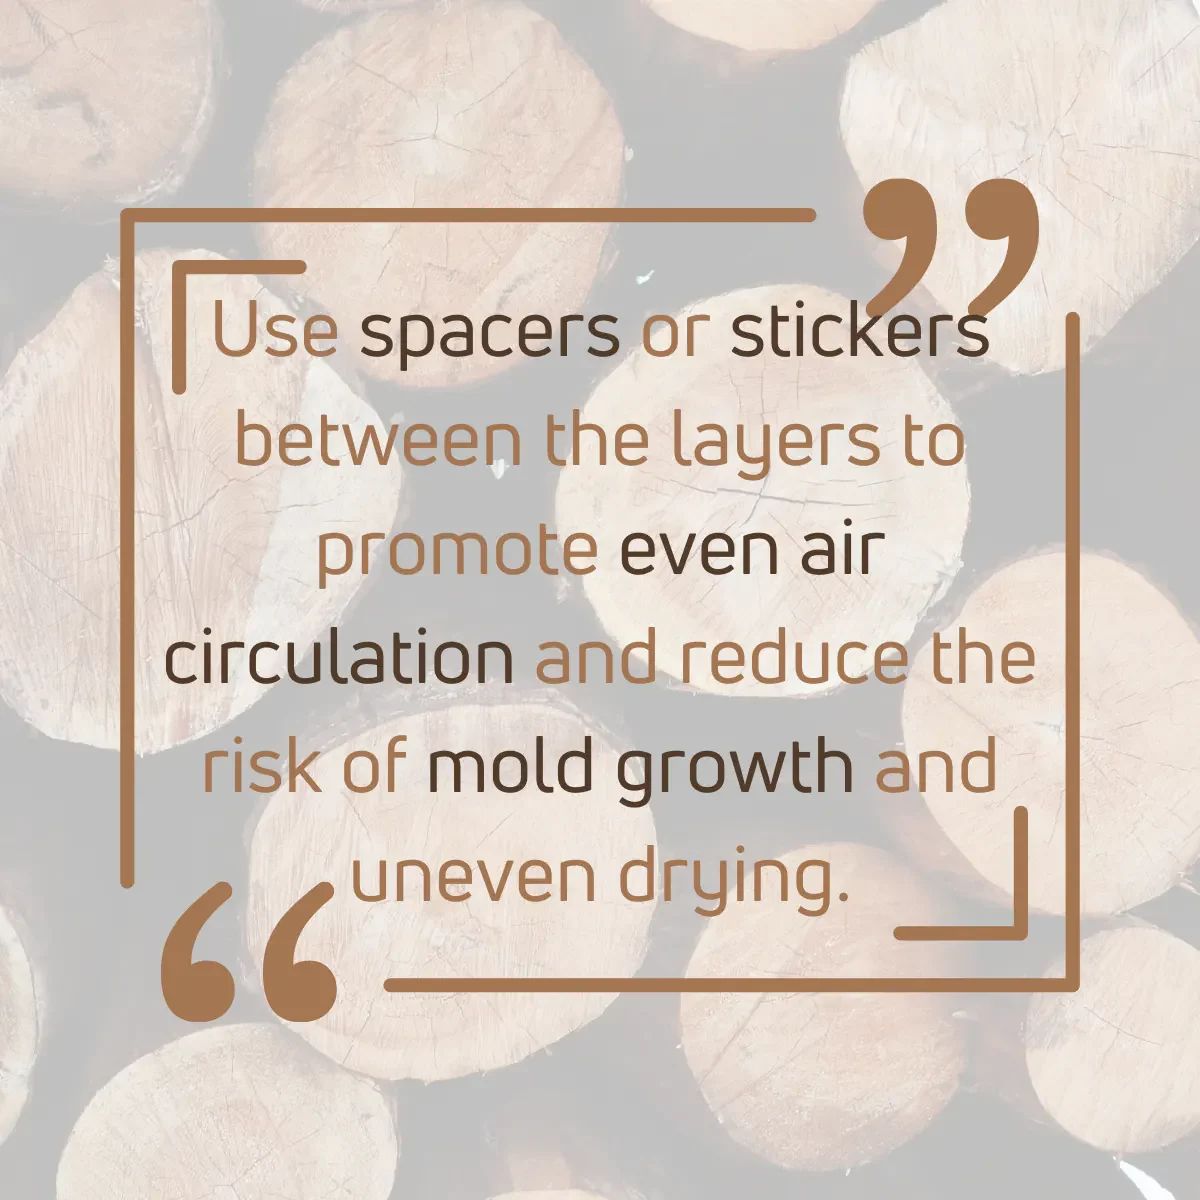
- Utilizing spacers: Stacking wood with spacers between the layers enhances air circulation, promoting even drying.
- Protecting wood from the elements: Store wood under a cover or in a well-ventilated shed to shield it from further rain and moisture.
How to Make Wet Wood Dry Faster?
Sometimes, waiting for wood to dry can feel like an eternity, especially when you’re itching to dive into a woodworking project.
There are lots of ways you can dry wood faster. Here’re several methods that help your wet wood to dry faster,
- Increase air circulation
- Cover the wood properly
- Stack up the wood into small pieces
- Use heat and dehumidifiers
Let’s discuss each of the above fast-drying methods in detail.
1. Increasing Air Circulation
Air circulation is essential for speeding up the drying process. It helps whisk away moisture from the wood, leaving it dry and ready for use.
Here’s how you can increase air circulation to dry wet wood faster:
- Stack and space the wood: Arrange the wood in a way that allows air to flow freely around each piece. Use spacers between layers to ensure adequate air circulation.
- Use fans: Set up fans to blow air over the wood, helping to evaporate moisture more rapidly.
2. Cover the wood properly
By covering the wood properly, the wood won’t expose to additional rain or moisture. Use a sheet of plywood or metal to cover the tops.
They won’t give access to moisture or water droplets to go inside the wood.
3. Stack up the wood into small pieces
You need to build a stack properly by splitting wet wood into small pieces to dry them quickly. Once the stacked wood is ventilated properly using stickers, the moisture won’t get access to go inside the wood.
Breaking your wood down into smaller pieces can help it dry faster, as it exposes more surface area to the air, enabling moisture to evaporate more quickly.
Keep these tips in mind when cutting wet wood:
- Cut with care: Cutting wet wood can be more challenging than working with dry wood. Use sharp tools and take your time to ensure clean, precise cuts.
- Mind the grain: As wood dries, it can shrink and warp. Pay attention to the grain direction when cutting to minimize any issues as the wood dries.
The airflow between each wood will dry out the wood by absorbing moisture.
4. Using Heat and Dehumidifiers
By placing your wet wood nearby the fireplace, the moisture will quickly eliminate and help to dry the wood faster. This is the method that I follow during rainy days.
Incorporating heat and dehumidifiers into your wood-drying arsenal can make a world of difference:
- Apply gentle heat: Space heaters, wood stoves, or even sunlight can provide the warmth necessary to evaporate moisture from the wood. Remember, though, that excessive heat can cause warping or cracking, so moderation is key!
- Dehumidify the space: A dehumidifier can lower the humidity in the area where you’re drying the wood, promoting faster drying. Ensure proper ventilation to prevent the buildup of excess moisture in the room.
Or you can heat the wood by placing them in a shed or garage. Those areas have enough space and heat to make the drying process faster.
How To Tell If the Wood Is Dry?
Ah, the age-old question: “Is this wood dry enough?” Well, fellow wood aficionados, I’m here to share some wisdom on how you can determine if your wood is sufficiently dry for use.
We’ll delve into visual and tactile indicators, using moisture meters for accurate measurements, and the burn test for firewood.
So, let’s get started!
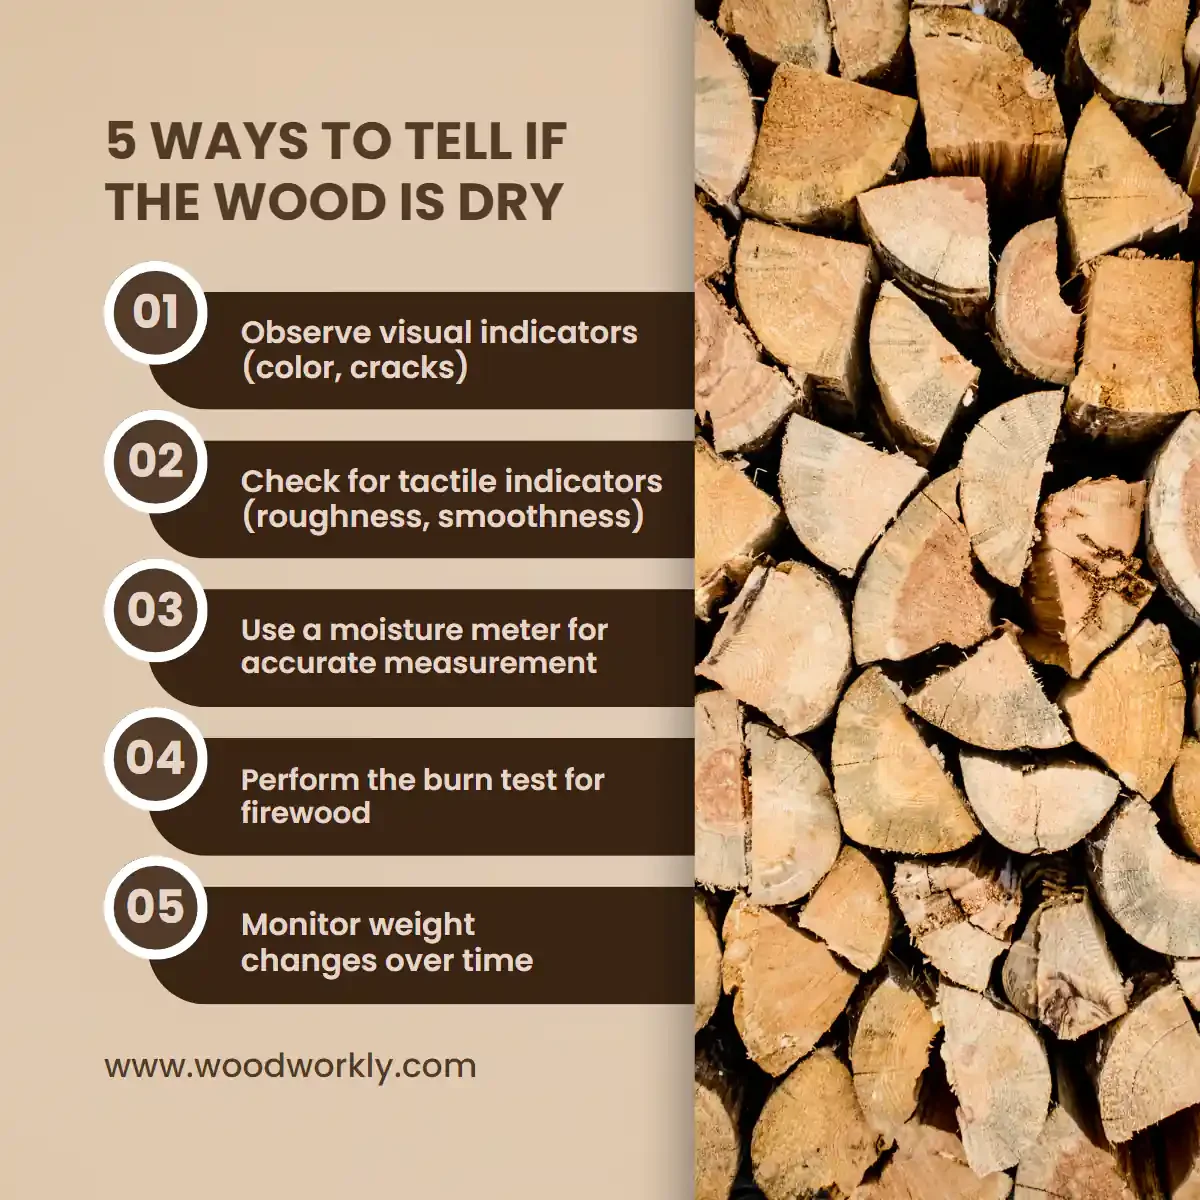
There are some techniques we can follow to identify whether the wood is dried properly. They are,
- The wood’s split surface is dry and warm.
- Cracks in the end grain.
- Wood does not hiss when it burns.
- Wood darkens over time.
- No dull sounds from the wood when knocked against another piece of wood.
- Light in color.
- Lighter in weight.
If you don’t have a moisture meter, you can follow the above steps and techniques to make sure your wet wood has dried properly and is ready to use.
Visual and Tactile Indicators
Sometimes, our senses can be our most reliable tools. Here are some visual and tactile clues to help you assess the dryness of wood:
- Color: Dry wood often appears lighter in color compared to its wet counterpart.
- Cracks: As wood dries, it may develop small cracks or checks at the ends. This can indicate reduced moisture content.
- Texture: Dry wood feels smoother, less damp, and lighter than wet wood.
Keep in mind that these indicators aren’t foolproof, so it’s wise to rely on more accurate methods for precise moisture measurements.
Using Moisture Meters for Accurate Measurements
Moisture meters are your go-to gadgets for determining the exact moisture content of your wood. They come in two main types:
- Pin-type meters: These meters use two pins that are inserted into the wood. They measure the resistance between the pins to determine the moisture content.
- Pinless meters: These meters use electromagnetic sensors to measure moisture content without penetrating the wood.
To use a moisture meter, follow the manufacturer’s instructions and take measurements at several locations to ensure an accurate reading. Aim for moisture content between 7-9% for indoor woodworking projects.
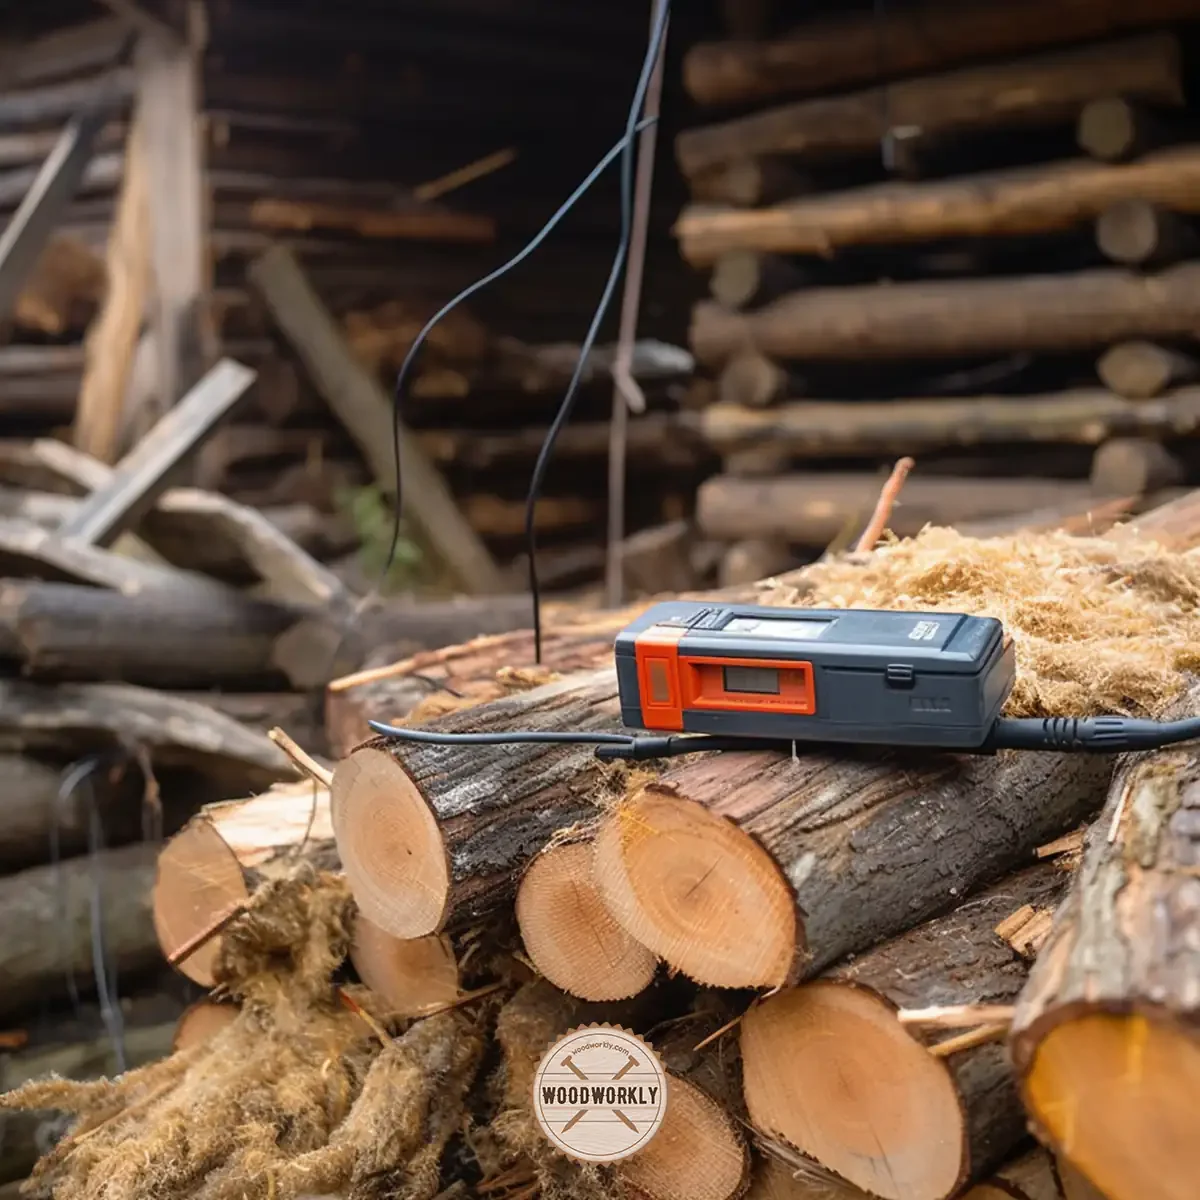
Burn Test for Firewood
For those looking to test the dryness of firewood, the burn test is a simple, tried-and-true method:
- Choose a piece of firewood and try to ignite it with a match or lighter.
- Observe how easily it catches fire and how it burns. Dry wood will ignite quickly and burn with a crackling sound, while wet wood will be difficult to light and produce more smoke.
Now that you’ve got the lowdown on how to tell if wood is dry, you can confidently select the perfect pieces for your woodworking projects or cozy fires.
How Long Does It Take Wood to Dry After Power Washing?
Normally 48 hours is enough for wood to dry after power washing. After the power washing, there is a certain amount of moisture trapped inside the wood.
So, you should dry the wood completely to make sure no water has soaked into the wood under the stain.
If you feel the wood won’t dry out within 2-3 days, expose it to sunlight to give more time to dry out quickly.
In my experience power washed wood should be dried out completely within a maximum of 72 hours.
Once the moisture content of the wood is down to 12% to 15%, the wood is considered dried enough and you should wait another day before start staining.
Factors Influencing Drying Time After Power Washing
Several factors can affect the drying time of wood after power washing:
- Wood species: Different types of wood have unique drying rates. For example, denser hardwoods may take longer to dry than softer woods.
- Temperature and humidity: Warmer, less humid conditions can accelerate the drying process, while cooler, more humid environments can slow it down.
- Sunlight exposure: Direct sunlight can help speed up the drying process, but be cautious of the risk of uneven drying or warping.
- Ventilation: Adequate airflow is essential for even and efficient drying.
Given these factors, drying time can range from a few hours to a few days. Be sure to monitor the drying process and make adjustments as needed.
Precautions and Storage Recommendations
Here are some tips to ensure proper drying and storage of your wood after power washing:
- Elevate the wood: Place the wood on spacers or a raised surface to allow airflow underneath and prevent moisture from being trapped.
- Use a fan or heater: If you’re drying wood indoors or in an enclosed space, using a fan or heater can help speed up the process by promoting airflow and increasing the temperature.
- Avoid direct sunlight for extended periods: Prolonged exposure to direct sunlight can cause the wood to dry unevenly, warp, or crack. Keep an eye on the drying process and move the wood if necessary.
- : When in doubt, give your wood some extra time to dry. This will ensure it’s completely dry and ready for your next woodworking project or outdoor application.
Tips for Preventing Wood Drying Problems
Avoiding wood drying issues is vital to ensure the success of your woodworking endeavors.
Here’re some valuable tips to prevent wood drying problems,
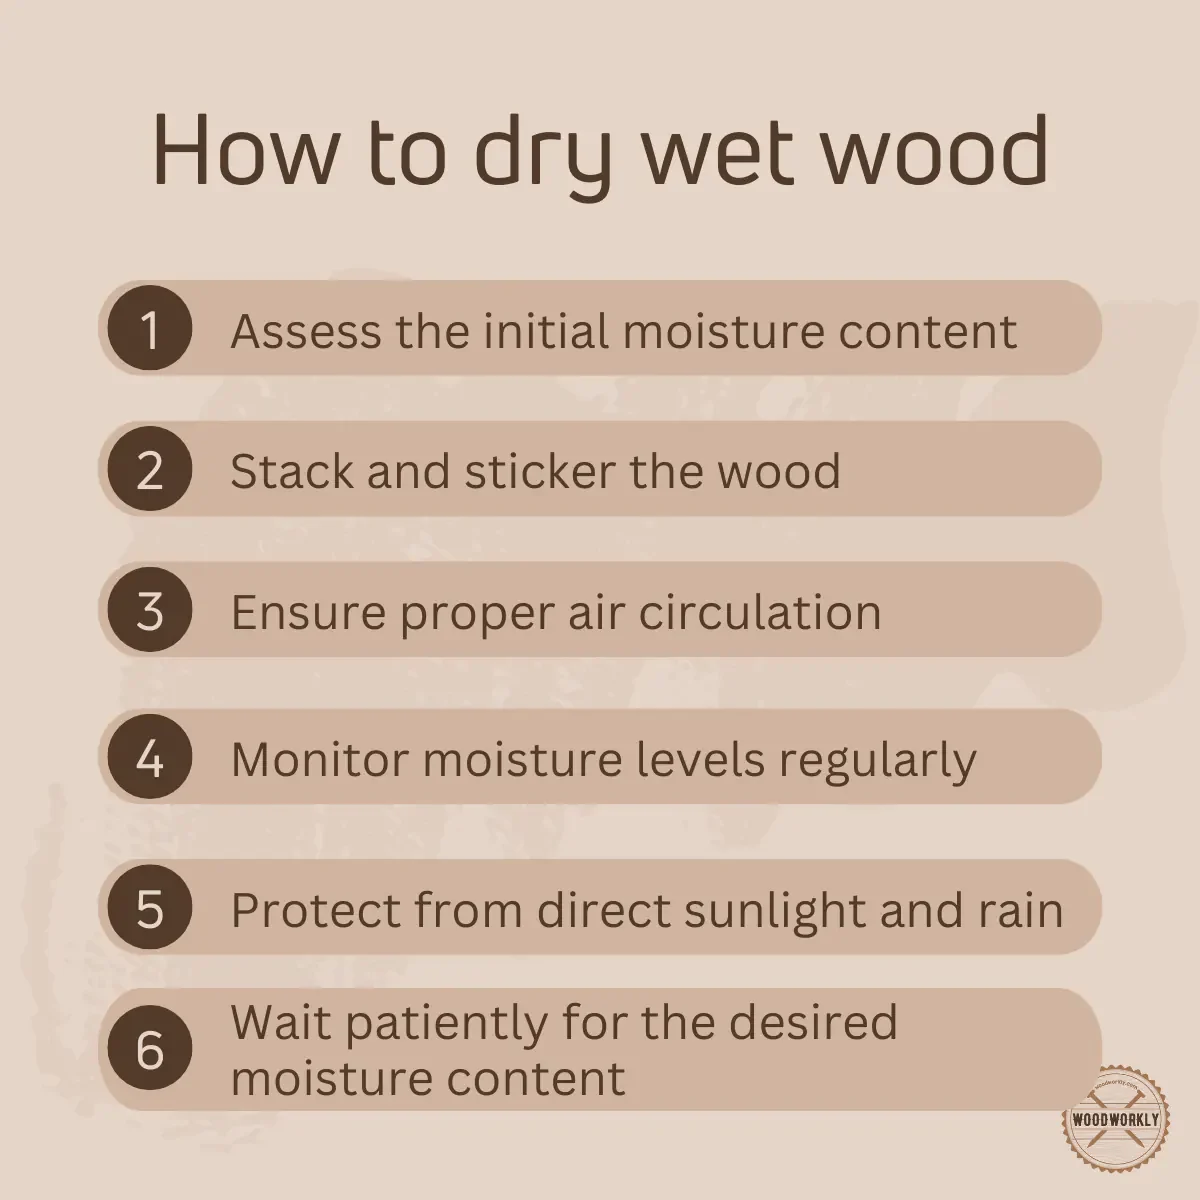
- Proper stacking and stickering
- Monitor wood moisture content
- Wood conditioning after drying
Let’s delve into these tips to guarantee your wood dries uniformly and remains in excellent condition!
Proper Stacking and Stickering
The way you arrange and sticker your wood during the drying process can significantly influence its overall quality. To avert problems:
- Utilize spacers or stickers: Place these between each layer of wood to create even spacing, encourage proper airflow, and ensure consistent drying.
- Align stickers vertically: This helps distribute weight evenly, minimizing the risk of warping and cupping.
- Stack wood on a level surface: A flat foundation is crucial for maintaining the wood’s shape and preventing warping or twisting.
- Elevate the wood: Position the wood stack on a raised platform to shield it from ground moisture and promote airflow.
Monitoring Wood Moisture Content
Closely monitoring the wood’s moisture content is crucial for preventing drying issues. Here’s how to do it effectively:
- Employ a moisture meter: This instrument offers an accurate reading of the wood’s moisture content, enabling you to track its progress and adjust the drying conditions as necessary.
- Test frequently: Check the moisture content of your wood regularly to ensure it’s drying evenly and at the desired pace.
- Target the ideal moisture content: Depending on the intended use of the wood, strive for a specific moisture content range, typically between 7-9% for indoor projects.
Conditioning Wood After Drying
Conditioning wood after drying is essential for alleviating any internal stresses that may have developed during the drying process. Here’s what you can do:
- Equalize the moisture content: Permit the wood to acclimate to its final environment for a few days or weeks, depending on the wood species and thickness, to ensure it attains a consistent moisture content.
- Stress-relief treatments: Contemplate using methods like steaming or kiln-drying to release internal stresses in the wood and decrease the risk of warping or cracking.
- Plan your cuts thoughtfully: After the wood has been conditioned, carefully plan your cuts to minimize stress on the wood and reduce the risk of distortion or movement during the woodworking process.

By adhering to these tips for proper stacking, monitoring moisture content, and conditioning wood after drying, you’ll be well-equipped to prevent common wood drying problems.
Keep these guidelines in mind, and you’ll have a higher likelihood of achieving impeccable results in your woodworking projects!
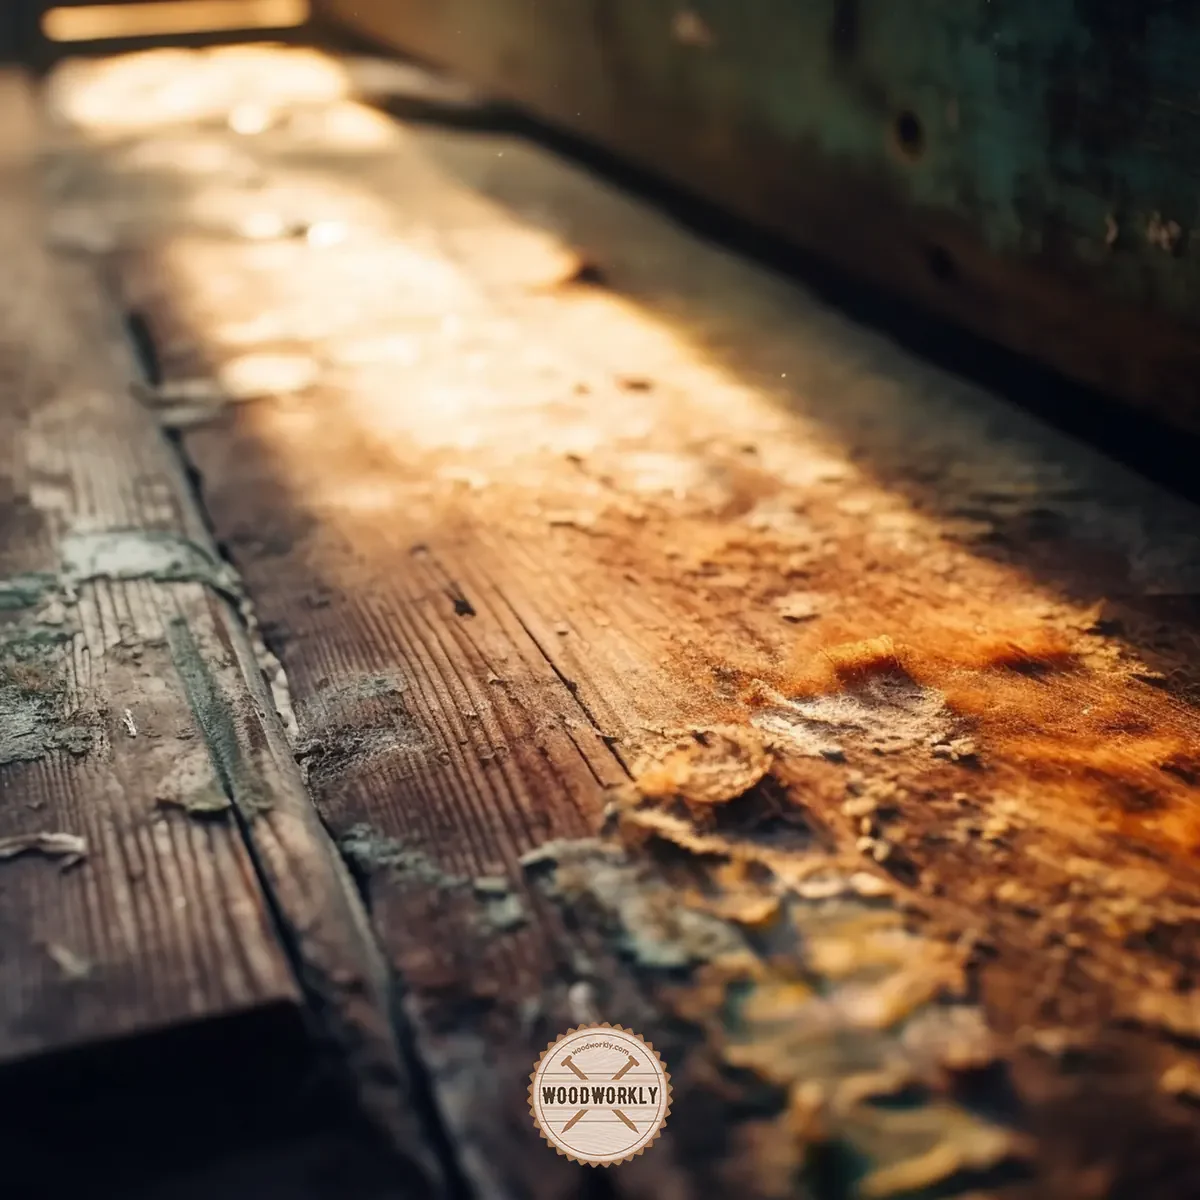
How Long Does It Take Wood To Dry After Water Damage?
Oh dear, water damage! It’s a dreadful situation for any wood enthusiast. Don’t fret, though; we’re here to help you navigate through this tricky scenario.
Normally, the wood will dry within 5 days after water damage under several circumstances. During those 5 days, wood should be covered and not much open to the outside environment.
This won’t take 5 days if you live in a sunny, dry, and windy area. Also, this can take more than 5 days if you live in a wet area with a high level of humidity.
Assessing the Extent of Water Damage
Before diving into the drying process, it’s crucial to determine the extent of the water damage. This assessment will help you tailor your drying strategy accordingly.
Here are some tips for evaluating the damage:
- Inspect for visible signs of damage, such as swelling, warping, or discoloration.
- Use a moisture meter to measure the moisture content of the wood. This tool can help you determine whether the wood has absorbed excessive moisture.
- Check for mold growth or musty odors, as they may indicate more severe water damage.
You can dry wet wood that is damaged because of water by
- Fans
- Dehumidifying
- Air drying
Fans are great to dry wet wood that is damaged with the help of air circulation. With fans, the moisture content will be eliminated.
By dehumidifying you’ll be able to remove moisture from the surrounding materials and air.
By doing that, the moisture that is trapped inside the wood will release to the surrounding environment to balance the moisture level. This is known as the quickest method to dry out the wet wood.
Air drying is efficient for a sunny area with less humidity. Because of air circulation, the water-damaged wood will quickly dry out within a couple of days.
Drying and Restoration Process
Once you’ve assessed the damage, it’s time to dive into the drying and restoration process:
- Remove excess water: Use towels, sponges, or a wet-dry vacuum to remove standing water and excess moisture from the wood.
- Increase air circulation: Set up fans, open windows, or use an air mover to promote airflow and speed up the drying process.
- Use dehumidifiers: A dehumidifier can help remove moisture from the air and the wood, accelerating the drying process.
- Monitor moisture levels: Regularly check the wood’s moisture content using a moisture meter to track the drying progress.
- Restore the wood: Once the wood is thoroughly dry, you may need to sand, refinish, or repair the wood, depending on the extent of the damage.
The drying time will vary based on factors like the extent of the damage, wood type, and environmental conditions, but it can take anywhere from a few days to several weeks.
Preventing Future Damage and Mold Growth
Taking steps to prevent future water damage and mold growth is essential. Here are some suggestions:
- Fix any leaks or water intrusion sources promptly.
- Ensure proper ventilation and air circulation in your home or workshop.
- Use a dehumidifier in humid environments to maintain optimal moisture levels.
- Regularly inspect wood surfaces for signs of water damage or mold growth, and address any issues immediately.
Why Wet Wood is Bad for Woodworking?
Moisture that causes wood rotting is trapped inside the wet wood.
Read how to restore rotted wood using FlexSeal in a proper way.
So, if you use wet wood for your next woodworking project, the woodwork will damage and rot pretty quickly and that will be a waste of time and money.
So, always select the wood that has a moisture content of 6% to 8% for woodworking. With wet wood, the woodworking will be really difficult.
Here are some reasons why wet wood is bad for woodworking,
- Sanding is difficult
- Poor strength
- Warping and dimensional instability
- Compromised glue joints and finishes
- Increased risk of mold and decay
So, let’s have a look at each of the above reasons in detail.
1. Sanding is difficult
Sanding is the best to do with dry wood. Wet wood will warp and tear apart easily once you start sanding. Because moisture or water absorbed wood swells up unevenly.
Even though you go through sanding wet wood without any issues, finally mostly you will end up with swell marks, scratches, and cracks.
So, never do the sanding for wet wood until they are completely dried.

2. Poor strength
Wet woods are not strong as dry wood. Even though the wood is hardwood, once the wood swells and absorbs water, the density of the wood will reduce dramatically.
When water or moisture gets into the wood, it will expand and loosen the strength of the bonds between fibers. Therefore, the wood will be weakened, and mostly it is irreversible even after the wet wood has dried completely.
3. Warping and Dimensional Instability
One of the main reasons wet wood is bad news for woodworking is the dreaded warping. When wood absorbs moisture, its fibers swell, causing the wood to change shape.
This can lead to:
- Cupping: Wood boards may develop a concave or convex curvature across their width.
- Bowing: Wood may bend lengthwise, deviating from a straight line.
- Twisting: Wood boards may twist along their length, causing the corners to misalign.
These deformations can be a nightmare for woodworkers, as they cause dimensional instability, making it challenging to achieve tight fits and precise alignments in woodworking projects.

4. Compromised Glue Joints and Finishes
Wet wood can also wreak havoc on glue joints and finishes.
Let’s explore why:
- Weakened glue joints: Wood glue requires a certain level of dryness to bond effectively. Wet wood may prevent the glue from adhering properly, resulting in weak and unreliable joints.
- Uneven finishes: Wet wood can cause finishes, such as stains and varnishes, to be absorbed unevenly, resulting in a blotchy appearance. Moreover, excess moisture can prevent finishes from curing properly, leading to a soft or sticky surface.
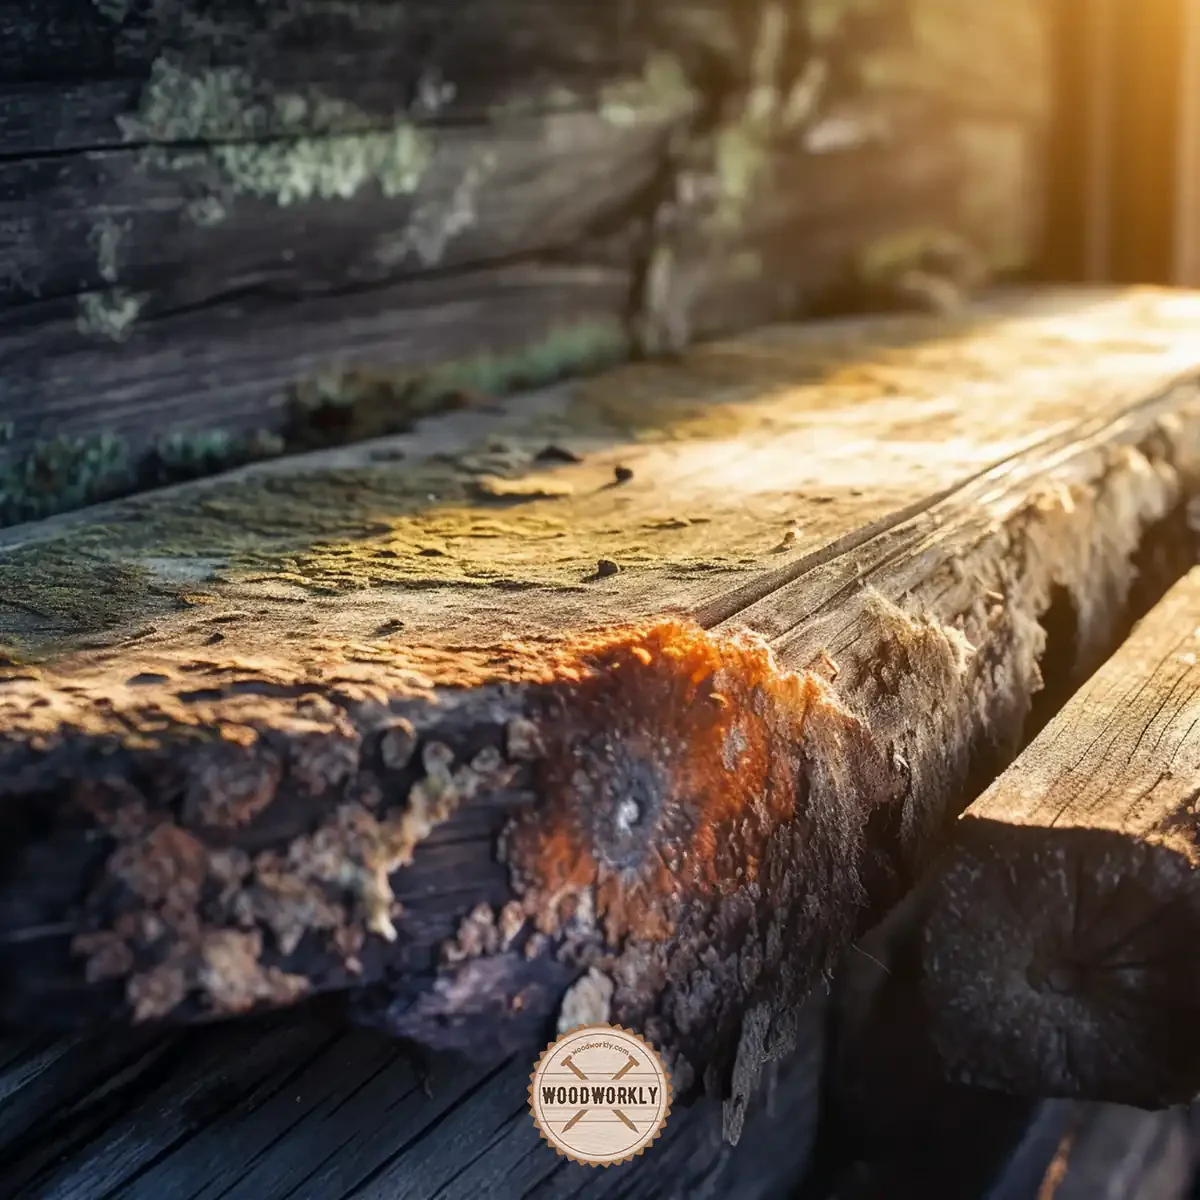
5. Increased Risk of Mold and Decay
Last but not least, wet wood is a breeding ground for mold and decay.
The high moisture content creates an ideal environment for fungi, which can cause:
- Mold growth: Mold can not only mar the appearance of your woodworking project but also pose health risks, especially for those with allergies or respiratory issues.
- Wood decay: Over time, fungi can break down the wood’s cell walls, leading to a loss of strength and integrity. In severe cases, this can render the wood unusable.
As a full-time woodworker, I never suggest wet wood for woodworking even after they’re dried because moisture damages the wood than any other substances and there is no use in applying sealer or water-resistant paint after the wood gets soaked already.
So, always make sure to keep the wood dry and warm environment before use.
Common Wood Drying Issues and Solutions
Drying wood can be a tricky process, and sometimes, it doesn’t go as smoothly as we’d like.
Here’re some of the common wood drying issues,
- Warping
- Cracking
- Mold growth
- Case hardening
So, let’s get started and learn how to tackle these pesky problems!
1. Warping and Cupping
As mentioned earlier, warping and cupping occur when wood fibers swell due to moisture absorption, causing the wood to change shape.
To prevent wet wood from warping:
- Stack the wood correctly: Use stickers (small spacer strips) between layers and ensure they’re aligned vertically for even weight distribution.
- Maintain proper airflow: Ensure there’s enough space around the wood stack for air to circulate freely.
- Use weight: Place a heavy object or weight on top of the wood stack to help maintain flatness during the drying process.
Read How to keep wood from Warping article to get to know in detail information about the steps you should take to protect your wood.
2. Cracking and Checking
Cracking and checking are common issues that occur when wood dries too quickly, especially on the ends, where moisture evaporates faster.
To minimize cracking the wet wood:
- Seal the ends: Apply a commercial end grain sealer or even a coat of latex paint to slow down moisture loss and reduce cracking.
- Control the drying environment: Maintain a consistent temperature and humidity to avoid rapid drying and minimize stress on the wood.

3. Mold and Fungal Growth
Mold and fungal growth can be a real nuisance, affecting both the appearance and integrity of your wood.
To combat mold and fungal growth on wet woods:
- Keep the wood dry: Make sure the wood is stored in a dry, well-ventilated area to discourage mold growth.
- Treat the wood: Apply a fungicide or mildewcide to the wood surface to inhibit mold and fungal growth.
4. Case Hardening
Case hardening occurs when the outer layers of wood dry faster than the inner layers, causing the wood to develop internal stress.
To address this issue:
- Slow down the drying process: Maintain a controlled drying environment with a consistent temperature and humidity level.
- Equalize the wood: After air-drying, consider using a kiln or other controlled drying method to slowly and uniformly remove moisture from the wood’s core, reducing the risk of case hardening.
Common wood drying issues like warping, cracking, mold growth, and case hardening can be frustrating, but with proper techniques and attention to detail, you can minimize their impact.
By following the solutions provided, you’ll be on your way to achieving well-dried wood, perfect for your woodworking projects!
That’s it folks! Now you know How long does wet wood take to dry with all the factors that should consider when drying wet wood.
Let’s answer some frequently asked questions as well.
How long does it take for wet wood to dry naturally?
The drying time for wet wood can vary significantly depending on factors such as wood species, thickness, initial moisture content, climate, and air circulation.
Generally, wet wood can take anywhere from a few weeks to several months or even years for wood to dry naturally.
Keep in mind that the drying process can be accelerated by implementing proper stacking techniques, increasing air circulation, and using heat sources or dehumidifiers.
Does the type of wood affect drying time?
Absolutely! The drying time can differ greatly between wood species due to variations in density, grain structure, and natural moisture content.
Typically, softwoods like pine and spruce dry faster than hardwoods such as oak or maple.
Additionally, exotic woods like teak or mahogany may take even longer to dry because of their unique properties.

What role does humidity play in the drying process?
Humidity can have a significant impact on the drying time of wet wood. High humidity levels slow down the evaporation of moisture from the wood, prolonging the drying process.
Conversely, low humidity levels can expedite the drying process.
To achieve optimal drying conditions, it’s essential to maintain proper air circulation and monitor the relative humidity in the drying environment.
Can I use wet wood for woodworking projects?
It’s not recommended to use wet wood for woodworking projects because it can lead to numerous issues such as warping, compromised glue joints, and an increased risk of mold and decay.
It’s best to wait until the wood reaches a suitable moisture content, typically between 7-9% for indoor projects, before using it for woodworking.
Is there a way to speed up the drying process for wet wood?
Yes, several methods can help accelerate the drying process for wet wood. Increasing air circulation, using heat sources or dehumidifiers, and cutting the wood into smaller pieces are all effective ways to expedite the drying process.
However, it’s essential to monitor the wood’s moisture content during these processes to prevent over-drying, which can lead to cracking or other issues.
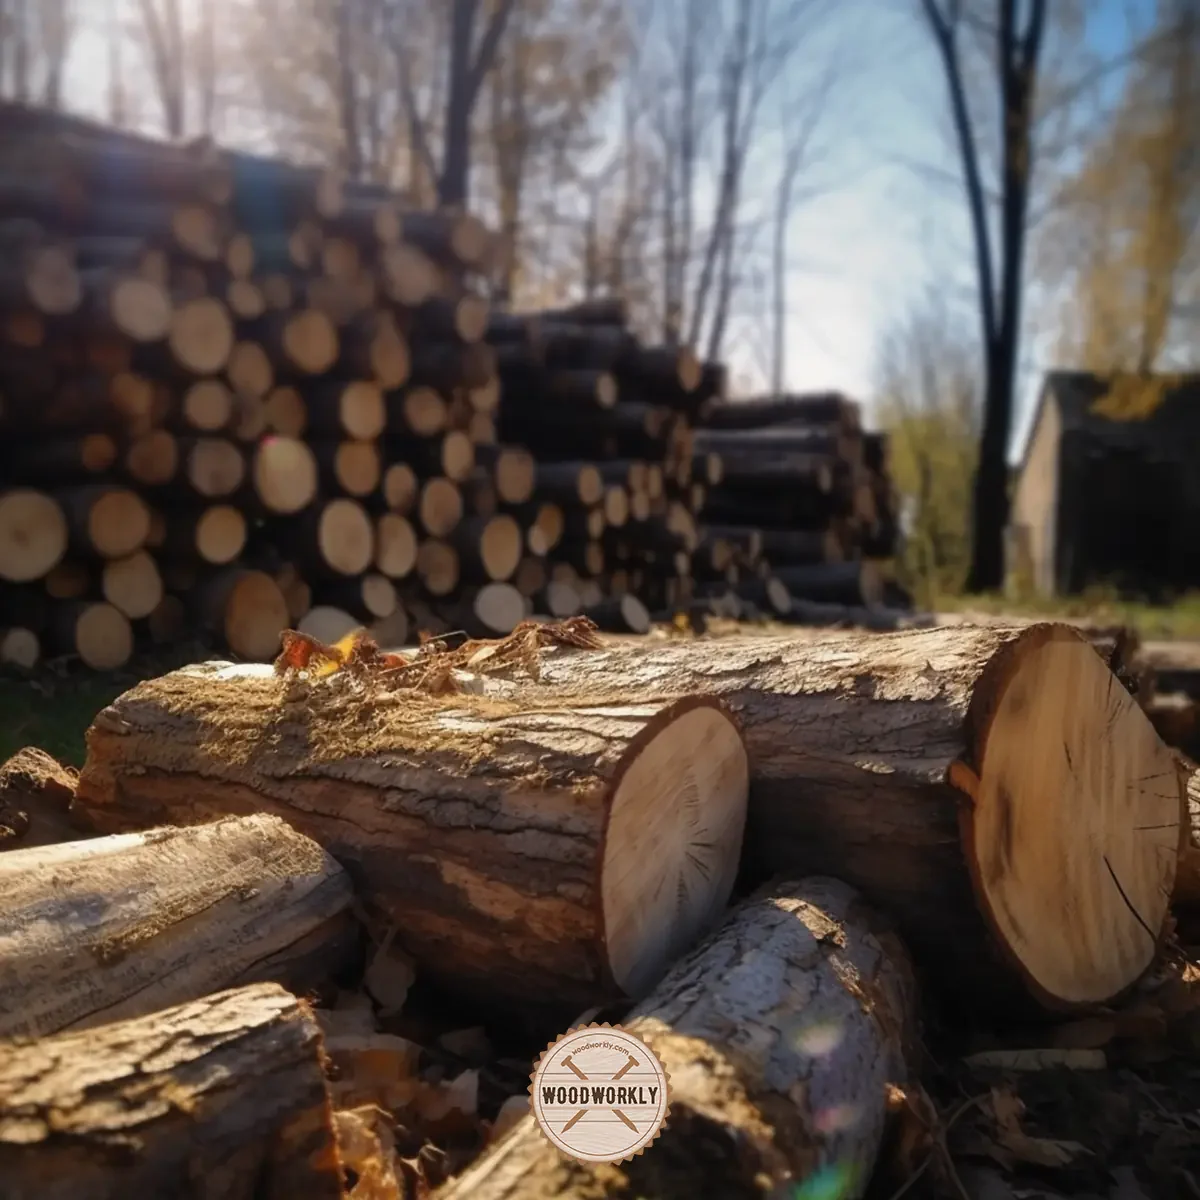
How long does wood take to dry after cutting?
The drying time for freshly cut wood (also known as green wood) depends on various factors, including the wood species, thickness, and drying environment.
Generally, it can take from several weeks to a few years for wood to dry after cutting.
Proper stacking, air circulation, and controlled humidity levels can help expedite the process.
How long does wood take to dry before painting?
Before painting, wood should reach an appropriate moisture content to ensure proper adhesion and durability of the paint.
The drying time can vary depending on the wood type and environmental conditions, but generally, it can take anywhere from a few days to several weeks.
Using a moisture meter can help determine when the wood is sufficiently dry for painting.
How long does it take for wood to air-dry?
Air-drying wood can be a lengthy process, with the drying time ranging from a few weeks to several years, depending on factors such as wood species, thickness, initial moisture content, and drying conditions.
To speed up air-drying, ensure proper stacking with spacers, increase airflow, and maintain a controlled environment with adequate ventilation.
How long does wood take to dry in a kiln?
Kiln-drying is a controlled process that significantly reduces the drying time compared to air-drying.
Depending on the wood species, thickness, and kiln settings, it can take anywhere from a few days to several weeks for wood to dry in a kiln.
Kiln-drying also offers the advantage of a more consistent final moisture content and reduced risk of drying defects.
Did I cover all you wanted to know about: How Long Does Wet Wood Take To Dry?
In this article, we went over how long does wet wood takes to dry and we focused on several related topics such as, how long does wet wood takes to dry after rain, water damage.
We have talked about how you can say if the wood is completely dried or not without using a moisture meter and how to make wet wood dry faster.
The drying time for wet wood varies depending on factors such as wood species, thickness, and environmental conditions. Generally, it can take anywhere from a few weeks to several years for wood to dry completely. Using proper drying techniques, such as air-drying or kiln-drying, can help expedite the process.
Furthermore, I’ve answered some frequently asked questions as well.
Hope you have gained good knowledge about how long does wet wood takes to dry,how to deal with wet wood and what are steps you should take if your wood gets soaked and what can you do to not happen again.
Understanding the various factors that influence wood drying time and the different drying methods can help you make informed decisions about the best approach for your specific needs and ensure optimal results for your woodworking projects.