Ever wondered how those beautiful curved wooden pieces are crafted? The secret: bending wood with water! Intrigued to learn this artful woodworking technique? Let’s dive in.

Thought why the pages of an old, water-damaged book often feel wavy and short.
This is because the cellulose fibers in water, similar to those in wood, have been distributed and expanded due to moisture.
That’s the power of water contributing to the wood bending.
So, let’s find out, How to bend wood with water?
To bend wood with water, use steam or boiling water. In steam bending, place the wood in a steam box for an hour per inch of thickness, then bend. For boiling, submerge the wood in boiling water for an hour per inch, then bend while hot. Pre-soak kiln-dried wood a few days before bending.
But there’s a lot more to know.

So, in this article, I’ll explore how to bend wood with water by taking the bending techniques with hot water, cold water, and steam. Plus, I’ll share some tips with you that I’ve learned over the past decade.
Furthermore, I’ll answer some frequently asked questions as well.
Let’s jump in!

Can You Bend Wood With Water?
Yes, you can bend wood with water. This is a traditional technique that woodworkers have employed for centuries.
According to science, wood is composed of a detailed structure of cellulose fibers that are held together by a natural polymer which is known as lignin.
50% of the wood’s composition is made up of cellulose. Cellulose provides tensile strength to the wood.
30% of the wood’s composition is made up of lignin which provides the rigidity and stiffness associated with wood.
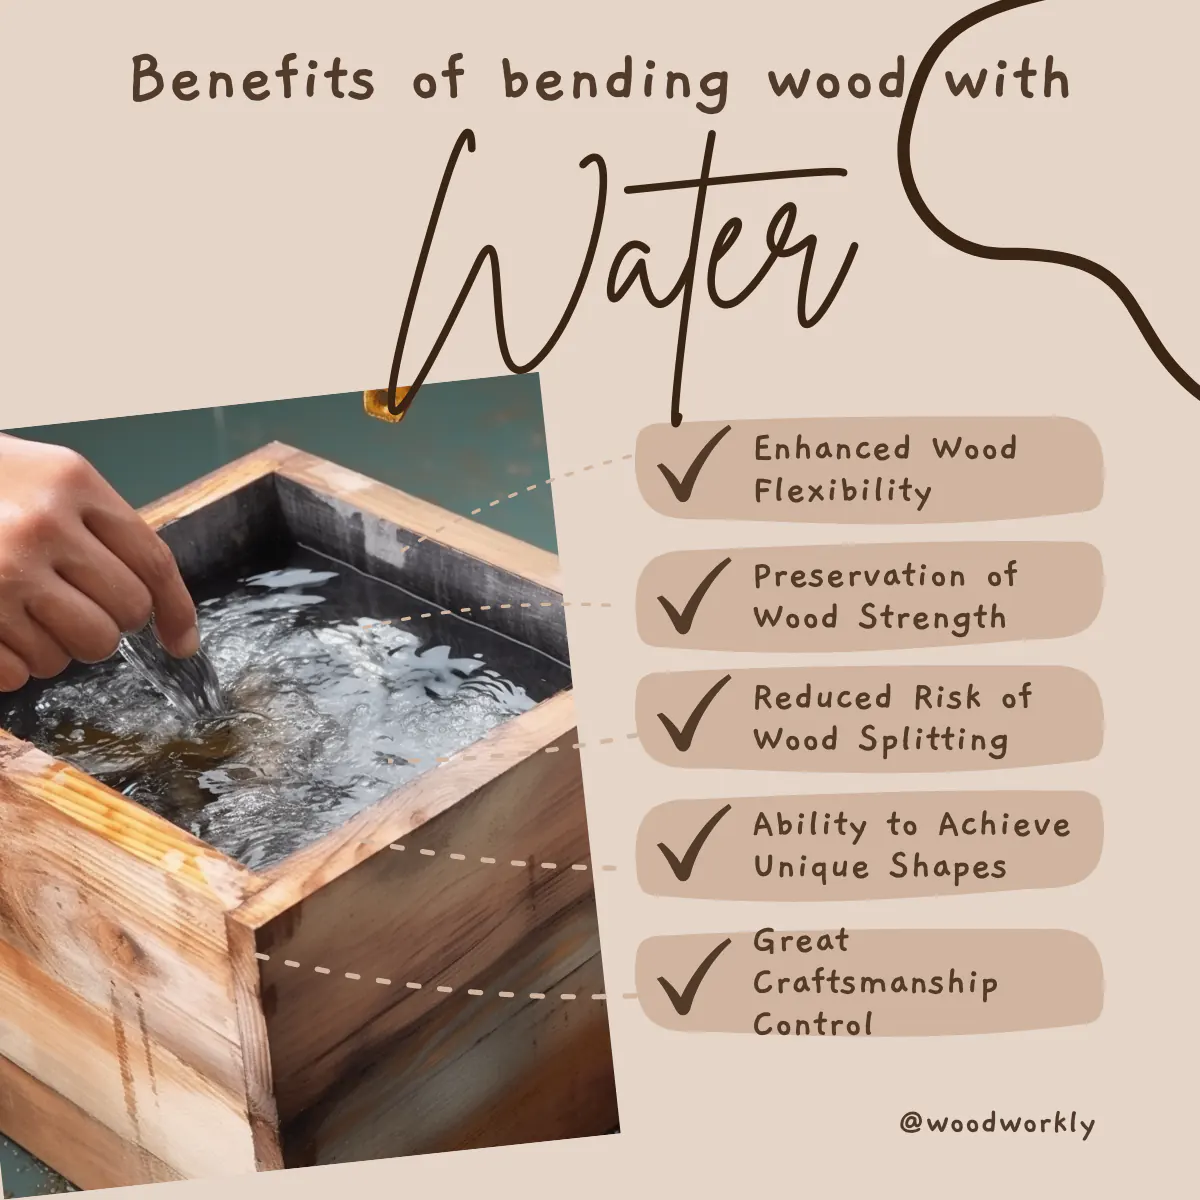
The whole point of bending wood is breaking this lignin compound in wood fibers and making the wood flexible to change its original physical structure.
Water has the ability to distribute and expand the cellulose fibers. but merely introducing water isn’t sufficient to bend wood effectively. Heat plays a crucial role in this process too.
Imagine that lignin in wood acts like glue keeping all the cellulose fibers together. By applying water and heat to this ‘glue’, we can temporarily make it malleable.
Once this lignin is softened, it allows the cellulose fibers to slide past each other and adopt a new shape.
The most common methods to introduce this heat are steam bending and boiling water.
But whether you’re steaming or boiling, the fundamental idea remains the same: you’re using water as a medium to transfer heat into the wood, softening the lignin and making the cellulose pliable.
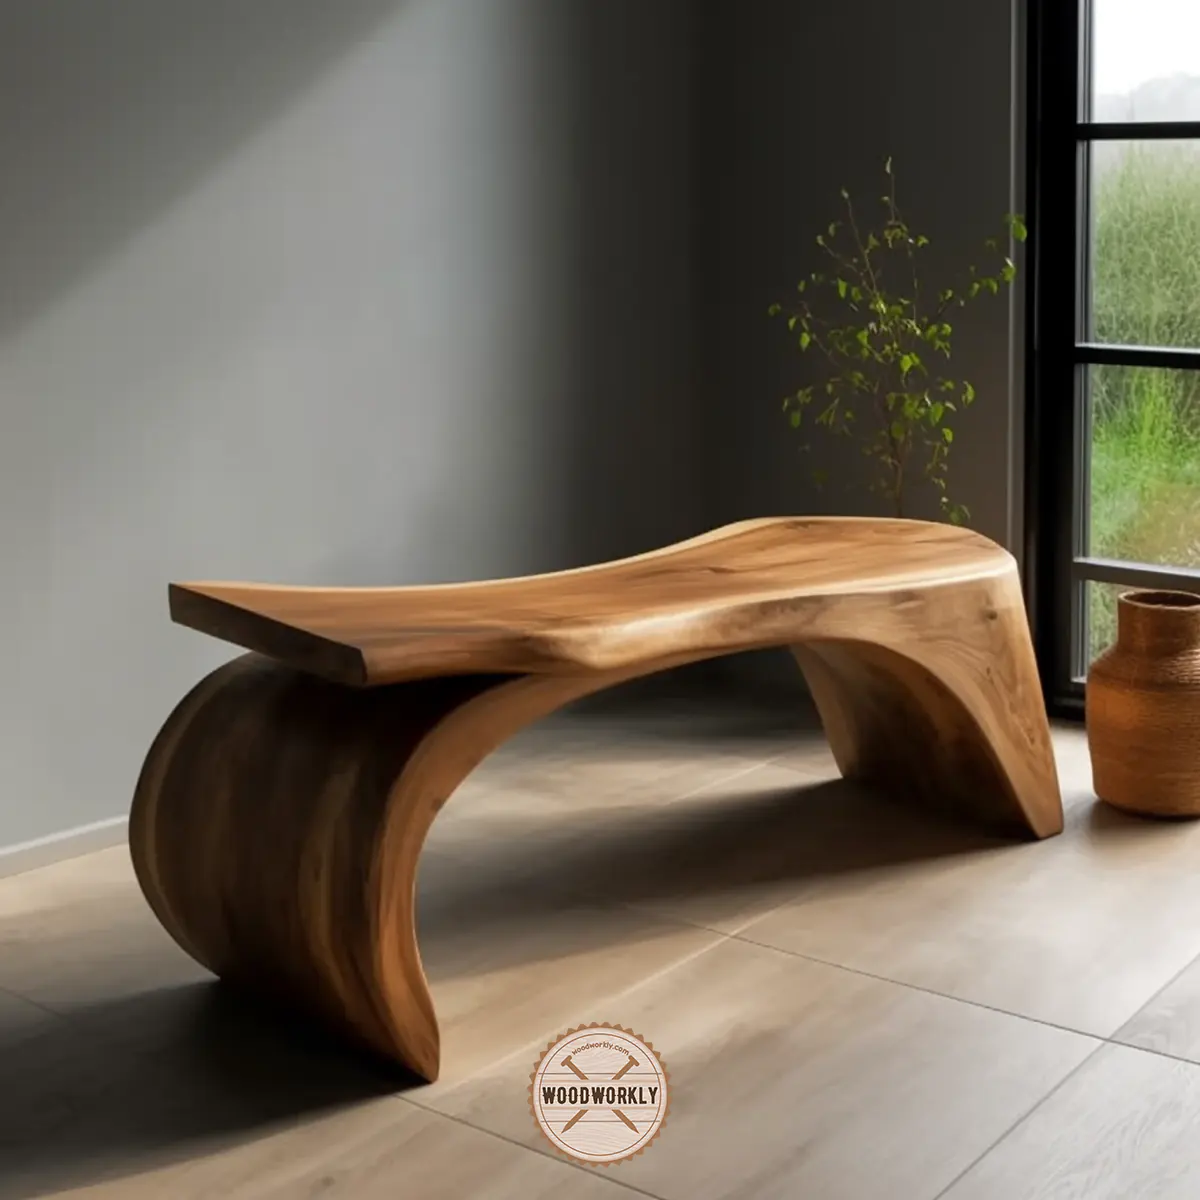
For example, when I was crafting a curved chair back, I soaked my piece of ash wood in water for several days, then applied heat using steam.
When the piece was soft and pliable, I was able to carefully manipulate it into the desired curve. After drying, the wood retained this shape, giving the chair its unique character!
Limitations and Challenges of Bending Wood With Water
While it’s possible to bend wood with water, it doesn’t come without its challenges. Different wood species, due to their varying cellular structures and resin content, react differently to the process.
Brittle or resinous woods, such as some types of pine or spruce, may not bend as well as others, like oak or hickory.
Moreover, applying too much force or bending the wood too quickly can lead to breakage or splitting.
This is especially true if you’re working with a piece of wood that has irregular grain patterns, knots, or defects.
In my woodworking journey, I once attempted to bend a thick piece of kiln-dried oak without adequately soaking it.
Despite the steam, the wood resisted and ultimately split under pressure. It was a stark reminder of the need for patience and proper preparation in woodworking.
Overall, yes, wood can indeed be bent using water, specifically when combined with heat.
But, as with any craft, it’s a balance of understanding the materials, exercising patience, and using the correct techniques.
Best Wood for Bending
Not all woods are good for bending. Some woods with high densities and hardness do not bend well and they tend to crack.
Use wood thickness not more than 20mm for bending. Plus, use straight-grain wood for bending since they are easy to work with and do not occur cracks and splinters.
Cross-grained woods are susceptible to break.
Here’s the best wood for bending with water,
- Oak
- Ash
- Walnut
- Cherry
- Red oak
- Maple
- Beech
- Elm
In summary, the wood you select should be one of them from the above list and it should be straight-grained wood with less than 20mm of thickness.

You can bend wood using hot water, cold water, and with steam. I’ll explain the procedure of all three methods in the next sections.
First, let’s head into the procedure of bending wood with boiling water.
How to Bend Wood with Boiling Water?
Bending wood with boiling water is the most popular method and it is a technique as intriguing as it sounds.
Few years ago, I had a walnut table that was perfect for making a coffee table top, I was envisioning.
But the only problem is, it was flat as a pancake. So, I used boiling water to bend the wood and design it as a coffee table top.
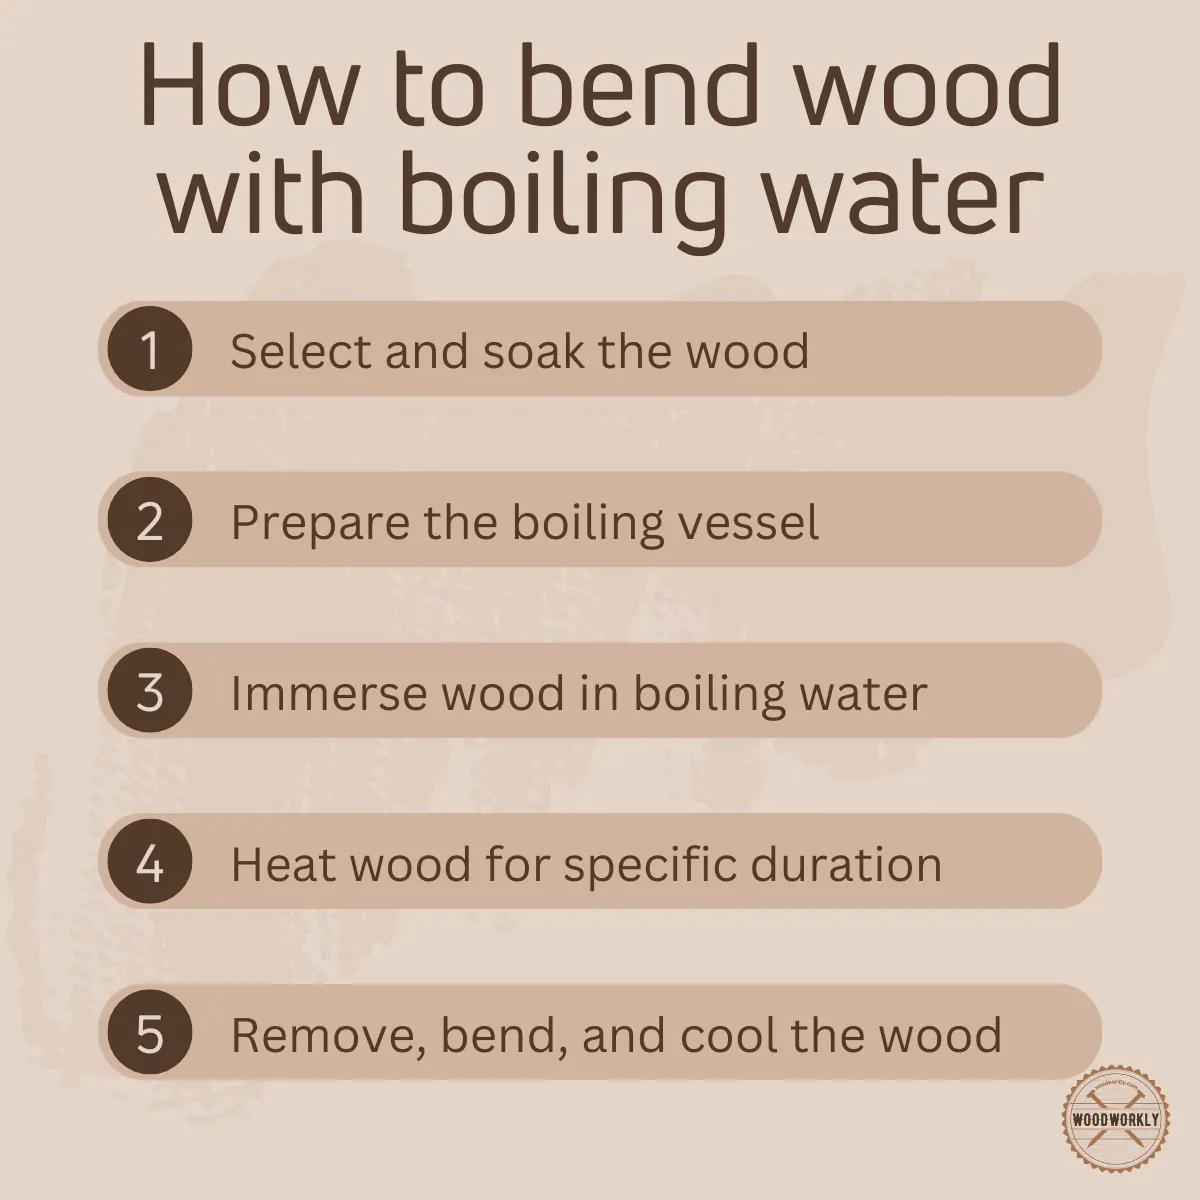
Here’s the procedure of bending wood with boiling water,
- Gather tools and materials.
- Prepare the wood
- Choose the right container
- Boil the wood
- Bend the wood
- Dry and finish up
So, let’s discuss each of the above steps in detail and see how to bend wood with boiling water properly.
1. Gather Tools and Materials
First, you need to gather the following supplies to start bending wood with boiling water,
- Foam with a set of clamps
- Large container
- Water
- Heat source (propane burner)
- Wood piece
- Scrap woods
- Clean rags
- Safety gear (goggles, gloves)
Gather the above tools and get ready to begin the bending process.
2. Prepare the Wood
Before starting the process, I’d like to tell your patience is the key to success in this process.
You’ll have to wait until the water is boiled, wait until the wood is fully soaked in water when submerged in water for an extended period, and also, you’ll have to let the wood dry for a considerable amount of time.
The soaking duration depends on the thickness and the type of the wood.
In my case, I had to soak my walnut slab for a good three days before it was ready. Please note that the wood should be fully submerged. Therefore, use weights if needed.
First, you need to clean the wood surface with clean rags to remove dust, debris, and grease from the surface.
Clean wood surfaces are easier to bend, and it does not contaminate the water. After cleaning the wood properly, your wood is ready for bending.
3. Choose the Right Container
Choosing the right container is important to get promising results when bending wood with boiling water.
The container must be large enough to fit your wood pieces and it should be able to withstand high temperatures of boiling water which is around 212 degrees.
The metal container is great for the operation. I have used a stainless-steel container since it had the perfect size for my walnut slab.
Now fill the container with water.
4. Boil the Wood
After filling the container with water, you can move to the boiling stage.
Slowly brought the filled water using a large outdoor propane burner.
Make sure to wear safety gloves and goggles during this operation since one spill of boiling water can damage your skin a lot.
You might wonder, how long should you boil the water and let the wood soak completely?
As a rule of thumb, you need to boil your wood and let it for soaking approximately one hour per inch of thickness.
For my inch-thick slab, I kept it boiling for an hour.
5. Bend the Wood
Once the water is soaked into the wood and the wood had finished boiling, you can start bending the wood.
You need to be extremely careful at this step since the wood is so hot. Take a hand from a friend and quickly move the hot flexible wood piece to a foam.
You can make the foam as you want according to the dimensions of the curve you want to bend the wood. Or you can use a bending template for this task.
Now bending the wood required finesse and delicate touch. The goal of this bending process is to slowly coax the wood into the desired shape without cracking or splitting.
Gradually, press the wood into the foam without applying a sudden or forceful pressure until you’re satisfied with the curve.
After that, clamp the wood down to hold it in place with no movements until it gets dried.
6. Let the Wood Dry and Finish Up
Let the wood slab in clamped position to the form to dry for a few days. As it dried, the lignin in the wood hardened again, permanently setting the wood in its new shape.
After removing the clamps, you will be greeted with the beautiful, curved slab you had imagined.
Generally, the wood drying process after bending can take a couple of days. But you can speed up the drying process by blowing hot air using a heat gun and letting it dry for 24 hours.
Although bending wood with boiling water might seem daunting initially, it’s quite an easy process once you understand the steps involved.
Follow the above steps carefully with safety guidelines for promising results.
Now let’s move into the next method which is bending wood with cold water.
Just keep reading! I’ll explain the process in detail.
How to Bend Wood with Cold Water?
Bending wood with cold water process is a bit misleading. Some might think “Just pour some cold water over wood and bend it!” but alas, it’s not that simple.
I learned this the hard way when I started bending wood with cold water for the first time.
Now with years of experience, I found myself attempting to bend a piece of pine with just a bucket of cold water. To my dismay, the wood stubbornly resisted bending and eventually cracked under pressure.
Then, I came to know that wood cannot be bent with cold water alone. Let’s dive in to see why? and what the exact procedure of bending is.
Just keep reading!
As explained wood is a natural material that is made up of various organic compounds. Lignin is one of the most important compounds in wood since it provides rigidity and strength to the wood.
Cold water is not enough to change the structure of the lignin and soften the wood. It does not have the ability to make the wood flexible alone.
Instead, you need to heat these organic polymers to a point where lignin starts to break down. This will make the wood fibers more pliable.
Now you might wonder, “Then how can cold water play any role in bending wood?” well, let me share with you the bending process that involves cold water but also requires the application of heat.
Here’re the supplies you need to have for the wood bending process,
- Cold water with some ice cubes
- Large container
- Fabric softener
- Wood piece
- Scrap wood pieces
- Clean rags
- Wet cloth
- Hot iron
- Foam with a set of clamps
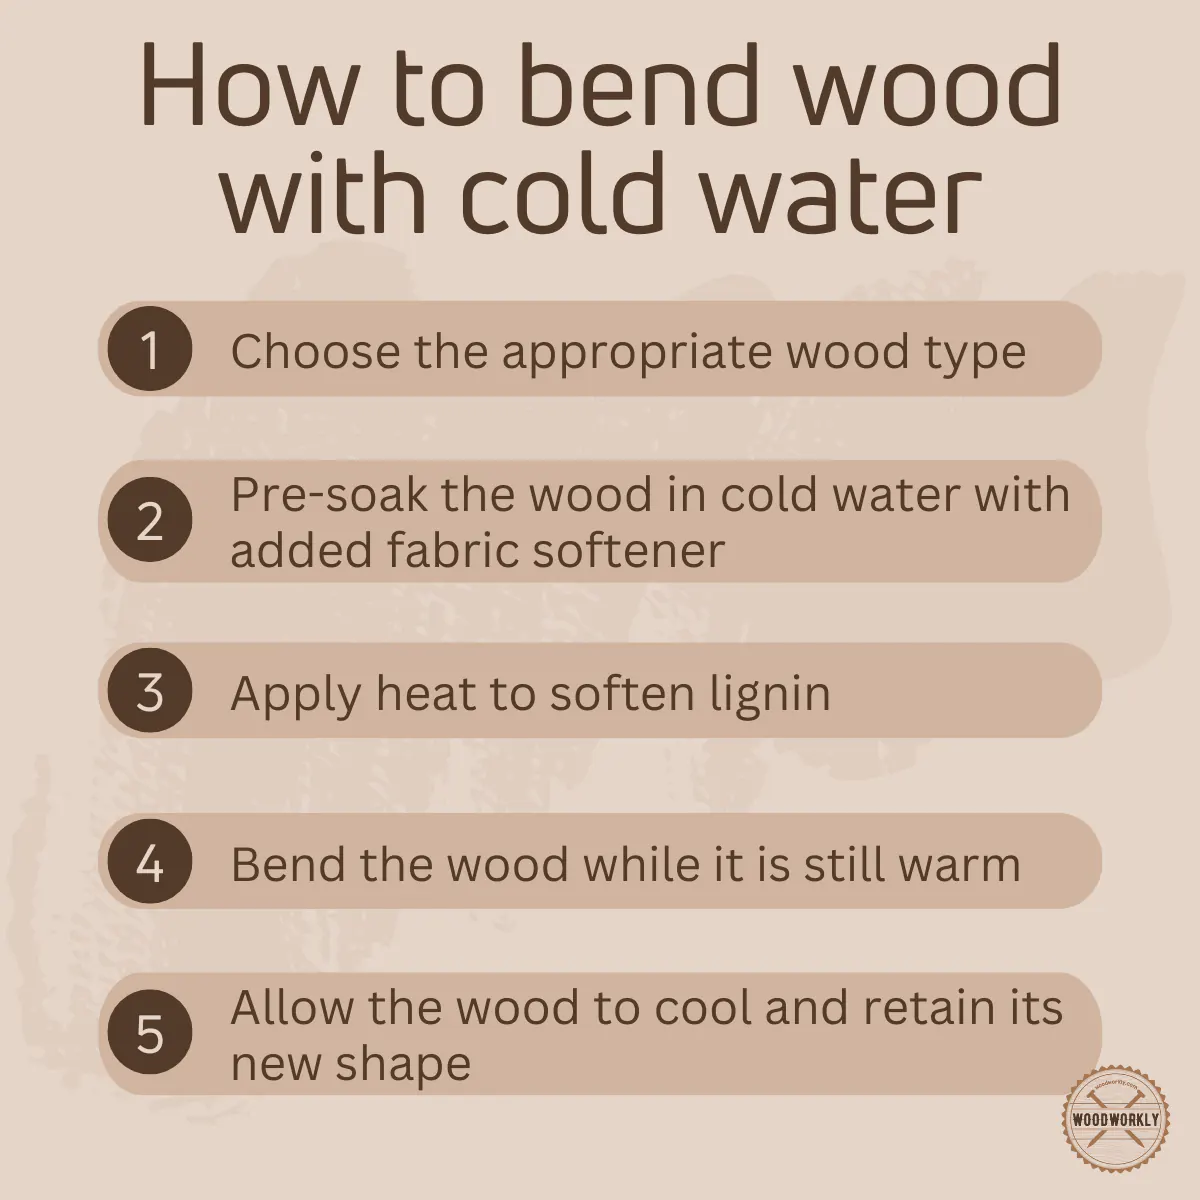
Here’s the procedure of bending wood with cold water with the help of heat,
- Pre-soak the wood with cold water.
- Heat the wood.
- Bend the wood.
- Allow the wood to cool.
Let’s discuss the process of bending wood with cold water in detail.
1. Pre-Soak the Wood with Cold Water
Pre-soaking is a unique technique that uses to bend wood with cold water.
First, you need to pour cold water with some ice cubes into a large container that is large enough to fit your wood piece.
Then, start immersing your wooden piece in the container filled with cold water.
Then add a fabric softener to the water to accelerate the softening of the wooden fibers. let the wood be completely soaked with water for 2 to 3 days until the wood piece is thoroughly saturated.
2. Heat the Wood
After pre-soaking the wood next you need to apply heat to the wood. After taking the wood out from the water container, wrap it in a wet cloth.
Next, take the hot iron and apply it directly onto the wet cloth covering the wood piece.
The heat generates from the hot iron softens the wood fibers further.
3. Bend the Wood
After softening the wood, it will reach a sufficient level of pliability. After reaching the flexibility level you want, it’s time to bend the wood.
Place the wood onto the form. Then, slowly and carefully start to shape the wood. Make sure to avoid wood from cracking or splitting when bending.
Clamp the wood to keep it steady. It is so important to work quickly, as the wood started to harden again as it cooled.
As you can see bending wood with cool water is time-consuming and you need to have lots of patience.
But with proper technique and enough practice you can use this method to bend your wood piece easily with no mistakes.
Let’s see the final third method of bending wood with water, which is using steam.
How to Bend Wood with Steam?
I will never forget the first time I attempted to bend wood using steam. I was working on a unique, curved design for a chair backrest and had hit a wall with traditional woodworking methods.
Steam bending is a time-honored woodworking technique with roots in shipbuilding.
The principle is straightforward: steam softens the lignin – the ‘glue’ that holds the wood fibers together, making the wood pliable and easier to bend.
As a greenhorn, I was intrigued by the simplicity of the method. All you needed was water, heat, and a sealed container for the steam – it seemed too good to be true.
Here’re the steps you need to follow when bending wood with steam,
- Prepare your wood and materials.
- Set up the steam box.
- Steaming process.
- Bend and shape the wood.
Let’s discuss each of those steps in steam bending in detail.
1. Prepare Your Wood and Materials
My first step was selecting the appropriate wood. As mentioned earlier, different wood species behave differently with steam bending.
In my case, I opted for air-dried oak. Oak is considered one of the best woods for steam bending due to its high tannin content, which helps it bend without breaking.
The fact that it was air-dried and had a moisture content of around 12-15% worked to my advantage, as it conducted heat more uniformly.
Next, you need a steam box – a container where the steam could envelop the wood. I built mine from plywood, ensuring it was long enough to accommodate my oak pieces.
2. Set Up the Steam Box
To generate steam, I used a simple wallpaper steamer, but any source of boiling water would do.
I connected the steamer to the steam box using a flexible hose, ensuring that the steam could freely enter the box.
Once my setup was complete, I soaked the wood overnight – a step that isn’t necessary for air-dried wood but one I found added an extra level of assurance.
3. The Steaming Process
Next came the steaming. The general rule of thumb I learned was to steam the wood for approximately one hour per inch of thickness.
Since my oak pieces were about an inch thick, I steamed them for about an hour.
4. Bend and Shape the Wood
The final and most satisfying stage was the bending.
After pulling the hot, steamy wood from the steam box, I had a limited amount of time to bend it to my desired shape before it cooled and hardened again.
Using a pre-made form, I gently but firmly bent the wood, taking care to apply even pressure to prevent any splits or cracks.
And there it was – a beautifully curved piece of oak that was ready to become the centerpiece of my chair design.
Steam bending is a remarkable demonstration of the meeting point between science and art.
It requires patience, precision, and a deep understanding of the material. But the reward – a beautiful, organically curved piece of wood – is well worth the effort.

That’s it, folks! Now you know how to bend wood with water using boiling water, cold water, and steam.
Each of the above methods with scarp woods and select the one that suits you the most.
Now I’m going to share with you some useful tips which I have learned with experience by bending wood with water. These tips will make your bending process a lot easier.
Tips for Bending Wood with Water
Let’s have a look at some useful that might be important to you when bending wood with water. Follow them closely for promising results.
Choose the Right Wood
It’s crucial to select the right kind of wood for bending. All woods are not created equal, my friend! Some are naturally more amenable to bending.
Species like oak, ash, beech, mahogany, and poplar are particularly steam-friendly, while others can be more stubborn.
Remember, the success of your project is often predicated on the raw material you start with.
Air-Dried vs. Kiln-Dried Wood
From my experiences and extensive reading, I’ve found that air-dried wood works best for steam bending. Why, you might ask? It’s simple.
The moisture content in air-dried wood, which tends to be around 12-15%, allows for better heat conductivity. Therefore, air-dried wood is easy to bend.
But don’t worry if all you have is kiln-dried wood. Just remember to pre-soak it for at least three days before you begin your bending endeavor.
I’ve found that this simple step can make a world of difference.
Prepare the Wood Properly for Wood Bending
Before you start bending, make sure you have all the tools and materials ready. A steam box, a source of steam, and a form for your bent piece are all essential.
Nothing is worse than having a perfectly steamed piece of wood ready to bend, only to realize you’ve forgotten your bending form!
Don’t Rush the Steam Bending Process
Patience is not just a virtue; it’s a requirement in steam bending. The rule of thumb is an hour of steaming per inch of wood thickness. Trust me, rushing this process will only result in disappointment. Give your wood the time it needs to soften, and it will reward you with a beautiful bend.
Wear Safety Gear
While bending wood is a thrilling endeavor, it’s also one that requires care. Always use heat-resistant gloves when handling steamed wood.
Trust me on this one – I learned it the hard way!
Practice Makes Perfect
Lastly, but most importantly, don’t expect perfection on your first attempt. I didn’t, and neither should you.
The art of bending wood is something that is learned over time, and each piece of wood will behave slightly differently.
The more you practice, the more you’ll understand the nuances of this delightful technique.
Let’s see some relevant quarries that might occur in your mind when bending wood with water.
How Long Should I Soak Wood for Bending?
There’s no exact time frame that takes to soak the wood for bending. Soaking time depends on several factors such as,
- Type of the wood.
- The thickness of the wood piece.
- Wood is air dried or not.
- Heat amount.
If you’re working with kiln-dried wood, you should pre-soak it for at least three days before bending.
Why? Kiln-dried wood has a moisture content of only about 5-7%, which makes it more susceptible to cracking or splitting during the bending process.
Soaking it for an extended period allows the water to penetrate the fibers and soften the wood, making it more pliable.
For air-dried wood, which generally has a higher moisture content (around 12-15%), the consensus is that soaking overnight is sufficient.
Even if you’re using air-dried lumber, I suggest letting the wood soak well before you start the bending process.
It certainly won’t harm the wood, and it might just save you some heartbreak down the line.
Plus, Heat is the crucial component that transforms soaked wood into bendable material.
Whether you use steam bending or boiling, you need to apply sufficient heat to break down the lignin, the natural glue that holds the wood fibers together.
Generally, most of the time wood takes one hour per inch of the wood’s thickness to soak.
This means thicker woods take more time to soak and thinner ones soak quickly.
Read my latest comprehensive guide about, How to bend thick wood!

How Long to Steam Wood for Bending?
For every inch of wood thickness, steam for approximately one hour.
But this can change due to wood type, heat amount, time that takes wood to take out from the steam box, and how experienced you are.
What if you don’t like to use water for bending wood or what if water bending method is not suitable for your project? are there any alternative methods?
Yes, they are! Let’s have a look at some alternative methods to bend wood properly without damaging the wood.
Alternative Methods for Bending Wood
Let’s see some alternative methods you can try for bending wood properly in brief.
Kerf Bending
Kerf bending is comparable to high school geometry. It entails slicing a string of parallel, shallow kerfs, or grooves, parallel to the wood grain.
The wood can bend along the cut lines thanks to these kerfs, producing the appropriate curve.
As the kerfs provide one side of the item with a slightly rough appearance, this technique is ideal for decorative purposes when the back of the workpiece is not visible, such as on furniture or wall installations.
Laminated Bending
Laminated bending relies heavily on layers and time. It entails gluing together thin strips of wood over a shape to produce a solid object with a polished appearance on all sides.
It takes a while because each layer needs to be glued and clamped individually. Plus, should give time to fully cure before the next is added.
However, the finished product is a very stable object that retains its shape well.
Hot Pipe Bending
We return to heat, but this time without any steam. Instrument manufacturers frequently employ this technique to bend tiny wood strips around a hot pipe.
When pushing the wood into the desired shape, this technique calls for caution and a little elbow grease. But it’s a great, low-tech option for little things.
Bending with Ammonia
Although it is a little more unusual, bending wood with ammonia is an interesting procedure.
The chemical reaction that occurs when the wood is exposed to ammonia fumes softens the lignin, making the wood pliable.
The toxicity of ammonia necessitates careful handling and safety measures in this procedure. When heat or water is not an option, it provides an alternative.
Cold Bending
The simplest approach, cold bending, doesn’t need heat, water, or chemicals. Instead, thin, bendable pieces of wood are bent and kept in position until they dry out and keep the proper shape.
This approach is perfect for modest, ornamental tasks that don’t call for robust structural strength.
Bending with Vinegar
Using vinegar to bend is another unusual yet successful technique.
The wood can be dampened with vinegar to increase its flexibility for cold bending.
Given that most people keep a bottle of vinegar stashed away in the cupboard, it’s a useful remedy to have when you’re on a tight budget.
If you want to know more information about this process, read my latest comprehensive guide about, How to bend wood with vinegar!
Hope you learned everything you wanted to know about, how to bend wood with water. Give them a try!
If you want to try out a method to bend without using steam, Read my comprehensive guide about bending wood without steam!
So, let’s answer some frequently asked questions as well.
FAQs
What’s the most efficient method of bending wood with water?
It’s all subjective to the type and thickness of your wood, and the degree of bend you need, but many woodworkers swear by steam bending. It’s relatively quick, efficient, and generally less likely to damage the wood compared to other methods.
How long should I soak wood before bending it?
There’s no one-size-fits-all answer to this, as it greatly depends on the thickness and type of your wood. However, a general rule is to soak kiln-dried wood for a minimum of three days, whereas air-dried wood can benefit from an overnight soak.
Is there a certain type of wood that bends better with water?
Yes, some woods are more amenable to water bending than others. Oak, Poplar, Beech, Mahogany, and Ash have all been known to take kindly to the process.
Can I bend wood without using water?
Yes, there are various alternative methods available such as kerf bending, cold laminate bending, hot pipe bending, and even using chemicals like ammonia.
What’s the time requirement for steaming wood before bending?
A general rule for steam bending is approximately one hour of steaming per inch of thickness. The more substantial the piece, the longer it’ll need in the steam box to become malleable.
Do I always need to pre-soak wood before bending it?
Pre-soaking wood is not always needed before bending. While pre-soaking can definitely aid the bending process, especially for kiln-dried wood, air-dried wood can often be steam bent successfully without this extra step.
Can vinegar be used to bend wood?
Yes! Vinegar can dampen and soften the wood, making it more flexible for cold bending. Just remember, it’s not a substitute for other more established methods.
Did I cover all you wanted to know about How to Bend Wood with Water?
In this article, I have deeply discussed, how to bend wood with water using boiling water technique, cold water technique, and using steam. Plus, I’ve mentioned some useful tips and tricks to make your bending process a lot easier.
You can bend wood by steam bending or boiling. Steam bending requires exposing wood to steam in a steam box for an hour per inch of thickness. Boiling entails immersing wood in boiling water for a similar duration. Kiln-dried wood needs a three-day pre-soak before these processes.
Furthermore, I’ve answered some frequently asked questions as well.
Hope you were able to know all you wanted to know about how to bend wood with water.
Practice the methods that I taught you through my experience several times until you become good at this. Make wonderful woodworks to get highlighted among your friends!