Ever wondered how to preserve the rustic beauty of charred wood? Sealing it is key! Dive into our guide to protect and enhance your charred creations, and let’s unlock the secrets together!
Burnt wood, also called chatted wood or Shou Sugi Ban, is a special way of making wood look very pretty. People burn the surface of wood boards and planks with fire to do this.
This method comes from ancient Japan. It helps keep the wood safe from bugs, pests, and weather and makes it last longer.
Shou Sugi Ban can be used both inside and outside because it looks modern and cool, and it protects really well.
Even though burnt wood doesn’t need to be sealed since the burning already seals it, putting a seal on it gives extra care and keeps it looking nice for a long time.
Now, I’ll share the method I’ve been using for more than ten years to seal my beautiful Shou Sugi Ban wood.
I learned this from my own experience and from talking to experts.
So, How to seal burnt wood?
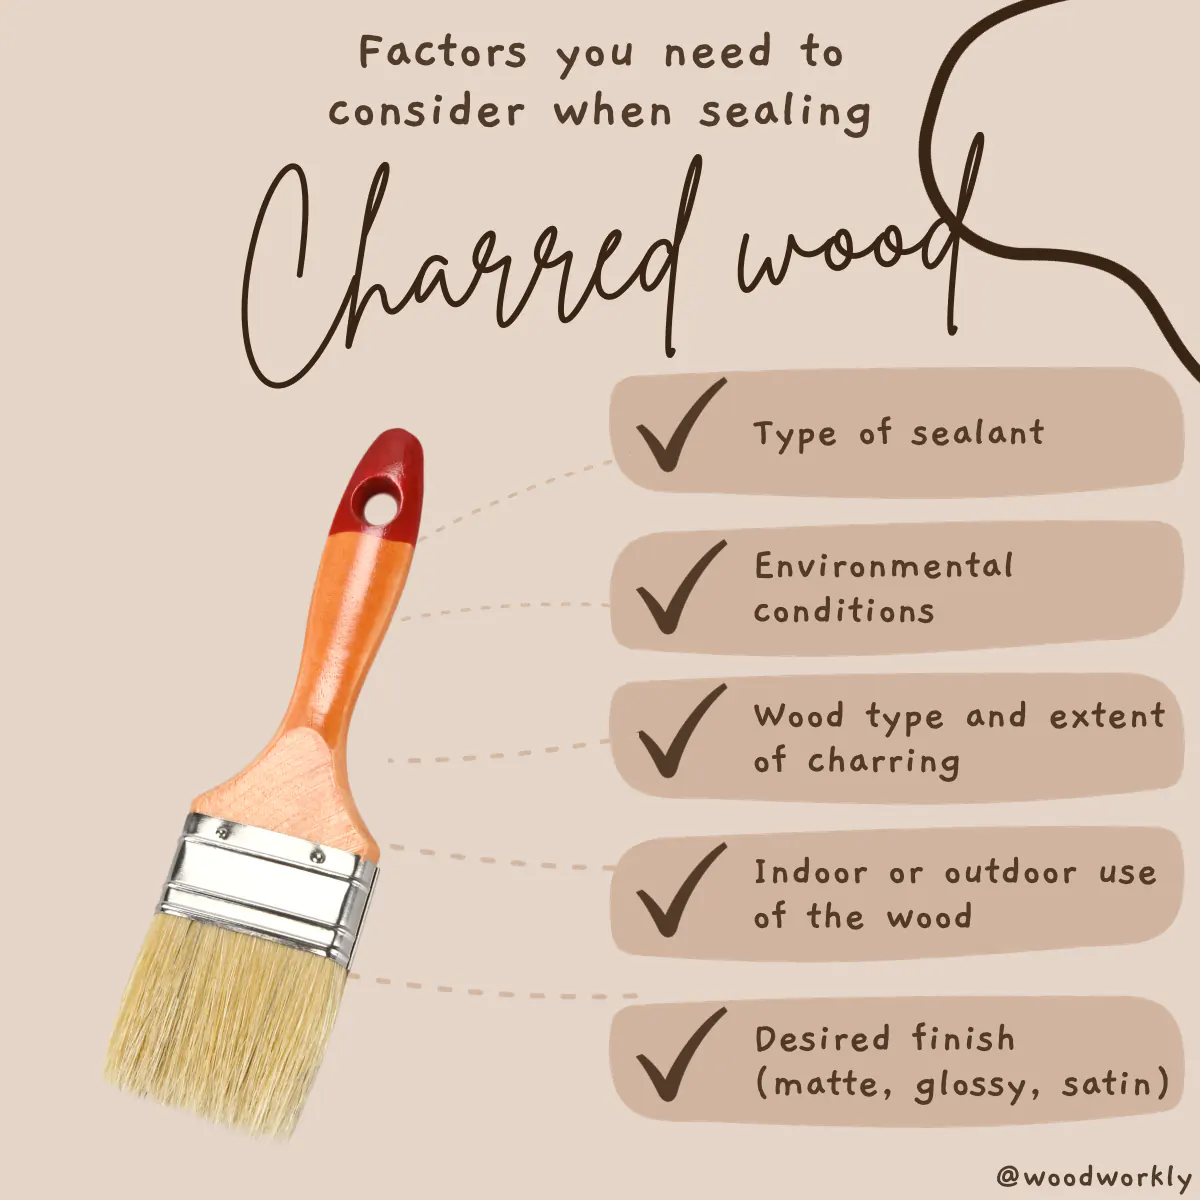
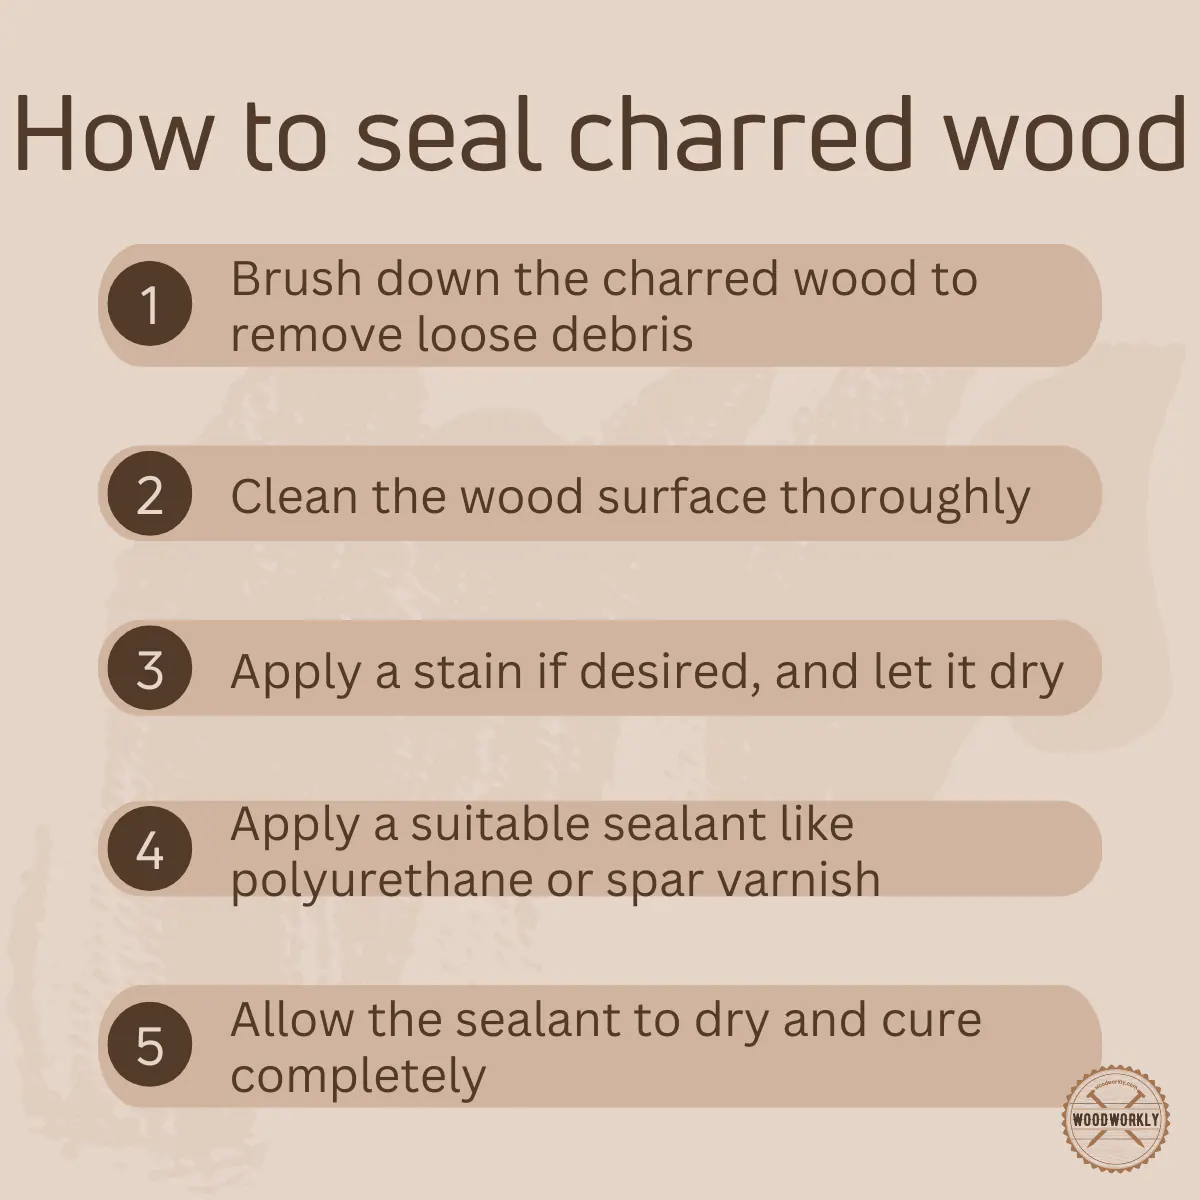
To seal burnt wood, first brush it down to remove loose char, then clean the surface. Apply a thin coat of a suitable sealant like spar varnish, polyurethane, or Danish oil using a clean brush. Allow the sealant to dry fully, following the manufacturer’s recommended drying times.
But that’s not all there to know about sealing burnt wood.
So, in this article, I’ll explore how to seal burnt wood properly, whether should you seal burnt wood, the best sealant for burnt wood, and more.
Furthermore, I’ll answer some frequently asked questions as well.
Let’s jump in!
Should You Seal Burnt Wood?
No, sealing burnt wood is not essential, as subjecting the surfaces of wooden boards or planks to open fire prevents attacks from insects, termites, and other pests, while also providing good protection from environmental elements.
Burnt wood, created by exposing wooden surfaces to open fire, has better resistance to environmental elements than untreated wood.
However, sealing burnt wood offers additional protection. It’s akin to adding extra cheese to a cheese pizza.
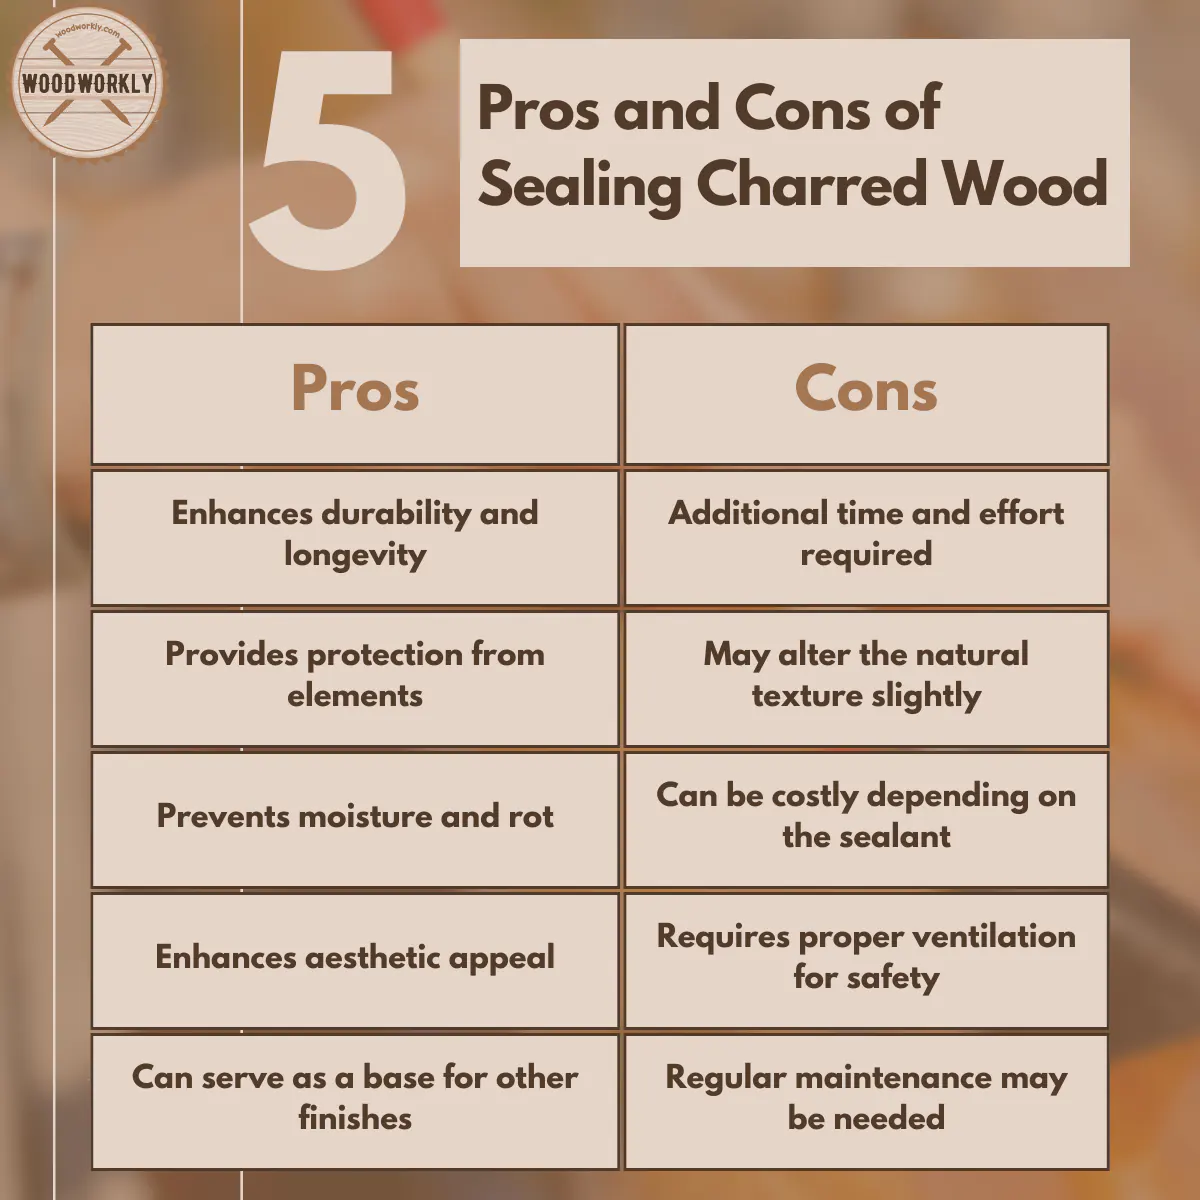
Benefits You Will Get By Sealing Burnt Wood
Here are some benefits you’ll get by sealing burnt wood,
- Waterproof the burnt wood – Applying a waterproofing sealant over burnt wood helps to protect burnt wood from outside moisture and gives rot and decay resistance.
- Protect burnt wood surface – Sealing burnt wood provides extra protection from insects, pests, UV light, and weather elements.
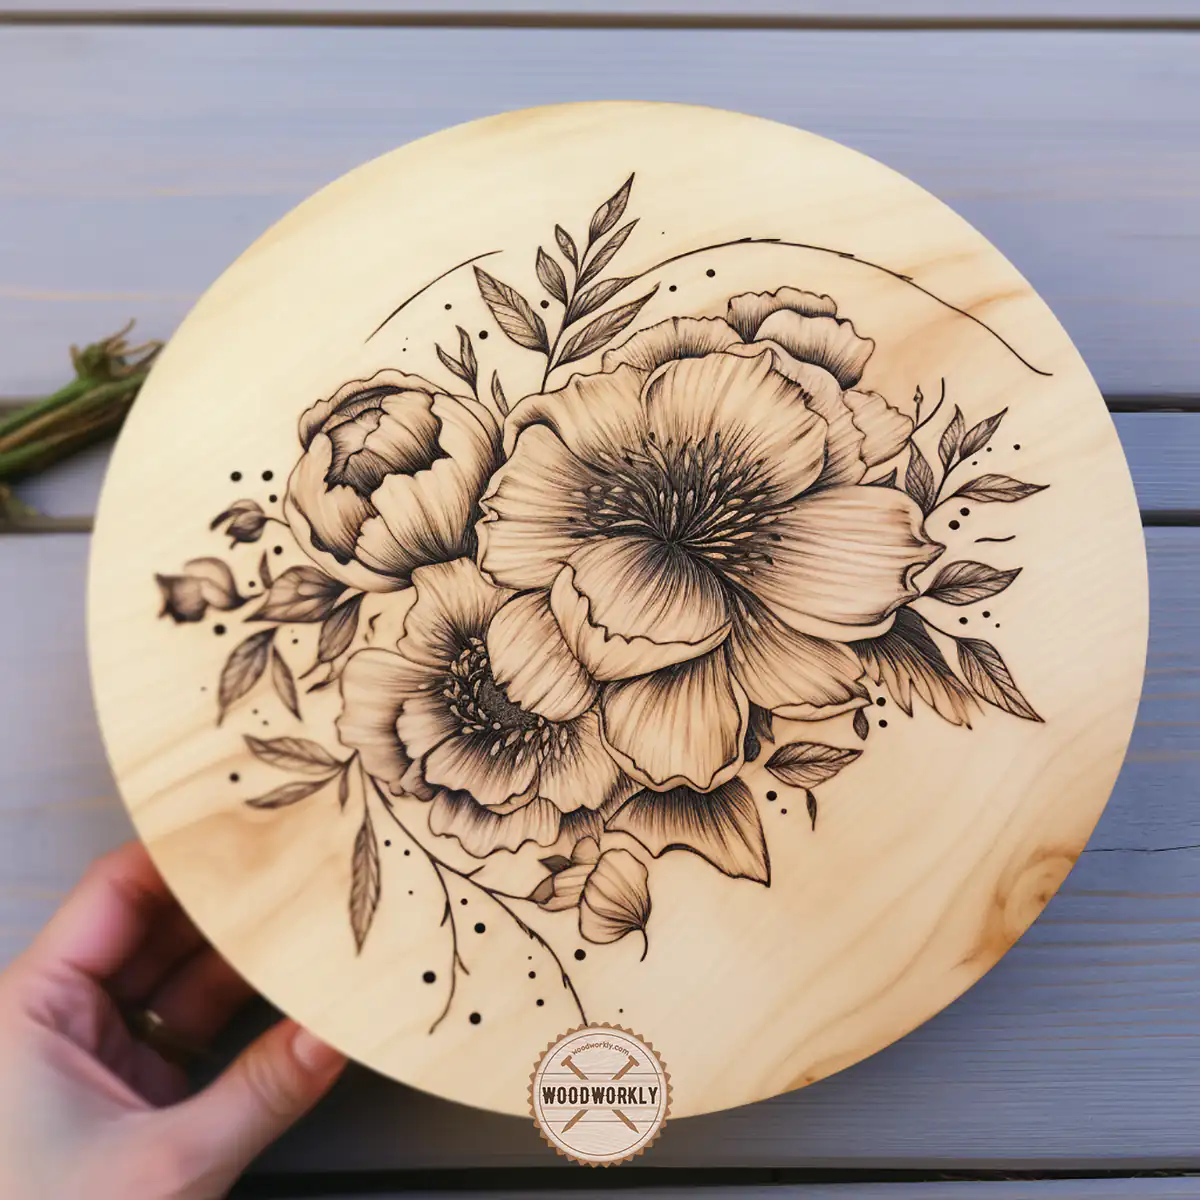
- Enhance the wood appearance – Sealing gives an enhanced look to burnt wood surfaces and you can stain, and seal burnt wood with your preferred color.
- Increase wood durability – Sealing burnt wood helps to increase the wood’s stability and physical appearance for so long.
- Provide a foundation for other finishes – Coat of sealant able to work as a base for upcoming finishes. It is like a foundation that helps future finishes to sit well on the surface.
- Protect wood from cracks, chipping, and peels – sealing burnt wood is useful for flooring and other projects that deal with coarse surfaces. Seal coats are able to handle foot traffic, dog scratches, and other impacts without harming the burnt wood surface.
I highly recommend you seal burnt wood before using it for outdoor woodworking projects since some burnt woods are unable to handle extreme weather conditions.
Therefore, proper sealing is good for charred wood to have in the long run.
Before heading into the sealing process of burnt wood, let’s focus on the best sealants you should go with.
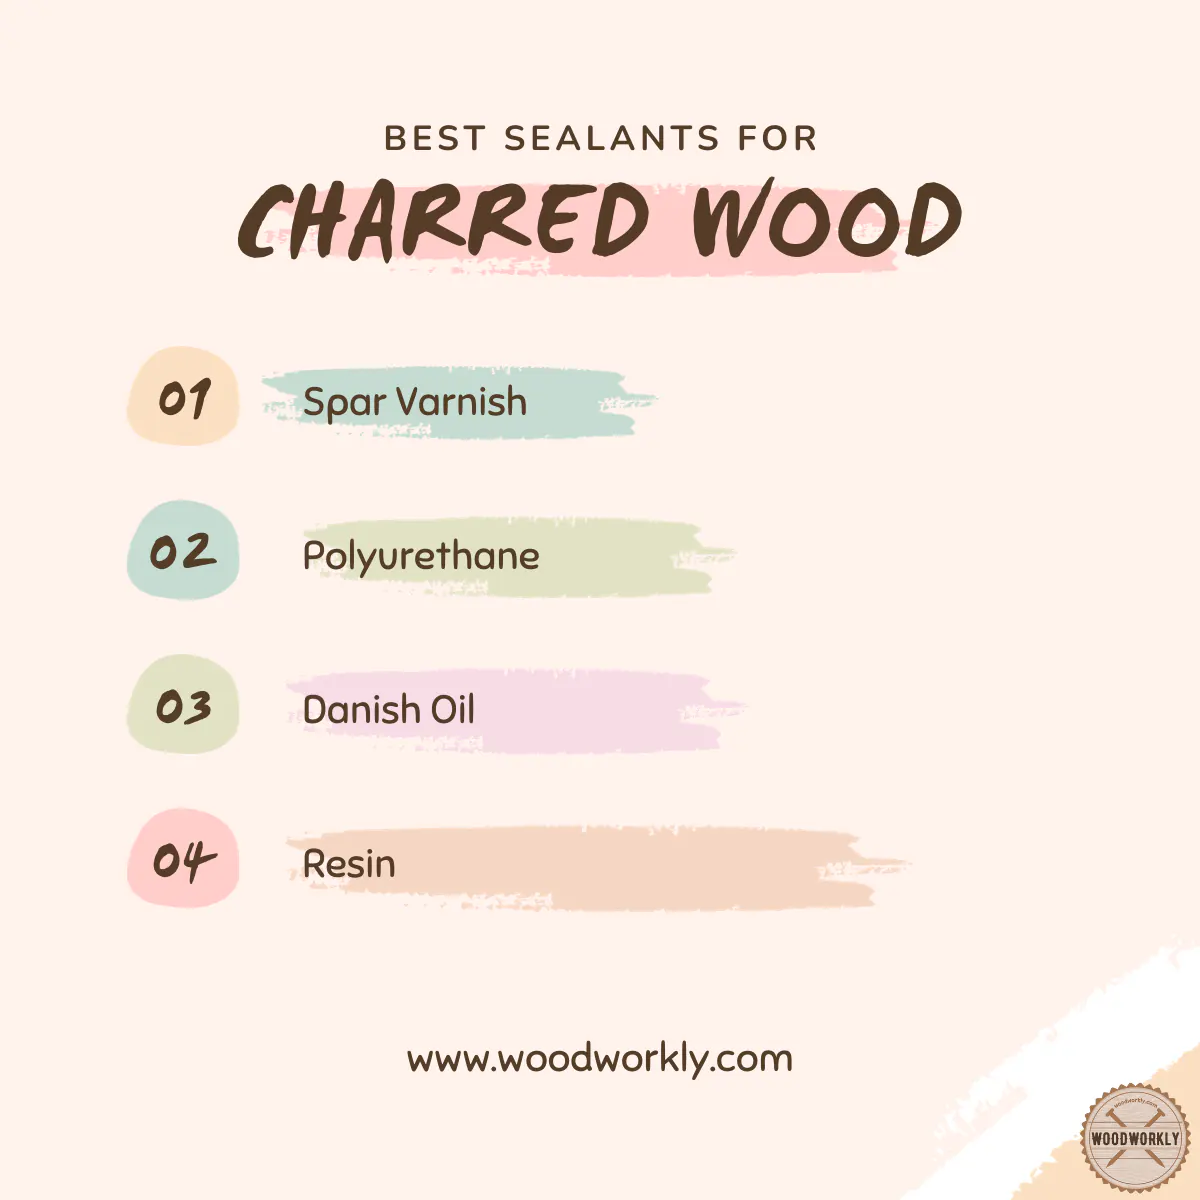
Best Sealant For Burnt Wood
Finding quality sealant is important to get the best out of sealing burnt wood. Using a poor sealant may ruin the appearance of your burnt wood surface.
Here are some of the best sealants for burnt wood,
- Spar varnish
- Polyurethane
- Polycrylic
- Danish oil
- Resin
- Furniture wax
There are so many different kinds of commercial products that come under the above sealants.
So, let’s discuss each of the above sealants one by one to see how they seal burnt wood with perfection.
Spar Varnish On Burnt Wood
Spar varnish works well on sealing burnt wood. It can protect burnt wood from environmental elements such as water damage, humidity, temperature fluctuations, UV light, and more.
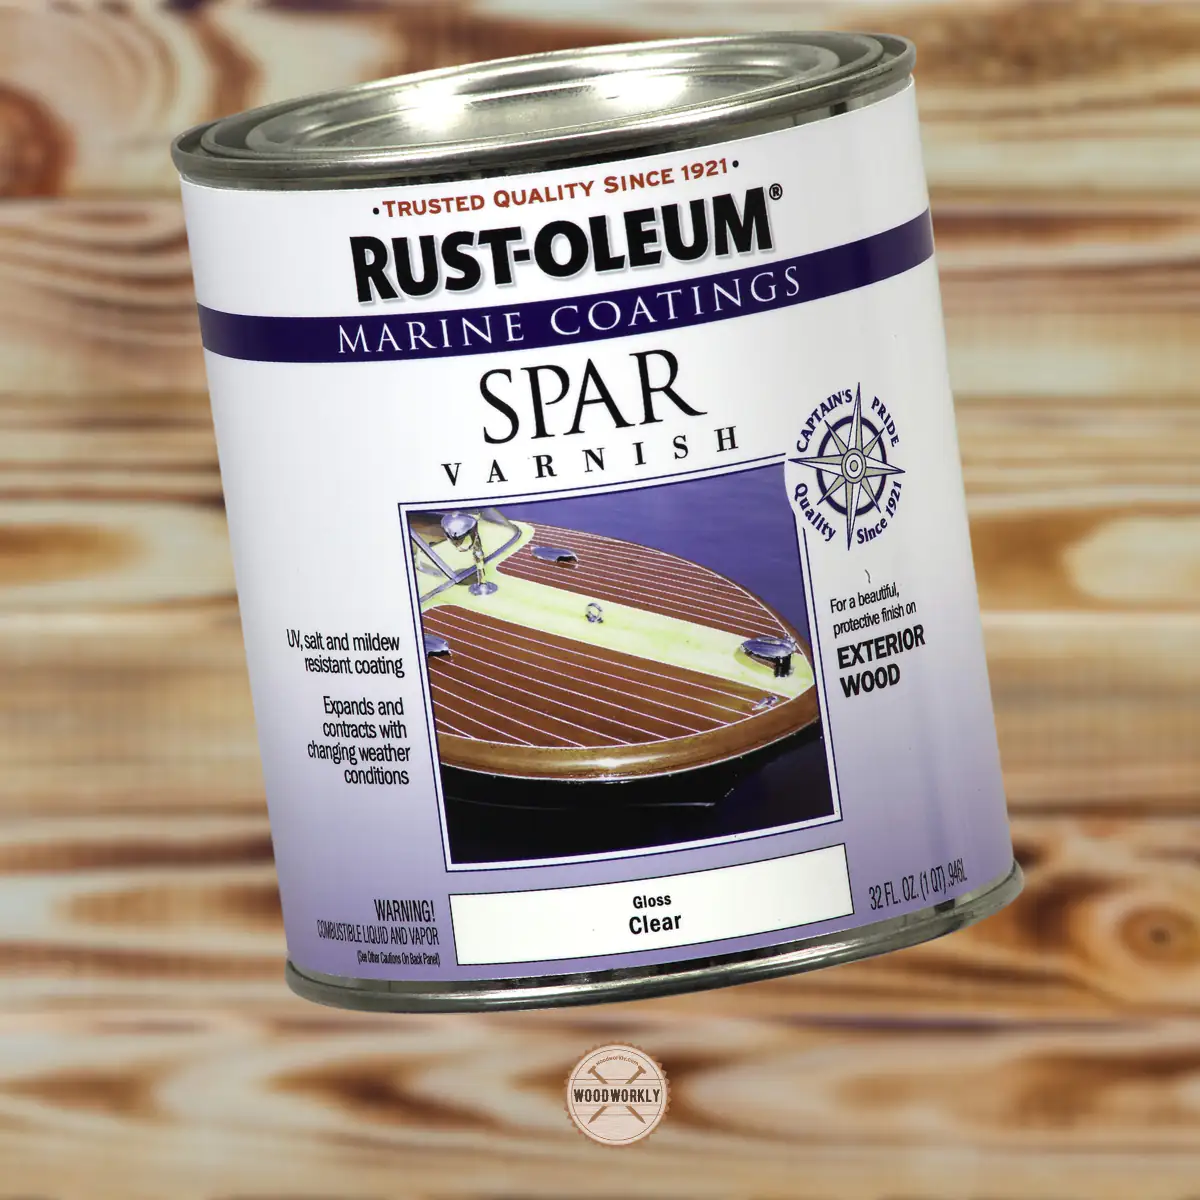
Plus, it will enhance the burnt wood appearance with a rich look.
Apply spar varnish on the burnt wood surface by thinning equal amounts with mineral spirit.
Sand and remove brush strokes between each coat of varnish and sand the final coat with 600-grit sandpaper to get a smooth, flawless, and glossy finish.
Benefits Of Finishing Burnt Wood with Spar Varnish
- Able to give a matte or glow finish
- Some varnish may yellow over time
- Provide UV protection
- Great for both indoor and outdoor use
Best Spar Varnish Products for Burnt Wood
- Rust-Oleum Marine Spar Varnish
- Minwax Spar Varnish
- Ola Masters Spar Varnish
Polyurethane On Burnt Wood
Polyurethane is a great sealant to use on burnt wood. Polyurethane sealant can give an even finish on burnt wood because of has petroleum and plant-derived materials.
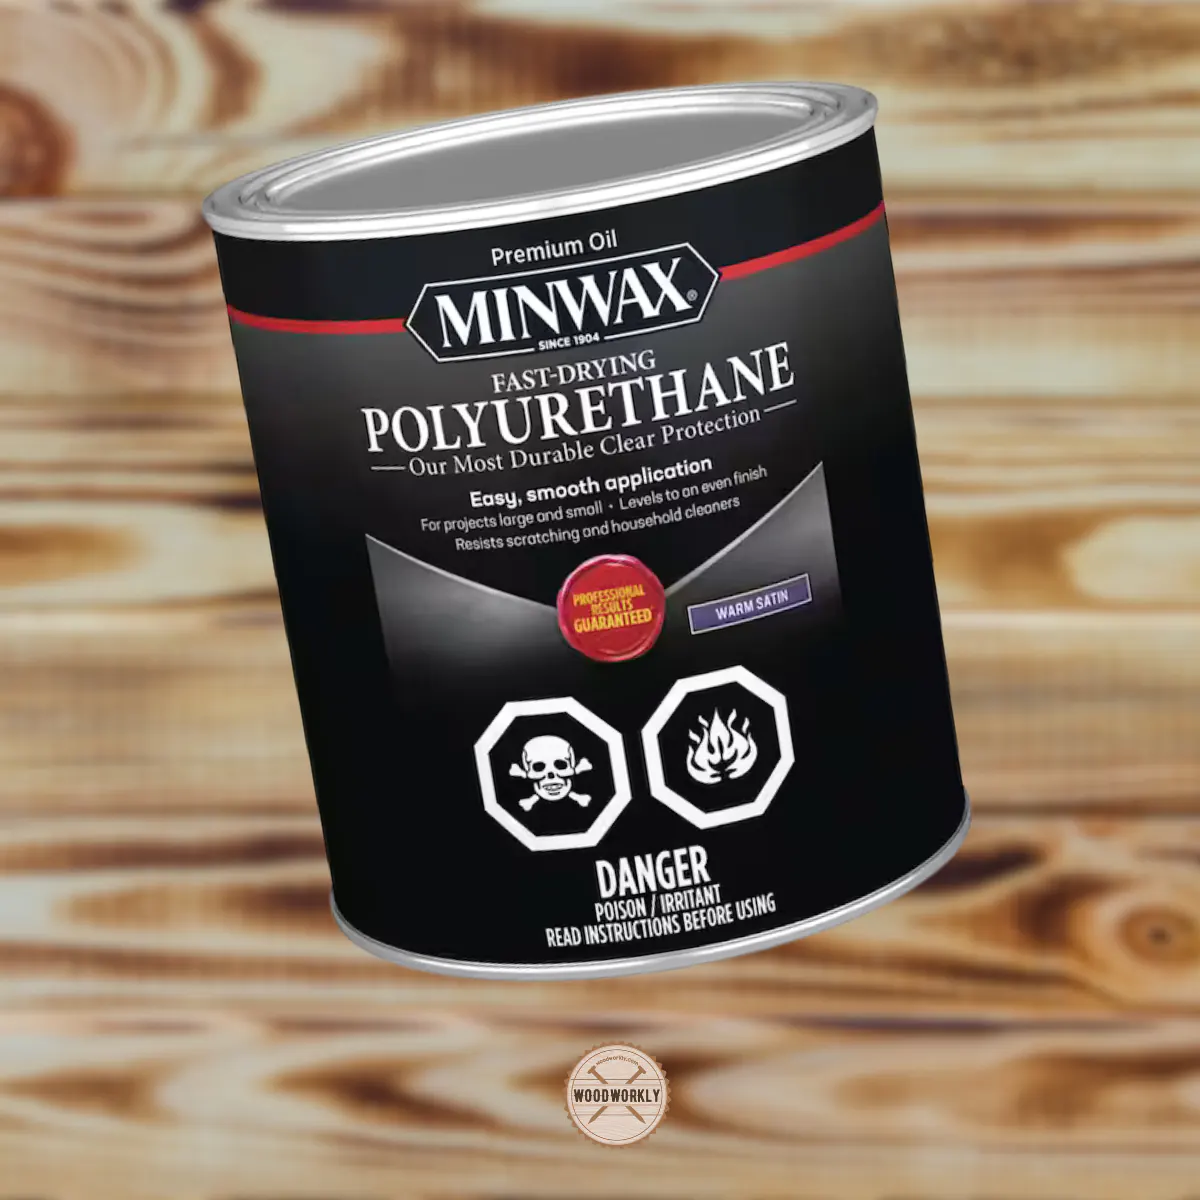
Polyurethane can enhance the wood’s appearance while giving protection from environmental elements such as moisture, UV light, insect attacks, and many more.
You can use polyurethane sealant literally for any burnt wood application including furniture, cabinets, flooring, and other indoor and outdoor uses.
Apply thin coats of polyurethane all over the burnt wood, remove excess using a tack cloth, and let the polyurethane coats dry between coats to get your desired look.
Benefits Of Finishing Burnt Wood with Polyurethane
- Provide matte or glossy finish
- Provide UV resistance
- Some products may yellow over time
- Great for both indoor and outdoor projects
Best Polyurethane Products for Burnt Wood
- Rust-Oleum Water Based Polyurethane
- Minwax Water Based Polyurethane Finish
- TotalBoat Polyurethane Finish
- Deft Interior Exterior Water-Based Polyurethane
Polycrylic On Burnt Wood
Polycrylic is able to maintain the natural appearance of burnt wood with a clear finish. It helps to protect burnt wood from water damage, UV light, insect attacks, and much more.
Polycrylic is able applied on both indoor and outdoor applications of burnt wood without any issues.
The top coat of polycrylic is crystal clear and it helps to protect the wood from light scratches and dents.
Being water-based is so important to prevent burnt wood from yellowing and to have a clear finish.
Benefits Of Finishing Burnt Wood using Polycrylic
- Provide matte or glossy finish
- Provide UV resistance
- Some products may yellow over time
- Great for both indoor and outdoor projects
Best Polycrylic Products for Burnt Wood
- Minwax Polycrylic
- General Finishes Polycrylic
Danish Oil On Burnt Wood
Danish oil is a popular oil finish that produces a high-quality finish with a rich glow appearance that protects wood from cracking and peeling.
Danish oil is basically a mixture of finishing oil, varnish, and thinner. Therefore it has all the great qualities of each of those finishers.
Anish oil hardens upon exposure to air which makes the sealing process easy.
Plus, it will give waterproofing ability to the burnt wood that prevents the wood from rotting and decaying.
Benefits Of Finishing Burnt Wood using Danish Oil
- Enhance the wood appearance
- Non-toxic and food-safe finish
- Able to use as a primer
- Offer scratch resistance
- Waterproof the wood
- Hardens quickly
Read to know more about Danish Oil Advantages and Disadvantages
Best Danish Oil Products for Burnt Wood
- Watco Danish Oil
- Tried & True Danish Oil
- Zinsser Rust-Oleum Danish Oil
- Rustins Danish Oil
Resin On Burnt Wood
You can use epoxy resin from burnt wood to protect wooden surfaces from cracks, scratches, peels, and other impacts.
Resins are mostly used on desktops and countertops since resin coats are great for tolerating mechanical impacts.
Plus, resins are able to waterproof the burnt wood and protect it from water damage and rotting.
Therefore, you can use resin on kitchen utensils, kitchen cabinets, bathroom cabinets, and outdoor projects as well.
Benefits Of Finishing Burnt Wood Using Resin
- Waterproofing ability
- Provide scratch resistance
- Improves wood appearance
- May yellow over time
- Provide UV protection
Best Resin Products for Burnt Wood
- Clear Epoxy Resin
- Superclear premium Clear Case Epoxy Resin
Furniture Wax On Burnt Wood
Waxing is helpful to get the original color of burnt wood without getting an artificial look.
It enhances the wood’s appearance while giving protection from environmental elements such as moisture, insect attacks, and more.
Most of the wax is made from natural ingredients and they can be considered eco-friendly finishes.
They don’t penetrate deep into the wood like oil finishes, wax just sits on the surface and improves the wood sheen.
Benefits Of Finishing Burnt Wood Using Furniture Wax
- Provide scratch resistance
- Improves wood appearance
- Soft and smooth finish
- No UV protection
Best Furniture Wax Products for Burnt Wood
- Minwax Finishing Wax
- Renaissance Wax Polish
- Beeswax Furniture Polish
Now you have a clear idea about the best sealants you should use for sealing burnt wood.
Getting high-quality sealant is a must to get your desired look with better protection and ease without ruining the burnt wood appearance.
So, let’s have a look at how to seal burnt wood following easy steps using the sealant you have selected.
Sealing Burnt Wood
Sealing burnt wood is fun and easy since the wood is already got protected by an open fire. But sealing is important to get the extra protection we need.
Here are the requirements you need to have before starting the sealing process.
Supplies You Will Need for Sealing Burnt Wood
- Wood sealant for charred wood
- Burnt wood
- Wire brush
- Paintbrush
- Wood stain
- Lint-free tack cloth
- Rags
- Gloves
- Air compressor or vacuum cleaner
How To Seal Burnt Wood?
Here’s the list of simple steps for sealing charred wood,
- Brush the wood down
- Clean the wooden surface
- Apply stain on wood
- Seal the wood
- Apply multiple coats of sealant (if necessary)
- Let the sealant dry and cure
So, let’s discuss each of the above steps separately to get a crystal-clear idea of sealing burnt wood perfectly.
1. Brush The Wood Down
First, you need to take the wire brush and brush the wood down with it. Brush with even pressure along the wood surface to clean up the surface and remove dents and other residues.
Brushing the wood down helps to get a smooth surface with no random streaks, drips, or runs.
Brushing makes the wooden surface even out and ready to take the stain so well. Stains get absorbed into the wood without any trouble because of brushing.
Brushing removes dust, debris, and dents to get a quality finish.
To get your desired look with no ugly patches on burnt wood, brushing is important to do with a quality wired brush.
Brush the brunt wood until you get a brownish color underneath. Stop the brushing as soon as you notice the charcoal brownish-black appearance.
You can brush until you get the color you want. But I suggest you do not ruin the wooden surface by brushing the wood down too much.
2. Clean The Wooden Surface
After brushing the wood down, you need to clean the entire wood surface since dust, residue will remain after brushing.
Cleaning is essential before sealing the burnt wood since dust particles may attach to the sealant and give a dull appearance to your woodwork.
Plus, it is so difficult to remove dust and other residues once the sealant is applied. Therefore, do the cleaning properly to get a nice and clean surface before sealing the wood.
First, you need to remove dust and debris by wiping the surface down with a lint-free cloth and removing dust using a dust collection pipe system.
Or you can use an air compressor to blow the small dust particles or a vacuum cleaner to eliminate dust particles.
Make sure to cover the entire surface since missing spots may cause a lot of issues in future steps.
Then wipe the entire surface using a wet soft cloth to clean the surface so well and to prevent debris on the surface.
Or you can use soapy water to clean the entire wood surface. Soapy water grabs dust and debris easily and gives a crystal clear appearance on your burnt wood surface.
Better to avoid harsh cleaning agents since they may damage the wood underneath.
Then let the surface dry completely before moving into the staining step.
3. Apply Stain On Burnt Wood
Staining burnt wood before sealing is an optional step. Some people tend to seal the burnt wood directly after cleaning the wood without applying a stain.
That’s totally fine because staining is required if you’re willing to change the tone of the burnt wood surface. Black and brownish black provide the best color options for burnt wood.
You can get the preferred black or brownish-black color by applying a thin coat of stain. Thick coats won’t dry easily.
Make sure to apply along the direction of the wood grain for better absorption and to minimize wood stain mistakes.
Apply stain using a paintbrush with even pressure throughout the wood to get an even finish all over the wood with no blotches and streaks.
Apply 2 to 3 coats of stain until you get the color you want.
Make sure to let the stain finishes dry well between coats for at least 24 hours. Otherwise, a tacky stain finish may appear which won’t dry quite easily.
Apart from changing the color of the wood, the stain is useful to make a protective layer over the wood which helps to protect the burnt wood surfaces from environmental elements such as moisture, UV light, insect attacks, water damage, and more.
The stain makes the wood more waterproof and prevents it from rotting and decaying due to weather elements.
Staining is recommended for burnt furniture or woodwork that is kept outside since it provides extra protection to keep the wood for so long.
4. Seal The Charred Wood
Now you have reached the last dance of the sealing process of burnt wood.
You can seal the wood directly after cleaning the wood or after staining the wood with your preferred color.
Before applying the sealant to the wood, let the previously applied stain layers dry and cure completely.
When the surface is completely dry, you can do the sealing with a new brush.
Using a new brush is important because used brushes may have residues of other sealants which can mess up our project easily.
Take the brush and dip it lightly into the sealant can. then remove the excess sealant on the brush and apply a thin coat of sealant over the surface.
Better to apply sealant along the direction of the wood grain for better absorption and higher durability.
The sealing process is nothing new. Sealing burnt wood is the same as sealing normal untreated wood.
5. Apply Multiple Coats of Sealant (If Necessary)
Usually, a single coat of sealant is sufficient to get the protection and appearance you want.
But you can go for more sealant coats as you need.
Better not to apply too much sealant because you’ll probably have to wait for so long until the coats dry before applying the next one.
This may result in a wet tacky surface.
Follow the directions as mentioned on the manufacturer’s label.
6. Let the Sealant Dry and Cure
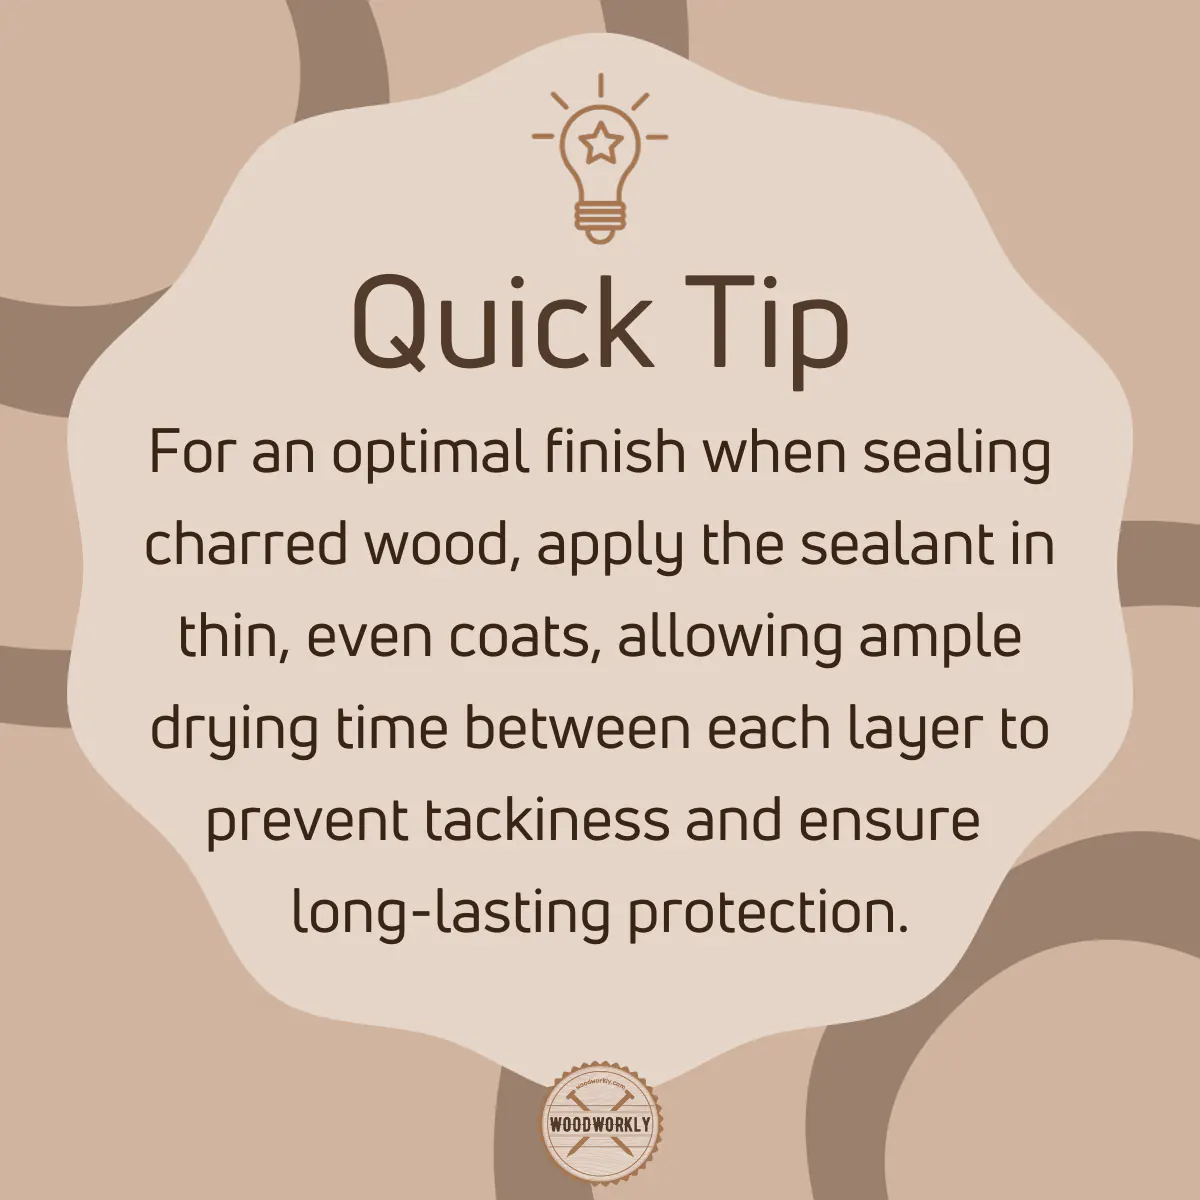
Apply a thin coat of sealant and let each coat dry and cure completely before moving on to the next one.
Let each coat dry for at least 6 hours before applying another. Drying time can get longer when the humidity is high.
Let’s have a look at some tips and tricks you can use to get a better finish by sealing burnt wood which I learned from experience.
Tips for Sealing Burnt Wood From Experts
Here are some tips that are really helpful to make decisions and prevent you from going wrong when sealing burnt wood.
Let’s discuss each of the above tips and tricks to be pro at sealing burnt wood.
Test Sealant And Stain Before Use
Before applying stain and sealant directly on the entire burnt wood surface, test each on a small area of wood to see how they work with the wood and what would be the final outcome of the project.
There’re some stains and sealants that won’t go well with particular types of burnt wood.
So, by testing the wood with your stain and sealant you’ll be able to get a good understanding of how they perform.
Testing reveals possible issues that can happen when staining and sealing. This helps to minimize those issues and mistakes when staining and sealing the entire wood surface.
After applying stain or sealant on a small area of burnt wood wait for at least a day to see the possible outcome of the project before heading into the entire wood.
Use Less Amounts Of Stain And Sealant
Fewer amounts of stain and sealant are sufficient to get a good outcome from burnt wood.
Burnt wood is already protected with open fire. So they only need to polish up a little bit with stain and sealer. So, adding lots of stain and sealant won’t do anything well.
Applying many layers of stain and sealant on burnt wood may ruin the wood’s appearance because each coat needs to dry and cure completely before applying another coat.
When the number of coats are increasing, the drying time will also increase and there’s a high possibility of ending up with never drying tack surface which is so hard to eliminate.
Therefore, always go for thin coats of stain and sealant and try to finish up the sealing process with a minimum number of coats.
Usually, one coat of sealant is sufficient to get the protection you want. Or you can go a maximum of up to two.
Work in a Well Ventilated Area
Always select a well-ventilated area for sealing burnt wood because stain coats and sealant coats are able to dry quickly because of the good air circulation in a ventilated area.
Having proper ventilation balances the air humidity and accelerates the evaporation process. Therefore, stain and sealant layers dry up quickly without forming tacky surfaces.
Plus, stain fumes and sealant fumes can cause breathing issues and irritations.
So, having good air circulation in a ventilated area is a must to get protected from harsh fumes and chemicals.
For example, strong odors in polyurethane sealants can cause breathing and lung issues if you breathe it for a long time.
You can open windows and are like a garage to do the project with proper ventilation. Use a mask for your safety.
Dry Between Coats
Drying between each coat of sealant and stain is essential to get a nice and smooth surface with no issues.
You need to wait at least 24 hours between each coat to let the surface dry and cure completely.
Apply thin coats of stain and sealant to speed up the drying process.
That’s it, folks! Now you have good knowledge about, how to seal burnt wood without making any mistakes.
Do I need To Seal the Wood After Burning?
No, you don’t need to seal the wood after burning unless you’re going to use burnt wood under outdoor harsh weather conditions.
Because subjecting the wood to an open fire is not sufficient to withstand extreme weather conditions, humidity fluctuations, UV light, and other impacts.
Burning wood is helpful to terminate termites and pests. But you need to apply a proper sealant to protect burnt wood in long run.
Applying a proper sealant helps to increase the wood’s durability and enhance the wood’s appearance. But regular maintenance is a must to keep the protection for so long.
Does Charring Wood Waterproof It?
Charring wood makes the wood water resistant because when the wood is subjected to open fire, a carbon layer will wrap around the timber and makes a water-resistant coating above the wood.
Therefore, charring wood is not particularly waterproof the wood, but it makes the wood water resistant.
Being water resistant is so useful for kitchen and bathroom furniture and when comes to outdoor woodworking applications.
Charring protects wood from water damage.
Plus, charring wood keeps it from rotting because outside moisture is unable to get inside the wood through the carbon-coated layer. Being rot-resistant is useful for both interior and exterior applications.
This is why you can use charred wood even without finishing properly. It already got the protection.
Does Charred Timber Need Maintenance?
Yes, charred timber needs maintenance, but it needs significantly lesser maintenance than regular wood.
Apply new sealant or coat over charred wood every 10 – 15 years.
Until then you can use charred wood with no issues. But under extreme weather conditions, this age may reduce up to 10 years.
There’s some charred wood furniture and woodwork that lasts for more than 80 -100 years of age with no maintenance at all.
Let’s answer some frequently asked questions.
FAQs
Do You Need to Seal Charred Wood?
Sealing charred wood is not mandatory but recommended, especially for outdoor use, as it provides additional protection against environmental elements and enhances durability.
Can Charred Wood be Used Outdoors Without Sealing?
Charred wood can be used outdoors without sealing; however, applying a sealant is advisable for extra protection against moisture, UV rays, and temperature fluctuations.
How Many Coats of Sealant Should Be Applied to Charred Wood?
Typically, one to two coats of sealant are sufficient for charred wood, but more may be applied for extra protection or desired finish.
What Safety Precautions Should Be Taken When Sealing Charred Wood?
Work in a well-ventilated area and wear protective gear such as gloves and a mask, especially when using sealants with strong fumes.
How Long Should Sealant on Charred Wood Dry Before Use?
Sealants on charred wood usually need to dry for at least 6 hours, but drying times can vary based on the type of sealant and environmental conditions.
Did I cover all you wanted to know about: How To Seal Burnt Wood?
In this article, I have deeply discussed the importance of sealing burnt wood and how to seal burnt wood properly without making any mistakes with the best sealant products you should go with.
To seal charred wood, thoroughly brush and clean the surface to remove debris. Apply a high-quality sealant such as polyurethane, spar varnish, or Danish oil with a clean brush. Ensure even coverage and allow each coat to dry completely, typically requiring several hours, as per the sealant’s instructions.
Furthermore, I’ve answered some frequently asked questions as well.
Hope now you have a good understanding of how to seal burnt wood properly with simple steps.
Try to seal burnt wood as your next woodworking project and see how it works with different sealants and try to select the best sealant that matches your wood perfectly.