Ever wondered how to bring out the natural beauty of birch plywood? Curious about the best stain for your project? Let’s dive into the world of staining birch plywood together!

Birch is an extremely strong wood that is used for plywood, crates, boxes, doors, paneling, furniture, and many more.
Birch is a popular wood among woodworkers because of its wonderful qualities.
Nowadays, staining is a common thing in any woodworking project.
Therefore, most people are curious about staining Birch and how to do that!
I was in the same position as you and now with years of experience, I was able to find many useful info and practices about staining birch plywood.
So, let’s find out, Does Birch stain well?
Yes, Birch stains pretty well, but it’s not easy. Because Birch plywood does not absorb pigments in stains evenly and leads to a splotchy, blotchy, and dull surface. Surface preparation is a must when staining Birch. Sanding and applying pre-stain wood conditioner first help Birchwood to take stains well.
But that’s a quick snapshot and there’s a lot more to know about staining Birch.

In this article, we’ll explore does Birch stain well, does Birch stain easily, the best stain for Birch, and how to stain Birch.
Furthermore, I’ll answer some frequently asked questions about staining Birch as well.
Let’s dig in!
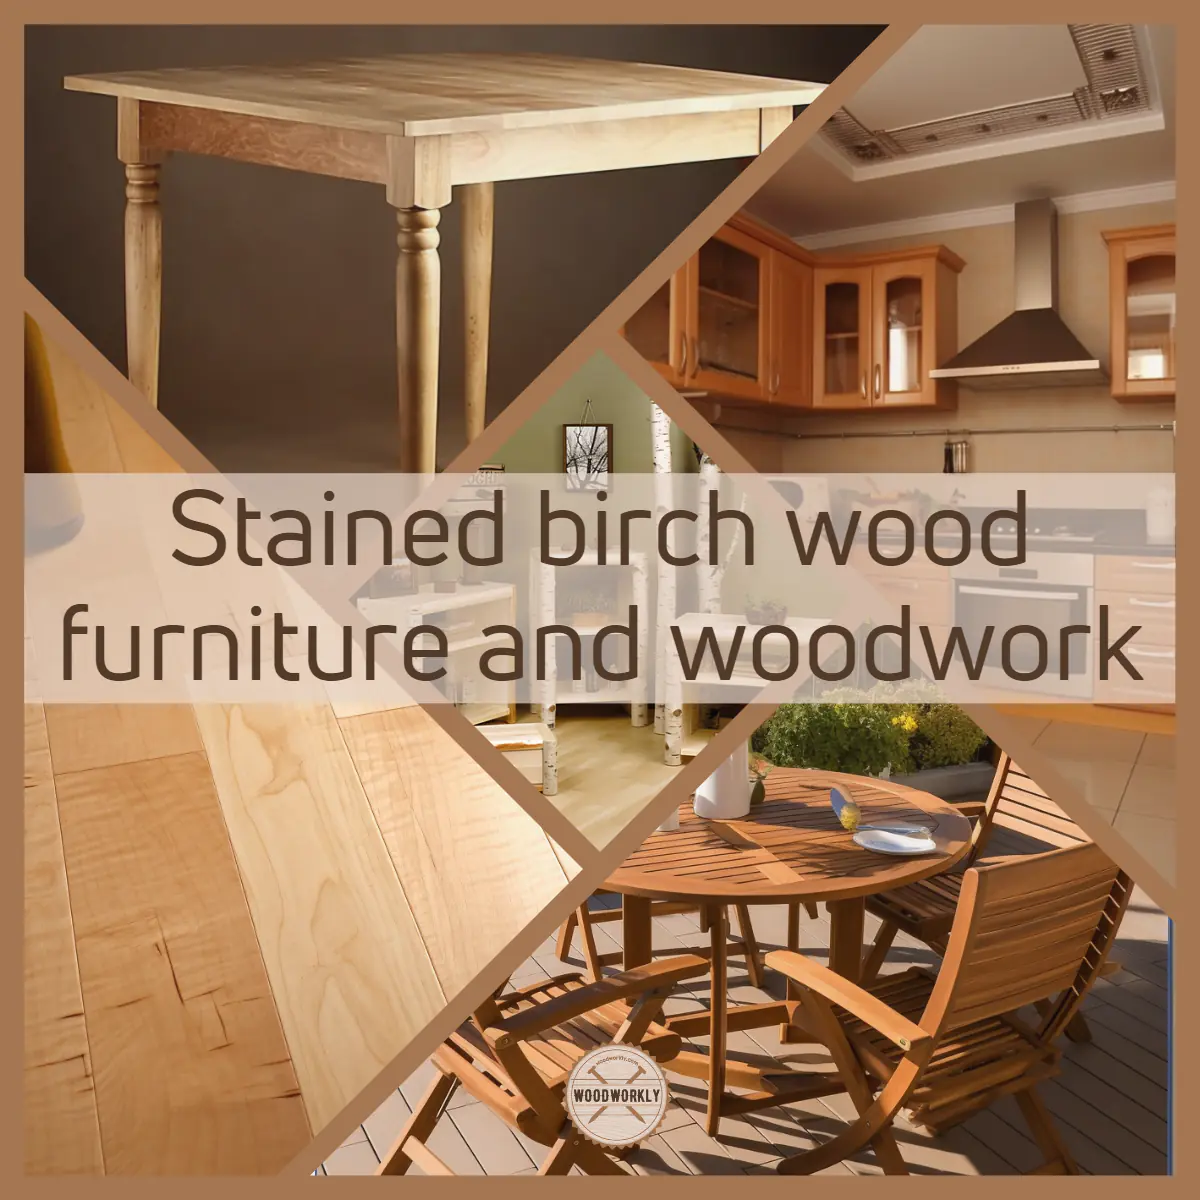
Does Birch Stain Easily?
No, Birch does not stain easily, but Birch is stainable with proper surface preparation.
Birch is hard to stain because of the following factors,
- Fast reaction time
- Absorbs stain unevenly
- Results splotchy and blotchy surface
Stain absorbs unevenly and dries faster when applied to the Birch wood surface. This will result in a blotchy, uneven color on the wood.
This is commonly highlighted when you stain Birch with a dark-colored stain. Large blotches are highly noticeable when working with darker color stains.
Birch wood is a little bit of softer wood compared to other wood types. It is more porous, which is the main reason it soaks stain quickly.
Because of soaking stains too fast, we won’t get enough time to wipe down stain all over the wood surface.
The excess absorption of stain will result in a blotchy and splotchy surface.
The fast reaction time of Birch wood against wood stain gives a blotchy surface.
The surface blotchiness is so difficult to remove. Most of the time, you’ll have to remove the stain entire stain layer entirely and will have to start from the beginning.
Therefore, it’s better to take action to stop the wood from soaking stain unevenly.
In order to limit the stain absorption amount and to slow down the reaction time of Birch wood, you should make the surface before applying the wood stain.
Pre-stain wood conditioner is the best product you can use to prevent uneven absorption of stain and make the Birch wood surface ready to take stain evenly.
It will limit the stain absorption amount and slow down the reaction time of Birch wood.
This will give you sufficient time to apply stains all over the wood without getting a splotchy or blotchy surface.
In order to find the correct method of staining Birch, let’s find out which stain suits Birch wood perfectly.

What Stain Looks Best On Birch?
When it comes to staining birch wood, the type of stain you choose can significantly affect the overall appearance and durability of your finished piece.
Among the popular options are water-based stains, oil-based stains, and gel stains.
Each of these offers unique characteristics that can make it the best choice, depending on your particular needs and desired outcome.
Water-Based Stains on Birch
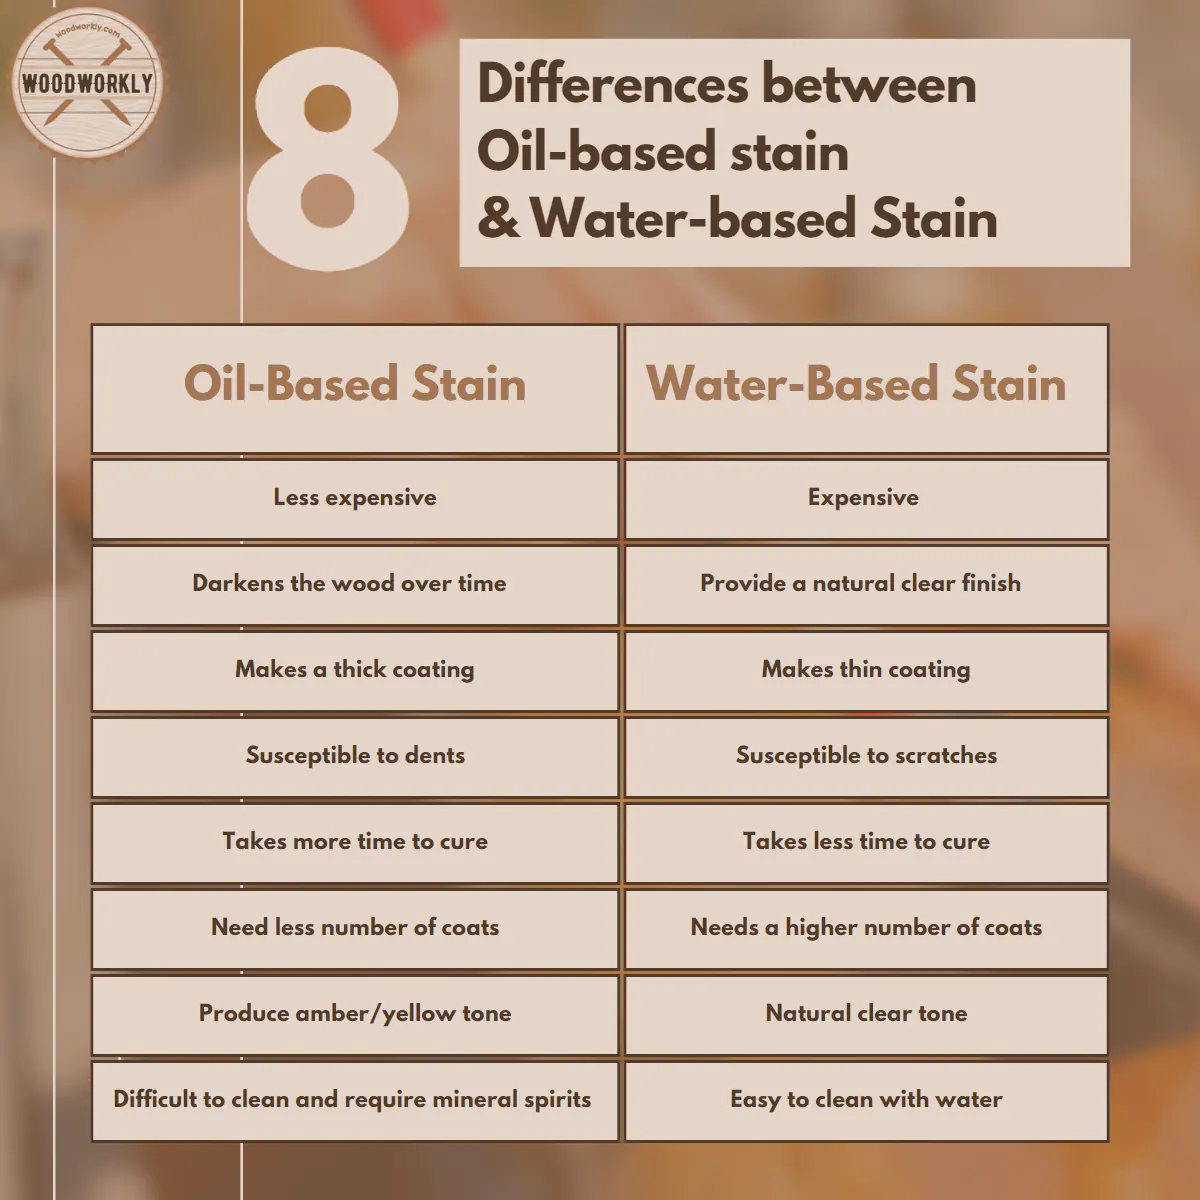
Water-based stains are an excellent choice for birch due to their quick-drying nature and easy clean-up.
These stains penetrate the wood and provide rich, vibrant colors while maintaining the natural wood grain’s visibility.
Their fast-drying nature prevents the stain from soaking into the wood unevenly, which could lead to blotchiness.
For instance, Minwax stains in various shades like Classic Gray, Slate, and Early American, among others.
These stains have proved to give a vibrant hue and a rich finish on birch plywood.
However, water-based stains might raise the grain of the wood, which means you may have to sand the surface lightly after the first coat.
Despite this minor drawback, water-based stains are eco-friendly options with low VOCs, making them an excellent choice for indoor projects.
Oil-Based Stains on Birch
Oil-based stains are renowned for their durability and rich, deep colors.
They seep into the wood’s pores, allowing the grain to show through for a natural, rustic look.
Unlike water-based stains, oil-based stains do not raise the grain, meaning less sanding and a smoother finish.
One classic example of an oil-based stain on birch is the Minwax English Chestnut stain.
The oil-based formula allows for deeper penetration, giving the birch a vibrant hue that enhances its natural beauty.
However, oil-based stains take longer to dry, and clean-up requires a solvent such as mineral spirits.
Additionally, they tend to have a stronger odor and higher VOC levels than their water-based counterparts.
Use them in well-ventilated spaces or for outdoor projects to ensure safety and comfort during application.
Gel Stains on Birch
Gel stains are unique in their application. Instead of being absorbed into the wood like traditional stains, gel stains sit on the wood’s surface.
This characteristic makes them particularly effective on birch, known for its uneven absorption of stains.
The thick consistency of gel stains offers more control during application, reducing the risk of drips or runs.
For example, a darker gel stain like Varathane’s Classic Black or Minwax’s Ebony can give birch plywood a rich, luxurious look without the blotchiness sometimes seen with traditional stains.
The downside to gel stains is that they might obscure the wood’s grain, giving a more painted look.
Also, they require longer drying times, much like oil-based stains.
As you can see, the best stain for birch truly depends on your personal preference, the desired look, and the project specifics.
Water-based stains are great for a quick, vibrant, and eco-friendly option; oil-based stains offer rich colors with durable, smooth finishes, and gel stains provide even color with added control during application.
What Is the Best Stain for Birch?
Water-based stain is the best stain for Birch. If you want to get a darker color, use gel stain on Birch wood.
But generally, Birch works pretty well with any kind of stain.
Here’re some best stain products for Birch wood,
- SamaN water-based wood stain
- Minwax Gel stain
- Ready Seal exterior stain and sealer
In order to select the best stain product that matches your Birch woodwork or furniture, test it with scrap wood before directly applying it to the main project.
So, let’s discuss how each of the above stain products works on Birch wood surfaces to give a nice tone as you wish.
SamaN Water-Based Stain on Birch
SamaN water-based stain is the best stain to use on Birch. Water-based stain can seep into the grain structure of Birch wood correctly.
The viscosity of SamaN water-based stain perfectly matches the porosity of Birch wood.
SamaN water-based stain is available in various color options such as black, walnut, azure, brandy, mahogany, lime, and many more.
Here’re some unique qualities of SamaN water-based stain,
- Able to use for any Birch interior woodwork
- It gives a lustrous finish to Birch wood furniture
- Easy to apply
- Does not penetrate too deep into the wood
Usually, water-based stains are affordable compared to other stain products.
I have listed some specifications of the SamaN water-based stain
| Color | Walnut and many |
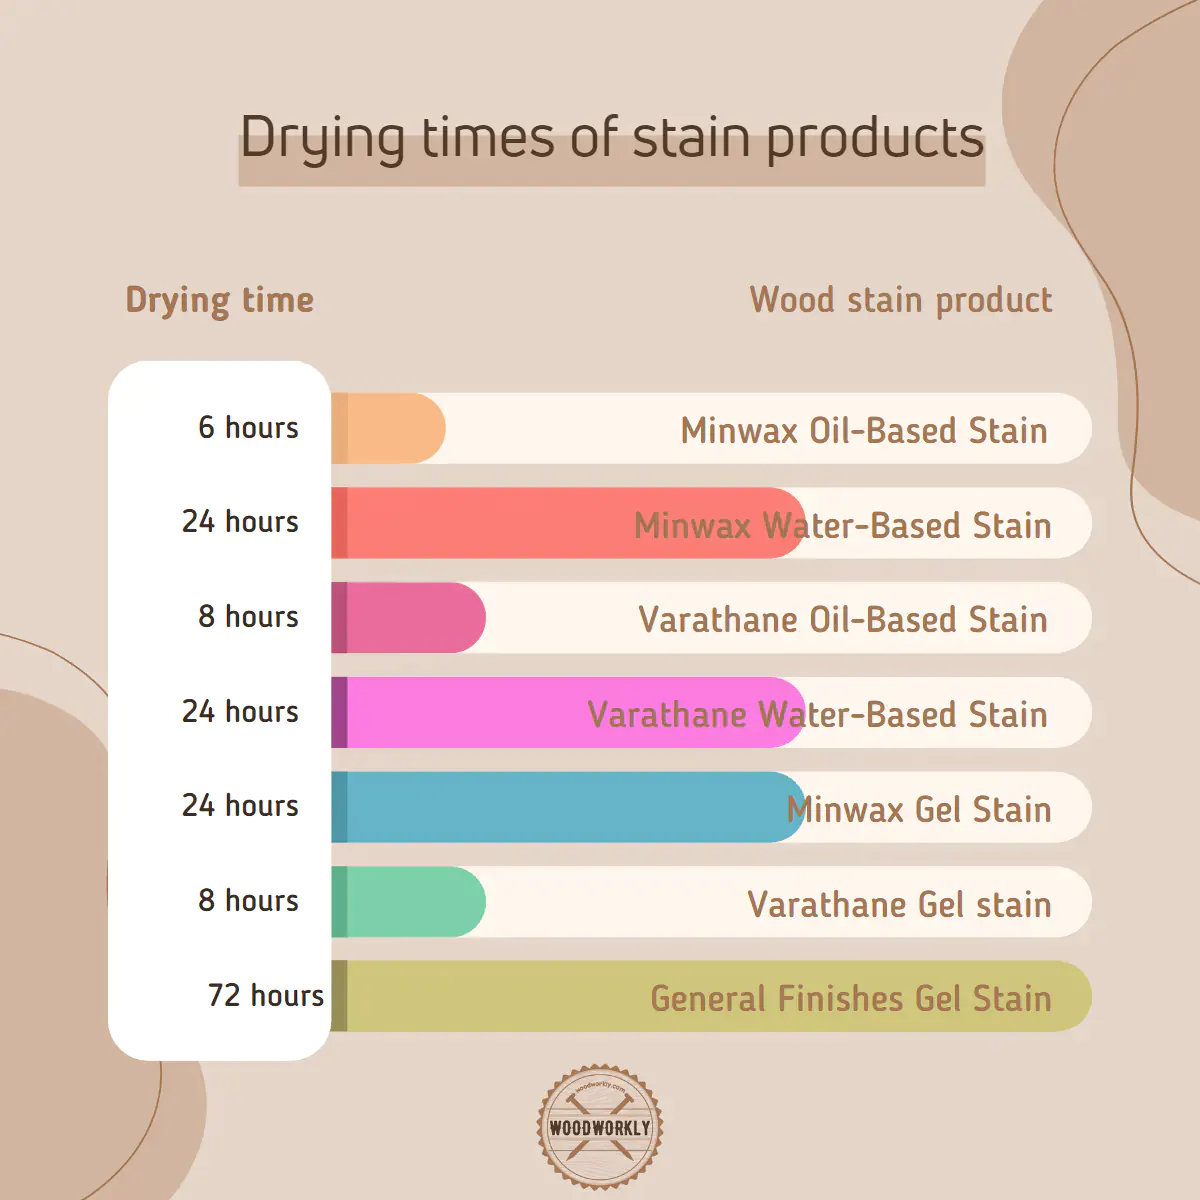
| Drying Time | 1 – 2 hours |
| Number Of Coats Needed | Single coat for a nice finish and three coats for a rich finish |
| Applications | Birch interior furniture and woodworks |
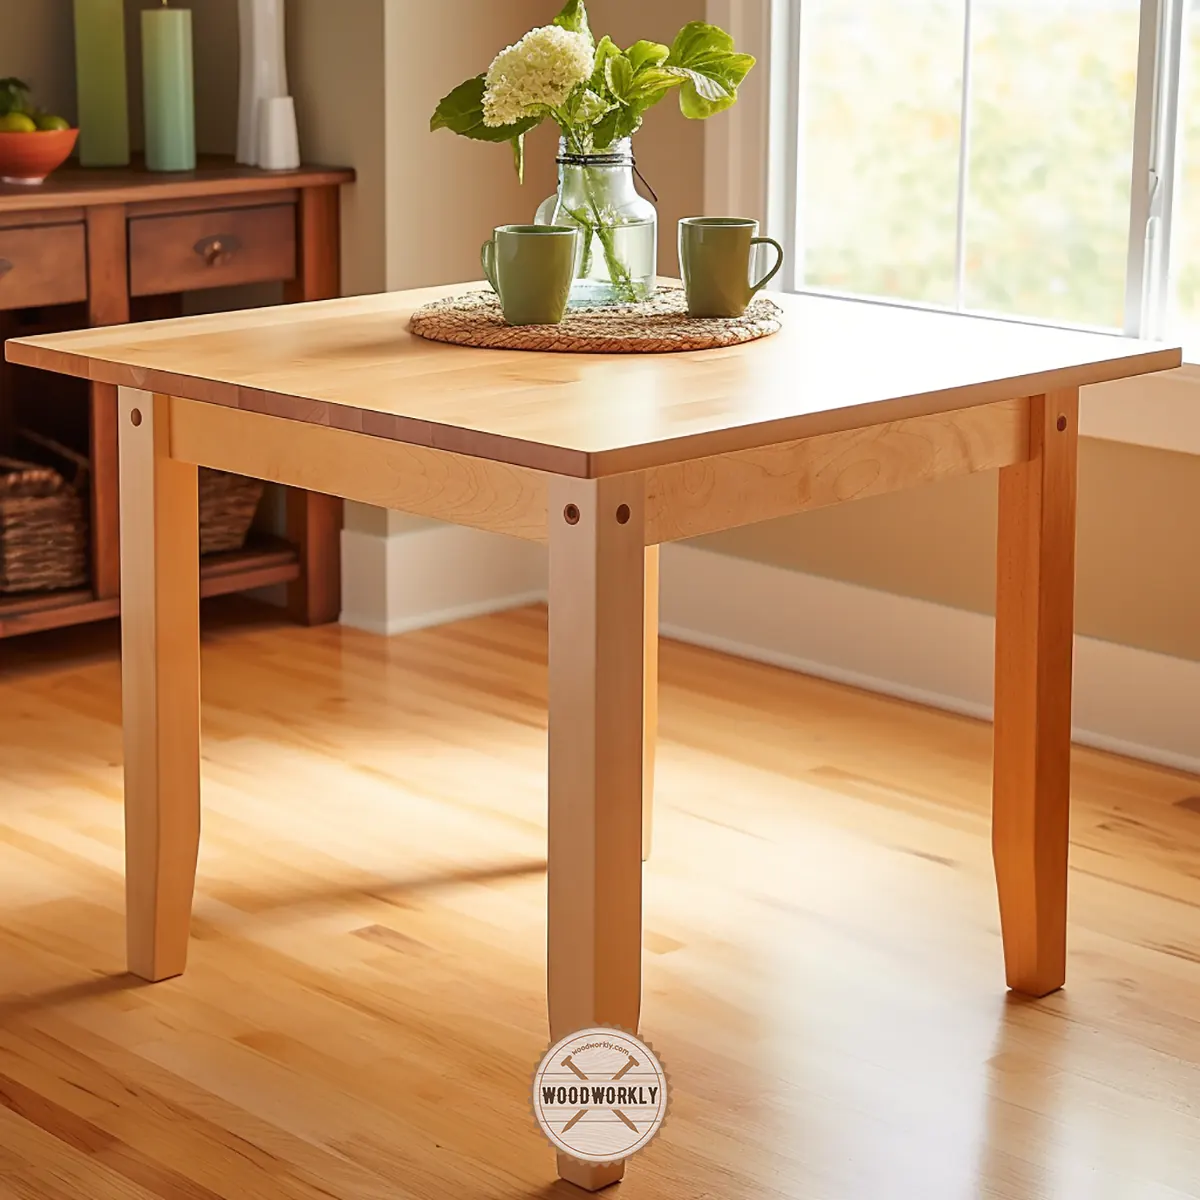
Minwax Gel Stain on Birch
Minwax gel stain is the best gel stain product to use on Birch. Gel stain is useful to give a darker tone to your loving Birch woodworks and furniture with a unique aesthetic appearance.
Minwax gel stains do not penetrate too deep into the Birch wood.
Make sure to apply a pre-stain wood conditioner to ensure even stain penetration. Because Birch tends to absorb stains unevenly.
Here’re some unique qualities of Minwax gel stain,
- Able to use for any Birch interior or exterior woodwork
- It gives a dark tone to the Birch woodwork
- Easy to apply
- Rick wood appearance
I have listed some specifications of Minwax stain,
| Color | Dark natural colors |
| Drying Time | 24 hours |
| Number Of Coats Needed | Single coat for a nice finish and two coats for a dark |
| Applications | Birch interior and exterior furniture and woodwork |
Ready Seal Exterior Stain on Birch
Ready seal exterior stain is a popular stain product for Birch woodworks and outdoor furniture. It is mostly used for large construction projects.
Ready seal exterior stain has chemical ingredients that help Birch wood to get protected from environmental elements. It increases the durability of Birch wood as well.
Here’re the main qualities of Ready seal Exterior stain,
- Offer UV protection
- Give the waterproofing ability to Birch wood
- No primer is needed
- Resistant against temperature variations
- No back brushing is needed
- Takes around 14 days to reach its actual color
Here’re some specifications of Ready Seal exterior stain,
| Color | Darker colors |
| Drying Time | 24 hours |
| Number Of Coats Needed | 1 -3 coats |
| Applications | Birch outdoor furniture |
Now you have a clear idea about selecting the best stain product for Birch to emphasize its natural beauty and to gain extra protection from environmental elements.

Best Stain Colors For Birch Plywood
Choosing a stain color for birch plywood can be an exciting yet overwhelming decision.
The final result can dramatically change the aesthetic of your project.
Luckily, birch plywood accepts stains beautifully, and there’s a myriad of stain colors that work wonderfully with it.
Let’s dive into some of the best choices.
Light Wood Stains
If you’re looking to enhance the natural beauty of birch plywood while keeping its light color, light wood stains are your go-to option.
These stains add a touch of warmth without overwhelming the wood’s natural characteristics. They’re ideal for projects where a light, airy aesthetic is desired.
For example, Minwax Simply White stain gives a clean, light finish, preserving the wood’s natural grain and light color.
Minwax Special Walnut and Provincial stains offer a slightly warmer, richer tone while still maintaining that light feel.
They add depth and character to the wood without making it overly dark.
Medium Wood Stains
If you wish to add a bit more richness to your birch plywood, consider medium wood stains.
These stains can add a luxurious, warm feel to your wood while highlighting its natural grain.
Minwax’s English Chestnut and Early American stains, for example, have been praised for their beautiful medium tones.
They add warmth and depth without overpowering the natural beauty of the wood.
Similarly, Varathane’s Dark Walnut provides a rich, cozy tone that adds a hint of sophistication to birch plywood.
Dark Wood Stains
Dark wood stains can give birch plywood a striking, bold appearance.
They dramatically transform the light-colored wood into a rich, deep color while still maintaining the visibility of the grain.
Some stellar choices include Minwax’s Red Mahogany, Dark Walnut, Jacobean, and Espresso stains.
Each of these brings a unique dark tone to the table, with Red Mahogany providing a slight red tint and Espresso offering a deep, intense color.
The result? A striking contrast that showcases the elegance of birch plywood.
Gray and Black Wood Stains
For a more modern or industrial look, consider gray or black wood stains.
These colors can give your birch plywood a contemporary edge while allowing its natural grain to shine through.
Minwax Classic Gray and Slate, along with Varathane Smoke Gray, are excellent options for gray stains.
They offer a cool, neutral tone that can complement a wide range of color schemes.
As for black stains, Varathane’s Classic Black and Minwax’s Ebony give birch plywood a dramatic, bold look without hiding its grain.
Choosing the best stain color for birch plywood is ultimately a matter of personal preference.
The wood’s versatility and ability to accept a wide range of stain colors give you an incredible playground to express your creativity.
From light and airy to rich and bold, the possibilities are endless.
Let’s consider the need for a wood conditioner for Birch woodworks before staining.
Does Birch Need Wood Conditioner Before Staining?
Yes, applying wood conditioner before staining Birch is an essential thing to do because
Birch absorbs stain pretty fast and results in a blotchy and splotchy surface.
Applying a pre-stain wood conditioner before staining Birch is useful for the surface preparation of Birch to take on stain so well.
Wood conditioner limits and controls the abruption ability of Birch wood and helps to spread wood stain evenly throughout the wood without getting large blotchy areas.
Apply pre-stain wood conditioner for at least 15 minutes before working on the wood stain to get the perfect results.
Wipe the excess wood conditioner to apply the stain even better.
Highly recommend using pre-stain wood conditioner and wood stain products from the same manufacturer to avoid incompatibility issues.
Minwax pre-stain wood conditioner and Minwax wood stain are a nice combo to stain Birch wood nicely with fewer issues.
So, let’s focus on one of the most important sections in finishing Birch plywood projects. How to stain Birch properly.
Supplies You Will Need to Stain Birch Plywood
- 220 grit sandpaper
- Pre-stain wood conditioner
- Wood stain product
- Gloves
- Rags
- Paintbrush
- Clean lint-free tack cloths
Check out the Best Brushes For Staining Wood!
Gather all the tools and materials from quality manufacturers and head into the staining process.
How To Stain Birch?
Staining Birch needs to be done with proper staining techniques because Birch does not take stain well.
But with proper surface preparation, you’ll be able to get a nice and glossy stain surface with extra protection.
Here’re the steps you need to follow when staining Birch plywood,
- Clean the wood
- Sand and remove sawdust
- Apply wood conditioner
- Let the wood dry completely
- Apply the stain
- Let the wood dry completely
So, let’s discuss each of the above steps in detail to get an answer to your question, Does Birch stain well? Yes, this is how to do that!
Tip:
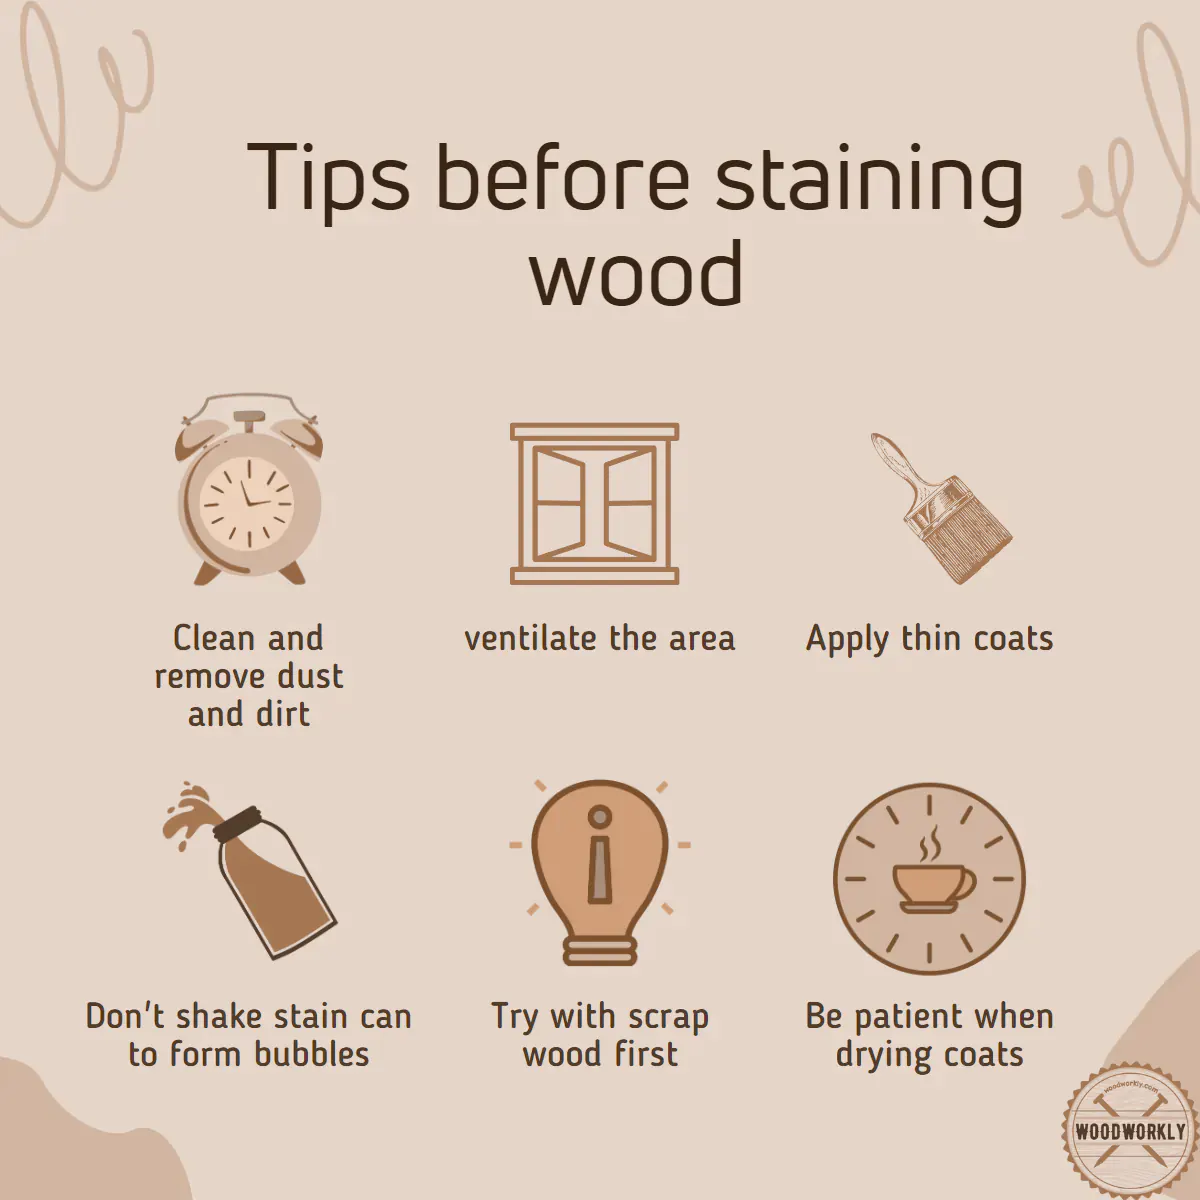
Before you stain directly on main Birch wood furniture or woodwork, I highly recommend practicing staining with scrap wood and finding your way of staining with fewer troubles.
Make sure to take the scrap wood from the same Birchwood and apply the same staining product to achieve the best results. Because practice makes you perfect!
1. Clean the Wood
Cleaning the wood before staining is an important step because if dust and debris get trapped inside the stain finish, that’ll probably lead to a blotchy surface.
Use water and dish soap to clean Birch wood before staining. Mix dish soap and water well and dip a clean rag and soak it in the soap water.
Then wipe the entire surface without missing any spots to eliminate dust and debris.
After cleaning the wood with soap and water, let it dry completely. while the surface is drying, you’ll notice some areas dry faster than others.
This is because those areas have a high reaction rate, and this should be minimized with a wood conditioner to avoid surface blotchiness after staining the wood.
2. Sand and Remove Sawdust
After cleaning the wood from dust and debris, sand the entire surface with 220 grit sandpaper to eliminate surface randomness and to get a nice and smooth surface that is so ready to take stain.
Sand along the direction of the wood grain for better acceptance of wood stain.
Plus, never use higher-grade sandpapers because they might harm the wood grain and scratch the Birch wood surface.
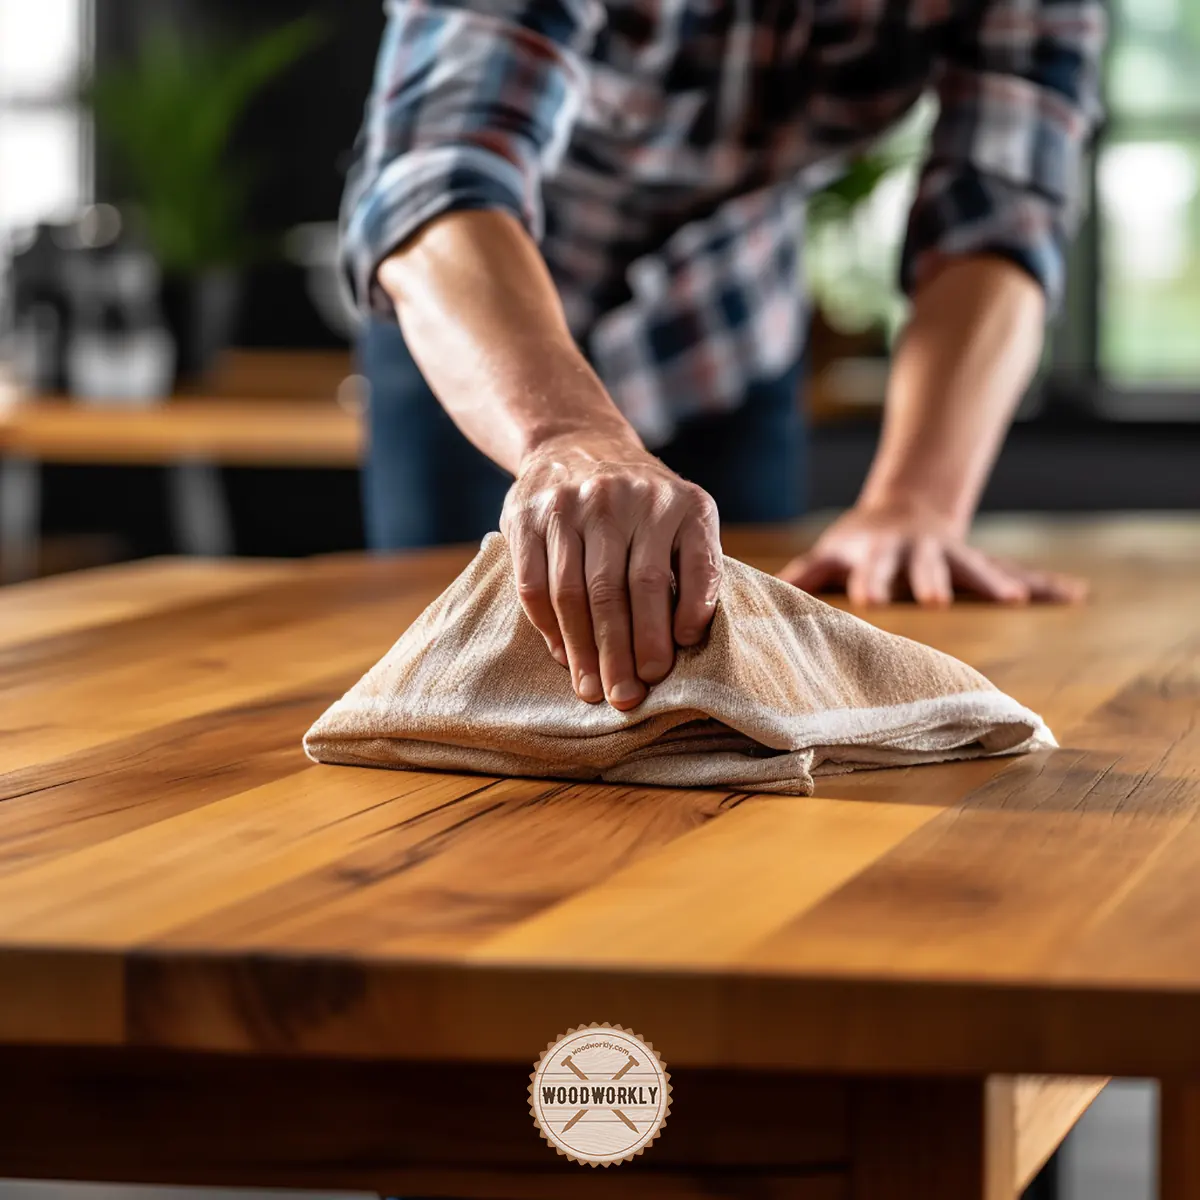
Once you’re done with sanding, remove sawdust and clean the surface with rags. When you feel the surface is dry and clean, you’re good to move into the next step.
3. Apply Wood Conditioner
Now, apply wood conditioner all over the Birch wood surface with smooth strokes. Wood conditioner helps Birch wood to take stain evenly and give a nice appearance.
Generally, Birch wood is hard to stain because it soaks up stain pretty fast.
This prevents the stain from spreading out evenly throughout the surface and results in large blotchy and splotchy areas which are so hard to remove.
But applying wood conditioner before wood staining, will limit and control the absorption limit of Birch.
This will prevent Birch from absorbing stain quickly and helps the wood to take stain evenly all over the wood.
Because of the above reasons, I highly recommend applying a pre-stain wood conditioner before staining especially when you’re working with wood-like Birch.
Wood conditioner helps you to keep away from many kinds of wood stain mistakes.
After applying the wood conditioner, wet the Birch board to notice any uneven areas.
If you notice them, better to go for another round of wood conditioner and test the wood again before moving on to the staining step.
4. Dry The Wood Completely
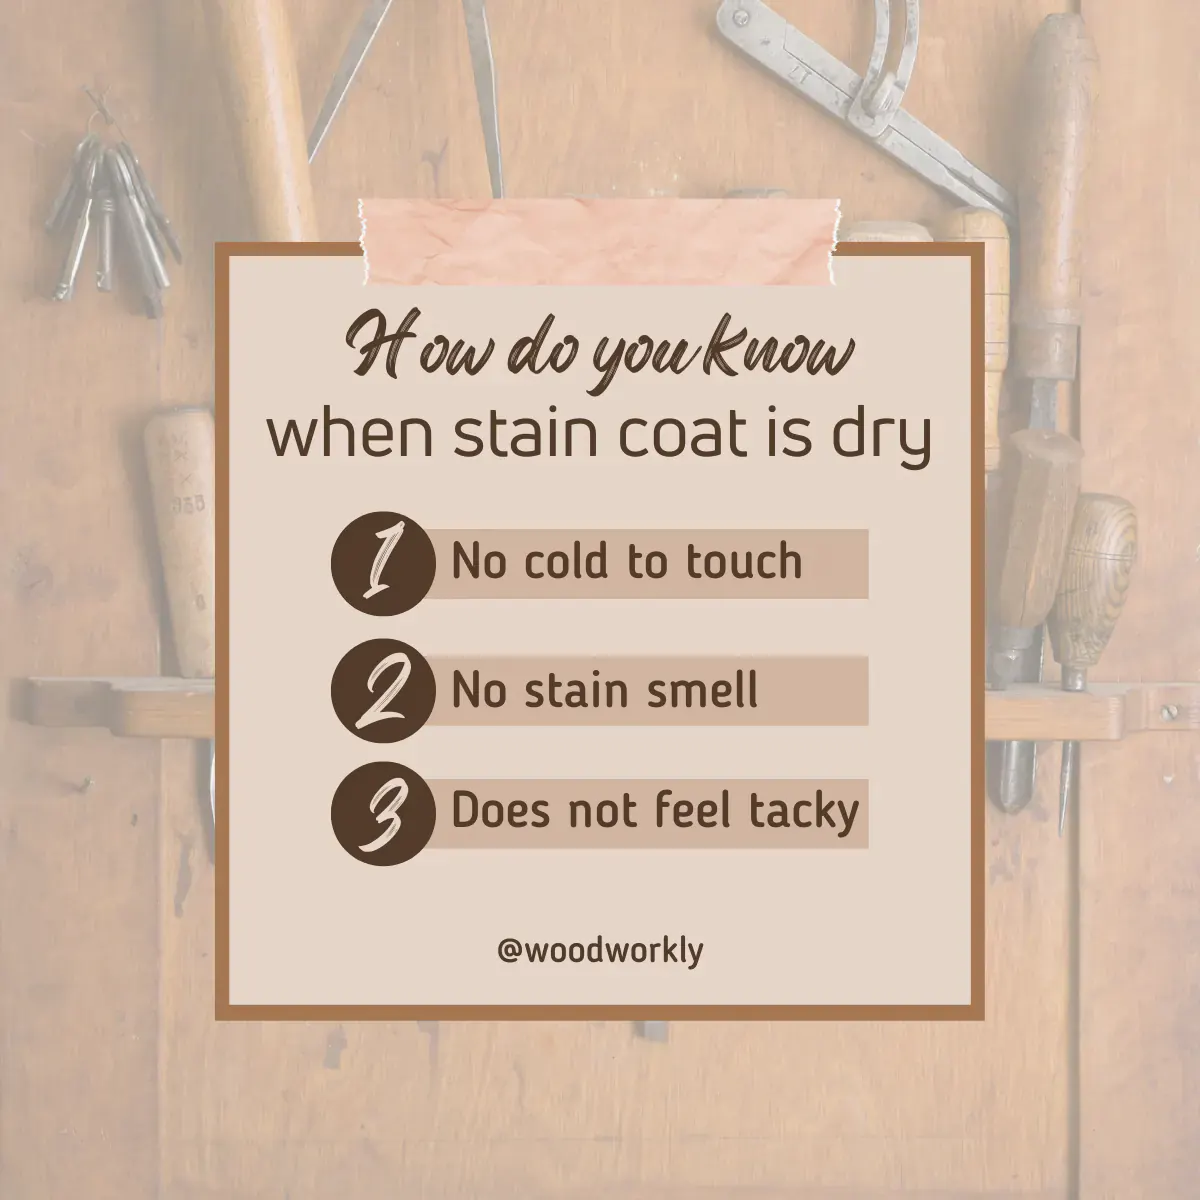
After applying the wood conditioner let it dry completely for about 2 -3 hours to avoid getting a tacky surface after staining the wood.
Once the wood is fully dried after applying wood conditioner, you’ll see a significant difference in Birch wood appearance.
This indicates that the wood is ready to take the stain well.
5. Apply The Stain on Birch
It’s time to apply the wood stain using the paintbrush. Apply wood stain along the direction of the Birch wood grain for better acceptance and uniform finish.
Plus, make sure to apply thin coats of stain because they’re efficient and dry faster than thick coats of stains.
Thin coats of stain help to avoid many wood staining mistakes like getting tacky surfaces.
Make sure not to miss any spots when staining because filling gaps is so difficult once the stains are fully settled in.
Apply stain by putting constant pressure on the paintbrush. Because when the pressure is high, the resulting stain color will get much deeper and darker.
If you’re willing to get a darker tone on Birch, better to go for a gel stain.
Gel stain gives you darker color and one coat of gel stain is well enough to cover up the entire surface with a uniform color.
Because gel stains don’t penetrate through wood fibers like regular stains.
Apply at least 2 coats of stain with water-based stain for a better finish. Dry the wood completely between each coat to avoid trouble.
6. Let the Wood Dry Completely
Once you’re done with staining Birch wood, let it dry and cure completely before using it for any woodworking application.
Usually, the wood stain will take around 24 to 48 hours for birch plywood to dry completely.
Once the stain is completely dried I advise you to seal the wood with a waterproofing sealer like polyacrylic or polyurethane finish.
Congrats folks! Now you know how to stain birch plywood correctly.
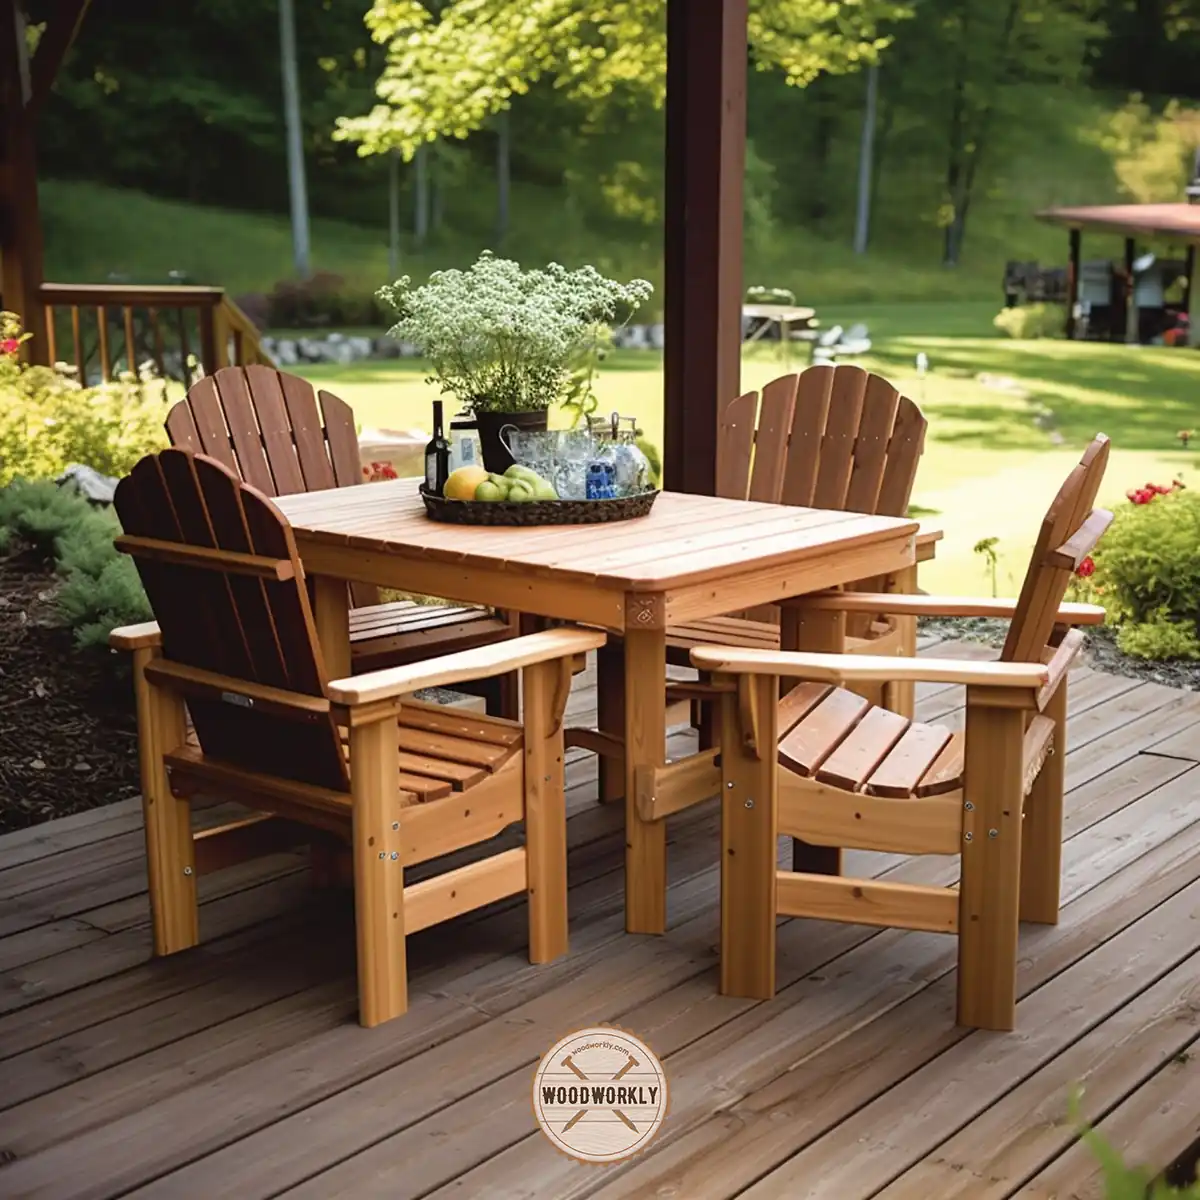
Now I’m going to share with you some useful tips and tricks that I’ve learned with experience when staining birch plywood projects.
They will make your staining birch plywood project lot easier and avoid wood stain mistakes.
Tips for Staining Birch Plywood
Staining birch plywood can seem like a daunting task, especially if you’re new to woodworking.
But don’t fret – with the right approach and a few helpful tips, you’ll be able to achieve a beautiful, even finish that highlights the wood’s natural beauty.
So let’s dig into these handy tips for staining birch plywood!
Preparation is Key
The secret to a smooth, even stain starts with your preparation work. Before you even think about applying the stain, make sure your birch plywood is properly sanded.
Starting with a coarser grit like 80 or 100, work your way up to a finer grit like 220 to get a smooth surface.
This not only smooths out any imperfections but also opens up the wood pores to better accept the stain.
Use a Wood Conditioner
Since birch is a fairly light wood, it tends to absorb stain unevenly, which can lead to blotching.
One way to prevent this is by using a wood conditioner before staining.
The conditioner helps to seal the wood’s pores, allowing the stain to be absorbed more evenly.
Apply the wood conditioner with a brush or a clean cloth, and let it soak into the wood.
Follow the manufacturer’s instructions regarding how long to let it dry before applying the stain.
Test Your Stain First
Birch plywood can sometimes react unexpectedly with certain stains, so it’s a good idea to test your chosen stain on a scrap piece of birch plywood first.
This gives you a chance to see how the wood will react and what the final color will look like.
Remember, it’s always easier to go darker by applying another layer of stain, but it’s almost impossible to go lighter once the stain has soaked in!
Apply Your Stain Correctly
Applying the stain correctly can significantly affect the final look.
Using a foam brush or a rag, apply a liberal amount of stain, ensuring you’re following the direction of the wood grain.
Let the stain sit on the wood for a few minutes (the longer it sits, the darker the color), then wipe off the excess with a clean cloth.
Seal It Up
Once your stain is dry, it’s time to seal it up with a topcoat to protect your work and enhance the wood’s beauty.
If you’ve used a light stain, a polyacrylic finish is a good choice as it won’t yellow over time.
For medium to dark stains, a polyurethane finish can give a more durable and long-lasting finish.
Apply your chosen finish with a clean, high-quality brush, and let it dry according to the manufacturer’s instructions.
Once it’s dry, your birch plywood piece is ready to showcase its beauty!

Now you know the appropriate method with all the tips and tricks to stain birch plywood.
But if you accidentally made a mistake and end up with a splotchy surface? Is there any fix?
Don’t worry! I’ll help you to fix splotchy areas that commonly occur when staining birch plywood.
How to Fix Splotchy Stain Areas
We’ve all been there – you’ve just finished staining your piece, step back to admire your work, and realize there are some splotchy areas.
These blotchy, uneven sections can detract from the overall look of your piece, but don’t despair.
With the right techniques, you can fix splotchy stain areas and achieve a smooth, even finish. Here’s how:
Identify the Cause
First, it’s essential to understand why splotching happens. Uneven stain absorption often causes it, which can be due to several factors.
For instance, the wood may have been unevenly sanded, or the wood grain may have varied density.
Identifying the cause can help prevent similar issues in the future.
Sand the Area Lightly
If the stain has already dried and you notice a blotchy area, start by lightly sanding the splotchy area.
Use fine-grit sandpaper (220 or above) to prevent scratching the surface too much.
The goal is to remove some of the stain, not all of it.
Apply a Wood Conditioner
One of the most effective ways to prevent splotching is by applying a wood conditioner.
If you didn’t use one initially, now is the time. The conditioner helps to even out the wood’s porosity, promoting uniform stain absorption.
Apply the conditioner to the splotchy area and let it dry according to the manufacturer’s instructions.
Reapply the Stain
After the conditioner has dried, reapply your stain.
Remember to apply it in the direction of the wood grain, and give it the same amount of time to penetrate as you did the first time around.
You may want to apply it to a slightly larger area than the splotchy spot to help blend the color.
Blend the Edges
Once the stain has dried, use a dry brush technique to blend the edges.
Dip your brush lightly in the stain, wipe off the excess, and lightly brush along the transition zone between the newly stained area and the original stain.
This technique helps to create a seamless transition between the two areas.
Seal It Up
Finally, after you’ve corrected the splotchy area and you’re satisfied with your work, don’t forget to apply a topcoat.
This will protect your newly stained area and ensure it matches the sheen of the rest of the piece.
Fixing splotchy stain areas may take a bit of patience and practice, but the results are well worth it.
If you need to know more about fixing those staining issues, read my comprehensive guide about fixing wood stain mistakes!
And remember – every woodworking project is a learning experience.
Even the pros have had their share of splotchy stains. So don’t be too hard on yourself, and keep honing your staining skills!
Staining Birch Plywood to Look Like Walnut
Staining birch plywood to look like walnut can be a fantastic way to achieve the rich, dark tones of walnut without breaking the bank.
Walnut is a sought-after wood type due to its beauty and durability, but it comes with a higher price tag.
If you’re looking to get that luxurious walnut aesthetic on a budget,
Here’re the steps you need to follow when staining birch plywood to look like walnut,
- Choose the right stain
- Prepare the wood
- Apply pre-stain wood conditioner
- Apply the stain
- Apply additional coats as needed
- Finish with top coat
Let’s discuss each of the above steps in detail to make your birch wood-like walnut with ease.
Choose the Right Stain
First off, you’ll need to find the right stain color.
A color like Minwax’s Dark Walnut or Varathane’s Dark Walnut are both excellent choices that capture the deep, rich tones of walnut wood.
It’s recommended to test the stain on a small piece of birch plywood first, as the final look can depend on the specific piece of wood’s natural color and grain.
Prepare the Wood
Like with any staining project, it’s crucial to start with a well-prepared piece of wood.
Sand the birch plywood thoroughly, starting with a coarser grit sandpaper and working your way up to a fine grit (220 is a good choice).
Make sure to sand along the grain of the wood, not against it.
This will help ensure the stain is absorbed evenly.
Apply a Pre-Stain Wood Conditioner
Birch is a hardwood, and it can sometimes absorb stain unevenly, leading to a blotchy appearance.
To prevent this, apply a pre-stain wood conditioner.
This product penetrates the birch plywood and helps to promote even stain absorption. Let it dry as per the manufacturer’s instructions.
Apply the Stain
Now, you’re ready to apply the stain. Use a clean cloth or a brush to apply the stain, working in the direction of the wood grain.
Apply a generous amount, and let it soak into the wood.
After about 5-15 minutes (or as per the stain manufacturer’s instructions), use another clean cloth to wipe off any excess stain.
Remember, the longer you leave the stain on before wiping, the darker the finish will be.
Apply Additional Coats as Needed
If you’re not happy with the color after the first coat, don’t worry! You can add additional coats until you achieve the desired walnut color.
Just remember to wait for the previous coat to dry fully before applying the next one.
Finish with a Topcoat
After you’ve achieved your desired color and the stain is fully dry, it’s time to add a protective topcoat.
This could be a polyurethane for a glossy finish, or a wax or oil for a more natural matte finish.
By following these steps, you should be able to achieve a finish on birch plywood that closely mimics the beautiful color and grain of walnut.
Now you know everything you wanted to know about, does birch stain well, and how it is done?
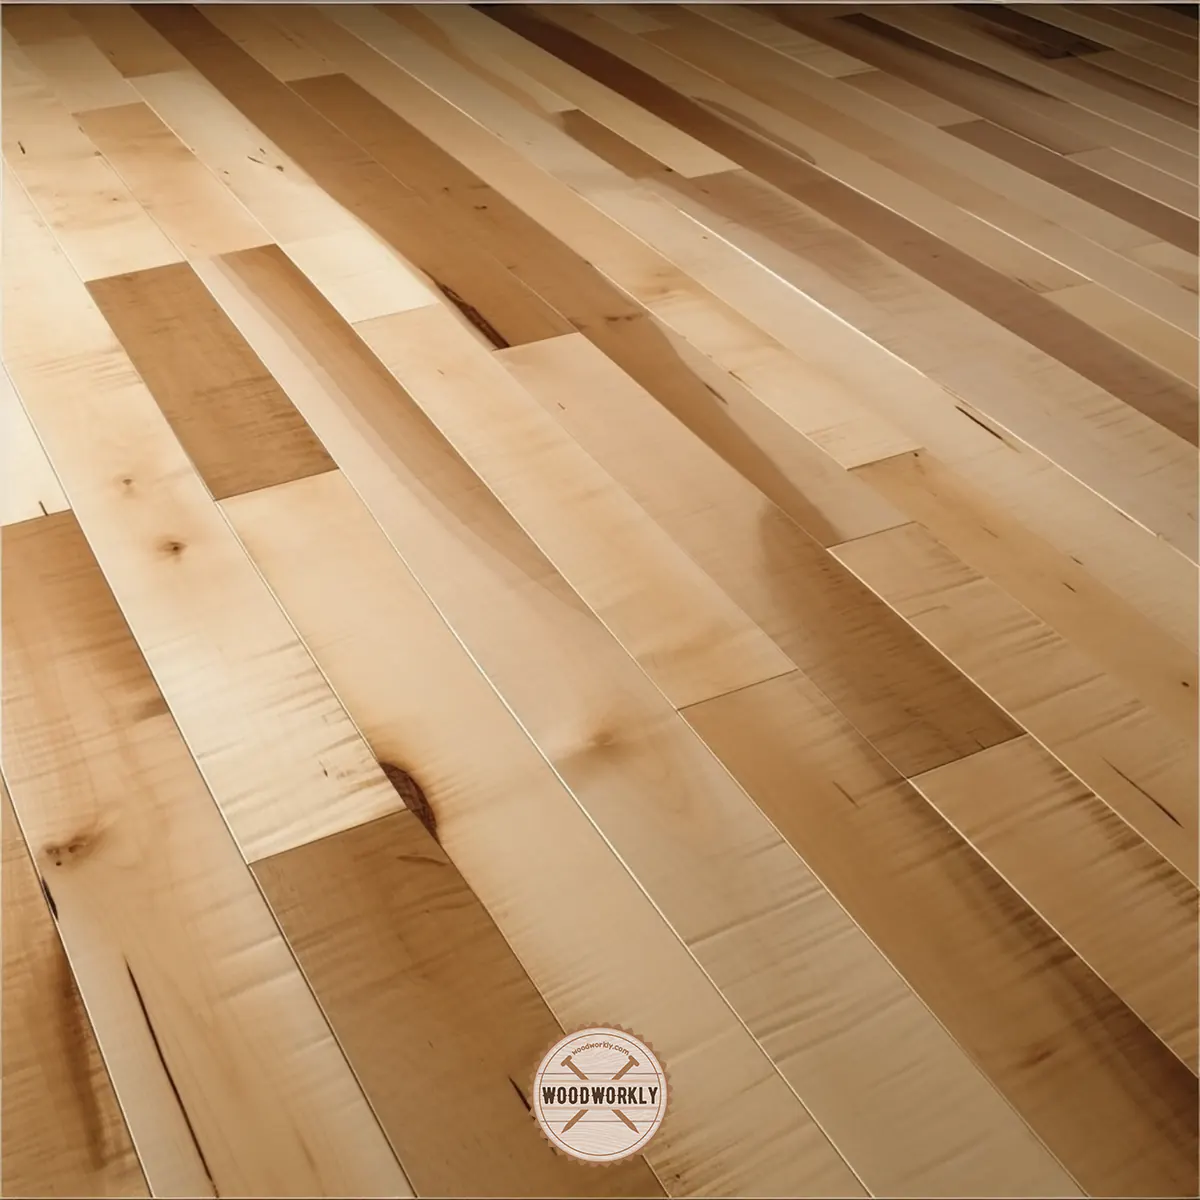
Let’s see how to stain birch wood to look like some other popular wood types.
Does Birch Stain Like Pine?
Pine is easy to stain, not like Birch. Pine can basically work with any kind of wood stain and is able to give any color you want.
But because being a softwood, Pine has uneven density and grain reversal behavior that prevents the stain from penetrating tough the wood fibers. This may result in a blotchy surface.
But this issue can be easily fixed by applying pre-stain wood conditioner before staining.
Does Birch Stain Like Cherry?
Cherry is considered one of the easiest woods to stain, not like Birch. Cherry gives deeper and richer color with a unique appearance.
After sanding the Cherry, it is smoother and nice and takes stain so well to adjust color.
Even though Cherry takes stain well, it tends to get surface blotchiness by penetrating wood stain much deeper only in some areas.
So, better to apply a pre-stain wood conditioner before staining to limit stain penetration to get an even finish.
Does Birch Stain Like Poplar?
Polar does not take stains well. It soaks stain unevenly and gives a dull surface with random blotchiness and a bad appearance. But by sanding and applying wood conditioner first, you’ll be able to make Poplar to take stain well.
You can use the same procedure that we have discussed to stain Birch for Poplar wood as well. Because both kinds of wood are so hard to stain due to their structural features.
So, let’s answer some frequently asked questions as well.
FAQs
Can birch plywood be stained?
Yes, birch plywood can be effectively stained. Due to its lighter natural color, birch plywood takes stain very well, resulting in a rich and vibrant finish.
What is the best stain for birch plywood?
There is no definitive answer to this as it depends on your preference, but some popular choices include Minwax Red Mahogany, Minwax Special Walnut, Minwax Simply White, and Minwax Dark Walnut.
Do I need to apply a pre-stain conditioner on birch plywood?
Yes, using a pre-stain conditioner can help ensure that the stain is absorbed evenly into the birch plywood, preventing blotchiness and enhancing the final look.
What kind of topcoat should I use after staining birch plywood?
The type of topcoat you should use depends on your desired finish. A polyacrylic topcoat is recommended for lighter stains as it won’t yellow, whereas a polyurethane topcoat is great for medium to dark stains due to its durability.
How many coats of stain should I apply on birch plywood?
The number of coats depends on the desired color depth. Typically, one to three coats are applied, with the wood being allowed to dry completely between coats.
Should I sand birch plywood before staining?
Yes, sanding birch plywood before staining is crucial. It ensures the surface is smooth and ready to accept the stain evenly.
How long should I let the stain sit on birch plywood before wiping off the excess?
You should let the stain sit on the birch plywood for about 5 to 15 minutes before wiping off the excess, but it’s always best to follow the instructions on the stain can.
Can I stain birch plywood a gray color?
Yes, birch plywood can be stained in a variety of colors, including gray. Minwax Classic Gray and Varathane Smoke Gray are two popular choices for a gray stain.
Can you stain birch wood dark?
Yes, Birch wood can be stained in a range of shades, including darker tones. Dark stains like Minwax Dark Walnut or Minwax Espresso can give birch wood a rich and elegant finish.
Can you paint birch wood?
Yes, birch wood can be painted. Its smooth, fine grain makes it an excellent candidate for painting. However, it’s important to sand and prime the wood first to ensure a smooth and durable finish.
Did I cover all you wanted to know about: Does Birch Stain Well?
In this article, I have deeply discussed, does Birch stain well with its characteristic features, the best stain products for Birch wood, and how to stain Birch using the proper wood finishing techniques.
Birch stains exceptionally well. Its light natural color allows a variety of stain colors to be applied effectively. From light stains to dark ones, birch plywood showcases them beautifully, making it an ideal material for various woodworking projects.
Furthermore, I have answered some frequently asked questions as well.
So, try to stain Birch woodwork or furniture using the above method we discussed, but better to practice first with a block of scrap wood.
Because practice will always make you perfect!