Looking to master the art of cutting grooves in wood using a router? Discover expert tips and techniques for creating flawless grooves every time. Ready to level up your woodworking game?
Once you set up the router correctly, it is capable of cutting any wood easily and applicable for almost any woodworking project.
But can you cut grooves in wood with a router? I was curious about that a long time ago and researched the procedure of cutting grooves in wood with the router with the help of experts.
Over time I’ve become good at cutting grooves in wood with routers with lots of practice.
That’s what this article is all about teaching you to become good at cutting grooves in wood using routers.
So, let’s find out, How to cut a groove in wood with a router?
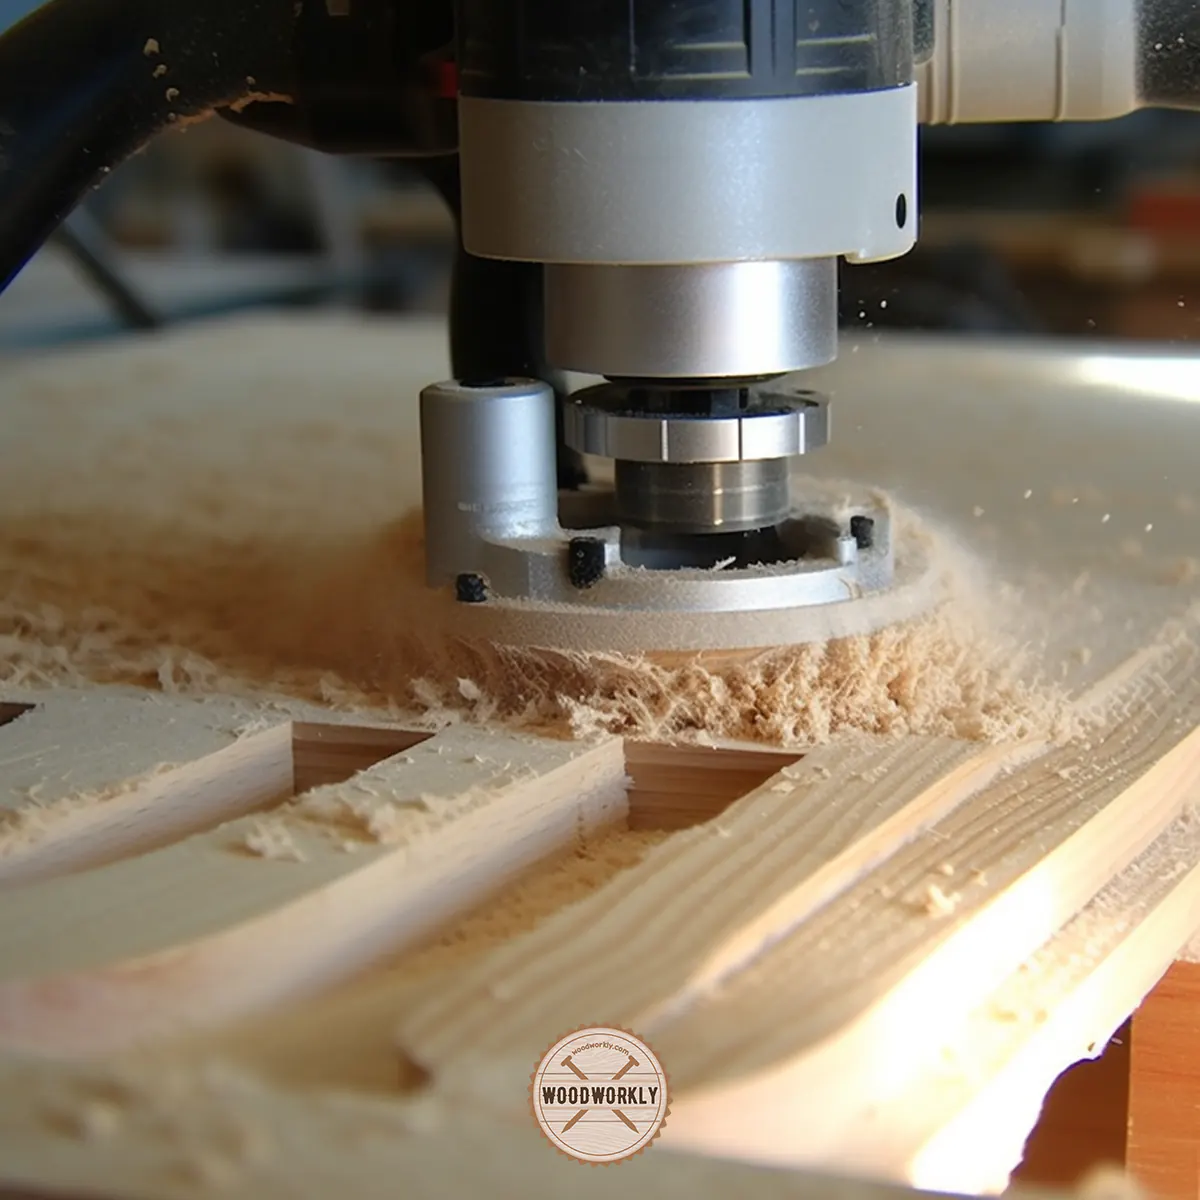
To cut a groove in wood with a router, first, mark the groove position and secure the workpiece. Then, select and install the appropriate router bit to the router and adjust the depth of cut. Finally, cut the groove in wood by handling the router properly without tear-out.
But that’s just the tip of the iceberg!

So, in this article, I’ll review how to cut a grove in wood with a router as a comprehensive guide with all the factors you should consider before routing and what bit sizes you should go with, and all other tips and techniques.
Furthermore, I’ll answer some frequently asked questions as well.
Let’s dive in!

Can You Cut a Groove with A Router?
Yes, you can cut a groove with a router with high precision and efficiency since the router is specialized for making cuts in various woodworking projects.
The router is easy to use and even a beginner in woodworking since it can handle and control so well with few practices to create masterpieces.
Whether you’re working on a decorative piece, custom furniture, or cabinetry, a router can help you to achieve precise and consistent grooves with relative ease.
Let’s have a look at some benefits and limitations you might get by using a router to cut grooves in the wood.
Benefits Of Using Router For Cutting Grooves
1. Precision and Consistency
Routers are able to make precise and consistent cuts without any setbacks and jumpstarts.
Therefore, you’ll be able to cut clean, nice, and uniform grooves in wood easily.
Once you select the right type of bit and set up the router properly, no one can stop you from achieving greatness with a high level of accuracy in your woodworking projects.
2. Versatility
There’s no standard grove size, shape, or other dimensions you can cut when using a router. There are no limitations.
You can cut different sizes and different shapes of grooves in wood from straight to curved and even stopped grooves using routers.
You just have to change the router bit and adjust the depth of the cut according to the type of the project you’re going to use and you’re ready to create custom grooves to suit your projects’ needs.
Simple as that!
3. Speed and Efficiency
You can cut grooves in wood quickly and efficiently when using a router, especially when compared to manual methods like using chisels and saws.
This can save you lots of time. therefore, if you’re a professional woodworker, you must go with the router to get quality output in less amount of time.
This allows you to focus on other aspects of your woodworking project.
4. Adaptability
The router can be used for different woodworking projects, with various accessories, such as guide fences and router tables, to further enhance the capabilities.
This high adaptability of routers helps to make groove cuts with greater precision and control preventing tear-outs.

I know now you’re fully satisfied and ready to use the router after reading all those benefits, you’ll gain.
But sorry to say, there’re some difficulties you might face upon using a router to cut the grooves. Read them and overcome them to make accurate cuts with the router.
Limitations Of Using Router For Groove Cutting
1. Learning Curve
Even though routers are versatile and efficient to use, you need to have some skill and enough practice to handle them and use them effectively.
Therefore, some beginners may find it challenging to achieve the desired outcome with routers, especially when working with complex groove shapes or highly detailed projects.
You can overcome this issue by watching YouTube tutorials about handling and using routers properly and by practicing router skills several times with scarp woods until you become good at using it.
Practice makes you perfect!
2. Router Size and Power
Routers are available in various sizes and power levels. Not every router is suitable for cutting grooves in the wood. Some are not for grooves.
Therefore, you need to get help from professionals in your local stores when purchasing a router for your own when cutting grooves to know about its specifications.
For example, a compact trim router might find it hard to cut deep or wide grooves in hardwood, while a larger, or more powerful router may be necessary.
3. Tear-Out
Tear outs are the main issues you might face when cutting grooves with routers which is hard to avoid when you’re not following the correct procedure.
There’s a risk of tear-out, especially at the beginning and the end of the cut.
Tear-outs can be avoided by following the correct techniques that I explain in the upcoming sections of this article.
You can attach scrap wood to the workpiece and start and end the cut in the scrap wood to avoid tear-outs.
4. Noise and Dust
Routers are noisy and generate a significant amount of dust during the operation.
Therefore, you should always wear hearing projects such as earplugs or earmuffs when working with routers.
Plus, use a proper dust collection pipe system to remove sawdust from the working space and avoid contaminating the air.
Sawdust can cause skin and eye irritations when getting contact with those areas and may cause breathing issues.
Therefore, work in a well-ventilated area with good air circulation to minimize contact with releasing sawdust.
As you can see routers offer many benefits when cutting grooves, but on the other hand, there’re some limitations as well.
It’s your job to overcome those limitations by following the correct procedure with safety guidelines and get the best out of your router to cut, nice, clean, and uniform grooves in wood.

Before starting the grooves cutting process, there’re some factors you need to consider for efficient and precise results. Let’s look at them now,
Factors To Consider When Cutting a Groove In Wood With A Router
Cutting grooves in wood with a router is a very detailed procedure that should do with proper care.
You need to consider several factors to achieve the best results with it.
Here’re some factors you should consider when cutting a groove with a router,
- Material and thickness of the wood
- Desired width and depth of the groove
- Type of the groove (straight, curved, stopped)
- Safety precautions and proper handling
Let’s discuss each of those factors in detail for better achieving precise results when cutting grooves in wood with a router.
1. Material and Thickness Of The Wood
Different wood species have unique characteristics which are important to consider when cutting a groove with a router since this affects the ease of cutting.
For example, hardwoods like oak and maple need more powerful routers, and sharper cutting bits to achieve nice, precise, and uniform cuts while softwoods like pine and cedar are easy to cut even with less powerful routers.
Plus, the thickness of the wood plank you selected also plays a major role when cutting a groove.
The depth of the groove you’re going to cut depends on the thickness of the material.
With thicker materials, you can cut deeper grooves, while thinner materials may require multiple passes or shallower grooves to avoid compromising the structural integrity of the piece.
2. Desired Depth and Width Of The Groove
The width of the groove you want to cut decides the type of router bit you need to use.
This is where router bit selection comes in.
For instance, in order to make a 6mm (1/4”) wide groove, you will need a bit with 6mm (1/4”) in diameter.
If you need your groove to be wider than the diameter of your bit, you can make more than one pass to complete the cut.
You need to pay extra focus when selecting the suitable bit since it directly affects the size of the grove cut, you’re about to make.
This is why I thought to give a detailed view of bit selection in the upcoming chapters of this article. Keep reading folks!
Setting the depth of the groove you’re going to make is an essential step for both the aesthetics and structural ability of the groove.
Adjust the height of the router bit you selected accordingly, and try test cuts with scrap wood pieces before heading to the main project to ensure the groove’s depth.

3. Type Of The Groove (Straight, Curved, Stopped)
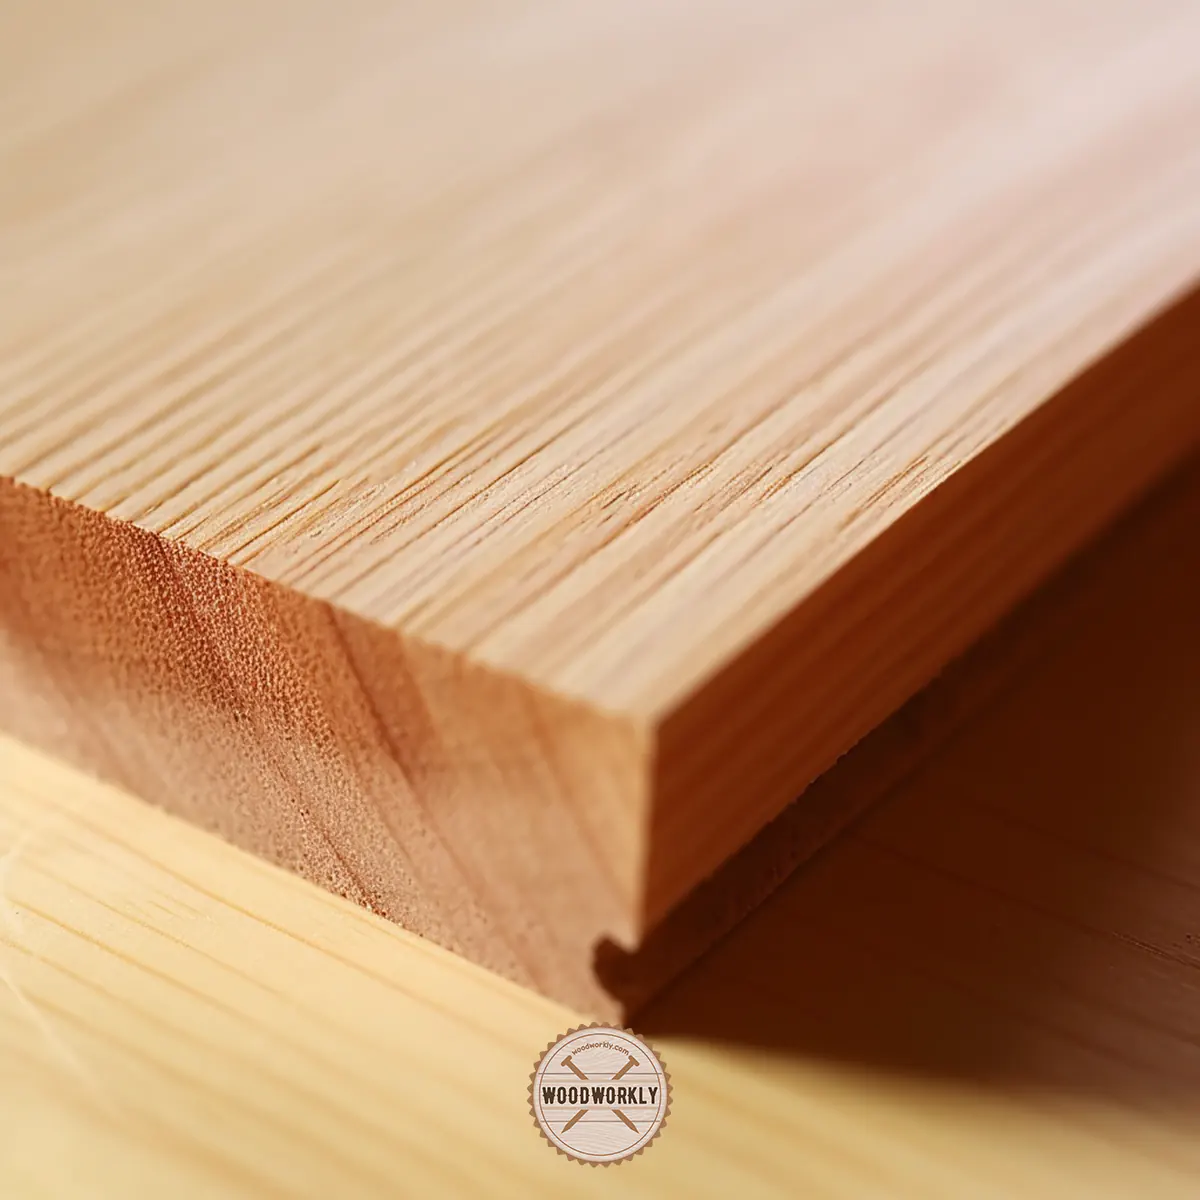
Straight Grooves
Straight grooves are the popular types of grooves that use for many woodworking projects. Straight grooves run parallel to the wood grain.
When cutting straight grooves, you need to ensure your router’s feed direction is from left to right, moving against the router bit’s natural rotation (clockwise) to help maintain control and accuracy.
Curved Grooves
Curved grooves need specialized router bits and you need to use a router table or a template to guide the router along the desired curve.
Usually, routers alone use to cut straight lines, but when cutting curved grooves, you need those other accessories to cut along the curve.
You need to have good practice and skills to master cutting curved grooves to achieve precise and accurate results with nice and smooth cuts.
Stopped Grooves
Stopped grooves do not run along the entire width of the wood workpiece like other grooves.
Therefore, you need to have extra precision when cutting stopped grooves with the router.
Usually stopped cuts are mostly cut using a router table to ensure good control and accuracy.
4. Safety Precautions and Proper Handling
You should secure your workpiece properly before cutting grooves with the router to avoid any individual movements during the routing process.
Unwanted movements can lead to inaccurate cuts or injuries that ruin the whole project.
Use clamps, bench dogs, or any other securing tools and materials to hold your workpiece in a steady place while operating.
Plus, don’t forget to wear safety gloves, hearing protection, and a dust mask while working with a router to protect yourself from dust, debris, and noise.
Don’t forget to hold your router from both hands firmly while cutting and maintain a secure grip throughout the cut.
Apply steady and even pressure on the router throughout the process to prevent the router from tipping or losing control.
Be careful about the router’s feed direction to make smooth, precise, and accurate cuts with ease.
By considering the above factors when cutting a groove in wood with a router, you’ll be able to get promising results with nice and even groove cut in wood for professional-quality woodworking projects.
Remember to practice and refine your techniques as you go, and always prioritize safety when working with power tools.
As promised, now I’m going to talk about selecting the right router bit when cutting grooves in wood with a router to achieve excellent results.
Router Bits Suitable For Cutting a Groove in Wood
Selecting the right router bit is so important to get promising results when cutting grooves in your woodworking project.
Router bits come in various shapes, and diameters allowing you to make custom sizes and shapes of grooves in wood.
You should select the route bit according to the width of the groove you’re going to cut.
Here types of router bits vary upon their cutting edges useful for cutting grooves,
- Straight bits (single-flute bits, multi-flute bits)
- V-groove bits
- Specialty bits for specific groove shapes
Let’s have a look at each of those router bits in detail to help you to decide the one that you should install in your router for the desired groove.
Straight Bits
There’re two types of straight router bits that can be used on the router to cut grooves in a wood.
They are single-flute bits and multi-flute bits.
So, let’s talk about them,
Single-Flute Bits
Single-flute bits have one cutting edge. they provide efficient chip removal and less heat generation.
Most importantly, single-flute bits are ideal for cutting grooves in softwoods that are prone to burn.
But, note that single-flute bits may require multiple passes to achieve smooth, precise, and even groove cut compared to multi-flute bits
Multi-Flute Bits
Multi-flute bits have two or more cutting edges, and they provide a smoother finish compared to other types of router bits.
Multi-flute bits are great to make grooves in hardwoods or when precision and clean cuts are a must to have.
But on the other hand, they generate more heat and expensive than single-flute bits.
Therefore, make sure not to use multi-flute bits to cut grooves in woods that are prone to burn.
V-groove Bits
V-groove bits are designed for creating V-shaped grooves or decorative details in wood.
These bits have a pointed tip, allowing for precise control and intricate patterns.
V-groove bits are available in various angles, offering versatility in the depth and appearance of the grooves you create.
They are particularly suitable for decorative woodworking projects, sign-making, and inlay work.
Specialty Bits for Specific Groove Shapes
In addition to straight and V-groove bits, there are specialty router bits designed for cutting unique groove shapes in wood.
Some examples of these specialty bits are as follows,
- Core Box Bits: These bits are designed to cut rounded, U-shaped grooves, making them ideal for creating decorative channels, flutes, or finger pulls on cabinet doors and drawers.
- Dovetail Bits: Used primarily for creating dovetail joints, these bits have angled cutting edges that produce interlocking grooves and tenons, offering strong connections and an aesthetically pleasing appearance.
- T-slot Bits: T-slot bits are designed to cut T-shaped grooves, often used in woodworking projects that require adjustable components or as a means to attach accessories to workbenches, jigs, and fixtures.
As you can see, choosing the right router bit for cutting grooves in wood depends on the specific application, desired groove shape, and the material you’re working with.
Consider the type of groove you want to create, the wood species, and the desired finish when selecting the appropriate router bit for your project.
So, let’s talk about what tools and materials you need to have before starting to cut a groove in wood with a router.
Basic Tools For Cutting a Groove In Wood
- Router
- Appropriate router bits
- Guide fence or straightedge
- Clamps
- Scarp wood
- Safety equipment (goggles, hearing protection, dust mask)
- Tape measure
- Ruler
- Pencil
Gather all the above equipment and head into the comprehensive guide about cutting a groove in wood with a router properly.
How To Cut a Groove in Wood With a Router?
Cutting a groove in wood with a router seems challenging at first, but with the right preparation and correct procedure, it can be a straightforward and rewarding process.
Here’re the steps you need to follow when cutting a groove in wood with a router,
- Plan and mark the groove.
- Set up the router and guide fence.
- Secure the workpiece.
- Start routing the groove.
- Clean up and inspect.
So, let’s discuss each of the above steps in detail to achieve desired grooves when cutting wood with a router.
1. Plan and Mark The Groove
First, you need to take the pencil and ruler and measure and mark the starting and ending points on your wood workpiece.
This is the route that you have to run the router. Therefore, your measurements and marks need to have high accuracy.
Be precise with your measurements since this will directly affect the final result of the groove-cutting process.
You can use a square or a straightedge if necessary. They will help you to make straight lines that are parallel to the edges of the wood workpiece.
2. Set Up the Router and Guide Fence
Install the chosen router bit into the router according to the manufacturer’s instructions.
Adjust the bit’s height to match the desired depth of your groove.
Next, attach the guide fence or set up a straightedge to serve as a guide for your router.
Ensure that the distance between the fence and the router bit corresponds to the desired width of the groove.
3. Secure the Workpiece
Place the wood workpiece on a stable flat work surface, such as a workbench or table.
Then, clamps and scrap wood are to secure the workpiece, ensuring that it won’t shift or make any individual movements during the routing process.
Making individual movements during the routing process can cause to damage wood and yourself.
Remember to place the scrap wood under the workpiece to support the router and minimize tear-out.
4. Start Routing The Groove
Put on your safety equipment (goggles, hearing protection, and dust mask), and turn on the router.
Start at the marked beginning point of the groove, and gently lower the router bit onto the workpiece.
Gradually move the router along the guide fence, applying even pressure to maintain a consistent depth.
Take your time and avoid forcing the router, as this can lead to uneven cuts or damage to the workpiece.
5. Clean Up and Inspect
Once you’ve reached the marked end point of the groove, turn off the router and carefully lift it away from the workpiece.
Switch off the router by removing the plug to avoid any accidental startups.
Inspect your groove for any imperfections, and if necessary, make additional passes with the router to correct them.
Finally, use fine-grit sandpaper to smooth out any rough edges and clean up any debris or dust created during the routing process.
Sanding helps to eliminate rough spots in the groove you make. Now your groove looks nicer and cleaner.
By following these steps and taking your time, you’ll be able to cut clean, precise grooves in wood with a router.
Remember to be patient and don’t rush the process.
Practice the method you learned several times with scrap wood before heading into the main project with good safety habits, and continually refine your technique to achieve the best results.
Now you know how to cut a groove in wood with a router properly without messing things up.
Let’s have a look at some tips that can be useful to improve your skills and enhance the quality of your routing process.
Tips For Cutting a Groove in Wood with a Router
Here’re some tips to achieve the best results when cutting a groove in wood with a router,
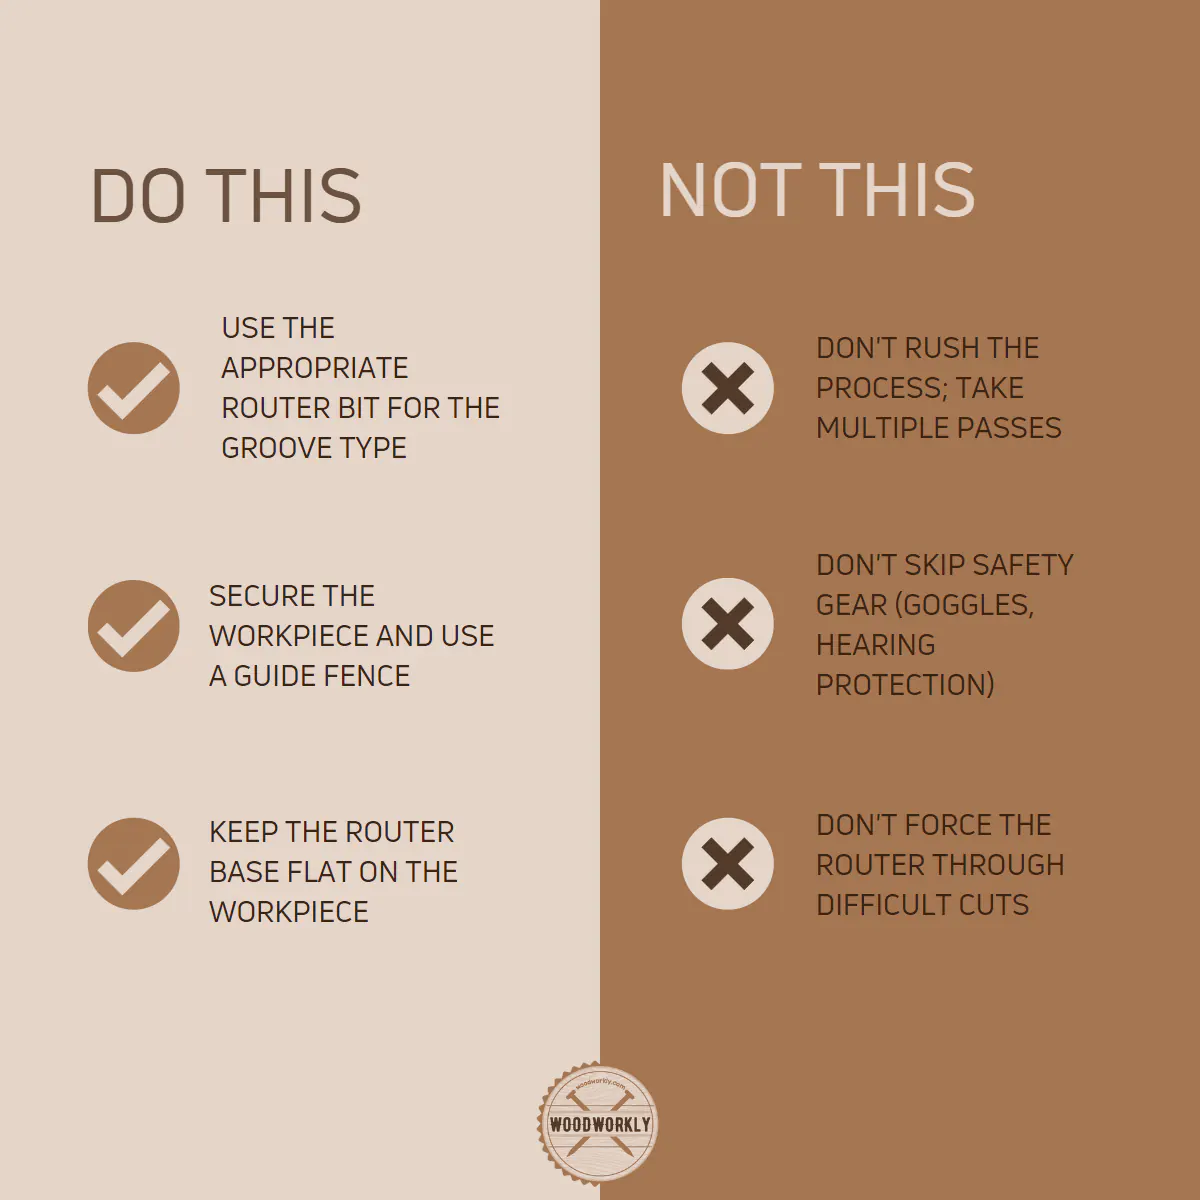
- Choose the right router bit.
- Make multiple shallow passes.
- Keep the router base flat and steady.
- Use a feather board for added stability.
- Maintain your router and bits.
- Practice on scrap wood first.
Let’s discuss each of those tips in detail to have a good understanding of how to cut grooves in wood perfectly using a router.
Tip1: Choose the Right Router Bit
Selecting the appropriate router bit is crucial for achieving the desired groove shape and size.
Familiarize yourself with the different types of router bits available, such as straight bits, V-groove bits, and specialty bits designed for specific groove shapes.
The right bit can make a significant difference in the quality and accuracy of your final product.
Tip 2: Make Multiple Shallow Passes
Instead of attempting to cut the entire depth of the groove in a single pass, make multiple shallow passes.
This approach reduces the strain on the router and the bit, minimizing the risk of burning the wood or causing a tear-out.
Adjust the bit height incrementally between passes until you reach the desired groove depth.
Tip 3: Keep the Router Base Flat and Steady
Maintaining a flat and steady router base is crucial for even, consistent grooves.
Apply consistent pressure and ensure that the router base remains flush against the workpiece throughout the entire cutting process.
Practice keeping your hand movements smooth and steady to minimize wobbling or tilting.
Tip 4: Use a Featherboard for Added Stability
A feather board is a valuable accessory that can help maintain even pressure on the workpiece while routing.
By pressing the workpiece against the guide fence, a feather board ensures consistent contact and reduces the risk of the wood shifting during the routing process.
Tip 5: Maintain Your Router and Bits
Proper maintenance of your router and bits is essential for achieving clean, precise grooves.
Keep your router clean, lubricate any moving parts as recommended by the manufacturer, and routinely inspect the router bits for damage or wear.
Sharpen or replace bits as needed to ensure optimal performance.
Tip 6: Practice on Scrap Wood First
Before attempting to cut a groove in a valuable workpiece, practice your technique on scrap wood.
This allows you to refine your skills, adjust router settings, and troubleshoot any issues without risking damage to your main project.
By following these tips and taking the time to hone your technique, you can achieve clean, accurate grooves with a router.
Remember that practice makes perfect, and don’t be afraid to experiment with different methods and settings to find the approach that works best for you.
Congrats folks! Now you know everything you need to know about how to cut a groove in wood with a router.
But what if you don’t have a router with you, or what if your router is broken already? Do you have an alternative method?
Don’t worry! yes, you do have alternative methods to cut grooves in the wood. let’s discuss about them.
Alternative Methods To Cut A Groove In Wood
Even though using a router is a popular method of cutting grooves in wood, there are some alternative methods as well that can achieve precise and similar results.
Here’re some alternative methods to cut a groove in wood,
- Table saw with Dado blade.
- Plunge router with edge guide.
- Handheld circular saw with a straightedge guide.
- Chisels and saws.
Apart from the above alternative methods, you can cut a groove in wood with the drill as well.
Read my comprehensive guide about How to cut a groove in wood with a drill step-by-step.
Let’s discuss each of those methods in detail which are useful when you don’t have the router with you.
Table Saw With Dado Blade
A table saw equipped with a dado blade is an excellent alternative for cutting grooves in the wood.
Dado blades are designed specifically for creating grooves, dadoes, and rabbets and can quickly and accurately cut grooves of varying widths and depths.
Here’re some pros and cons of using a table saw to cut grooves in wood,
| Pros | Cons |
| Fast and efficient for cutting grooves | Requires a table saw and dado blade set, which can be costly |
| Can handle a wide range of groove sizes | Dangerous to use due to the exposed blade |
| Provides clean and precise cuts |
If you need to know more details about cutting a groove in wood with a table saw, Read my latest comprehensive guide about, How to cut a groove in wood with a table saw!
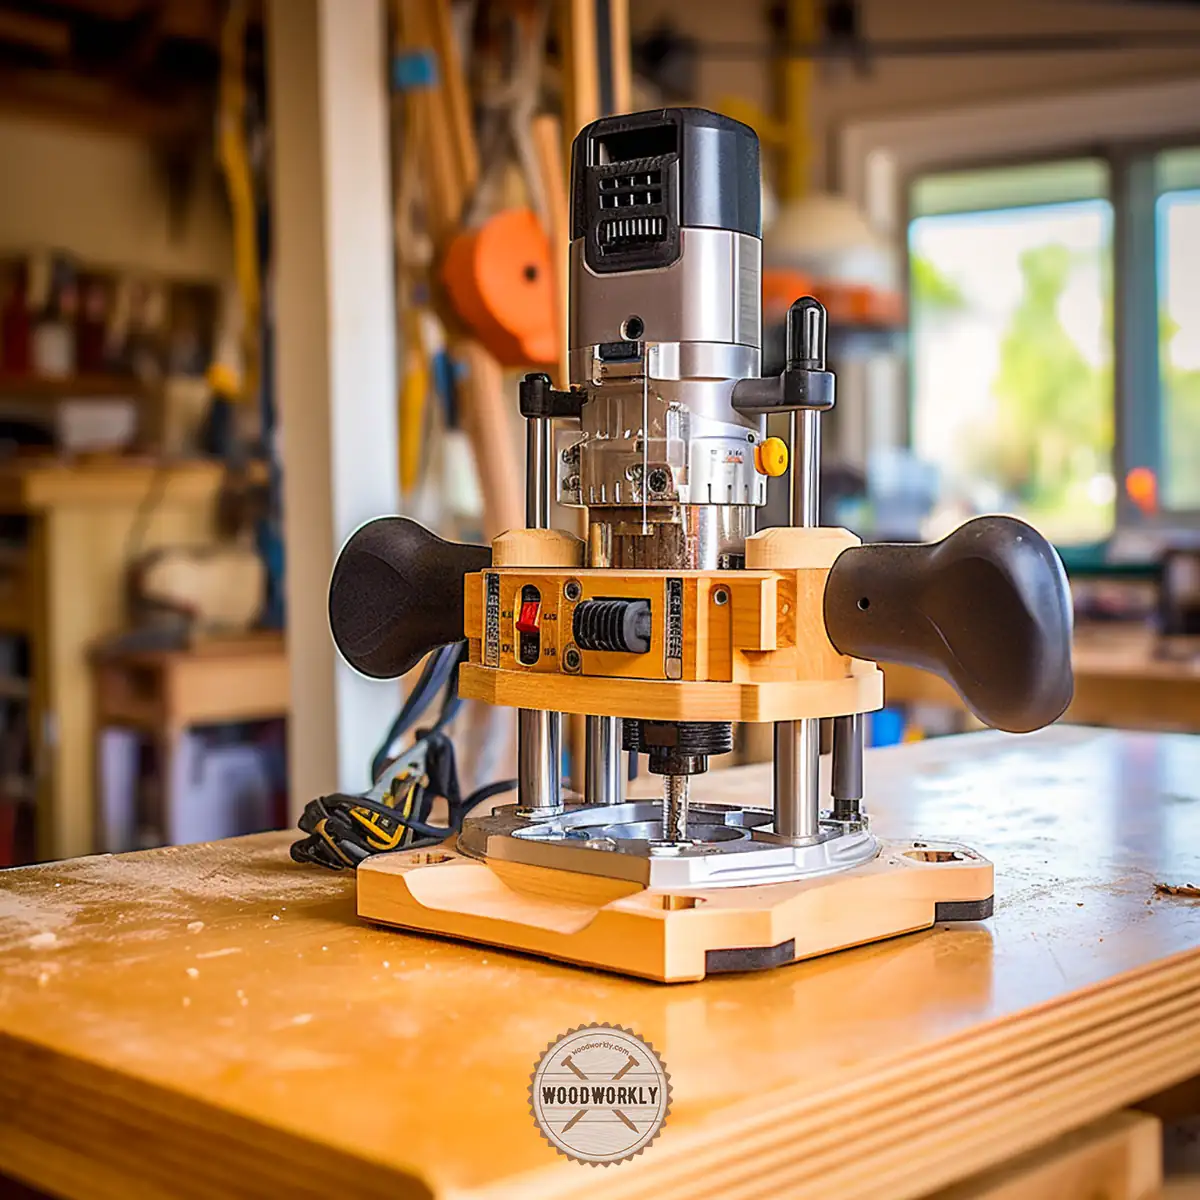
Plunge Router with Edge Guide
A plunge router with an edge guide can be used to cut grooves in a similar manner to a standard router.
The plunge router allows for more precise depth control and the edge guide ensures straight, even cuts.
Here’re some pros and cons of using a plunge router to cut grooves in wood,
| Pros | Cons |
| Offers excellent depth control and precision | Challenging to set up and adjust compared to a standard router |
| Versatile and easy to use for various types of cuts |
Handled Circular Saw with a Straightedge Guide
A handheld circular saw, paired with a straightedge guide, can be used to cut grooves in wood.
This method requires careful setup and measurement but can achieve satisfactory results.
Here’re some pros and cons of using a circular saw to cut grooves in wood,
| Pros | Cons |
| Accessible for those who don’t own a router or table saw | Less precise than using a router or table saw |
| Can be used for various woodworking tasks | Challenging to maintain a consistent depth of cut |
If you want to know more details about its groove-cutting process, read my latest comprehensive guide about cutting a groove in wood with a circular saw step-by-step process.
Hand Tools: Chisels and Saws
For those who prefer traditional woodworking techniques, grooves can be cut using a combination of hand tools, such as chisels and saws.
This method requires patience and skill but can produce excellent results.
Here’re some pros and cons of using hand tools to cut grooves in wood,
| Pros | Cons |
| Offers a sense of satisfaction and craftsmanship | Time-consuming and labor-intensive |
| No need for expensive power tools | Requires a high level of skill and experience |
If you prefer the traditional method to cut grooves apart from all the power tools methods above, Read my latest guide about, cutting a groove in wood by hand.
I’ve learned the above alternative methods of cutting grooves in wood thanks to the advice I got from Taylor Donsker who is a famous American woodworker. Therefore, full credit of teaching those methods goes to him.
Tip: If you want to cut a groove in wood for decorative purposes, try the Dremel tool.
Here’s my latest comprehensive guide about cutting grooves in wood with the Dremel!

Let’s answer some frequently asked questions as well.
FAQs
Can I Cut A Groove In Wood Without A Router?
Yes, you can cut a groove in wood without a router. There are alternative methods for cutting grooves in wood without using a router, such as a table saw with a dado blade, a plunge router with an edge guide, a handheld circular saw with a straightedge guide, or traditional hand tools like chisels and saws.
Each method has its own advantages and disadvantages, so choose the one that best fits your needs and skill level.
How Deep Should I Cut A Groove In Wood Using A Router?
The depth of the groove you cut depends on the intended purpose of the joint and the thickness of the wood.
As a general rule, aim to cut the groove to a depth of about one-third to one-half the thickness of the wood.
However, always consider the specific requirements of your project when determining the appropriate depth.
What is the best router bit for cutting grooves in wood?
Straight bits are the most common choice for cutting grooves in wood, but other specialty bits such as V-groove bits or specific groove-shape bits can also be used, depending on the desired outcome.
Single-flute straight bits offer a faster cut, while multi-flute bits provide a smoother finish.
Consider the type of groove you want to create and the characteristics of your wood when selecting a router bit.
Can I Cut Curved Grooves With A Router?
Yes, you can cut curved grooves using a router by using a template or a guide bushing attached to the router base.
This method requires careful planning and setup to achieve smooth, even curves, but it’s an excellent way to create decorative or functional grooves with a more intricate design.
How Can I Prevent Tear-Out When Cutting A Groove With A Router?
To minimize tear-out when cutting grooves with a router, take the following precautions: make shallow, incremental passes instead of attempting to remove all the material in one pass; use sharp, high-quality router bits; and apply a sacrificial strip of masking tape along the cutting edge to help support the wood fibers during the cutting process.
Did I cover all you wanted to know about How To Cut a Groove in Wood with a Router?
In this article, I’ve deeply explained how to cut a groove in wood with a router following the step-by-step procedure with all the tips and techniques.
Plus, I’ve mentioned how to select the right router bit type for your routing process and some alternative methods you can try out even if you don’t have a router.
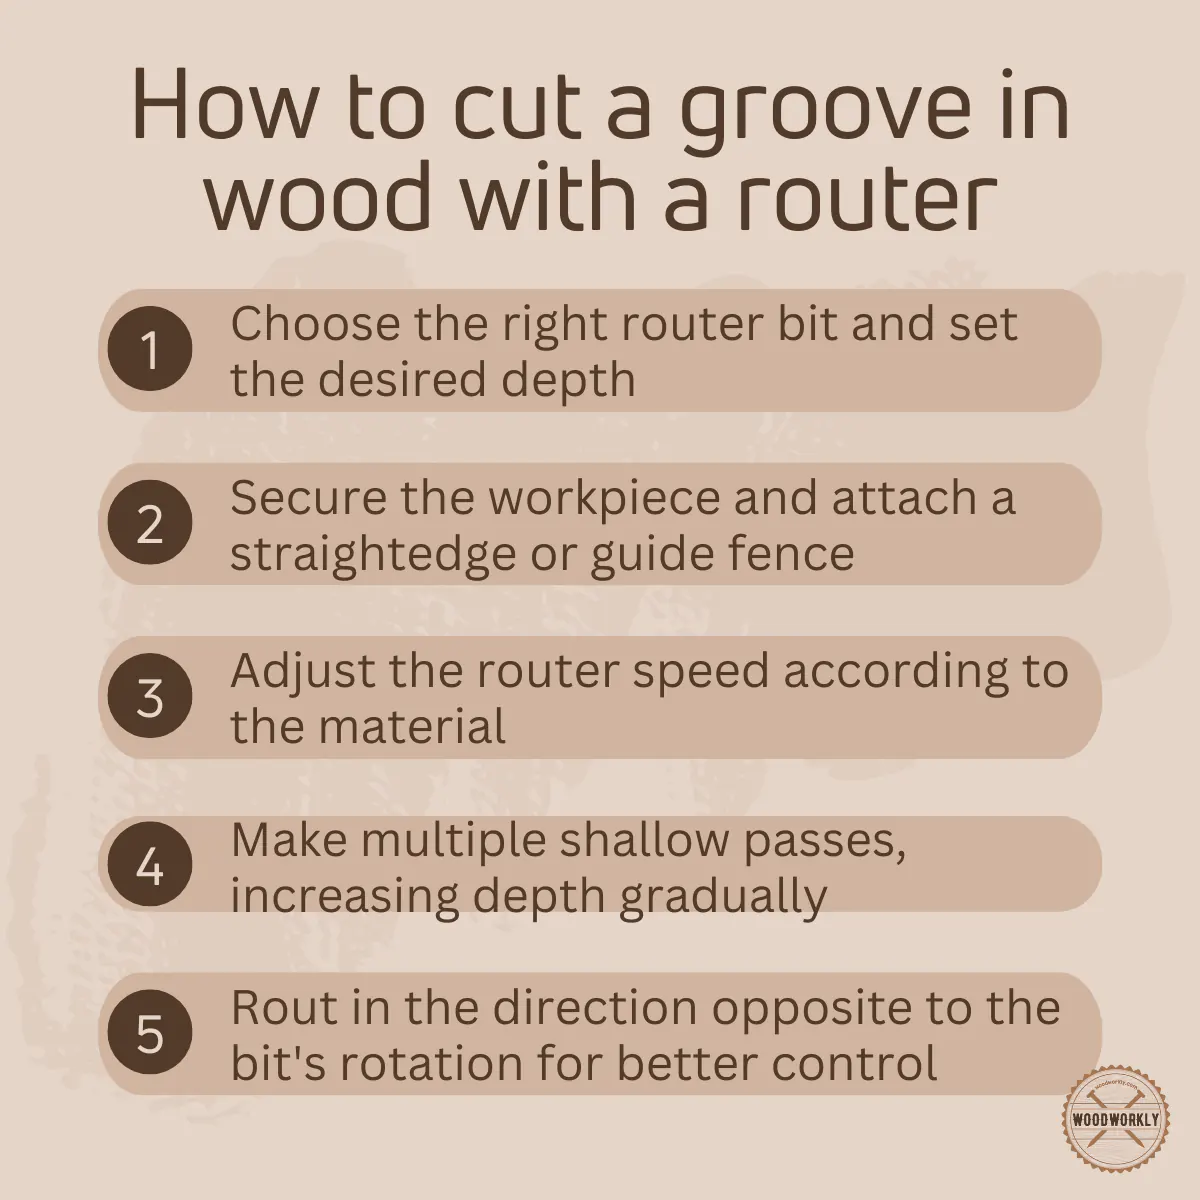
To cut a groove in wood with a router, secure the workpiece, select the appropriate router bit, and adjust the router’s depth setting. Use a straightedge or guide fence for precise cuts, and make multiple shallow passes to reach the desired groove depth. Finish by sanding any rough edges.
Furthermore, I’ve answered some frequently asked questions as well.
Hope you are able to know the answers to all the questions you had about, how to cut a groove in wood with a router in detail.
Keep practicing the method I teach you in this article to make precise groove cuts with ease. Be a pro at handling routers to make custom furniture with beautiful intricate groove cuts.