Want to create perfect grooves in wood with your table saw? Discover the essential techniques and tips to achieve professional results in our comprehensive guide! Ready to get started?

Table saw is an excellent tool to cut any wood easily with high precision. You can create a wide variety of joints and decorative elements using a table saw.
When I was a beginner, I struggled to cut grooves using a table saw since I didn’t know the ideal method and what blade should I use for the task.
So, I did some research with the help of my woodworking friends and was eventually able to know the proper way of cutting grooves using a table saw.
So, let’s see, How to cut a groove in wood with a table saw?
To cut groove in wood with a table saw, first, set up the table saw and install the appropriate blade. Then, adjust the blade height and mark the groove depth on the wood. Next, align the wood mark with the saw blade and start cutting the groove. Finally, fine-tune the groove.
That’s just a quick snapshot of the question.

In this article I’ll explore how to cut a groove in wood with a table saw step-by-step and explain the factors you should consider before cutting grooves and what blade type suits the most when cutting grooves in wood with tips and tricks.
Furthermore, I’ll answer some frequently asked questions as well.
Let’s jump in!

Can You Cut A Groove With A Table Saw?
Yes, you can cut a groove in wood with a table saw easily with high precision. Table saw is an ideal versatile power tool to make straighter lines and smoother cuts on small and long boards.
Table saw is considered one of the main tools of a woodwork shop due to its versatility and ability to make precise cuts.
A table saw not only, allows you to rip boards to width, crosscut to length, and create bevels and miters, but also cut grooves and dados with the right setup.
Cutting grooves is essential when making joinery for cabinets, shelves, and furniture or when adding decorative items to your woodwork.
When cutting grooves in wood using a table saw, you need to adjust the blade height, fence, and miter gauge to make accurate and repeatable cuts without damaging the wood, ensuring consistency.
Make sure to follow proper safety precautions when working with the table saw.
Overall, table saws can save time and effort when cutting grooves compared to using hand tools or other less efficient methods.

Let’s see types of grooves that can be cut with a table saw for better clearance.
Types Of Grooves That Can Be Cut With A Table Saw
There’re several types of groves you can cut using a table saw. Each groove has a unique purpose and properties which are important in various woodworking projects.
Here’re the grooves that can be cut using a table saw,
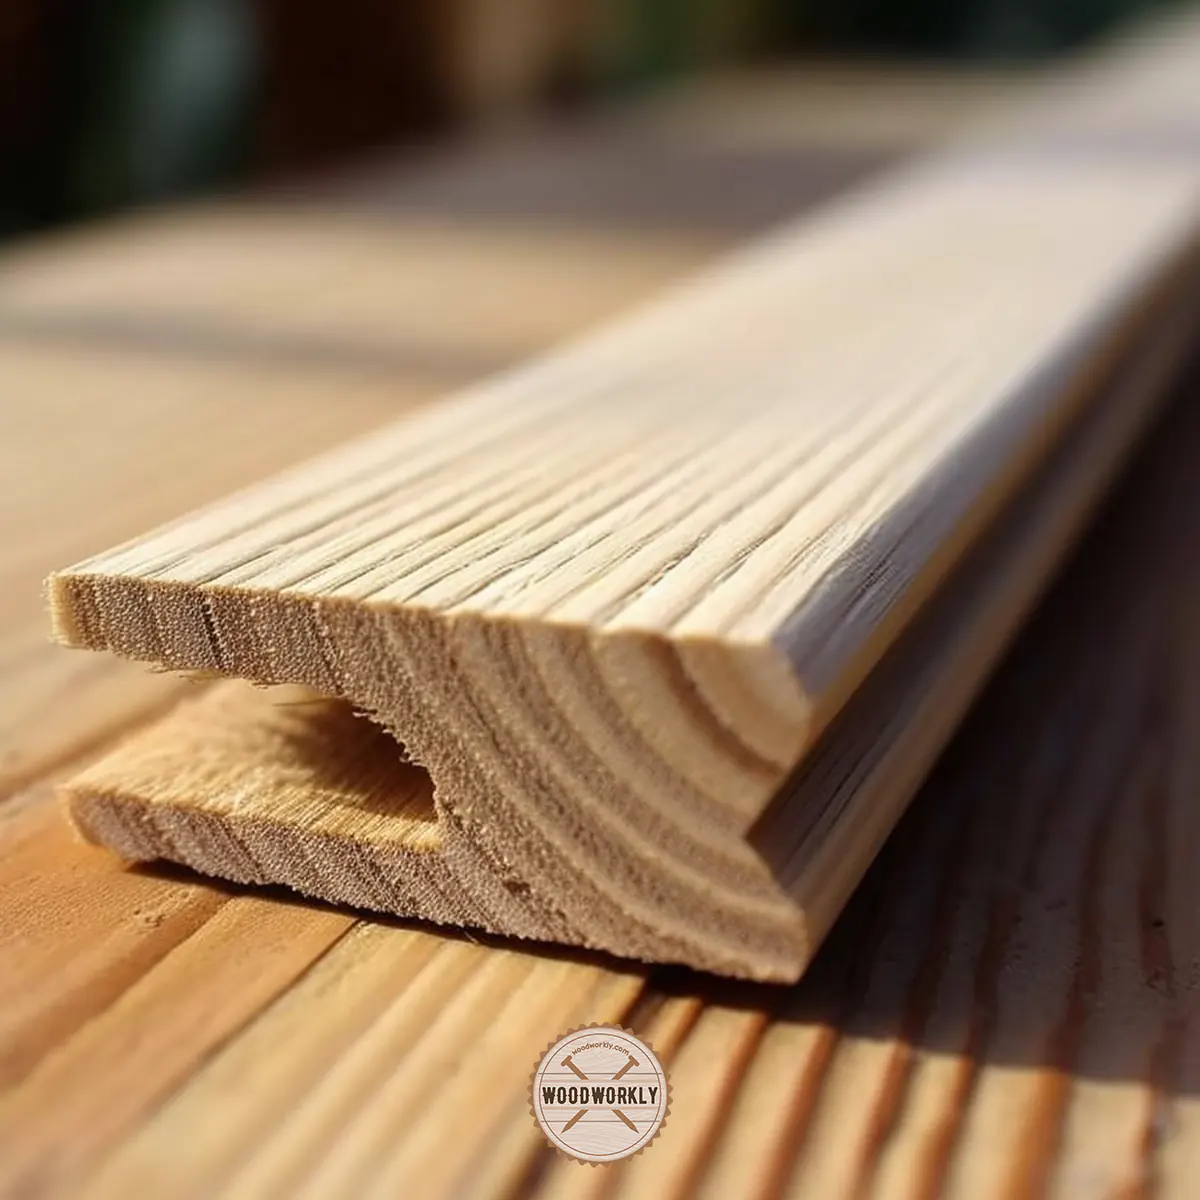
- Dadoes: Dadoes are wide grooves that typically run perpendicular to the wood grain and are used to create joints, such as those found in cabinet and bookshelf construction. By using a dado blade set, you can achieve a flat-bottomed, clean-cut groove.
- Rabbets: A rabbet is a groove cut along the edge of a board, often used to create a recess for another piece of wood to fit into, like a back panel on a cabinet. With the proper blade and fence setup, a table saw can easily make rabbet cuts.
- Tongue and groove joints: This type of joint consists of a protruding “tongue” on one piece of wood that fits into a corresponding groove on another piece, providing a strong and interlocking connection. You can cut both the tongue and the groove using a table saw with the right adjustments.
- Kerfing: Kerfing is the process of making a series of shallow, closely spaced cuts in a board to allow it to bend without breaking. A table saw can be used to create these kerfs, enabling you to add curves or bends to your projects.
As you can see a table saw is an excellent tool for cutting grooves in wood, which allows you to make different types of strong joints and decorative items.
Let’s see what factors you should consider before starting to cut the groove in the wood.
Factors To Consider When Cutting A Groove In Wood With A Table Saw
There’re several factors you need to look at before cutting a groove in wood with a table saw.
Those things help you to cut the groove with high accuracy, and precision with smooth straight cuts without damaging the wood surface.
Here’re the factors you should consider when cutting a groove in wood with a table saw,
- Wood type and dimensions.
- Table saw specifications.
- Groove dimensions.
By considering the above factors you’ll be able to achieve your desired result easily with no issues.
Let’s discuss each of those things to consider in detail for better understanding.
Wood Type And Dimensions
The workability of cutting grooves depends on the species and hardness of the wood. different types of wood species have different hardness levels.
The hardness of the wood has a direct impact when cutting a groove.
Hardwoods like oak and maple tend to be more challenging to cut grooves than softwoods like pine or cedar.
Therefore, you need to select the right blade type and cutting speed based on the type of wood you’re working with to achieve clean and accurate cuts without damaging the wood.
Plus, you need to consider about the length, width, and thickness of the wood plank you selected when cutting a groove.
For example, when cutting a groove in a long, narrow wood piece need additional support to avoid individual movements of wood and to prevent the wood from flexing or bending during the cutting process.
When working with thick wood pieces, make sure your table saw can accommodate the required blade height.
By considering the wood species type and its dimensions first and adjusting your table saw accordingly, you can make a precise groove cut in wood.
Table Saw Specifications
Before starting to cut the groove in wood, consider the power and motor capacity of your table saw and the fence and miter gauge accuracy to achieve desired results with ease.
The power of your table saw determines its ability to cut through different types of wood with various thicknesses.
A more powerful motor will generate more cutting power and make it easier to cut grooves in a dense, thick wood.
Therefore, make you’re your table saw has the required power for the groove-cutting task.
Plus, a precise fence and miter gauge of a table saw are essential for making accurate cuts when cutting grooves.
Make sure your fence is square and parallel to the blade and your miter gauge is correctly calibrated before starting the groove-cutting process.
Always use high-quality aftermarket accessories to improve your table saw’s accuracy and make it easier to cut grooves with high precision.
Groove Dimensions
Before you start cutting, you need to have a clear idea about the depth, length, and width of your desired groove.
Therefore, plan the groove cut before starting the process for the groove dimensions.
Measure and mark the depth, width, and length of the groove on your wood piece to ensure accurate and straight cuts.
You may need to make multiple passes with your table saw or use a Dado blade set to achieve the desired grove width with ease.
Likewise, consider the wood types and dimensions, table saw specifications, and groove dimensions and make necessary adjustments to ensure that your grooves are cut accurately, safely, and with a high-quality finish leading to beautiful and functional woodworking projects.

Let’s see what blade type you should go with when cutting the groove with a table saw.
Type Of Blade For Cutting Grooves In Wood
Choosing the right type of table saw blade is essential to make smooth, clean, and precise cuts when making grooves in the wood.
Plus, it helps to maintain the safety of your woodworking projects.
There’re two types of blades you should use for cutting grooves in wood, Dado blade sets and standard table saw blades.
Dado blade sets are the ideal blades for cutting grooves in wood since they can make precise and more accurate groove cuts than standard blades.
Don’t worry! if you don’t have dado blades, the standard table saw blades are also fine to use with proper technique.
I’ll discuss the properties and specifications of both blade types for your knowledge.
Dado Blade Sets
- Stacked Dado Blade Set: A stacked dado blade set has two outer blades and a series of chippers that are sandwiched between them. You can adjust the width of the groove by adding or removing chippers as needed. Stacked dado blade set is the most ideal type of blade for a table saw to cut grooves in the wood. They are known for their accuracy and clean cuts.
- Wobble Dado Blade: A wobble dado blade is a single blade that oscillates from side to side as it spins, creating a groove in the wood. The width of the groove can be adjusted by changing the angle of the blade’s wobble. Although wobble dado blades are generally more affordable than stacked dado sets, they may not provide as smooth and precise cuts.
Standard Table Saw Blades
- Standard Kerf Blades: If you don’t have a Dado blade set, you can standard table saw blades to cut grooves. Most standard blades have a kerf width (the width of the cut) of 1/8 inch. To create a wider groove, make a series of overlapping cuts, adjusting the workpiece’s position between each pass. Keep in mind that this method may take longer than using a dado blade set and may not yield as clean a finish.
- Thin Kerf Blades: Thin kerf blades have a narrower kerf width (usually around 3/32 inch), which means they remove less material during cutting. These blades are ideal for cutting grooves in thinner, more delicate workpieces or when you want to minimize waste. However, they may not be suitable for cutting wider grooves or working with dense hardwoods.
The type of table saw blade you need to select based on your needs and the material you’re working with and the width of the groove.
Dado blade sets, particularly stacked dado sets are the popular and best choice for cutting grooves in wood with clean and high-precision cuts.
However, standard table saw blades can also use for your groove-cutting project if a Dado blade set is not with you.
Select the appropriate blade type for your project to get promising results.
Before starting the groove-cutting process, there’re several things and tools you need to be collected. So, let’s discuss about them!
Basic Tools For Cutting A Groove In Wood
- Table saw
- Dado blade sets (or you can use a standard table saw blades)
- Throat plate for the table saw (3/4-inch throat plate is mostly suitable)
- Fence
- Miter gauge
- Tape measure
- Ruler or straightedge
- Pencil or marking knife.
- Safety glasses
- Hearing protection (earplugs or earmuffs)
- Push stick
Gather the above items and wear safety equipment before starting to cut a groove in wood.
Let’s see the step-by-step procedure of cutting groove in wood using a table saw in detail.
How To Cut a Groove In Wood With A Table Saw?
Cutting a groove in wood is a straightforward process when you follow the proper steps with quality tools and materials with safety precautions.
Here’re the steps you need to follow when cutting a groove in wood with a table saw,
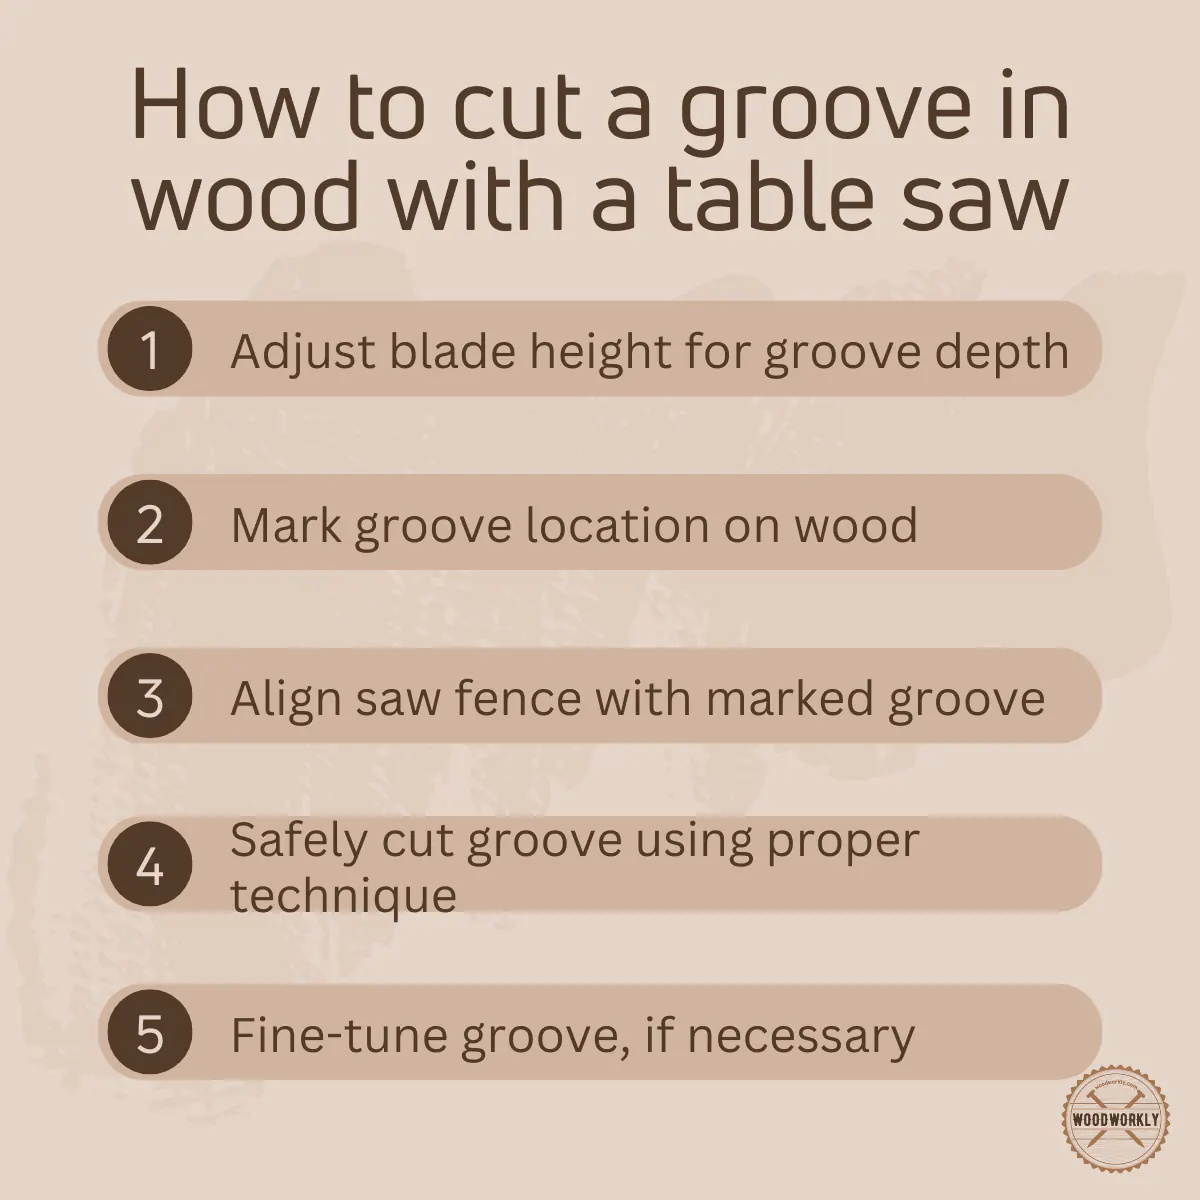
- Adjust the blade height.
- Mark the groove on wood.
- Adjust the saw fence.
- Cut the groove.
- Fine-tune the groove.
Let’s discuss each of the above steps in detail to get a good view about the groove-cutting process with a table saw.
1. Adjust The Blade Height
First, you need to adjust the height of the blade you selected by determining the desired depth of the groove you want to cut.
Adjust the height of your table saw to match the groove depth by raising or lowering the blade in the vertical direction.
Make sure to set the blade height to half the thickness of your workpiece for a typical groove cut. No more or no less!
Mostly, blade height is only less than half of the thickness is removed from the piece of wood.
Adjusting the blade height more than the half thickness of the wood can make the wood weak and make a brittle joint.
2. Mark The Groove On Wood
Now take the pencil or marking knife and mark the location of the groove on your piece of wood, ensuring the lines are straight and evenly spaced.
You can use the ruler to make straight lines. These lines should be accurate and precise since we do the cutting along those lines in the upcoming steps.
Make sure to mark both the top and the bottom sides of the wood for accurate alignment during the groove-cutting process.
3. Adjust The Saw Fence
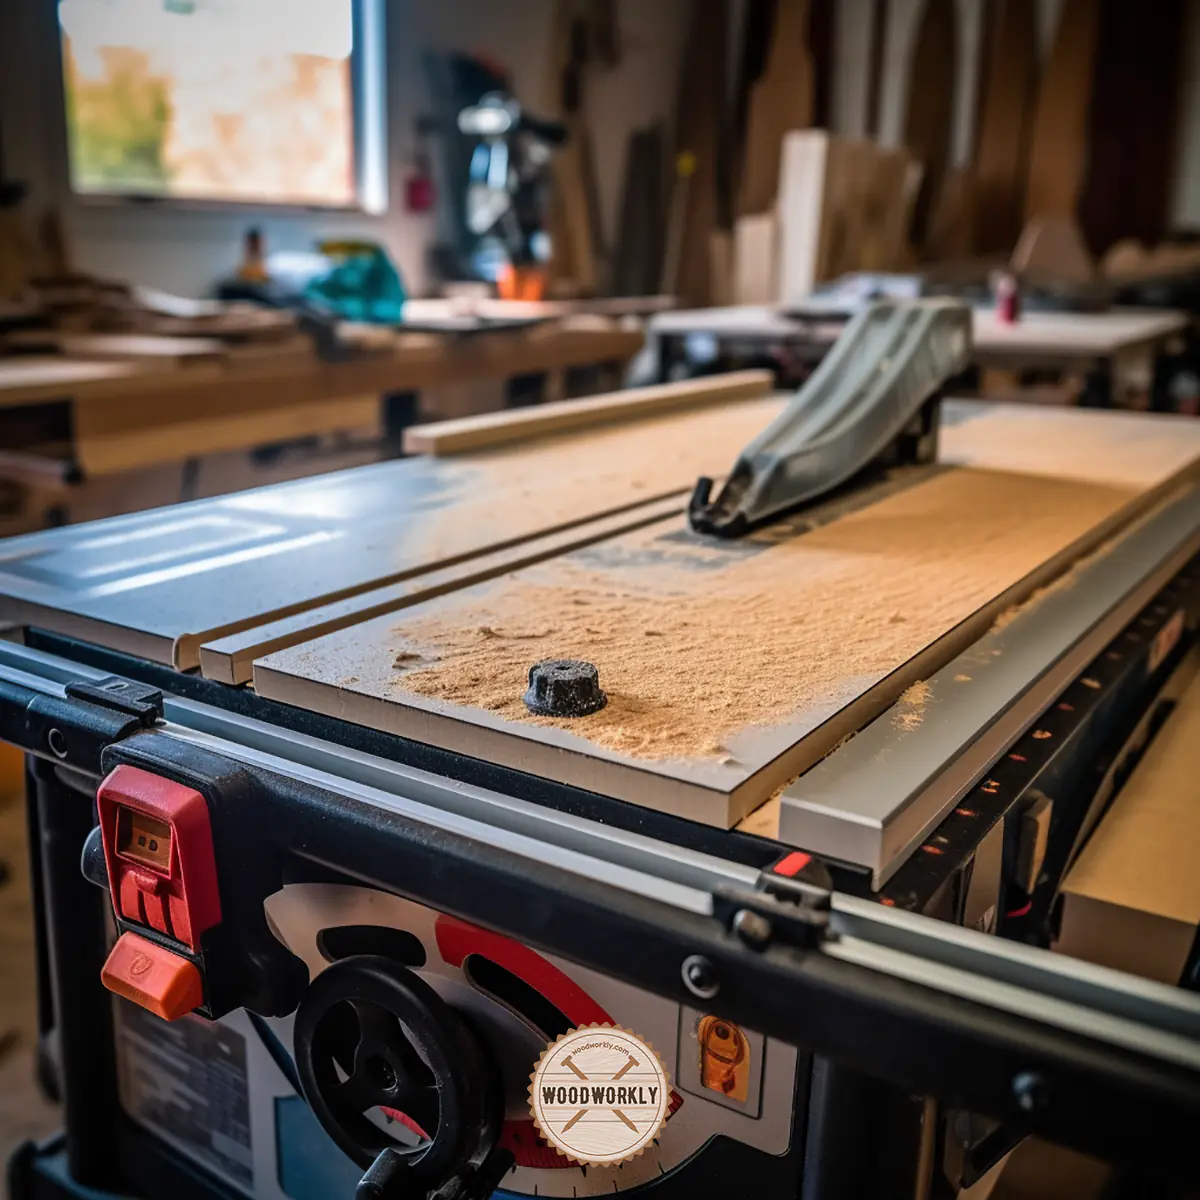
Now align the mark on the wood you make with the saw blade.
Position the wood workpiece on the table saw and align the marked lines with the saw blade.
Adjust the saw fence as needed to ensure proper alignment and maintain a safe distance from the blade.
Now your table saw is ready to cut the groove.
4. Cut The Grove
Wear safety glasses, and hearing protection and follow all the guidelines when using the table saw.
Use both hands to guide the wood workpiece through the blade and start to cut the groove in the wood.
Apply even pressure and keep the wood flush against the fence while cutting.
For longer workpieces, you can use a miter gauge to maintain a consistent angle during the cutting process.
If cutting across the width of the board, you can use the push stick to guide the wood through the final inches, keeping your hands at a safe distance from the blade.
5. Fine Tune The Grove
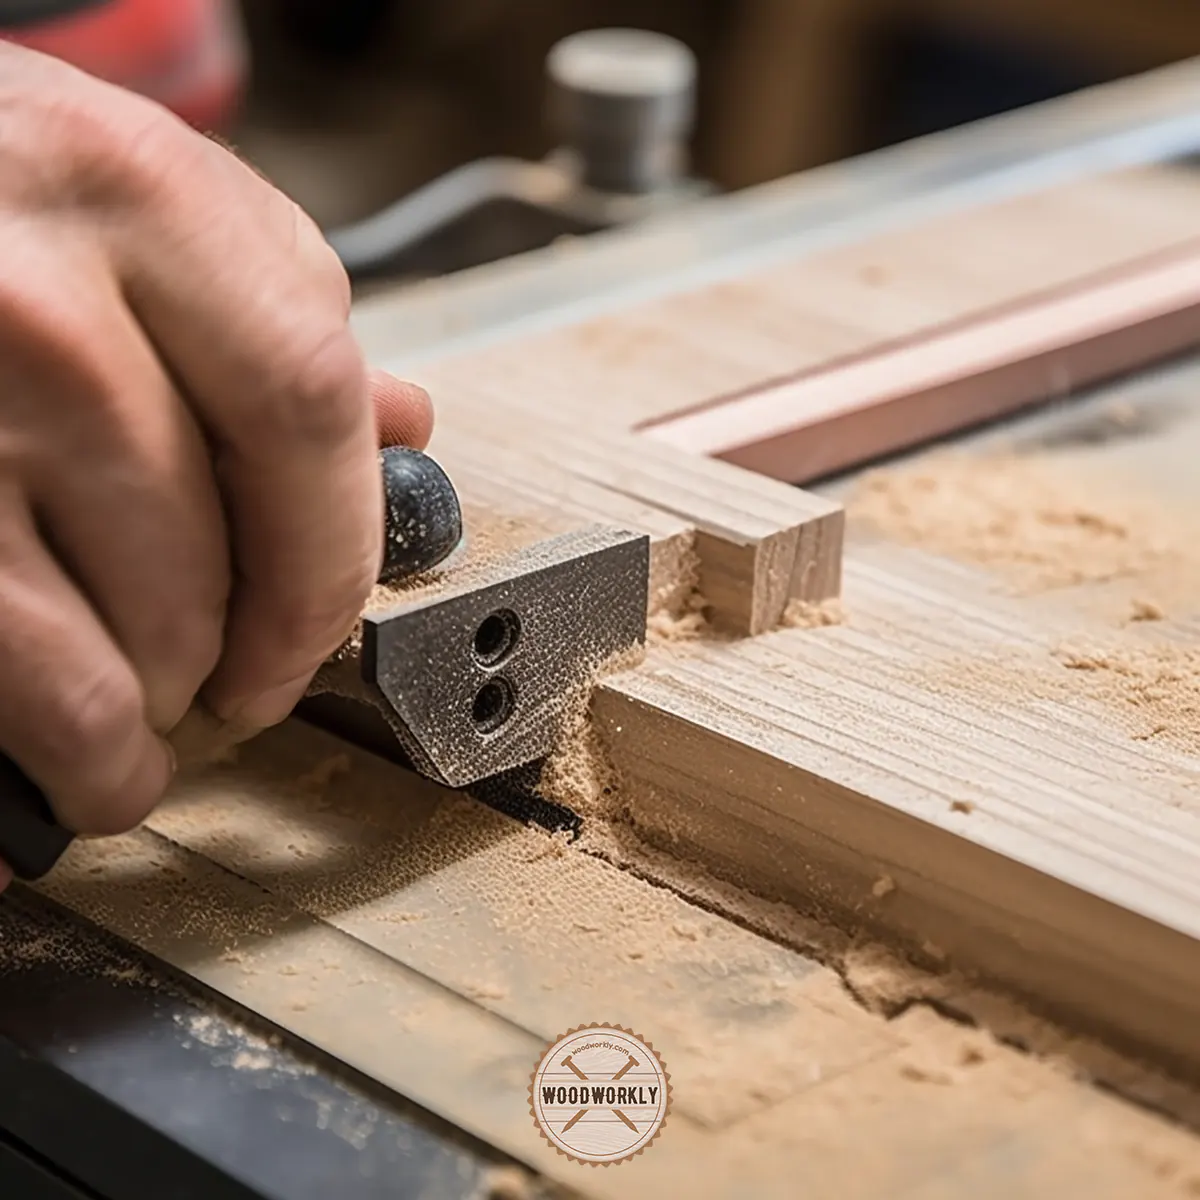
After making the first groove cut on wood, you can run the wood through the table saw again starting on the opposite side to make your groove cut look even.
After cutting the initial groove cut, check the fit with the corresponding wood, glass, or plastic material or a scrap piece of wood of the same thickness.
If the groove is too tight or uneven, you can make any necessary fine adjustments to the blade height, fence position, or cutting angle and run the wood workpiece through the saw again.
Remove a small amount of material at a time until the desired fit is achieved.
Or you can use a hammer and chisel to clear out the space between the edges of the groove cut.
After making the desired groove cut on wood, sand the wood surface nearby to avoid small irregularities and rough spots on the surface and to get a smooth quality finish.
Follow the above steps carefully and practice regularly to make a successful groove cut in wood using a table saw.
Remember to take your time, double-check your measurements, and make adjustments as needed to ensure clean, precise cuts.
That’s it, folks! Now you know how to cut a groove in wood with a table saw properly using the correct technique.
Let’s have a look at some tips that can be useful when cutting a groove in wood using a table saw without messing things up which I’ve learned with my years of experience.
Tips For Cutting a Groove in Wood with a Table Saw
Follow the below steps to cut a grove in wood with a table saw with ease and high precision,
- Select the right blade.
- Make test cuts.
- Secure your workpiece.
- Maintain your table saw.
- Prioritize safety.
- Be patient and don’t rush the process.
Let’s discuss each of those tips in detail to get in success with the groove cutting process.
1. Select the Right Blade for the Job
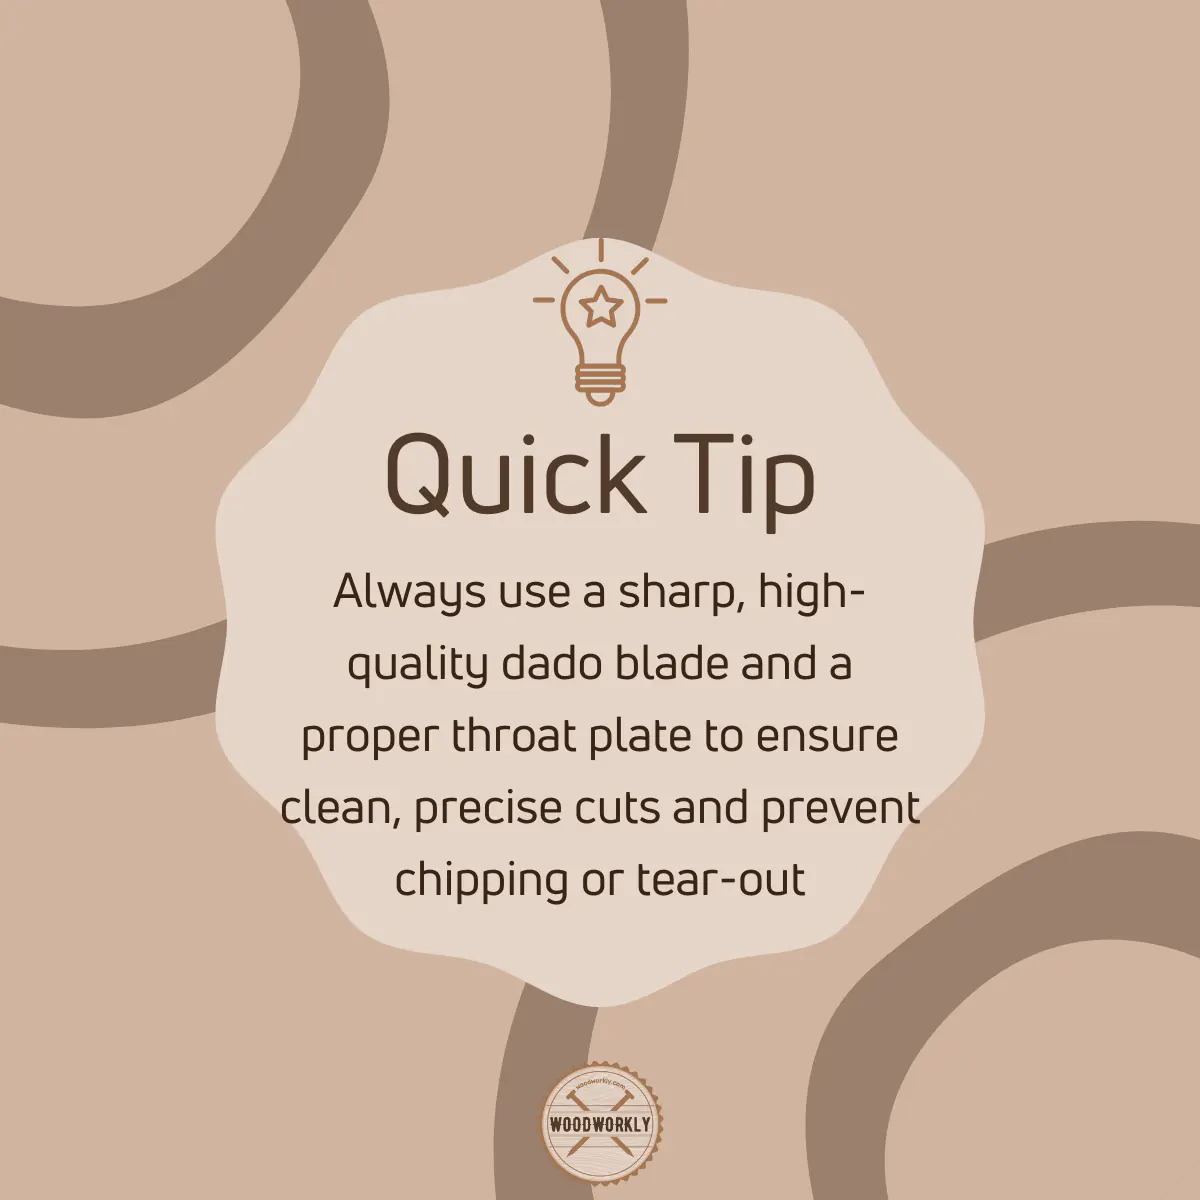
Choose a dado blade or stacked blade set for clean, smooth grooves.
These specialized blades are designed for cutting grooves and dadoes, providing better results than a standard table saw blade.
For a more budget-friendly option, use a standard table saw blade and make multiple passes to widen the groove as needed.
2. Make Test Cuts
Always perform test cuts on a scrap piece of wood before cutting your actual workpiece.
This allows you to check the blade height, fence position, and cutting technique without risking damage to your project material.
3. Secure Your Workpiece
Use feather boards, clamps, or other devices to hold your workpiece securely in place during cutting.
This helps prevent the wood from moving or shifting, which can lead to inaccurate or unsafe cuts.
4. Maintain Your Table Saw
Keep your table saw clean and well-maintained to ensure accurate cuts and extend the life of your tool.
Regularly check for loose parts, dull blades, and other issues that could affect performance.
5. Prioritize Safety
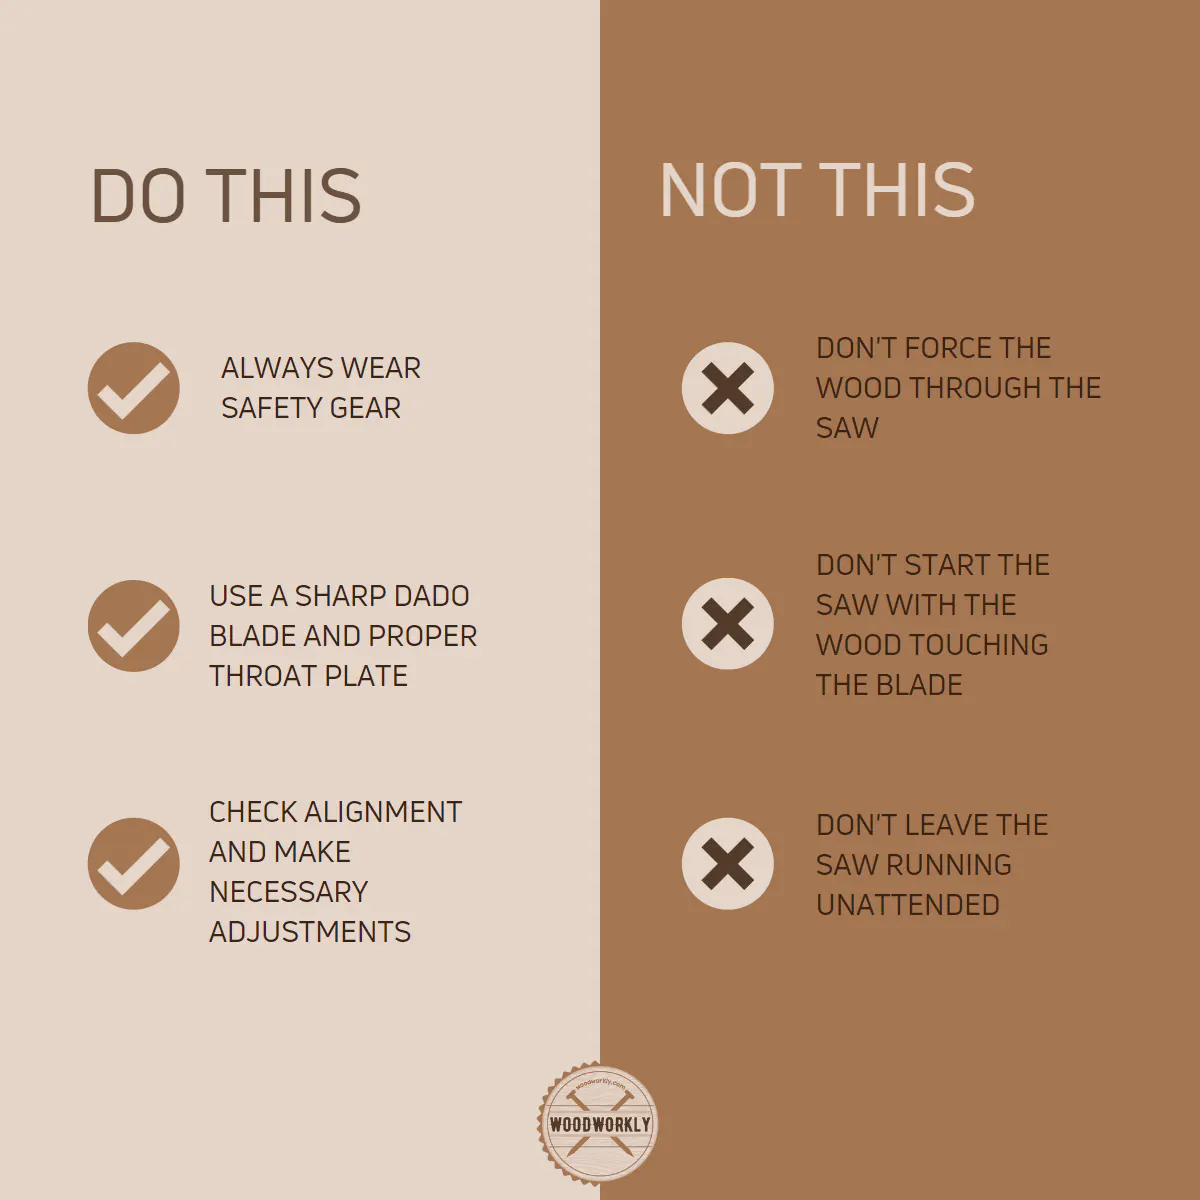
Always wear safety gear, such as safety glasses and hearing protection, when using a table saw. Follow all safety guidelines and recommendations provided by the manufacturer.
Use push sticks or other safety devices to keep your hands away from the blade during cutting, especially when working with narrow or short workpieces.
6. Be Patient and Don’t rush the Process
Take your time during the cutting process. Rushing can lead to mistakes and potentially damage your workpiece or cause injury.
Make small adjustments to the blade height, fence position, or cutting angle as needed. This will help you achieve precise, clean cuts for your grooves.
What if you don’t have a table saw with you and you eagerly want to make a grove cut on your wood?
Don’t worry! there’re some alternative methods you can use to cut grooves in wood precisely as the table saw without making any mistakes.
Let’s look at them now!
Alternative Methods To Cut a Groove In Wood
As we know table saw is an excellent tool to cut grooves in any wood you want.
But there’re some alternative methods you can try to make the same precise grooves in wood especially when you don’t have access to table saw.
Here’re some alternative methods you can try to cut a groove in wood,
- Using a router.
- With a circular saw.
- Using a chisel and hammer.
- With jigsaw or oscillation multi-tool.
Let’s have a look at each of those methods to see how they differ from the table saw methods and which one suits you the most apart from using a table saw to cut a groove in wood.
Using a Router
Handheld or table-mounted routers are great for making groove cuts in wood.
They are versatile and you just have to select the suitable router bit and adjust the depth of the cut to make precise and accurate groove cuts in wood.
There’re different bits for different groove shapes and sizes which are specialized for various applications. They are ideal for custom woodworking projects.
Use a straight edge bit, fence, or router guide when cutting grooves with a router to get accurate and nice precise cuts with no issues.
If you need to know more details about cutting a groove in wood with a router, Read my latest comprehensive guide about, How to cut a groove in wood with a router!
With a Circular Saw
You can use the circular saw to cut grooves in wood with multiple passes at different depths. This method is similar to table saw method with a standard blade.
Adjust the depth of the circular saw blade to the desired groove depth before starting t cut the wood. Use a straight edge or guide to cut consistently.
When cutting a groove with a circular saw, it needs an additional cleanup or sanding to smooth the grove edges since circular saw cuts tend to be rougher than the cuts make by table saw or router methods.
If you want to know more details about its groove-cutting process, read my latest comprehensive guide about cutting a groove in wood with a circular saw step-by-step process.

Using a Chisel and a Hammer
Chisel and hammer method is the traditional way of cutting grooves in the wood.
First, make the position you need to cut the groove with a pencil with dimensions and use a chisel and hammer carefully to remove the materials in small increments.
This method needs patience, skill, and practice to make precise cuts without chipping or damaging the wood.
If you prefer to know about this traditional method to cut grooves, Read my latest guide about, cutting a groove in wood by hand.
Jigsaw or Oscillating Multi-Tool
Jigsaws and oscillating multi-tools, while not as precise as routers or table saws, can still be used to cut grooves in wood.
Use a straight edge or guide to maintain accuracy, and choose a fine-toothed blade for cleaner cuts.
These tools are best suited for small-scale projects or instances where absolute precision isn’t crucial.
Apart from the above alternative methods, you can cut a groove in wood with the drill as well.
Read my comprehensive guide about How to cut a groove in wood with a drill step-by-step.
Tip: If you want to cut a groove in wood for decorative purposes, try the Dremel tool.
Here’s my latest guide for cutting grooves in wood with the Dremel!
Likewise, you can use any of the above methods when your table saw is not around you to make a perfect groove cut in wood.
That’s it, folks! Hope you were able to know everything you wanted to know about how to cut a groove in wood with a table saw without any issues.
Let’s answer some frequently asked questions.
FAQs
Can I Cut A Groove In Wood Using A Standard Table Saw Blade?
Yes, you can cut a groove in wood using a standard table saw blade.
However, it may require making several passes and adjusting the blade height for each pass to achieve the desired groove depth.
A dado blade set is more efficient and precise for cutting grooves, as it can accomplish the task in fewer passes.
How Can I Ensure That My Groove Is Perfectly Straight When Using A Table Saw?
To guarantee a straight groove, ensure that your table saw fence is properly aligned and secure.
Use a quality miter gauge to help guide the workpiece as you cut, and always double-check your measurements and markings before making any cuts.
What Safety Precautions Should I Take When Cutting A Groove With A Table Saw?
Safety is paramount when working with a table saw. Always wear proper personal protective equipment, such as safety glasses, hearing protection, and a dust mask.
Keep your hands away from the blade and use push sticks or push blocks to maintain a safe distance.
Additionally, ensure the saw is unplugged when changing blades or making adjustments.
How Do I Prevent Tear-Out When Cutting Grooves In Wood With A Table Saw?
To minimize tear-out, use a sharp, high-quality blade, and make sure the wood is properly supported during the cut.
You can also try scoring the wood along the cut line using a utility knife before cutting.
This will help to reduce the chance of tear-out and result in a cleaner, smoother groove.
Can I Cut Grooves In Plywood Using A Table Saw?
Yes, you can cut grooves in plywood using a table saw.
Cutting grooves in plywood with a table saw is quite similar to cutting grooves in solid wood.
However, plywood is more susceptible to tear-out due to its layered construction.
Using a sharp, carbide-tipped blade designed for plywood, and applying a zero-clearance throat plate or sacrificial fence can help reduce tear-out and ensure a clean, precise cut.
How To Cut a Groove in Wood for Glass with a Table Saw?
To cut a groove for glass, follow the general process of cutting a groove with a table saw, but make a few specific adjustments.
First, choose the appropriate blade for cutting a shallow groove, usually around 1/8 inch deep.
Next, adjust the fence to the desired distance from the blade, considering the width of the glass pane.
Mark the cut line on the wood, align it with the blade and make a slow, steady pass.
Repeat the process, adjusting the blade height as needed until you achieve the desired groove depth.
How To Cut Grooves In Wood For Shelves With A Table Saw?
When cutting grooves for shelves, the process is similar to cutting standard grooves.
Determine the width and depth of the groove based on the shelf material, and use a Dado blade set if available.
Mark the groove location on the wood, adjust the fence accordingly, and make multiple passes until the desired depth is achieved.
Make sure to cut grooves on both sides of the wood if you’re creating a dado joint for the shelf.
How To Cut a Channel in Wood with a Table Saw?
To cut a channel in wood, use the same basic process as cutting a groove.
Adjust the blade height based on the desired channel depth, and set the fence to the appropriate distance from the blade.
Mark the cut lines on the wood, align it with the blade, and make a pass.
Repeat the process, adjusting the blade height and fence position as needed until the desired channel width and depth are achieved.
How To Cut a Recess in Wood with a Table Saw?
Cutting a recess in wood involves removing a specific portion of the material, usually for joining or fitting purposes.
To do this, set the blade height to the desired recess depth and adjust the fence to the appropriate distance from the blade.
Mark the cut lines on the wood, align it with the blade, and make multiple passes to remove the material within the recess boundaries.
Be cautious not to exceed the marked boundaries, and use a chisel or router to clean up any remaining material if necessary.
Did I cover all you wanted to know about How To Cut A Groove In Wood With A Table Saw?
In this article, I’ve dug deep to explain, how to cut a groove in wood with a table saw with all the tips and techniques that ease the process. Plus, I’ve mentioned how to select the right blade type to make accurate and precise cuts when cutting grooves in the wood.
To cut a groove in wood with a table saw, set the blade height for the desired groove depth, adjust the fence for proper width, and mark the groove location on the wood. Align the wood with the blade, make a pass, and repeat as needed to achieve the desired groove dimensions. Use safety gear and proper cutting techniques throughout the process.
Furthermore, I’ve answered some frequently asked questions as well.
Hope you were able to know all you wanted to know about how to cut a groove in wood with a table saw without messing things up.
Practice the method that I have explained above to be a pro and make wonderful woodworking projects with your table saw. Practice makes you perfect!