Ever tried crafting your own chess pieces but lack a lathe? Discover the artistry and satisfaction hidden in alternative, hands-on methods!
Carving chess pieces by hand is challenging. But with enough practice and skills, you can get a promising outcome.
Mostly chess pieces are made using a lathe. But have you ever wondered about carving chess pieces without a lathe only by hand?
I wondered and I found a method that gives excellent results.
I’m a chess fan. I love to make DIY wooden chess pieces without a lathe. Let’s find out How to make wooden chess pieces without a lathe.
To make wooden chess pieces without a lathe first you need to identify a suitable wood for carving chess pieces. Then prepare the greenwoods and cut the sizes for pawn, knight, bishop, rook, king, and queen using a saw. Next, carve chess pieces by hand using push cuts and stop cuts.
But there’s a lot more to know about making wooden chess pieces without a lathe.

In this article, we’ll explore the best woods to make chess pieces, the tools and materials you need, and how to make wooden chess pieces without a lathe in detail.
Furthermore, I’ll answer some frequently asked questions as well.
Let’s jump in!
Best Wood To Make Chess Pieces
When you’re making wooden chess pieces, it’s important to know which woods are easy to carve and which don’t.
Using quality wood is a must when carving chess pieces since we have to use them frequently and need to have good durability.
Usually, most of the softwoods are good to carve chess pieces turning, whistling, and making cuts are easy. But there’re some wood types recommended by experts to make chess pieces.
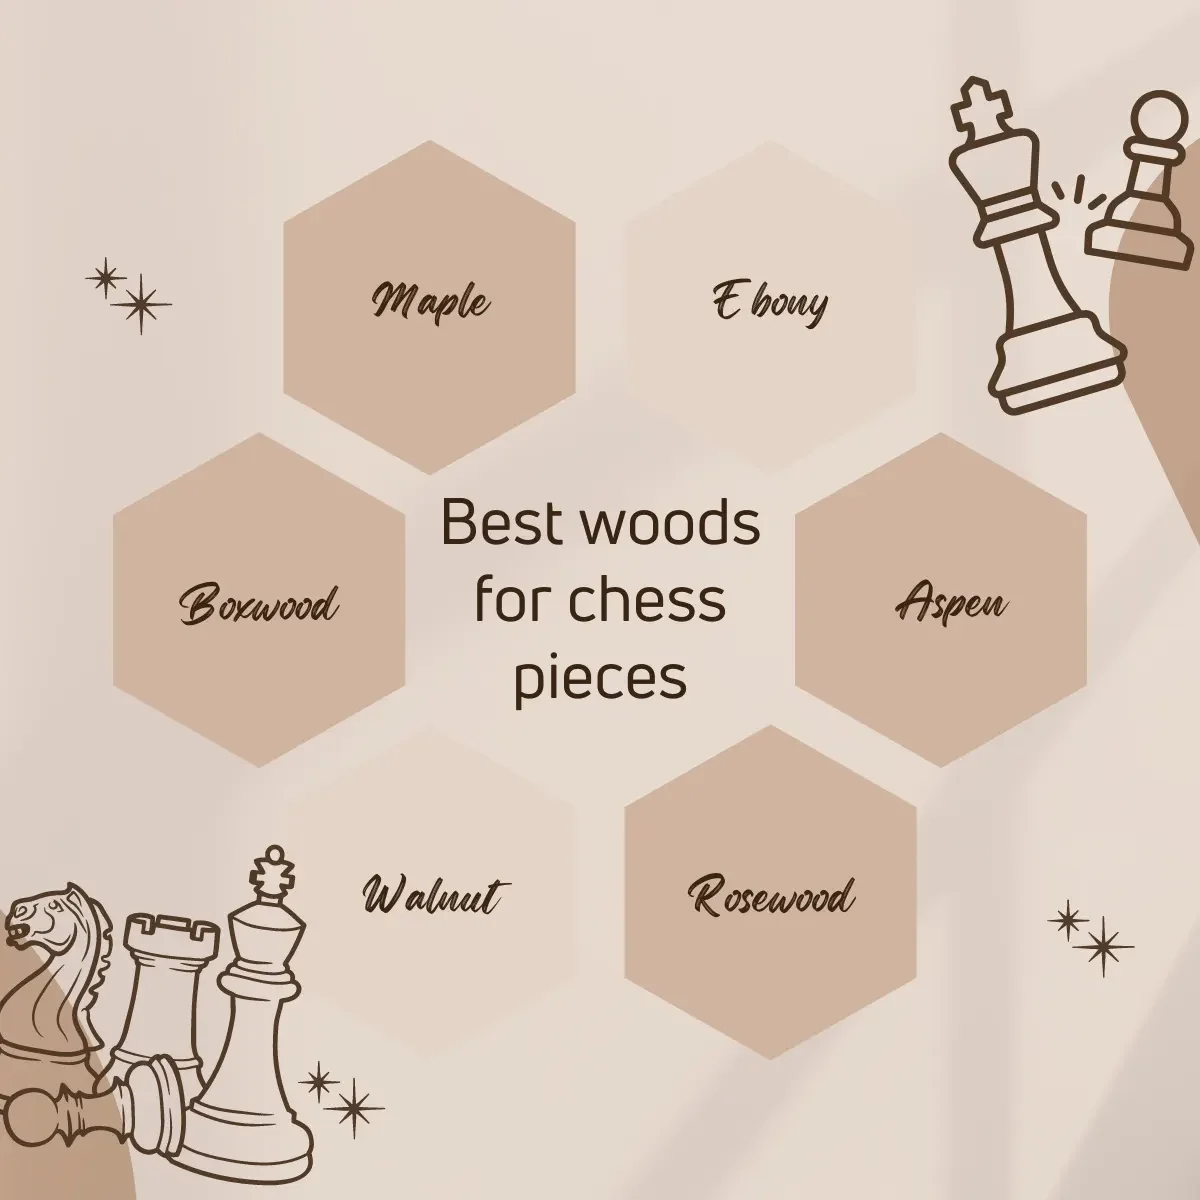
Here’re some of the best woods to make chess pieces,
- Maple
- Erable
- Boxwood
- Aspen
- Birch
- Walnut
- Mahogany
- Sheeshan Golden Rosewood
- Palisander
- Wenge
So, let’s discuss the characteristic of each wood type and how easy to carve chess pieces using them.
1. Maple
Maple is one of the best woods for carving chess pieces. It has a fine texture with straight wood grain that adds unique beauty to chess pieces.
The light color of Maple wood adds beauty to your chessboard.
You should have well-sharpened wood carving tools to whittle Maple without a lathe since it is super hard and dense.
But on the other hand chess pieces made with Maple have excellent durability and strength which will last forever.
According to the Janka hardness test, the hardness of hard and soft Maple is as follows,
- Hard Maple – 1,450 lbf
- Soft Maple – 950 lbf
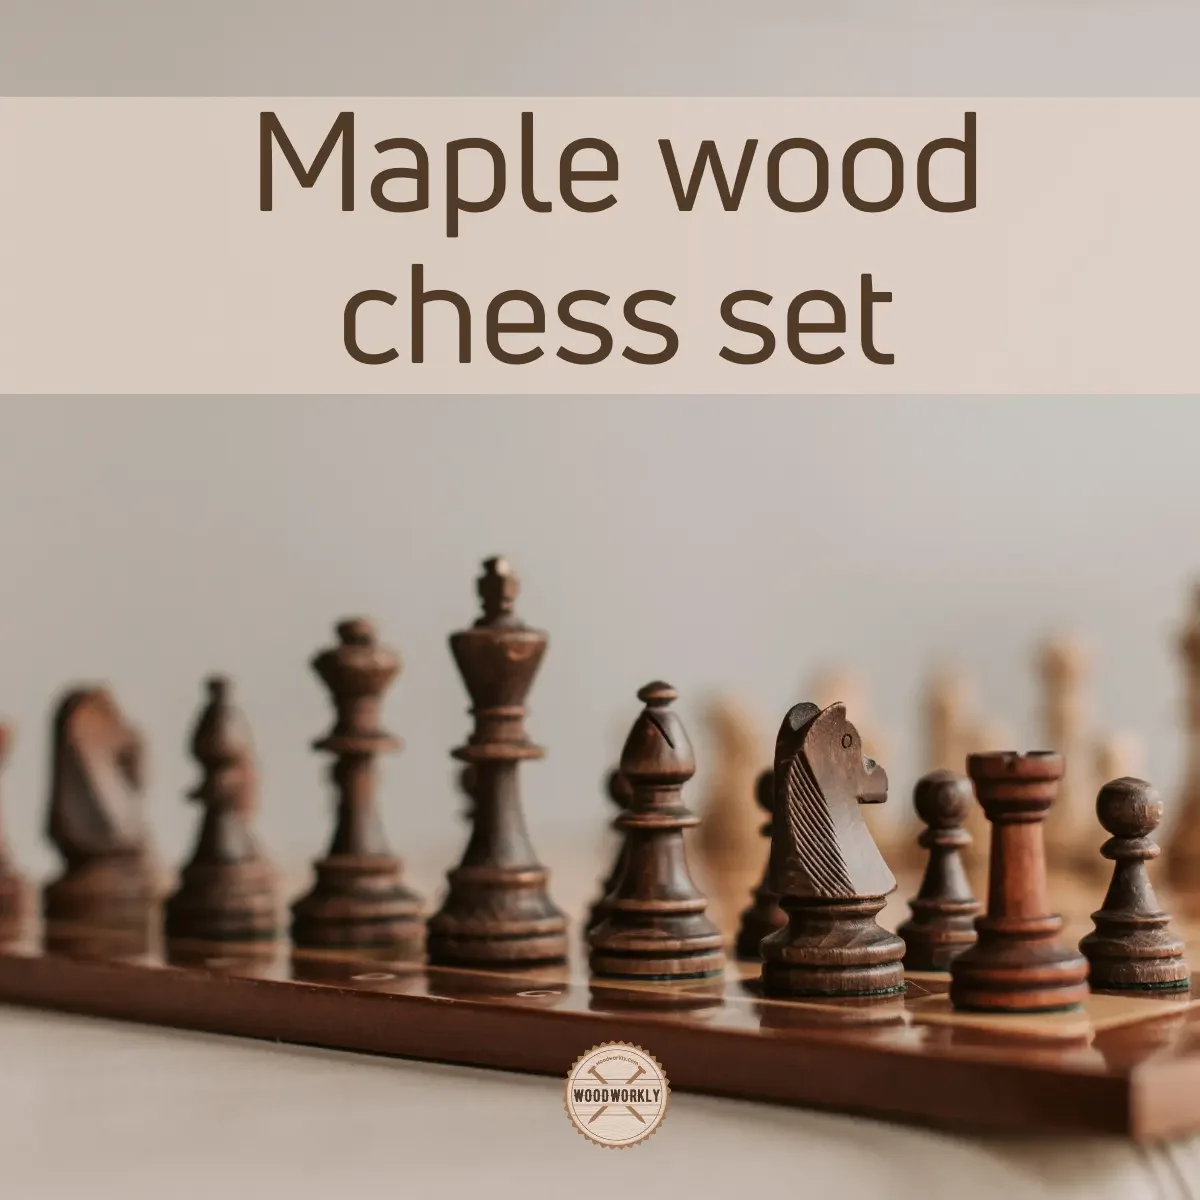
Staining and finishing Maple wood is also easy. You can give it whatever color you want by staining and able to finish with an oil finish like tung oil to give some sheen.
2. Erable
Erable is also known as European Field Maple which is great to make chess pieces. It is hardwood and easy to cut and shape with regular woodcarving tools without using a lathe.
It has a deep honey color that can improve finishing with a quality sealer or stain.
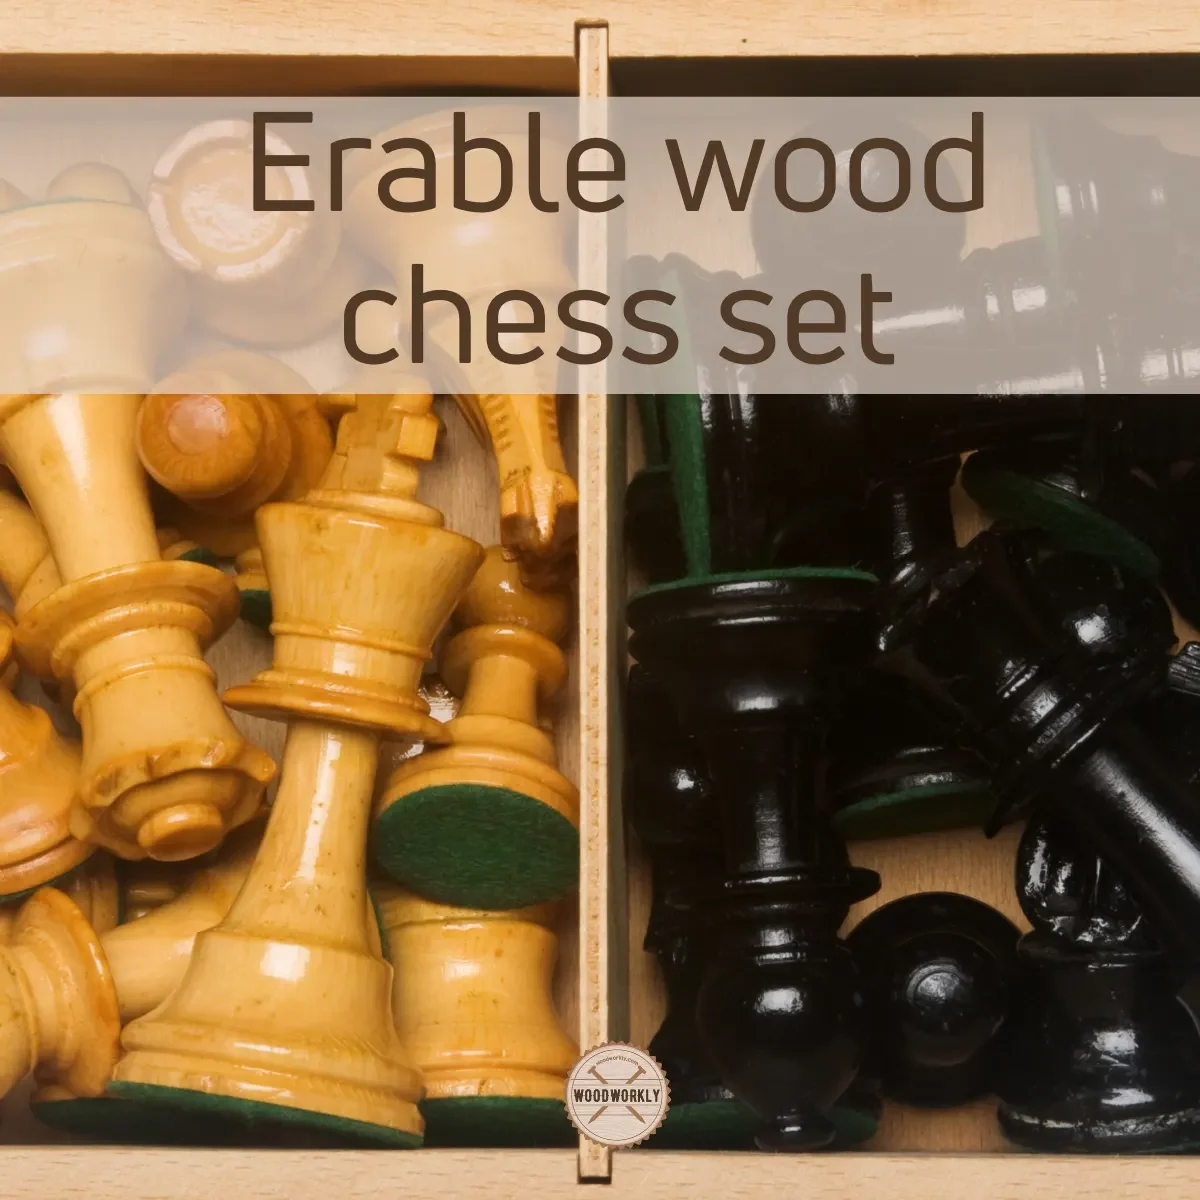
Erable is easy to finish and gets a beautiful deep-grained luster upon finishing. It gets a nice sheen and grain change according to the lighting and viewing angle.
You can make blue, green, cocoa, and grey color chess pieces using Erable since it stains and dyes so well without forming blotches.
3. Boxwood
Boxwood is great for making chess pieces and so perfect to make squares on a chess board. It can basically use to make both chess pieces and chess boards without looking for another wood.
Boxwood is light-colored and adds a unique appearance to your chess pieces.
It is hard and dense. Therefore, Boxwood is quite strong and has excellent durability.
It is robust and ages so well forming a beautiful natural hue. Boxwood comes in different grades.

Boxwood differs according to its price and quality. Therefore, chess pieces made from Boxwood can have different characteristics and different prices as well.
Ebonized Boxwood is the cheapest one with good quality that can use to make chess pieces. Ebonized Boxwood is good if you’re on a tight budget.
Boxwood cannot stand against water, and you must seal chess pieces made of Boxwood before using them to prevent them from getting damaged by water.
After staining you can make Boxwood a cheaper alternative wood to real Ebony wood which is quite expensive.
For example, Ebonized Boxwood can stain with deep black color and get a similar appearance as original Ebony wood which improves its value.
4. Aspen
Aspen is good for whittling chess pieces since it is soft, durable, and easy to carve without using a lathe.
You can easily make cuts, shapes, and curves with Aspen with a whittling knife it is easy to finish.
Most importantly, Aspen is readily available and able to make chess pieces and boards commercially due to that.
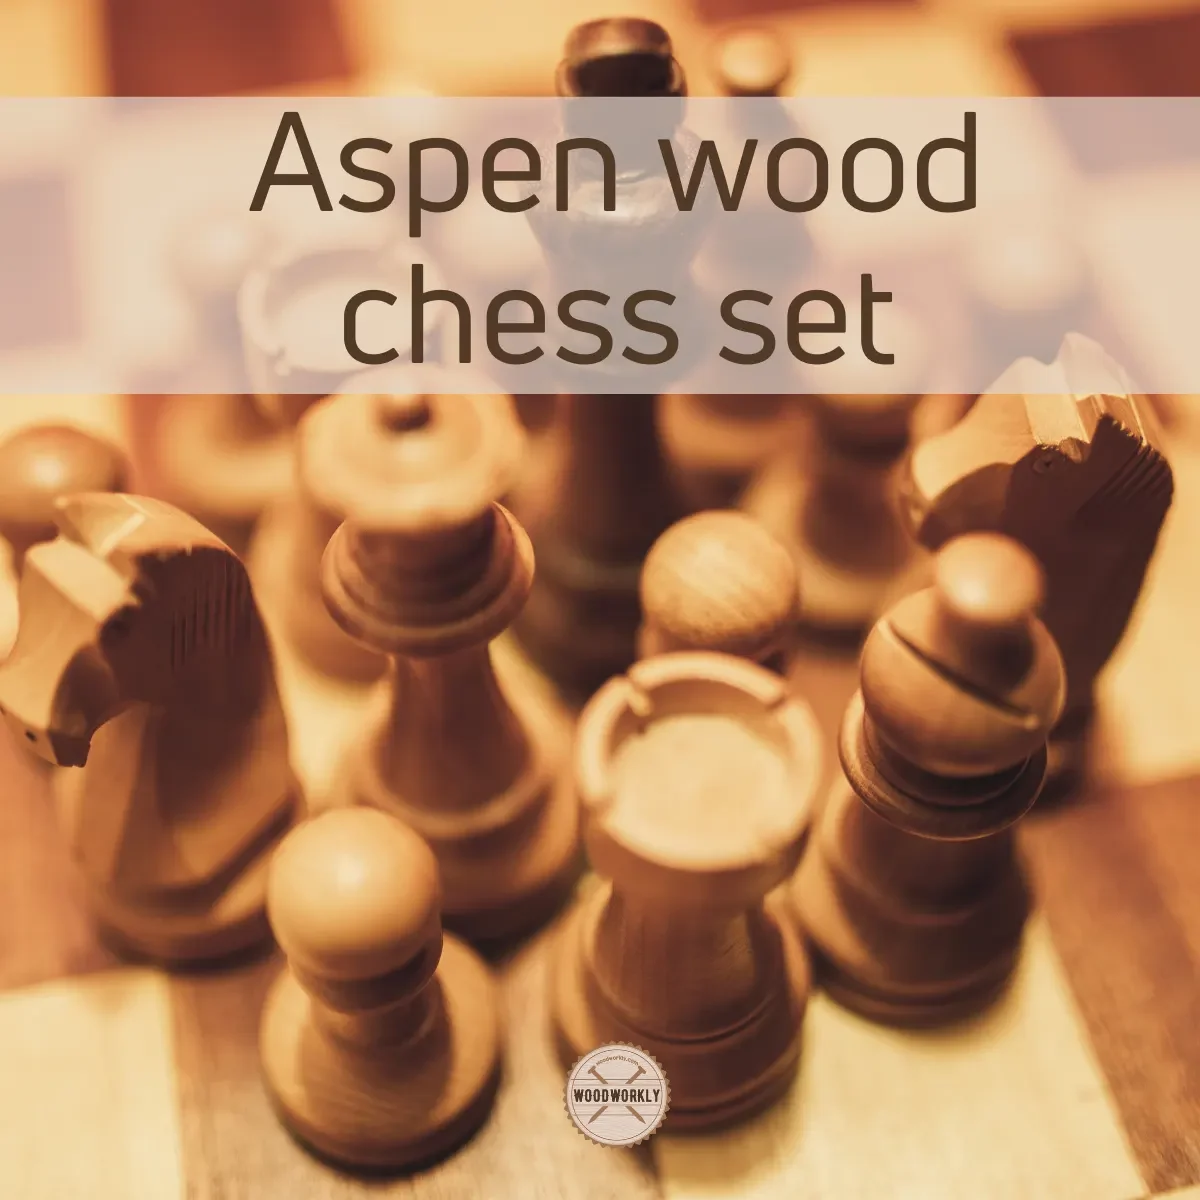
It has a whitish creamy color that adds unique beauty to the chessboard. You can get a smooth finish using Aspen to make chess pieces without using a lathe.
It holds its shape so well. therefore, even a beginner in wood carving tries Aspen to make chess pieces. It is one of the best.
5. Birch
Birchwood is a light color wood that mostly use to make white squares on chess boards. It is great to make chess.
Birchwood has excellent durability since it is harder and denser than many kinds of wood. Because of being hard, your wood carving tools need to be sharp, and it does not chip away easily.

Janka’s hardness rating of Birchwood is 1260 lbf which is quite high.
Birch is considered a medium-grade hardwood and is able used for making small items like chess pieces, ornaments, and children’s toys.
Woodworks love the natural pale color of Birch wood with a close grain pattern. Cutting, and shaping is easy, and stains so well. therefore, you can easily give Birch chess pieces any color you want.
Birchwood is super stable when it dries. Surprisingly it loses 15% of its mass during the drying process.
Birchwood has an average price tag and is readily available in many local stores.
6. Walnut
Walnut is one of the best wood for making chess pieces since it has a luxurious yellow, red and purple appearance which are unable to get from other woods even after staining them.
Walnut wood is versatile and mostly used for making household furniture due to its strength which comes with a good appearance.
Walnut has a straight or sometimes wavy grain and it’s popular for its excellent durability.
Walnut is easy to finish and polish. Therefore, people love to make many wood carving projects including chess pieces with walnut.
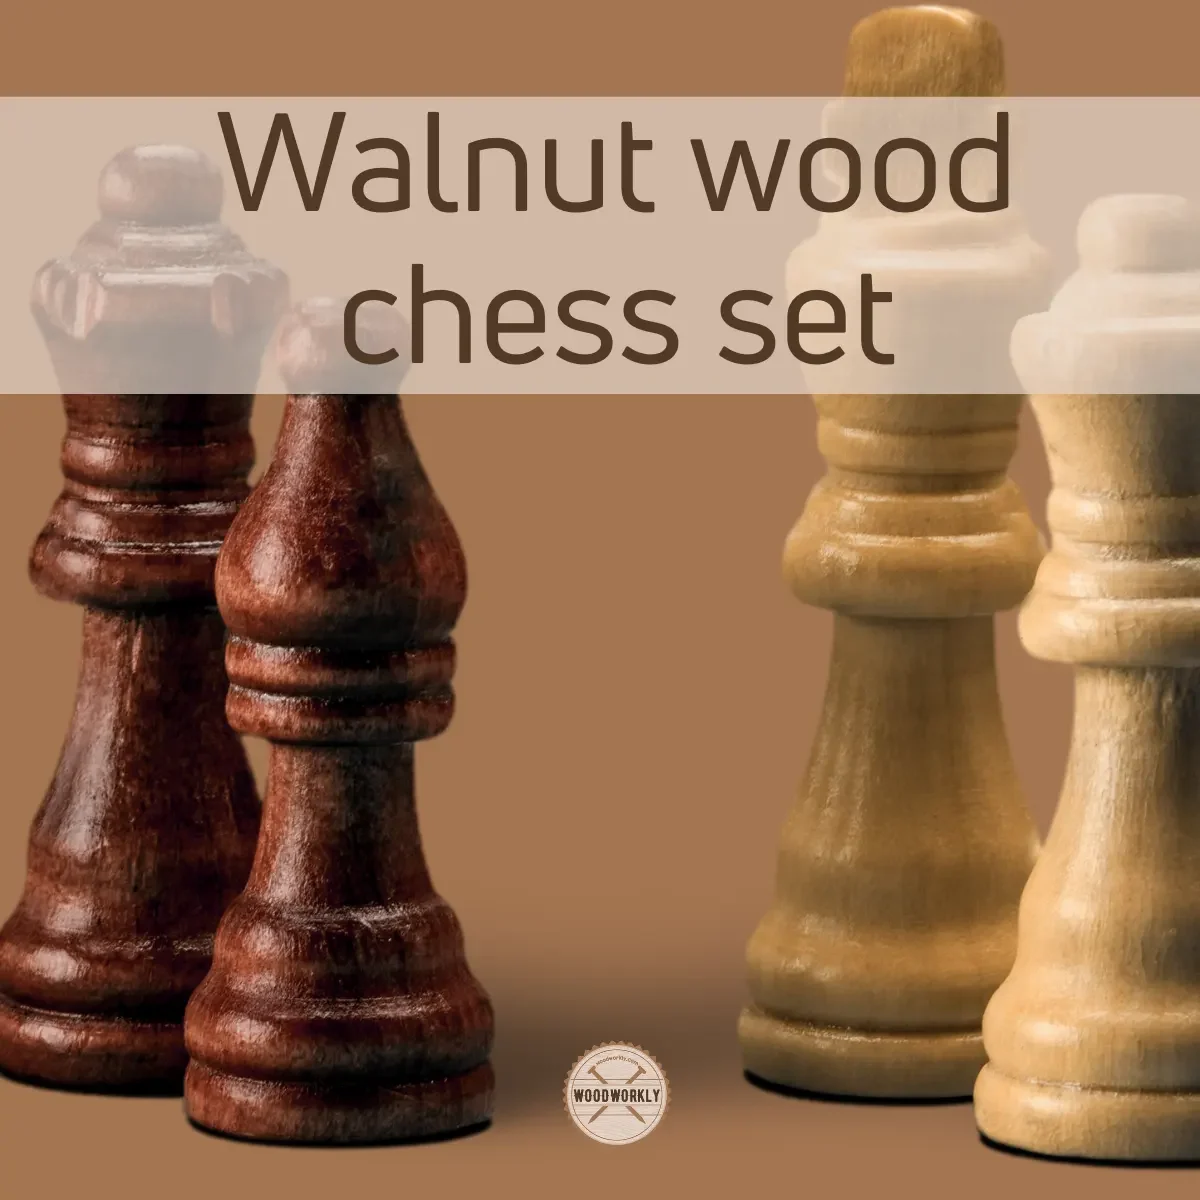
It is easy to stain, and you can give Walnut chess pieces any color you want.
Walnut tends to lighten over time due to exposure to direct sunlight. UV rays in sunlight bleach the Walnut wood.
Therefore, make sure to seal Walnut wood with a sealer that contains anti-UV agents to keep it as fresh as new for so long with natural color.
Walnut wood comes in various types. American Walnut is the popular Walnut wood type to use for making chess pieces.
7. Mahogany
Mahogany is known as one of the strongest and hardest woods on the planet. Chess pieces made of Mahogany can last for a lifetime even with little maintenance.
Mahogany is great for whitling, but you need to have sharp wood carving tools. Making wooden chess pieces without using a lathe is challenging but it’s possible with enough practice.
Mahogany chess boards and chess pieces can use for decorative purposes as well since they can withstand outdoor environmental elements as well.
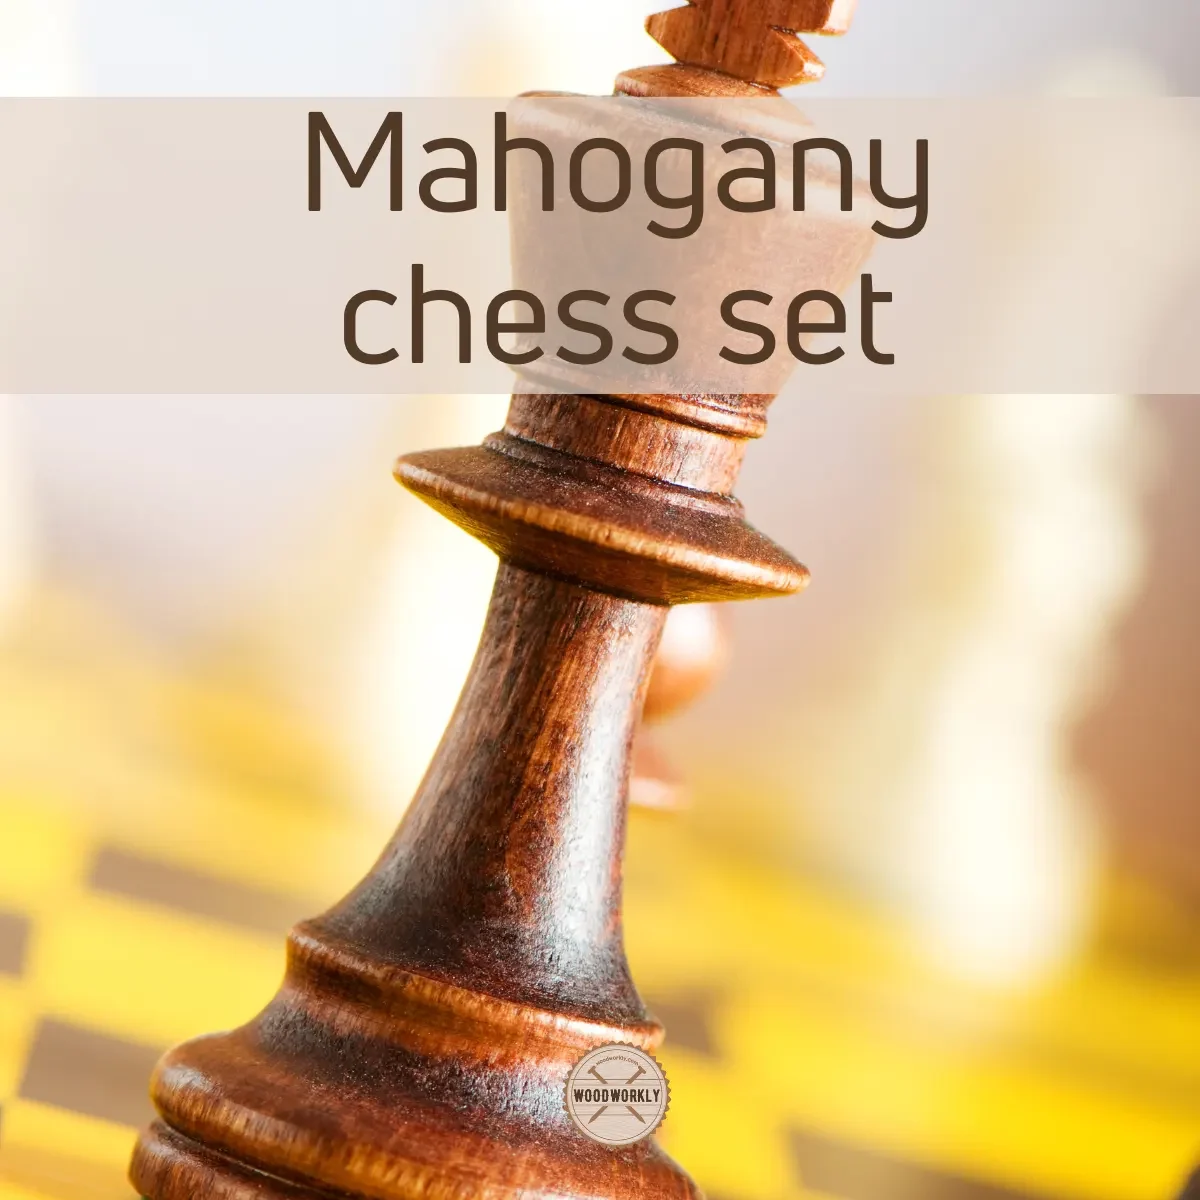
It got a rich dark brown color that adds a nice aesthetic look to your project. it darkens over time to deep reddish-brown color which is super cool.
If you’re willing to make chess pieces with a luxurious look, Mahogany is the wood you should go with.
It can use as veneer or solid wood to make chess boards and chess pieces.
8. Sheeshan Golden Rosewood
Sheeshan Golden Rosewood is a popular choice for making chess pieces and chess boards. It uses mostly for commercial purposes since it is versatile and has a beautiful medium brown color.
After finishing and waxing with quality finishing products, it gets an attractive texture with highlighted wood grain.
Sheeshan Golden Rosewood is not expensive as many other kinds of wood discussed above and is easy to whittle, cut, and shape due to its excellent dimensional stability.
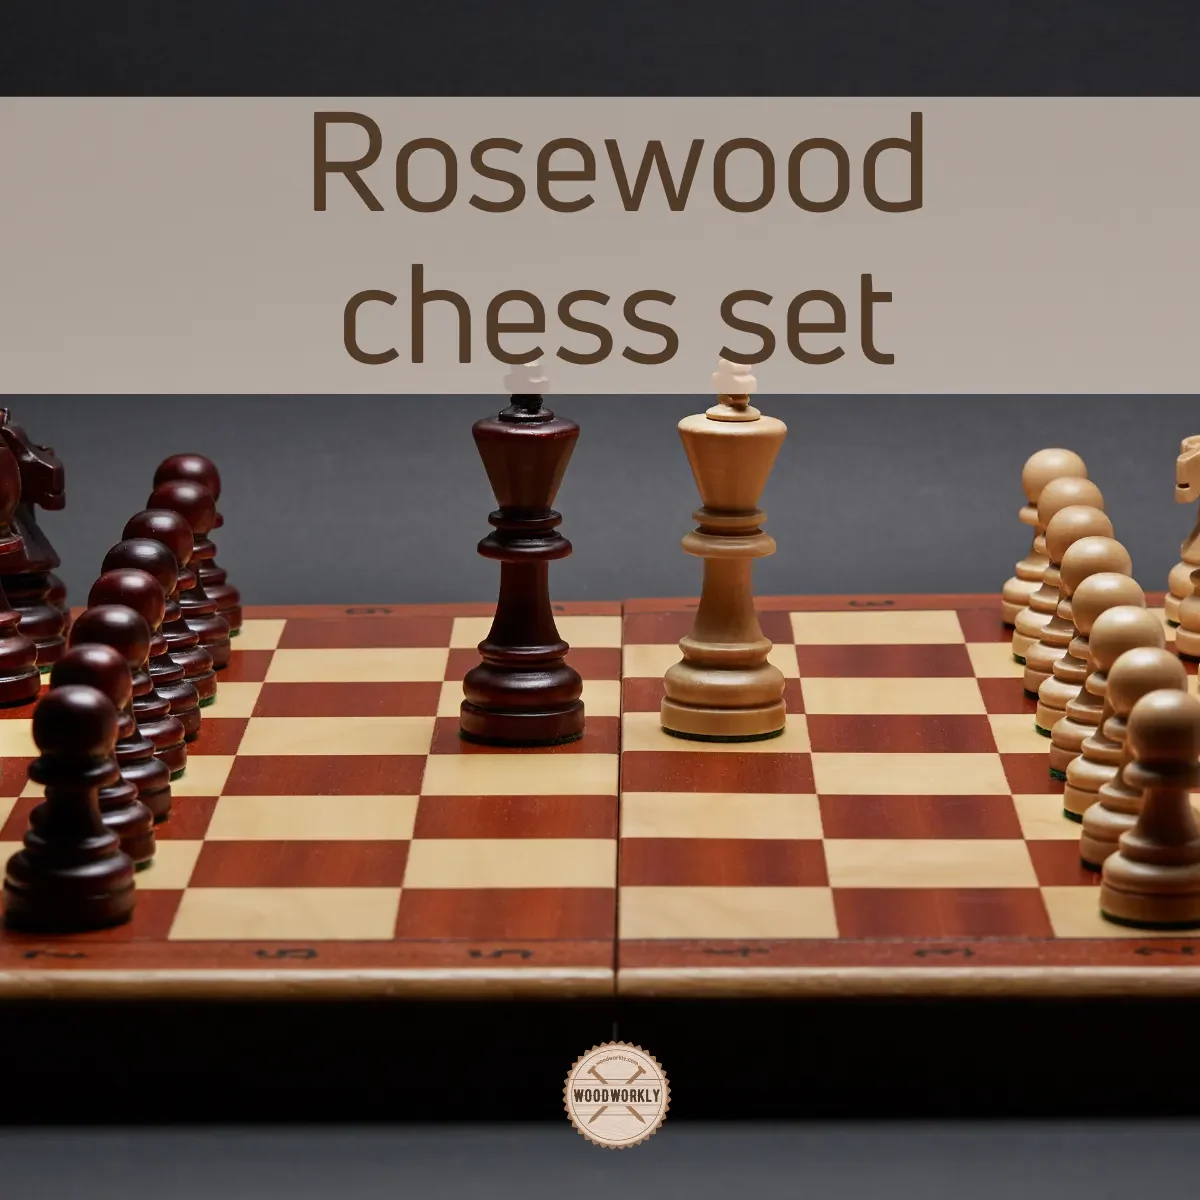
Apart from chess boards and pieces, Sheeshan Golden Rosewood is used to make guitar fingerboards as well.
With proper sealing and finishing Sheeshan Golden Rosewood chess pieces can easily last more than a decade.
9. Palisander
Palisander is a variation of rosewood which is considered a luxury type of wood. it is lightly expensive and beautiful.
It has a light color and is able used for squares of chess boards as well.
Because of having a dense and uniform grain you can get a beautiful sheen once it’s stained and cured.
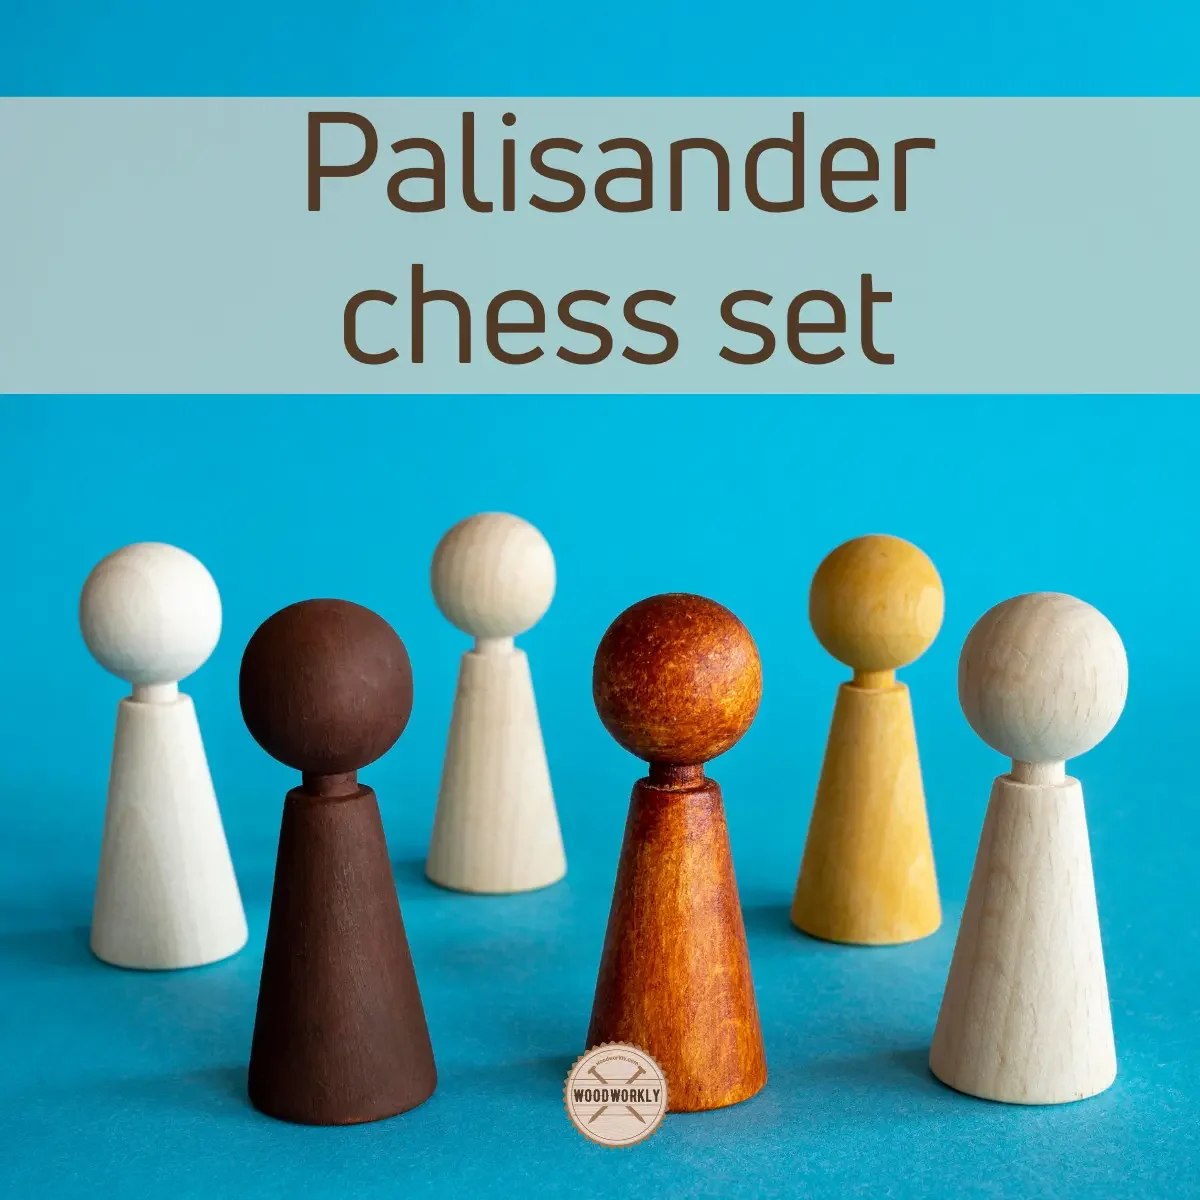
It also comes in deep reddish-brown color and is well worth its price.
Palisander has excellent workability. But because of being expensive, it is mostly used for commercial purposes.
10. Wenge
Wenge is one of the darkest colors of wood you can use to make chess pieces. Therefore, it’s unique and popular among chess fans.
It has a beautiful purple hue in certain viewing angles and lighting conditions.
Wenge can use to make black squares of chess boards and chess pieces. It is a cost-effective wood and sustainable.
Wenge has a tight grain with a 3D geometric appearance. It gives aesthetic pleasing to your chess board.
Therefore, many people mistakenly think Wenge wood is a manufactured wood and not a naturally solid one. But experts know the value of this awesome wood.
Wenge is physically similar to dark Indian rosewood.
Woodworkers combine Rosewood, Ebony, and Sandalwood with Wenge to make beautiful chess boards that use for decorative purposes.
Wenge is hard to find because of being dark and expensive.
Plus, wenge contains resin cells that release resins on the wood surface. This resin hates wood glue and it does not let wood get attached to wood glue.
Therefore, wenge wood furniture is difficult to repair. But this issue is not common in carving.
Wenge is hard and strong. Because of being a porous wood, slicing is difficult. With enough practice and skills, you can make quality chess boards and chess pieces from Wenge.
Wenge has excellent durability and workability. You can make the push and pull cuts on Wenge with ease without a lathe and get a good outcome.
Now you have a wide and clear idea about the woods that are great for making wooden chess pieces without a lathe.
Select wood according to your personal preference and be ready to start the project.
Tools And Materials To Make Wooden Chess Pieces Without A Lathe
- Carving knife
- Pull saw
- Wood stain
- Sealant
- Safety gloves
- 80 grit and 220 grit Sandpaper
- Pencil
- Ruler
- A4 papers or notebook
How To Make Wooden Chess Pieces Without A Lathe
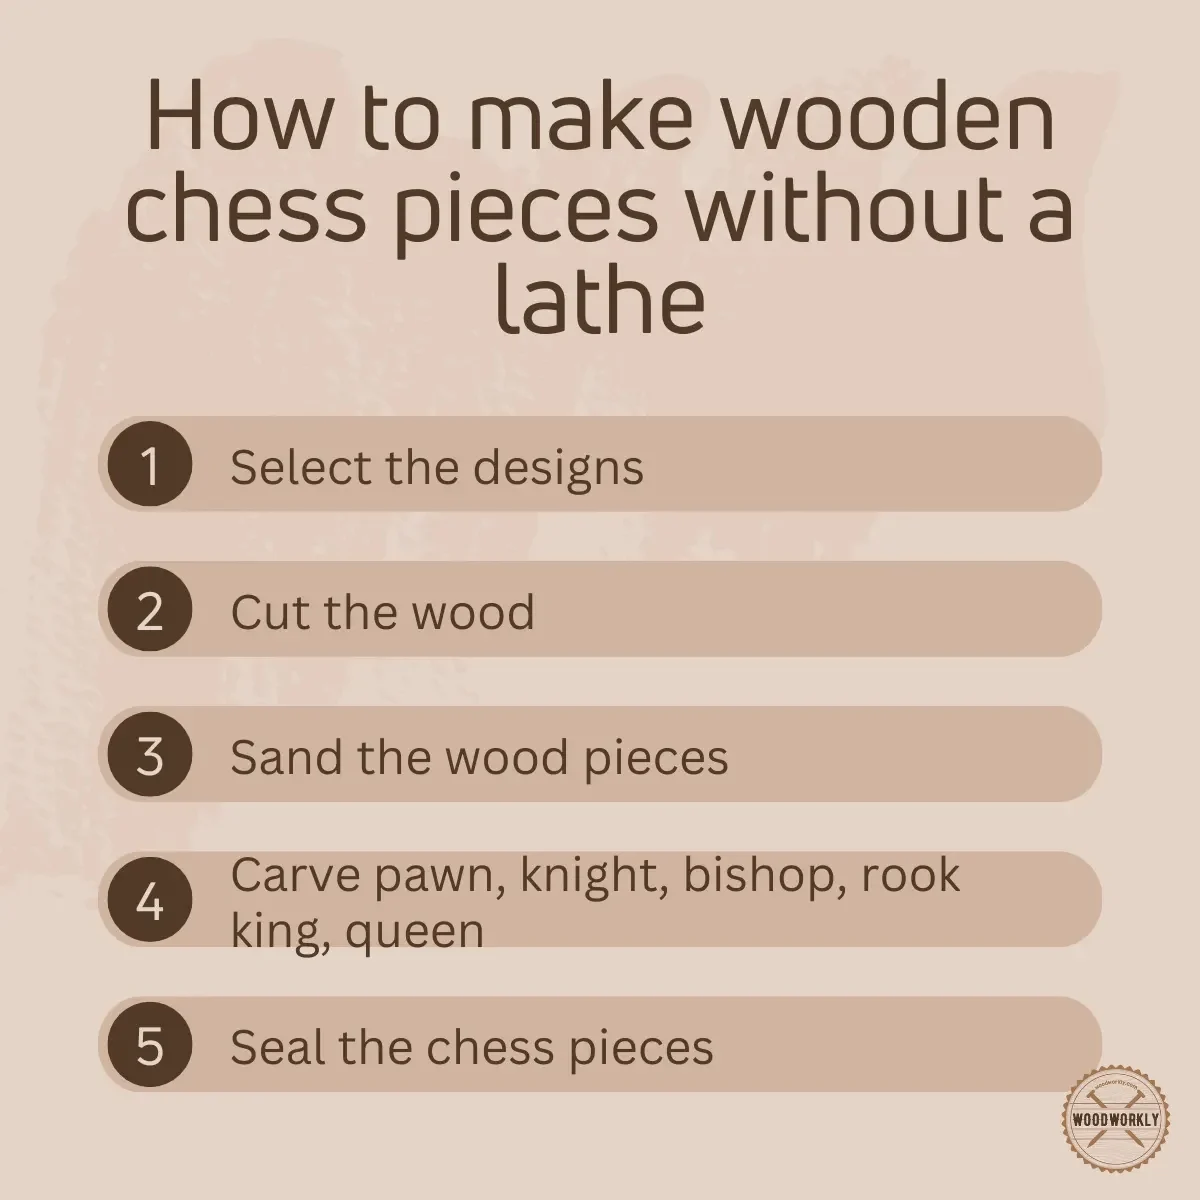
After selecting the wood, here’re the steps you need to follow when making wooden chess pieces without a lathe,
- Select the designs
- Cut the wood
- Sanding the wood pieces
- Carving the pawn
- Carving the knight
- Carving the bishop
- Carving the rook
- Carving the queen
- Carving the king
- Seal the chess pieces
So, let’s discuss each of the above steps separately to get a clear idea about making chess pieces easily without using a lathe.
1. Selecting The Designs
First, you need to do deep research using the internet or books to gather designs of chess pieces.
You can use Pinterest or google image section to get an idea about how you should design your pawn, knight, rook, bishop, king, and queen.
Take pieces from your notebook or use A4 paper and draw designs using a pencil.

If you’re a beginner in woodcarving, better to go for basic designs since complex designs need lots of carving skills and tools.
When you’re designing a specific chess piece, consider the following things,
- Shape and size of the head
- Shape and size of the shank
- Shape and size of the collars
- Shape and size of the bottom
Better if the shape is simple since carving complex shapes takes time.
Draw the final shape with the actual size dimensions of each chess piece on paper.
By drawing designs on paper in 2D scale, it will be so much easier for your brain to capture how it should look in 3D scale.
This is what building from scratch actually looks like.
2. Cut The Wood
Take your saw and cut wood from a log or tree from the wood you selected. Maple, Rosewood, and Ebony woods are great to make wooden chess pieces.
I recommend cutting greenwood since they are easy to carve and shape nicely. Great for beginners.
Next cut equal pieces of wood using a knife.
The size of the wood pieces depends on the design you selected. However, the wood pieces you cut should be 25% longer than the measurements actually need.
Refer notebook and add a 25% allowance to know how long your wood pieces should be.
You can skip this step if you’re willing to buy wood logs from online or local stores.
For example, if you’re willing to carve 6 by 5 pawn, cut, or buy a wood piece 7 by 6 block.
However, wood pieces should be significantly bigger than the chess pieces you’re going to carve.
In order to get a better understanding here’re some standard sizes of chess pieces.
Recommended Sizes of Chess Pieces And Wood Logs
| Chess Piece | Recommended Size | Wood Log Size |
|---|---|---|
| Pawn | 5cm by 3cm | 6cm by 4cm |
| Knight | 6cm by 3 cm | 7.2cm by 4cm |
| Bishop | 7cm by 4 cm | 8.5cm by 5cm |
| Rook | 5.5cm by 3cm | 6.6cm by 4cm |
| Queen | 8.5cm by 4.30cm | 10.2cm by 6cm |
| King | 9.5cm by 4.80cm | 11.5cm by 6.5cm |
As you can see wood log size should be always 20% or bigger than the chess piece size. That means 20% will waste when we are cutting, shaping, and chipping the wood.
Tip:
Balinese shape queen and king cannot be with the medieval type of bishop and modern-looking knight in the same chess set. Their sizes are different than the standard values.
After selecting and cutting the wood logs, it’s time to smoothen them up to make each chess piece.
Remember you’ll have to have 32 chess pieces and you should have 32 wood pieces.
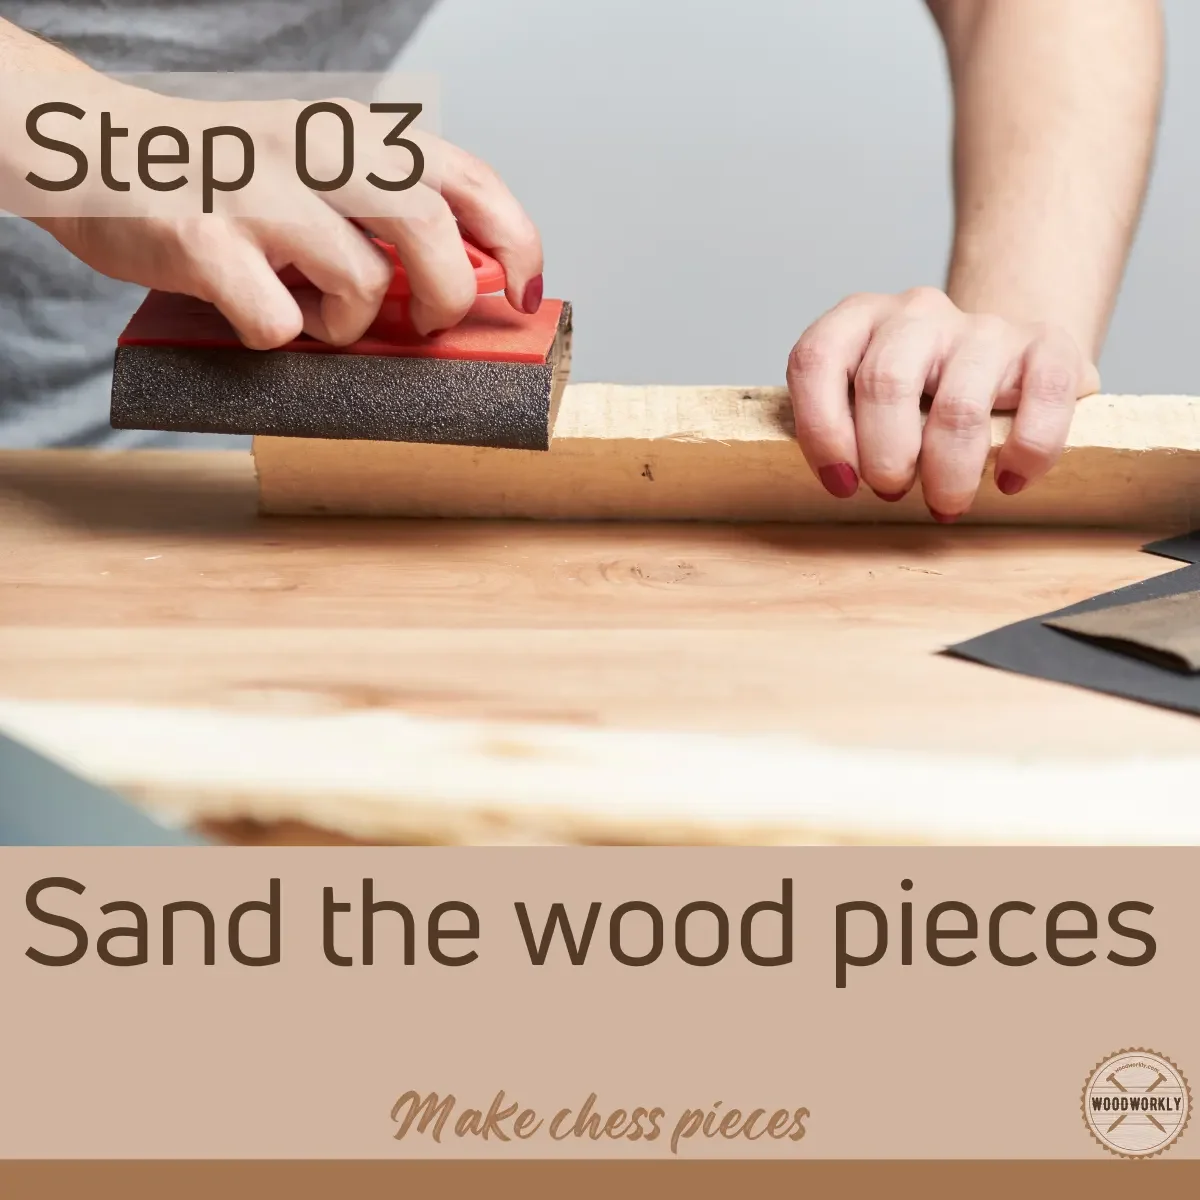
3. Sanding The Wood Pieces
Now take each wood log and sand them well with 80 grit sandpaper along the direction of the wood grain.
Sand with even pressure to even out the wood color and to smoothen the surface evenly.
After sanding with coarse grit sandpaper sand with 220 grit sandpaper to smoothen the surface even more. Having a smooth surface is super useful to make cuts and shapes.
Otherwise, wood tends to chip away when cutting due to bumps and streaks. Plus, sanding makes the finishing process lot easier.
Sanding opens up the porous structures of wood and helps stain or sealant pigments to absorb well into the wood.
Therefore, sanding is a must before starting with each wood piece.
Once you’re done with sanding clean the surface well with clean rags since sandpaper can clog up the carving tools and make them blunt.
Now it’s time to carve each type of chess piece and fasten your seat belt and get ready!
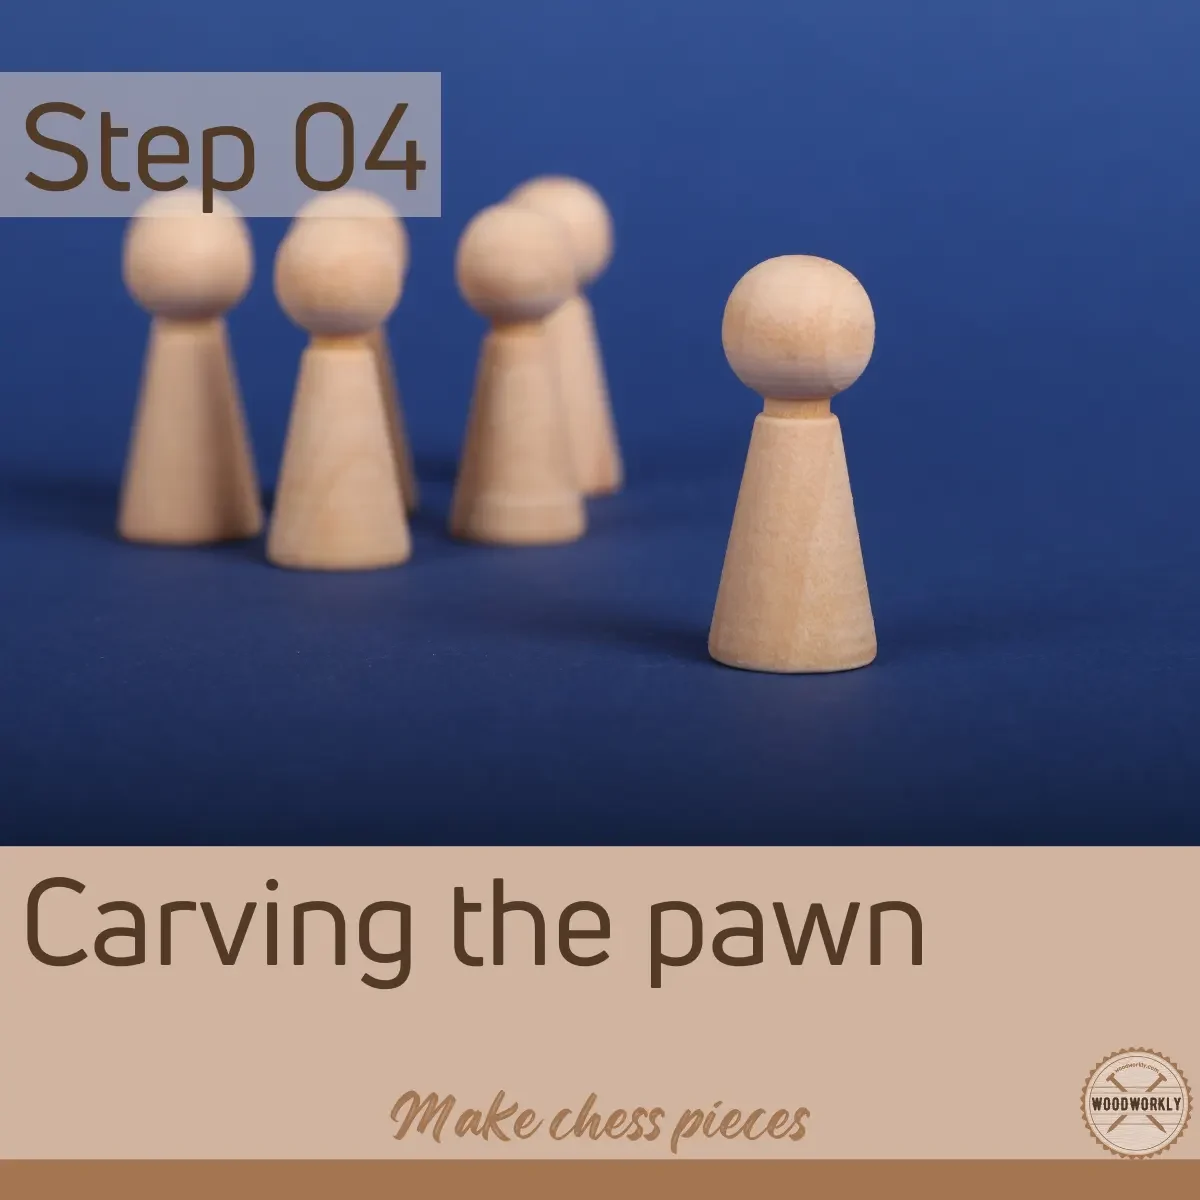
4. Carving the Pawn
Carving a pawn should do carefully since its shape has a nice flow with less edges. Yes, it’s difficult, but with proper techniques it’s possible.
The style of the pawn depends on the design you selected. Always follow the design you drew in the notebook to achieve promising results.
Drawing is helpful to identify points and areas you need to deepen before carving the outline shape of the pawn.
We’re going to use the push-cut technique to carve pawns which means starting from the head by rounding it and then working down through the shank, collar, and bottom.
To cut deep lines use the stop cuts method which helps to separate lines quite easily.
Exotic chess designs such as the Balinese chess style follow the chipping away technique to carve pawns. Take a small wooden piece to carve pawns since it’s the smallest one in the chess set.
But, make sure the wood log you selected is bigger than the standard size of the pawn.
After carving the pawns carefully from top to bottom, clean the chess piece well with a clean rag and stain it to give your preferred color.
Then let it dry and seal it with a suitable finish.
Staining and sealing enhance the pawn’s appearance, give protection from weather elements, and hide cracks and splits that occurred during chip carving.
That’s it, folks. This is how you should carve a pawn without using a lathe.
5. Carving The Knight
Knight is the most difficult chess piece to carve. It contains lots of curves and needs a lot of time to shape it. Plus, all 4 knights should be identical.
You need lots of practice for making knights by hand. But practice makes you perfect. Once you become good at carving knight, congratulations you’re an expert in wood carving subject.
Since this is your first-time carving knight, it doesn’t need to be super precise. At the end of carving 4 knights, trust me you’ll gain good confidence.
When carving knights, make sure to give a thick and strong base to it. You can do this by increasing the area and the height of the base of the knight.
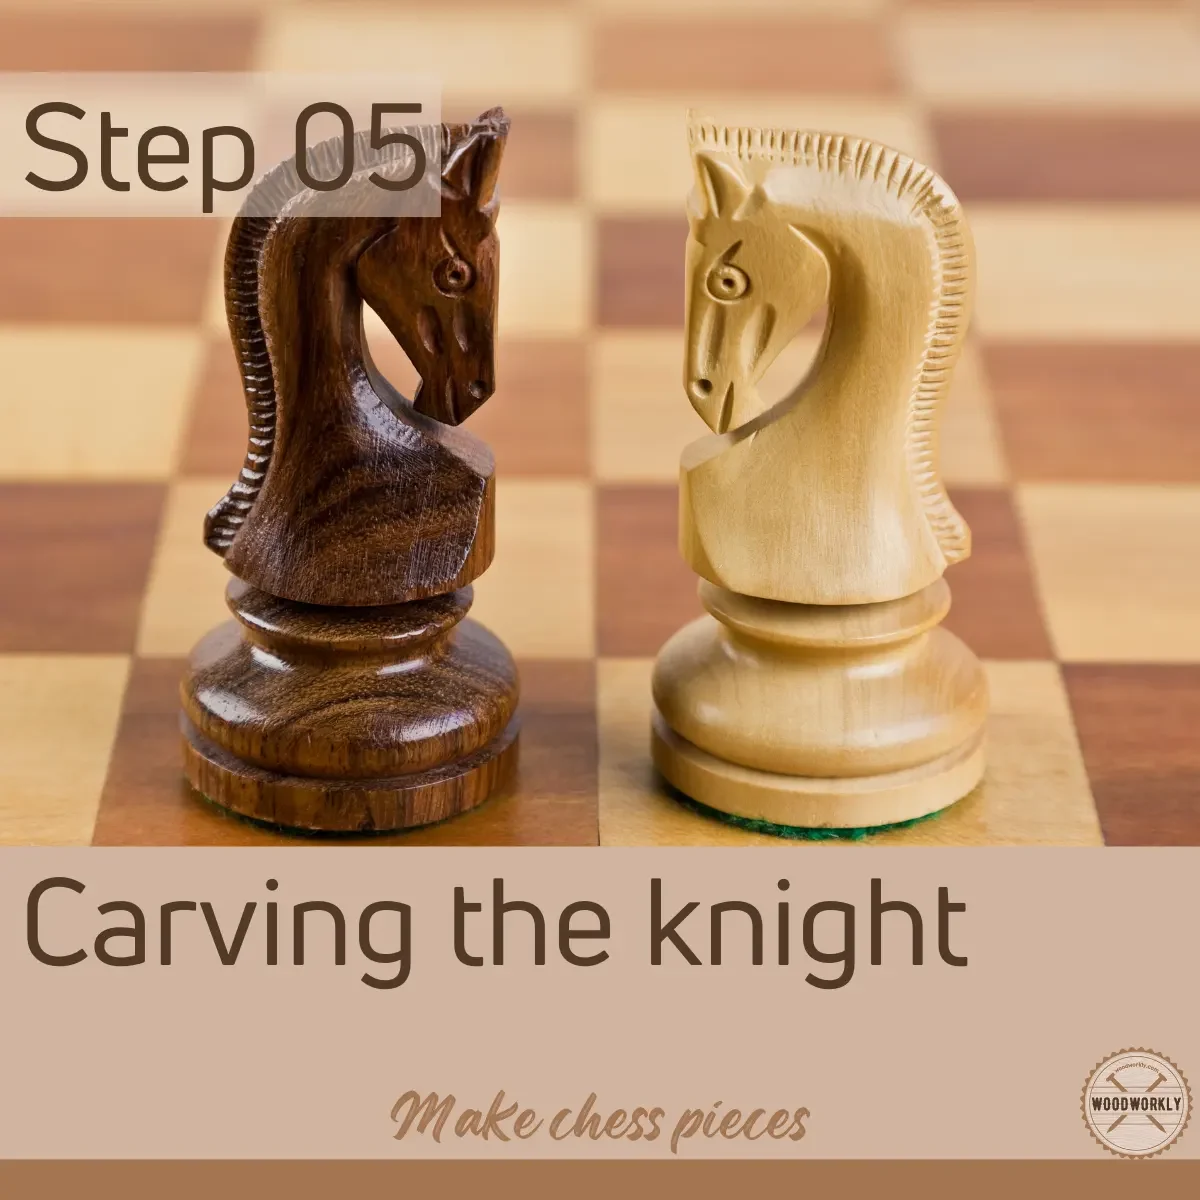
Knight doesn’t have a rounded shape like other chess pieces. It has an oval shape.
To obtain an oval shape thin out two opposite sides of the knight while keeping the other two opposite sides thicker. Then look from above to see the oval shape it gets.
Carve the top and middle parts of the wood log more to give a thick base for the knight. Your knight needs to look strong. Therefore, don’t carve a lot since that makes it looks weak.
Fat knights look stronger than thin ones. This is one of the few occasions that admire being fat as better than being thin. Lol.
Carving too little can loosen the original shape of the knight. Therefore, strictly follow points in drawing on the notebook when carving a knight to avoid making it look disproportional.
Using the same push-cut technique, you can carve the rest of the knight starting from top to bottom. Add knight’s mane details using chisels and a knife.
Shape mane starting from the thick opposite side. This is the challenging part of its body.
Once you’re done with carving check whether it’s symmetrical since standard knight chess pieces need to have the same details between both sides. Give a few touches to make it symmetrical.
You can make the ear of a knight by making V cuts. Use stop-cuts to make the base. Add pointy eyes and ears to make it look more detailed.
After carving the knights carefully from top to bottom, clean the chess piece well with a clean rag and stain it to give your preferred color.
Then let it dry and seal it with a suitable finish.
Staining and sealing enhance the knight’s appearance, give protection from weather elements, and hide cracks and splits that occurred during chip carving.
That’s how you carve a knight using proper techniques. I know it’s hard. Keep practice. That’s all you need to do to be good at this.
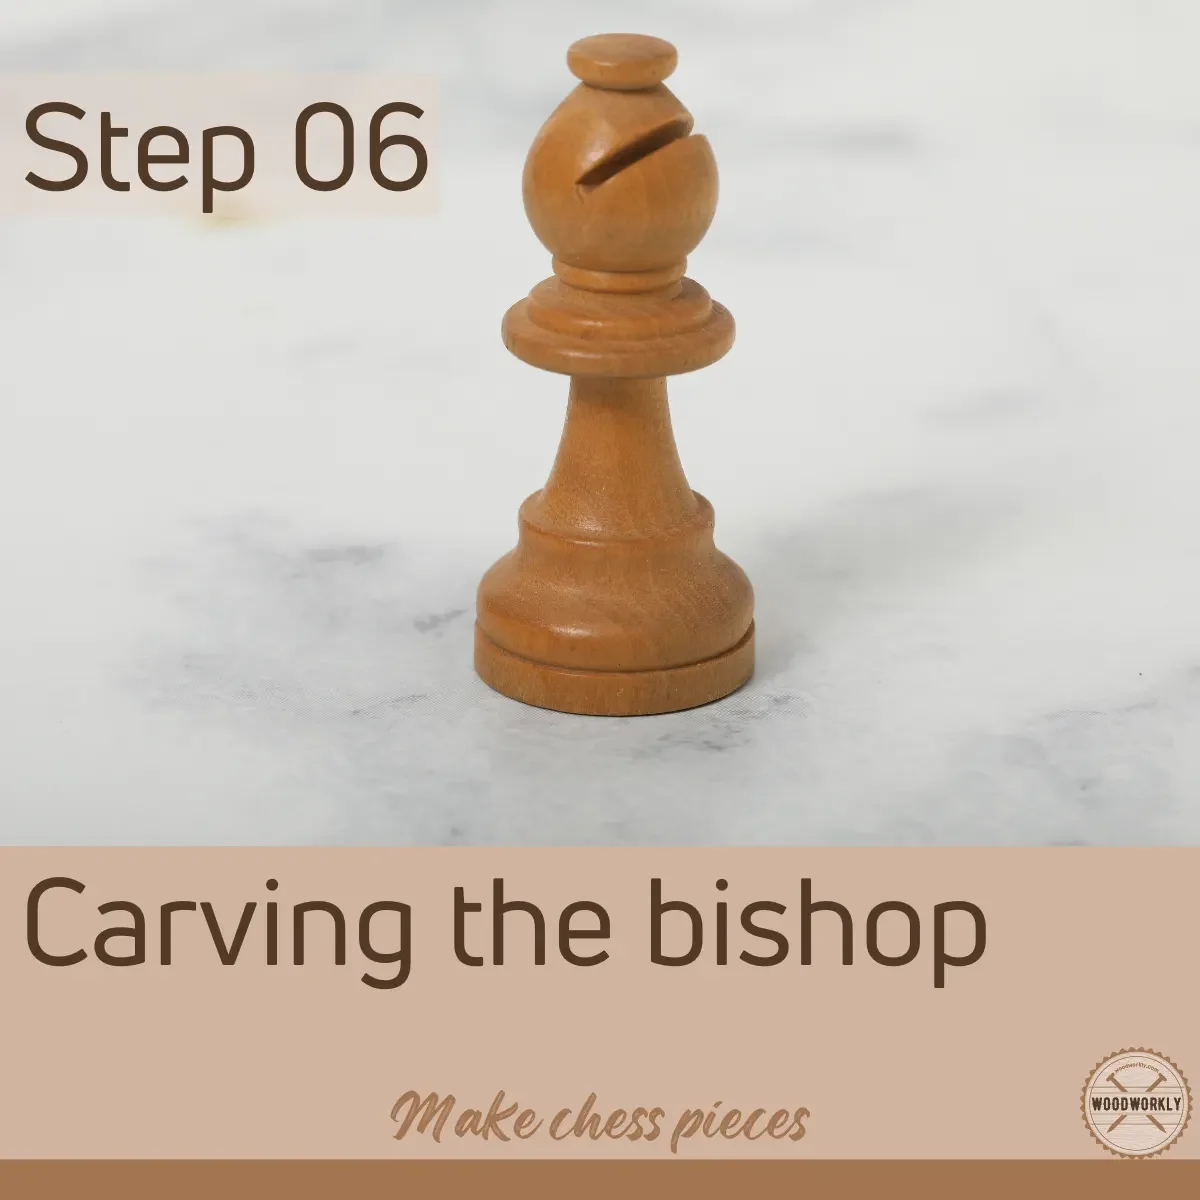
6. Carving The Bishop
Carving a bishop is super easy than carving a knight.
If you already have the drawing in your notebook on how the design of the bishop should look, it is super easy to make a few cuts and shapes to get a good outcome.
Use stop-cut methods to carve the bishop starting from top to bottom. The head needs to have a rounded 3D oval shape and the body is super thin.
Have you noticed there is a small, angled V-cut on the bishop’s head? That’s the signature of the bishop which most people forget to add.
When you’re making the head makes a small, angled V cut on the right side of the head. This makes the bishop differ from the pawns and queen.
Use stop-cuts to make the base and the body.
The base needs to be a bit wide and thick because the bishop is tall compared to its width on the body. Otherwise, it tends to fall due to its height and thin body design.
Make sure to add a little ball on the bishop’s head just like the snowball on the Christmas hat. Some people find the little ball difficult to carve.
In that case, you can carve it separately and glue it on the head later.
After carving the bishop, clean the chess piece well with a clean rag and stain it to give your preferred color.
Then let it dry and seal it with a suitable finish.
Staining and sealing enhance the bishop’s appearance, give protection from weather elements, and hide cracks and splits that occurred during chip carving.
That’s how you need to carve a bishop properly using the correct method.
Tip:
Make sure not to add some complex shapes and cuts to a bishop and consider it as the queen. Queen is different than the bishop which will talk below in the next few steps.
Using shortcuts is not the best way to learn wood carving.
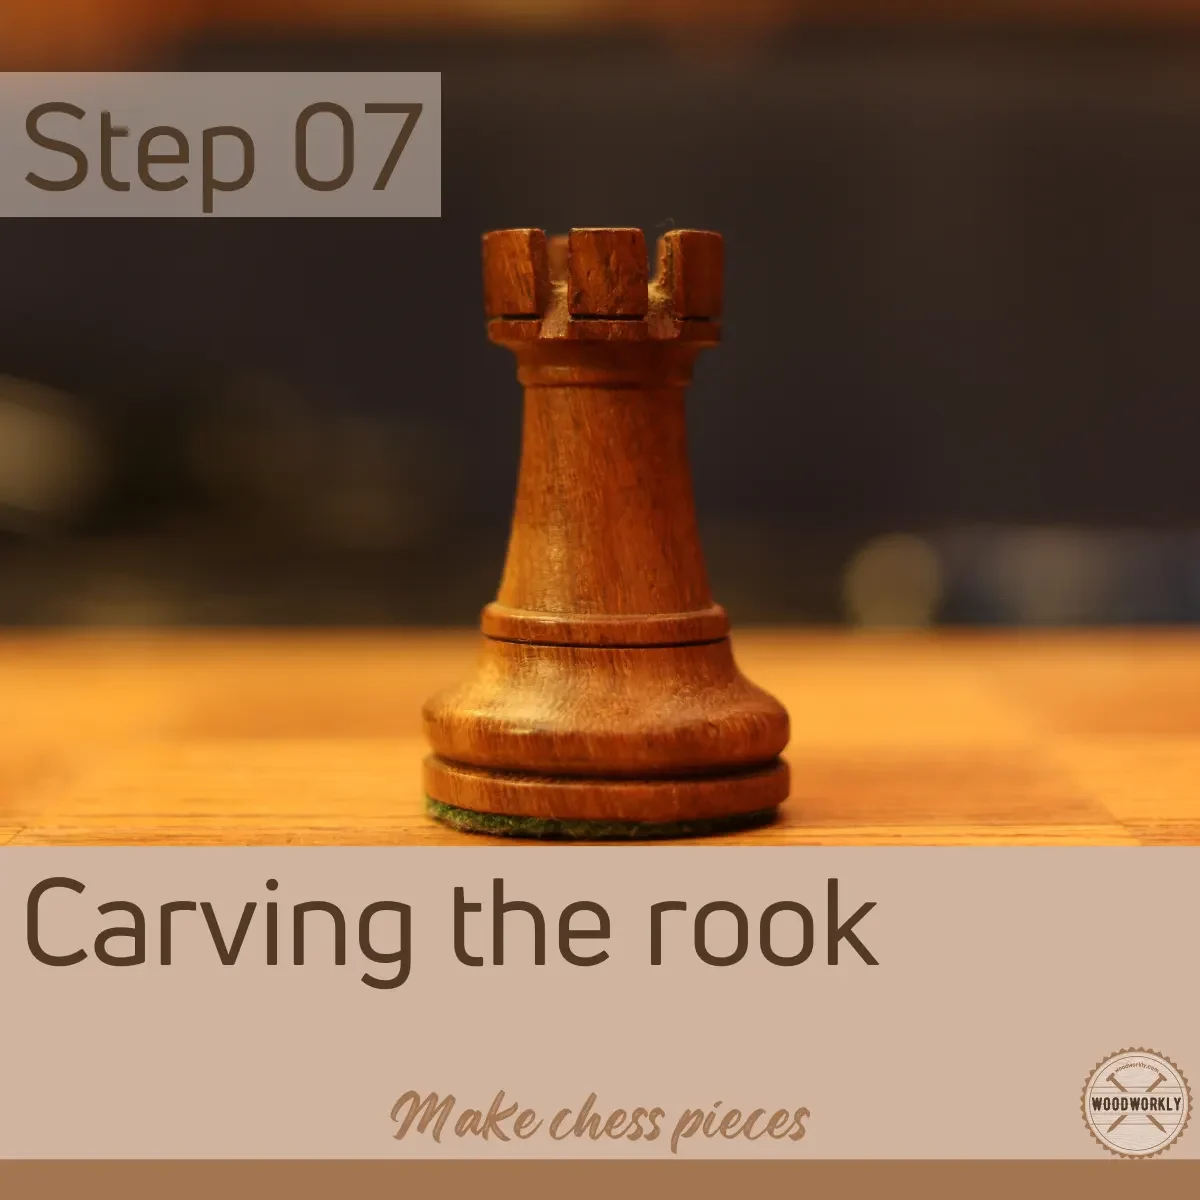
7. Carving The Rook
Rook is the easiest chess piece to carve. It just looks like a light tower.
If you’re a beginner in woodcarving, You just have to carve a shape of a small cube placed over a larger cube. Then make some lines above them as separators.
Simple as that!
If you’re an expert in woodcarving, you can add more details to give a more realistic look to the rook.
You can do this by adding 4 to 6 castle walls around the body of the rook.
First, hollow out a few inches off the rook you carve. Then whittle the outer circular line and leave spaces for castle lines
Finally, Add a few more cuts just below the line of the castle walls. this way you can make the rook more detailed and give it an aesthetically pleasing look.
Make look bigger than the rest of the chest pieces to make it look like a castle around the chessboard.
Use stop-cuts to make 5 depth lines of rook. Depth should look different in each stop-cut.
After carving the rooks, clean the chess piece well with a clean rag and stain it to give your preferred color.
Then let it dry and seal it with a suitable finish.
Staining and sealing enhance the rook’s appearance, give protection from weather elements, and hide cracks and splits that occurred during chip carving.
This is how you should carve rook with proper techniques.
8. Carving The Queen
Queen is one of the most important pieces in a chess set. The queen can move here and there and beat anyone she wants except the king.
Like other chess pieces, you can use push-cut techniques to carve the head of the queen and use stop-cut techniques to carve the base.
Carve starting from top to bottom to get promising results.
Never make a queen by adding more shapes to the bishop. Queen is bigger and has fine details that differ from the bishop.
Queen and king almost equal heights. Only a slight difference in height. Some argue king is taller and others tell the queen is taller. But that’s your personal preference.
However, all others need to be smaller than the king and queen.
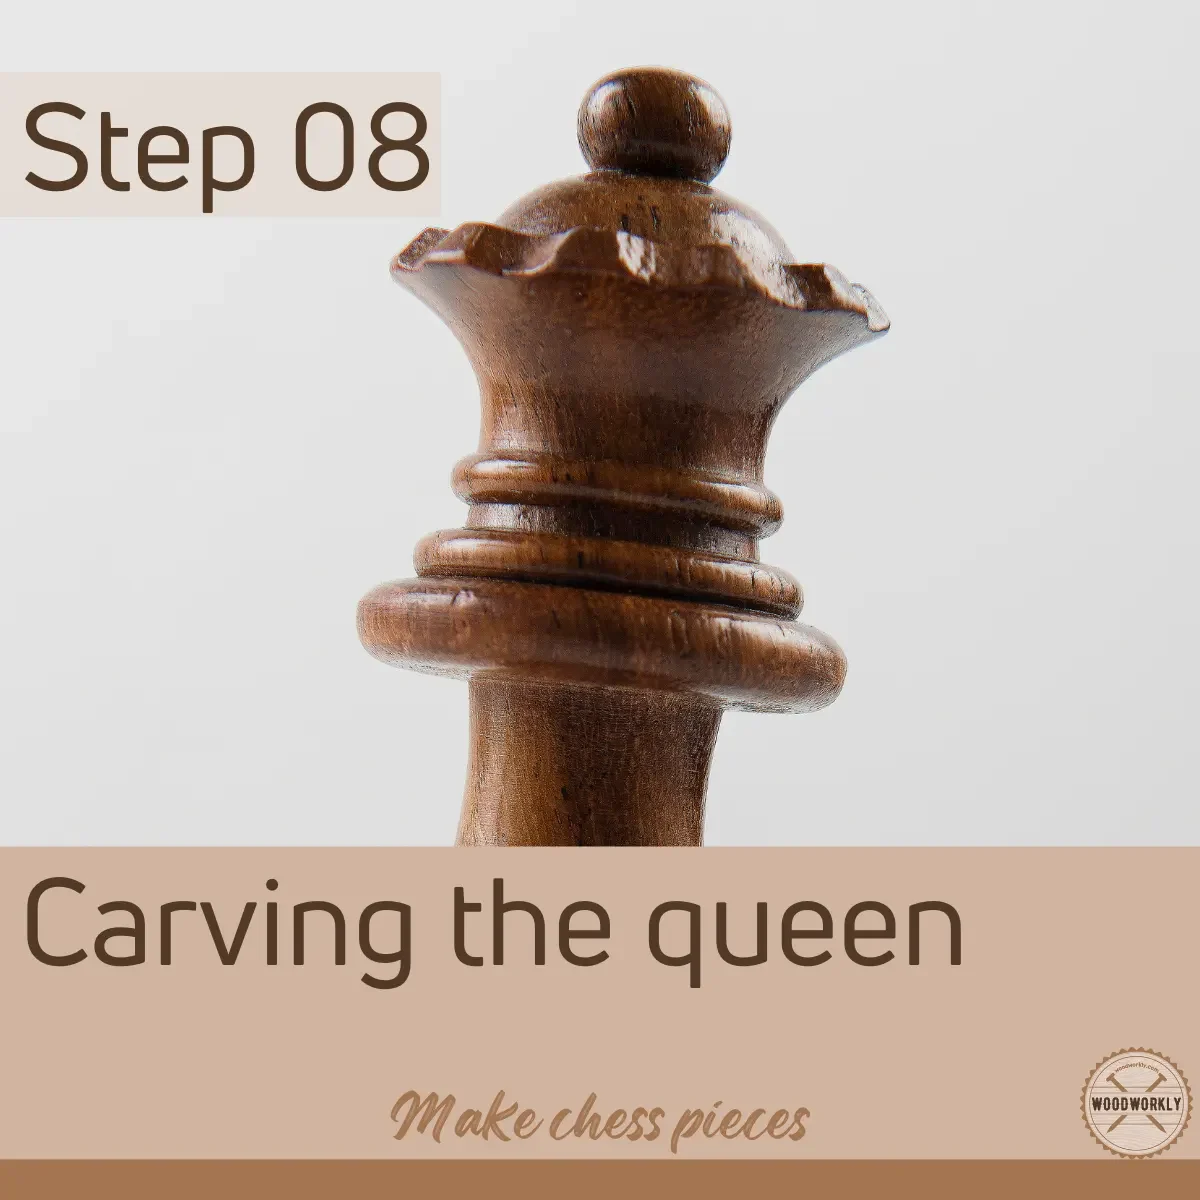
Make cuts to give good depth to the head section of the queen since it has some complex shapes.
Be careful when making deep cuts on the crown since high pressure can break the wood.
Make V cuts to get the crown-like shape. Make a wavy shape from one stop-cut to another. The cuts of the queen are not flat as when carving the bishop.
First round off the wood log. Rounded wood pieces don’t split easily as sharp edges.
Start carving a large wood block and then shape it out using the chip carving method to give shape to the queen.
Then thin some areas by making cuts to give fine details and layers. Your wood needs to be strong enough since excess thinning can break the wood when carving.
The thinning amount should be relative compared to other areas. Excessive thinning is not recommended.
Make a small circle around the queen’s head and shape it to look like a sphere. This is the crown of the queen.
When carving the upper quarter area be more creative since that resembles your style.
After carving the queen, clean the chess piece well with a clean rag and stain it to give your preferred color.
Then let it dry and seal it with a suitable finish.
Staining and sealing enhance the queen’s appearance, give protection from weather elements, and hide cracks and splits that occurred during chip carving.
This is how you should carve a queen properly.
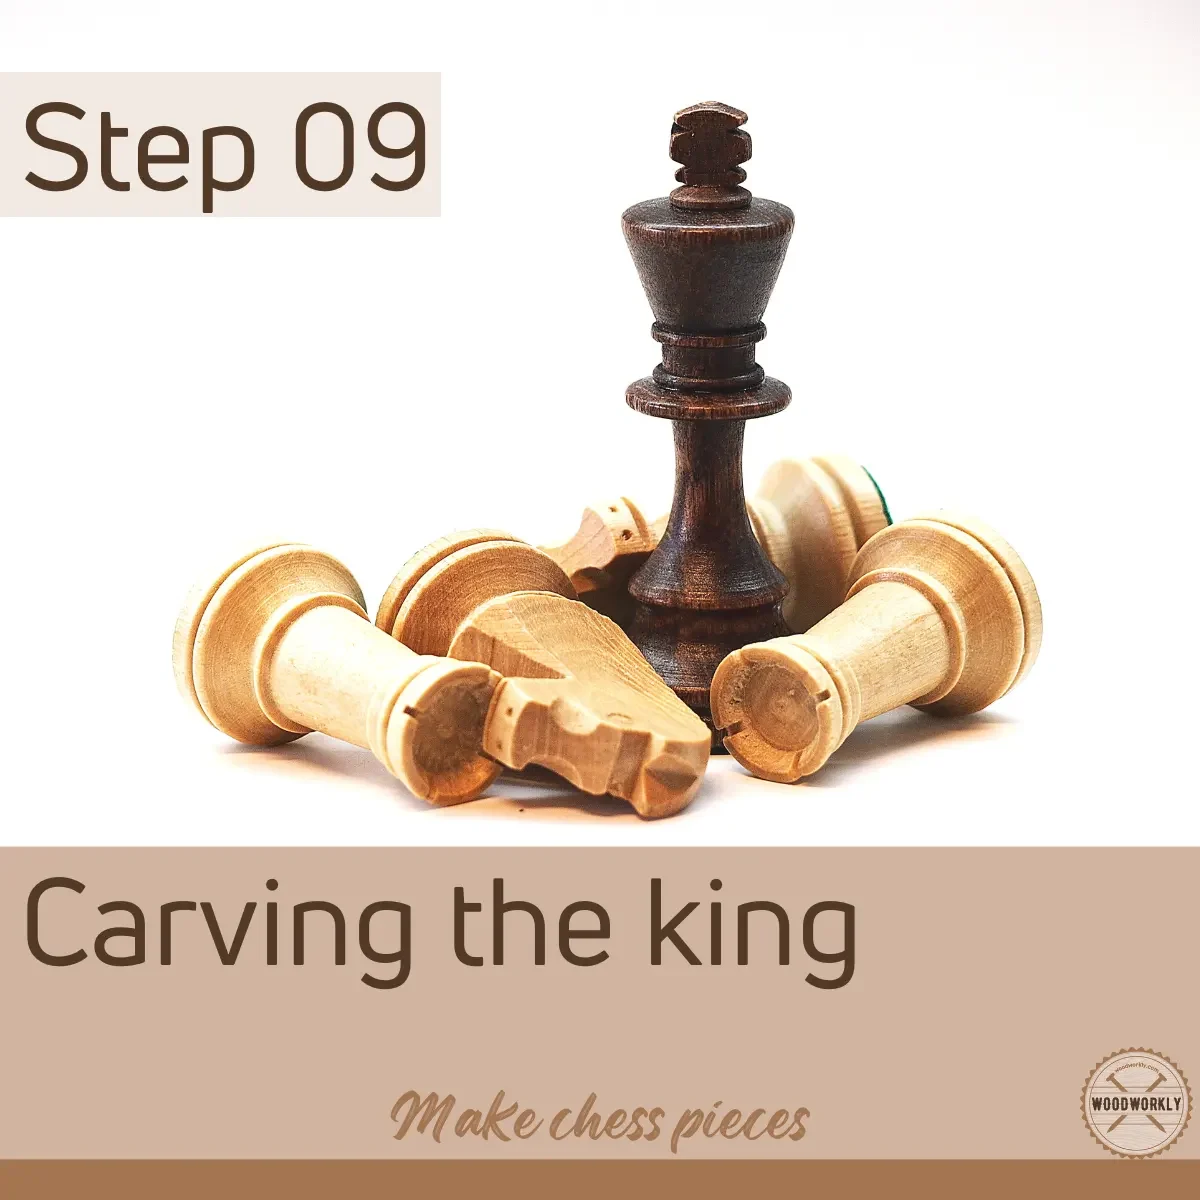
9. Carving The King
Follow the same procedure you use to carve the queen when carving the king. Make sure to make it bigger and taller than the knight.
The height of a king can be slightly taller or shorter than the queen. My recommendation is to make the king taller than the queen since he is the leader of the chess set.
The shape of the king and queen varies only from their heads. You need to give a lot of depth to the king’s head to make it look detailed.
Carve king in relief by making stop cuts in a wavy shape. This is different than making stop cuts of the bishop.
Round the head section like a sphere to avoid wood from breaking when making cuts.
Start carving a large wood block and then shape it out using the chip carving method to give shape to the king.
Then thin some areas by making cuts to give fine details and layers. Your wood needs to be strong enough since excess thinning can break the wood when carving.
The thinning amount should be relative compared to other areas. Excessive thinning is not recommended.
When carving the crown of the king add a cross on it to narrow down the wood block from two sides. Then carve out the cross by making cuts.
When carving the upper quarter area of the king be more creative since that resembles your style.
After carving the king, clean the chess piece well with a clean rag and stain it to give your preferred color.
Then let it dry and seal it with a suitable finish.
Staining and sealing enhance the king’s appearance, give protection from weather elements, and hide cracks and splits that occurred during chip carving.
That’s how to carve the king properly with no mistakes.
10. Finish and Seal The Chess Pieces
After so many hours of hard work, here’s the fun part. Finish all the chess pieces you made with wax, polyurethane, or any other finisher you like.
Polyurethane improves the shine and makes them look more beautiful.
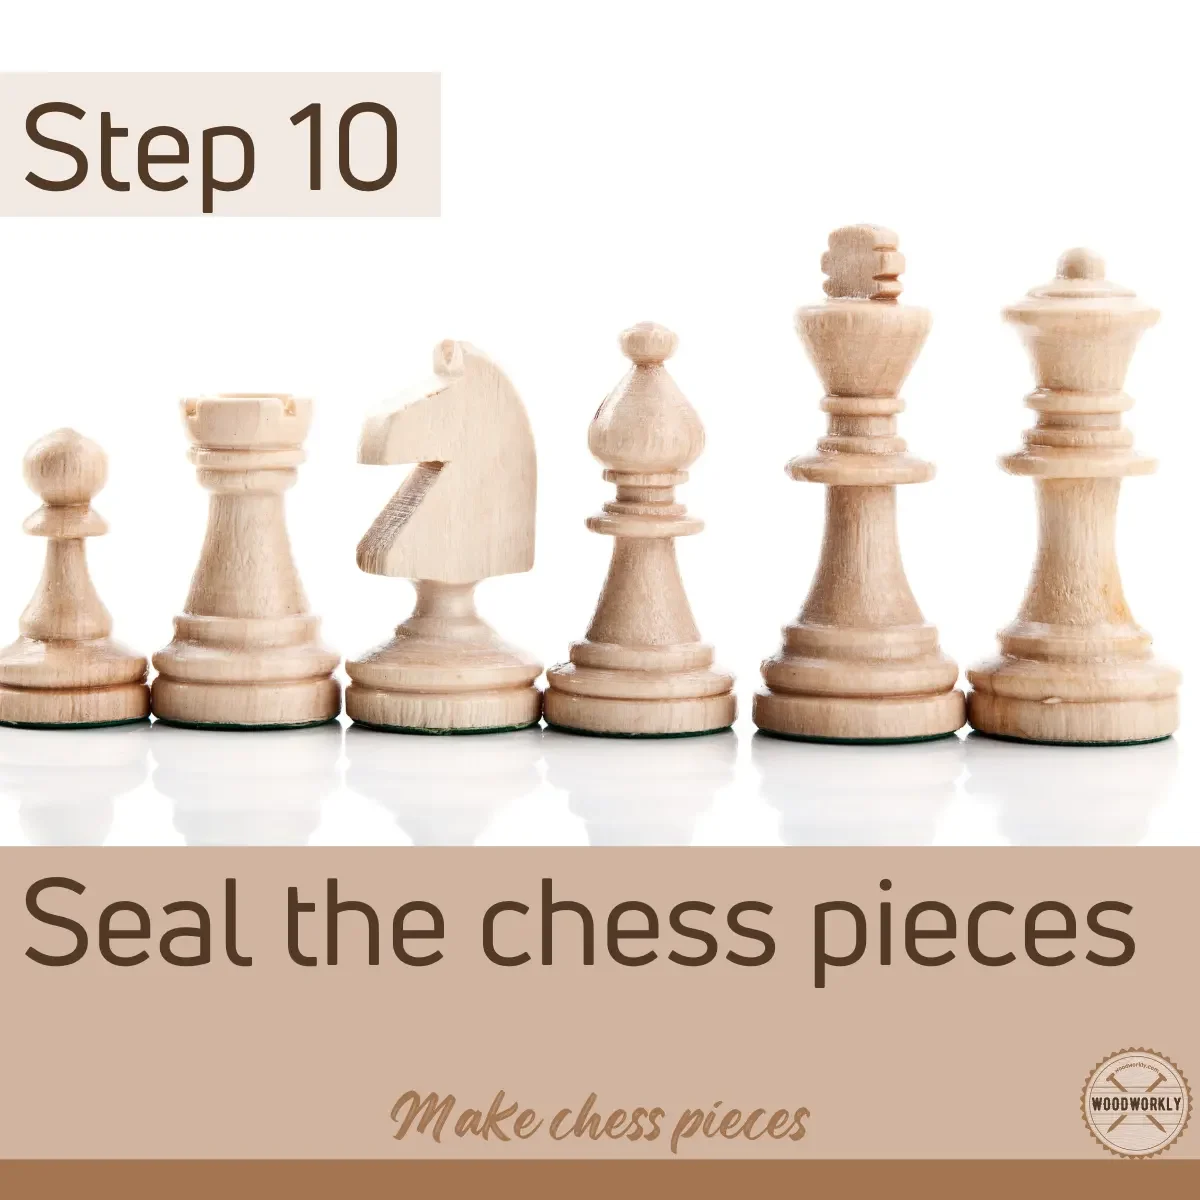
Apart from their appearance, finishing and sealing keep them protected from moisture, and water damage and hide holes, gaps, and cracks in the wood that occurred during carving.
Congratulations folks! You made it. Now you know how to make wooden chess pieces without a lathe.
Keep practicing to be good at making shapes. Once you are done making them the satisfaction level is higher than mount Everest.
How To Make Faces On Chess Pieces
Whittling faces on chess pieces is great since it adds unique appeal to your chess set and is able to highlight more than other regular chess sets.
Whittling a face is an important woodcarving skill that everyone should practice.
Here’re the tools you need to carve faces on chess pieces,
- Carving knife to whittle faces
- Regular knife or hand-forged knife to split the woods

Here’re the steps you need to follow when carving faces on chess pieces,
- Make sure your wood logs are soft and dry before carving faces since cutting is difficult when the wood is wet.
- First, make rough cuts on wood blocks using the knife to make the face outlines.
- Rough cuts determine the figure of the face.
- Then make straight cuts to make a mane or to visualize the hair of the chess piece which is important when carving a knight, king, and queen.
- Finally, make fine cuts to smoothen the square shape of the face. Shape eyes and make pointy ears on your chess pieces.
- Use a carving knife to add more details to the eyes, ears, nose, and mouth of your chess pieces.
- Finally, clean the surface and stain and finish it with a suitable sealer.
That’s it. By practicing this you can make your chess pieces more valuable than ever.
How Do You Make A Chess Board By Hand?
Making a chessboard by hand is fun and easy. First, you need to select a suitable wood to make the chessboard.
Here’re some of the best woods you can go with to make a chessboard by hand,
- Maple
- Erable
- Boxwood
- Aspen
- Birch
- Walnut
Here’re the tools you need,
- Use a chip carving knife, v gouge, and a couple of chisels to make a chessboard.
- Finally, stain or paint squares of the chess board to make different color squares.
- To make straight even lines you need a pencil and a ruler.
- Use tape to measure the sizes.
- When cutting the wood leave a minimum space of about 1-inch allowance on all four sides of the board.
Here’re how to make a chess board by hand,
- To make a chess board you need a big piece of square wood. By using a big square wood, you can easily divide it by eight going across.
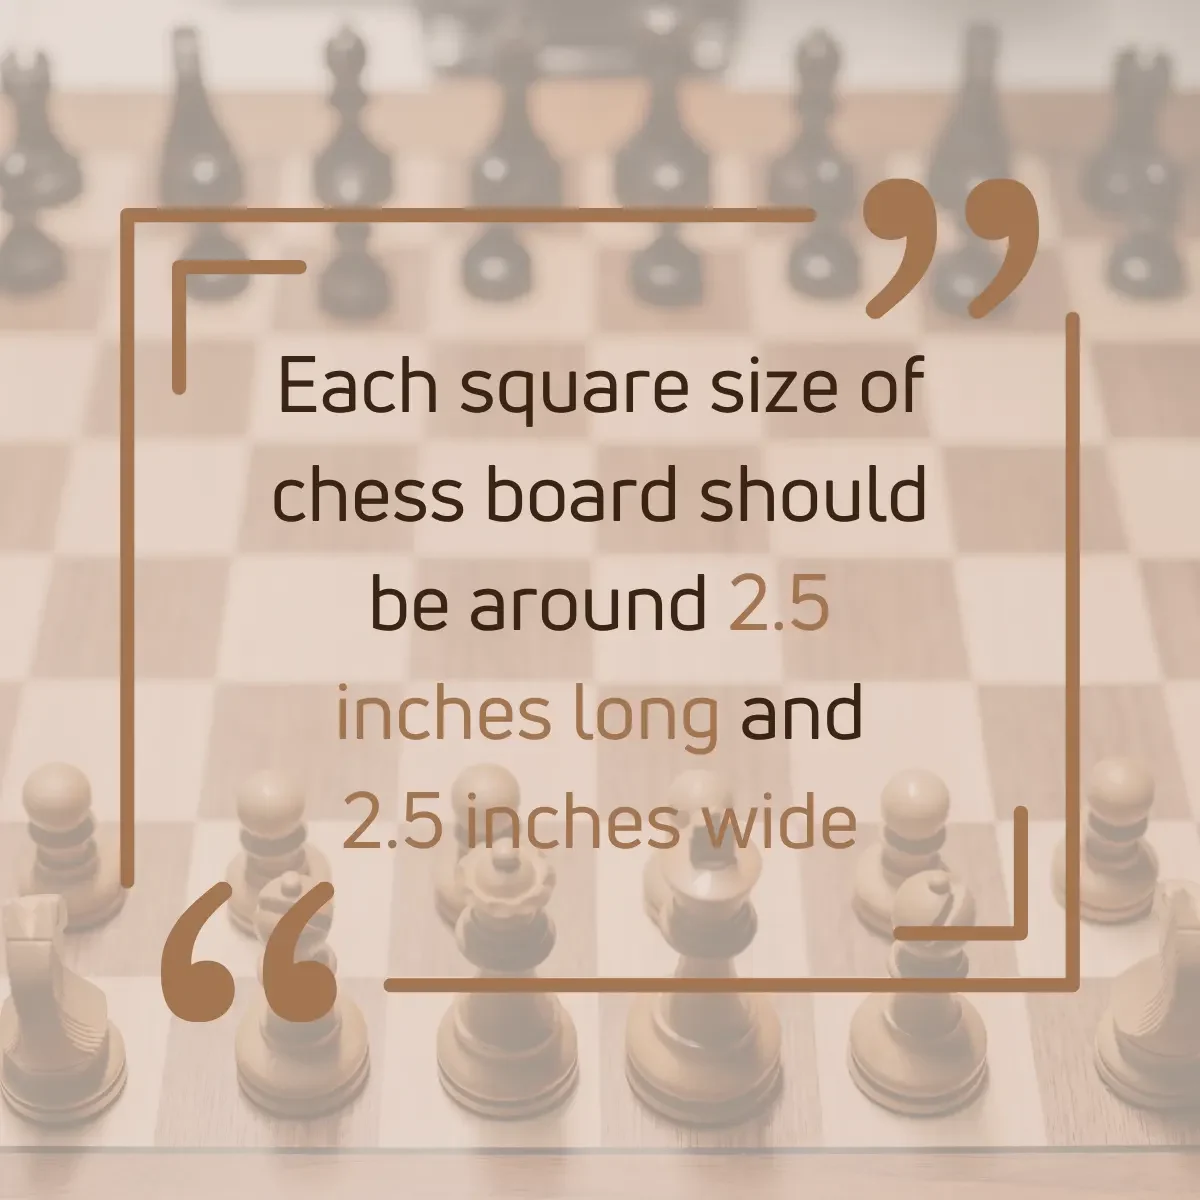
- Each square needs to have enough space to fit the base area of each chess piece. So, squares need to be bigger than chess pieces.
- Each square size should be around 2.5 inches long and 2.5 inches wide.
- You can buy 4 foot by 12-foot wooden board from a local store and cut it as you want to make a chess board using a hand saw.
- You can carve chess boards in various methods.
- Once you’re done with carving you can color squares with paint, stain, or use pyrography.
- Wood burning can give a nice authentic look to your chess board while sealing it and able to color squares with high accuracy.
Let’s answer some frequently asked questions.
What Are The Best Woods To Make Chess Board?
- Maple
- Erable
- Boxwood
- Aspen
- Birch
- Walnut
- Mahogany
- Sheeshan Golden Rosewood
- Palisander
- Wenge
How Thick Should A Wooden Chess Board Be?
The thickness of the wooden chessboard should be ¾” (Three fourth of an inch). This can vary on the sizes of your chess pieces.
The size of each square of chess board should be 2.5 inches long and 2.5 inches wide.
The size of the chess board should be 21 inches wide and 21 inches long.
What Are The High-Quality Chess Pieces Made Of?
High-quality chess pieces are made of Rosewood, and Boxwood and Ebony are the highest quality wood chess pieces are made of.
Marble, crystal, and granite are also used to make high-quality chess pieces which are rare to find.
High-quality chess pieces come with excellent wood carving skills, fine details, and fine materials. They are expensive and luxurious. They are mostly used for decorative purposes.
How Heavy Should A Chess Set Be?
The chess set should heavy 50 ounces (3 1/8 pounds). The chess set comes with 32 pieces and each chess piece is heavy 1.47 ounces.
The heaviness of a chess set can differ on the type of material that use to make it. Heavy chess sets are expensive and made of luxury materials.
How Many Pieces In A Chess Set?
There’re 32 pieces in a chess set. 16 chess pieces belong to each side.
Some chess sets come with two extra queens considering cases when a pawn is promoted and they come with 34 chess pieces.
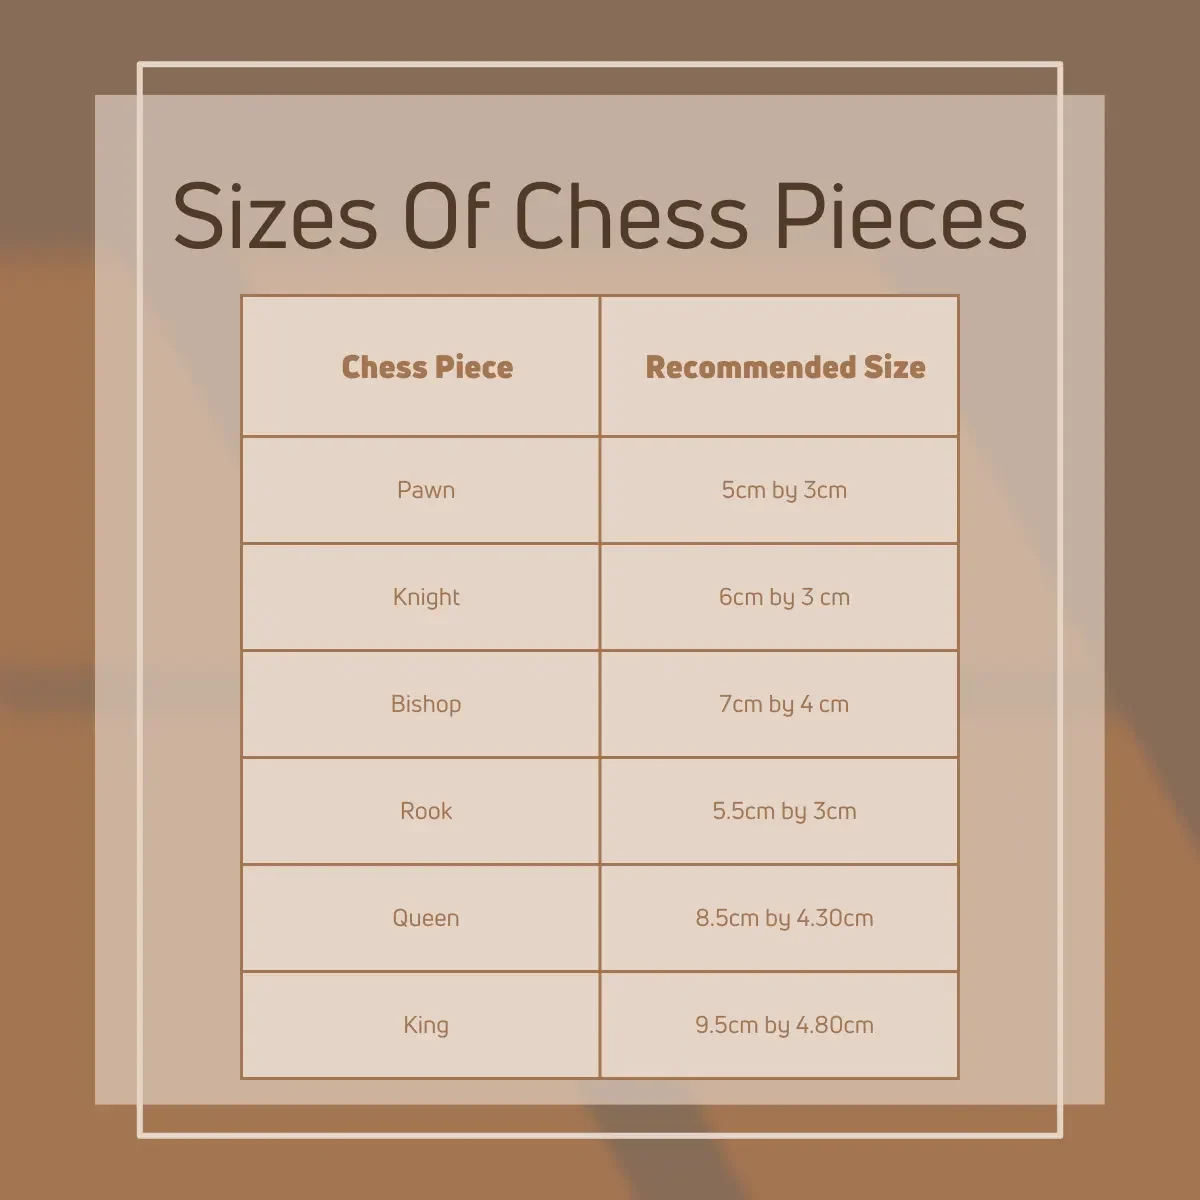
What Are The Sizes Of Chess Pieces?
Here’re the standard sizes of chess pieces,
| Chess Piece | Recommended Size |
| Pawn | 5cm by 3cm |
| Knight | 6cm by 3 cm |
| Bishop | 7cm by 4 cm |
| Rook | 5.5cm by 3cm |
| Queen | 8.5cm by 4.30cm |
| King | 9.5cm by 4.80cm |
The width of each chess piece is 40% to 50% smaller than its height.
Did I cover all you wanted to know about: How To Make Wooden Chess Pieces Without A Lathe?
In this article, we discussed, how to make wooden chess pieces without a lathe completely by hand, what are the best woods to make chess pieces, and discussed the best methods to make chess pieces and chess boards with tips and tricks.
You can make wooden chess pieces without a lathe by selecting suitable wood, cutting the wood logs, sanding wood pieces, and carving pawns, knights, roots, bishops, two queens, and two kings. Finally, seal chess pieces with wax or polyurethane. Use a carving knife, pull saw, and sealant to make chess pieces by hand.
Furthermore, I’ve answered some frequently asked questions as well.
Hope you learned many new things about, how to make wooden chess pieces without a lathe and without making any mistakes.
Making chess pieces by hand takes time, but it is quite fun and boosts your confidence in woodcarving.