Ever marveled at walnut’s deep, rich finish? What if the secret lies in a single oil? Have you tried Tung oil yet? Dive in!

When it comes to oil finishes, tung oil is hard to skip because of its excellent features like protecting wood from external elements, being non-toxic and giving an enhanced look to any wood surface.
Recently, when I was thinking of finishing my Walnut wood cabinet, Tung oil came up to my mind.
I was curious about how tung oil will interact with walnut to give the perfect finish as I wished.
So, I did some research and here’s what I’ve learned about, using Tung oil on walnut,
You can use Tung oil on walnut with no issues. But many tung oil coats are required to fill up the pores of walnut wood to get an even finish. Tung oil makes a protective film to keep walnut wood from rotting. Apply tung oil liberally on walnut wood and sand lightly between each coat.
But that’s a quick snapshot and there’s a lot more to know!

In this article, I’ll explore whether can you use tung oil on walnut, the advantages of using tung oil and how to apply tung oil perfectly on walnut, and many more.
Furthermore, I’ll answer some frequently asked questions as well.
So, let’s keep going!

Can You Use Tung Oil On Walnut?
Yes, tung oil works perfectly on walnut. Tung oil gives a rich brown appearance to walnut surfaces with an enhanced look.
Walnut has large pores with open grain structure. In order to fill the pores structures of walnut and to get a super smooth, even, and flawless finish, you’ll have to apply lots of tung oil coats on the walnut.
Because of having lots of pores with significantly higher diameters than many other kinds of wood, walnut tends to suck up tung oil like a sponge.
This will make tung oil difficult to finish because tung oil doesn’t sit on the surface until all the pores are filled.
Tung oil penetrates through the pores and structures of walnut and improves wood flexibility.
Having high flexibility prevents walnut wood from cracking or splitting.
The first coat of tung oil saturates the walnut wood fibers and makes the surface ready for the next coat.
From the second tung oil coat onward, a protective tung oil layer will build up on the walnut wood surface which helps the wood to get protected from rotting and other moisture damage.
Nowadays, tung oil tends to mix with varnish before applying it to walnut to do the finishing with less number of coats.
Because using tung oil alone, you’ll have to apply thousands of coats to get a desirable finish.
But not every tung oil mixes well with varnish and that varies on the manufacturer.
Therefore, I recommend you apply tung oil to walnut by thinning them with mineral spirit to get the maximum benefits of the oil finish.
Tung oil hardens upon the walnut surface upon exposure to atmospheric oxygen resulting in a protective layer on the walnut wood surface.
Tung oil is able to build an excellent shield over walnut that protects wood from many environmental elements such as moisture, insect attacks, UV light, and many more.
Plus, tung oil gives a wet fresh look with enhanced wood color to walnut.
Apply tung oil liberally over walnut wood and lightly sand between each coat to get the perfect finish as you wish.
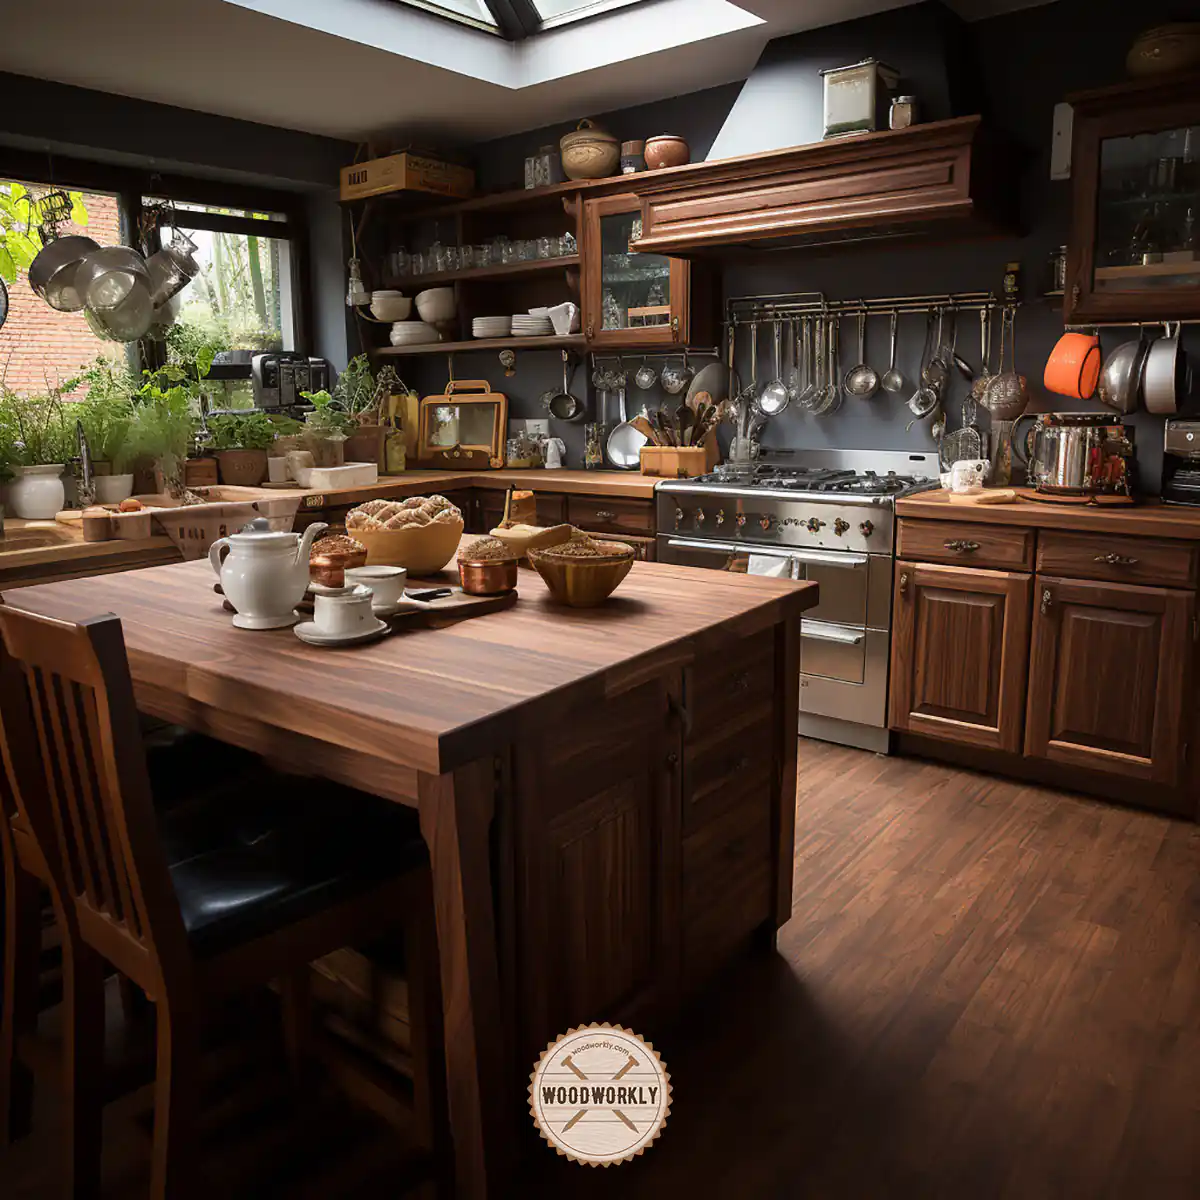
Tung oil is mostly used for following walnut woodwork,
- Walnut furniture
- Walnut desktops
- Walnut flooring
- Cabinets
- Window frames
- Walnut wood carving projects
As you can see tung oil can use literally for anything made of walnut wood to provide a nice fresh appearance.

Advantages Of Using Tung Oil On Walnut
- Tung oil is a waterproof oil
- Tung oil prevent walnut from rotting
- Tung oil is non-toxic and food safe
- Tung oil film has high elasticity
- Provide Eco-friendly finish
- Attractive in color
- Tung oil is easy to apply
Because of being non-toxic and food-safe, tung oil can use for kitchen utensils, kitchen bowls, and children’s’ toys made of walnut.
Overall tung oil is one of the best finishers for walnut wood.

So, let’s find out how to apply tung oil to walnut with ease.
How To Apply Tung Oil On Walnut?
Tung oil is able applied on walnut wood easily because of having an open grain structure with large pores.
The only issue is you’ll have to use lots of tung oil coats on walnut to build a protective film over it and it may take so long to dry and cure completely.
There are several ways you can apply tung oil to walnut. they are,
- Apply tung oil using a brush
- Spray tung oil by mixing it with mineral spirit
The easiest way of applying tung oil is by using a brush. But we’ll use mineral spirit as the thinning agent to make the finishing process easier.
Here’re the things you need for the procedure of applying tung oil to walnut,
Supplies You Will Need
- Tung oil (Pure or Dark)
- Mineral spirit
- Scrap walnut wood
- Sandpapers (120 grit, 150 grit, 220 grit, 320 grit, and 400 grit)
- Walnut furniture or woodwork
- Abrasive finishing pads
- Plastic cup or glass jar
- Tack cloth
- Rags
- A bristle brush, sponge brush, or lint-free rag
- Latex gloves
Make sure to use fresh tung oil can apply on walnut wood to get a nice and clean finish with no contaminants.
Using old tung is not recommended since tung oil goes bad pretty easily.
The procedure of Applying Tung Oil On Walnut
- Prepare the surface
- Thin the tung oil with mineral spirit
- Apply the first coat of tung oil
- Let it dry and sand the surface
- Apply more coats
- Let the oil finish dry and cure properly
So, it’s time to discuss each of the above steps in detail to get a wide knowledge about applying tung oil correctly on walnut.
1. Prepare The Surface
First of all, you need to select a well-ventilated area for the tung oil application process. Take your walnut furniture to an area with enough space with open windows.
Because when you’re sanding the wood sawdust can be irritant to your eyes and skin. Plus, the smell of tung oil can be an allergy for some people.
Therefore, proper air circulation or having a good dust collection pipe system is great to have when finishing wood.
Then clean the walnut wood surface well with a tack cloth to remove dust, debris, dirt, and grease.
Apply tri-sodium phosphate on the walnut surface to remove dust and dirt that are hard to remove just by wiping them off.
Make sure to check and remove exciting finishes on the walnut surface if there are any by sanding since applying tung oil on bare walnut wood is a must to get good absorption.
Cleaning is essential to make a super smooth even finish with no drips or streaks.
After cleaning the walnut surface properly, sand the entire surface with 120-grit sandpaper and then with 150-grit sandpaper to level the surface and make it super smooth.
Sand along the direction of the wood grain to open up pores of walnut wood for better absorption of tung oil into the wood. This helps tung oil to stick well onto the surface.
Sand with even pressure to eliminate surface randomness, and bumps and make it ready to accept the tung oil evenly.
Tip:
Wet sanding is recommended with 220-grit sandpaper to get a super smooth surface. Wet the walnut surface by spraying, let it dry, and sand lightly again with 220 grit.
Once you’re done with sanding check the surface and re-sand the missing spots.
Now your walnut wood furniture surface is so ready to take tung oil.

2. Thin The Tung Oil
Thinning tung oil before applying it to walnut is recommended to get a super smooth finish and for a fast drying process.
Because usually, tung oil alone takes lots of time to dry. by mixing it with an alcohol chemical like a mineral spirit, the oil will dry faster due to the quick evaporation.
Thinned tung oil with mineral spirit improves the adhesion properties of the first coat and helps to next coat to stick well with the previous one by making one thin layer.
Therefore, I highly recommend you thin the first coat of tung oil with mineral spirit. From the second coat onward, you can apply tung oil without thinning.
You need to have a clear idea about how much tung oil is required to apply as the first coat to cover the entire walnut surface.
Follow the below steps to thin tung oil with mineral spirits,
- Take the required tung oil amount into a measuring cup
- Pour tung oil into the glass jar
- Add an equal amount of mineral spirit into the glass jar
- Mix them slowly without forming bubbles
Now the tung oil mixture is ready to cover up the walnut surface.
Tip:
Never use tung oil that is marked as green or eco-friendly for thinning because they usually don’t mix well with mineral spirits.
3. Apply The First Coat Of Tung Oil
Take the bristle brush or tack cloth and dip it slightly on thinned tung oil mixture and apply the first coat of tung oil all over the walnut wood surface.
Tip:
Before applying the first coat of tung oil on your main woodwork or furniture, I suggest you apply it on scrap wood to see how tung oil works with walnut wood and what color you should expect to get at the end of the project.
Apply tung oil along the direction of the walnut wood grain for better absorption without forming blotches and streaks.
Wipe and brush the tung oil on the walnut for 5 to 10 minutes.
Then let the tung oil settle on the walnut for another 30 minutes and wipe off the excess tung oil and puddles for an even finish.
Puddles and blotchy areas give an unpleasant appearance to the finish.
Not like lacquer or varnish, tung oil doesn’t sit on the surface quite easily. The first coat usually absorbs into the wood and saturates wood fibers.
The saturation of wood fibers helps walnut keep from cracking.
Walnut wood absorbs tung oil quickly as soon as you touch the surface because of its open-grain structure.
Apply a thin coat of tung oil and spread it evenly throughout the surface to get a smooth flawless nice finish.

4. Let The First Coat Dry and Sand Lightly
After applying the first coat of tung oil on the walnut, let it dry and cure for 24 hours.
Drying time may vary on the humidity, and it can take up to 2 – 3 days if you live in a humid area and when your tung oil coat thickness is high.
Don’t apply the next coat of tung oil before the previous one dries completely since that can lead to never drying tacky surface.
Generally, tung oil takes more time for drying than many other finishes like varnish. Therefore, it’s important to be patient until the coat dries completely for a better finish.
Once the first coat of tung oil dries completely, sand the entire surface with 320-grit sandpaper.
Do light sanding all over the walnut surface along the direction of the wood grain to prevent the wood from scratching or leaving marks.
Or you can use abrasive pads to sand between coats of tung oil for a smooth and nice finish without surface separation.
Sanding between tung oil coats helps to build up good adhesion between coats and to get a super smooth flawless finish with an enhanced look.
Make sure not to sand the tung oil coat before it dries completely. Sanding wet tung oil coat clogs up the sandpaper and scratches the surface.
Steel wool is also good to sand between tung oil coats.
Once you’re done with sanding, wipe and clean the surface to remove sawdust and head into the next step.

5. Apply More Tung Oil Coats
Now apply the second coat of tung oil on the walnut without thinning it with mineral spirits. You can notice how the second coat blends well with the first coat to make a protective film like one thin layer.
Apply the second coat of tung oil on the walnut wood surface using the same techniques you used for the first coat along the wood grain without leaving brush marks.
Wipe off the excess oil and drips after 30 minutes to get a nice-looking finish.
Repeat the same procedure for upcoming coats until you get the desired look on your walnut furniture.
Generally, you need to apply 5 – 6 coats of tung oil to get an even sheen finish with an excellent protective finish. Apply thin coats of tung oil on the walnut for better absorption and quick drying.
Application time is around 10 minutes which depends on the area you need to cover up.
Tips:
- After applying each coat of tung oil, let it settle for a few minutes and wipe the excess with a clean rag to remove drips and runs.
- Apply thin coats of tung oil for an even and smooth finish
- You’ll notice dull areas after applying 3 coats and it’s completely normal. Those dull areas will remove and get an even look once the final coats are dried and cured properly
6. Let The Tung Oil Dry And Cure Properly
After applying 5 to 6 coats of tung oil on the walnut surface you’ll get promising results with a nice even finish. Let the tung oil coats dry for at least 24 hours between each coat.
Let the coats dry overnight for fast and efficient drying with fewer issues.
After applying the final tung oil coat on the walnut, let it dry and cure for 14 days since tung oil takes a lot of time to dry completely.
Slow drying time is the main drawback of tung oil over other finishes like varnish and lacquer.
Sometimes this may take up to 30 days upon the thickness of your tung oil coats and the humidity of the area in which you live.
However, I advise you not to use walnut furniture until tung oil coats are completely dried and cured. Otherwise, you’ll end up with a dull tacky surface.
Tung oil takes around 14 days to color up the wood to give its best appearance and to build a protective layer on the wood surface as a result of its polymerization reactions.
Therefore, patience is the key to achieving promising results with tung oil.
That’s it, folks! Now you have. a clear in-depth idea about using tung oil on any kind of walnut furniture or other woodwork with ease.

How Many Coats Of Tung Oil On Walnut?
Apply 5 to 6 coats of tung oil on the walnut to get a nice even finish with a protective layer to keep the walnut wood protected from environmental elements such as moisture, rotting, and decaying.
Make sure to lightly sand between each coat of tung oil with 320 -400 grit sandpaper to get a super smooth finish with no drips and runs.
Can You Use Tung Oil On Walnut Butcher Block?
Yes, you can use tung oil on walnut butcher blocks since tung oil is food safe, non-toxic, and able to build a protective layer that can withstand water damage.
By applying tung oil, your butcher block will get good water resistance and it will give a beautiful matte finish with an even nice finish.
What Is The Best Finish To Use On Walnut?
- Tung oil
- Boiled Linseed oil
- Varnish
- Danish oil
What Are The Best Tung Oil To Use On Walnut?
- Minwax Tung Oil Finish
- Real Milk Paint Pure Tung Oil
- Hope’s Pure Tung Oil
- Dark Tung Oil
- Watco Tung Oil
- Exoshield Tung Oil
Will Tung Oil Darken Walnut Wood?
No, tung oil does not darken walnut wood. But you can use dark tung oil to darken walnut wood.
Pure tung oil makes a clearer finish on walnut wood enhancing its appearance. Pure tung oil basically highlights the wood grain.
Tung oil is so beneficial for walnut wood apart from its few drawbacks.
Plus, pure tung oil doesn’t yellow over time. Tung oil causes no discoloration on walnut wood, and you can keep the finish as fresh as new for a long time with regular maintenance.
How Long Should Tung Oil Dry Between Coats?
Let the tung oil dry for at least 6 hours between coats. But if you applied tung oil on pores wood like walnut it’d take more than 24 hours to dry between coats.
Never apply another coat of tung oil before the previous coat dries completely. applying tung oil on a wet coat results in a blotchy or tacky surface which is so hard to eliminate.
Tips For Using Tung Oil On Walnut
Tung oil is renowned for its ability to bring out the natural beauty of wood, especially with rich grains like walnut.
If you’re thinking of giving your walnut furniture or woodwork a makeover, here are some tips and insights, from both personal experiences and expert opinions, on getting the best results.
1. Preparation is Key
Before diving into the process, it’s essential to have a clean, smooth surface.
Begin by sanding the walnut, starting with a coarse-grit and gradually moving to finer grits. This will ensure the oil adheres well and results in a glossy finish.
Example: I remember working on a walnut table that had seen better days.
Instead of diving right into oiling, I spent a day sanding and prepping the wood. The end result was so much more refined and professional-looking.
2. Patience During Application
Tung oil takes longer to dry than other finishes. Apply a thin coat and let it settle for at least 24 hours.
Depending on your region’s humidity, it might even take up to three days for a single coat to dry thoroughly.
Personal Anecdote: Once, I was too eager and applied a second coat too soon, resulting in a sticky finish that took ages to remedy.
Trust me, waiting is worth it!
3. Sanding Between Coats
Once the initial coat is dry, lightly sand the surface using 220 to 320-grit sandpaper.
This not only helps in achieving an impeccable finish but also strengthens the bonding layer.
Using abrasive pads or even steel wool can also prove beneficial.
For instance, I’ve found that using steel wool between coats gives an exceptional sheen to the final product.
4. Consistency in Application
When applying the oil, always move along with the wood grain to prevent streaks or uneven areas.
Try to blend each coat seamlessly, ensuring it forms a protective layer without any patches.
5. Number of Coats
For an even and protective finish, aim for about 5-6 layers of tung oil on walnut.
Lightly sanding between each coat will prevent drips and runs, resulting in a smoother finish.
6. Curing Time Matters
After the final coat, allow the tung oil to cure properly. This can take anywhere from 14-30 days, depending on various factors.
It’s a test of patience, but as I’ve learned the hard way, rushing this process can result in a tacky, dull finish.
7. Maintenance Tips
Once your walnut piece is oiled and cured:
- Avoid Moisture: Always protect it from excessive moisture. If you spill anything, wipe it off immediately.
- Dust Regularly: Use a gentle, lint-free cloth to keep the sheen alive.
- Reapply as Needed: Over time, tung oil might lose its luster. When this happens, simply apply another light layer.
- Avoid Harsh Chemicals: Chemicals like bleach or ammonia can damage the finish. Always use gentle cleaners on your walnut pieces.
Tip from Experience: My walnut coffee table started looking a bit dull after a year. Instead of panicking, I simply applied a light layer of tung oil and it was as good as new!
8. Periodic Renewal
Depending on the use and environmental factors, renewing the tung oil finish might be required more frequently for some pieces. A general rule of thumb is a yearly application, but always assess the wood’s condition to determine the right time.
Example: My walnut bookshelf, placed near a window, needed a fresh coat just after 8 months due to sun exposure, while a side table in a shaded corner stayed pristine for over a year.
So, let’s answer some frequently asked questions.
FAQs
How many coats of Tung oil should I apply to walnut?
For an optimal and protective finish, it’s recommended to apply 5-6 layers of tung oil to walnut.
What’s the ideal curing time for Tung oil on walnut?
The curing interval can stretch up to 30 days, but a minimum of 7-10 days before use is suggested for the best results.
How do I maintain walnut wood treated with Tung oil?
To maintain its sheen and durability, avoid excessive moisture, dust regularly with a lint-free cloth, reapply oil as needed, and steer clear of harsh chemicals.
When should I renew Tung oil on walnut?
Typically, a yearly application is sufficient. However, depending on usage and exposure, you may need to reapply more frequently.
Can Tung oil affect the color of walnut wood?
Over time, as tung oil cures, it can slightly darken walnut wood, often enhancing its rich color and highlighting the grain even more.
What happens if I apply Tung oil on walnut without waiting for previous coats to dry?
Rushing and not allowing each coat to dry fully can result in a tacky and blotchy finish that’s challenging to rectify.
Can I use other finishes on top of Tung oil-treated walnut?
While Tung oil is compatible with many finishes, always test a small, inconspicuous area first to ensure there are no adverse reactions between products.
Did I cover all you wanted to know about: Using Tung Oil On Walnut
In this article, I have deeply discussed about using tung oil on walnut and how to apply tung oil properly on walnut furniture and woodwork without making things messed up.
Using Tung oil on walnut enhances the wood’s natural grain and provides a protective finish. Apply 5-6 coats, allowing a minimum of 24 hours drying time between each. After curing for 7-10 days, the walnut showcases a rich, enhanced color, making Tung oil a top choice for walnut finishes.
Furthermore, I’ve answered some frequently asked questions as well.
Hope you have gained good knowledge about applying tung oil to walnut properly.
Try to use tung oil on your next walnut woodwork and see how tung oil performs with walnut to give awesome results. Happy wood finishing!