Curious about using linseed oil on walnut? Wondering how to achieve the perfect finish? Join us as we unveil the secrets to enhancing your walnut projects!

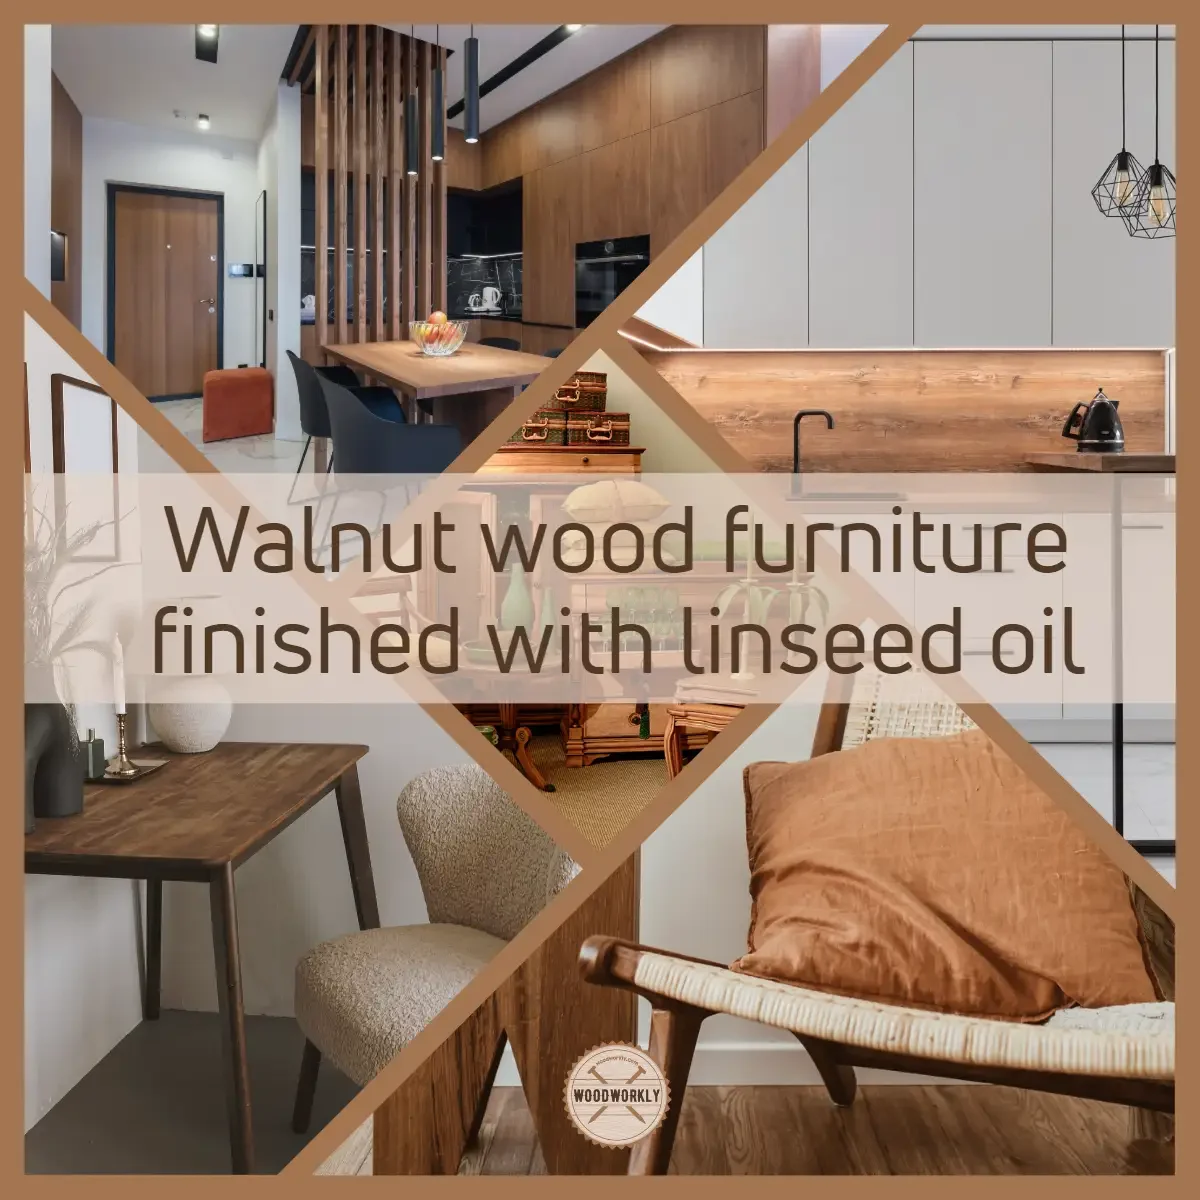
If you’re a wood enthusiast, you know that there’s something undeniably special about walnut wood. Its unique grain patterns and warm tones make it a favorite among woodworkers and furniture makers alike.
But what’s the best way to bring out the full beauty of this wood while also protecting it from the elements? That’s where linseed oil comes in.
As someone who was curious about using linseed oil on walnut wood finishing, I reached out to experts and delved into the topic to find out everything there is to know. Here’s what I’ve learned about using linseed oil on walnut.
Linseed oil works perfectly on walnut. It improves the walnut wood appearance by improving the natural look of walnut wood while protecting the wood from moisture, weather elements, and scratches. Apply thin coats of linseed oil on walnut and wipe the excess for a nice and even finish.
In this blog post, I’ll share what I’ve learned about using linseed oil on walnut wood, including tips for the application of both raw linseed oil and boiled linseed oil, how to apply linseed oil on walnut, benefits, and more.

So, whether you’re a seasoned woodworker or simply looking to protect and enhance your own walnut wood projects, keep reading to discover the wonders of linseed oil.
Let’s jump in!
Can You Use Linseed Oil on Walnut?
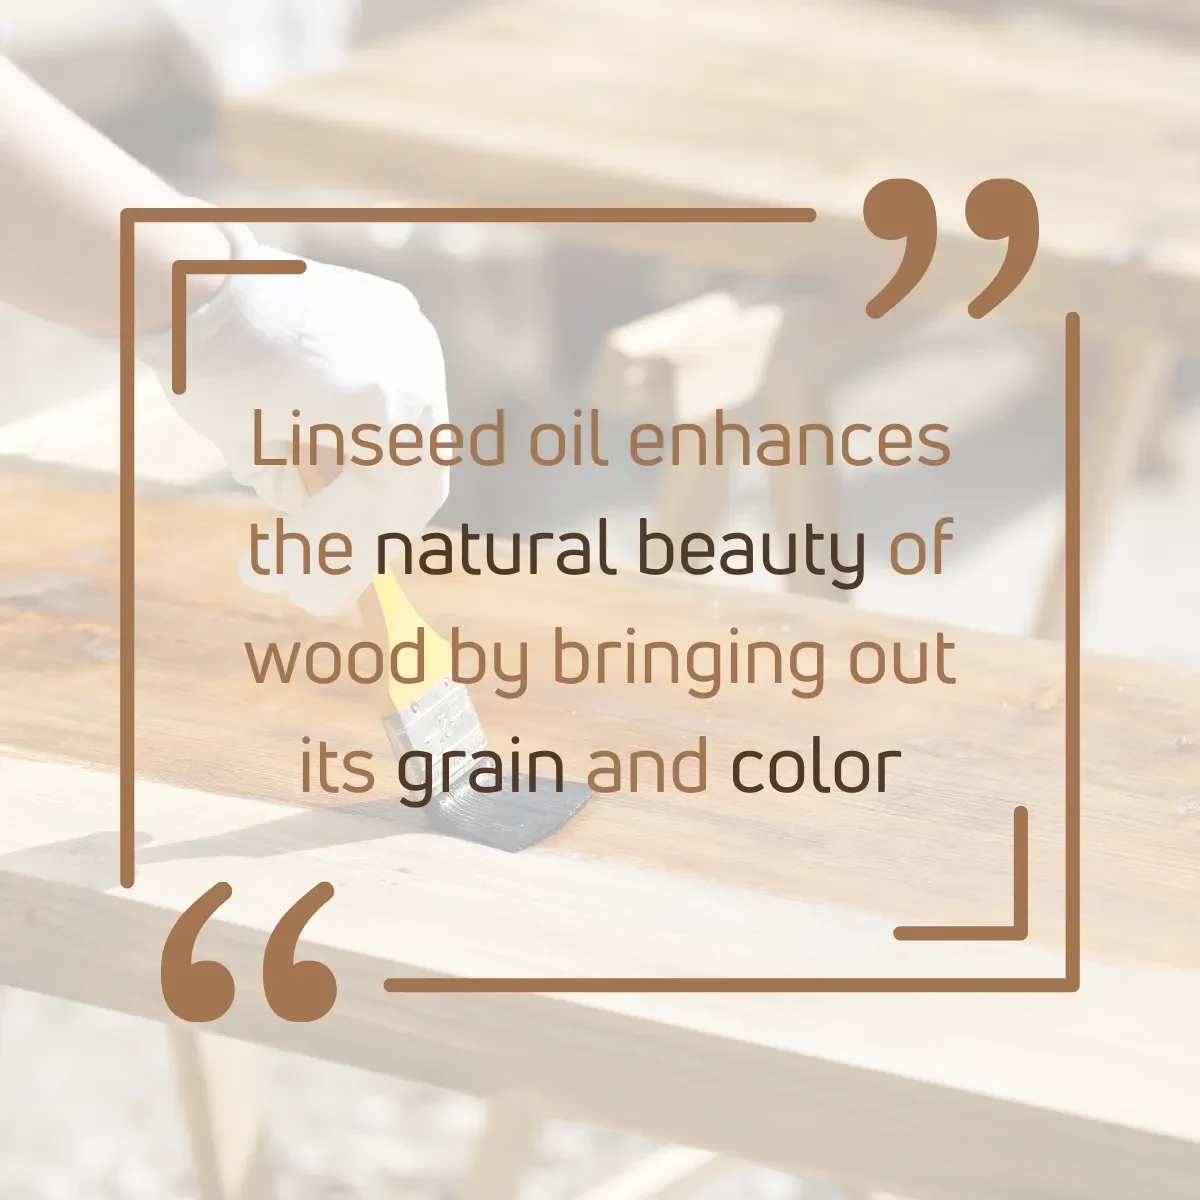
Yes, you can use linseed oil on walnut with no issues. It makes the wood water resistant and brings out the depth of the wood color and texture by highlighting the wood grain.
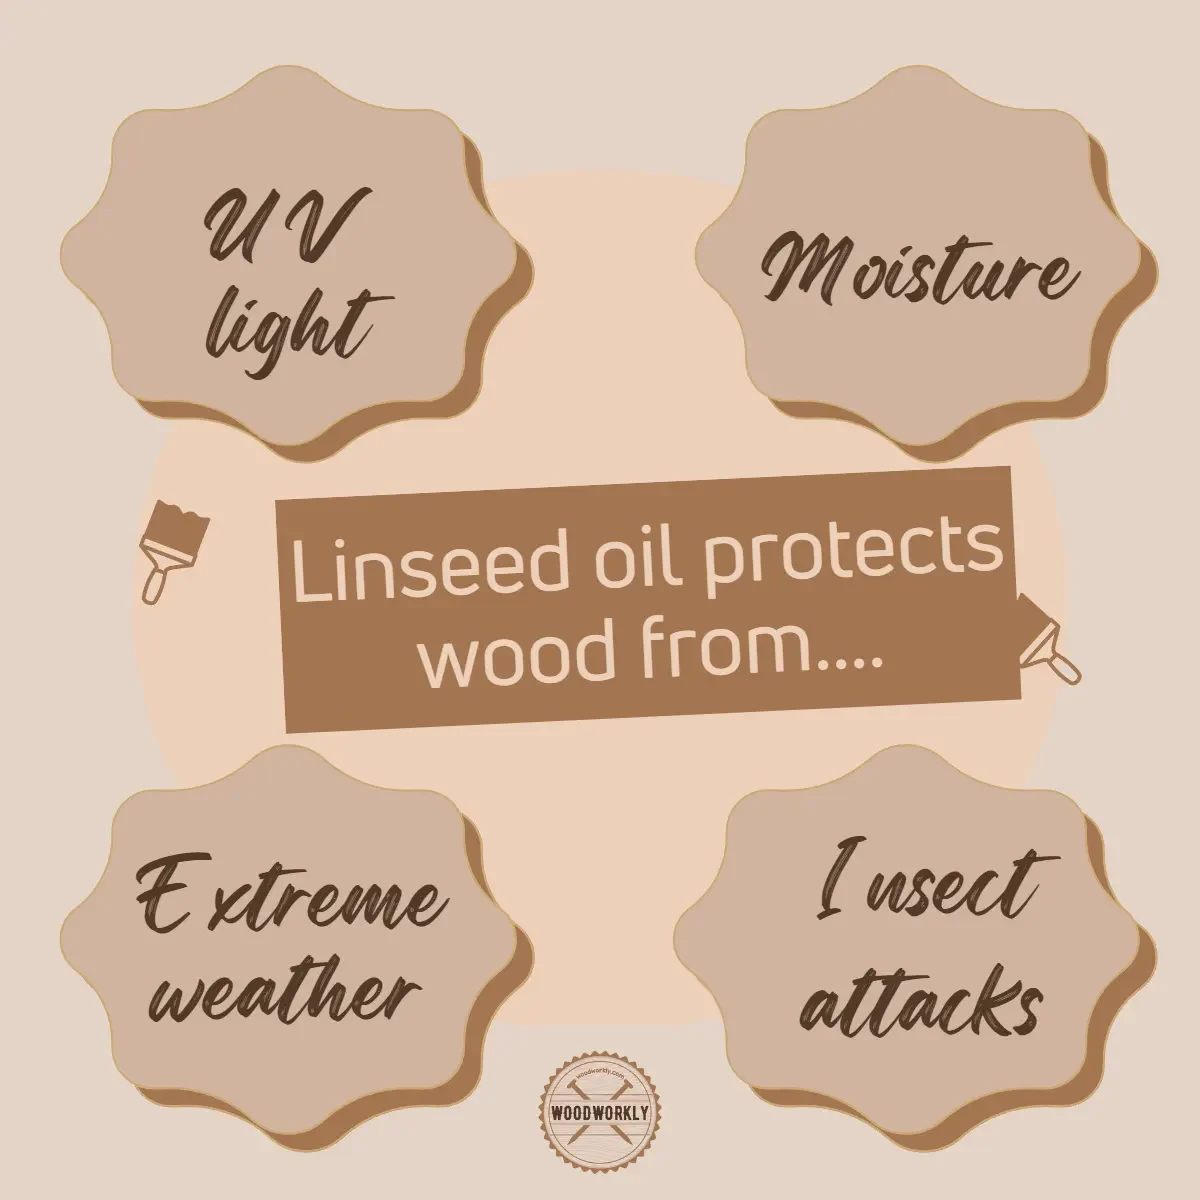
Linseed oil enhances the walnut wood appearance and makes a protective coat over walnut which works as a barrier to the outside world.

Linseed oil makes a protective coat over walnut, and it hardens upon drying and curing due to the polymerization reaction that happens upon exposure to the oxygen in the air.
This is why linseed oil products are stored in air-sealed containers.
This protective coat made of linseed oil protects walnut wood from water, insect attacks, and extreme weather conditions like rain and snow.
Moisture, and water particles and unable to penetrate the walnut wood underneath through this protective coat make by linseed oil and it isolates walnut wood from the outside environment.
This feature is so useful especially when it comes to exterior walnut furniture to keep them for a long time with no water damage.
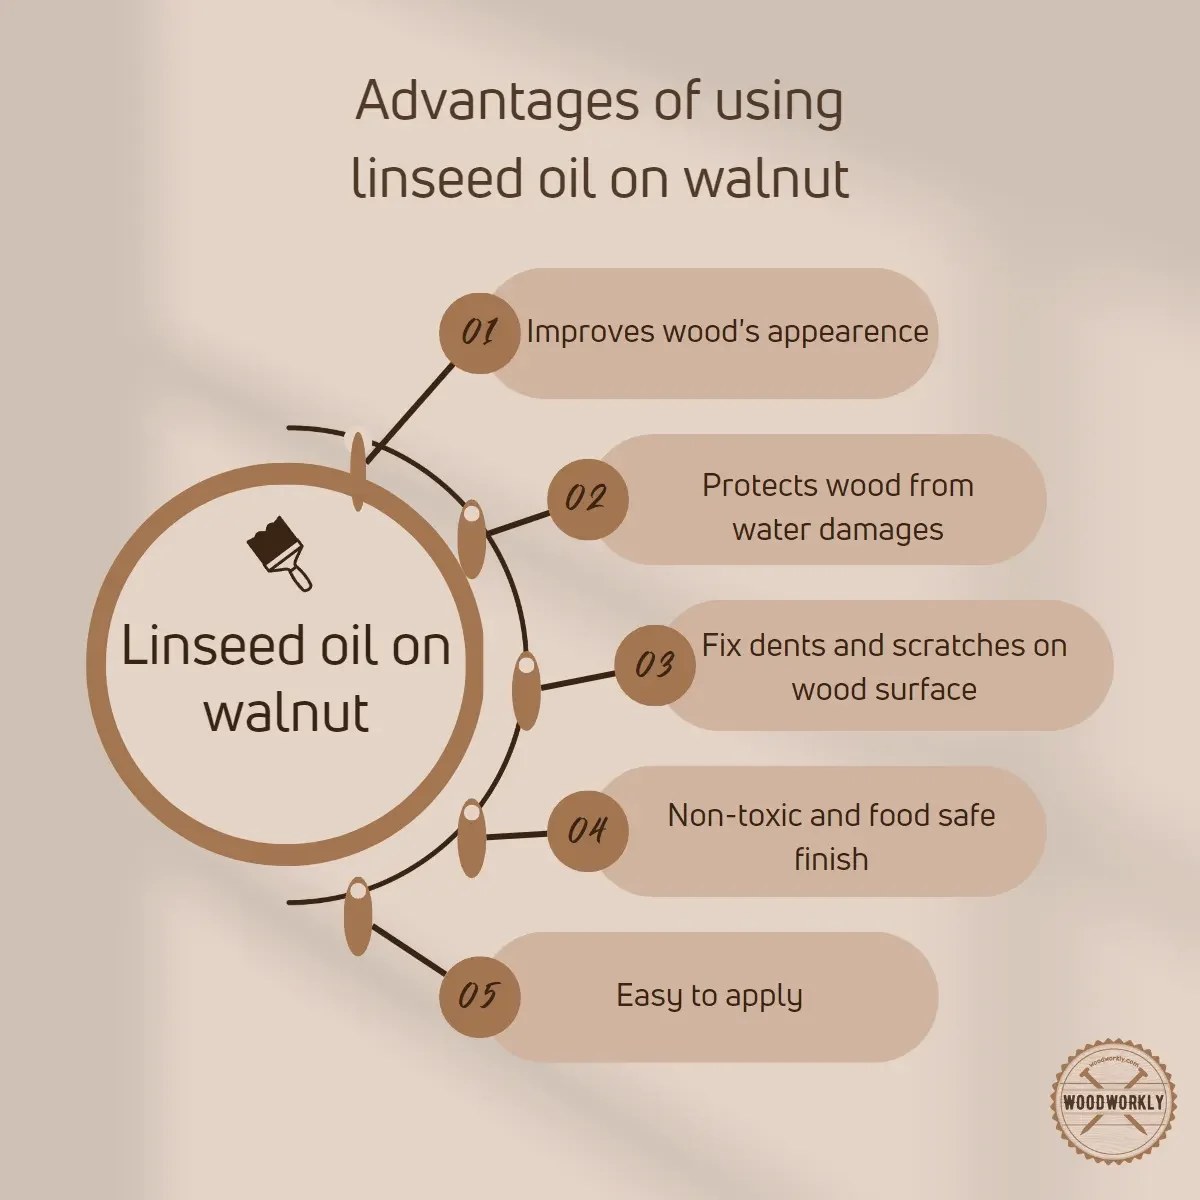
Plus, linseed oil is able to fix small dents and scratches on walnut furniture and it has the ability to hide them. This gives a fresh appearance to your walnut furniture, even the old ones.
According to the experts, Linseed oil waterproofs walnut wood better than lacquer.
But on the other hand, linseed oil takes a long time to dry completely. You need to have a lot of patience to get promising results.
Plus, it can be difficult to apply evenly, and excess oil can leave a sticky or tacky residue on the surface of the wood. Therefore, you should remove the excess occasionally to get a nice and even finish.
Linseed oil may darken the wood over time, which can be a disadvantage if you want to maintain a specific color or shade.
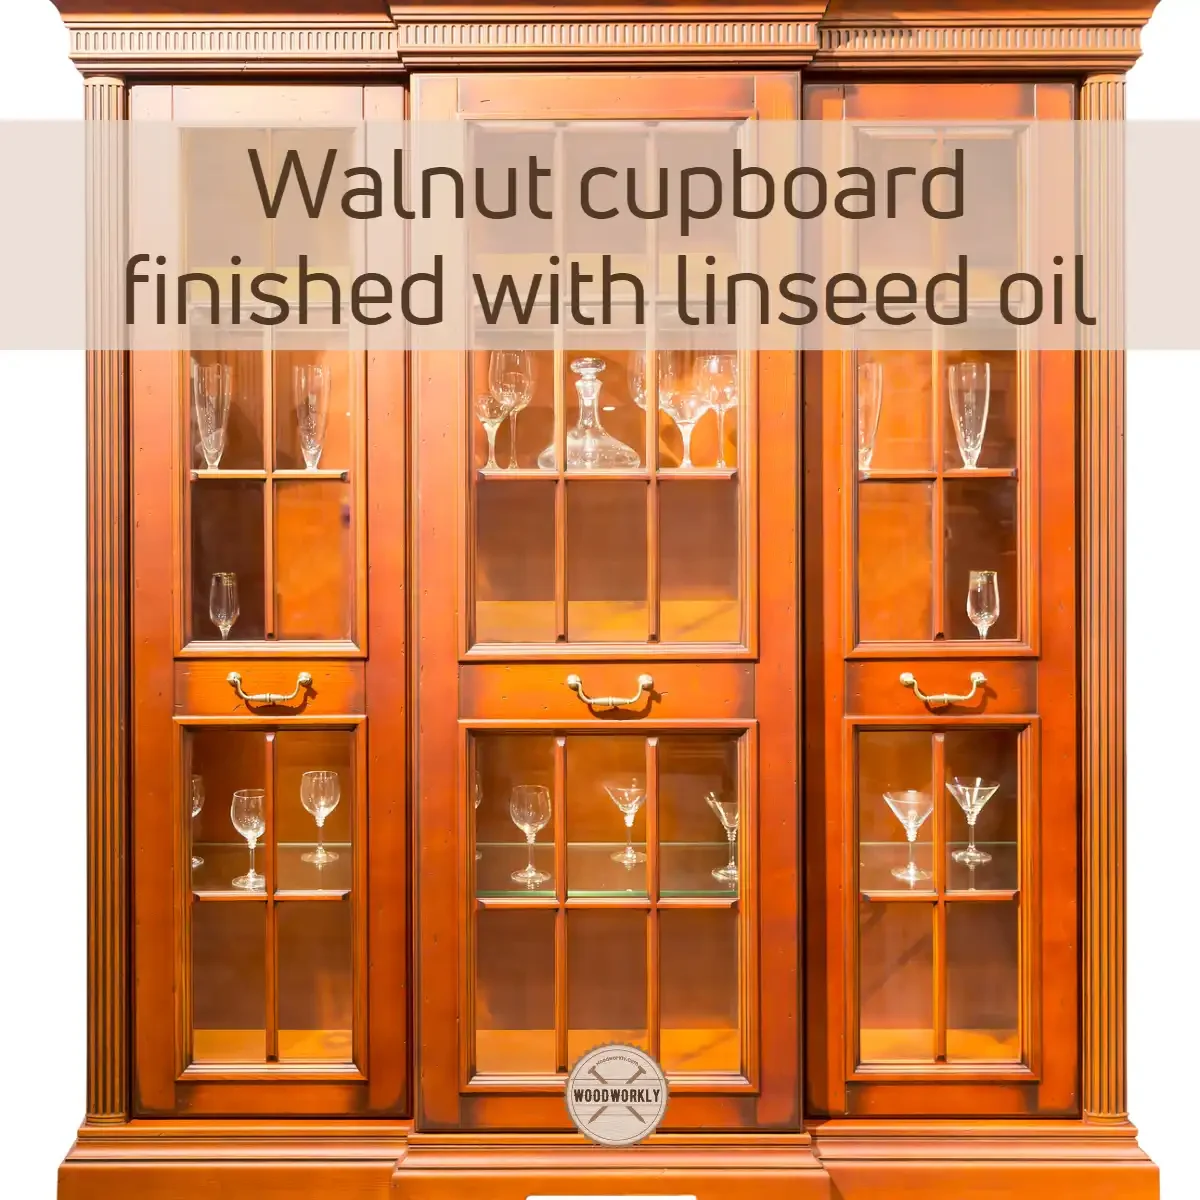
Linseed oil is mostly used in following applications and furniture of walnut wood,
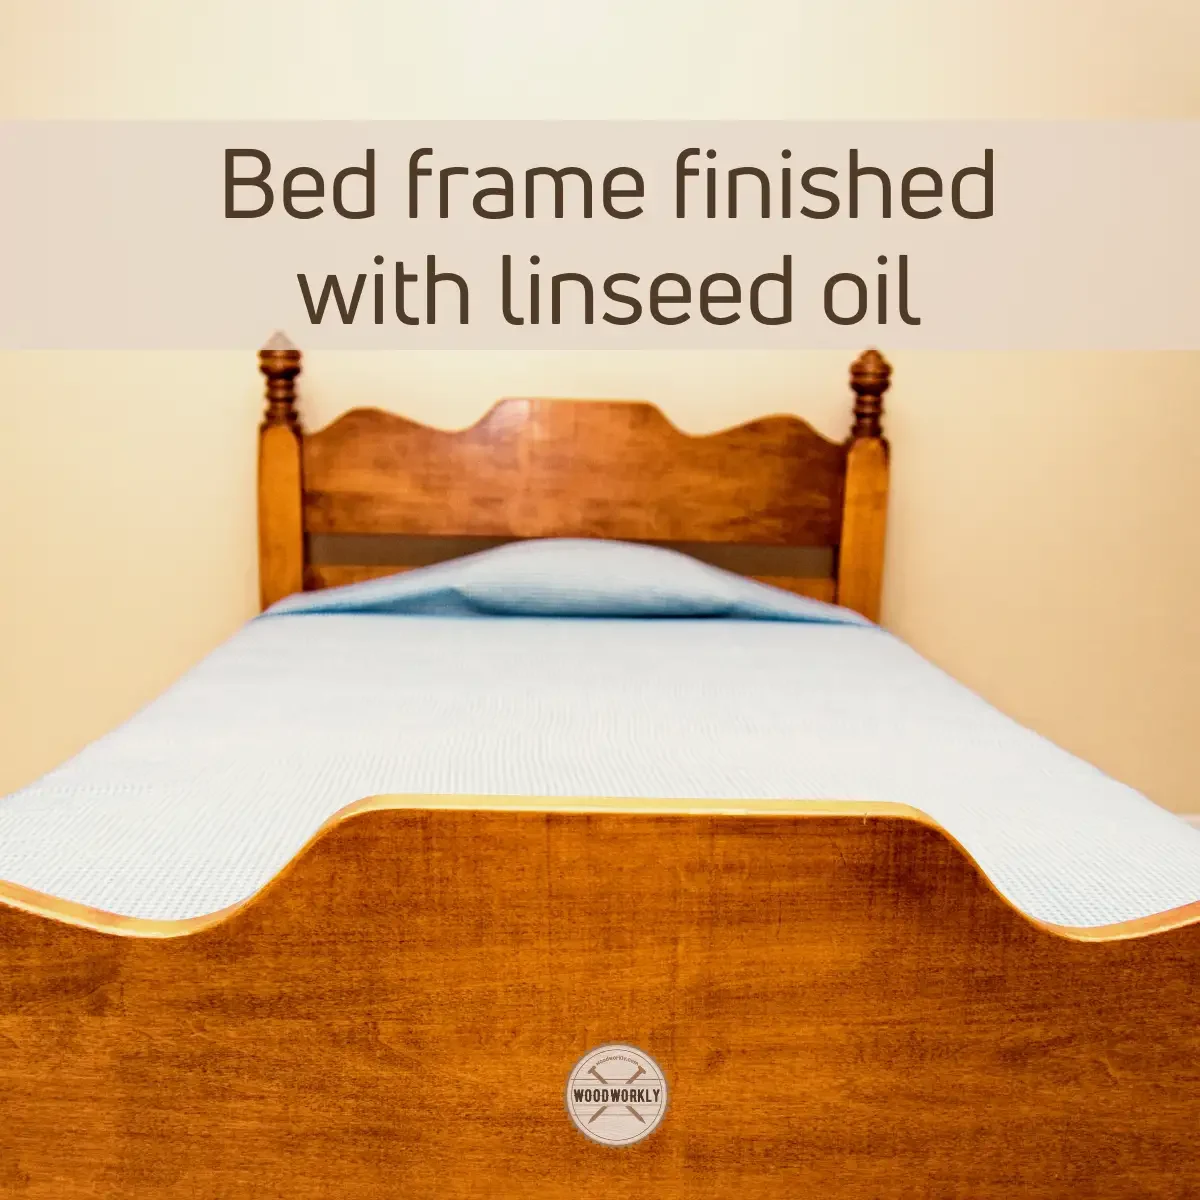
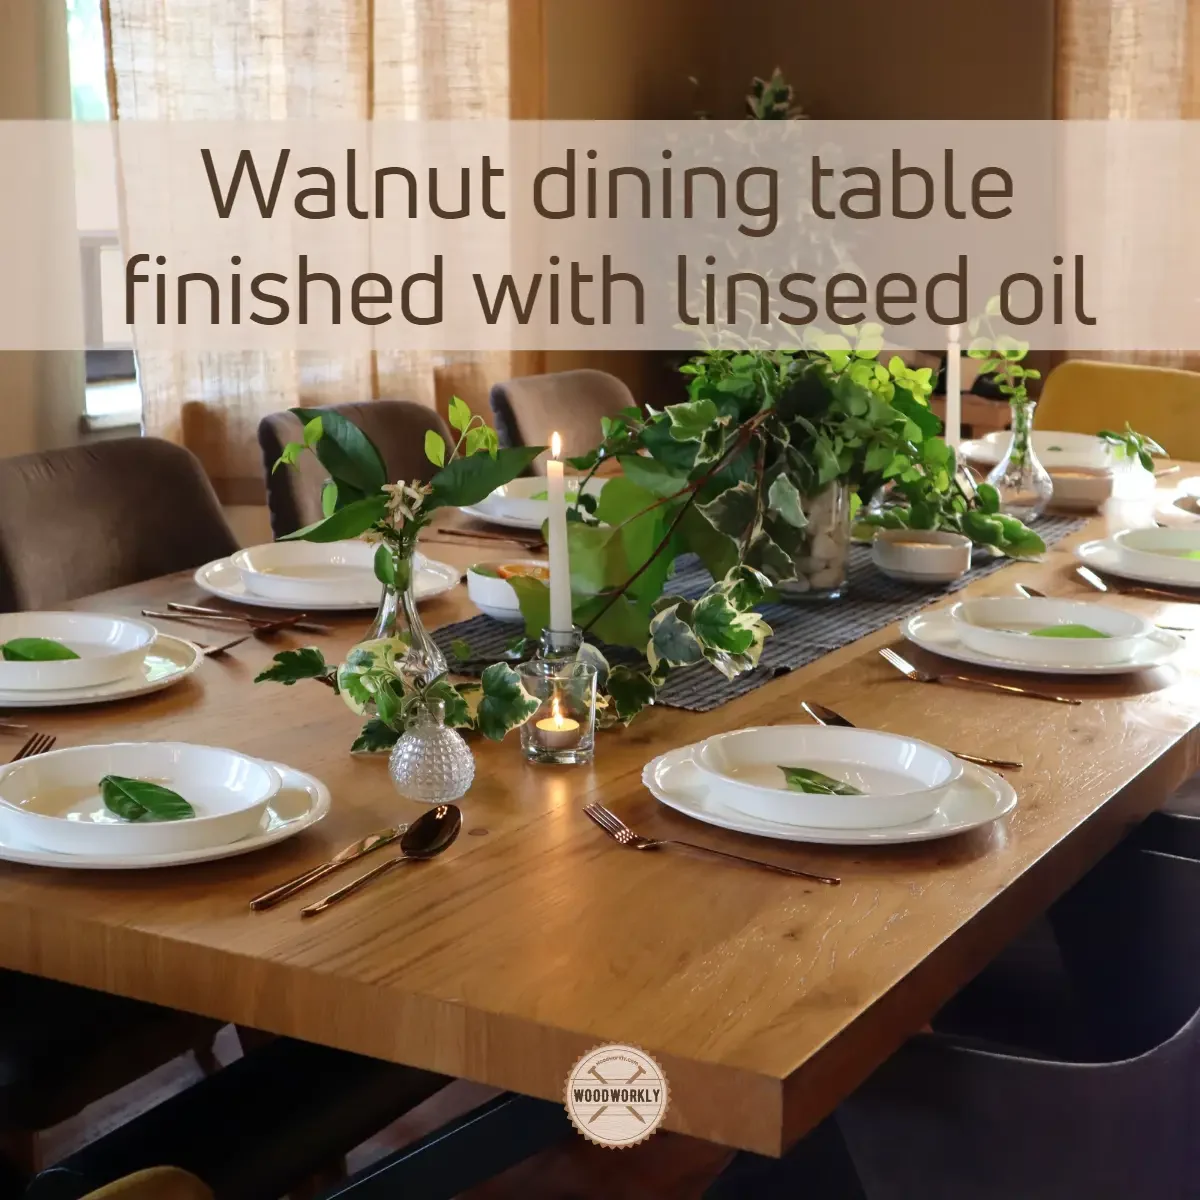
- Walnut tables: A walnut table is a classic piece of furniture that can be finished with linseed oil to bring out the rich, warm tones of the wood and create a protective surface that will stand up to regular use.
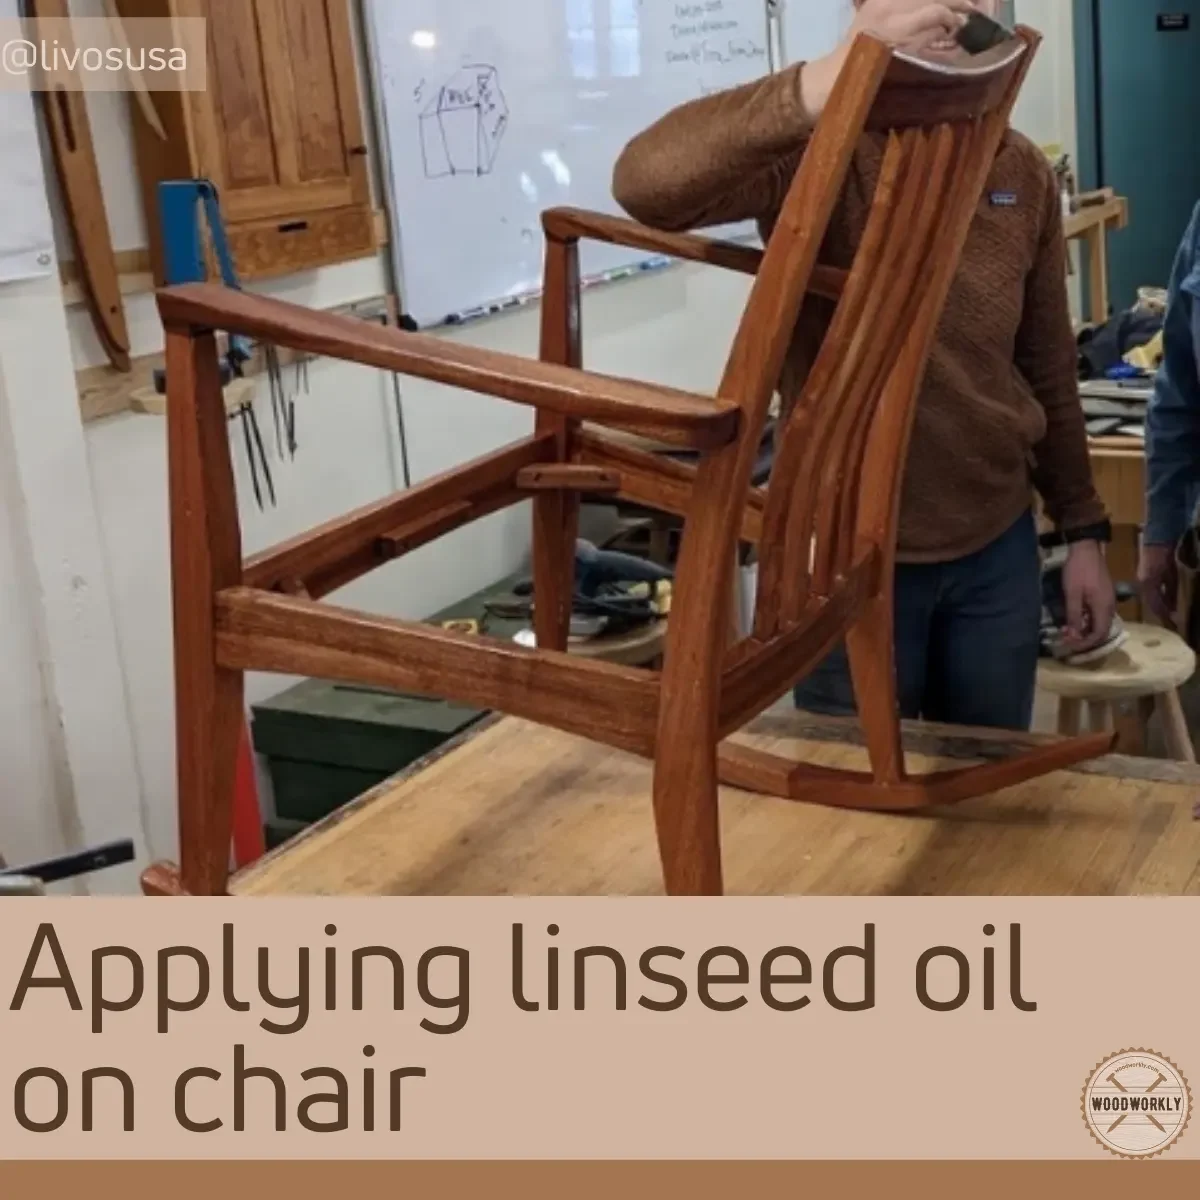
- Chairs: Whether you’re making a set of dining chairs or a comfy armchair, finishing walnut with linseed oil can help to protect the wood from wear and tear and create a beautiful, natural finish.
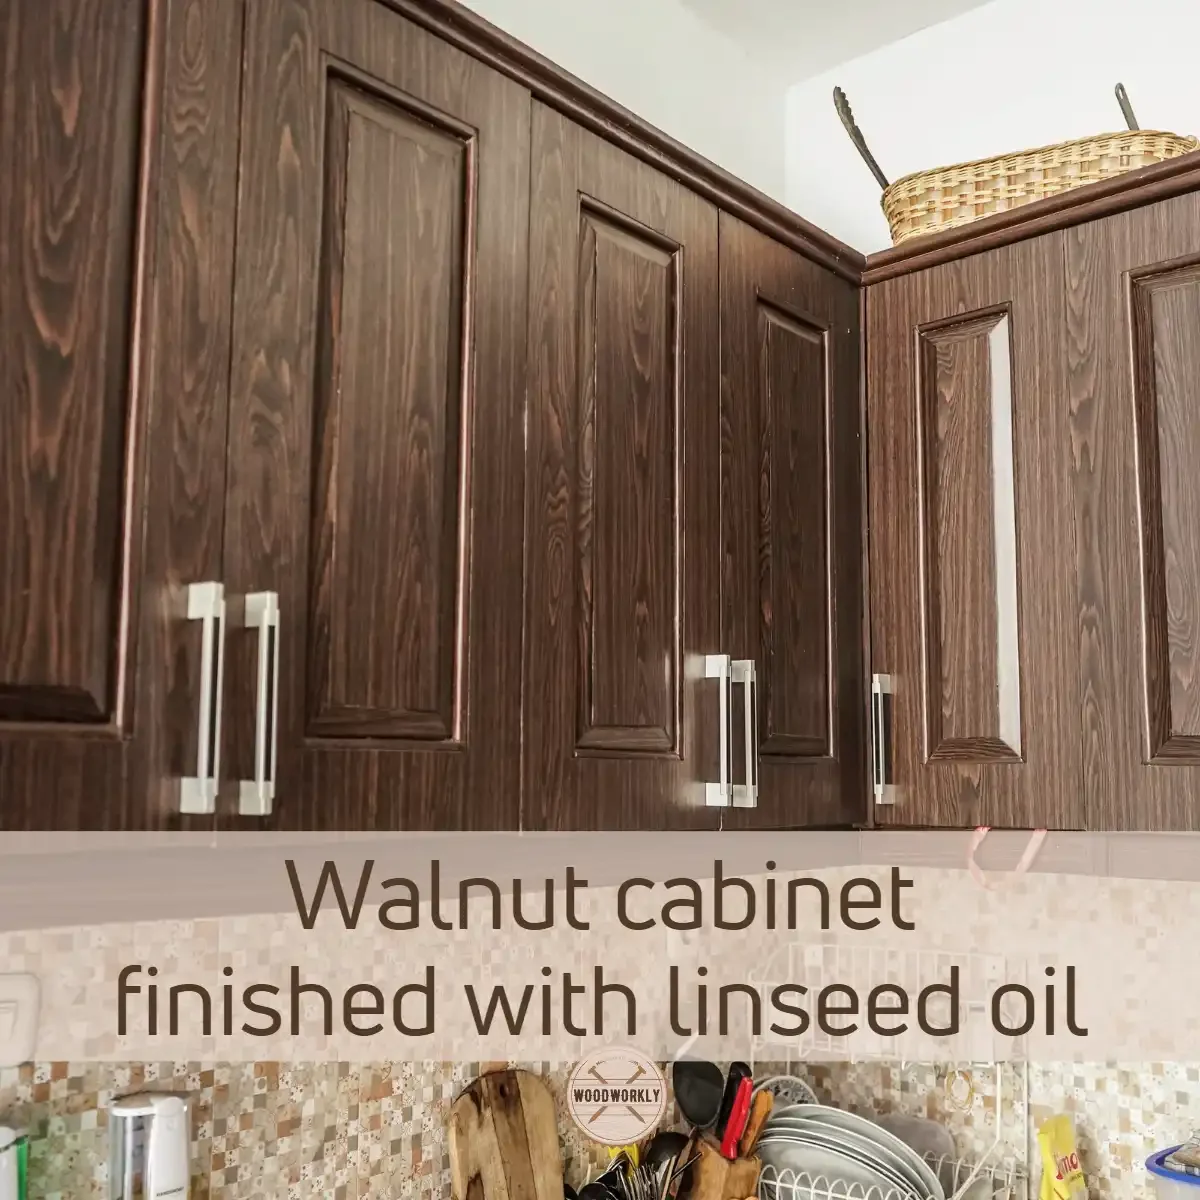
- Cabinets: Walnut cabinets are a popular choice for kitchens, bathrooms, and other areas of the home, and linseed oil can help to protect the wood from moisture and staining while enhancing its natural beauty.
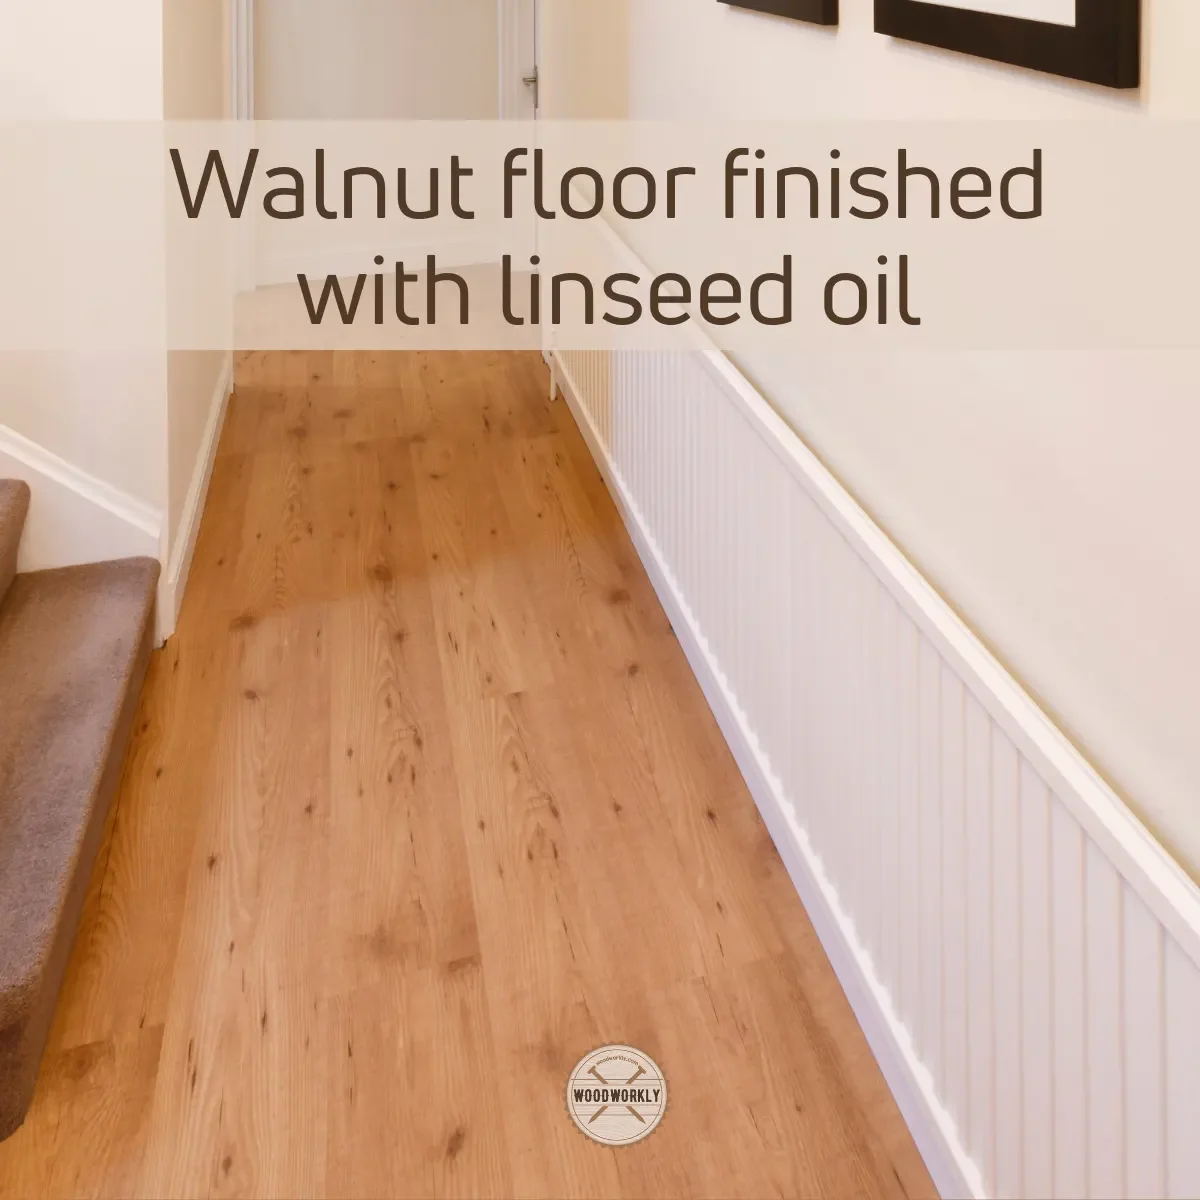
- Flooring: If you’re installing walnut hardwood floors, finishing them with linseed oil can help to protect the wood from scratches, scuffs, and other damage while highlighting the natural variations in color and grain pattern.
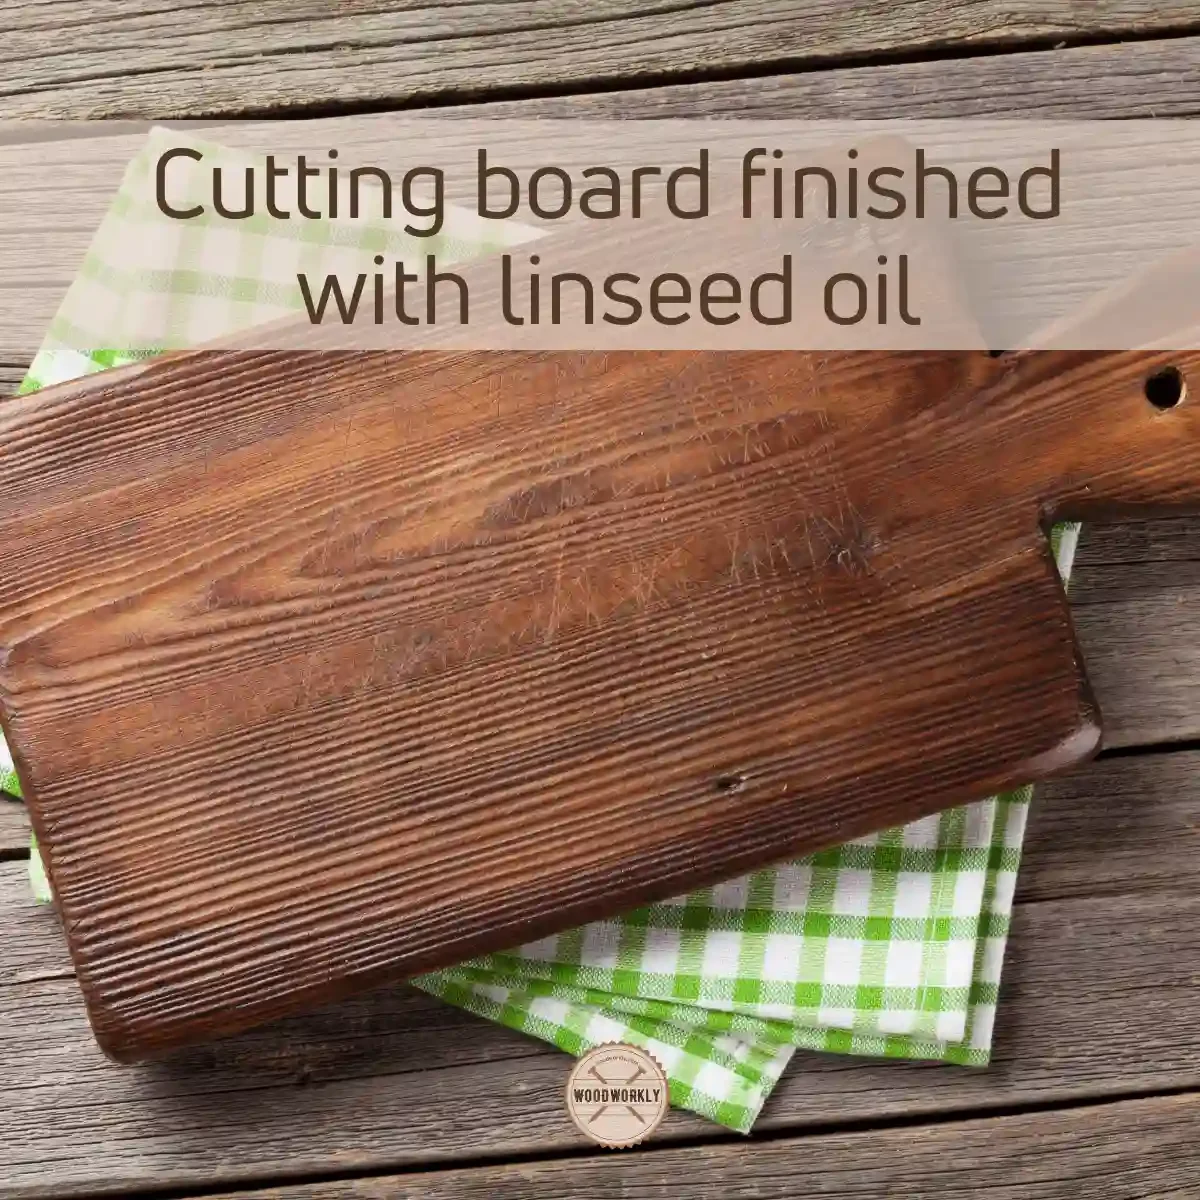
- Decorative items: From cutting boards and serving platters to picture frames and candle holders, linseed oil can be used to finish a wide variety of decorative items made from walnut wood.
As you can see Linseed oil can apply literally for any walnut furniture or DIY project with ease. It protects the wood so well while improving the wood’s appearance.

So, let’s have a look at some benefits you’ll gain by applying linseed oil to walnut.
Advantages Of Using Linseed Oil On Walnut
- Linseed oil enhances the natural beauty and grain pattern of walnut wood.
- Provides protection against moisture and humidity, which can cause warping or cracking.
- Adds a warm, amber tone to the wood, enhancing its natural color.
- Easy to apply and work with, even for beginners.
- Can be used as a standalone finish or as a base for other finishes.
- Environmentally friendly and non-toxic.
- Resists scratches and other wear and tear, making it ideal for furniture and flooring.
- Linseed oil improves walnut wood’s resistance to weathering by providing an extra layer of protection against the elements, helping to prevent warping, cracking, and other damage caused by exposure to sunlight, humidity, and temperature changes.
- Provides a natural, matte finish that doesn’t look “plastic” or artificial.
- Can be reapplied as needed over time to maintain the beauty and durability of the wood.
Because linseed oil is a non-toxic and safe finish after it cures, it is possible to use it on various kitchenware such as utensils, bowls, and cutting boards.
Additionally, it is also suitable for finishing children’s toys.
As you can see linseed oil is filled with lots of benefits and you can’t say No to this amazing finish.
Let’s see how the main two variants of linseed oil work on walnut wood.
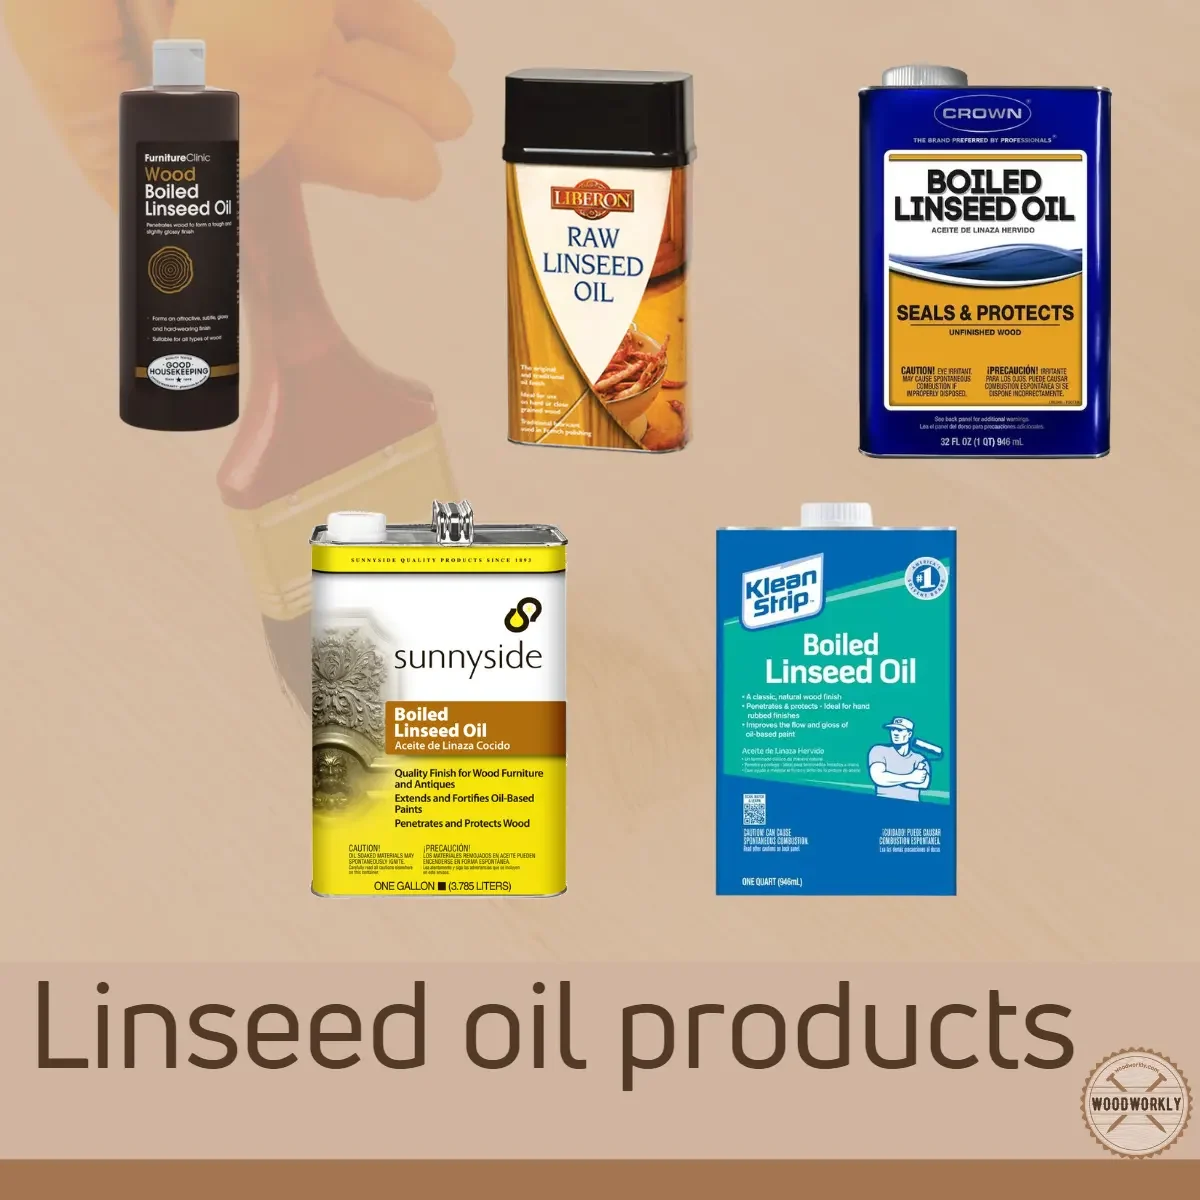
Raw Linseed Oil And Boiled Linseed Oil On Walnut
Two main types of linseed oil can be applied to walnut wood. They are,
- Raw linseed oil
- Boiled linseed oil
Raw linseed oil is considered an eco-friendly and food-safe product since it contains no toxic chemicals, making it ideal for use on dining table desktops, cutting boards, and other surfaces that come into contact with food.
However, raw linseed oil has a long drying time than boiled linseed oil.
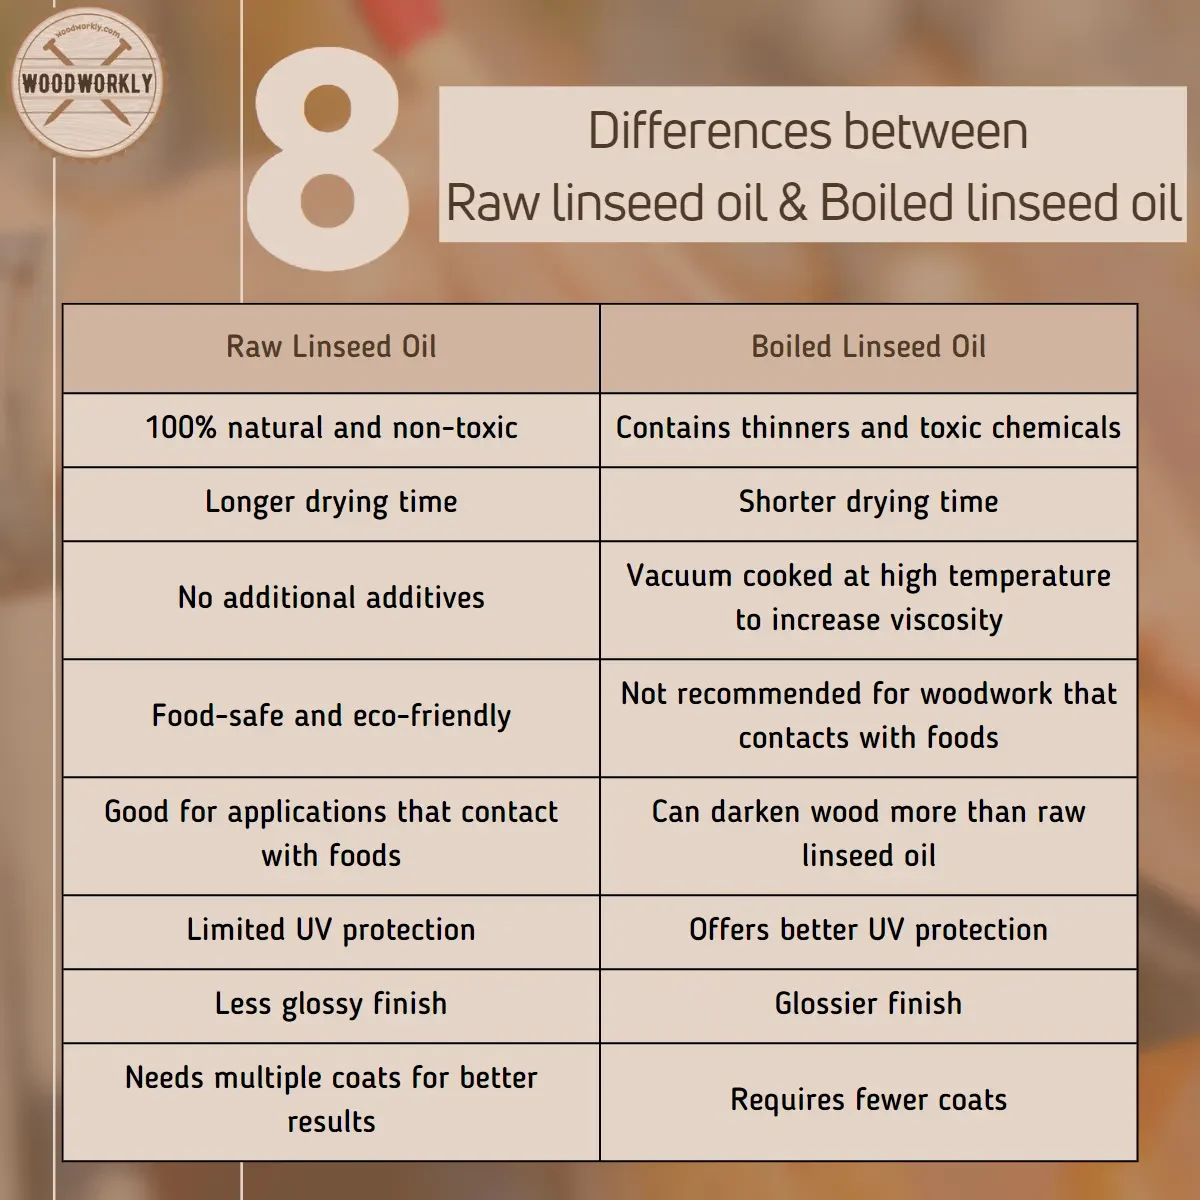
Boiled linseed oil, on the other hand, is made using a vacuum cooking technique at high temperatures which increases the viscosity and shortens the drying time of the oil.
Boiled linseed oil dries faster than raw linseed oil but contains thinners, dryers, and other harsh and toxic chemicals.
Because of this, it is not food safe and should not be used on furniture or woodwork that comes into contact with food.
| Differences | Raw Linseed Oil | Boiled Linseed Oil |
| Drying Time | Very slow | Faster |
| Chemicals | None | Contains thinners, dryers, and other harsh, chemicals |
| Food Safe | Yes | No |
| Eco-Friendly | Yes | No |
| Color Enhancement | Yes | Yes |
| Protection and Durability | Good | Good |
| Application | Easy | Easy |
| Price | Affordable | Affordable |
Enough chit chats! Let’s head into the most interesting session of applying linseed oil on walnut.
Tools And Materials To Apply Linseed Oil On Walnut
- Linseed oil product (Raw or boiled linseed oil)
- Suitable applicator (bristle brush, fam brush, roller, sprayer, or rag)
- Walnut furniture or woodwork
- Mineral spirits
- Scrap wood
- Lint-free tack cloth
- 220 grit sandpaper
- 400 grit sandpaper
- Abrasive pads
- Latex gloves
- Clean rags
- Facemask
- TSP – trisodium phosphate (optional)
First, you need to select which linseed oil type you’re going to apply to walnut.
- Raw linseed oil is great for walnut furniture and woodwork that contact with food. It does not have harsh chemicals. It is non-toxic and food safe. But dries slower
- Boiled linseed oil dries and is cured faster since it contains thinners and harsh chemicals. It gives fast and efficient drying.
Tip:
I have included scrap wood in the list because by applying your linseed oil product first on scrap walnut wood, you’ll be able to minimize lots of wood finishing mistakes.
Plus, you can get a good idea about how the final appearance will look after applying linseed oil to your walnut furniture.
Consider it as a practice project to get promising results with your main project.
Get things ready and move on to the application procedure.
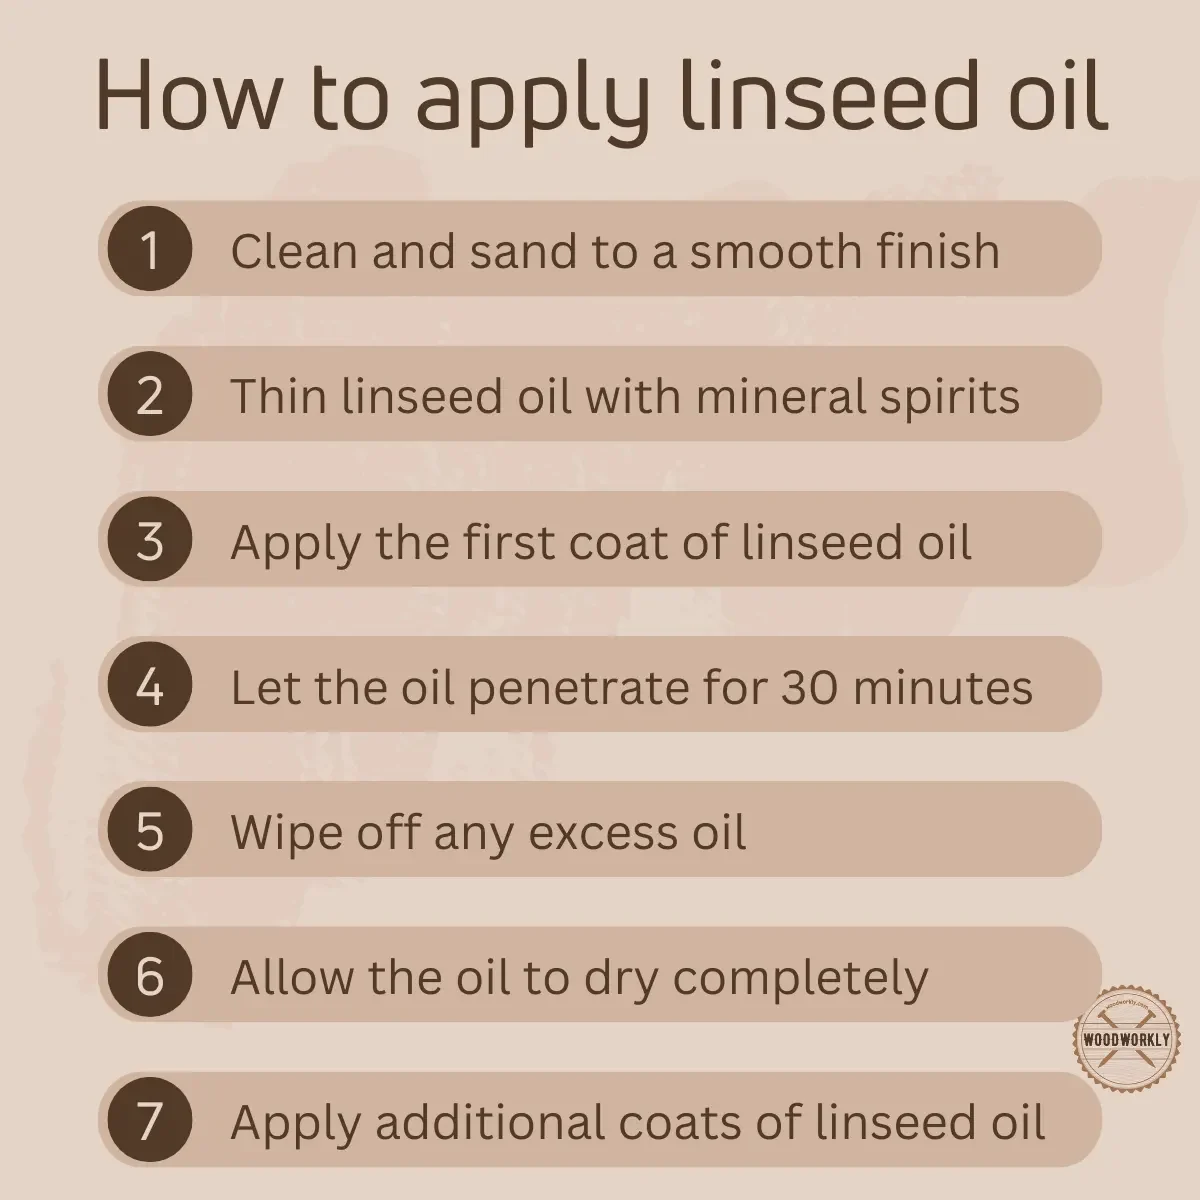
How To Apply Linseed Oil On Walnut?
- Surface preparation and cleaning.
- Sand the walnut wood surface.
- Thinning linseed oil
- Apply the first coat of linseed oil.
- Let the linseed oil dry completely.
- Lightly sand the finishing coat
- Apply more linseed oil coats.
- Let the coats dry and cure.
So, let’s discuss each of the above application steps in detail to get a deep knowledge about applying linseed oil on walnut with no mistakes.
1. Surface Preparation And Cleaning
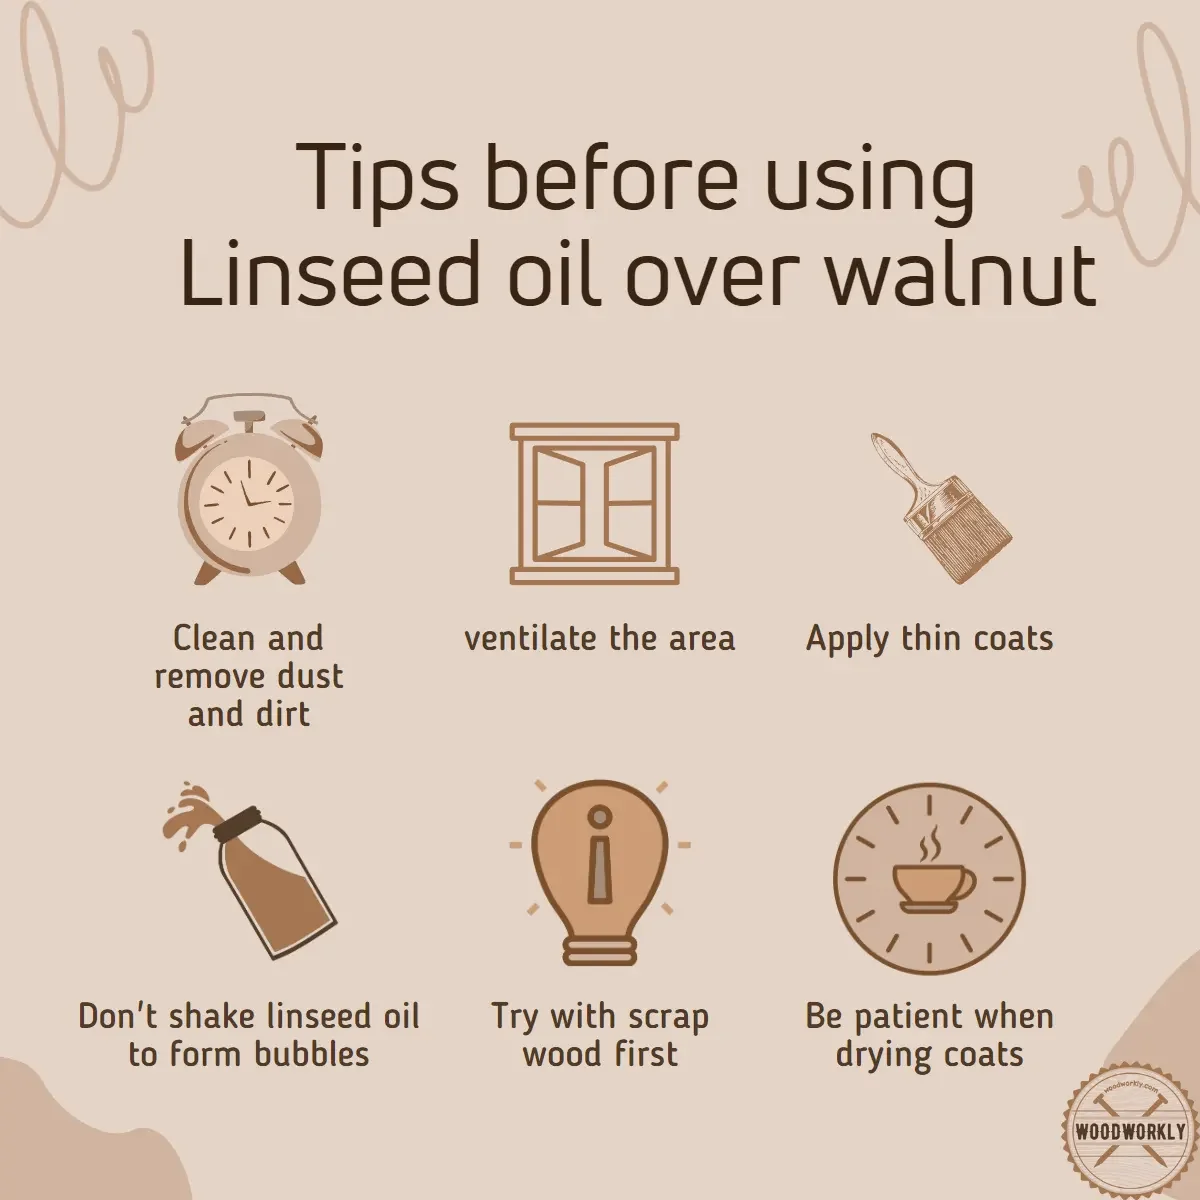
First, you need to take your walnut wood furniture or woodwork to a well-ventilated area since having good air circulation is a must for fast and efficient drying with excellent results.
Having good air circulation helps linseed oil coats to dry and cure faster without forming blotches and streaks on walnut wood surfaces.
Plus, ventilated space helps to remove harsh chemicals and fumes that release during the application of linseed oil which can cause skin and eye irritations.
Therefore, select an open woodworking area, garage with open windows, or sunshiny day outside to get promising results.
After that, clean and remove dust, dirt, and debris from walnut wood surface by wiping it with clean rags.
Applying linseed oil on a clean surface is a must to gain a nice and even-looking linseed oil finish on walnut.
Having dust on the surface upon application can cause random blotchy patches on the surface since dust can easily get trapped inside the linseed oil finish and ruin the wood appearance and reduce the performance of the protective coat.
Dust and dirt result in a dull wood appearance.
You can use TSP (trisodium phosphate) which is an effective cleaning product to remove stubborn dirt and grease from the walnut wood surface.
Tip:
It is recommended to only use TSP on raw wood, as it is an effective cleaner.
If the wood has already been treated with stain, pre-stain conditioner, or any other finish, TSP should not be used on it. This is because it will interact with the existing coating and cause it to peel off.
Applying linseed oil on a clean walnut wood surface makes the application process lot easier and gives excellent results without forming a blotchy or tacky surface.
Once, the surface is completely well-clean, you’re good to move onto the sanding step.
2. Sand The Walnut Wood Surface
Now take the 220 grit or near grit sandpaper and sand the entire walnut wood surface along the direction of the wood grain with even pressure.
Sanding the wood before finishing is useful to make it smooth since linseed oil sticks well onto the smooth surface.
Plus, sanding helps to even out the color of the wood surface which helps to gain an even finish with no random light and dark patches.
Sanding opens up the pores structures of walnut wood which help linseed oil to absorb even better and penetrate deep into the wood by saturating wood fibers for an even finish.
Sanding eliminates bumps and scratches on the surface and makes the pitch ready to take on linseed oil so well.
Sand along the direction of the walnut wood grain to avoid leaving sanding marks and to make the surface lot smoother. Sand with even pressure without missing any spots.
Once you’re done with sanding, wipe and clean sawdust and residue on the surface with a clean rag.
Or you can use a proper dust collection pipe system to collect sawdust on the surface and use them to make fertilizer by drying out.
I know most people are worried about the dark color of linseed oil giving walnut wood upon finishing.
But you can mostly fix the darkening of walnut wood by proper sanding. Therefore, do the sanding with care to win the wood-finishing game like a champ!
Now your walnut wood surface is super clean and nice to take on linseed oil so well.
3. Thinning Linseed Oil
Thinning linseed oil before applying it on walnut wood is an optional step since walnut has excellent finishing properties.
But it helps linseed oil to dry and cure faster and to get a better finishing coat than regular ones.
You can thin linseed oil by mixing it with mineral spirits.
Only the first coat of linseed oil should be thinned with the mineral spirit or odorless thinner for promising results.
Thinning helps to build a good adhesion between linseed oil and walnut wood.
Thinning linseed oil increases the absorption rate of the oil and avoids forming blotches and streaks upon drying.
To thin linseed oil, pour enough linseed oil into a glass jar and mix with an equal amount of mineral spirit.
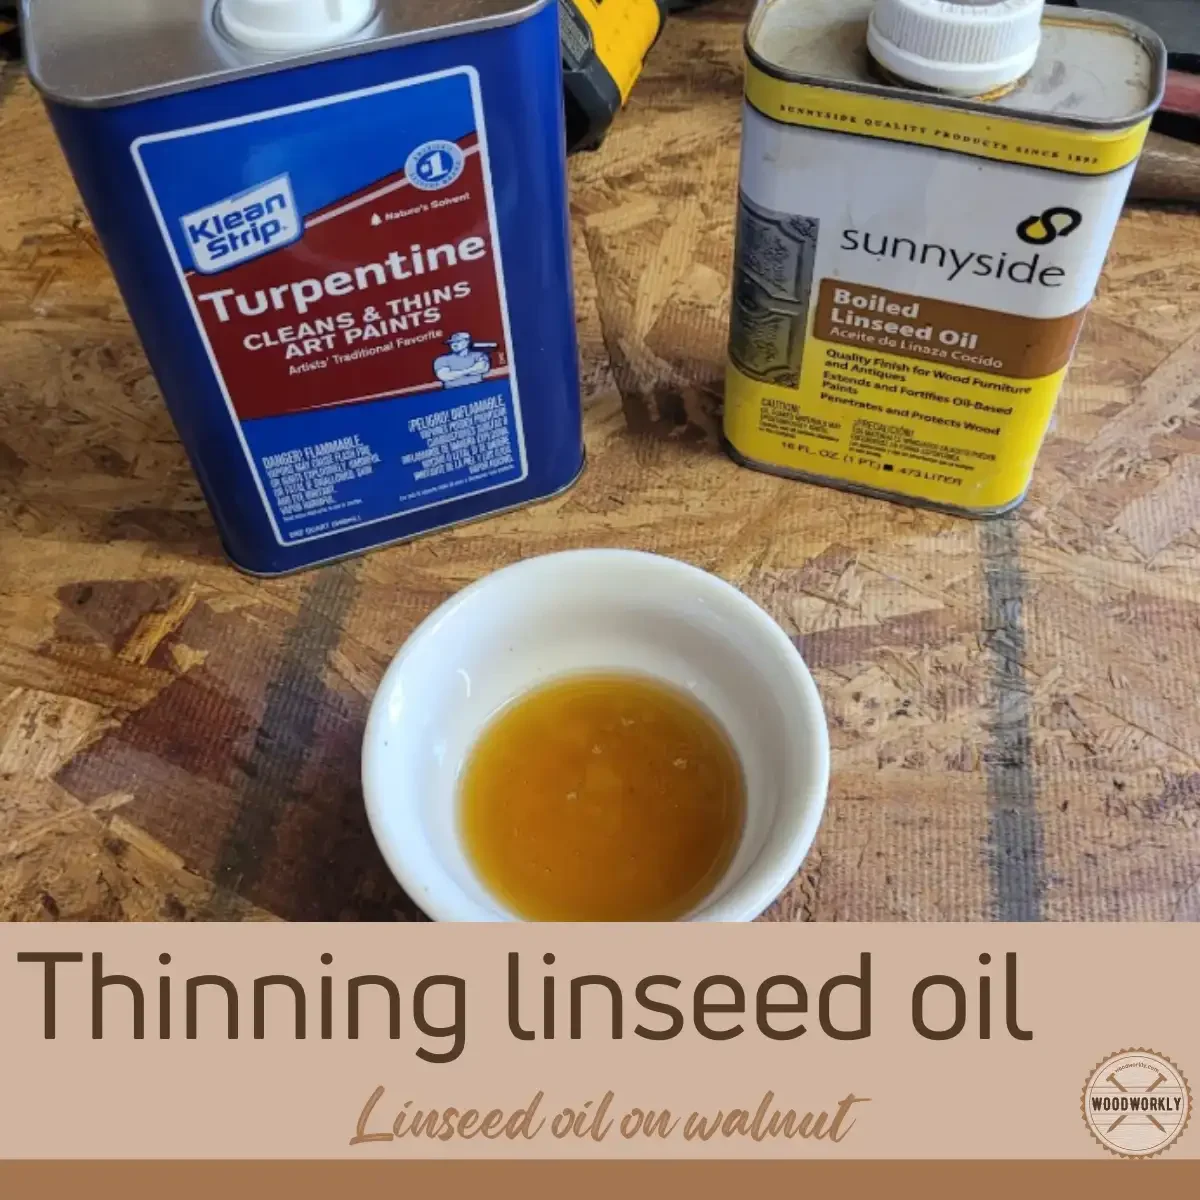
Linseed oil to mineral spirit mixing ratio should be 1:1. Mix them slowly without letting form air bubbles.
Now you’re good to apply the first linseed oil coat on the walnut wood surface.
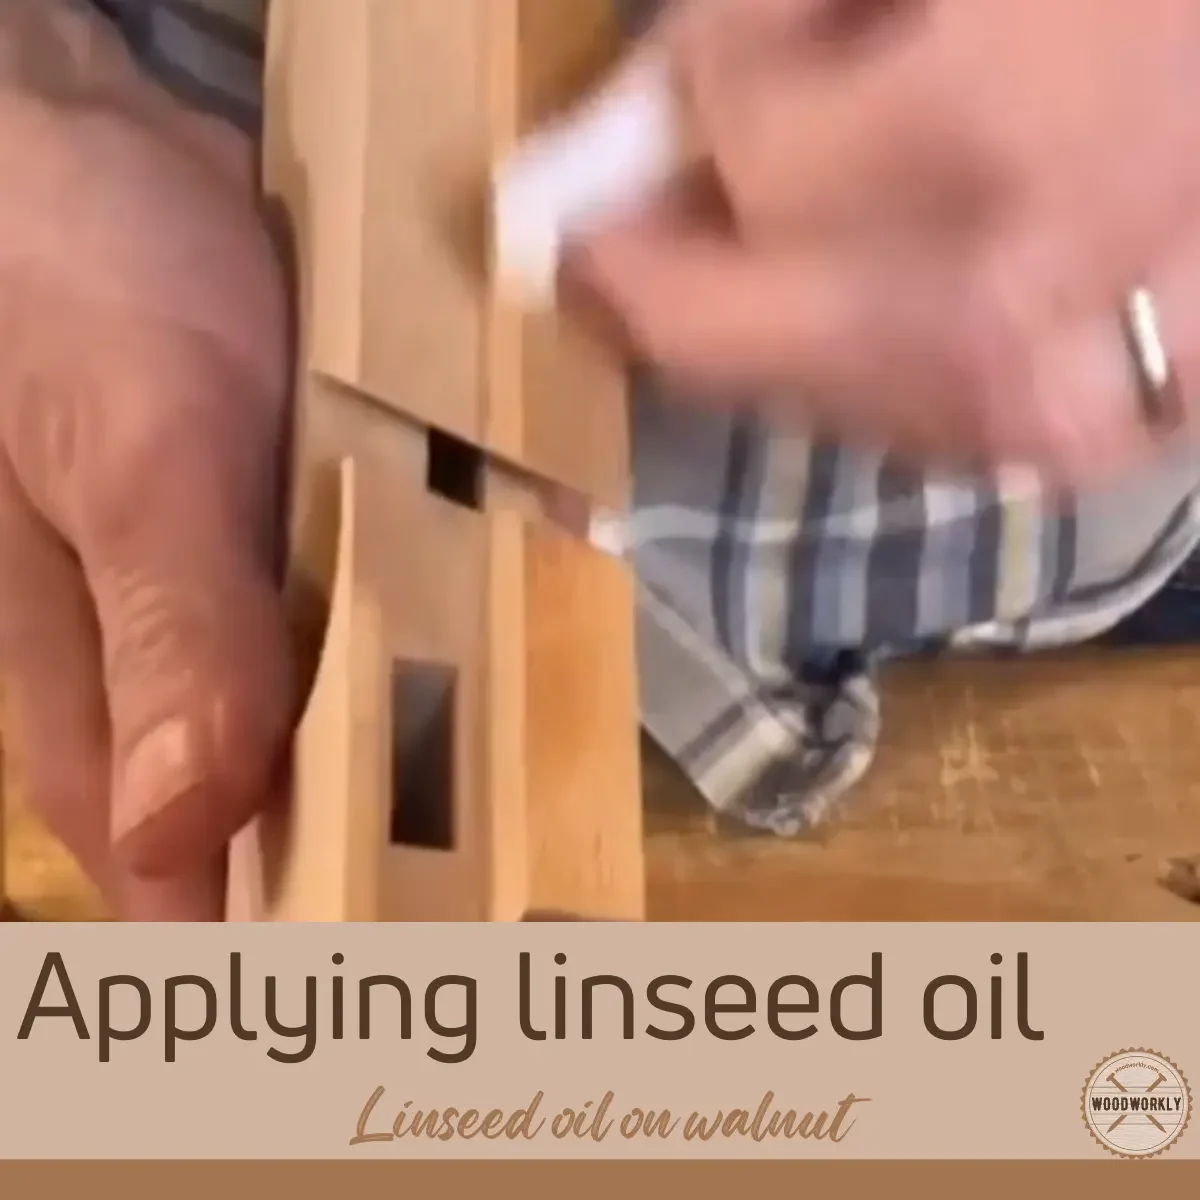
4. Apply The First Coat Of Linseed Oil
First, pour a sufficient amount of thinned linseed oil into a plastic container from the linseed oil can or glass jar.
Don’t forget to close the lid of the can after taking a sufficient linseed oil amount of and applying the first coat since linseed oil reacts fast with the oxygen in the air.
Then, saturate the lint-free tack cloth or any other suitable applicator by dipping so little linseed oil and applying a thin coat of linseed oil on walnut wood surface.
Thin linseed oil coats absorb well into the walnut wood surface and saturate the wood fibers.
The saturation of walnut wood fibers with linseed oil gives elastic properties and flexibility to the walnut wood which avoid wood from cracking and splitting.
You’ll notice the first layer of linseed oil will directly absorb into the walnut wood to saturate wood fibers. Only the excess will remain on the walnut wood surface making the protective coat.
The remaining linseed oil on walnut surface hardness upon to a coat that protects wood from moisture, scratches, insect attacks, and extreme weather conditions.
Apply a thin linseed oil coat on the walnut to avoid forming blotches and to minimize walnut wood from darkening.
Tip:
Please note that linseed oil darkens walnut, and it can’t be ignored. You can minimize the amount of darkness by applying thin linseed oil coats on walnut.
Apply with even pressure to even out the color of the linseed oil coat.
The application time is around 10 to 15 minutes, but this can vary on the area you have to cover.
After applying linseed oil on walnut let it saturate the wood and settle on the surface for 30 minutes and wipe off the excess using a clean cloth to get an even looking finish with a thin linseed oil coat.
Wiping off excess oil is essential to get promising results with an even linseed oil finish.
Thinned linseed oil dries and is cured faster than the regular ones.
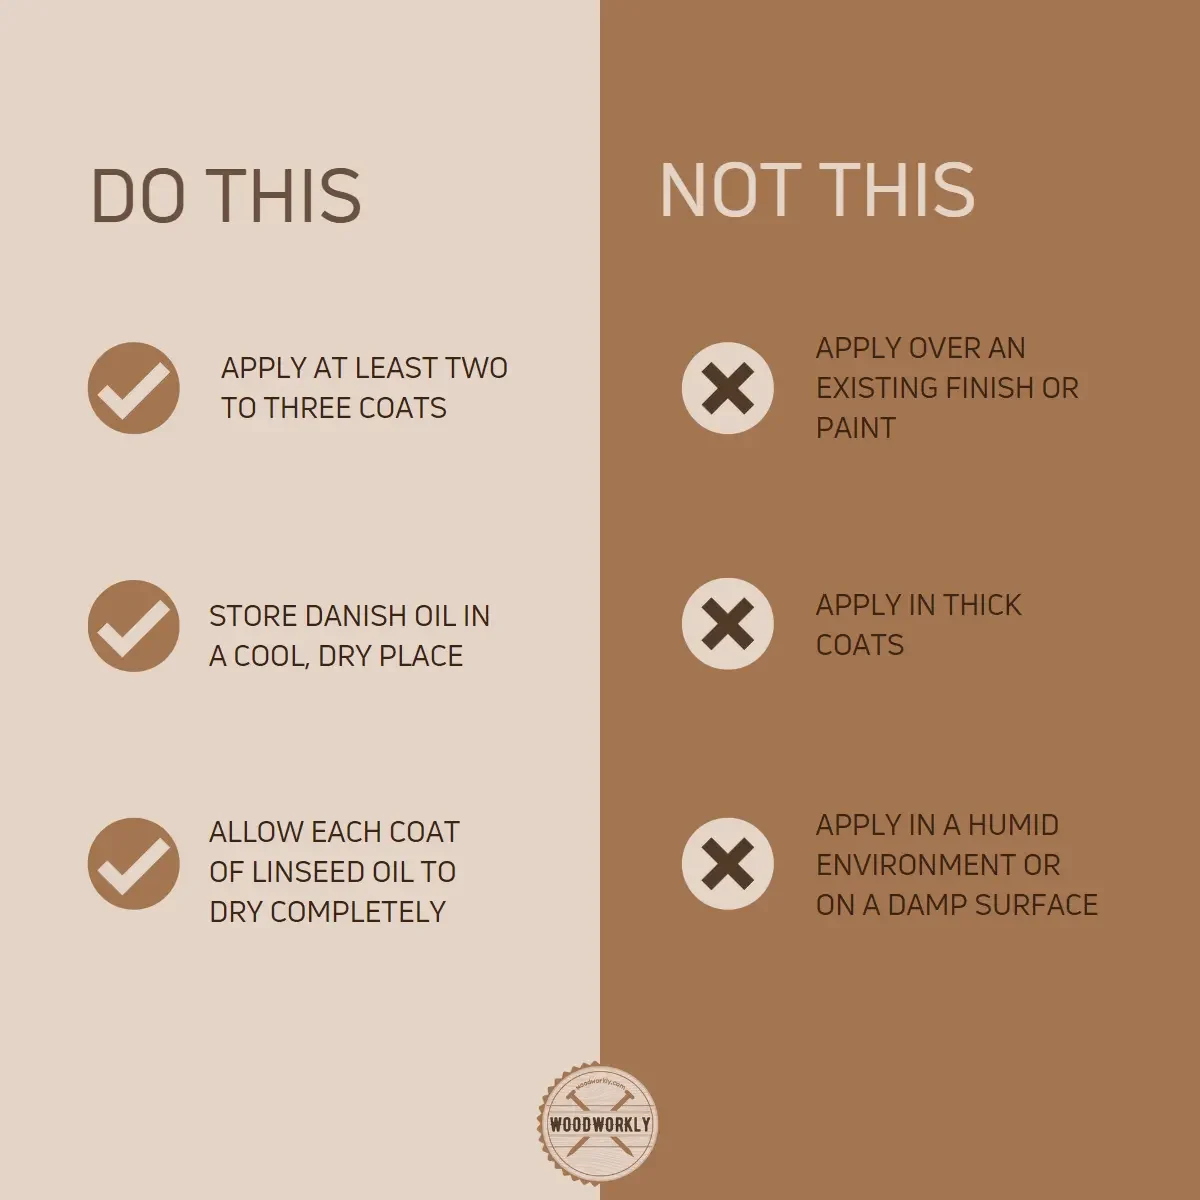
5. Let The Linseed Oil Dry Completely
After applying the first linseed oil coat on walnut wood, let it dry for 24 hours.
This drying time can vary on the environmental humidity and thickness of the linseed oil finish. However never try to move onto the second coat of linseed oil until the first one dries completely.
Sometimes, you’ll have to wait around 48 hours before applying the second coat until the first one dries which depends on the weather outside.
Applying another linseed oil over the walnut before the first one dries completely leads to never drying tacky or splotchy surface and results dull appearance.
Therefore, patience is a must, and giving enough drying is essential for a nice and even finish.
Once the first linseed oil dries completely, you can move on to the next step.
6. Lightly Sand The Finishing Coat
Now lightly sand the first linseed oil coat with 400 grit or finer sandpaper along the direction of the wood grain.
Light sanding between linseed oil coats is recommended to smoothen the surface and to build a good adhesion between the linseed oil coats.
Light sanding provides adhesive properties to the existing linseed oil coat which helps the next linseed oil coat to stick well onto the previous coat with no layer separations.
Plus, sanding makes the linseed oil finish super smooth and helps to reduce the thickness of the coat.
Sand with light pressure without missing any spots. Or you can use abrasive pads to knock off nibs and get a smoother finish. They don’t clog up like sandpapers.
Once you’re done with light sanding, wipe and clean the finishing coat.
7. Apply More Linseed Oil Coats
Now apply the second linseed oil coat along the direction of the walnut wood grain. Follow the same application procedure you used to apply the first coat.
Apply a thin linseed oil coat to get a nice and even finish.
Likewise apply, 2 to 3 linseed oil. Coats on walnut to get an attractive finish with highlighted wood grain and to get a protective finish that protects the wood from moisture damage and weather elements.
Lightly sand between each linseed oil coat and let each coat dry for at least 24 hours.
8. Let The Coats Dry And Cure
After applying the final linseed oil coat over walnut wood, let it dry for 48 hours and cure for 5 to 6 days.
The final linseed oil coat does not need light sanding since you won’t apply another one above.
Linseed oil hardness to a protective coat upon drying. But it will reach its final state upon curing.
After curing linseed oil become super hard and tough by blocking outside moisture from penetrating the wood.
Once the linseed oil finish is fully dried and cured, it will enhance the walnut wood appearance by highlighting the wood grain and protecting the wood from moisture, water damage, and sunlight.
Therefore, better not to use finished walnut furniture until it cures completely.
According to my experience,
Boiled linseed oil dries faster than raw linseed oil which means boiled linseed oil takes 2 to 3 days to fully dry and cure while raw linseed oil takes 5 to 6 days.
But these drying and curing times can vary on the environmental humidity and the thickness of the coats.
When the environmental humidity is high and the thickness of the finishing coats is high, linseed oil dries slower than usual.
Applying linseed oil on walnut is all about,
- Wipe on
- Light sanding
- Wipe off
- Let it dry
- Scuff it
- Repeat
That’s it! Now you know how to apply linseed oil on walnut using the most accurate method. Follow the above steps carefully to get the finish as you wish.
Let’s answer some frequently asked questions as well.
Can You Apply Linseed Oil With A Brush?
Yes, you can apply linseed oil with a brush. In fact, using a brush is one of the most common methods to apply linseed oil on wood.
It allows you to spread the oil evenly and control the amount you apply.
Just make sure to use a natural bristle brush, as synthetic bristles can melt when they come in contact with linseed oil.
Use branded brushes to apply linseed oil since low-quality brushes contain spaces that are filled with air which can trap inside the linseed oil finish upon application.
Removing air bubbles from linseed oil finish is frustrating and takes a lot of time.
And, always remember to clean the brush thoroughly after use to avoid any hardening of the oil on the brush.
Does Linseed Oil Darken Walnut?
Yes, linseed oil can darken walnut wood.
However, the degree of darkening depends on various factors such as,
- The number of coats applied.
- The type of linseed oil used.
- The condition of the wood.
Raw linseed oil tends to darken wood less than boiled linseed oil.
In general, it’s a good idea to test the linseed oil on a small, inconspicuous area of the wood first to see how it affects the color before applying it to the entire piece.
How To Finish Walnut Without Darkening?
You can finish walnut without darkening by avoiding oil-based finishes, such as linseed oil as they tend to darken the wood over time. This happens because they react with the outside air.
Instead, you can use water-based finishes like lacquer or shellac. These finishes dry clear and won’t darken the wood as much as oil-based finishes.
You can also consider using a natural finish like beeswax or tung oil which is able to finish walnut without darkening.
These finishes won’t darken the wood and will give it a more natural look.
Before applying any finish, it’s important to test it on a small, inconspicuous area of the wood to ensure that you achieve the desired result.
How Many Coats Of Linseed Oil On Walnut?
Apply 2 to 3 coats of linseed oil on walnut to create a protective layer on the surface of the wood with enhanced wood appearance.
But the number of coats of linseed oil you apply to walnut depends on your preference and the desired finish.
However, some people prefer to apply more coats to achieve a smoother and shinier finish. It’s essential to let each coat dry thoroughly and lightly sand before applying the next coat.
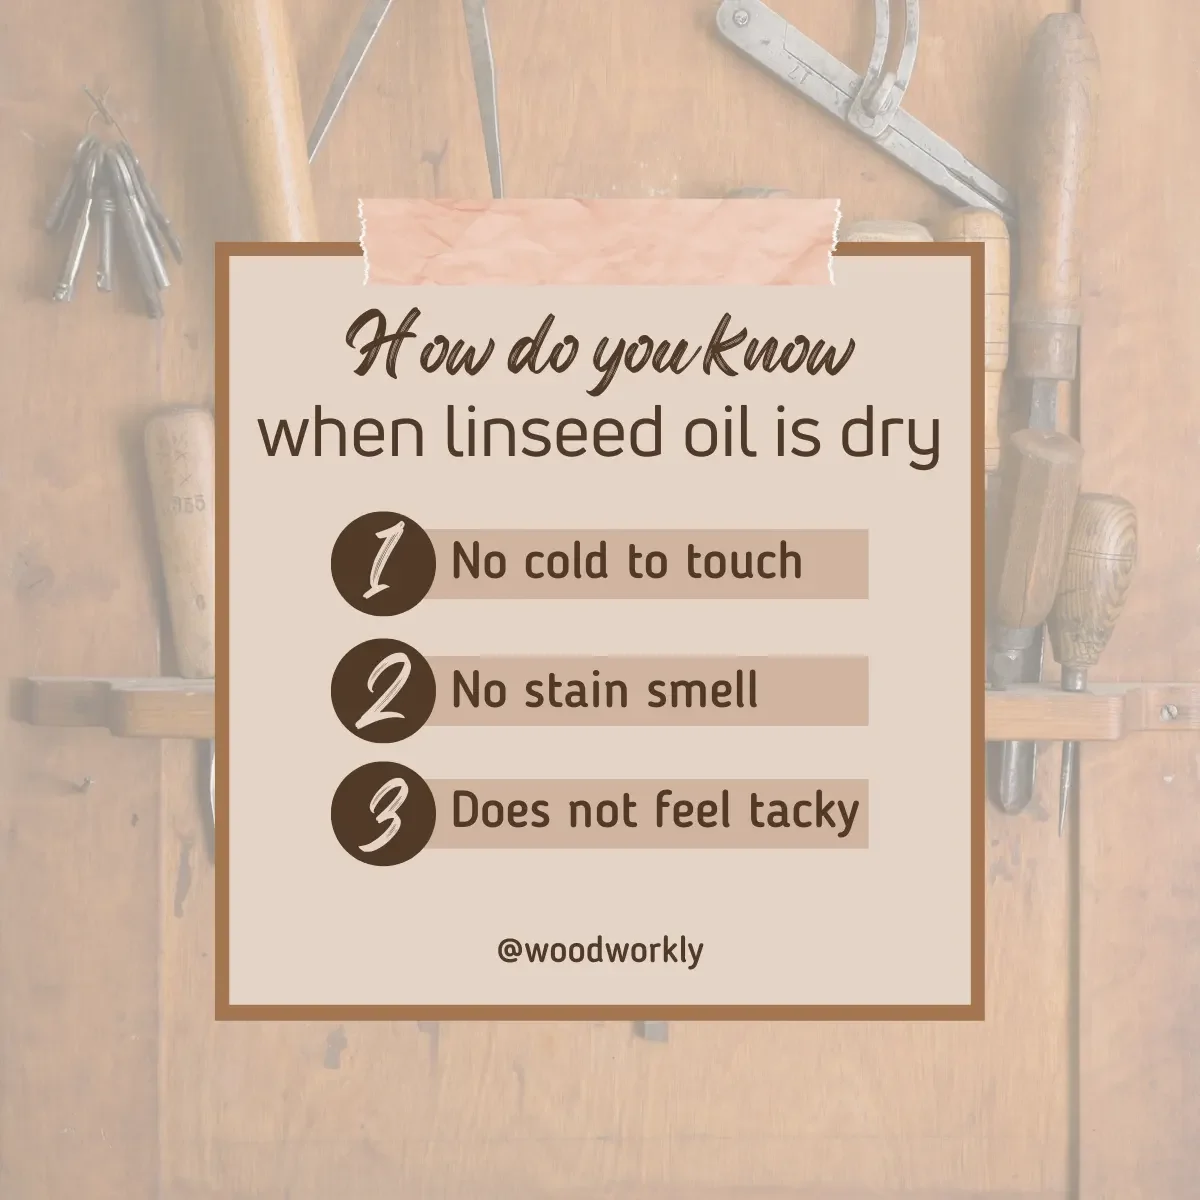
How Long Does Linseed Oil Take To Dry?
Linseed oil takes 24 to 48 hours to dry. But this can vary upon the environment it is applied in.
Raw linseed oil takes longer to dry compared to boiled linseed oil.
In general, it can take anywhere from a few days to a couple of weeks for linseed oil to dry completely.
Factors such as humidity, temperature, and ventilation can affect the drying time as well. It’s important to wait until the first coat is completely dry before applying additional coats.
Does Linseed Oil Waterproof Wood?
Linseed oil does not make wood completely waterproof. It can provide some degree of water resistance to wood.
It can help repel water to some extent and prevent it from penetrating deeply into the wood fibers.
However, if you need a highly water-resistant or waterproof finish, you may want to consider using a different product (lacquer, beeswax) or applying multiple coats of linseed oil.
Additionally, it’s important to note that linseed oil takes a long time to dry completely, so the wood may not be water-resistant until the oil is fully cured.

What Are The Best Oil Finishes For Walnut Wood?
Linseed oil, tung oil, and Danish oil are the best oil finished for walnut wood.
Linseed oil: Linseed oil is a popular choice due to its availability, affordability, and ease of application.
Tung oil: Tung oil is another great option as it enhances the natural beauty of walnut wood while providing a durable and waterproof finish. Tung oil works well on walnut.
Danish oil: Danish oil, which is a blend of varnish and oil, provides excellent protection while also highlighting the wood grain. Danish oil is able to finish walnut wood so well.
Did I cover all you wanted to know about: Using Linseed Oil On Walnut
In this article, I’ve deeply discussed whether can you use linseed oil on walnut and how to do that in the easiest way with all the tips and techniques.
Both raw and boiled linseed oil works well on walnut wood by making a protective coat that avoids moisture damage and weather elements. Linseed oil improves the walnut wood’s appearance. Apply thin coats of linseed oil on walnut and lightly sand between each coat for an even finish.
Furthermore, I’ve answered some frequently asked questions as well.
Hey folks, that’s all about using linseed oil on walnut! Hope you enjoyed reading it and got some useful tips.
Now, it’s time for you to give me feedback through the comments section below.
Let me know how this article helped you and if you have any questions or suggestions, I am always here to help you out.
So, keep experimenting with different finishes and share your experience with me. See you soon!