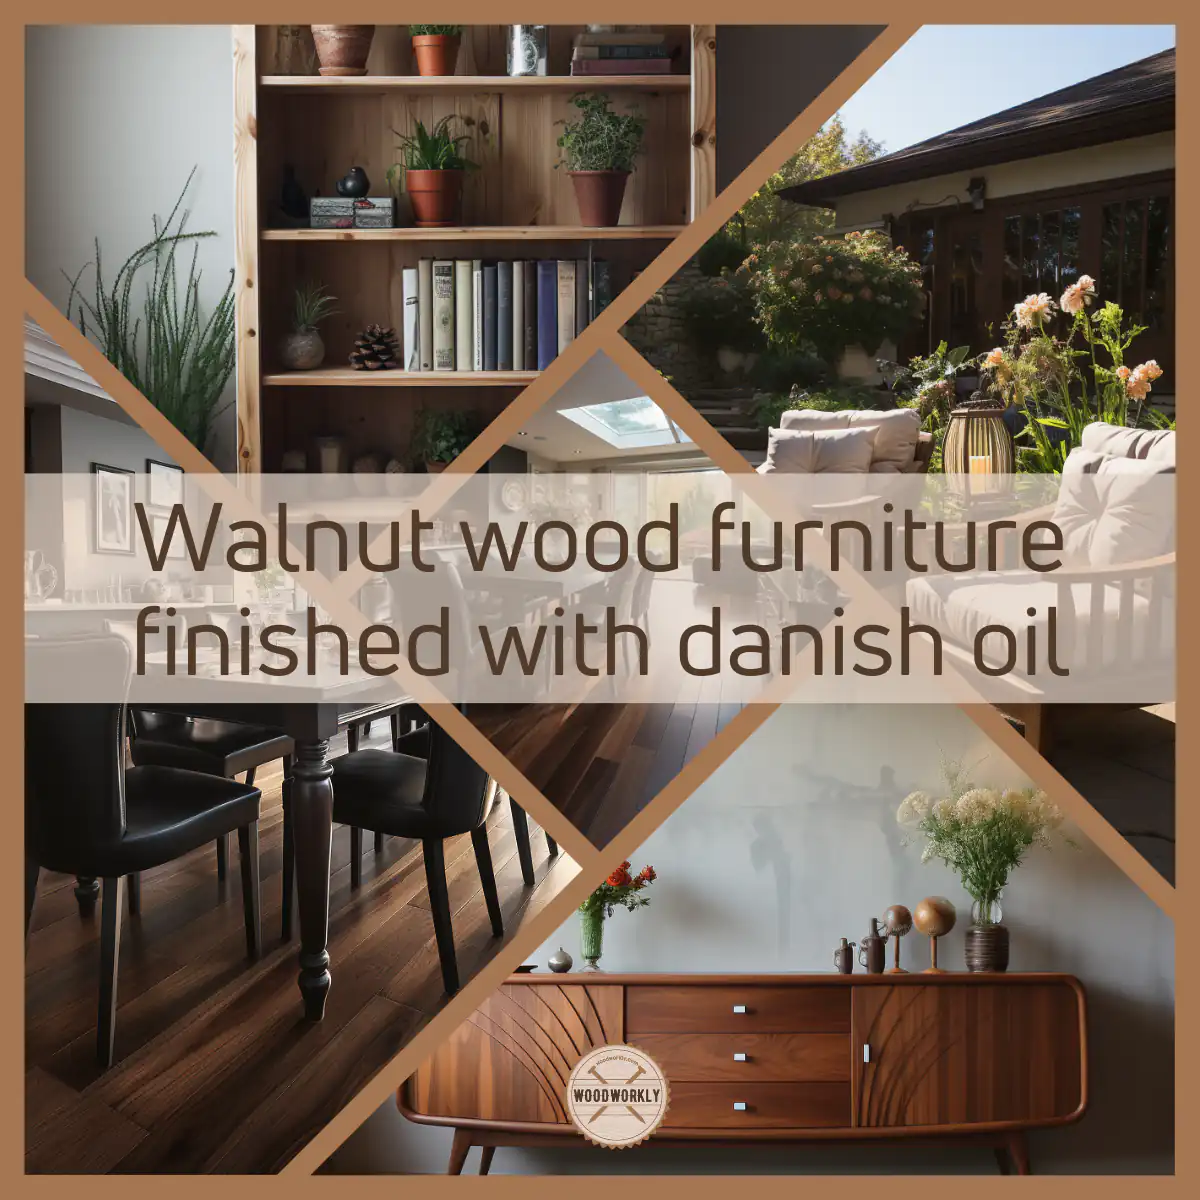
Ever wondered how to elevate the beauty of walnut wood while ensuring its longevity? Discover the magic of Danish oil a woodworker’s best friend!

Danish oil is great for finishing almost any kind of woodworking project. It is easy to apply, and woodworkers love to use it as a both primer and topcoat.
On the other hand, walnut is such a beautiful hardwood with a nice grain pattern. With little finishing, you can make it ready to tolerate many environmental elements such as water.

I have finished a couple of my walnut indoor and outdoor furniture with Danish oil and they turn out pretty good.
So, let’s discuss using Danish oil on walnut.
You can use Danish oil on walnut with no issues. Danish oil enhances the walnut wood appearance while making a protective coat that helps to protect walnut furniture and woodwork from weather elements. Apply thin coats of Danish oil along the walnut wood grain and lightly sand between coats for good adhesion.
But there’s a lot more to get into about using Danish oil on walnut.
So, in this article, I’ll explore whether can you use Danish oil on walnut and how to do that properly with all the tips and techniques.
Furthermore, I’ll answer some frequently asked questions as well.
Let’s dive in!
Can You Use Danish Oil On Walnut?
Yes, you can use Danish oil on walnut. Danish oil makes walnut wood more beautiful by highlighting the grain pattern and providing extra protection from elements such as moisture and insect attacks.
Walnut wood contains large wood pores with an open grain structure. In order to fill those high amounts of wood pores you’ll need to apply a lot of Danish oil to the walnut.
Walnut wood absorbs Danish oil like a sponge due to those high amounts of large pores structure.
The chemical ingredients of Danish oil that sit on the walnut surface will harden upon curing by reacting with the oxygen in the air.
Once you apply Danish oil on walnut, a large amount of oil absorbs into the wood through the wood pores, and the excess will remain and sits on the surface to make the coat.
Therefore, most of the time the first coat of Danish oil doesn’t get a chance to sit on the surface. All most all of them absorb into the wood pretty quickly.
Danish oil saturates the walnut wood fibers. This increases the flexibility of walnut wood and prevents wood from cracking and splitting.
Chemicals in Danish oil goes through a series of reaction and form a super hard protective coating over walnut as the result of its curing.
This protective coat is waterproof and prevents the walnut wood surface from contact with the outside environment. It basically works as a barrier between walnut wood and the outside.
Because of this awesome coat made of Danish oil over walnut, Walnut wood gets protected from extreme moisture levels outside, temperature variations, insect and bug attacks, UV light, and many other environmental elements.
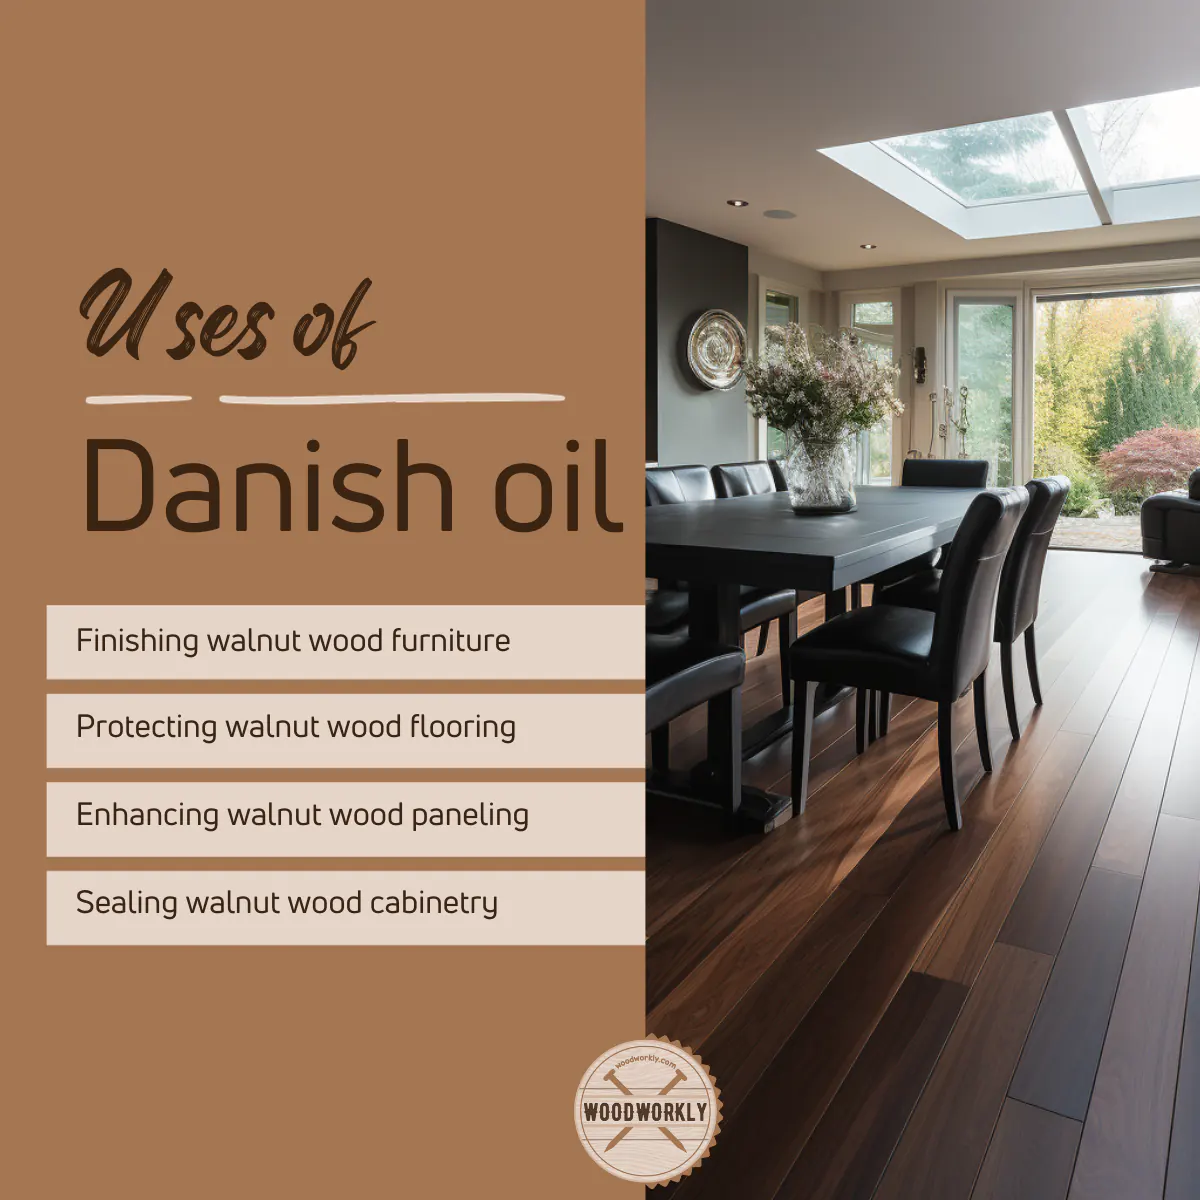
Danish oil is mostly used for following applications of walnut,
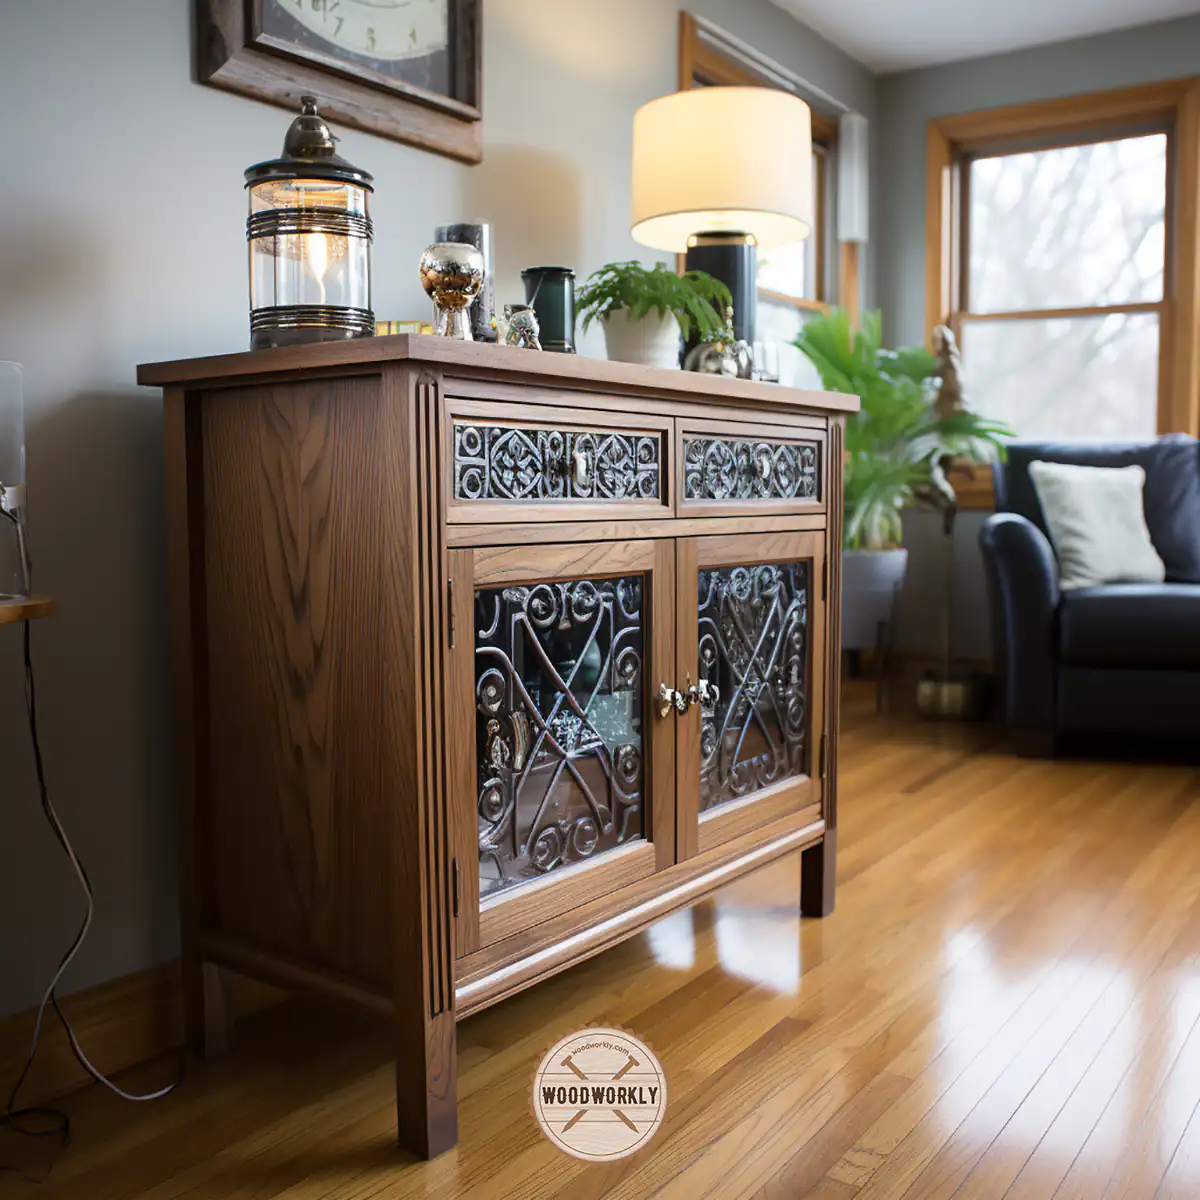
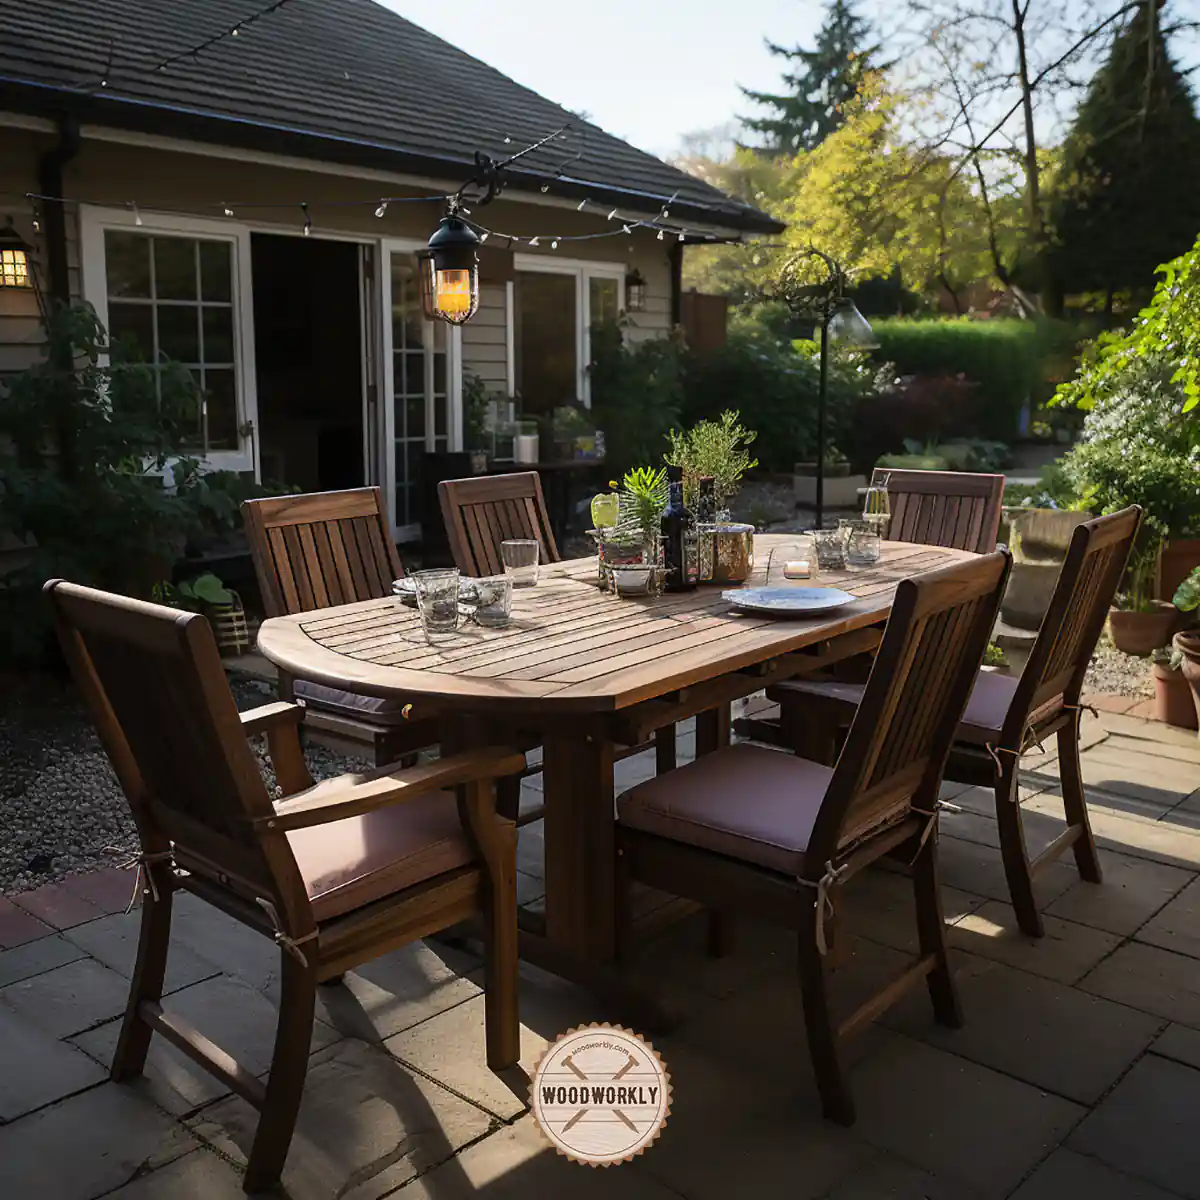
- Walnut furniture
- Walnut doors and panels
- Walnut wood carving projects
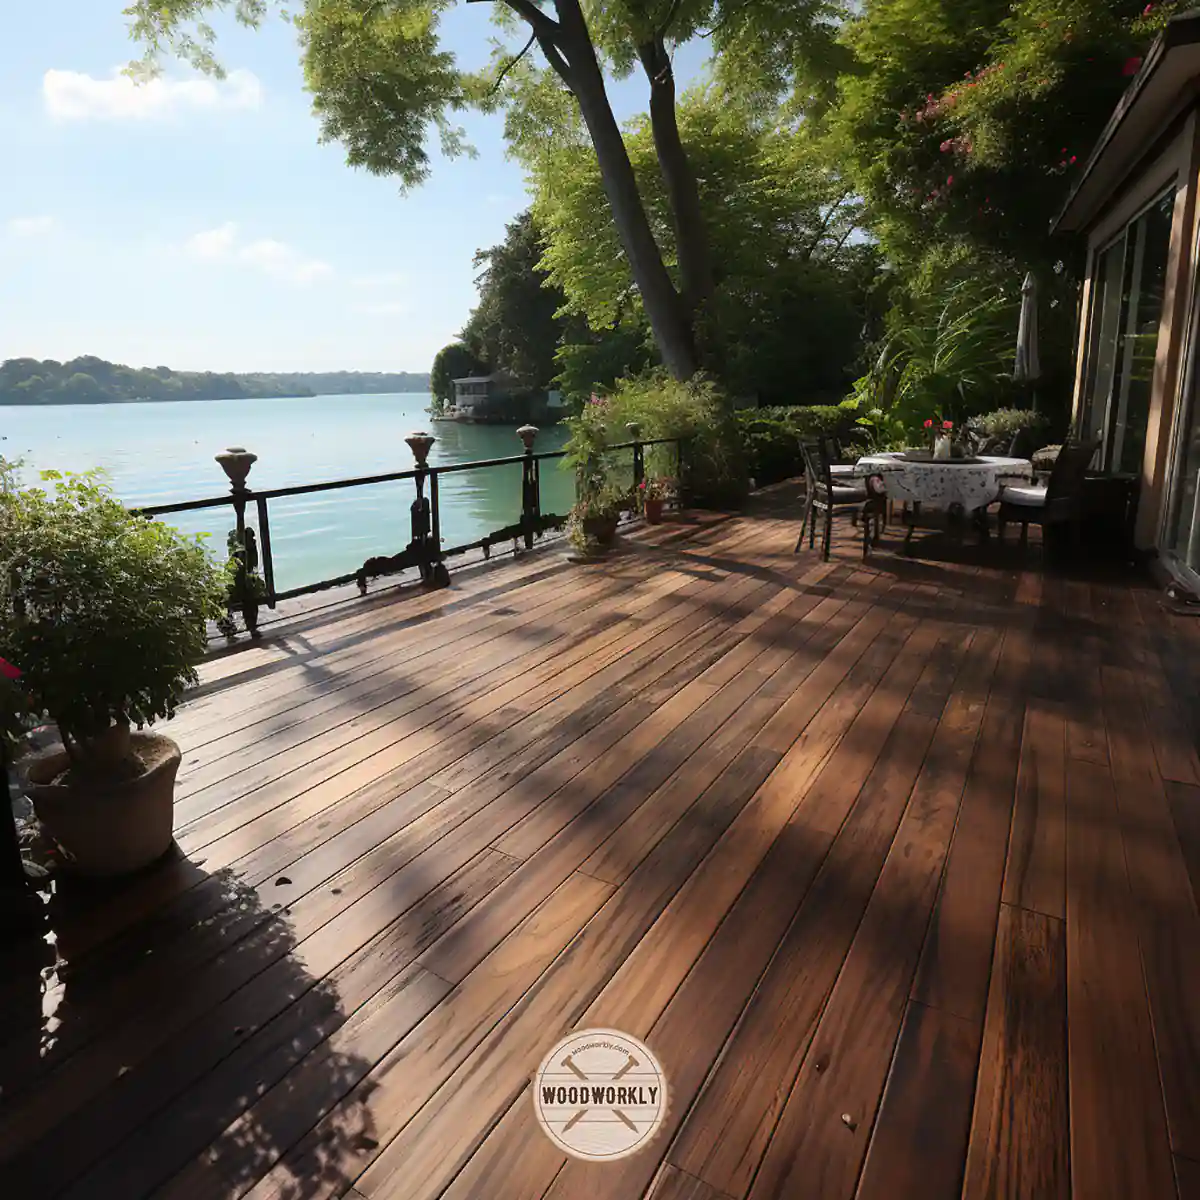
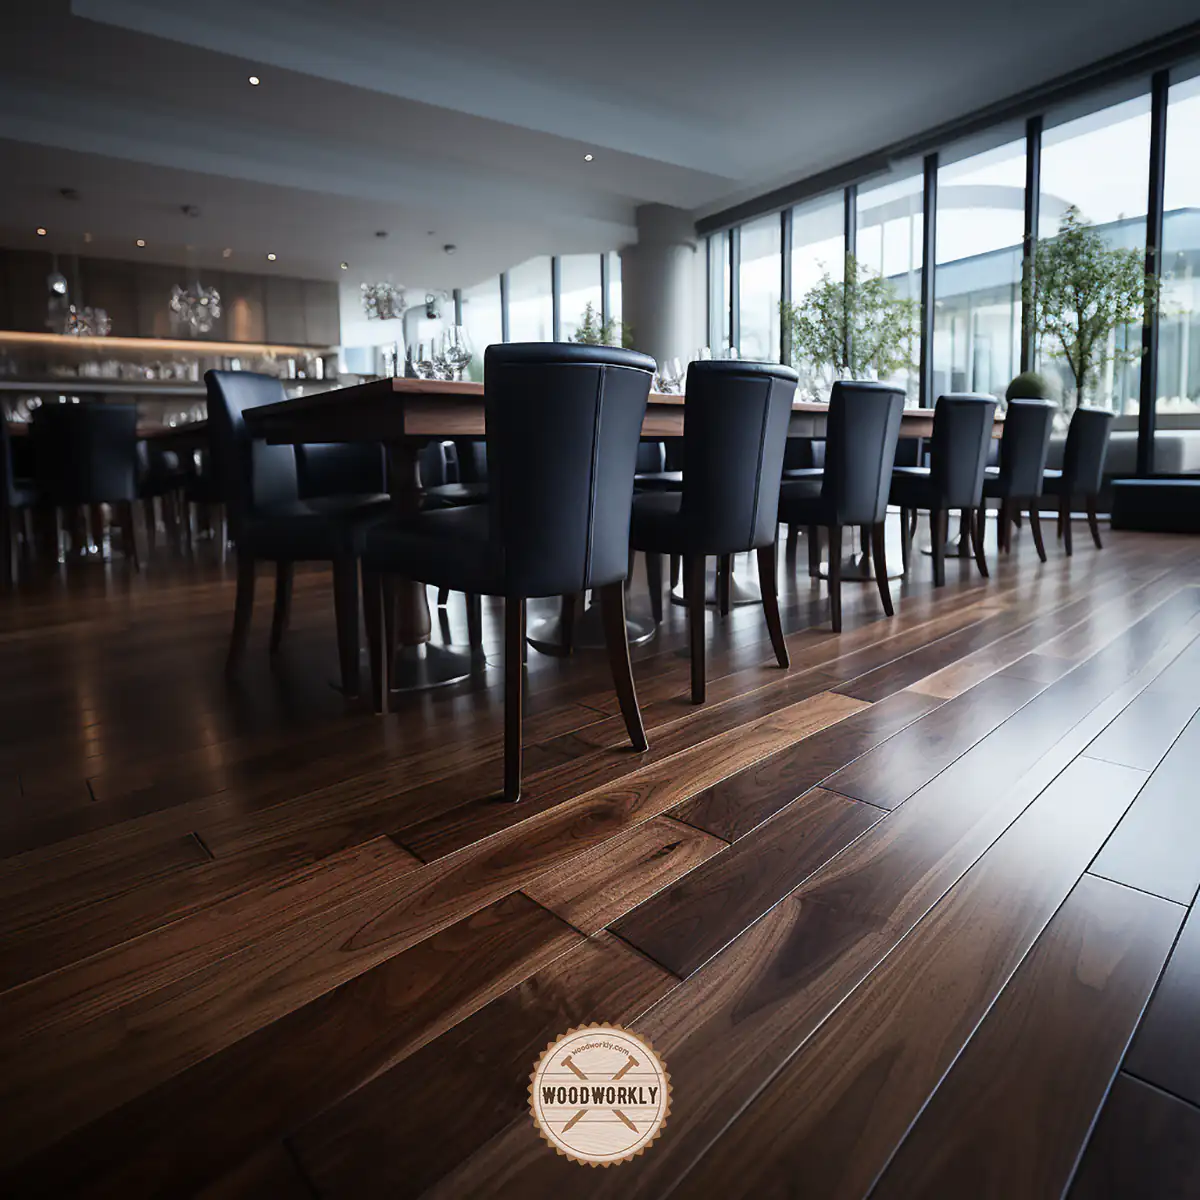
- Walnut floorings
- Cabinets
You can use Danish oil on any walnut furniture and woodwork with no issues at all. Just use the correct method when applying.
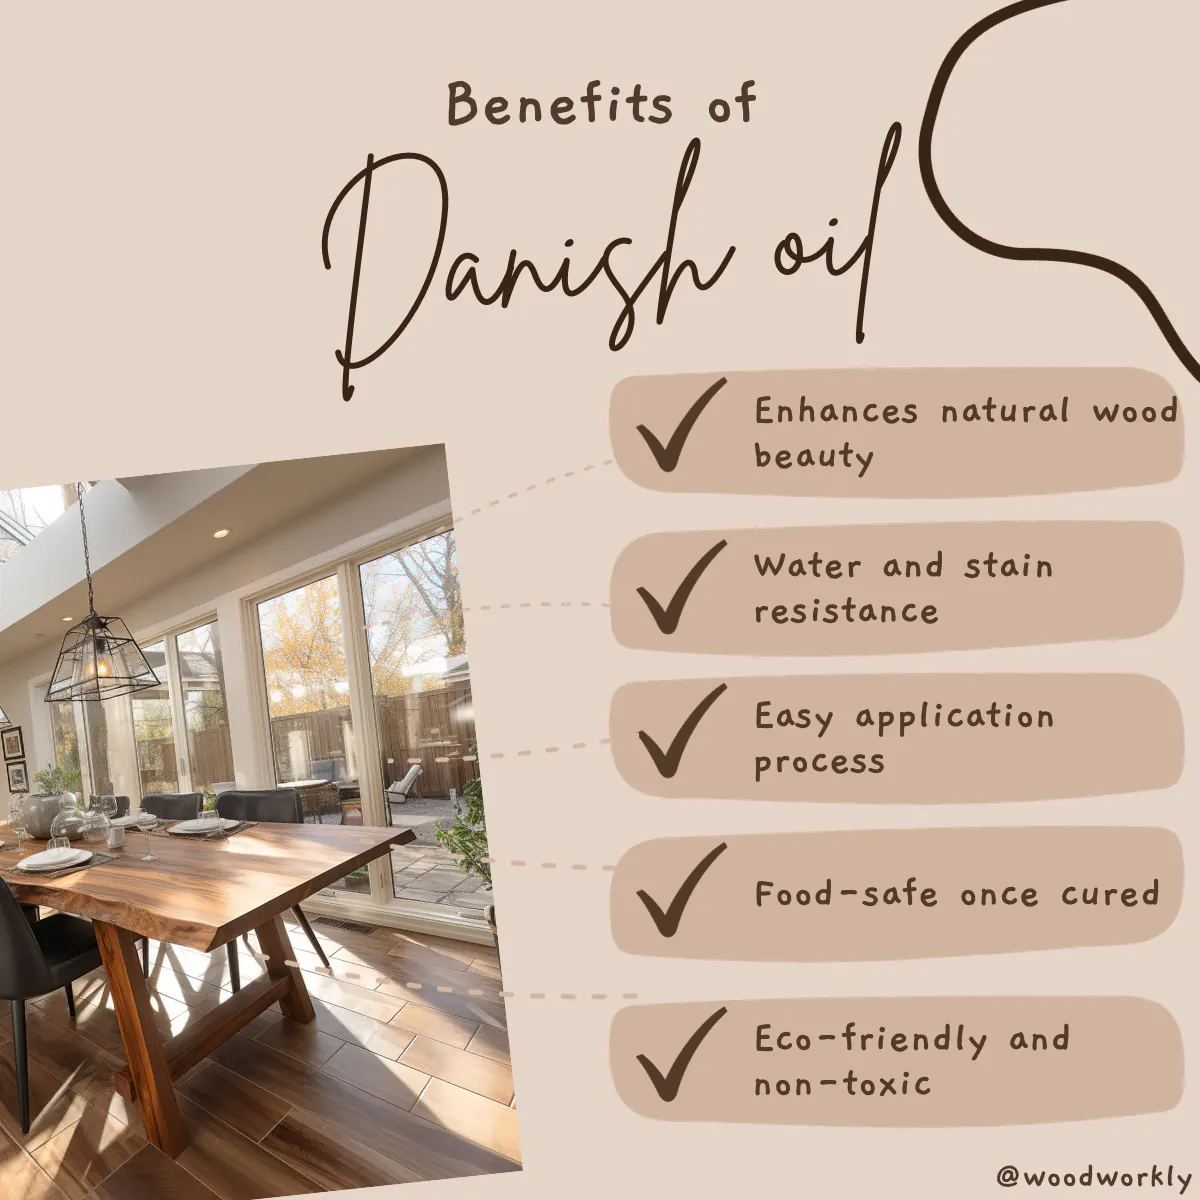
Advantages Of Using Danish Oil On Walnut
- Danish oil makes the walnut wood waterproof
- Danish oil dries faster
- Food-safe and non-toxic wood finish when cured
- Danish oil is easy to apply
- Enhance the walnut wood appearance
- Fix dents and scratches on the walnut surface
- Protect walnut wood from outdoor elements
- Improves wood durability
Because of being non-toxic, food-safe finish when cured, Danish oil is great to finish walnut cutting boards, butcher blocks, and even for children’s toys.
Danish oil is a finishing oil with lots of benefits.
Let’s get into the main topic that discusses the application process of Danish oil on walnut.
Here are the tools you’ll need to apply Danish oil efficiently over walnut wood.
Supplies You Will Need To Apply Danish Oil On Walnut
- Danish oil (homemade or commercial product)
- Walnut furniture or woodwork
- Scrap walnut wood
- 220 grit sandpaper
- 440 grit sandpaper
- Abrasive finishing pads
- Lint-free tack cloth
- Clean rags
- Latex gloves
Collect the above supplies from quality manufacturers and get ready for the walnut wood finishing process.
Always use fresh Danish oil can to get the best results.
Danish oil can easily go bad due to wrong storage techniques. Use a quality fresh product to get the result you wish.
How To Apply Danish Oil On Walnut?
Danish oil is easy to apply on walnut wood.
But because of the high amount of large wood pores, you’ll need to use a lot of Danish oil to make a quality protective layer over it.
Therefore, Danish oil takes so long to dry on walnuts.
You can apply Danish oil on walnut using two main methods. They are,
- Apply Danish oil using a bristle brush
- Apply Danish oil with a lint-free tackcloth
The easiest and most efficient way of applying Danish oil on walnut is with lint-free tack cloth since wiping off through the surface is easier than using brush strokes.
Here is the procedure of using Danish oil on walnut,
- Prepare the surface
- Sand the walnut surface
- Apply the first coat of Danish oil
- Let the surface dry and sand the surface
- Apply more coats
- Let the surface dry and cure
So, let’s discuss each of the above steps in detail to get a clear idea about the procedure of applying Danish oil on walnut furniture.
1. Prepare the Surface
First, you need to take the walnut wood furniture or woodwork to a well-ventilated area. Having good air circulation helps Danish oil coats to dry fast and efficiently.
Plus, Danish oil is consisting of mineral spirits which tend to evaporate during the application process.
Having a good air circulation must remove the fumes and chemicals that release from Danish oil quickly from the working area.
Breathing those chemical fumes can cause breathing issues. Therefore, safety first.
Open windows in your wood finishing area to make it ventilate.
Then clean the whole walnut wood surface with a clean rag to remove dust, debris, and grease from the surface.
Make sure not to miss any spot during the cleaning since dust particles easily get stuck to the oil finishing and cause a lot of trouble and may end up with a dull appearance in the end.
After removing all the dust and debris from the surface you can apply tri-sodium phosphate to remove stubborn dirt from the walnut surface.
Add a little amount of trisodium phosphate to a tack cloth and rub the areas with dirt to make the surface super clean and polished.
After that let the surface dry well before sanding.
Cleaning and polishing are must to make the surface ready to take on Danish oil.
2. Sand The Walnut Surface
Take the 220-grit sandpaper and sand the entire walnut wood surface to remove surface imperfections, and randomness and smoothen the surface before applying the Danish oil.
Sand the walnut surface along the direction of the wood grain to avoid making dents and scratches.
Or you can use an orbital sander and lightly scuff up the surface.
Sand with even pressure to make the surface even. Plus, sanding helps to even out the color all over the surface.
After sanding, take the abrasive pad and go over the wood very lightly. This helps to give an even finer finish.
Once you’re done with sanding, remove sawdust by wiping it with rags or use a proper dust collection pipe system.
Sanding helps walnut wood to absorb Danish oil well onto the surface and to make a proper even looking finish.
Tip:
You need to be careful when using abrasive pads since sometimes the fiber will catch the wood grain. So, make sure not to leave any fibers behind.
3. Apply The First Coat Of Danish Oil
When the surface is dry, smooth, and clean after sanding you’re good to apply Danish oil.
Take a clean lint-free tack cloth and soak it well with Danish oil by pouring oil into it.
Then wipe down the surface with a cloth along the direction of the walnut wood grain to apply it evenly all over the wood surface to get a flawless nice finish.
Make sure to apply a thin coat of Danish oil on walnut since a thin coat absorbs faster, dries faster, and doesn’t form a tacky surface.
Tip:
Better if you can test Danish oil with walnut scrap wood before directly heading on to the main project.
This helps you to understand how it’ll behave on walnut wood and how to apply Danish oil without making any mistakes.
Wipe down the wood with Danish oil for 5 to 10 minutes. Never miss any spot during the application
After applying the first coat of Danish oil over the walnut surface, let the oil absorb and set for another 30 minutes.
During the settling time, lots of Danish oil will absorb into the walnut wood surface due to its high pores structure and the excess will remain on the surface to make the coat.
After 30 minutes wipe off the excess with a tack cloth to make the surface looks even and nice.
That’s how you should apply the first coat of Danish oil on walnut. During the application, you’ll notice lots of Danish oil will penetrate into the wood rather than sitting on the surface.
The penetrating oil will saturate the walnut wood fibers and improve the wood’s flexibility.
4. Let The Surface Dry And Sand The Surface
After applying the first coat of Danish oil, let it dry for 24 hours.
I know that’s too much, but walnut wood absorbs more Danish oil than most other woods. Or eventually drying time will increase.
Plus, drying time can vary on the humidity of the area you live in. 24-hour drying time is a sweet spot.
When the surface is dry, lightly sand the entire walnut wood surface with 400 grit or finer sandpaper to improve the adhesive properties of Danish oil between coats.
Light sanding between coats helps to stick coats well with each other without layer separation.
Or you can use abrasive pads to scuff up the surface to get a smooth and nice finish.
Light sand with little pressure along the direction of the wood grain. This will eliminate the raised grain and grit on the surface which typically appear after the first coat.
Once you’re done with light sanding, clean the entire surface with clean cotton rags to make it clean.
Tip:
Makes sure not to sand until the Danish oil coat dries completely. sanding wet surfaces clog up the sandpaper and damage the finishing coat.
5. Apply More Coats
Once you’re done with a light sanding after the first coat, apply the second coat of Danish oil along the direction of the walnut wood grain following the same procedure you used to apply the first coat.
After applying the second coat let it settle for several minutes and wipe off the excess to get an even-looking, nice, flawless finish.
Likewise, you need to apply 3 to 5 coats of Danish oil on walnut wood to get an attractive and protective finish over the wood.
Apply thin coats of Danish oil to make them dry faster and make sure to lightly sand between each coat to get blend them well with each other for an even finish.
Drying time is around 24 – 48 hours and application time is around 10 minutes which depends on the area you need to cover.
Tips:
- Better if you can use a bristle brush to apply Danish oil into corners, edges, and fine grooves.
- Removing excess oil between coats is helpful to get an even finish with no drips and streaks.
- Make sure not to miss any spots during the application. leaving dull areas destroys the final appearance of the finish.
- Generally walnut wood takes a lot of time to dry since it absorbs a lot of oil. Therefore, patience is a must to get a surprising result.
6. Let The Surface Dry And Cure
After applying the final coat of Danish oil, let the surface dry for 24 to 48 hours and cure for 5 to 7 days.
Slow drying time is the main drawback that faces during the finishing of walnut wood.
Drying time can vary on the humidity of the outside air and the temperature levels.
After 5 to 6 days, Danish oil is cured fully and provides the final look and you can experience the beautiful look it gives with excellent protection.
If you want to make the Danish oil finish look glossier, let the finish cure for 5 days and apply some semi-gloss or gloss polyurethane above it without making any mistakes.
Polyurethane enhances the wood color and provides good protection from water.
That’s it, folks! This is how you should apply Danish oil on walnut properly without messing things up.
How Many Coats Of Danish Oil On Walnut?
Apply 3 to 5 coats of Danish oil on walnut to get a nice looking even finish with a good protective coating.
Make sure to let each coat dry well before applying another and light sand between each coat to blend them well.
Apply thin light coats of Danish oil to make them dry fast and efficiently.
What Oil Should I Use On Walnut?
Danish oil, Tung oil, and Teak oil work well on walnut. Oil finishes provide a nice, even, and flawless finish on walnut wood with a protective coat.
They add unique gloss to the walnut surface and help to protect the wood from rotting and many other water damages.
Does Danish Oil Darken Walnut Wood?
Yes, Danish oil darkens walnut wood slightly. This provides a rich appearance on walnut wood that highlights the wood grain.
Generally, almost all the oil finishes darken walnut wood upon finishing.
If you need to keep the original color even after finishing the walnut, better to apply a water-based finish all over the wood.
Check the wood after cured properly.
What Is The Best Danish Oil On Walnut?
Here are some of the best Danish oil that can use on walnut,
- Watco Danish Oil Finish Natural Finish
- Tried and True Danish Oil
- Watco Black Danish Oil
- Furniture Clinic Cutting Board Danish Oil

Let’s answer some frequently asked questions.
FAQs
Is Danish oil a good choice for finishing walnut wood?
Yes, Danish oil is an excellent choice for finishing walnut wood as it enhances the wood’s grain, provides a satin sheen, and offers protection against various environmental factors.
Can Danish oil be used as a primer on walnut wood?
Danish oil can be applied to raw walnut wood as a primer or sealant, improving the adhesion of subsequent finishers and providing additional protection against scratches and cracks.
How many coats of Danish oil are recommended for walnut wood?
For best results and a robust protective layer, it is recommended to apply three or more thin coats of Danish oil on walnut wood, ensuring each coat is thoroughly integrated and allowed to dry completely before applying the next.
Can Danish oil be used to darken walnut wood?
Yes, Danish oil can be used to darken walnut wood while still preserving the richness of the wood grain.
What is the drying time for Danish oil on walnut wood?
Danish oil typically requires 6 to 8 hours to dry between coats, and it is recommended to let the wood cure for at least 24 hours before handling or using it.
Is Danish oil on walnut wood food-safe and non-toxic?
Once fully cured, Danish oil is non-toxic and food-safe, making it an excellent choice for finishing kitchen items like cutting boards and salad bowls.
How should Danish oil be applied to walnut wood?
For optimal results, apply Danish oil along the grain direction using a brush or cloth, ensuring at least three coats are applied and allowing sufficient drying time between each coat.
Did I cover all you wanted to know about: Using Danish Oil On Walnut
In this article, I discussed whether can you use Danish oil on walnut and how to do that properly without making any mistakes.
I have discussed some tips and techniques you can follow when applying Danish oil to get a good and nice finish as you wish.
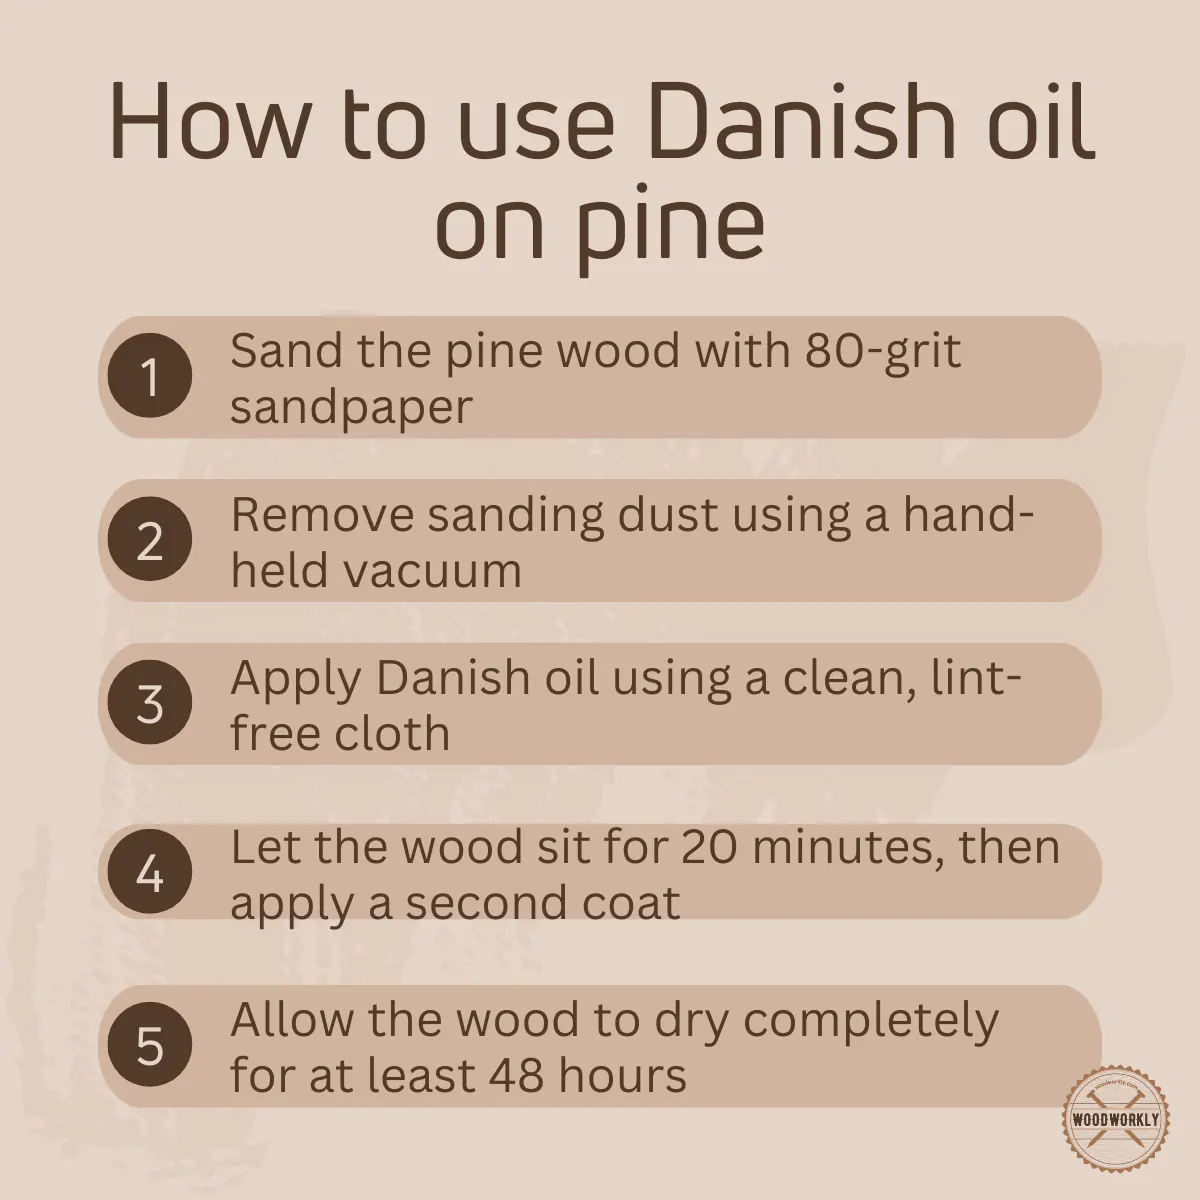
To use Danish oil on walnut wood, first, sand the wood with fine-grit sandpaper and wipe off the dust. Apply a thin coat of Danish oil using a cloth or brush, following the wood grain. Allow it to soak in for 15 minutes, wipe off excess, and let it dry for 6-8 hours. Repeat for 2-3 coats, sanding lightly between each for a smooth finish.
Furthermore, I’ve answered some frequently asked questions as well.
Hope you learned everything you wanted to know about using Danish oil on walnut with some practical examples.
Try to finish your next walnut furniture or woodwork with Danish oil and experience promising results in the end.