Ever wonder how to elevate the natural beauty of your Red Oak wood? Discover the magic of Danish Oil – your gateway to aesthetic and durability!
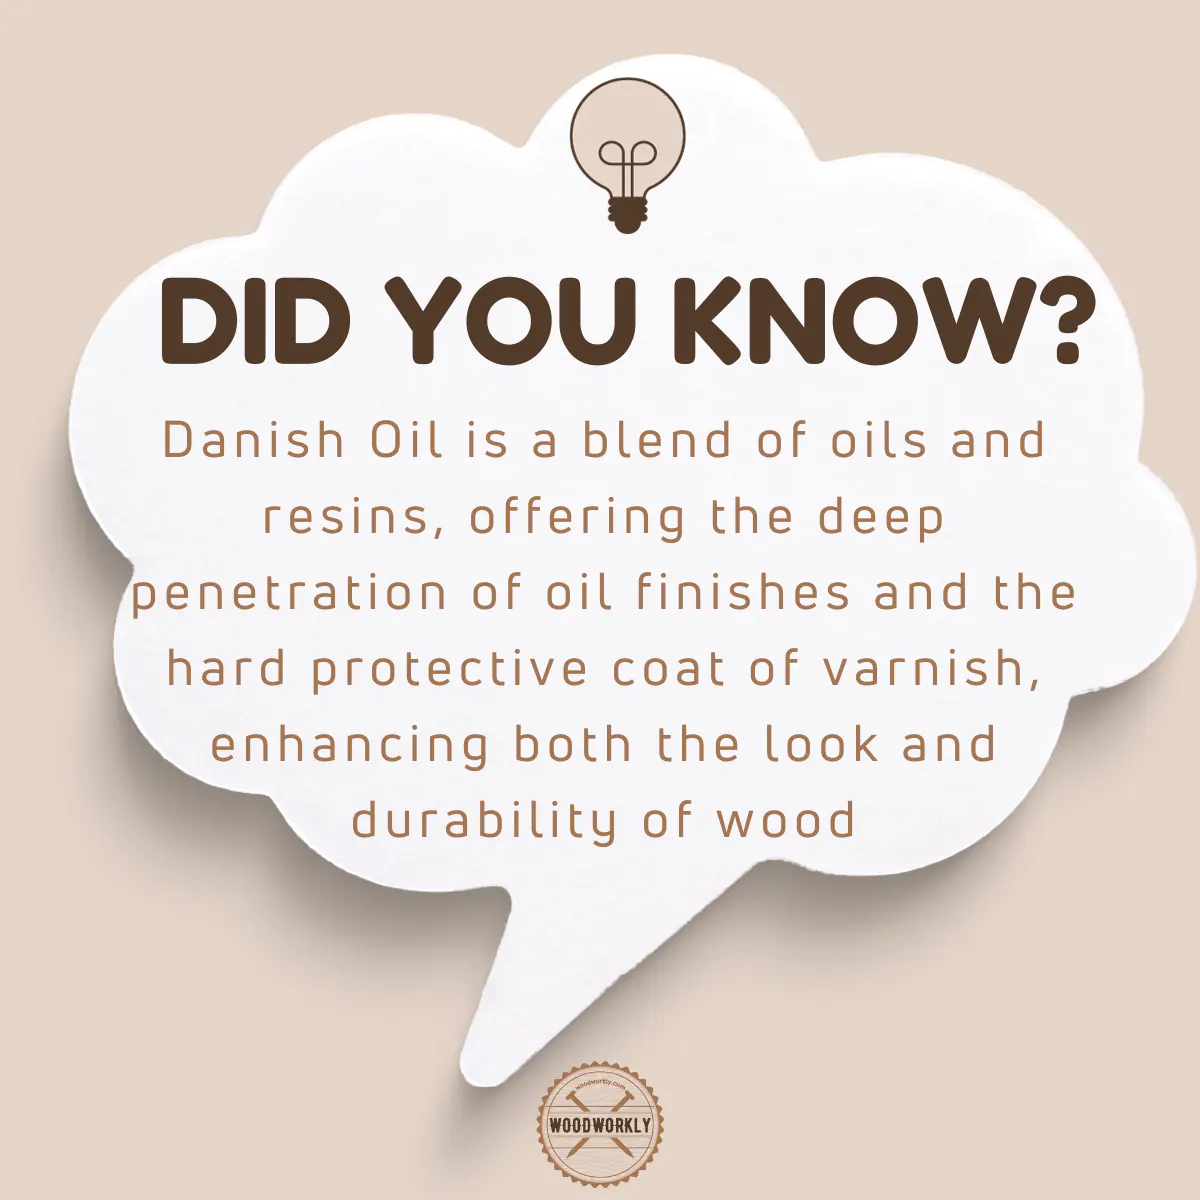
Danish oil is a popular wood finishing oil among woodworkers since it’s a combination of various good finishing oils such as linseed oil, tung oil, and varnish that are mixed to a perfect ratio.
On the other hand, Red Oak is an extremely strong hardwood that can use pretty much for any woodworking project.
I was curious about applying Danish oil to finish the Red Oak cabinet and did some research about how they perform with each other.

Here’s what I’ve found.
Let’s discuss using Danish oil on Red Oak,
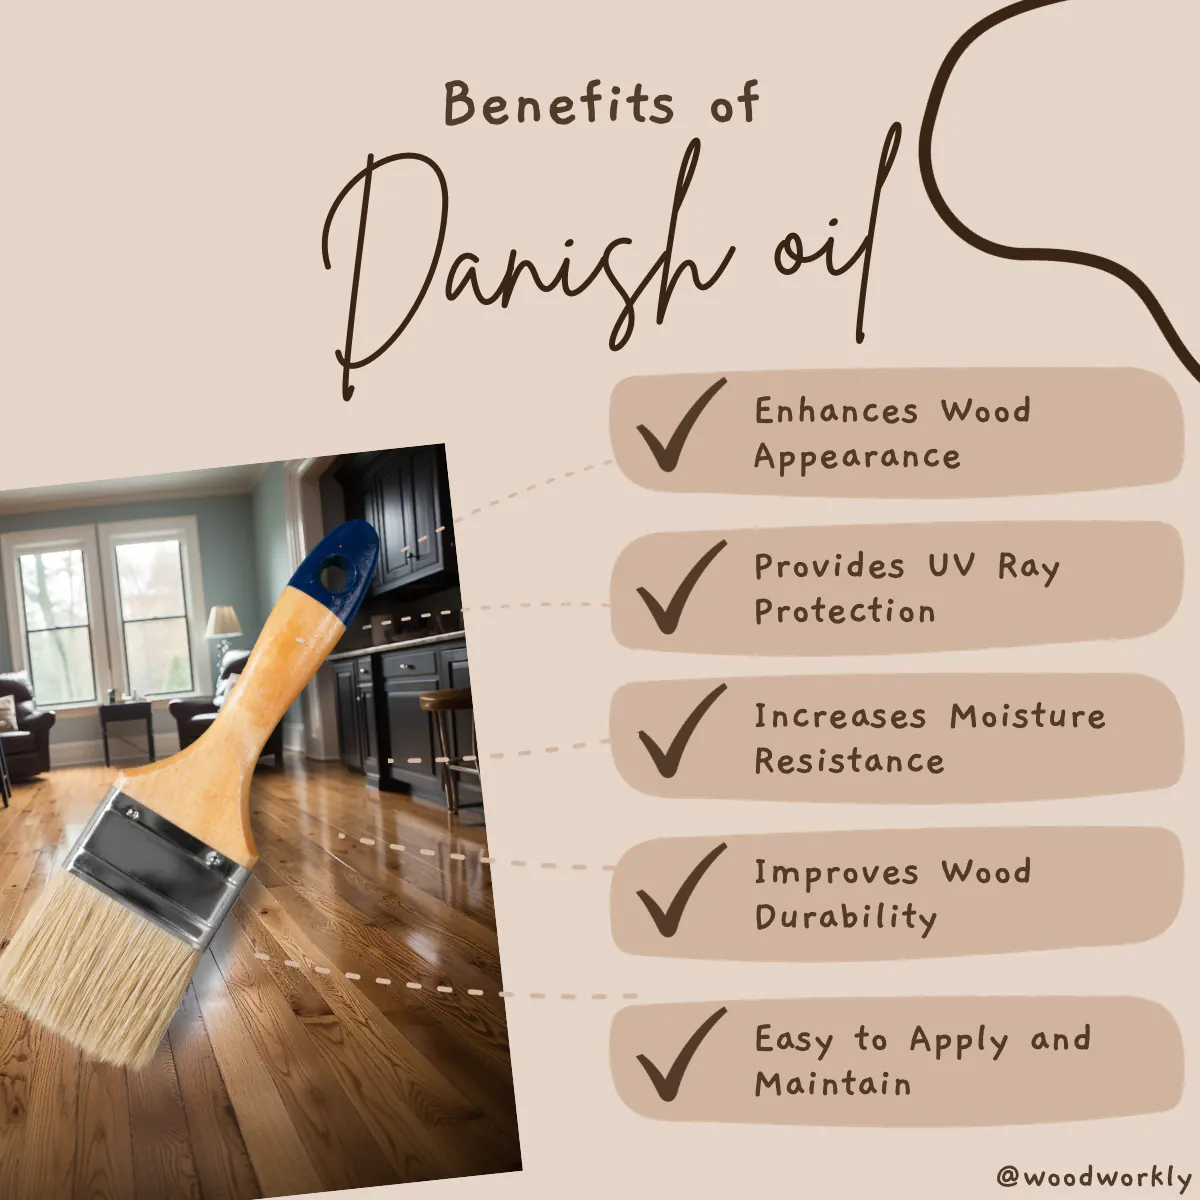
Yes, you can use Danish Oil on Red Oak. It enhances the wood’s appearance, protects against moisture, UV light, and insects, and increases its durability, making it a popular choice for a variety of woodworking projects.
But that’s a quick snapshot and there’s a lot more to know!
In this article, I’ll dive into, can you use Danish oil on Red Oak and how to do that perfectly with some tips and techniques gathered from experts.
Furthermore, I’ll answer some frequently asked questions as well.
Let’s jump in!
Can You Use Danish Oil On Red Oak?
You can use Danish oil on red oak with no issues. Danish oil improves the red oak wood appearance and provides excellent water resistance.
Danish oil penetrates deep into the red oak wood fibers and the excess will remain on the surface to make a protective coat.
Danish oil saturates red oak wood fibers and makes them flexible by preventing the wood from cracking and splitting. This is useful for wood drying.
This protective coat helps to enhance the natural appearance of Red Oak by highlighting the wood grain and protecting Red Oak from environmental elements such as moisture, humidity, sunlight, insect attacks, and water damage.
Danish oil cures and hardens on the Red Oak surface and act as a barrier between the Red Oak surface and the outside environment.
Here’s what the Danish oil coat does to Red oak,
- This Danish oil coat prevents moisture from penetrating the wood and evaporating from the wood.
- The protective coat of Danish oil blocks insect attacks from reaching the wood inside.
- Hits from direct sunlight change the wood’s color and reduce its lifetime. But having a Danish oil coat over the Red Oak surface protects wood from hitting direct sunlight and avoids damage from UV rays.
- Danish oil improves the Red Oak appearance by highlighting the natural wood grain and providing a fresh glossy look to the wood.
- Protects wood from cracking and splitting.
As you can see Danish oil single-handedly provides lots of benefits for red oak.
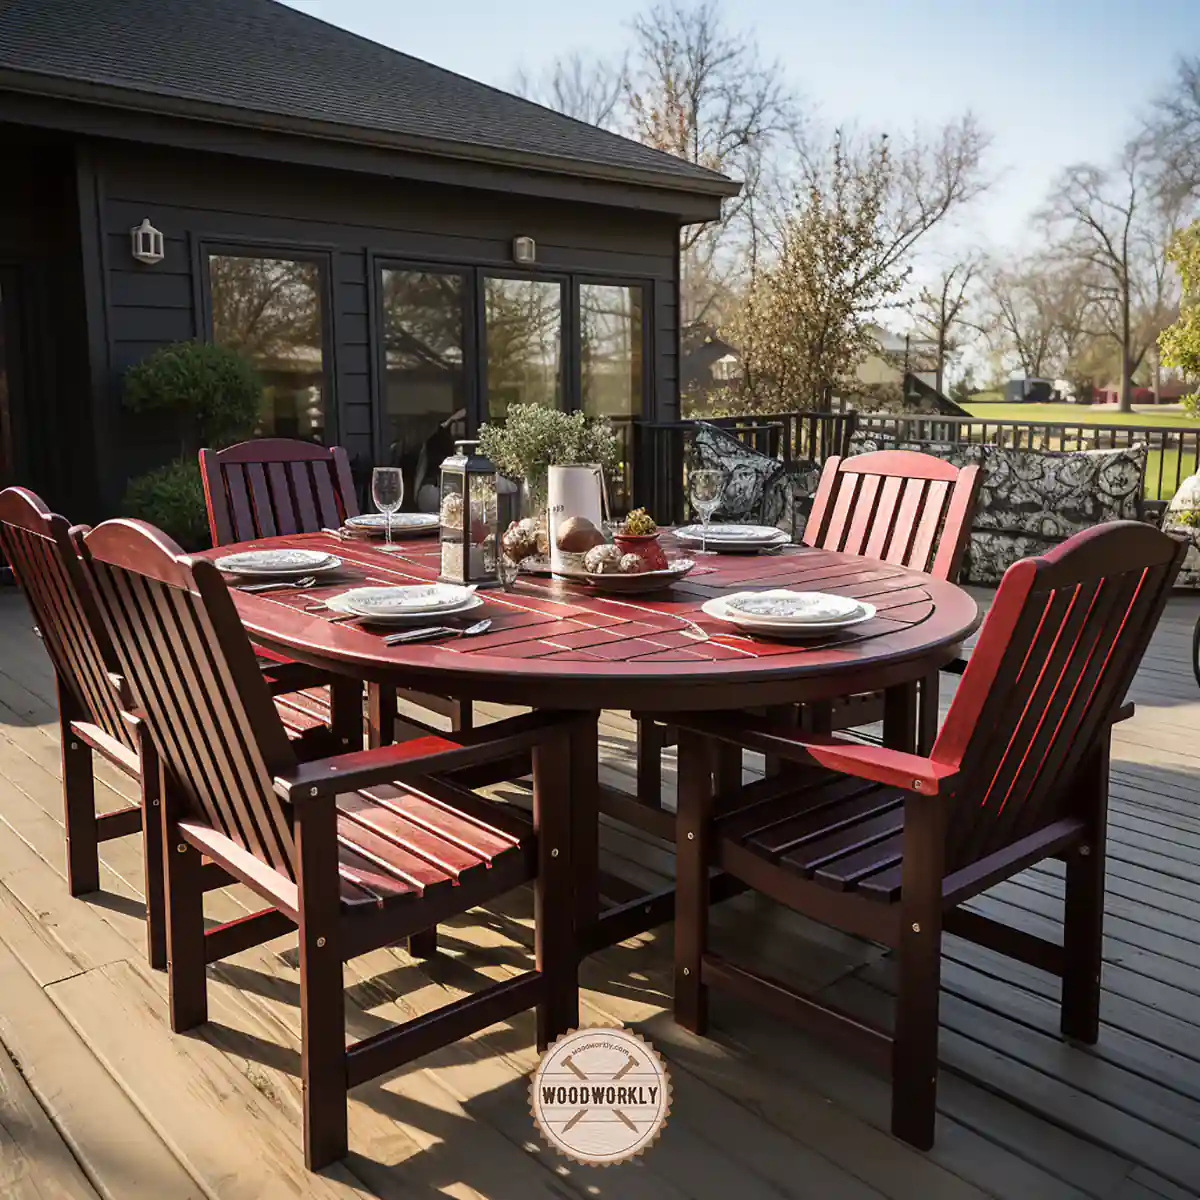
Because of having such a cool protective layer thanks to Danish oil, you can use red oak to build some awesome-looking outdoor furniture.
With Danish oil, the durability of your red oak furniture and woodwork increases and it can withstand harsh weather conditions with no issues.
Danish oil basically separates red oak from the outside world. Since the moisture finds no way to get into the wood, rotting and decaying won’t happen.
Plus, Danish oil hide and fixes small gaps and cracks on the red oak surface making it easier to clean and maintain.
Make sure to maintain the Danish oil coat on red oak regularly to keep your beautiful red oak furniture looking as fresh as new for a long time with excellent protection from outdoor elements.
Danish oil on Red Oak Uses
Danish oil is mostly used for the following applications of Red Oak,
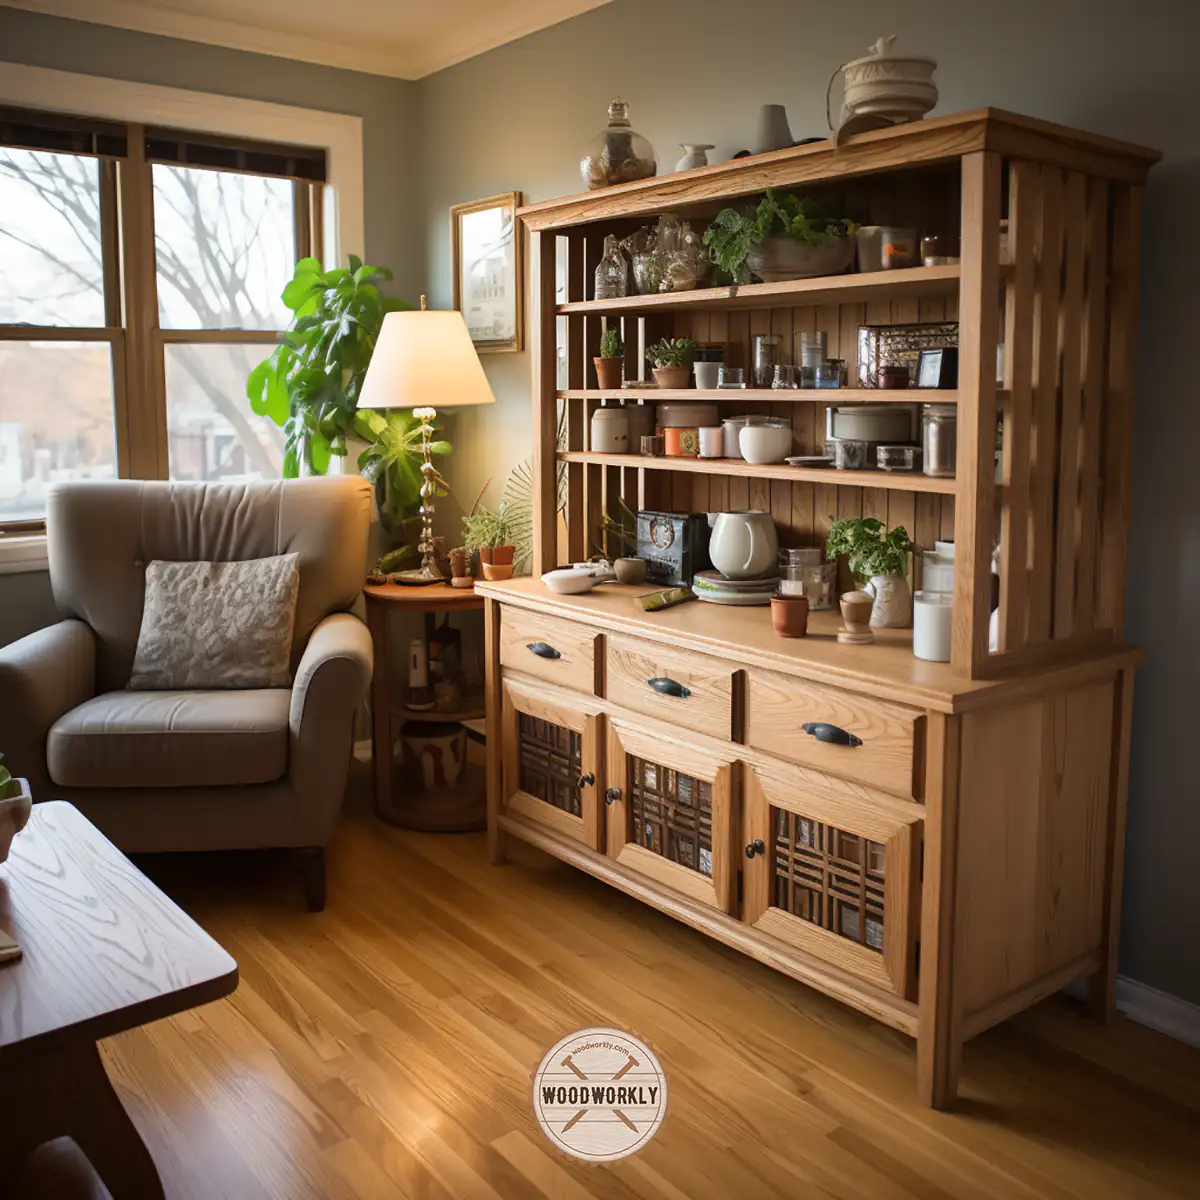
- Red oak furniture
- Red oak doors
- Panels
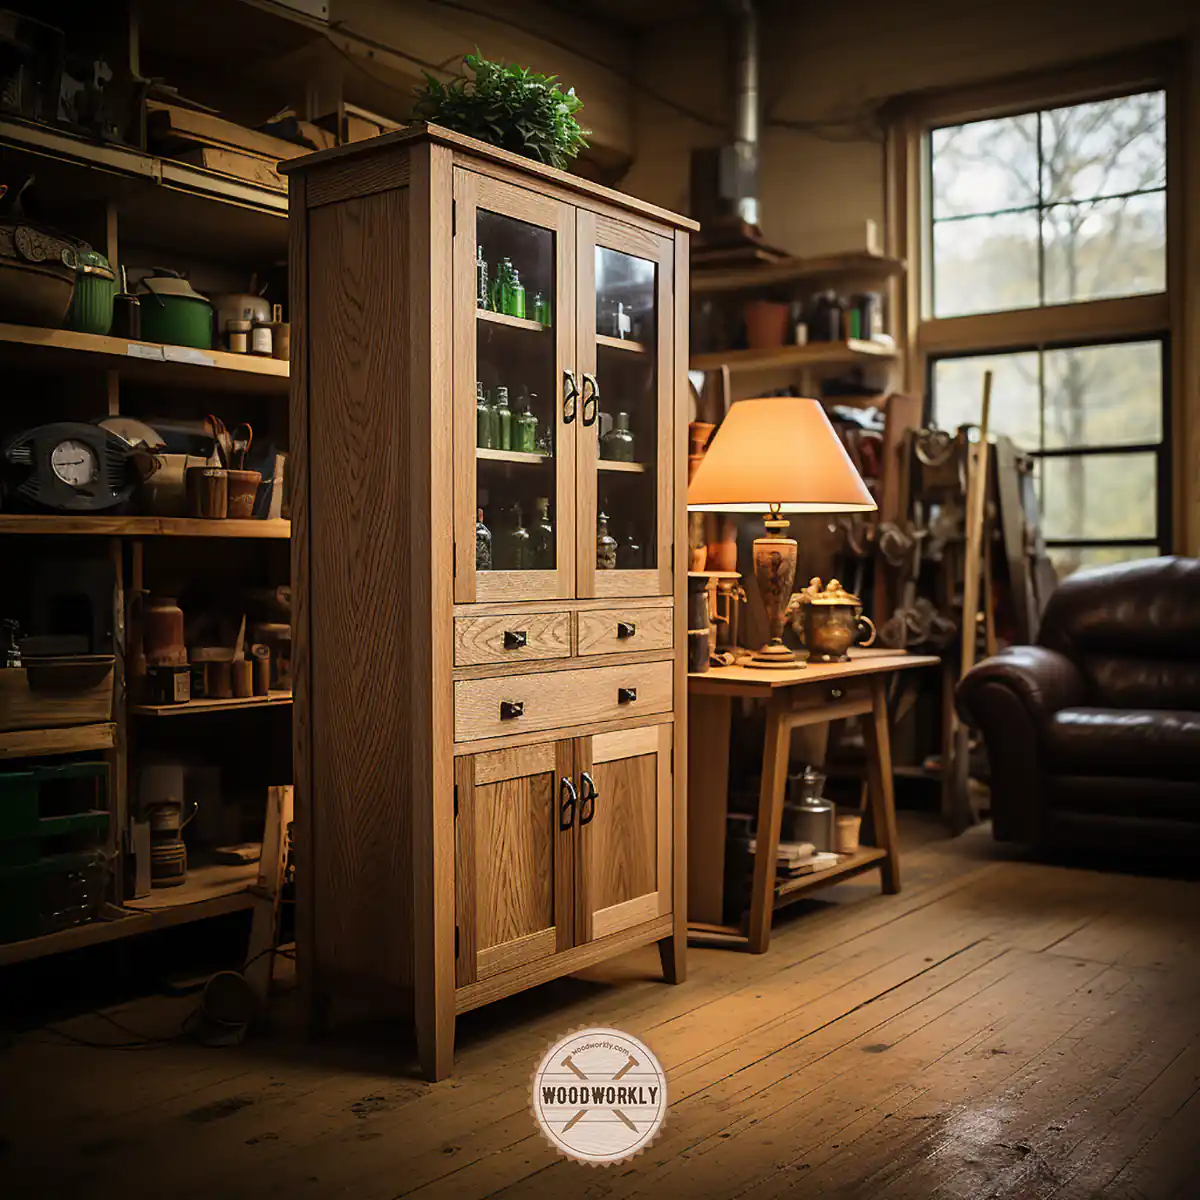
- Cabinets
- Wood carving projects
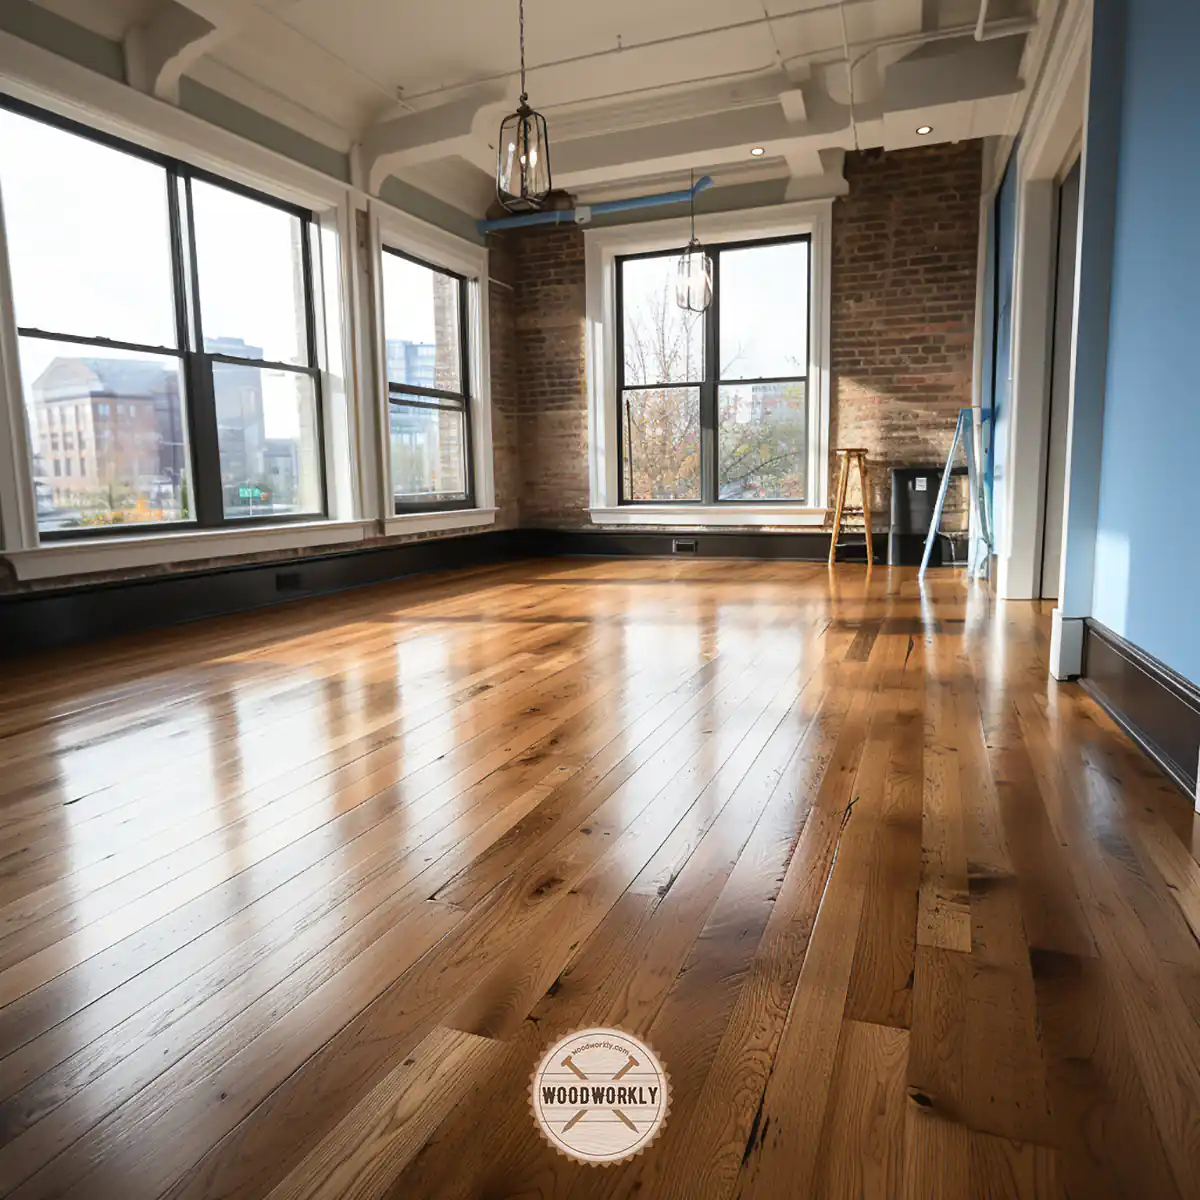
- Flooring
- Patio Furniture
- Boxes and crates
As you can see Danish oil can use pretty much for any woodworking project made with Red Oak.
Advantages Of Using Danish Oil On Walnut
- Danish oil makes the wood waterproof
- Protects wood from UV rays in sunlight
- Hide gaps and cracks on the red Oak surface
- Prevent wood from cracking and splitting
- Enhance wood appearance
- Improves wood durability
- Food safe and non-toxic when cured
- Easy to apply
Danish oil is filled with lots of benefits.
Tip:
Please note that Red Oak has a large very deep pore structure. Therefore, Danish oil that penetrates those wood pores seeps out for days or even weeks. Therefore, the drying and curing time of Danish oil on Red Oak is significantly slow.
Supplies To Apply Danish Oil On Red Oak
- Danish oil (handmade or commercial product)
- Red oak furniture or woodwork
- Lint-free tack cloth
- Bristle brush
- 220 grit sandpaper
- 400 grit sandpaper
- Abrasive pads
- Clean rags
- Latex gloves
Tip:
Make sure to use fresh Danish oil since Danish oil tends to go bad easily due to poor storage methods. Check the quality of your Danish oil well before starting the project.
Gather the above supplies from quality manufacturers and get ready for the application process.
How To Apply Danish Oil On Red Oak?
Danish oil is super easy to apply on Red Oak.
But you need to consider about drying time since Danish oil may take days or even weeks to dry on Red Oak due to the large pores structure of the wood.
There’re two main methods of applying Danish oil to Red Oak. They are,
- Apply Danish oil using a bristle brush
- Apply Danish oil using a lint-free tack cloth
Applying Danish oil with lint-free tack cloth is the popular method since it is easy.
But I highly recommend you use a bristle brush to apply Danish oil on hard-reaching spots like curves, corners, and edges.
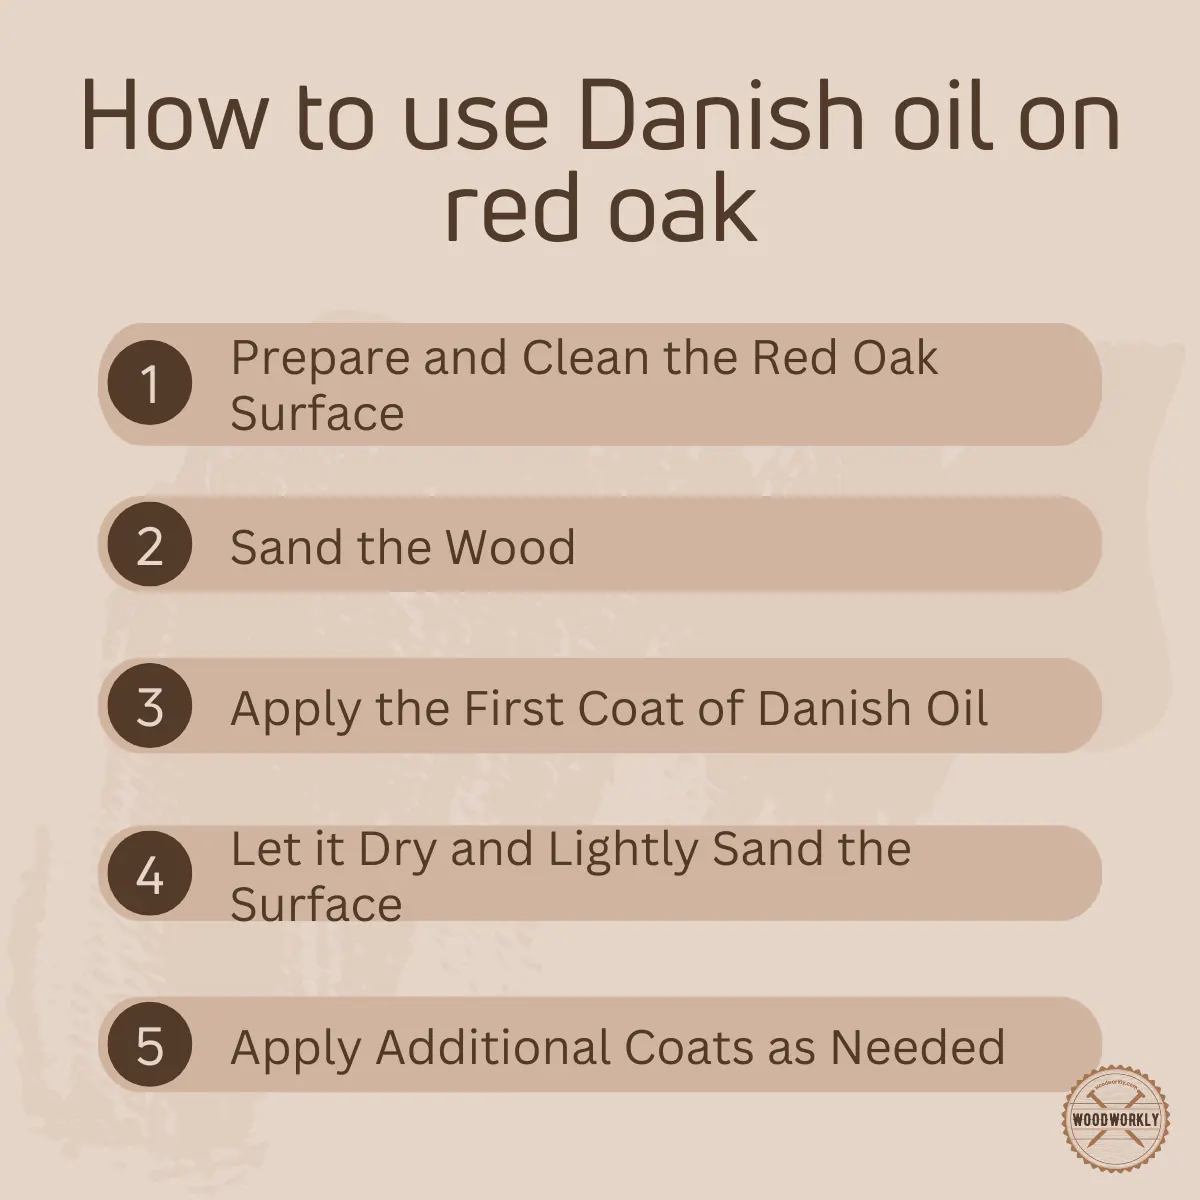
- Prepare and clean the surface
- Sand the Red Oak
- Apply the first coat of Danish oil
- Let the coat dry and light sand the surface
- Apply more Danish oil coats
- Let the coats dry and cure
So, let’s discuss each of the above steps in detail to get a crystal clear idea of using Danish oil over Red Oak.
1. Prepare And Clean The Surface
First, take your red oak furniture or woodwork to a well-ventilated area or open the windows of your working area since having good air circulation helps Danish oil coats to dry and cure faster.
Plus, Danish oil contains varnish and thinner which can cause breathing issues and lung diseases upon excessive inhaling.
Having proper air circulation helps to remove those harsh chemicals directly from the working space.
After taking the furniture to a well-ventilated area, clean the whole surface using clean rags to remove dust, dirt, and debris from the surface.
Dust can easily stick into Danish oil and can cause lots of trouble during the project. Plus, they can result in a dull, ugly appearance in wood.
Therefore, cleaning is a must before applying Danish oil over red oak.
You can pour a little amount of trisodium phosphate into a rag and remove stubborn dirt from the red oak surface by rubbing it on the surface. Then let the surface dry.
End of the day, your red oak surface needs to be nice and clean with no dust to get the best results in the end.
2. Sand The Red Oak
After cleaning the surface, sand the entire red oak surface with 220 grit sandpaper to smoothen the surface before applying Danish oil.
Sand along the direction of the red oak grain with even pressure to smoothen the surface and to get an even color all over the wood.
Sanding along wood grain helps to prevent occurring sanding marks and scratches during the process and to get an even nice Danish oil finish.
Once you’re done with sanding, remove sawdust with rags or use a proper dust collection pipe system to collect them and dry them out later for making fertilizer using a drier.
You can do the sanding with abrasive pads as well. But make sure not to leave any fibers behind since sometimes fibers in abrasive pads may catch with wood grain.
3. Apply The First Coat Of Danish Oil
If the surface is dry, clean, nice, and smooth, you’re good to start applying the first danish oil coat.
Take the lint-free tack cloth and pour a little amount of Danish oil into it. Soak it and wipe it along the direction of the red oak grain to apply it evenly all over the wood.
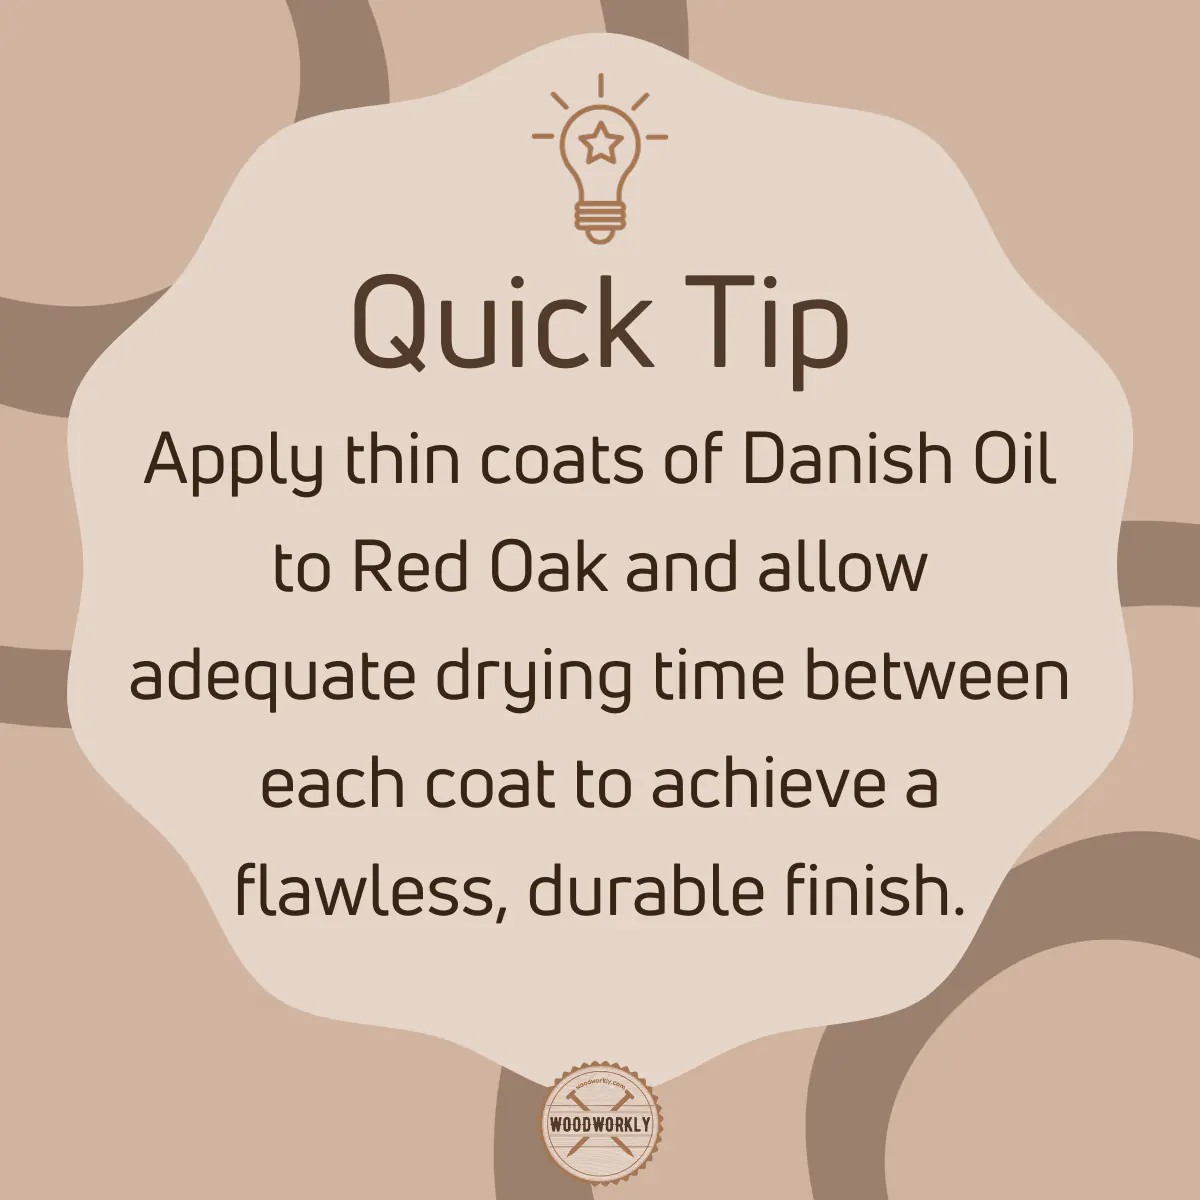
Apply thin light coats of Danish oil since it dries extremely slowly and in order to get a flawless finish that dries faster without forming blotches your coats need to be thin as possible.
Tip:
Before the application of the first coat of Danish oil, better if you can test it out with scrap wood.
This way you can identify how Danish oil actually behaves with red oak and how thick your coats should be during the main project.
You’ll notice the first coat of Danish oil absorb quickly into the wood right after you wipe it down with a cloth.
Apply Danish oil all over the wood without missing any spots. Use a bristle brush for the areas that are hard to reach, corners, and edges.
Use 5 to 10 minutes to apply Danish oil all over the wood. but this can vary on the area you need to be covered.
Once you are done with applying the first coat of Danish oil, let the oil sits and settle on the surface for 30 minutes.
During this time, Danish oil saturates the wood fibers and makes them flexible and the excess will sit on the surface forming the protective coat.
Then wipe off the excess oil on the surface with clean rags. Wiping off excess oil is essential for a better soak-in and to make the coat dries faster.
Then keep it for another 20 minutes and do the same wipe-off process again with a cloth since red oak tends to weep off Danish oil often due to its large, deep porous structure.
4. Let The Coats Dry And Light Sand The Surface
After applying the first coat of Danish oil, let it dry and cure for 48 hours.
Usually, Danish oil dries slower on red oak due to the large, deep porous structure of the wood.
Therefore, you may need to let the first coat of Danish oil dry for more than 2 – 3 days and it’s completely fine.
Plus, drying time can vary on the environmental humidity, temperature levels, and thickness of the Danish oil coat.
However, you should wait till the coat dries completely to light sand the surface.
Never to the sanding when the coat is wet since you’ll probably end up with clogged sandpaper with a ruined wood finish.
When the surface is dry and clean, lightly sand the entire surface with 440 grit or finer grit sandpaper along the direction of the wood grain with very little pressure.
Light sanding between Danish oil coats is good for improving the adhesion between layers and making them blend well.
Sanding gives adhesive properties to the existing coat which makes it easier for the next coat to stick on to it.
Or you can use scuff up the surface with abrasive pads lightly. Light sanding eliminates the raised grain and grit on the surface that appears after the first coat.
5. Apply More Danish Oil Coats
Now apply the second coat of Danish oil over the first coat after a light sanding of the surface.
Use the same application procedure we used to apply the first coat even for the second coat.
Apply the second coat of Danish oil along the wood grain and let it sit for another 30 minutes and wipe off the excess using a clean rag.
Likewise apply 3 to 5 coats of Danish oil coats on red oak to get an even looking, flawless, nice finish with excellent protection from the outside world.
Apply thin coats and make sure to let each coat dry for at least 48 hours and light sand before applying each to avoid layer separation.
Remove excess oil from each time to time to avoid oil weeping out from the wood.
Tip:
Since Danish oil dries extremely slowly on red oak, your patience is a must to gain the best results you wish.
6. Let The Final Coat Dry And Cure
After applying the final coat of Danish oil let it dry for 48 hours and cure for 7 to 14 days.
Yes, that’s too much. That’s because Danish oil cured super slow on red oak due to its large and deep porous structure.
At least wait 7 days before using your red oak furniture after Danish oil is applied.
Once it is cured properly, the protective coat hardens well and is able to withstand environmental elements.
You’ll see the actual look of the Danish oil coat and how it emphasizes the natural look of wood grain once it is cured properly.
To make the Danish oil coat on red oak look glossier you can apply some semi-gloss or gloss polyurethane over it as a top coat.
Use proper application methods to apply polyurethane over Danish oil coats with no mistakes.
Polyurethane improves the water-resistant ability of the wood and increases wood durability.
That’s it! This is how you should apply Danish oil on red Oak properly without messing things up.
How many Coats Of Danish Oil are On Red Oak?
Apply 3 to 5 coats of Danish oil on red oak to get the protective finish while with an enhanced natural look.
Make sure to let each coat dry properly before applying another and light sand between each coat for better adhesion.
What Type Of Finish Is Best For Red Oak?
You can finish red oak pretty much with any quality finisher you like.
Here’re some of the best finishing products that can use on red oak,
- Danish oil
- Linseed oil
- Tung oil
- Lacquer
- Varnish
- Polyurethane
How Do You Get A Smooth Finish On Red Oak?
Follow the below steps to get a smooth finish on red oak,
- Clean the red oak surface well with a rag
- Sand the surface
- Apply first finishing coat and let it dry
- Light sand the surface
- Apply more finishing coats
- Let the coats dry and cure
- Apply polyurethane top coat
Does Danish Oil Darken Oak?
Yes, Danish oil darkens oak wood slightly. Danish oil highlights the wood grain of oak wood and gives a rich look appearance by darkening the wood.
If you don’t want to change the oak color upon finishing, better to apply a water-based finish since almost all oil-based finishes darken the Oakwood.
Let’s answer some frequently asked questions.
FAQs
How long does Danish Oil take to dry on Red Oak?
Danish Oil can take days or even weeks to dry on Red Oak due to the wood’s porous nature. The drying time is also influenced by environmental factors like temperature and humidity.
Is Danish Oil a good choice for outdoor Red Oak furniture?
Yes, Danish Oil enhances the durability of Red Oak furniture, allowing it to withstand harsh weather conditions. It acts as a barrier against moisture, UV rays, and insect attacks.
Does Danish Oil make Red Oak waterproof?
Danish Oil provides excellent water resistance to Red Oak. It forms a protective coat that prevents water and moisture from penetrating the wood, reducing the risk of rot and decay.
How do you apply Danish Oil to Red Oak?
Danish Oil is applied to Red Oak using a bristle brush or lint-free cloth, with thin coats, ensuring each coat dries before the next is applied. The wood should be cleaned and sanded before application.
Is Danish Oil on Red Oak food safe?
Once fully cured, Danish Oil on Red Oak is food safe and non-toxic. It’s a suitable finish for items like cutting boards and wooden utensils after the curing process is complete.
How does Danish Oil affect the appearance of Red Oak?
Danish Oil enhances the natural grain patterns and rich color of Red Oak. It offers a slight sheen, making the wood look refreshed and accentuated.
What are the benefits of using Danish Oil on Red Oak?
Danish Oil improves the wood’s durability, protects against environmental damage, and enhances its natural beauty. It is easy to apply and serves as a base for paint and stain applications, offering versatility in finishes.
Did I cover all you wanted to know about: Using Danish Oil On Red Oak
In this article, I discussed, whether can you use Danish oil on red oak and how to do that properly using the correct method with no mistakes and some tips and tricks.
Danish oil works perfectly on Red Oak. Danish oil improves the Red Oak wood’s appearance while protecting the wood from weather elements and moisture. Apply thin coats of Danish oil on Red Oak along the wood grain and let it dry between coats.
Furthermore, I’ve answered some frequently asked questions as well.
Hope you learned everything you wanted to know about using Danish oil on Red Oak with no issues.
Try to apply Danish oil as a finisher for your next Red Oak project and experience the positive vibe of Danish oil.