Ever marvel at the rich hue of cherry wood? How do you protect its elegance yet unveil its hidden depths? Discover the magic of Danish oil!
Cherry is one of the prized hardwood species in the US. It is a beautiful wood with medium strength and density. It has an excellent balance between workability and strength.
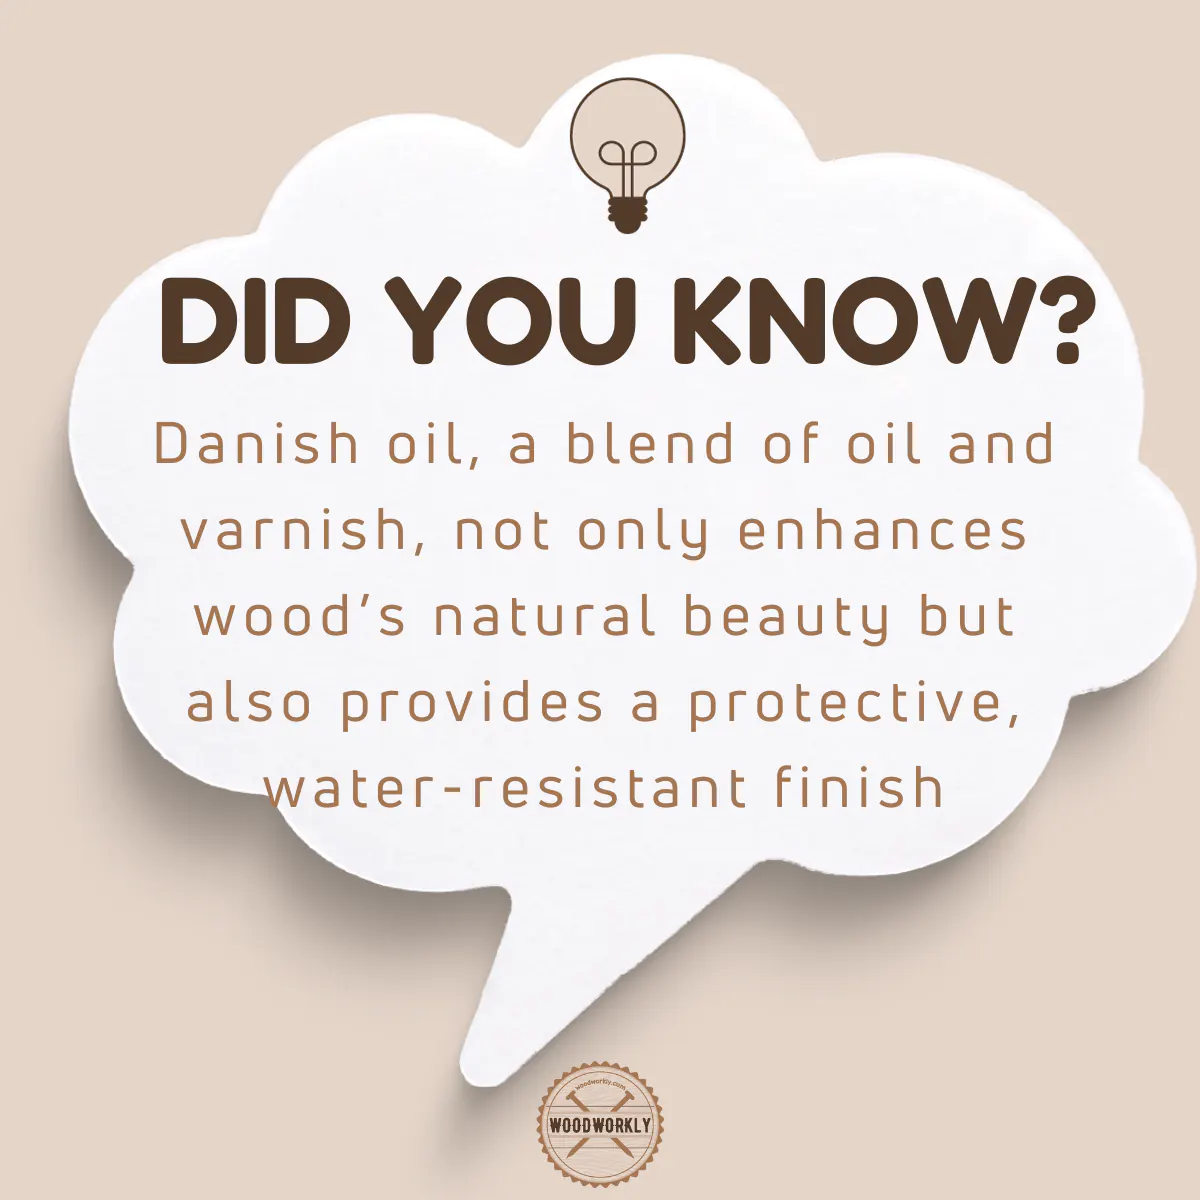
On the other hand, Danish oil is one of the best-performing wood finishing oils that can be used to protect any wood from weather elements while enhancing the wood’s appearance.
During my early woodworking days, one of my friends requested to finish his cherry wood cabinet with a good oily finish and I was curious about using Danish oil for the task.

So, I did some research and gathered knowledge from experts about finishing cherry furniture with Danish oil which I’m going to share with you.
So, let’s discuss using Danish oil on cherry wood.
You can finish cherry wood with Danish oil with no issue. Danish oil makes a protective layer over cherry wood that protects wood from moisture and improves the natural look while highlighting the wood grain. Apply thin coats of Danish oil on cherry wood and lightly sand between coats for a nice finish.
But there’s a lot more to know about using Danish oil on cherry wood.
So, in this article, I’ll explore whether can you use Danish oil on cherry wood furniture and how to do that properly without making any mistakes with tips and tricks.
Furthermore, I’ll answer some frequently asked questions as well.
Let’s jump in!
Can You Use Danish Oil On Cherry Wood?
Yes, you can use Danish oil on cherry wood. Danish oil coat protects cherry wood from outdoor elements such as moisture, humidity, temperature variations, and insect attacks while enhancing the wood’s appearance.
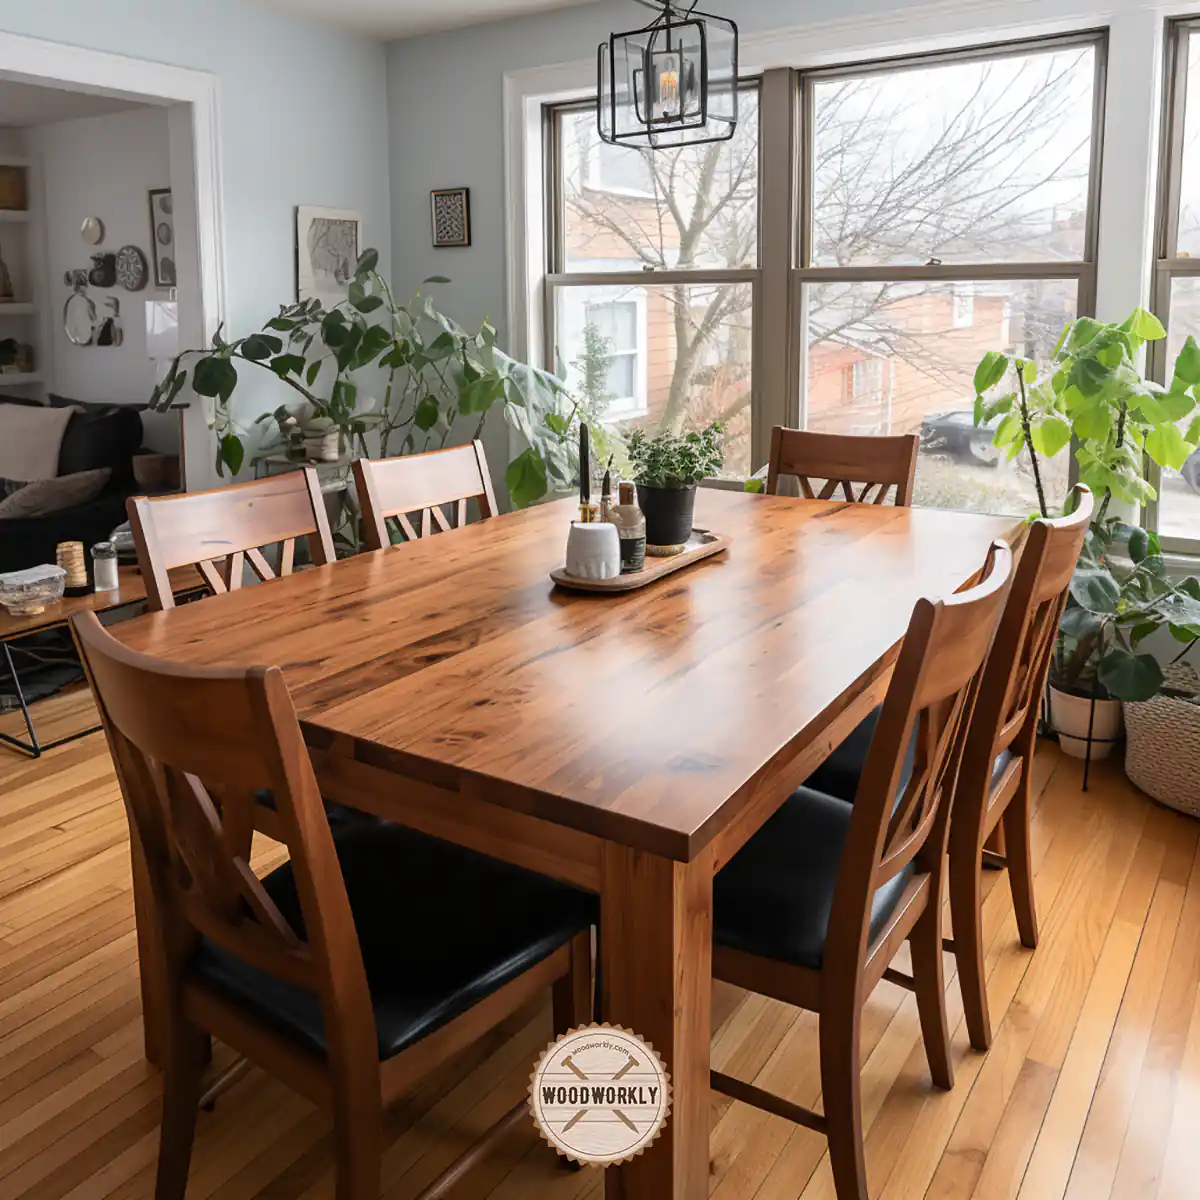
After applying Danish oil over cherry wood, it gets so red since the wood is photosensitive that darkens with age. But the look is beautiful.
Cherry wood is easy to finish since it can basically take any finish with no issue. Application is also really simple, but you need to be careful to finish cherry wood without forming blotches.
Blotches reduce the performance of the finishing coat while reducing the appearance.
Once Danish oil is applied to cherry wood it hardens to a protective coat. this protective coat works as a barrier between the wood and the outside world.
It prevents moisture from going inside the wood and evaporation from the wood. it prevents direct sunlight from hitting the wood. it repels water, bugs, and insects.
Basically, the Danish oil protective coat will isolate cherry wood which is extremely useful when it comes to outdoor furniture.
Danish oil protects wood from various weather elements and improves the durability of cherry wood.
Not only that, but it will also highlight the natural grain of cherry wood giving a luxurious appearance. This helps to increase the value of your cherry wood.
Danish oil saturates the cherry wood fibers and makes them more flexible which prevents wood from cracking and splitting when drying and kept under sunlight.
Danish oil is an allrounder that improves the lifetime of cherry wood while increasing the natural luster of the wood.
Danish oil is mostly used for following applications of cherry wood,
- Cherry wood cabinet
- Cherry wood furniture
- Wood carvings
- Kitchen utensils
- Cutting boards and butcher blocks
- Door and window panels
- Patio Furniture
- Boxes and crates
Once it gets hardened and cured Danish oil is non-toxic and food safe. Therefore, you can use it to finish kitchen utensils, bowls of cherry wood, and also the children’s toys.
Danish oil is a combination of Linseed oil, Tung oil, mineral spirits, and varnish which are top-performing finishing oils. Danish oil contains every good ingredient.
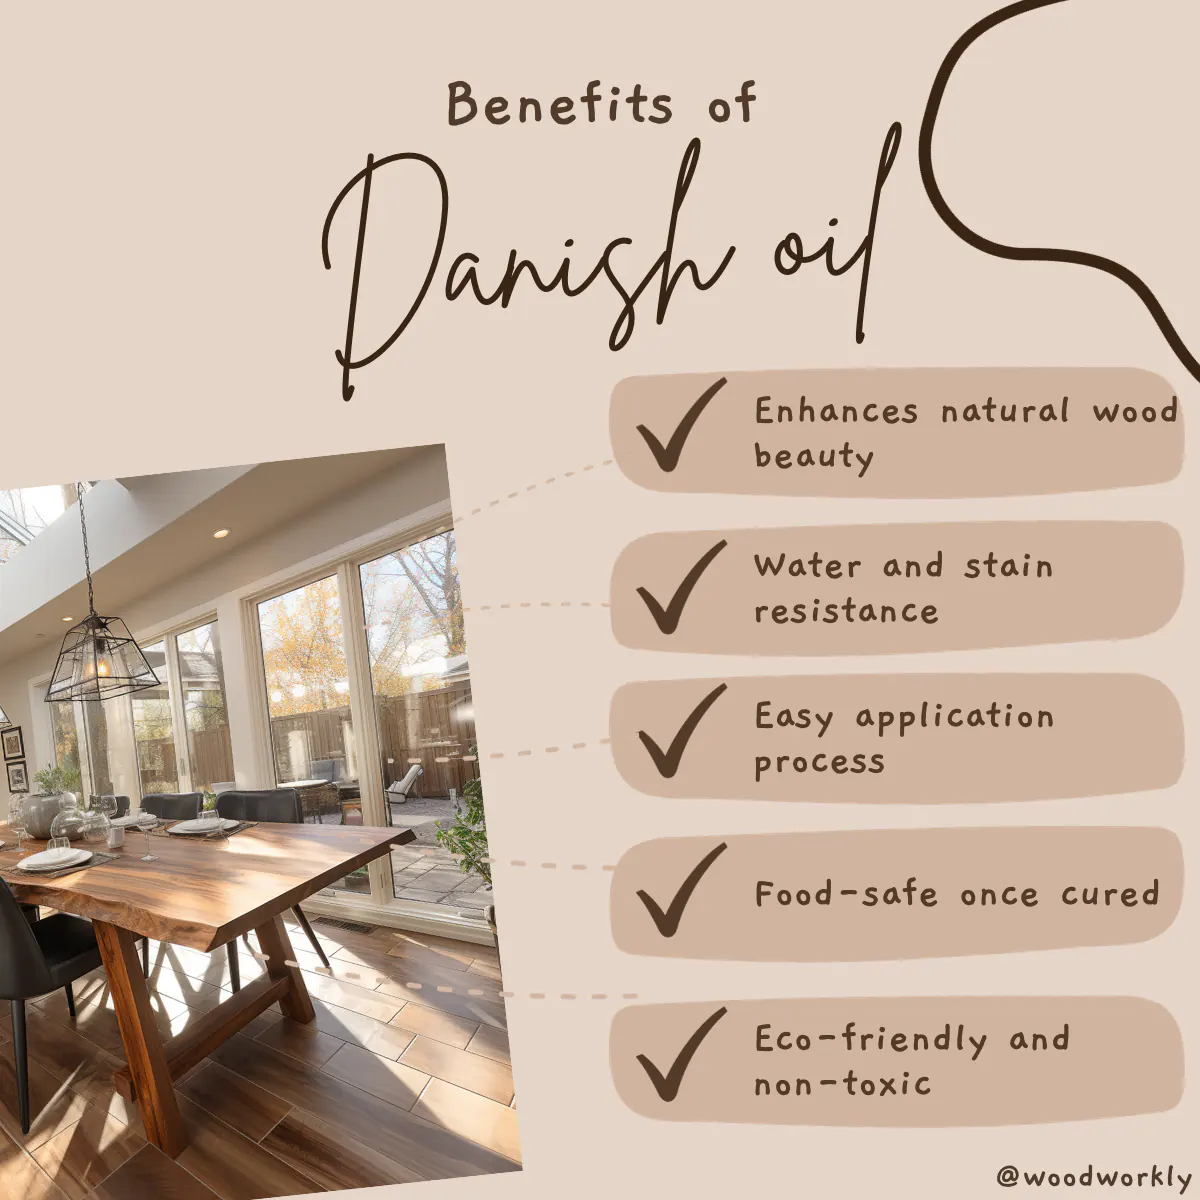
Advantages Of Using Danish Oil On Cherry Wood
- Protects cherry wood from moisture and environmental humidity
- Improves wood appearance
- Food-safe and non-toxic when cured
- Fix cracks and dents on the cherry wood surface
- Easy to apply
- Increases wood durability
- Prevent wood from rotting
- Prevent wood from cracking
- No environmental impact
Tips Before Applying Danish Oil Over Cherry Wood
Note that, Cherry wood will give a deep reddish tone after finishing and it improves over time.
Most people love the dark color it gets, but for those who don’t I recommend keeping the finished cherry wood in direct sunlight since the UV rays and oxidation process will reduce the speed of darkening of cherry wood.
Patience is the key to finishing cherry wood.
Cherry wood tends to get blotchy due to forming darker and lighter spots after finishing due to the absorbance of wood finish at different rates and depths.
You can prevent this by applying a wood conditioner first before staining and finishing the cherry wood.

Let’s have a look at the main point of using Danish oil on cherry wood. The application process and how it should be done.
Supplies You’ll Need To Finish Cherry Wood
- Danish oil (commercial product or handmade)
- Cherry wood furniture or woodwork
- 220 grit sandpaper
- 400 grit sandpaper
- Lin-free tack cloth
- Bristle brush
- Clean rags
- Abrasive pads
- Latex gloves
Use fresh quality Danish oil when finishing.
If you’re using a Danish oil product that is already used, test it well on scrap cherry wood before applying it to the main project since Danish oil goes bad easily due to environmental impacts which reduce its performance.
How To Finish Cherry Wood with Danish Oil?
Danish oil is easy to apply on cherry wood since it is easy to finish.
You can apply Danish oil on cherry wood using both a bristle brush and a lint-free tack cloth.
For flat surfaces use tack cloth and for the edges, curves, and areas hard to reach use a bristle brush to apply Danish oil evenly.
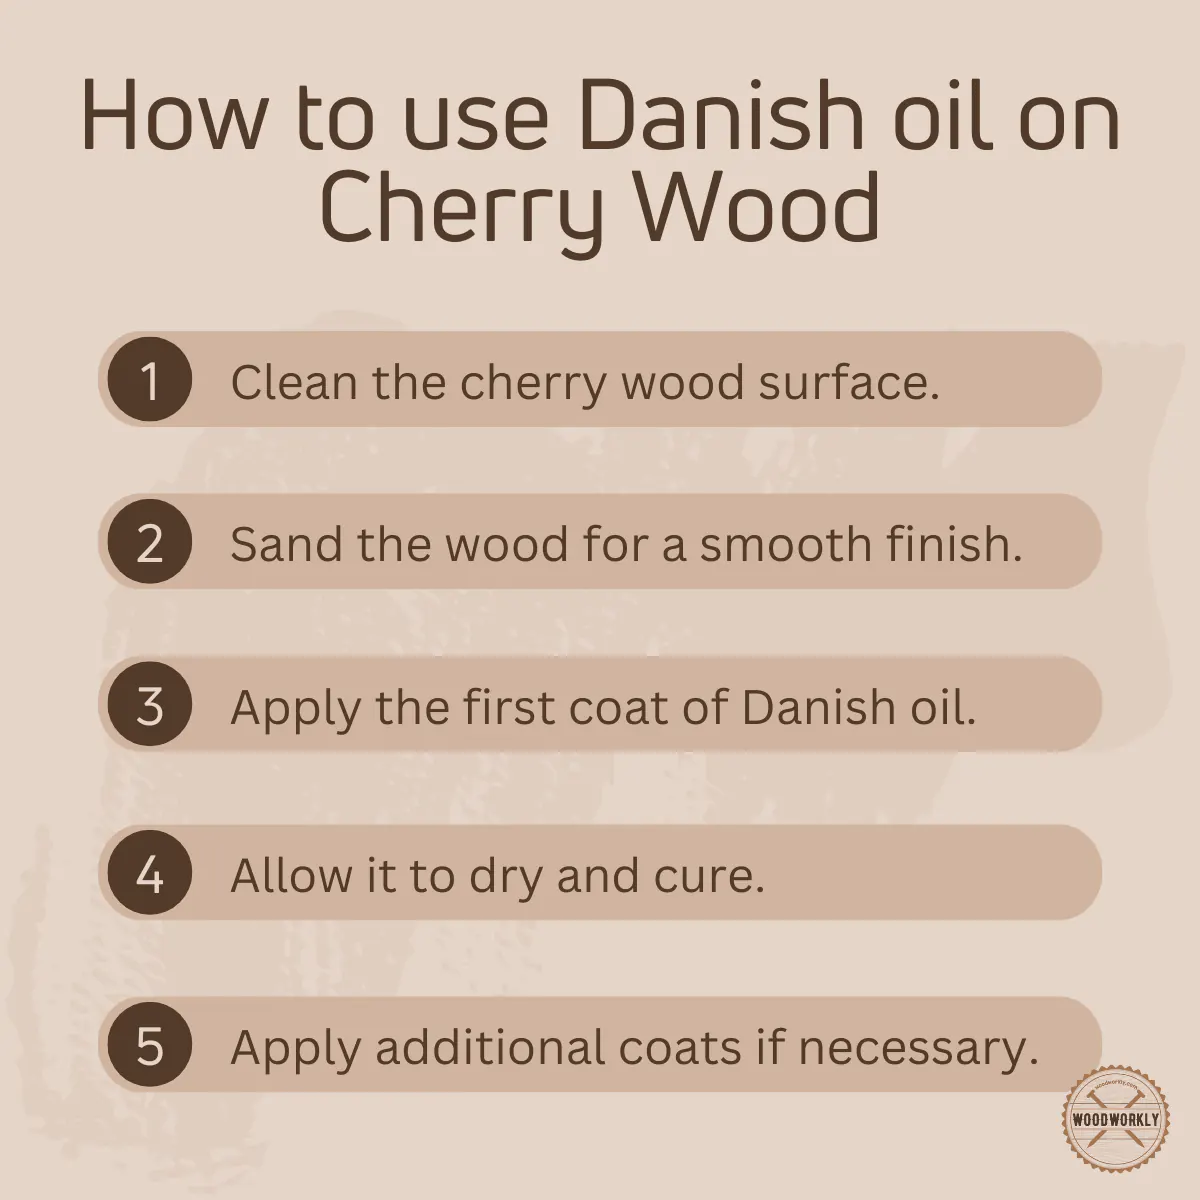
Here is the procedure you need to follow when finishing cherry wood with Danish oil,
- Surface preparation and cleaning
- Sand the cherry wood surface
- Apply the first coat of Danish oil
- Let it dry and lightly sand the surface
- Apply more Danish oil coats
- Let the coats dry and cure
So, let’s discuss, each of the above points separately to get a deep knowledge about using Danish on cherry wood perfectly with no issues.
1. Surface Preparation And Cleaning
First, you need to take cherry wood furniture of the woodwork to a well-ventilated space before finishing because having good air circulation is a must for the fast and efficient drying of Danish oil coats.
Plus, Danish oil contains varnish and thinner which release harsh fumes during the application process.
Having good ventilation helps to remove those harsh chemical fumes directly from the working space which can cause breathing issues when inhaled.
After selecting the area, clean the entire cherry wood surface using clean rags to remove dust, dirt, grease, and other residues from the surface.
Dust and dirt can easily attach to the Danish oil finish and form a blotchy surface with an ugly wood appearance.
Therefore, removing them and cleaning the surface is a must before finishing the wood.
You can use trisodium phosphate to remove stubborn dirt that is difficult to remove with regular wiping methods.
Make sure not to use trisodium phosphate if you already applied a preconditioner on cherry wood since the chemical can damage the topcoat conditioner.
Applying a preconditioner before finishing with Danish oil prevents cherry wood from forming random blotchy spots.
When the surface is nice and clean you are good to move on to the next step.
2. Sand The Cherry Wood Surface
Now sand the entire surface of cherry wood using 220 grit sandpaper along the direction of the wood grain.
Sanding helps to remove randomness from the surface and smoothens it to adhere Danish oil well onto the wood.
Sand with even pressure to give equal color to all over the wood without scratching the surface.
Once you’re done with sanding remove sawdust by wiping or using the proper dust collection pipe system.
Collected sawdust is useful to make fertilizer upon drying.
You can do the sanding with abrasive pads too. But never leave any fibers behind since fibers in abrasive pads may catch the wood grain.
3. Apply The First Coats Of Danish Oil
Now it’s time to apply the first Danish oil coat.
You can do this by using a tack cloth or paintbrush. I recommend you use a bristle brush to cover edges, corners, and hard-reaching spots.
First, pour a little amount of Danish oil into the lint-free tack cloth and soak it. Then wipe down the cloth liberally along the direction of the cherry wood grain all over the wood.
Apply Danish oil on cherry wood with even pressure without missing any spots to avoid forming blotches.
Usually, a large amount from the first coat of Danish oil absorbs into the cherry wood to saturate the wood fibers.
The saturation of woof fibers increases their flexibility and avoid wood from cracking.
Excess Danish oil will remain on the cherry wood surface to form the coat. This coat will harden to a protective coat when drying which protects wood from the elements.
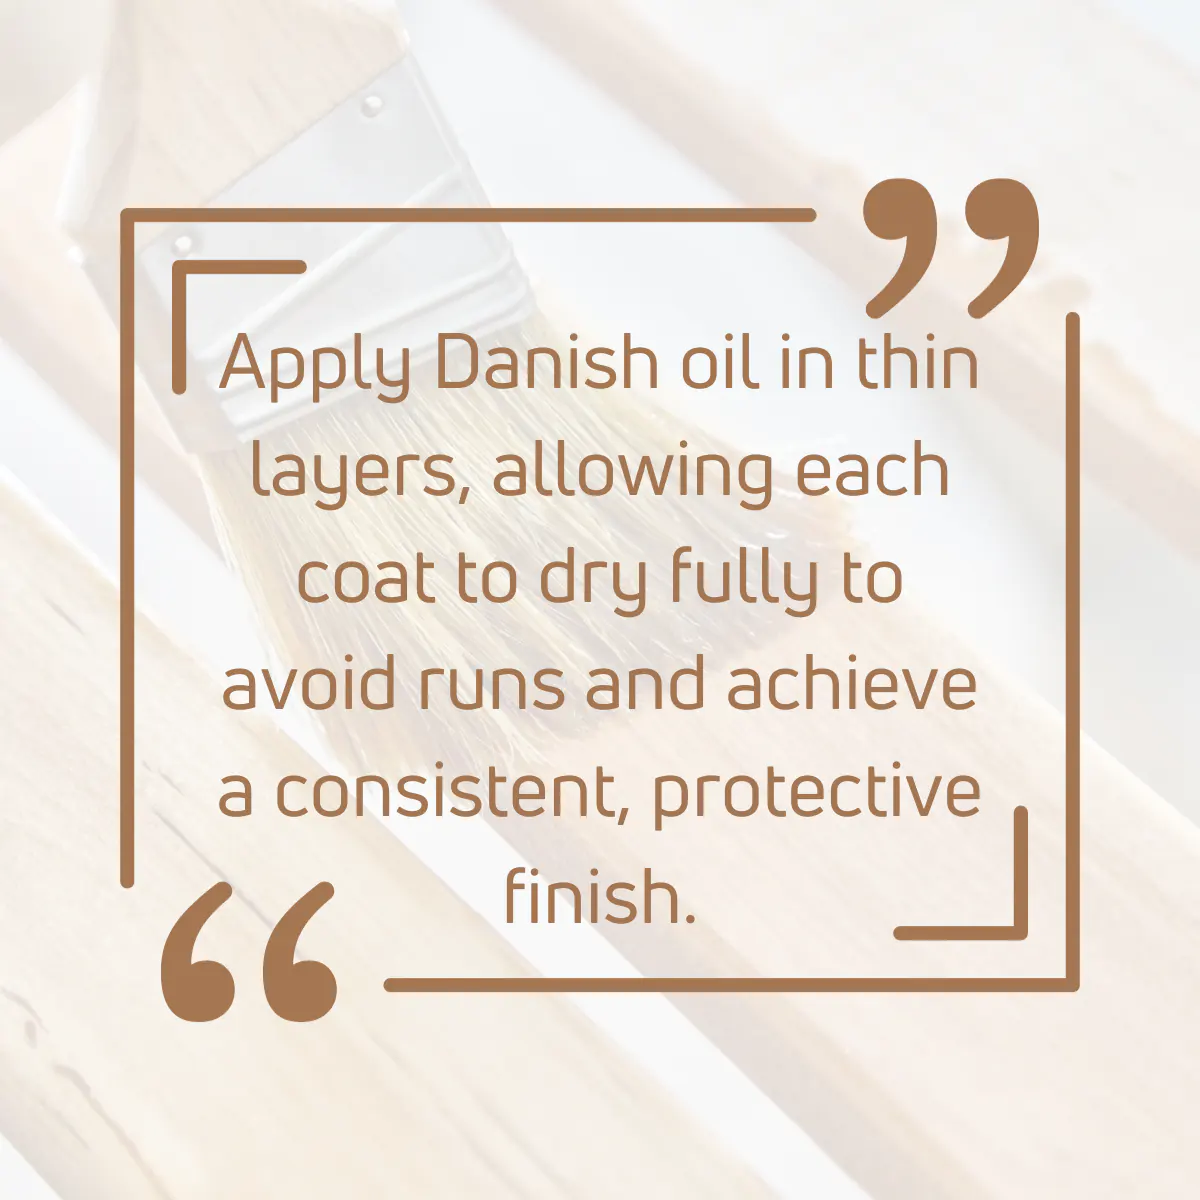
Apply a thin coat of Danish oil over cherry wood since thick coats tend to form a splotchy surface that won’t dry quickly.
By applying wood conditioner before finishing with Danish oil, you won’t need to worry about the blotches since the conditioner controls the absorption rates equally all over the wood.
Application time is around 10 – 15 minutes and this can vary on the area you have to cover.
After applying the first coat of Danish oil over cherry wood, let it soak in and sit on the surface for another 20 minutes.
After 20 minutes wipe off the excess Danish oil on cherry wood surface.
During the settling time of 20 minutes, Danish oil saturates wood fibers and excess will remain on the surface forming the topcoat.
Apply Danish oil patiently with no mistakes. Better to try it first on scrap cherry wood to identify your mistakes and do your best on the main project.
4. Let The Coat Dry And Light Sand The Surface
After applying the first coat of Danish oil over cherry wood, let it sit for 20 minutes and dry for 24 – 48 hours.
Danish oil makes a protective coat over cherry wood that protects wood from moisture and weather elements while enhancing the appearance of the wood.
Drying time can vary on the environmental humidity and temperature levels. Therefore, better to wait for more to gain better results.
When the Danish oil coat is completely dried light sand over the surface to give adhesive properties to the coat with 400 grit sandpaper
Light sanding helps to increase the adhesion between Danish oil coats and it helps to next Danish oil coat to stick well onto the previous one with no layer separations.
Make sure to sand only with finer grit sandpapers since using coarse grits can damage the previously applied Danish oil coat.
Light sand all over the wood without missing any spots.
Make sure to sand when the coat is completely dry since the sanding wet surface can clog up the sandpaper and ruin the wood’s appearance.
You can scuff up the coat with abrasive pads instead of sanding. This also helps to build a good adhesion between coats forming a smooth surface.
5. Apply More Danish Oil Coats
After drying and sanding the first coat of Danish oil apply the second coat using the same procedure you followed when applying the first one.
Soak the tack cloth with Danish oil and wipe down the surface along the wood grain to spread Danish oil evenly over the wood.
Then let it sit for 20 minutes and wipe off the excess. Let the coat dry for 24 to 48 hours and light sand.
Apply 3 to 5 coats of Danish oil on cherry wood to get a nice, even finish as you wish. Cherry wood will get a deep red appearance when finishing.
Apply thin coats of Danish oil to absorb quickly into the wood and form a protective coat without forming blotches.
Removing excess oil is a must to avoid drips and streaks.

6. Let the Coats Dry And Cure
After applying the final coat of Danish oil let it dry for 24 – 48 hours and cure for 4 to 5 days.
During curing Danish oil hardens well and is able to get its final appearance.
Chemicals in Danish oil react with the outside air and polymerize to form a protective coat. the coat prevents moisture from getting inside the wood.
Drying time and curing time can vary on the environmental humidity.
After 5 days, check the surface and if it’s well cured, you can place cherry wood furniture anywhere you want. Otherwise better to keep it in a ventilated area upon curing.
When the Danish oil is fully cured, it will give good protection to the cherry wood from the outside world with an enhanced wood appearance with glossiness.
To make the finish even glossier, apply a polyurethane coat over Danish oil coats when it is fully cured.
Apply a thin coat of polyurethane without any mistakes over Danish oil coats to get a cool-looking finish. It provides extra protection to from water.
That’s it, folks! This is how you should apply Danish oil on cherry wood properly without forming blotches.
How Many Coats Of Danish Oil On Cherry Wood?
Apply 3 to 5 coats of Danish oil on cherry wood to get a protective coat with an enhanced wood appearance.
Make sure to apply thin coats of Danish oil in each coat and light sand between each to build a good adhesion between coats.
Let each coat dry well before applying another.
When the Danish oil coats are hardened and cured, they build a protective layer that avoid moisture from penetrating the wood.
This helps to keep wood from rotting, cracking, and decaying.
What Oil Is Best For Cherry Wood?
Cherry wood can be finished with almost any finishing oil product. Cherry wood turns into a deep dark reddish color when finished.
Apply natural oil on cherry wood with low environmental impact.
Here are some of the best finishing oils for cherry wood,
- Danish oil
- Tung oil
- Linseed oil
- Teak oil
Does Danish Oil Darken Wood?
Yes, Danish oil darkens the wood. That’s common to any other oily finish.
Danish oil saturates wood fibers and makes them even darker. You can reduce Danish oil-applied wood from darkening by keeping them under direct sunlight.
Direct sunlight has UV rays that hit on Danish oil coats and make them lighter due to oxidation.
But many people love the dark color Danish oil provides over cherry wood since it’s luxurious and improves the value of the wood.
How Long Does Danish Oil Last On Wood?
Danish oil lasts on wood for more than even a decade with proper maintenance. Apply Danish oil on any wood at least once per two years and keep the surface clean to stop it from fading away.
Danish oil protects wood from environmental elements while giving it a glossy appearance.
Apply Danish oil at least once per two years to keep the wood fresh and increase wood durability to withstand harsh weather conditions.

So, let’s answer some frequently asked questions.
FAQs
Is Danish oil a good choice for finishing cherry wood?
Yes, Danish oil is excellent for cherry wood, enhancing its natural grain and color while providing a protective coating. It penetrates the wood, offering a durable, water-resistant finish that’s also easy to maintain.
How many coats of Danish oil are recommended for cherry wood?
Typically, 2-3 coats of Danish oil are suggested to achieve a desirable finish on cherry wood. Each coat should be allowed to dry completely before applying the next to ensure the best results.
Is Danish oil food safe for use on cherry wood kitchen utensils and countertops?
Yes, once fully cured, Danish oil is food safe, making it an excellent option for wooden kitchen utensils and countertops. It provides a protective barrier without compromising safety.
Should I sand cherry wood between applications of Danish oil coats?
There’s no need to sand between coats of Danish oil; just ensure each coat is fully dry before applying the next. If desired, very fine-grit sandpaper can be used cautiously.
How long does Danish oil take to dry on cherry wood?
Danish oil typically takes about 1-2 days to dry, but the curing time can vary depending on environmental conditions. It’s advised to let it cure for approximately 4 to 5 days for the best results.
Can Danish oil be used to darken cherry wood?
Yes, Danish oil can enhance and darken the natural color of cherry wood. However, the extent of darkening depends on the wood type and the number of coats applied.
What are the disadvantages of using Danish oil on cherry wood?
Danish oil might not be the most durable option and may require reapplication over time. It can also darken the wood, especially if exposed to sunlight.
Is it necessary to apply a top coat over Danish oil on cherry wood?
While not strictly necessary, applying a top coat of varnish or polyurethane over Danish oil can provide additional protection and durability, especially for pieces that will see heavy use or exposure to elements.
How should Danish oil be applied to cherry wood?
Apply Danish oil with a clean cloth, working in the direction of the grain, allowing it to penetrate before wiping off excess. Repeat until the desired finish is achieved, then let it cure.
Is Danish oil suitable for all types of wood, including cherry?
Yes, Danish oil is versatile and can be applied to most wood types, including cherry, offering enhanced grain visibility, color richness, and protection against environmental elements.
Did I cover all you wanted to know about: Using Danish Oil On Cherry Wood
In this article, I discussed whether can you use Danish oil on cherry wood and how to do that properly using the correct steps, and some benefits of Danish oil with tips and techniques.
Danish oil is highly recommended for cherry wood. It enhances the wood’s natural grain and color, offering a protective, water-resistant finish. It’s an eco-friendly option, easy to apply, and once cured, it’s food safe, making it ideal for various applications including furniture and kitchen items.
Furthermore, I’ve answered some frequently asked questions as well.
Hope you learned everything you wanted to know about using Danish oil on cherry wood.
Try to apply Danish oil over your cherry wood furniture and gain experience by yourself.