Frustrated by splitting wood? Seeking effective solutions? Explore top methods to preserve your wood projects and keep them split-free for years to come!
Anyone who has ever worked with wood knows that it can be a tricky material to work with, especially when it comes to splitting and cracking.
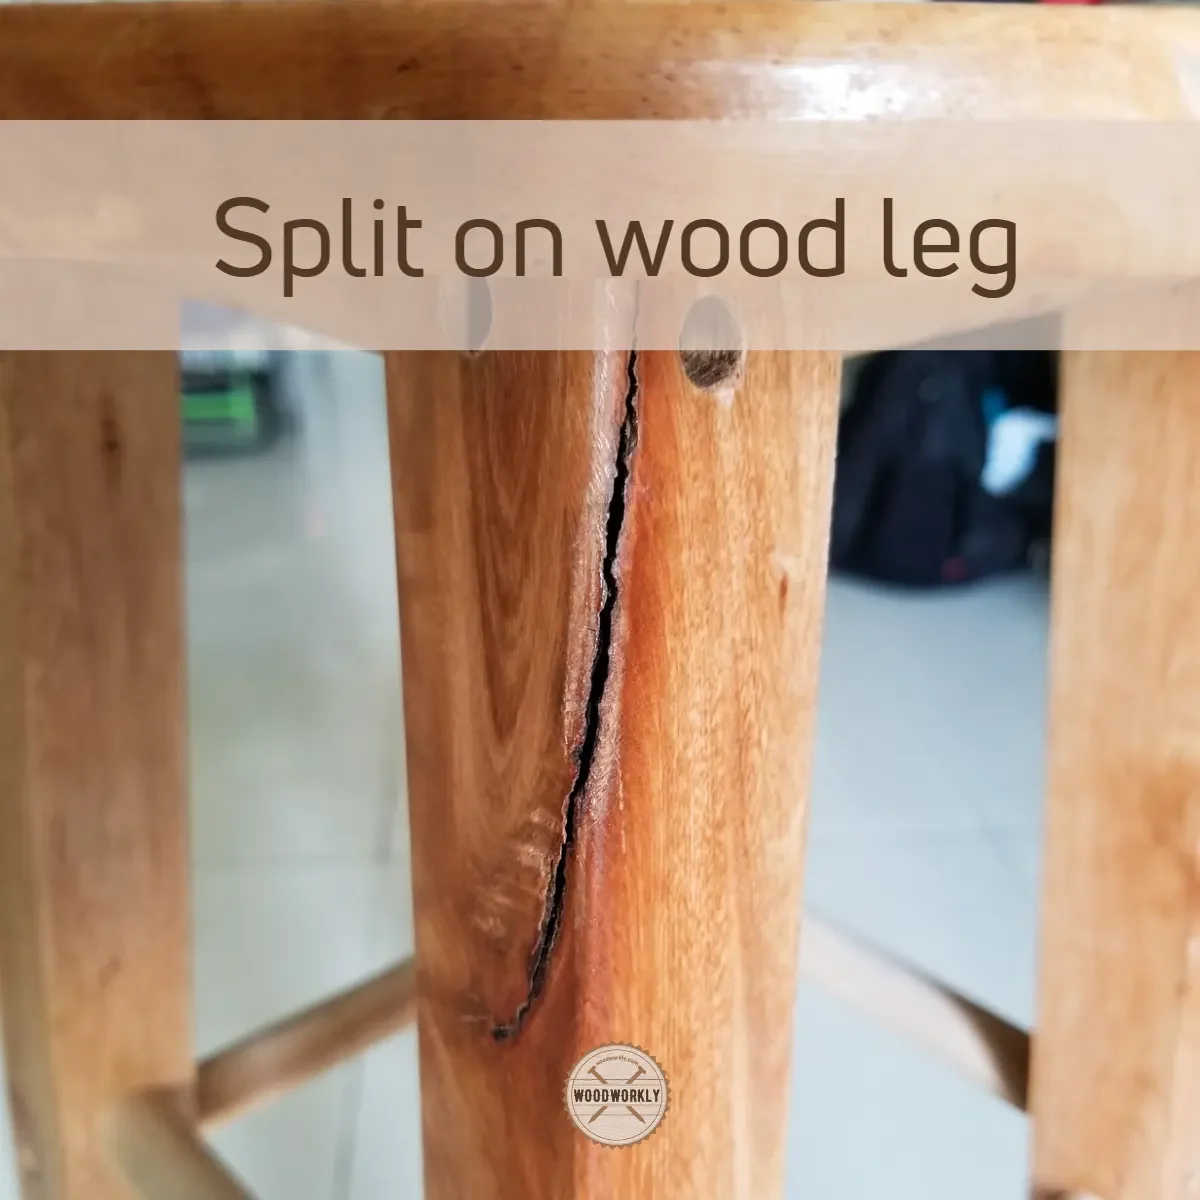
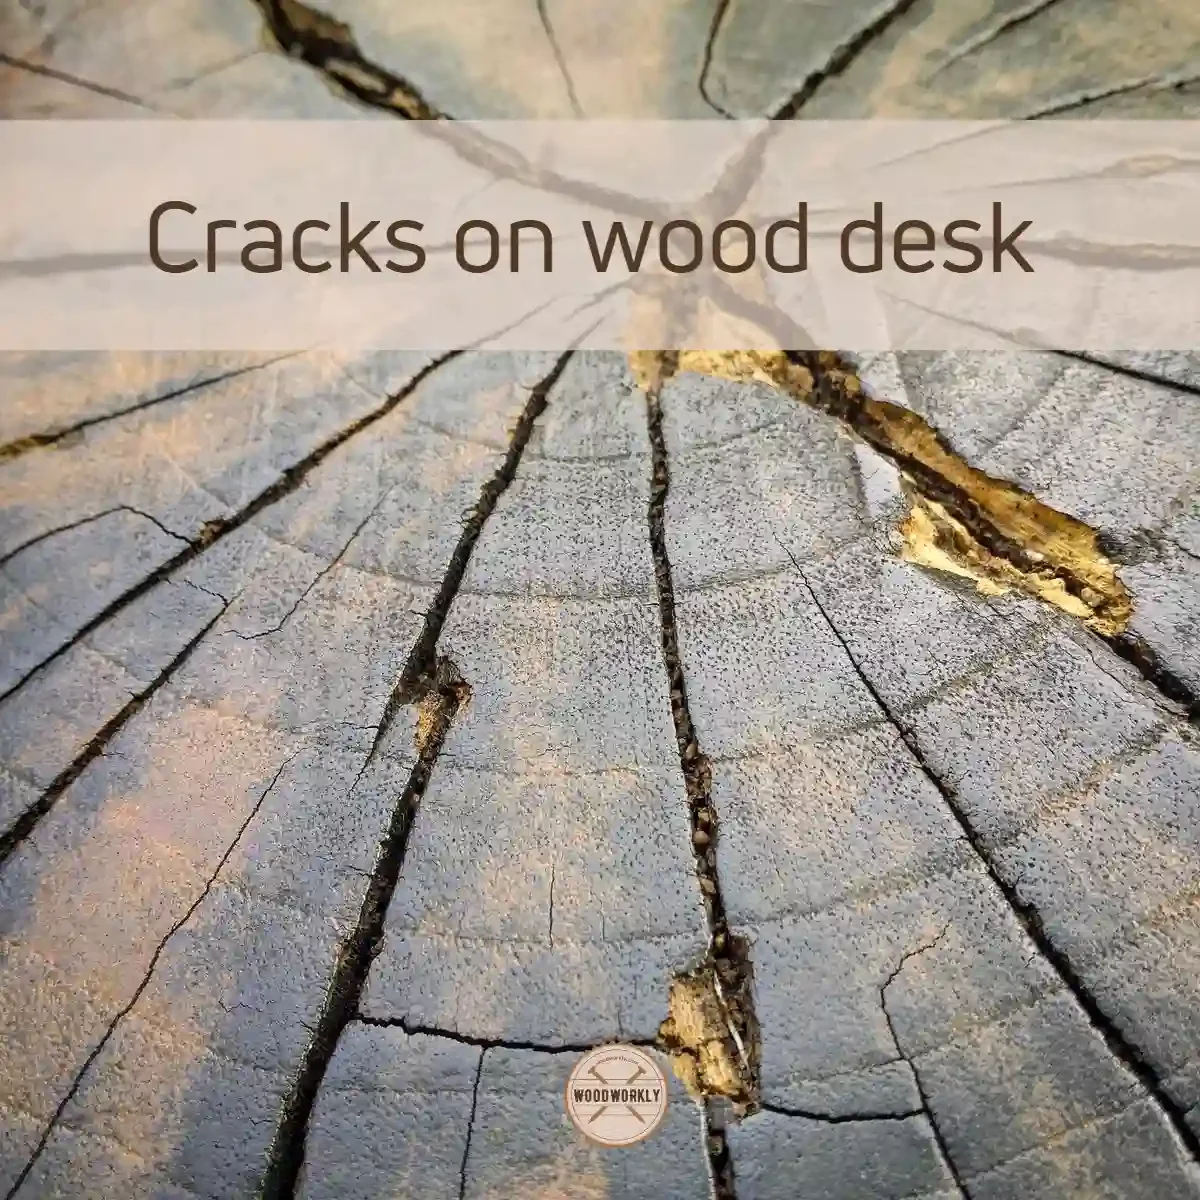
Splitting not only ruins the aesthetic of the wood but can also compromise its structural integrity, which can be a safety hazard.
Whether you’re building a deck, constructing furniture, or simply working on a DIY project, knowing how to prevent the wood from splitting is essential.
When I was dealing with wood splitting issues, I was always like, “How do I stop this damn wood from cracking? I was able to get wonderful pieces of advice from experts to stop it.
So, let’s discuss, How to keep wood from splitting and cracking?
You can keep wood from splitting and cracking by applying a sealant or stabilizer, using a salt paste, applying varnish, applying paintable wax, or applying boiled linseed oil. Those methods will help you to keep wood from splitting and cracking when nailing, screwing, drying, cutting, and sawing.
But that’s a quick snapshot and there’s a lot more to know about wood splitting.
So, in this article, In this blog post, we’ll explore some tips and tricks for keeping your wood intact, so you can work with it confidently and achieve stunning results every time.
Furthermore, we’ll discuss why wood keep splitting and how to keep wood from splitting on different occasions like nailing, drying, and sawing.
So, let’s get going!
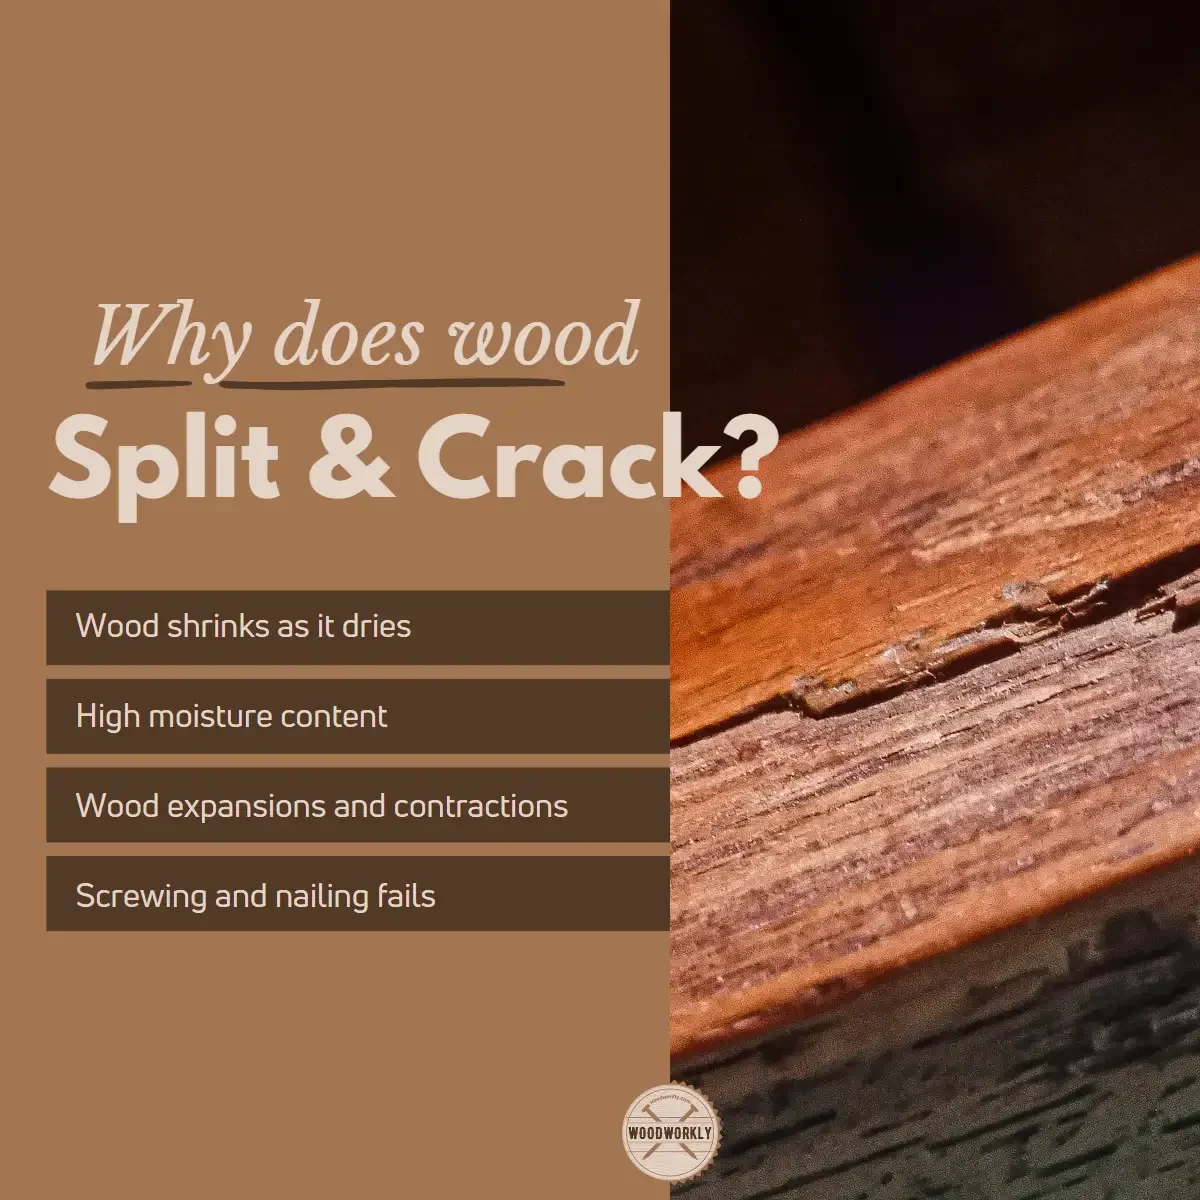
Why Does Wood Split and Crack?
Woods split and crack due to various factors. Such as,
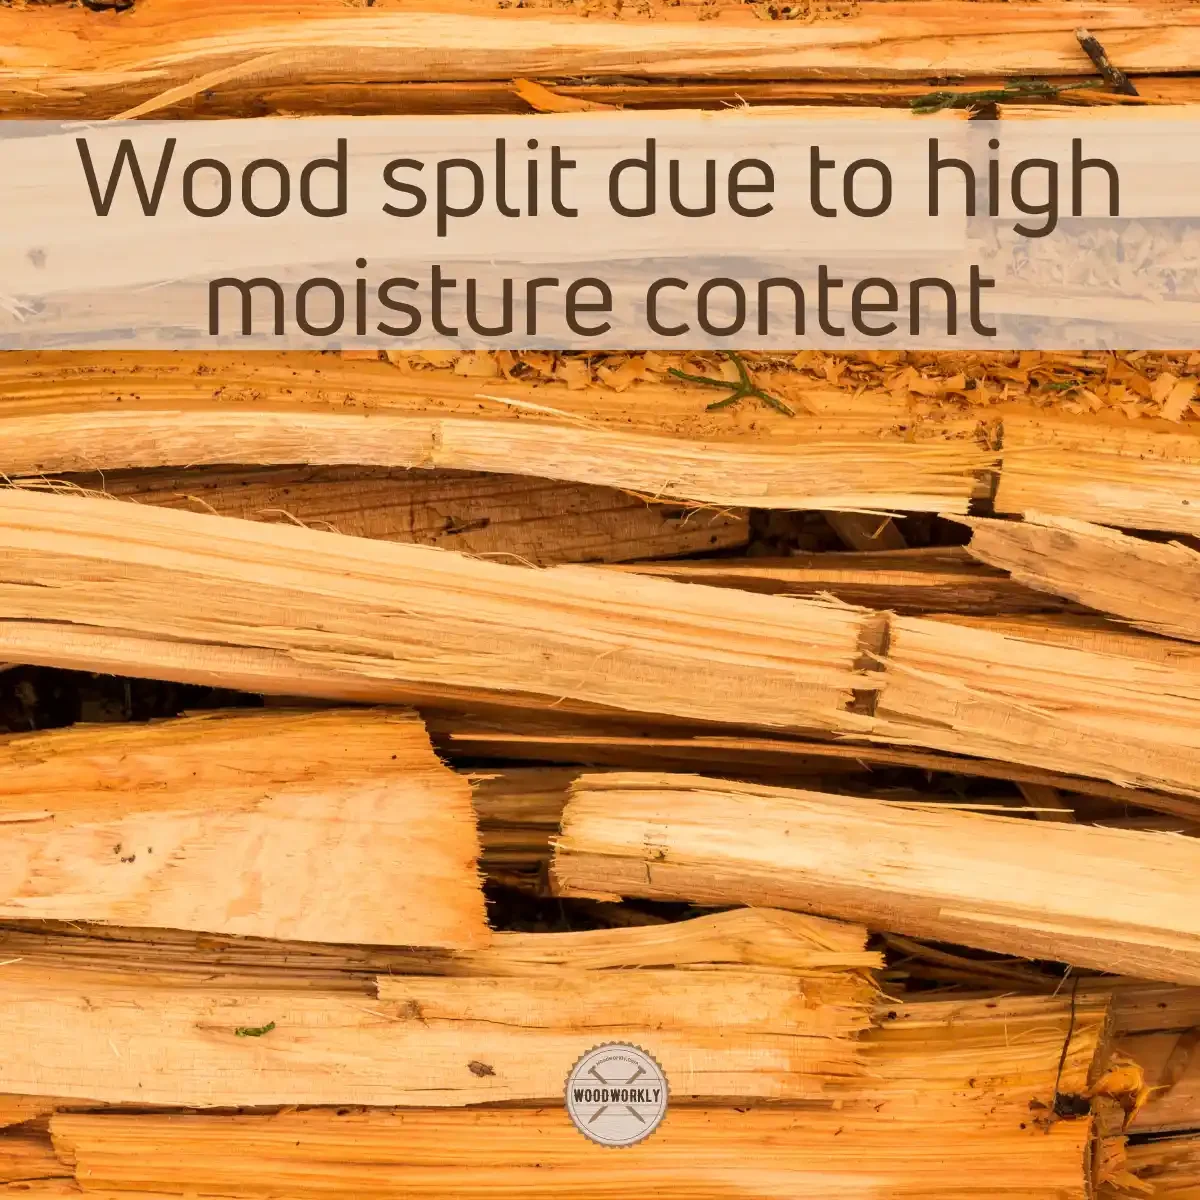
- High moisture content
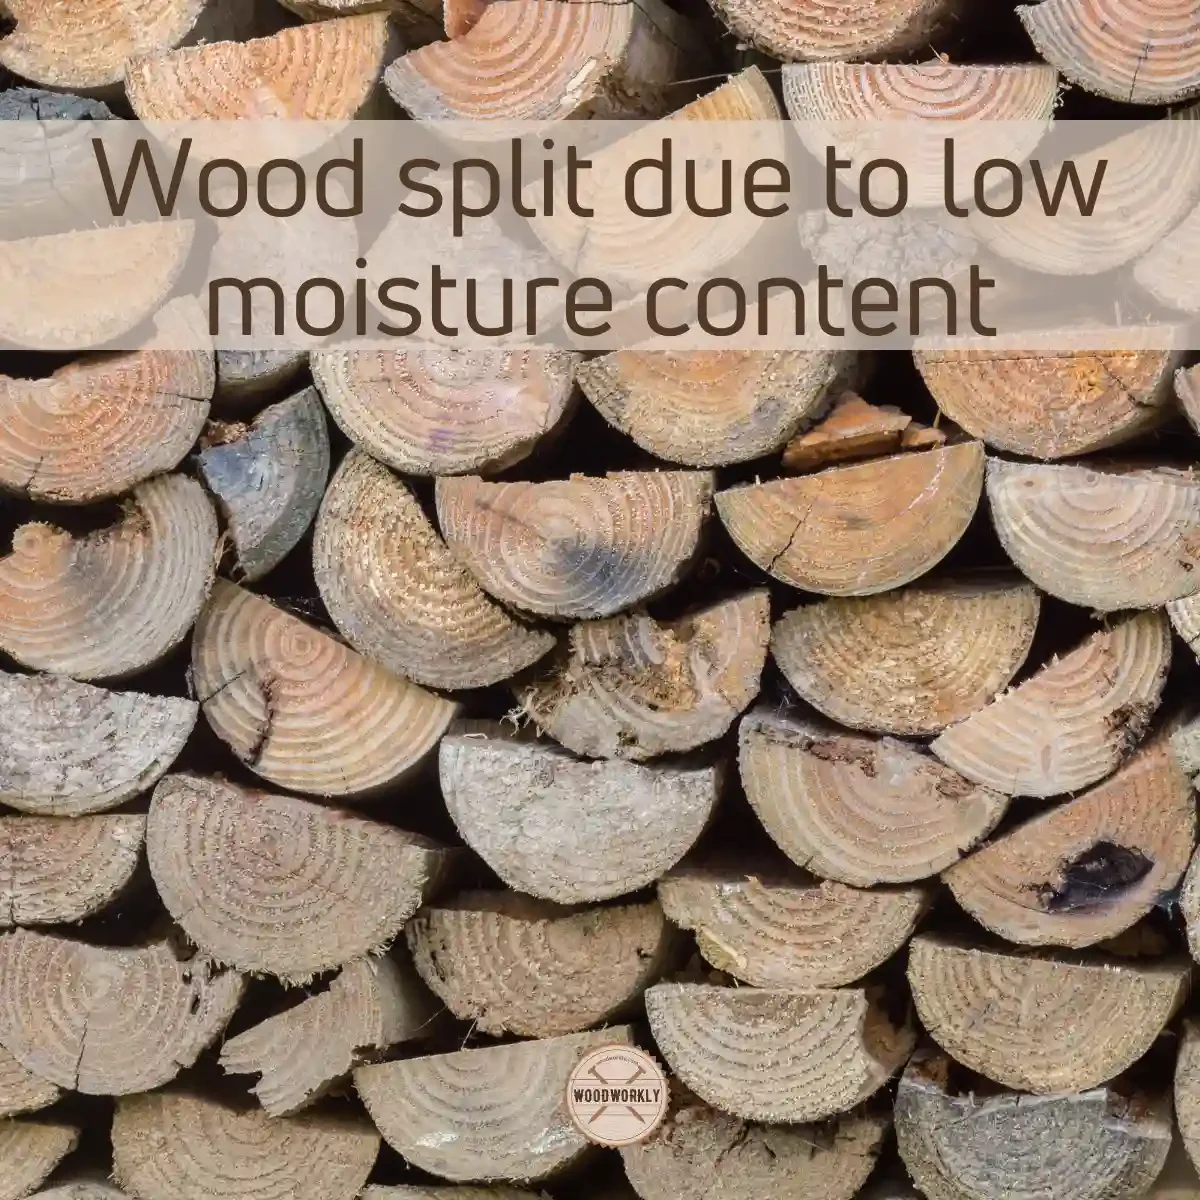
- Less moisture content
- Expansions and contractions
- Screwing and nailing fails
Greenwoods get split or cracked mostly due to the high moisture level.
If the wood is dry, it gets split or cracked because the boards are narrow or nailed/screwed too close to the end.
Screw displacement makes the fiber split apart by creating an imperfect joint.
Also, when the wood is dry, the moisture content will remove through evaporation. This makes the wood expand and contract more which leads to a wood split.
The swelling and shrinking behaviors of wood are reasons for wood splitting and cracking. When we look at the wood structure, we can see pores thin fibers that are packed in a regular manner.
Those pores structures of fibers can absorb moisture.
When the environmental moisture content is high, the water molecules will easily penetrate to the inside of the wood and store in those pores structure of fibers.
This will increase the diameter of the thin fibers and they’ll eventually increase in width. This makes the whole wood expand.
When the wood is expanding it’ll pull joints apart. If there’re places the wood is improperly joined, the wood will split and crack from those areas.
The same goes with when the wood is contacting due to extremely low moisture levels in the atmosphere.
When the environmental moisture level is low, the water molecules that are trapped inside the fiber will evaporate and this makes the wood shrink.
When the shrinkage happens it has enough force to pull joints apart and crack and split wood from the places that are improperly joined.
In order to stop the wood from, split you need to have a proper understanding of the wood’s movements.
Because we cannot stop its movements, but we can properly join wood pieces to withstand humidity changes without splitting apart.

So, let’s have a look at the top 5 easiest methods to keep the wood from splitting.
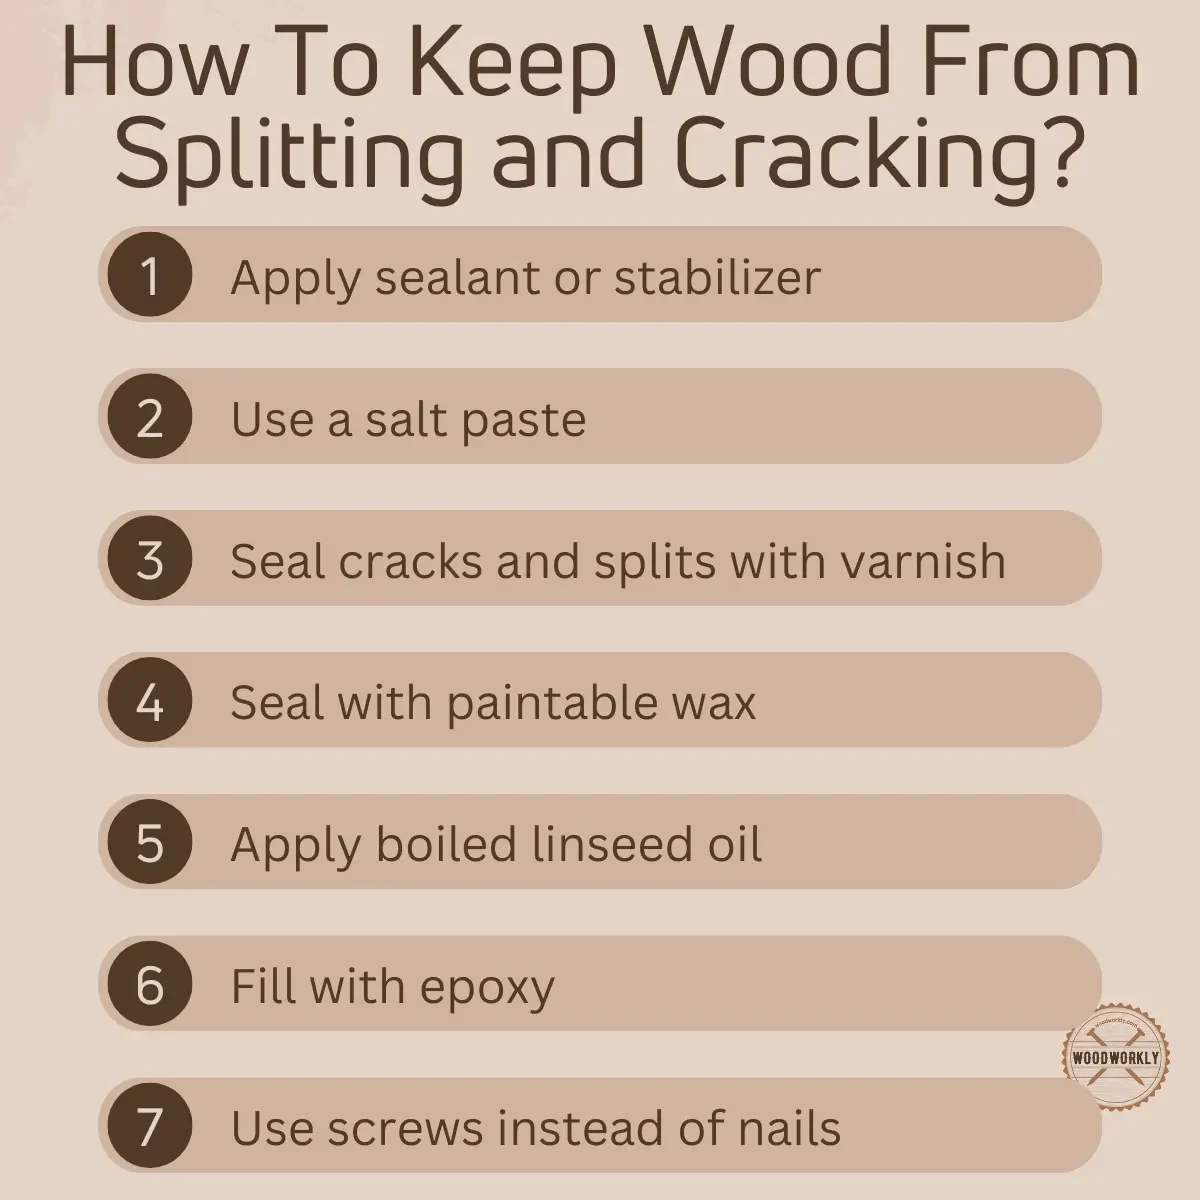
How To Keep Wood From Splitting and Cracking?
- Apply sealant or stabilizer
- Use a salt paste
- Seal with varnish
- Seal with paintable wax
- Apply boiled linseed oil
- Fill with epoxy
- Use screws instead of nails
- Store wood properly
By following the above 8 methods, you’ll be able to protect your loving furniture and greenwoods from splitting.
So, let’s discuss each of the above methods separately.
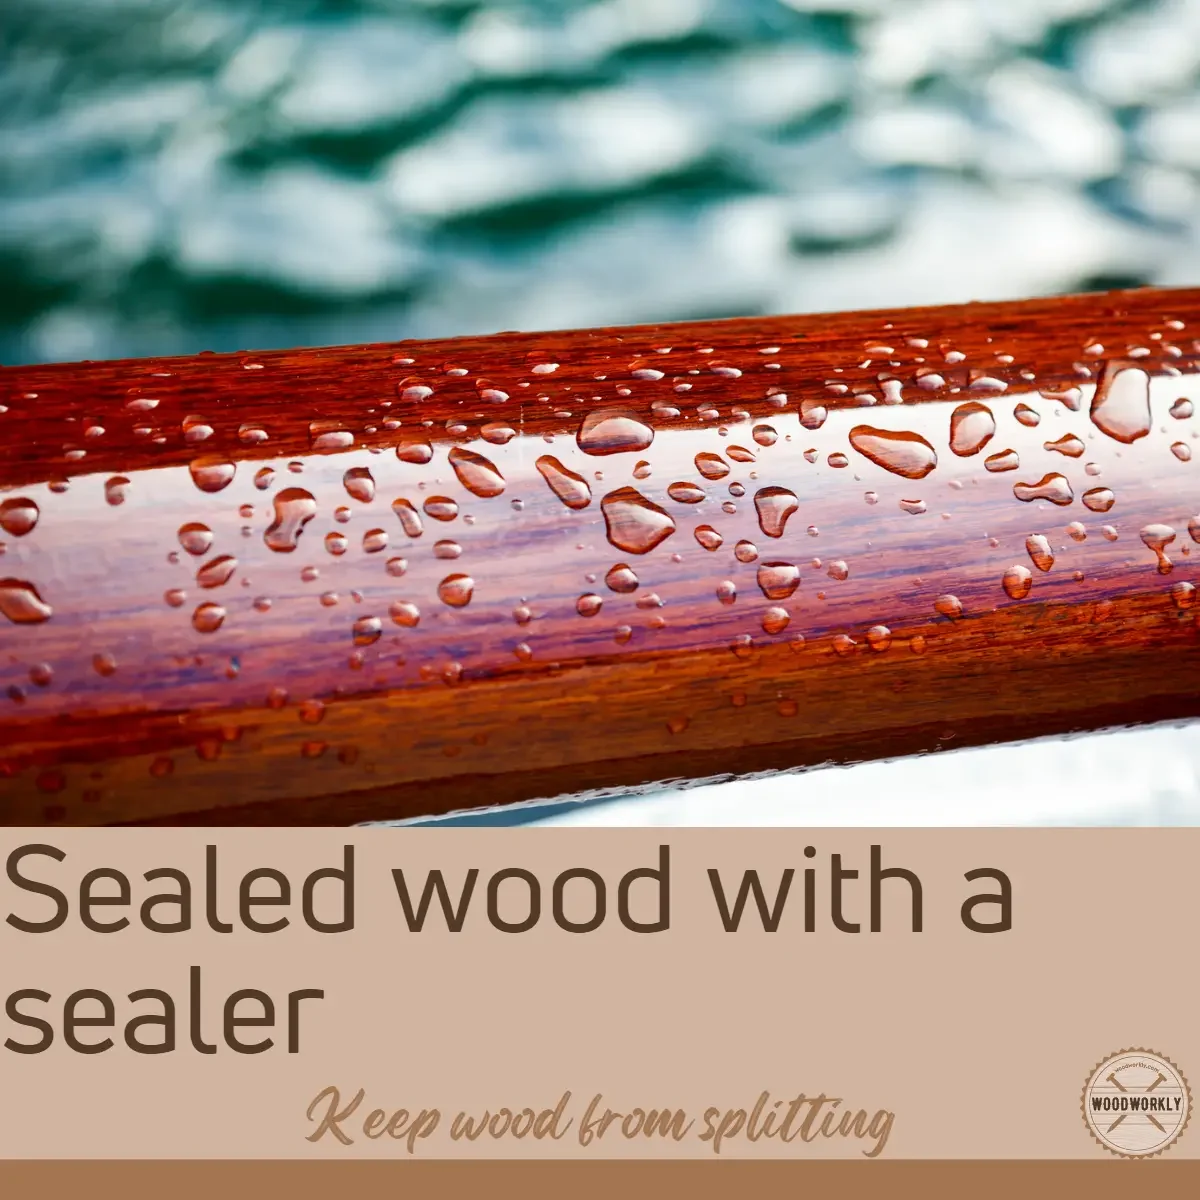
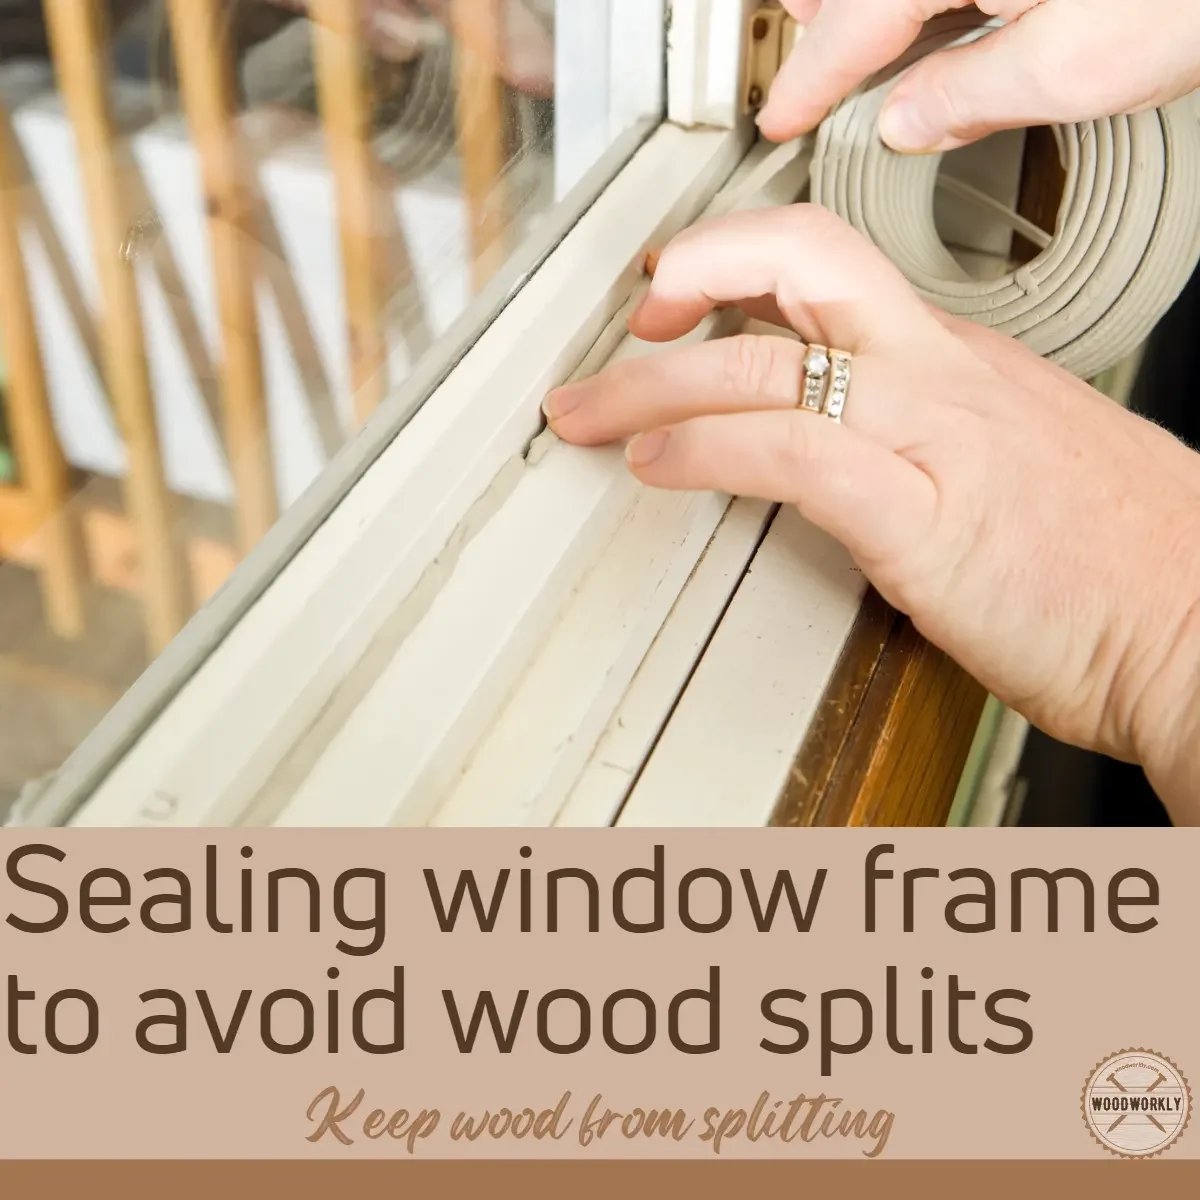
1. Apply Sealant or Stabilizer
By applying sealant or stabilizer it will stop the wood from drying and avoid shrinkage.
Therefore, wood won’t contact the outside air and the moisture inside won’t evaporate to the outside as well. Therefore, wood gets prevented from splitting and cracking.
According to my opinion, applying sealant or stabilizer to keep wood from splitting is the easiest method anyone can follow without any issue.
Here’s the equipment you need to have before applying a sealant or stabilizer to keep the wood from splitting.
- Stabilizer or a sealant
- Paintbrush
- Woodwork, furniture, wood slices, or greenwood
- Protective rubber gloves
The best sealant for greenwood is the anchor seal. For furniture, woodwork, and all other types of wood stuff can use polyurethane, a lacquer-type sealant with good waterproofing ability.
Make sure to wear gloves during the entire process to protect your skin from chemicals in sealant and stabilizer compounds.

Here are the steps you need to follow, in order to apply the sealant or stabilizer properly to avoid wood splitting in the future.
1. Clean The Wood
Before applying any kind of sealant, you must clean the furniture, woodwork, greenwood, or any other wood type to eliminate dust and debris.
Cleaning before sealing is important to avoid surface blotchiness.
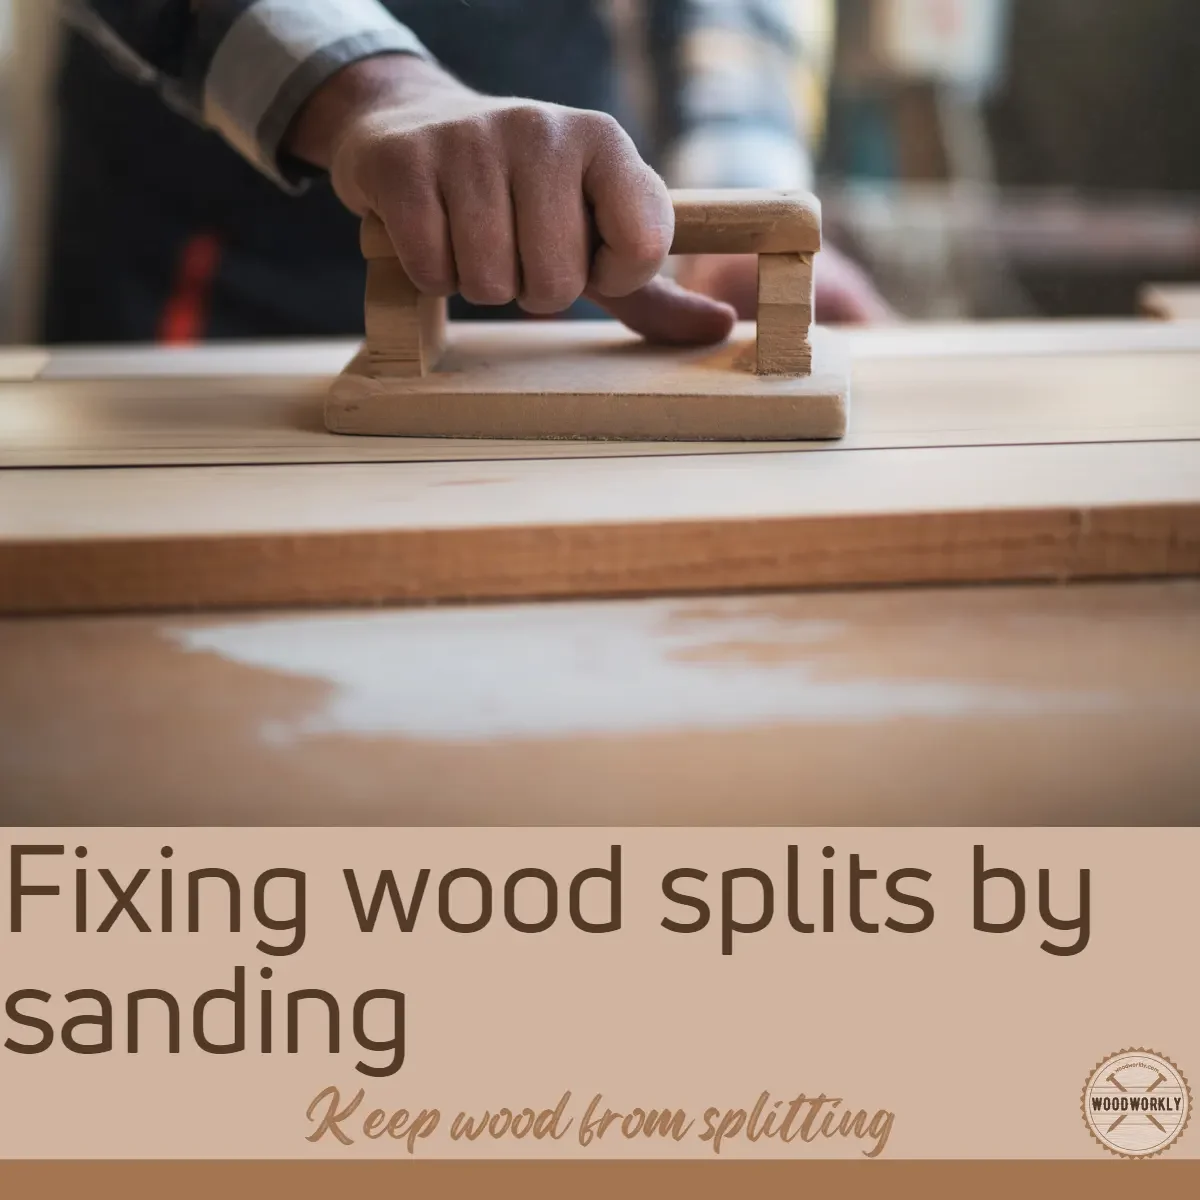
2. Sand the Wood
Sand the wood surface with 220 grit sandpaper.
Don’t go with any finer sandpaper because they might scratch and ruin the beautiful wood grain.
Sanding helps to smoothen up the surface to take the sealant well.
After you do the sanding make sure to clean the whole surface again using a rag or damp cloth to remove sawdust.
Then leave it for 24 hours until it dries completely before applying the sealant.
Now your wood is ready to accept the sealant or stabilizer in a fresh look.
3. Apply the Sealant or Stabilizer
Dip the paintbrush in freshly opened sealant or stabilizer compound and take a small portion from it. Then apply a thin layer of the sealant or stabilizer all over the wood surface.
Make sure to apply the sealant or stabilizer evenly throughout the surface without missing any spots.
Otherwise, the wood will interact with outside air through those spots and make the wood split or crack.
By applying a sealant or stabilizer you’ll be able to stop the direct contact between open ends of the wood.
So, there will be no dryness and your woodwork is totally safe from splitting and cracking.
After the first coat of sealing is done, leave the wood to dry completely for around 48 hours before applying the second coat of sealant for better protection from splitting.
So, let’s talk about the second-best method to keep your wood from splitting.
2. Use a Salt Paste
The salt paste can dry the wood by absorbing the moisture content inside the wood which causes wood splitting. By drying the wood salt paste prevent the wood from splitting and cracking.
Applying salt paste is considered one of the easiest methods to keep wood from splitting without using harmful chemicals.

Here’re the requirements you need to have before applying the salt paste to fix wood splits and cracks,
- Salt
- Cornstarch
- Eggs
- Paintbrush
So, let’s discuss the steps you need to follow to apply salt paste successfully.
1. Prepare Salt Solution
Get a bucket and fill it with fresh water. Then pour table salt into it and stir well until it’s fully mixed. If you took a high amount of salt, make sure to get enough water to mix.
Otherwise, salt will be oversaturated and won’t mix well with water.
Once the salt is fully mixed with water, keep the solution for about 4 hours.
2. Add Cornstarch
After keeping the bucket for about 4 hours, add enough cornstarch to the solution and mix well. If you add excess cornstarch, make sure to add more water to the solution.
Otherwise, the mixture will get hard.
If you have added enough cornstarch to the solution, you’ll get the salt paste as you want.
3. Add Eggs
After mixing the cornstarch, add three eggs to the compound and mix well until eggs get disappeared into the salt paste.
If the eggs aren’t mixed well with the paste, you’ll probably face issues like displaying flakes once the wood dries after applying the paste.
So, make sure to mix them well to cause no trouble in the future.
4. Apply the Salt Paste
Once the eggs are mixed well with the paste, apply the resulting mixture all over the wood evenly without missing any spot using a paintbrush.
At the end of the application, the salt paste should make a uniform layer of coat over the wooden surface.
When you’re applying the salt paste, make sure to cover up the whole surface including, edges, corners.
The paste won’t come off easily once it’s fully dried.
5. Dry the Wood
After applying the salt paste all over the wood, leave the wood to dry in a warm area. The salt paste starts to absorb moisture from the wood and keep it dry to avoid any cracking or splitting.
Drying time varies according to the amount of salt paste you’ve applied. Thin coats of salt paste dry quickly than thick coats.
So, that’s all about applying salt paste to keep wood from splitting. Let’s head into another effective method to protect your loving woodwork from splitting.
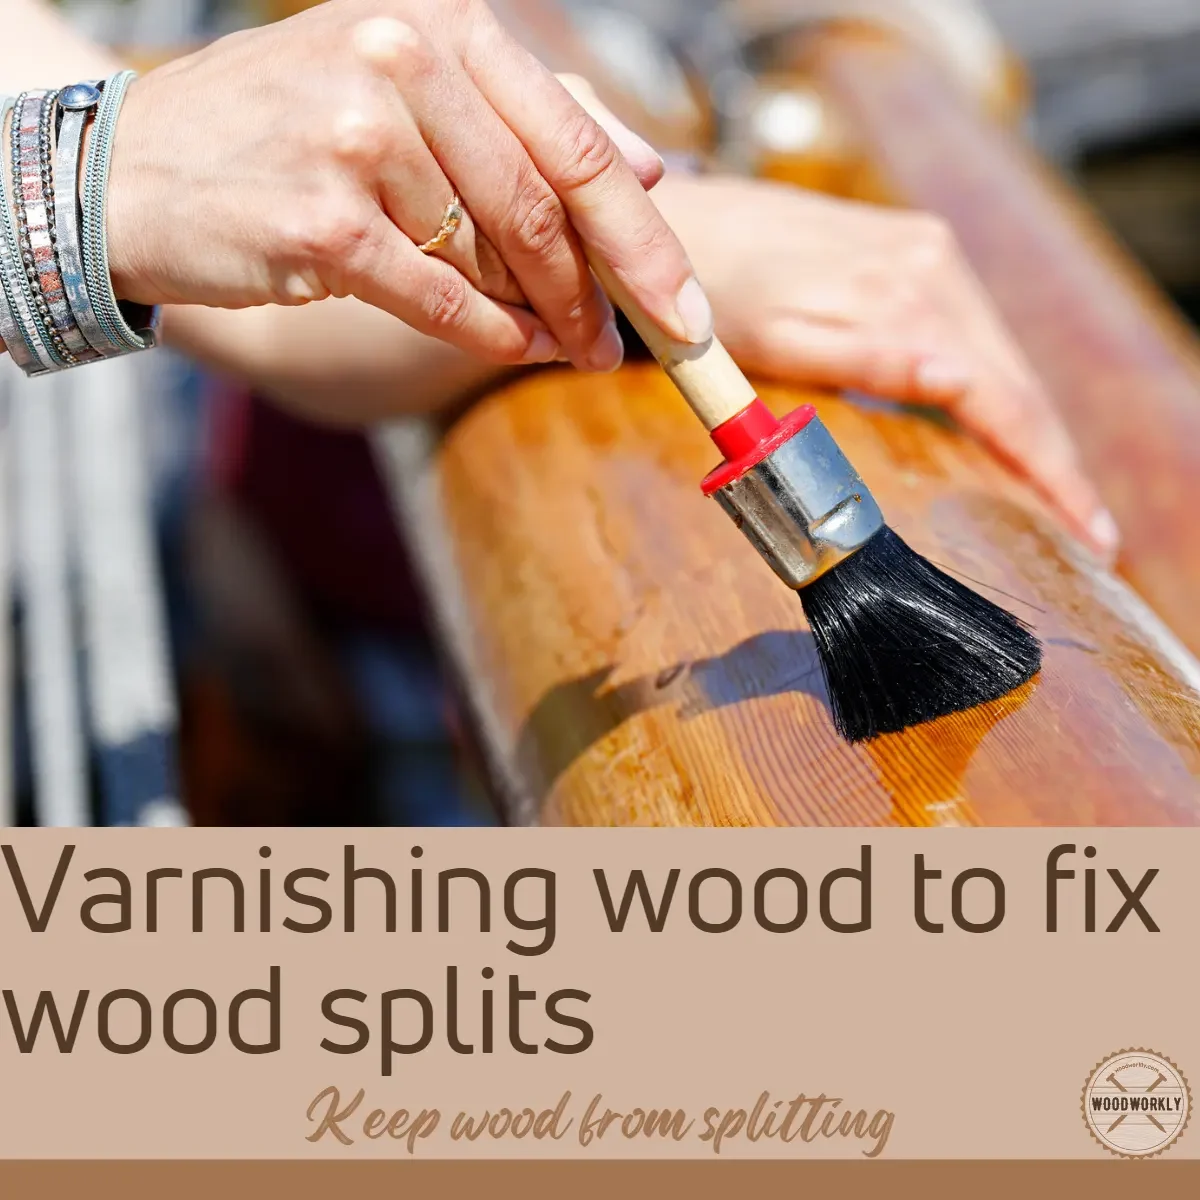
3. Seal With Varnish
Applying varnish is another successful method to keep the wood from splitting. Varnish has the ability to seal the wood and reduce the amount of moisture evaporating from the wood.
Here are the requirements you need to have before applying varnish to fix wood splits and cracks,.
- Freshly opened varnish can
- Wood glue
- Warm water
- Paintbrush
- Sandpaper
- Cloth or rag
Here’re the steps you need to follow to seal the wood effectively using varnish to avoid splitting and cracking.
1. Sand The Wood
I highly recommend you sand the wood 220 grit sandpaper to open wood grain and make the wood easily absorb varnish well.
Make sure to sand all over the wood without missing any spots with even pressure.
Sanding helps to smoothen up the surface to take the varnish well.
2. Clean the Wood
Once you finished the sanding, clean the wood using an old cloth or rag to remove dust and debris, and sawdust.
This will make the surface nice and clean and ready to take the varnish so easily.
3. Prepare the Varnish
Pour an equal amount of spar varnish and aluminum paint into a big bucket and stir them well.
4. Prepare the Sealer
Prepare the sealer by mixing wood glue with warm water and stirring them well. Make sure to take enough warm water to mix well with wood glue. Otherwise, the solution will get hard so easily.
5. Apply the Varnish
Apply the prepared varnish solution all over the wood using a paintbrush. Make sure to apply thin coats of varnish to make the wood dry quickly.
Apply 2-3 coats of varnish to get the protection you want.
Keep the wood dry completely before applying second, third coats of varnish. Otherwise, the surface can be blotchy once it’s dried.
6. Apply the Sealer
Once the final coat of varnish is fully dried, apply the sealer all over the wood and keep the wood until the sealer soaks well into the wood.
The sealer will help to cover up every small spot of the wood and avoid cracking and splitting of the wood under the harshest circumstances.
The sealer acts as extra protection to the varnish layer to stop the evaporation of moisture and avoid wood shrinkage.
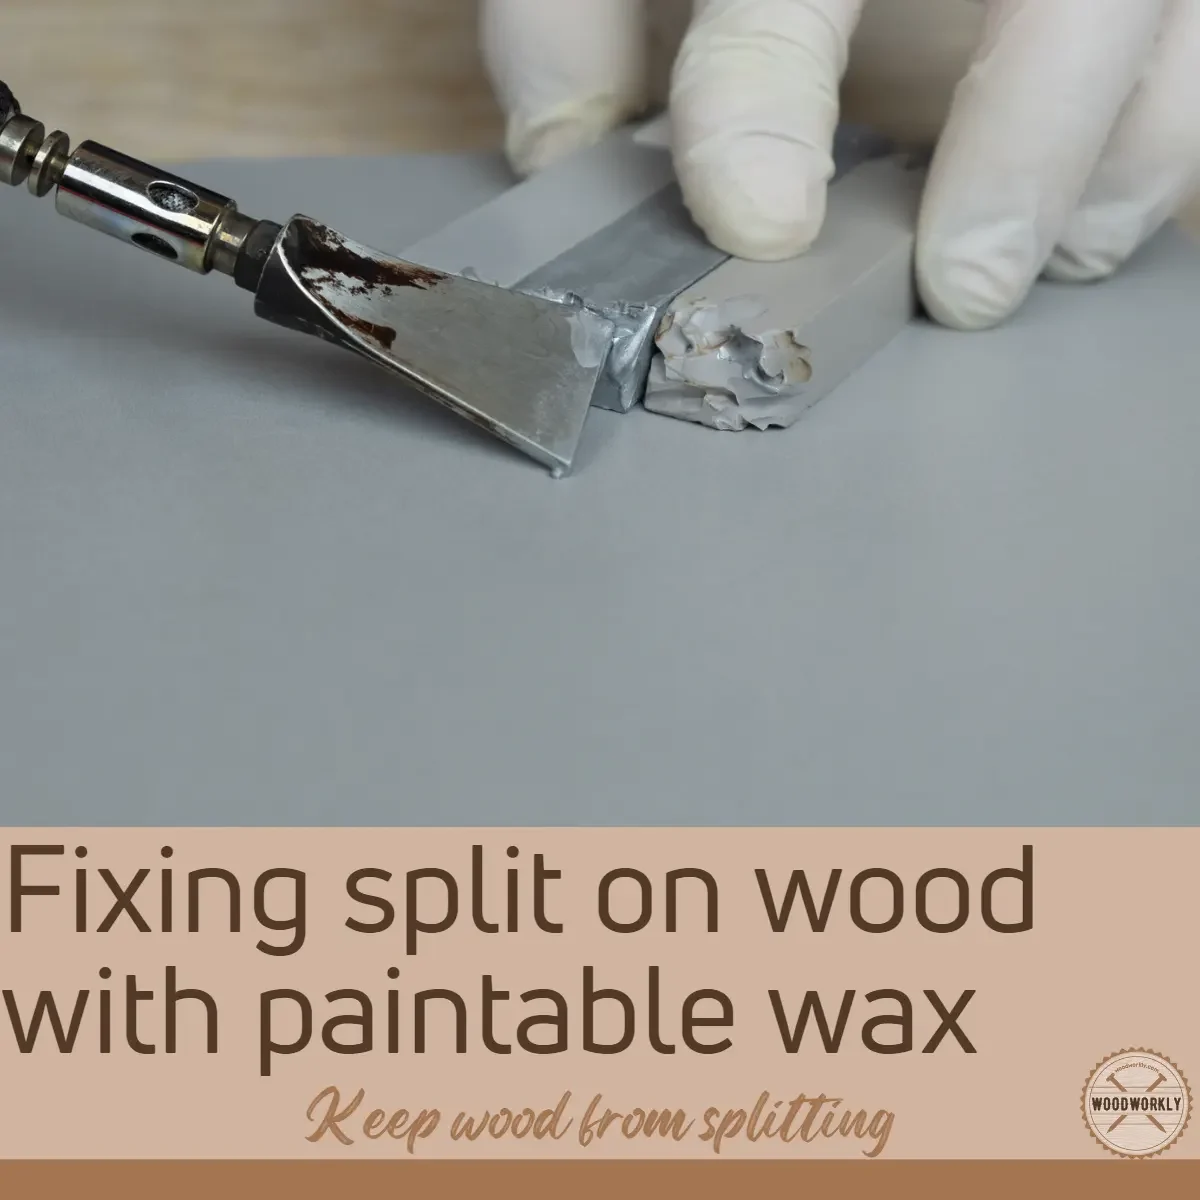
4. Seal With Paintable Wax
Paintable wax helps the wood to keep wood from splitting. Applying paintable wax is the cheapest method to protect greenwood from cracking and splitting.
Here’s are the list of equipment you need to have before applying paintable wax.
- Wax candles
- Paint thinner
- Hammer
- Food scale
- Canning jar
- Paintbrush
Here’re the steps you need to follow for the successful application of DIY paintable wax.
1. Prepare the Wax
You can easily prepare the wax you want without purchasing it from a store. Take wax candles and place them in a plastic bag.
Hammer the plastic bag until you receive small bits of wax candles.
Then take a food scale and measure the weight of wax candles with a plastic bag. Record the measurement.
Then place the tiny bits of wax candles into a pot or any other heating equipment and heat them until all the wax is completely melted.
Then take the canning jar and enough paint thinner into it. The paint thinner amount should be equal to one-fourth weight of a plastic bag filled with wax.
Then add the total weight of wax into the canning jar and gently shake to make a blended mixture of wax and paint thinner.
This is how you should prepare the wax before applying it to the wood, which must do carefully.
2. Apply the Wax
Take the paintbrush and apply wax inside the jar all over the wood using thin light coats. Make sure to cover the whole wood surface including edges and corners.
Thin light coats help to dry quickly with fewer errors.
Also, make sure to apply the wax whole over wood uniformly with even pressure.
Paintable wax helps the greenwood to avoid cracking and splitting and to give protection from environmental elements.
5. Apply Boiled Linseed Oil
Boiled linseed oil will keep the wood from splitting and cracking. It works as a guard seal. The workability is also high and easy to apply with lots of benefits.
I highly recommend applying boiled linseed oil to your loving woodwork especially if you’re a beginner in woodworking, because of its easiness.
Here’s the equipment you need to have before applying linseed oil to fix wood splits and cracks,
- Linseed oil
- Sandpaper
- Old cloth or rag
- Paintbrush

Let’s find out what steps you need to follow to the effective application of linseed oil to protect the wood from splitting.
1. Sand The Wood
Sanding the wood is very important before the application of linseed oil. Sand the whole surface, corners, and edges of the wood using 220-grit sandpaper until you get a smooth surface.
Sanding along the direction of wood fibers helps to open the wood grain and to take linseed oil so easily. Sanding is important to preserve the wood.
2. Clean The Wood
After the sanding process, clean the whole surface of the wood using an old cloth or rag to remove any dust and debris.
This is important because, if you apply boiled linseed oil as soon as you finish the sanding without cleaning, linseed oil does not penetrate well inside the wood.
Cleaning is important to remove the sawdust and open the wood fibers to take linseed oils so easily.
3. Apply Linseed Oil
After cleaning the wood take a paintbrush and apply boiled linseed oil all over the wooden surface without missing any spot.
Make sure to apply thin coats of linseed oil to dry quickly. The first oat of linseed oil mostly will absorb into the wood and the very little amount will place the top of the wood to make the coating layer.
Therefore apply 2-3 coats of linseed oil layers to seal the wood completely.
Also, make sure to dry the wood completely between coatings.
Applying linseed oil without drying the wood enough will cause surface blotchiness, which will ruin the furniture or your woodwork.
Linseed oil guard the wood against splitting and cracking.
4. Dry the Wood
After applying enough linseed oil, place the wood to dry under the non-sunlight area. Because exposure to direct sunlight damages the wood and the linseed oil layer.
Exposure to direct sunlight after applying boiled linseed oil is too harsh for the wood.
Let the wood dry completely in a warm place to seal the wood completely with linseed oil.
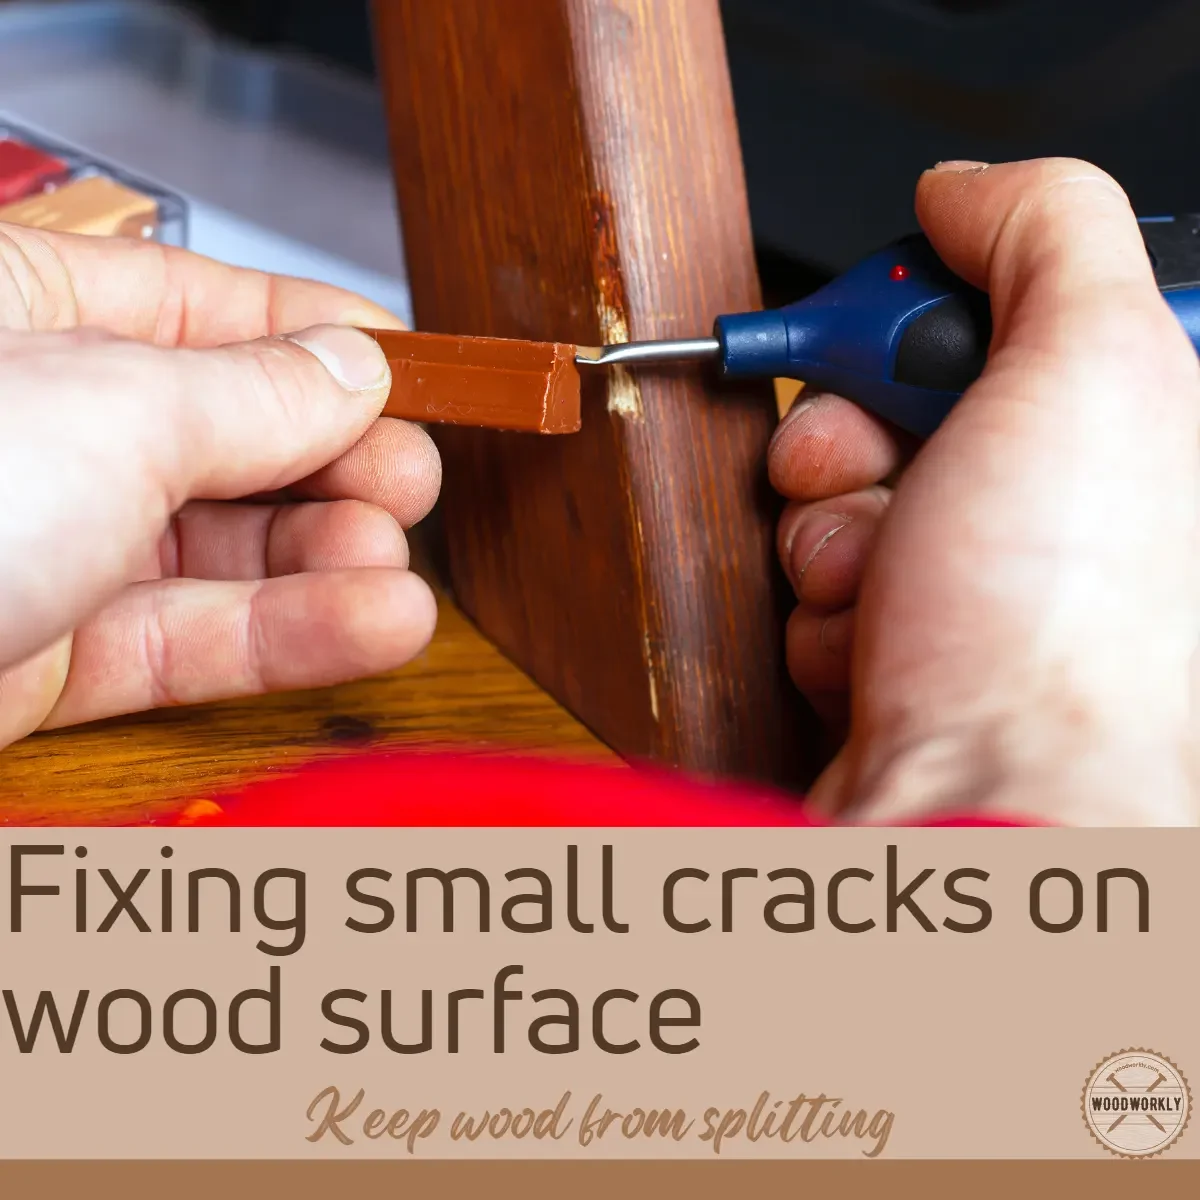
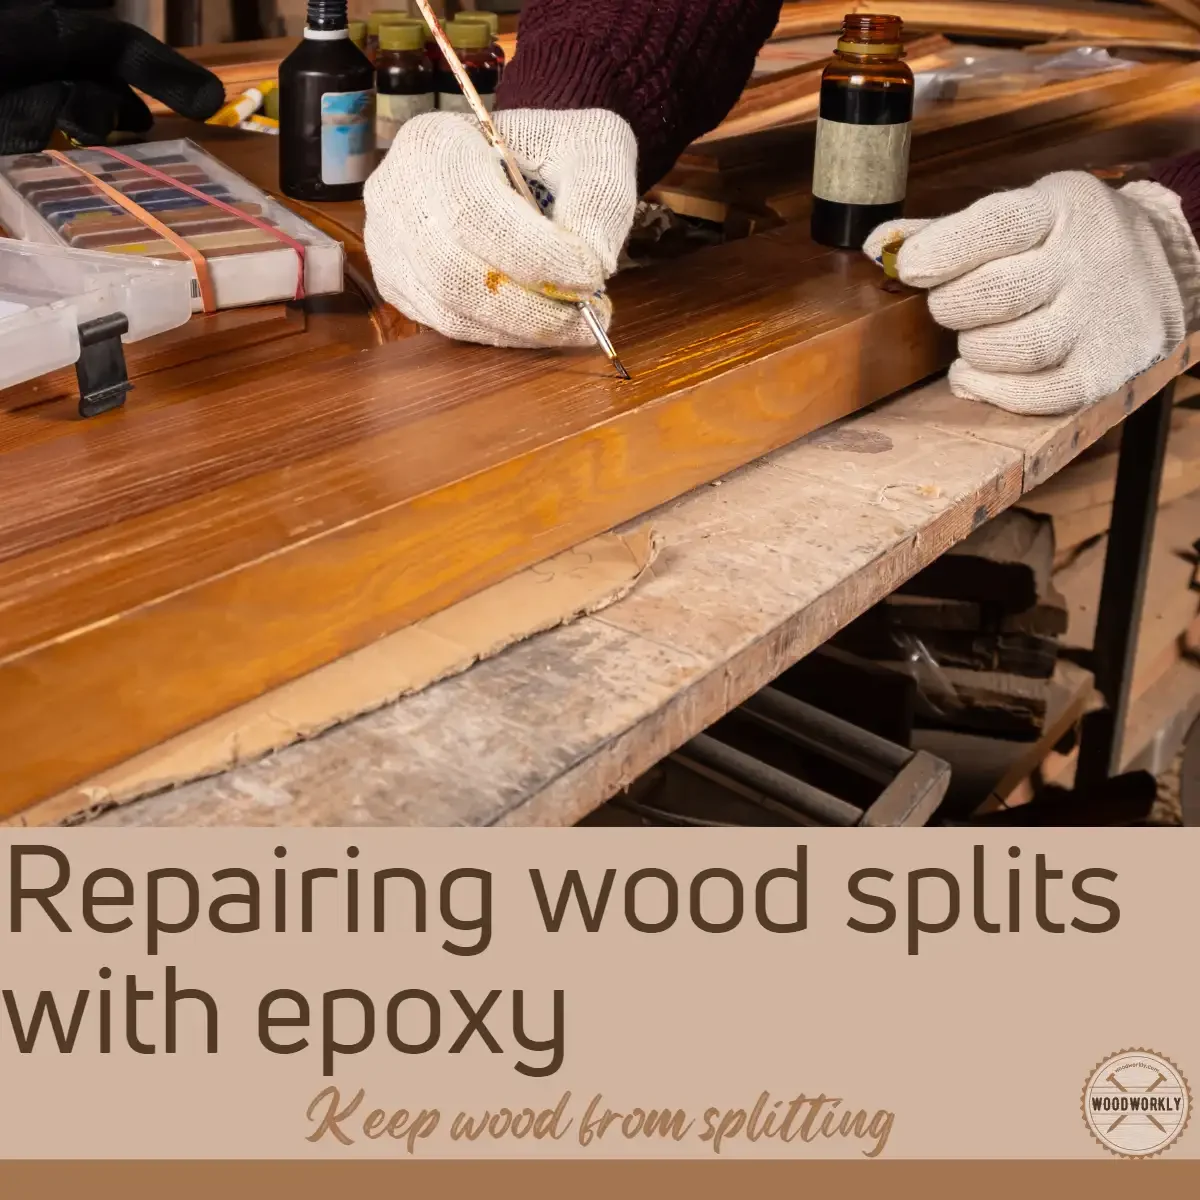
6. Fill With Epoxy
Hey there, so you want to know how to fix those pesky wood splits and cracks? Well, let me tell you, epoxy is the way to go. It’s a total game-changer.
Basically, when you put epoxy on a split or crack, it fills in all the nooks and crannies and creates a super-strong bond between the two pieces of wood.
It’s like magic, except it’s science. And the epoxy dries to a rock-solid finish that’ll last for ages.
The coolest thing is that epoxy comes in a ton of different colors, so you can pick one that matches your wood perfectly.
That way, when the epoxy dries, it’ll blend right in and you won’t even be able to tell there was ever a split or crack there.
Of course, you got to make sure the wood is clean and dry before you slap on that epoxy, and you gotta follow the instructions carefully if you want it to work right.
But overall, using epoxy to fill wood splits and cracks is an easy fix for a super-common problem, and it’s definitely worth giving a shot if you want your wood to look its best.
Here’s the tools you need to have before fill wood splits and cracks with epoxy,
- Epoxy Resin and Hardener
- Sandpaper – for smoothing the surface of the wood
- Putty Knife – to apply the epoxy and smooth it into the cracks
- Disposable Gloves – to protect your hands from the epoxy
- Mixing Container and Stirring Stick – to mix the epoxy resin and hardener together
- Tape or Clamps – to hold the wood in place while the epoxy dries
- Paintbrush – to apply epoxy to larger surface areas
So, let’s find out the procedure of filling wood splits and cracks with epoxy to fix them.
1. Prepare the Wood
It’s important to start with a clean, dry surface to ensure that the epoxy adheres properly.
Use sandpaper to smooth out any rough edges and bumps that could interfere with the epoxy filling the split or crack.
This step is crucial for a successful repair job.
2. Mix the Epoxy
The key to a strong bond is to mix the epoxy resin and hardener thoroughly. Be sure to read and follow the instructions on the packaging carefully.
Once the two parts are combined, the epoxy will start to set, so it’s important to work quickly.
3. Apply the Epoxy
Use a putty knife to apply the epoxy to the split or crack in the wood. Push the epoxy into the split or crack until it’s completely filled.
You can also use a paintbrush to apply the epoxy if you’re working with a larger surface area.
Be sure to apply enough epoxy to fill the split or crack completely.
4. Secure the Wood
If the split or crack is large, it’s a good idea to use tape or clamps to hold the wood in place while the epoxy dries.
This will ensure that the epoxy sets properly and creates a strong bond with the wood.
Make sure the wood is secure and level before leaving it to dry.
5. Let it Dry
This is the most important step. Epoxy takes time to dry and set properly, so be patient.
The drying time can vary depending on the size and depth of the split or crack.
Once the epoxy is dry, sand down any excess material to create a smooth surface.
Make sure you don’t sand away any of the epoxy that’s filling the split or crack.
7. Use Screws Instead Of Nails
Okay, so here’s the deal – using screws instead of nails is a total game-changer when it comes to keeping wood from splitting and cracking.
Nails just don’t cut it because they can’t hold the wood as securely as screws can.
When you use nails, the wood can wiggle around and shift over time, which leads to splits and cracks.
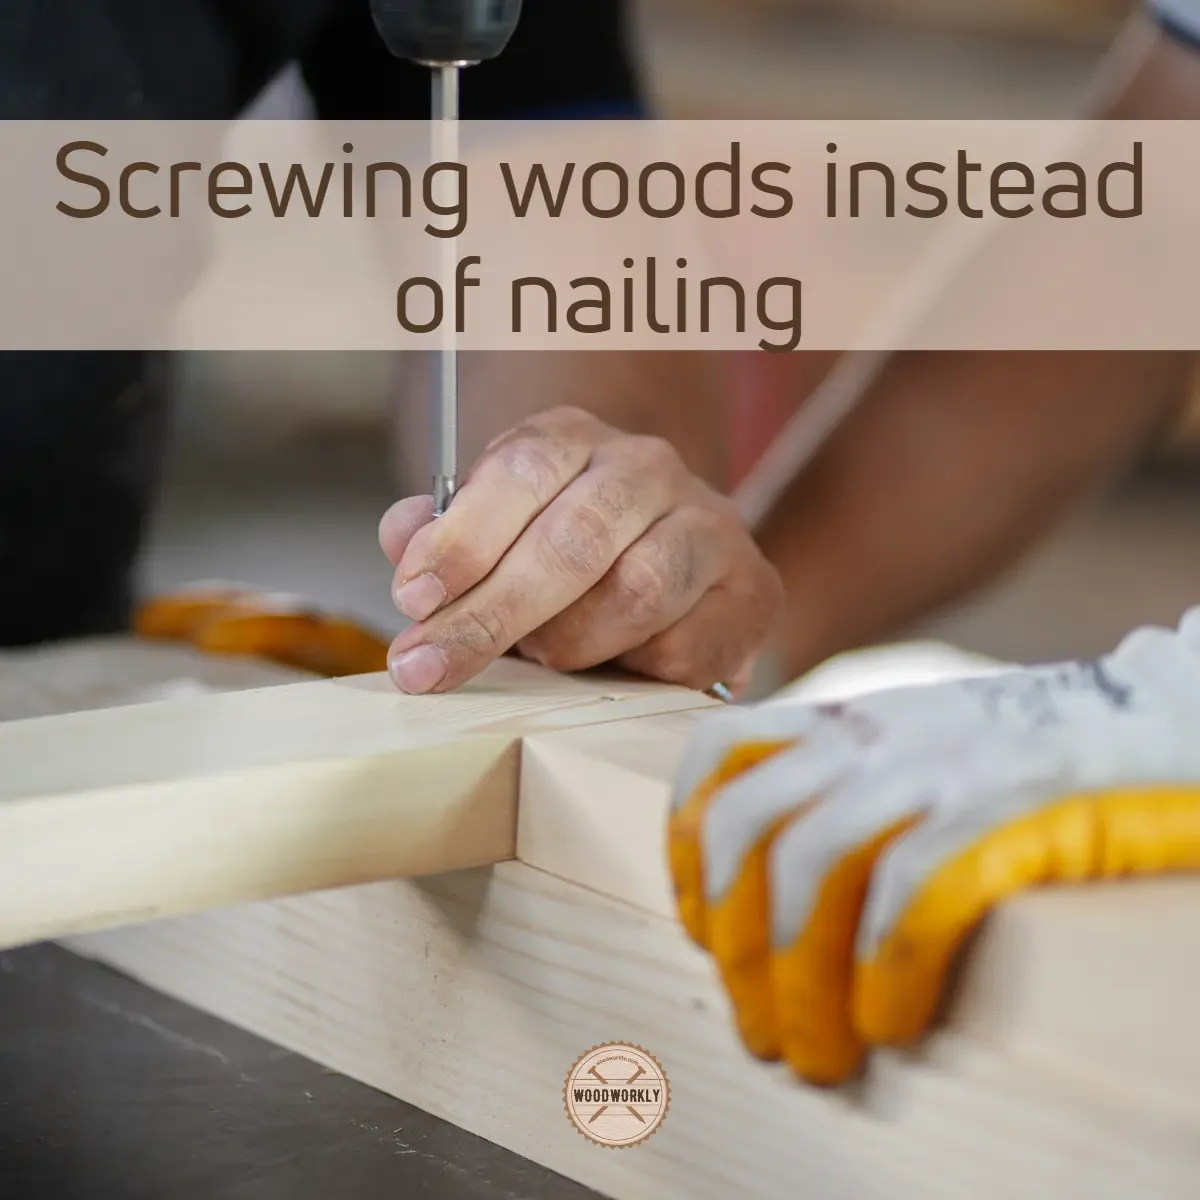
But screws? They’re like the Hulk of the hardware world – they grip that wood so tight, it won’t budge an inch.
Let me give you an example. I once built this sweet wooden bench using nails to hold it all together.
It looked awesome at first, but after a while, the wood started to split and crack, and the whole thing just became wobbly and unsafe.
So, I decided to give screws a try, and let me tell you, I’m never going back to nails.
The screws held that bench together like it was glued, and now it’s rock solid.
So, let’s discuss the procedure of keeping wood from splits and cracks using screws instead of nails,
1. Choose the right screws
Make sure you use screws that are long enough to penetrate through both pieces of wood you’re joining together.
You’ll also want screws with a wider diameter than nails, so they can grip the wood better.
2. Pre-drill your holes
This is an important step to avoid splitting your wood.
Use a drill bit that’s slightly smaller than your screw, and drill a hole through the top piece of wood only.
3. Counter-sink your holes
Counter-sinking is when you drill a larger hole at the top of your pre-drilled hole, so the screw head can sit flush with the surface of the wood.
This gives a clean and professional look to your work.
4. Drive your screws in
Use your screwdriver or drill to drive your screws into place. Make sure you don’t over-tighten, or you could cause the wood to split.
8. Store Wood Properly
If you store your wood the wrong way, you’re just asking for it to split and crack on you. Take it from me, I learned the hard way.
I left my wood out in the rain for a few days and when I went to use it, it was warped and cracked all over the place.
Plus, if you keep your wood off the ground on a rack or pallet, it’ll be less likely to absorb moisture or attract pests.
But don’t worry, I’ve also learned how to store wood properly to prevent this from happening again.
Basically, you want to keep your wood in a cool, dry place with good airflow. If it’s too damp or too dry, it’s gonna cause some serious problems.

Trust me, taking a little extra care in how you store your wood can save you a lot of headaches down the line.
So, that’s all about the top 8 methods how to keep wood from splitting. So, let’s have a look at some tips to keep the wood from splitting.
Tips To Keep the Wood from Splitting And Cracking
- Keep wood in a dry and cool place.
- Avoid exposing the wood to direct sunlight or wind.
- Use a moisture meter to check the moisture level of the wood.
- Seal the ends of the wood with wax to prevent moisture from escaping too quickly.
- Use a dehumidifier in your workshop or storage area to reduce humidity.
- Avoid using nails and opt for screws instead.
- Do not over-tighten screws or apply too much pressure.
- Use a saw blade with a high tooth count to make smoother cuts.
- Avoid drying the wood too quickly by exposing it to high temperatures or direct heat.
- Apply a wood sealer or conditioner to protect the wood from moisture and UV damage.
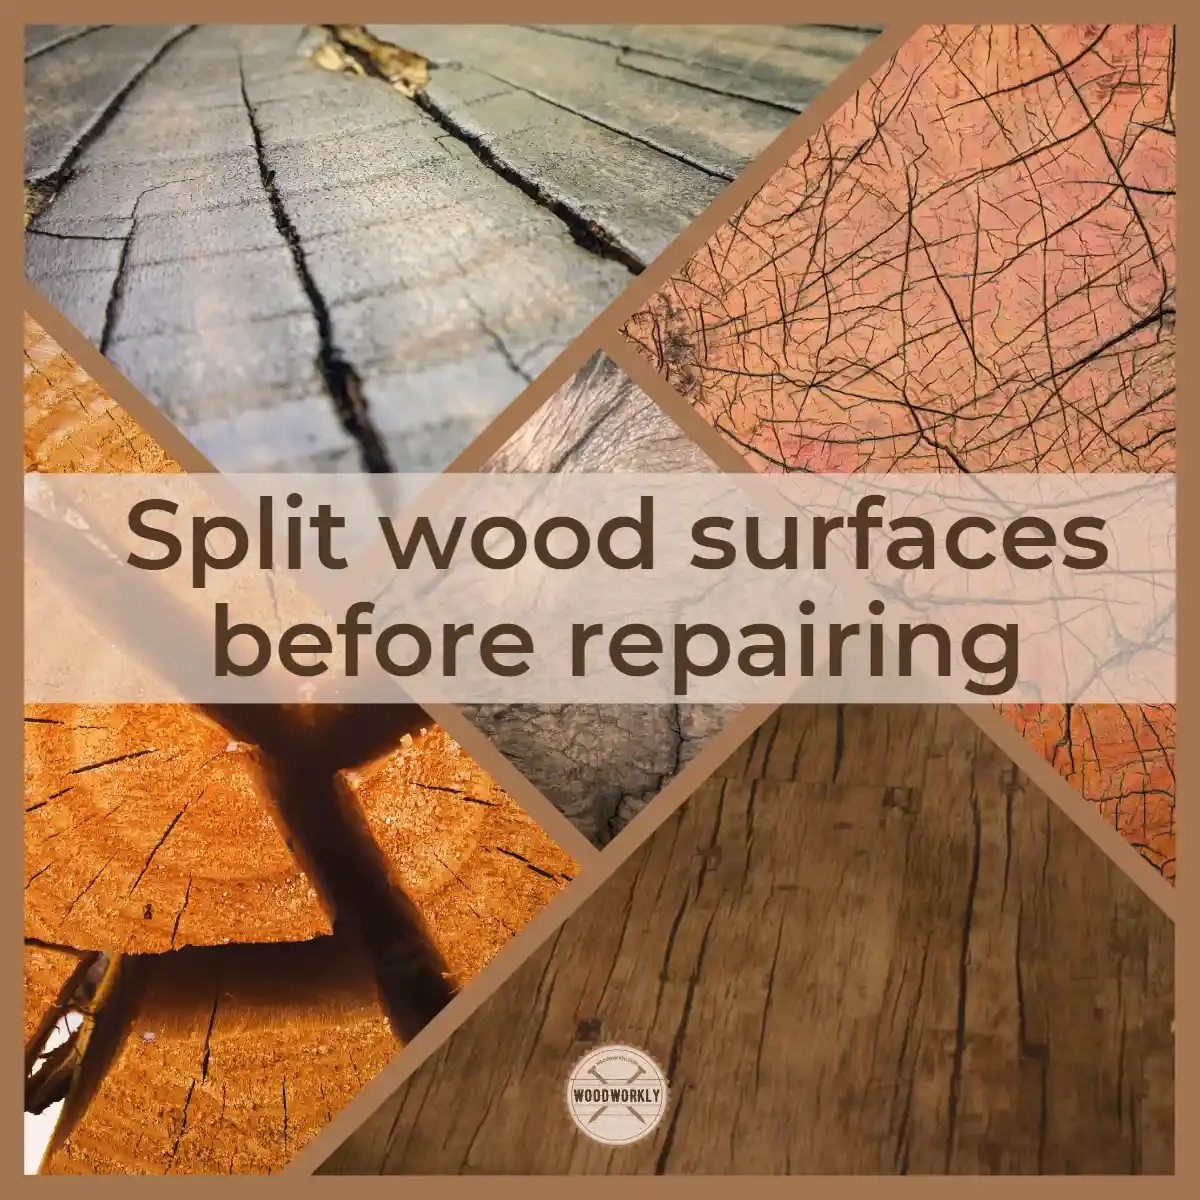
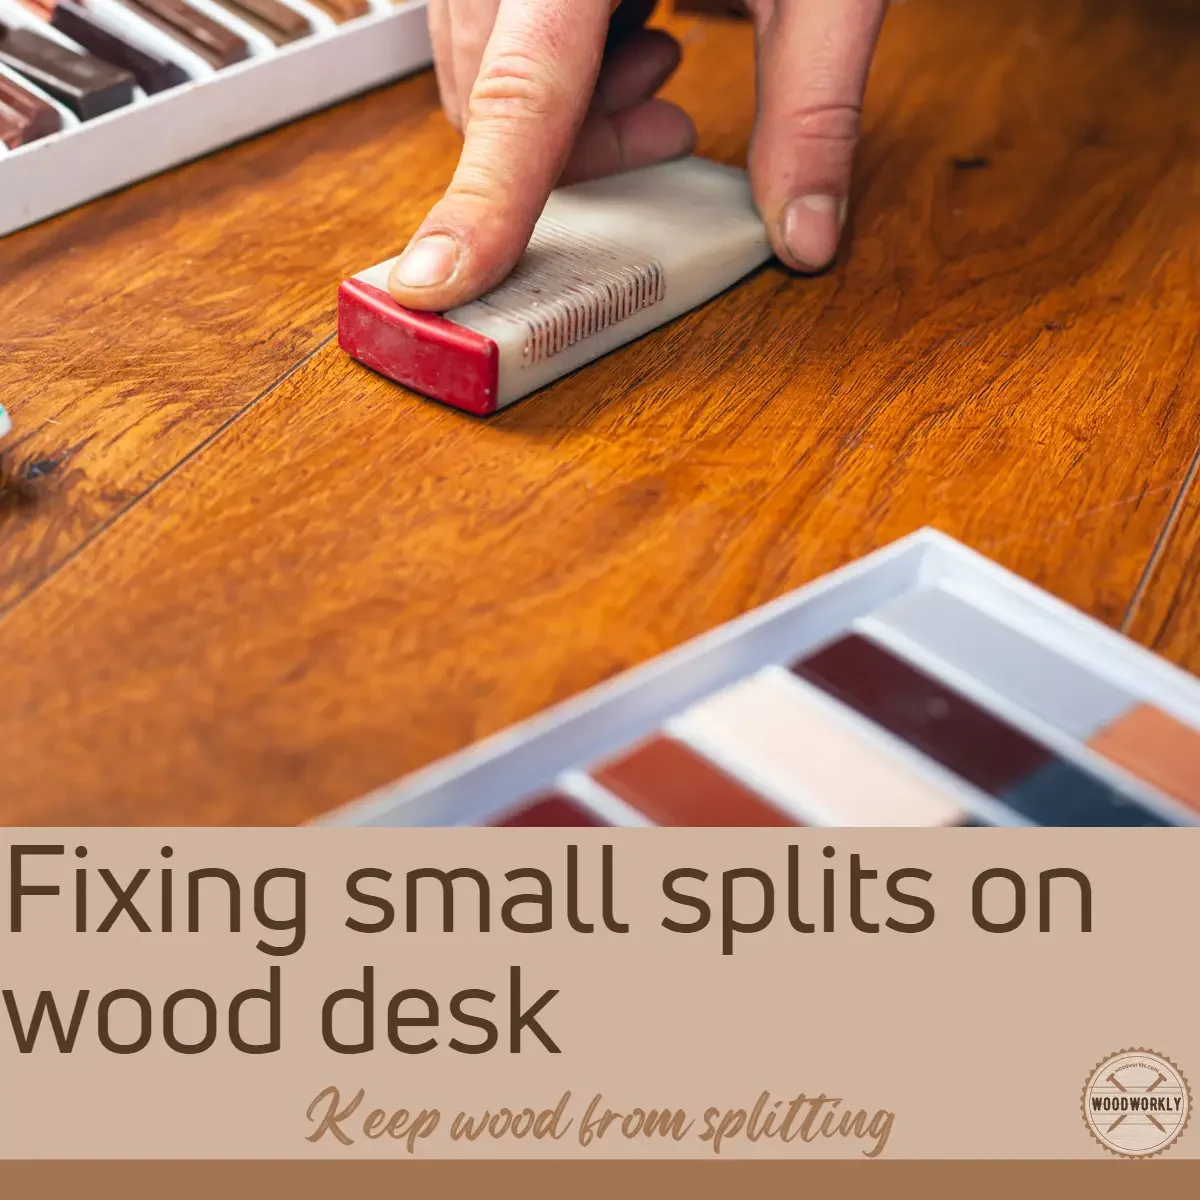
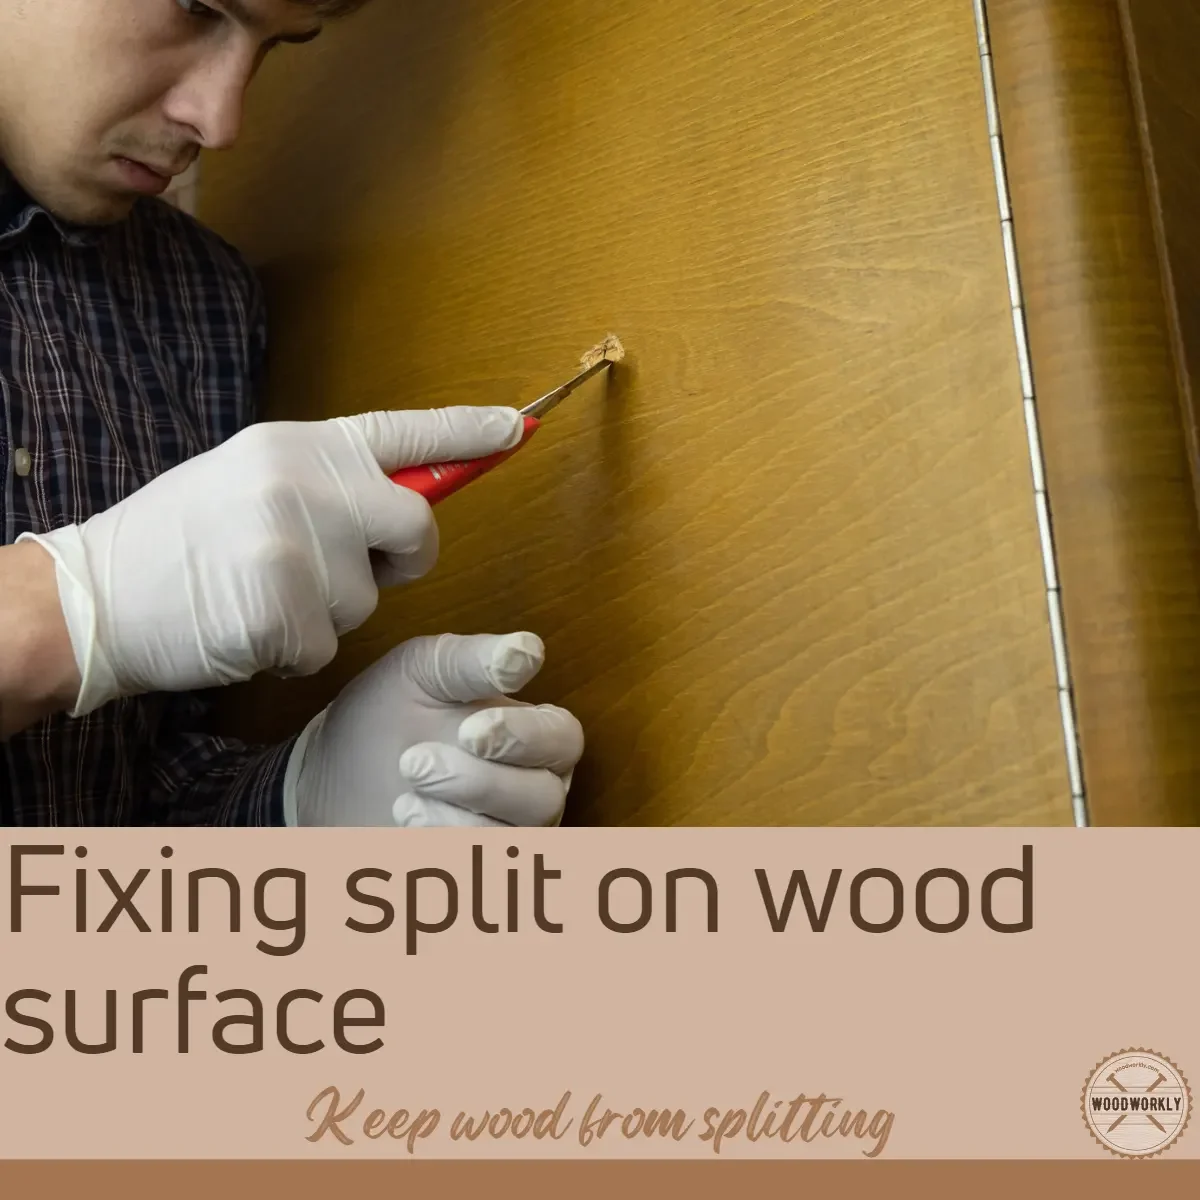
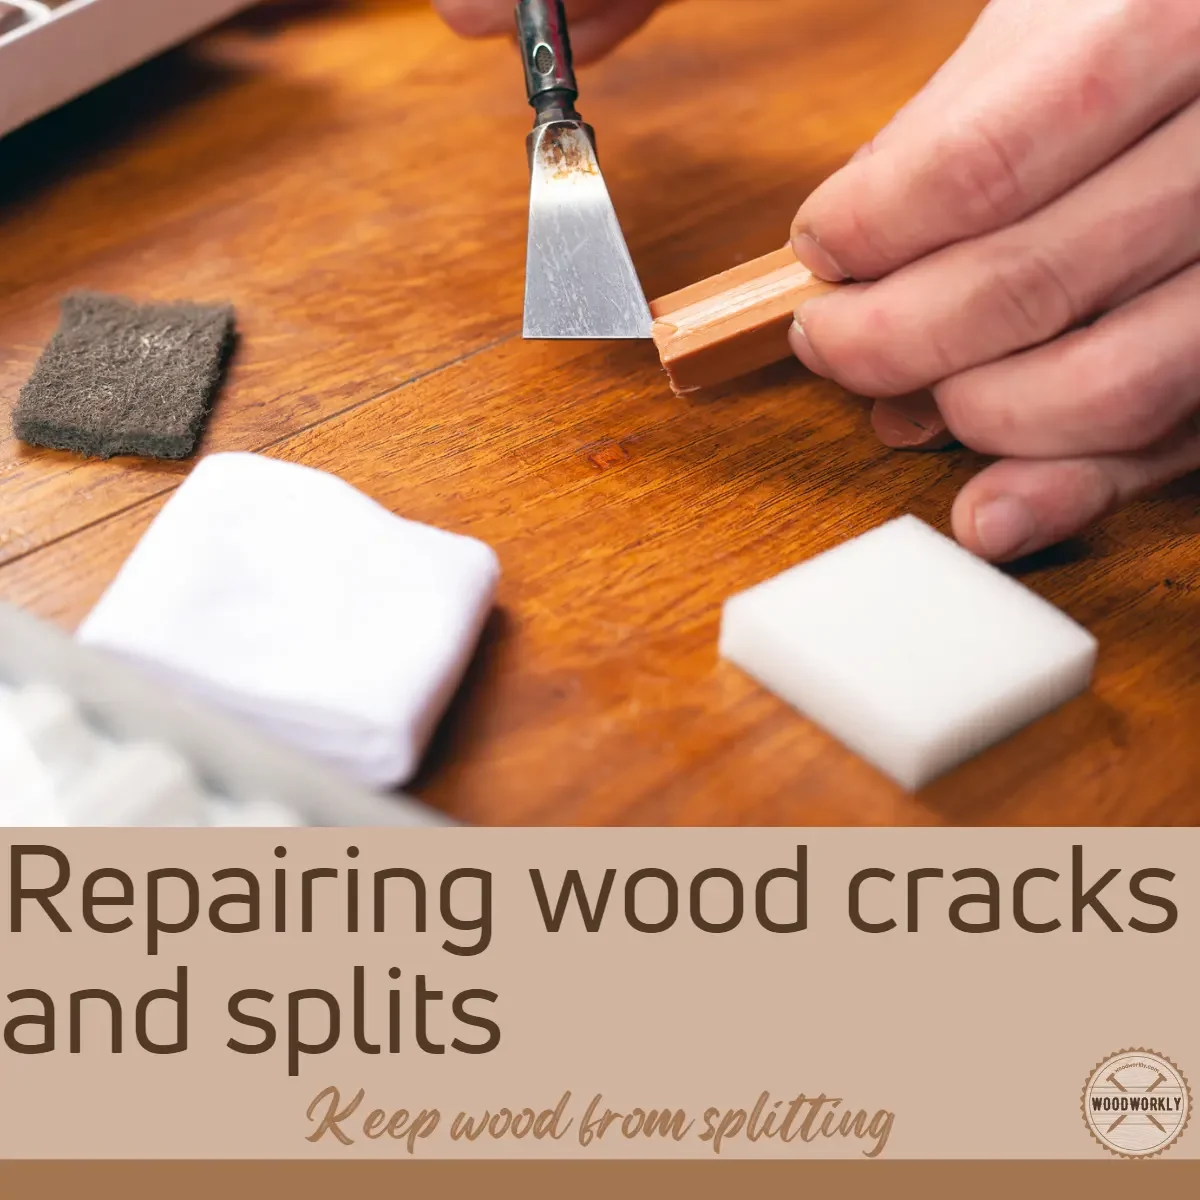
How To Repair And Fix Split or Cracked Wood?
Repairing and fixing split or cracked wood is somewhat different than keeping the wood from splitting. Most of the time fixing wood splits and cracks is an easy thing.
Repairing split or cracked wood can be done by filling the damaged area with wood filler, epoxy or glue and clamping it until it dries, then sanding and staining it to match the surrounding wood surface.
Another option is to use a wood patch or wood putty to fill the crack or split and sand it smooth once dry.
However, if the damage is severe, it may require replacing the affected area with a new piece of wood.
Most of the wood splits and cracks can easily repair and fix by applying wood glue and they will eventually get back into place.
Apply wood glue and hold the pieces together until it fully dries to do the job perfectly.
If you have time, the best thing to do is clamp the split area for about 24 hours until you make sure that the wood glue is fully dried and sealed the split area.
If the split is large and cannot be fixed by applying wood glue, probably you’ll have to use some filler to fill the split.
Here’re some best products you can apply as a filler to repair and fix split or cracked wood.
- Wood filler
- Sawdust
- Wood glue
- Joint compound
- Bondo
How To Stop Wood From Cracking?
You can stop wood from cracking using following methods,
- Keep the wood out of the sun and wind when you’re drying it.
- Use a moisture meter to make sure the wood is dry enough to work with.
- Seal the ends of the wood to prevent moisture from escaping too quickly.
- Use a humidifier or mist the wood to keep it moist during the drying process.
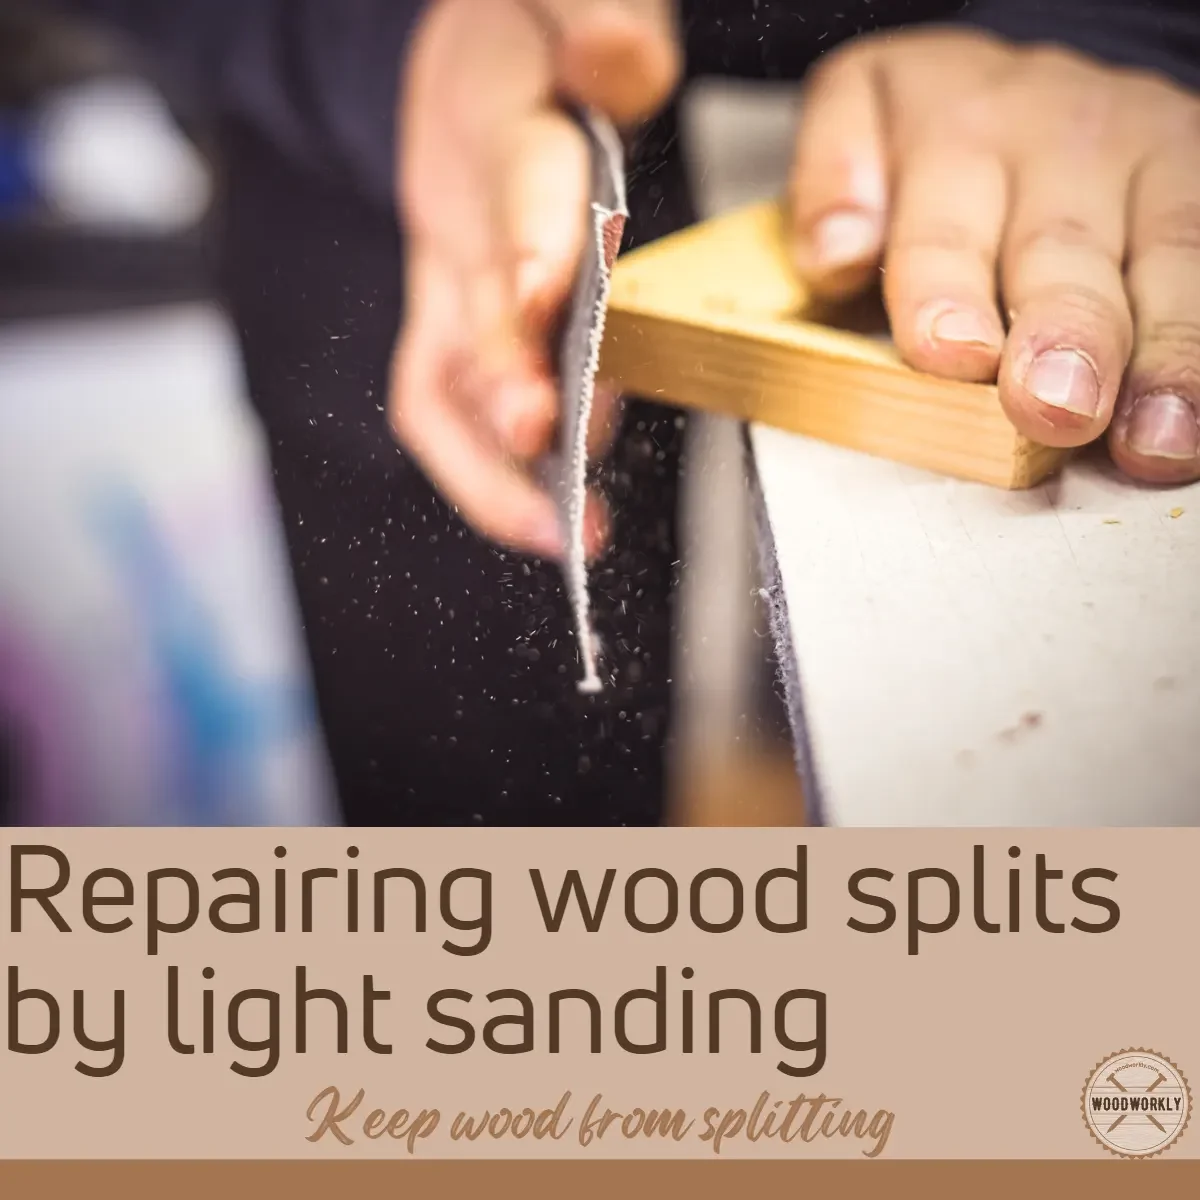
- Sand the wood to remove any rough spots that could cause cracking.
- Use a wood conditioner or sealer to protect the wood from moisture.
- Store the wood properly to keep it from drying out too much.
- Avoid using nails, which can cause the wood to split.
- Use screws instead of nails to hold the wood together.
- Consider using epoxy to fill any existing cracks or splits.
So, let’s answer some of the frequently asked questions about how to keep wood from splitting.
How To Keep Wood from Splitting When Nailing?
You can keep wood from splitting when nailing by turning the wedge into the punch. Pond down the tip of the nail before hammering the nail through the wood.
The blunted nail you made will easily go through the wood without splitting the wood.
Also, you can keep the wood from splitting when nailing by avoiding nailing in the same wood grain line. Space nails closely through the same wood grain line.
Stagger the nails slightly while hammering while following the lines of the wood grain. This is helpful not to place two nails in the same grain line.
Apart from following the above techniques, you can use some lubricant to avoid wood from splitting while nailing.
By dipping the nails in petroleum jelly will reduce the friction between the nails and wood. Therefore, nails will easily go through the wood without splitting it.
Other than that, you can use the following methods to keep wood from splitting when nailing,
- Never nailing on the edges
- Use nails with a smaller diameter
- Drill pilot holes before nailing
- Never use brittle woods for nailing
How To Keep Wood from Splitting When Sawing?
You can keep wood from splitting when sawing by using a sharp saw which has a high tooth count.
Apply masking tape on the cut line and start the cutting gently while aligning the finishing lines with the direction of cutting.
Also, you can use some support to keep the wood steady to avoid wood splitting when sawing and cutting. Clamp or vise will do the job.
Make sure to do the cutting or sawing slowly without adding excessive pressure. Because the excess amount of pressure can bend the saw and split the wood.
Add less pressure and let the blade do the job by itself. Fibers will cut easily without splitting by applying a little pressure and guiding the blade in the right direction.
How To Keep Wood from Splitting When Screwing?
You can easily avoid splitting the wood when screwing by drilling a pilot hole. The pilot hole helps the threads of screws to cut into the holes easily. They won’t force against the wood fiber which can crack and split so easily.
Pilot holes help to make a strong bond between the screw and the wood and help to drive straightly without any issues.
Before screwing a pilot hole, make sure to adjust its diameter according to the diameter of the nails you’re going to use.
Also, you need to have a clear understanding of how deep you should dig the pilot hole. Make sure to drill the wood the same length as your nails.
I highly recommend dipping and rolling the screw in paraffin wax before drilling the wood.
Paraffin wax works as a lubricant and helps the screw to drill easily into the wood without splitting or cracking the fibers.
Also, make sure to use bolts instead of suing hinges for the thin pieces of wood. Apply the bolt and screw a nut from the opposite side.
Blots are helpful to avoid hinges from pulling away. They’ll also stop the wood splitting.
How To Keep Wood from Splitting When Drying?
You can keep the wood from splitting when drying by applying a sealant or stabilizer, using a salt paste, applying varnish, applying paintable wax, or applying boiled linseed oil.
As we discussed those coats or sealants work as a barrier to moisture. They don’t give moisture that is inside of the wood to evaporate and don’t let the outside moisture penetrate inside of the wood.
Refer this article to get to know more about keeping wood from cracking when drying.
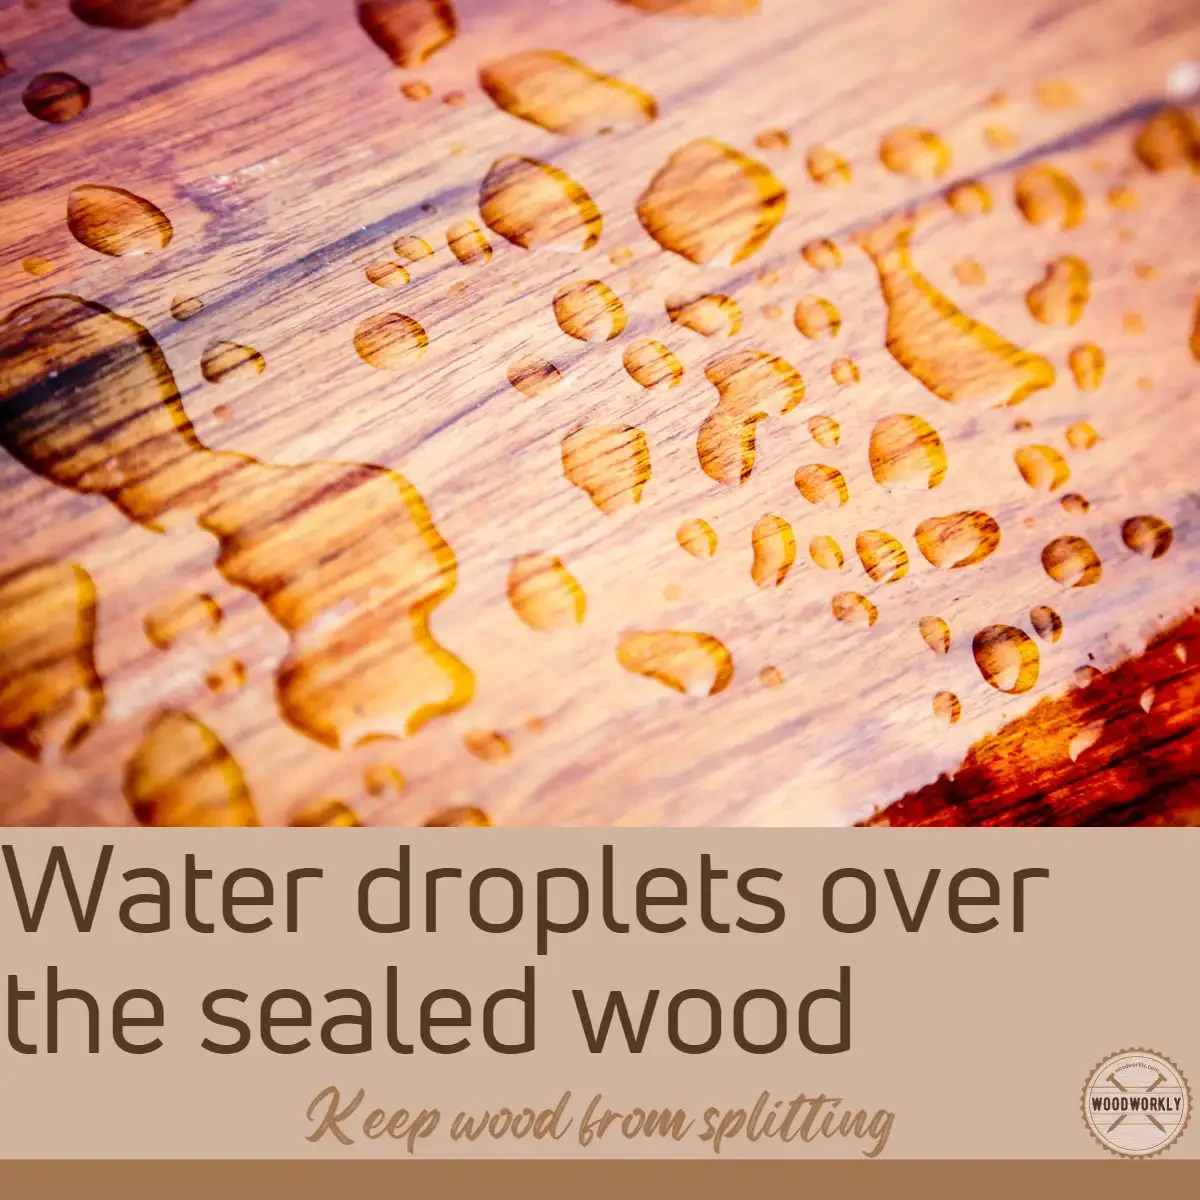
According to my experience, those sealers not only avoid wood from splitting and cracking but also, protect your loving woodwork, furniture from water damage by working as a waterproof layer.
Will Linseed Oil Stop Wood From Cracking?
Yes, Linseed oil will stop wood from cracking since it makes a protective layer over the wood which help keep the wood from drying out too quickly, which is one of the main causes of cracking.
While linseed oil is not a perfect solution and may not work for all types of wood, it can be a simple and effective way to help keep your wood looking great for longer.
Apply thin coats of linseed oil and lightly sadn between each coat to get a nice and even finsih with good protection from cracks and splits.
Will Polyurethane Keep Wood From Cracking?
Yes, Polyurethane will keep wood from cracking since it makes a protective layer on top of the wood, which helps to keep moisture from seeping in and causing the wood to expand and contract, which is one of the main causes of cracking.
lus, it also protects the wood from scratches and other damage that can make cracks more likely to form.
Apply thin coats of polyurethane and lightly sadn between each coat to get a nice and even finsih with good protection from cracks and splits.
How To Keep Wood Slices From Cracking And Splitting?
- Start by choosing the right wood: use a hardwood like oak or maple that has been dried properly to prevent excessive moisture content.
- Sand the wood slices to remove any rough edges or splinters.
- Apply a coat of wood sealer to protect the wood from moisture and prevent cracking.
- Let the sealer dry completely before applying a coat of polyurethane to further protect the wood.
- If you plan to use the wood slices for decoration, you can also add a layer of wax or oil to enhance the natural color and prevent moisture from getting in.
- Finally, store the wood slices in a cool, dry place to prevent moisture buildup and cracking.
Did I cover all you wanted to know about: How to Keep Wood From Splitting?
From this article, we have widely discussed how to keep wood from splitting and what are the top 8 methods you can easily use to avoid wood splitting. We took each method and discussed them deeply by considering their advantages and disadvantages.
Furthermore, we have talked about how to fix splitting wood and some pro tips to keep wood from splitting.
Those tips will be lifelong helpful whenever you’re doing any kind of woodworking project.
To prevent wood from splitting and cracking, you can use various methods such as sealing with sealant, stabilizer, salt paste, varnish, paintable wax, boiled linseed oil, or epoxy. In addition, using screws instead of nails and storing wood properly can help prevent cracking and splitting of wood slices, greenwoods, and ornaments.
Also, we’ve answered some frequently asked questions like, how to keep wood from splitting when nailing, sawing and drying as well.
Always make sure to do the woodworking project with patience by following guidelines. Because wood splitting mostly happens due to mistakes made by the woodworker.
Hope you’ve gained good knowledge about how to keep wood from splitting.
So, let’s head into your next woodworking project with this knowledge. Have fun in woodworking!
That is a great article – it really addresses and explains just about everything you need to know about wood problems!
I have one question… I have an old body brush, probably 50+ yes old that means a lot to me. Also, I still use it. The wood just recently cracked a bit which brought me to your article. I’ll patch the crack and treat it with linseed oil after sanding it but the challenge I have is to also treat the area where the dense bristles are? Do you have any suggestions? Or anyone?
Thanks for your feedback!
Repairing the wood part of your brush is a great step. For the dense bristles, I would suggest gently washing them with a mild shampoo or soap, and letting them air dry. Avoid saturating the bristles with linseed oil, as this can cause them to clump together or deteriorate. Instead, use a small brush or cotton swab to apply the oil to the base of the bristles, ensuring it penetrates the wood without overly coating the bristles themselves. Always dry the brush bristles-downward to prevent water or oil from seeping into the handle.