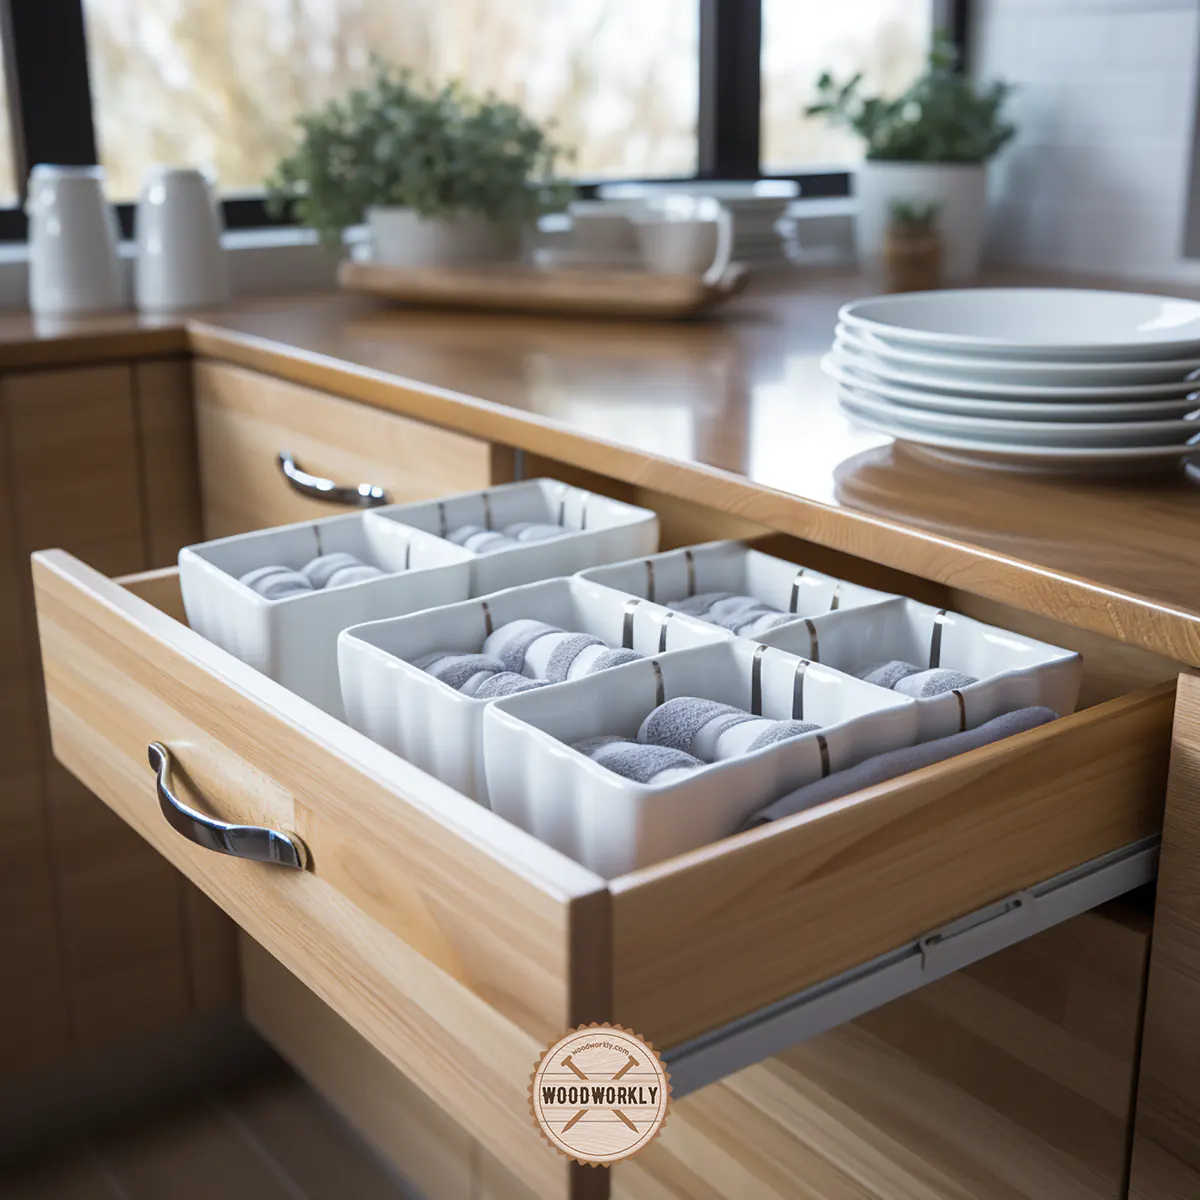
Ever opened a sleek, smooth-finished drawer and wondered, ‘Could I craft this?’ Dive into melamine mastery below!

Melamine is a durable material used in the manufacture of furniture, flooring, shelving, and other woodworking projects. It is both strong and scratch-resistant.
For years, I have crafted various styles of melamine drawer boxes. Using melamine for drawers is cost-effective, and clients appreciate them.
So, let me explain, How to make melamine drawer boxes?
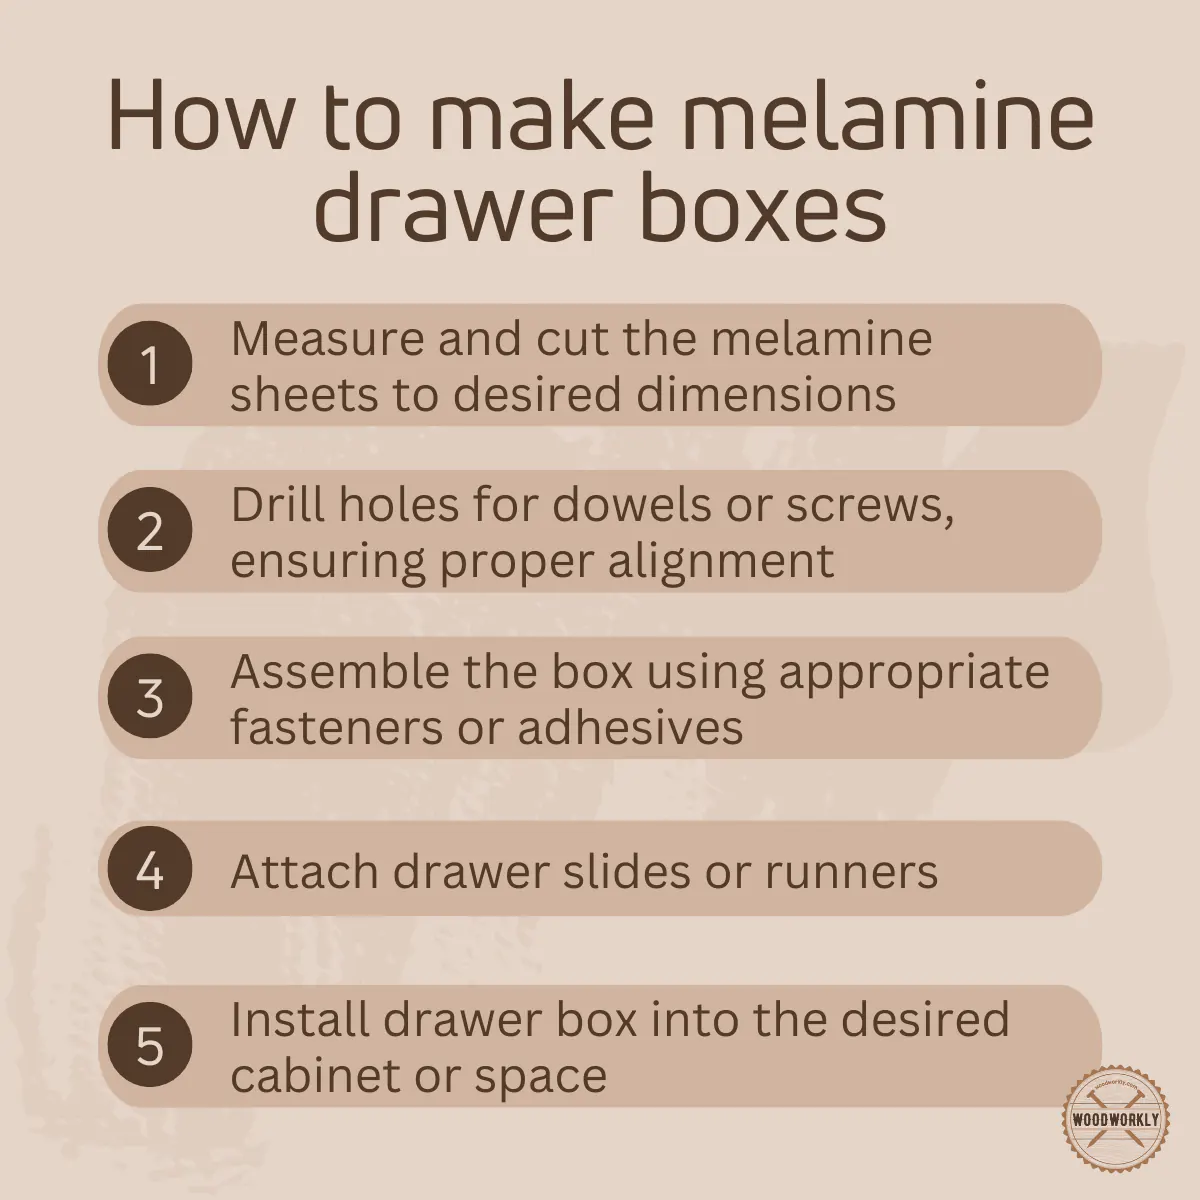
To make melamine drawer boxes you need ¾” melamine for the box and ¼” melamine for the bottom. First, install the under-mount drawer slides. Then determine the drawer box size and cut pieces. Next, dado the ¼” melamine on the drawer box sides. Then install the melamine drawer box into slides. Finally, attach the drawer fronts and you’re done.
Simple as that!

But there are lot more things you need to know when making melamine drawer boxes.
In this article, I’ll explore how to make melamine drawer boxes step by step in detail, what materials you need to use, and all the tips and techniques to make this easy.
Furthermore, I’ll answer some frequently asked questions as well.
Let’s dive in!

Is Melamine Good For Drawers?
Melamine is great to use for drawers since working with melamine boards is easy and they are ready to use. Melamine is easy to clean, stain and paint.
You can cut, screw and nail melamine boards super easy since they are not hard as solid wood and offers great strength as well.
Most importantly melamine boards are affordable. This is my many clients love to use melamine boards. They are economical to use.
It provides the same luxurious, aesthetic look as solid woods since melamine comes in different textures, colors, and patterns.

With proper maintenance, you’ll be able to use melamine drawers for years with excellent durability and it offers a high gloss appearance upon finishing.
But on the other hand, melamine is susceptible to water damage and that’s the main thing you need to consider when using melamine for drawers.
Usually, melamine doesn’t warp as solid wood, but if the water hits the wood underneath it tends to warp quickly.
In order to get a good understanding, I’ve summarized the advantages and disadvantages you’ll get by using melamine for drawers.

Pros and Cons of Using Melamine For Drawers
| Pros | Cons |
| Budget-friendly | Hard to install |
| Easy to clean and finish | Susceptible to water damages |
| Comes in different colors and textures | Prone to chip |
| High workability | |
| High machinability | |
| High durability | |
| Uniform finish |
As you can see, overall, melamine is a great option to use for making drawers. Most of the drawbacks can be fixed with good finishing and maintenance.
Now you know all you need to know about melamine.
Having a good understanding of the material you’re going to use for a woodworking project is important to fix lots of issues that occur during the process.
So, let’s see how to make melamine drawer boxes easily using proper techniques.
Using Undermount Slides for Melamine Drawers
There are two types of mounting options you can use when installing melamine drawers.
- Side mount slides
- Undermount slides
Both of the above mounting options are placed under the drawer. They don’t need much clearing space thus they offer space inside the drawer.
Most people tend to follow the side-mount slide option, but it doesn’t hold weight and load as the under-mount slide option. That’s why I prefer the under-mount slide option over the side mount.
If you’re willing to put heavy items in the drawer, better to go for the under-mount slide option which acts the same as the side-mount slide but is able to carry more load and provide good support with excellent dimensional stability.
Installation of under-mount slides is also super fun and easy.
Plus, under-mount slides have less possibility of accumulating dust, dirt, and spills since they are mounted underneath the melamine board.
First, have a look at the supplies you need to use when making drawers with melamine.
Supplies to Build a Melamine Drawer
- ¾” melamine
- ¼” melamine
- Edge banding
- Wood glue
- Table saw or circular saw
- Router
- Drill
- Hammer
- Tape measure
- Pencil
- Safety glasses
- Kreg pocket jig and screws
- Polyurethane
How To Make Melamine Drawer Boxes
1. Install Undermount Drawer Slides
As you already decided to go with under-mount drawer slides, it’s time to install them properly with the correct alignments.
Before working on making the drawer box, installing the under-mount slide is important.
With the position that takes place by under-mount slides, you can determine the size and dimensions of the drawer box.
Therefore, first, make sure to think and have a slight idea about the approximate height and width of your drawer should be.
Then take a scrap wood and cut a piece that has the same height as the drawer box that you’re going to build.
The height of the scrap wood piece should be anywhere between 3 ½” to 4” wide.
Now we’re going to place the scrap wood inside the cabinet box and mark placement lines and face frame underneath the melamine drawer slides.
This helps to make correct alignments for installing under-mount slides with no mistakes.
Place the scrap wood inside the melamine drawer box and draw a straight line vertically which goes parallel to the side of the box.
Then mark each crossbar in the face frame of the melamine drawer box and mark 3/8” to the left side of the vertical direction of scrap wood.
The bracket should be aligned at the same height as the cross-bar frame to make the drawer balanced and steady.
Then you need to make a drawer according to the dimensions that are placed inside the back of the base of the cabinet to under-mount drawer slides.
The bracket that’s placed on each under-mount slide should mount to the scrap wood piece.
Then attach the back of the melamine box using screws to the back nail strips.
Now you’re good to mount the undermount slides into the bracket.
Repeat the same procedure above to mount the right side undermount slides as well.
The front side of the undermount slide should attach to the side of the melamine frame with screws. Now the front side of the undermount slide is attached to the face frame.
That’s how you should properly install undermount slides into the box. This method is simpler than the side mount slide method.
Now it’s time to make cuts and build the box.
2. Determine The Drawer Box Size and Dimensions
Since you have already done the installation of undermount slides, guessing the dimensions of the drawer box is super easy.
Basically, the length of the undermount slides is the same as the depth of the drawer box.
The distance between the outside edges of drawer slides is the same as the width of the melamine drawer box you’re going to make.
For example, if you’re using drawer slides with a length of 20”, Cut two melamine pieces 20” long for both sides.
If the distance between the outside edges of drawer slides is 18”, cut 2 melamine pieces of 18” for the front and back sides of your drawer box.
That’s how you can easily get the width and length of the melamine drawer box you’re going to make. Simple as that!
3. Cut Melamine Pieces For The Drawer Box
The drawer box is consist of 5 panels. They are,
- Front panel
- Back panel
- One bottom panel
- Two side panels
So, you need to cut 5 pieces of melamine. Take down the dimensions you need to cut on a piece of paper before starting to cut the board.
- The width of the front and back panels should be the same as the width of the installed undermount drawer slides.
- The length of the front and back panels should be the same as the length of the undermount slide.
The height of your melamine drawer should be 1” smaller than the height of the drawer face frame. Otherwise, you’ll face problems during sliding the drawer box into the cabinet box.
- Two bottom panels should be 1/2” wider and longer than the dimensions of the melamine drawer box
This helps with the insertion of the bottom panel since you’ll get clearance of ¼” from all 4 sides.
Now it’s time to make some cuts to make the drawer box.

4. Cut Dados For Bottom Panel
First, you need to make dado grooves in all 4 melamine drawer panels.
Make dado grooves with ½” depth from the bottom of the melamine drawer panels.
½” is a good depth to fit the drawer box inside.
If you have a dado blade, make ½” dado grooves easily . but if you don’t have one make several passes using the table saw until ¼” wide.
For the first pass, table saw fences should be set for 1/2” from the sawing table.
Then proceed with all the melamine pieces to make cuts. This helps to make the cuts all at once easier. You don’t need to adjust the panels separately from time to time.
Then adjust the table saw fence and wider to give a ¼” dado groove.
Better to test the outcome first using a scrap melamine wood piece to see ¼” melamine panel fits perfectly into the groove.
If you’re fine with the result gained from scarp wood, continue all pieces through the saw to make dado grooves.
If you need to know more about making grooves in wood, Read my latest post about, how to cut a groove in wood with a table saw!
5. Make Pocket Holes
Now it’s time to make pocket holes on panels since we’re going to assemble them.
Or you can assemble melamine panels using wood glue and brads as well. Make sure to use wood filler or wood putty as a hardening compound if you use brads to assemble the panels.
Take front and back melamine drawer panels and make two pocket holes on each end using a Kreg pocket jig.
Not like working with wood glue and brads, pocket holes are never visible on the outside since they’re placed back of the drawer and covered with the drawer face placed in front.
6. Cut Notch Fit Undermount Slide
Make sure to cut the notch to gain space for the undermount slide before starting to work on making the drawer.
Cut the notch ½” above the bottom edge of the melamine drawer edge and 1 ½” in on each side of the drawer back to provide room for the undermount slide.
This helps drawer slides to sit on the bottom of the melamine drawer.
7. Sanding The Drawer Box
Even though sanding melamine boards is not necessary, better to do it for perfection and to remove any dirt on the surface.
Use an orbital sander or palm sandpaper or fine grit sandpaper to sand evenly.
Sand lightly with little force without scratching the surface. Then clean the surface well before starting the assembling part.
8. Assemble The Melamine Drawer Box
Before assembling the drawer take your panels to one specific place. Now you should have 4 melamine panels with one bottom panel.
Take the wood glue and place a line of glue along the edge of the side melamine piece.
Then place and fit it with the back panel securing the pocket screws.
Repeat the same gluing and fitting procedure for the other side of the box as well.
Then take the bottom drawer panel and slide it.
Add a glue line along the edge of the front panel. Then place and fit the front panel with side panels securing the pocket screws.
If you did everything correctly, now your drawer box assembling part is completed. Please note that notches in the back side of the drawer should make room for the undermount slide.
9. Attach Undermount Drawer Slide Latch
Undermount drawer slides come with a latch that you should attach during the assembling.
Mount latch pieces onto the bottom edges of the undermount drawer slides using screws. They should face the front panel.
The latches help to remove the drawer by squeezing them together.
To install the drawer, place it above the tracks of the undermount drawer slides and push forward until the lathes click.
Apart from securing the drawer to the undermount slide by latches, there is a tab on each drawer to slide in the back direction.
Pull and push the drawer a few times to know the exact position of the tab. The pushing and pulling method leaves a small mark on the tab.
When you get the mark on the tab, drill ¼” hole, ½” deep into the back side of both sides of the drawer.
This helps the drawer tab to fit into the drilled hole once you place it on the undermount drawer and latch it forward.
10. Edge Banding
Edge banding is the last step you need to do properly before finalizing the melamine drawer box project.
Edge banding comes in various colors and textures from real wood. so select the one that matches your melamine board.
Edge banding is a thin wood veneer strip that attaches to the edges of the melamine box.
Apply edge banding along the drawer box before assembling it to the drawer.
Usually, edge banding attaches to the drawer box using heat from the iron.
Change the settings of your iron to the highest.
Then, place edge banding along the melamine hanging over the edge a little on both sides. Make sure to add some allowance from both sides.
Then place the iron on the top of the edge banding and run it along the stripe until the edge banding attaches to the melamine board.
By taking the iron back and forth several times, you can see how edge banding adheres well to the melamine board.
Then remove the iron and let the surface get cool.
Then cut the excess lengths in both edges of the edge banding using a knife. Edge banding hides the assembling parts and gives a professional look to your melamine drawer box.
You can remove the lip of the edge banding by scuffing with a 120-grit sandpaper or sanding block.
Sand gently along the edge of edge banding to smoothen the surface and hide any marks. Never sand with the force since the edge banding may get damaged due to excess coarse sanding.
Once you’re done with sanding and removing the lips, you can see your melamine drawer box is looking exactly the same as a drawer made from solid wood. Full credit goes to the edge banding.
11. Seal And Finish Drawer Box
Now clean the surfaces of the melamine drawer box using a lint-free tack cloth and seal all the surfaces using polyurethane.
Pour the required amount of polyurethane into a container and soak clean cotton by dipping. Then wipe down the entire drawer surface in one direction evenly without missing any spots.
Polyurethane is a popular wood sealing and finishing product that helps to protect furniture from elements.
Polyurethane helps drawer boxes to get protected from water damage and weather impacts. Polyurethane coats protect the wood from insect attacks, UV light, moisture, and environmental humidity.
Make sure to apply polyurethane evenly without any mistakes. Otherwise, you’ll probably end up with blotches and streaks with an ugly appearance.
If you’re not familiar with polyurethane, try linseed oil, Danish oil, or teak oil to seal the melamine drawer box.
The ultimate goal is to protect and keep the wood as fresh as new for the long run.
Make sure to let the drawer box dry well for a minimum of 6 hours before moving into the next step. Poor drying time results in tacky surfaces.
12. Attach Drawer Front Face to The Drawer Box
In order to mount the drawer, front correctly to the box, you can clamp it in the correct alignments.
Then drill pilot holes in the melamine drawer box and fit the drawer face onto the drawer box patiently using wood screws.
Note: Making pilot holes before applying screws is important to avoid making screw holes that are too big.
This is simple but you need to do this slowly without making any damage to the drawer box that we finished in the earlier step.
That’s it, folks! You have successfully completed the process of making a drawer box using melamine and how to mount and install it properly into the cupboard box.
How Do You Attach Melamine Together?
You can attach the melamine boards together by applying wood glue along the edge of the panel including corners and sides.
Then attach them using panel nails with the help of a hammer.
You can use small screws or pocket screws as well to adhere melamine panels perfectly with each other
Are Pocket Screws Strong Enough For Drawer Boxes?
Yes, pocket screws are strong enough for drawer boxes. I use pocket screws to attach drawer boxes since they are strong and able to secure easily.
You can use pocket screws to fit the bottom and drawer front with no failure.
Use edge banding to hide the screw heads from displaying outside. Make sure to buy edge banding the same color as your drawer.
Pocket screws use industrially to make drawers with excellent durability.
Is Melamine Board Waterproof?
Yes, the outside surface of the melamine board is waterproof, but not the inside. If the water hits the inside area of the melamine board it will warp pretty quickly.
Therefore, make sure to apply a proper sealer like polyurethane, linseed oil, or Danish oil over polyurethane before using it.
You can use melamine boards and their applications in the bathroom, kitchen, and any other moisture environment but only after sealing the board properly with a waterproofing sealer.
You can even melamine even for outdoors, but only after sealing it with polyurethane or any other quality sealer to protect it from moisture, UV light, and other outdoor elements.
Otherwise, water somehow gets inside the wood and starts rotting and warping.
So, let’s answer some frequently asked questions.
FAQs
What is melamine and why is it used for drawer boxes?
Melamine is a durable, laminated particleboard material that is often used in cabinetry because of its resistance to scratches, dents, and moisture.
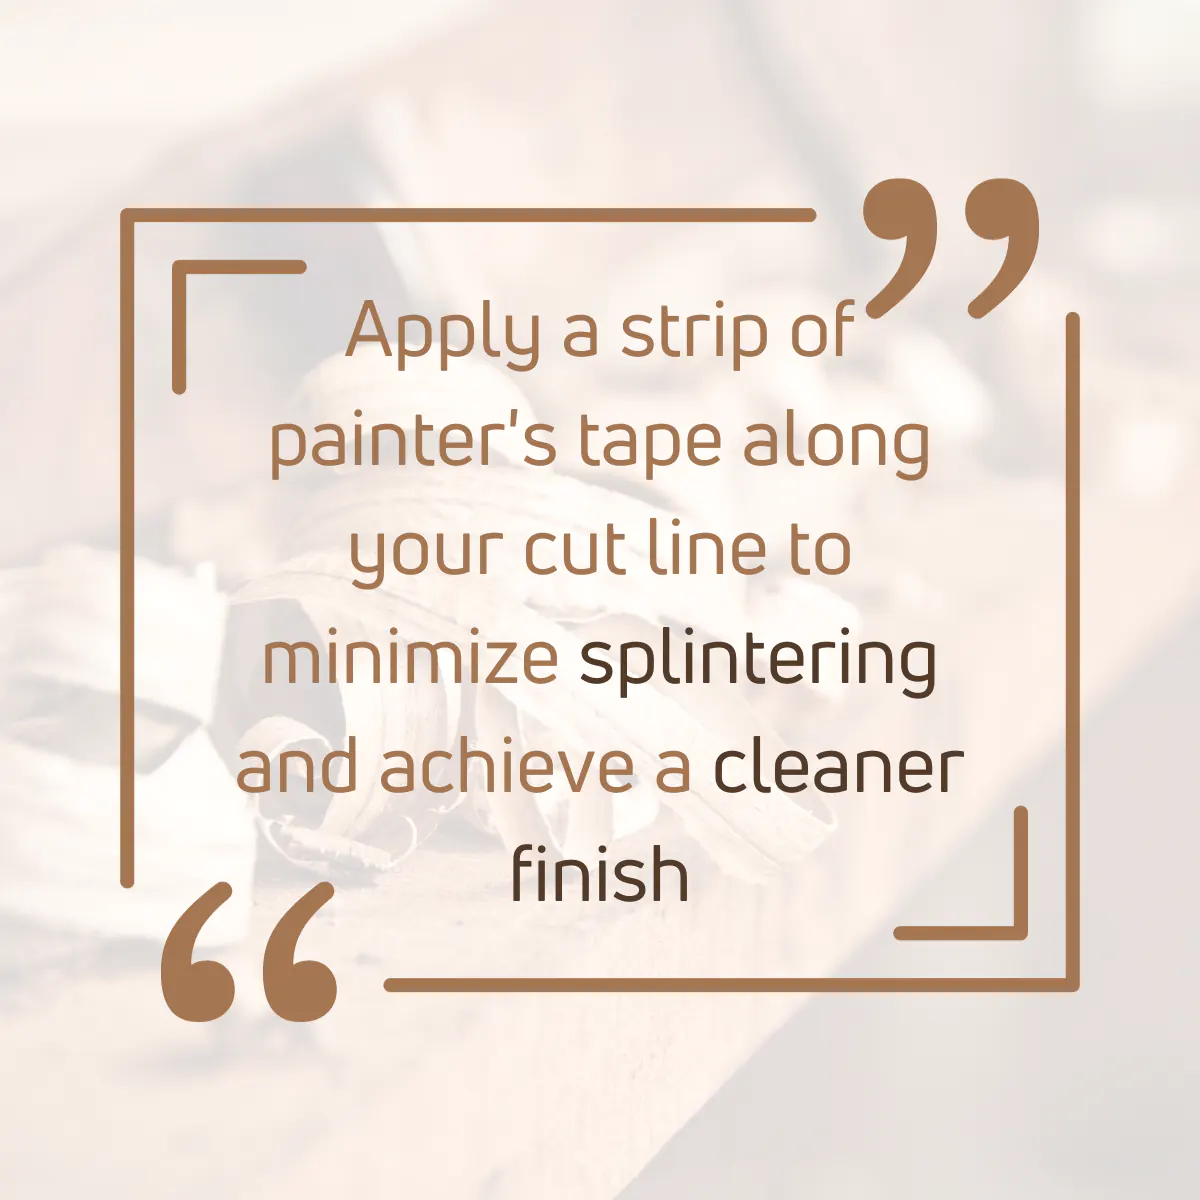
How do you cut melamine without chipping it?
To cut melamine without chipping, use a sharp, high-tooth-count saw blade and apply painter’s tape to the cutting line for a smoother finish.
What type of glue works best with melamine?
A good-quality wood glue or a specialized melamine adhesive is recommended for bonding melamine.
Do I need to edge-band melamine drawer boxes?
Yes, adding edge banding to exposed edges of melamine prevents chipping and provides a finished look.
How do you fix melamine that has already chipped?
You can use edge banding or melamine repair kits, which typically consist of a filler and touch-up marker, to address minor chips.
Can melamine drawer boxes support heavy loads?
While melamine is sturdy, the weight it can support depends on the thickness of the board and the quality of construction; reinforcing the drawer with additional supports can increase its load-bearing capacity.
How do you clean and maintain melamine drawer boxes?
Use a damp cloth with mild detergent to clean melamine surfaces, and avoid abrasive cleaners to prevent scratching.
Is it necessary to pre-drill holes in melamine?
Pre-drilling is recommended when screwing into melamine to prevent splitting or cracking.
Can I paint or stain melamine drawer boxes?
Melamine is non-porous, so painting can be challenging; however, with the right primer and preparation, it’s possible.
Are there eco-friendly alternatives to melamine?
While melamine itself isn’t eco-friendly due to its resin content, there are sustainable plywood or MDF options that can be used as alternatives for drawer boxes.
Did I cover all you wanted to know about: How To Make Melamine Drawer Boxes?
In this article, I have deeply discussed how to make melamine drawer boxes using the simplest method possible.
By using the under-mount slides method you’ll never go wrong since it is so much helpful when taking dimensions for the drawer boxes with the help of scrap wood pieces.
I have discussed the advantages and disadvantages of using melamine to make drawer boxes with some tips and tricks.
You can make melamine drawer boxes using ¼” melamine for the bottom and ¾” melamine for the box. First, install the undermount drawer slides. Then take measurements for the drawer box and assemble it. Install the melamine box into slides with the help of edge banding. Finally, finish the melamine drawer box using polyurethane and attach the drawer front.
Simple as that!
Furthermore, I’ve answered some frequently asked questions as well.
Hope you got the answers for how to make melamine drawer boxes using the simplest method possible.
Try to make a melamine box following the procedure above and share your feedback with me. Happy DIY woodworking!