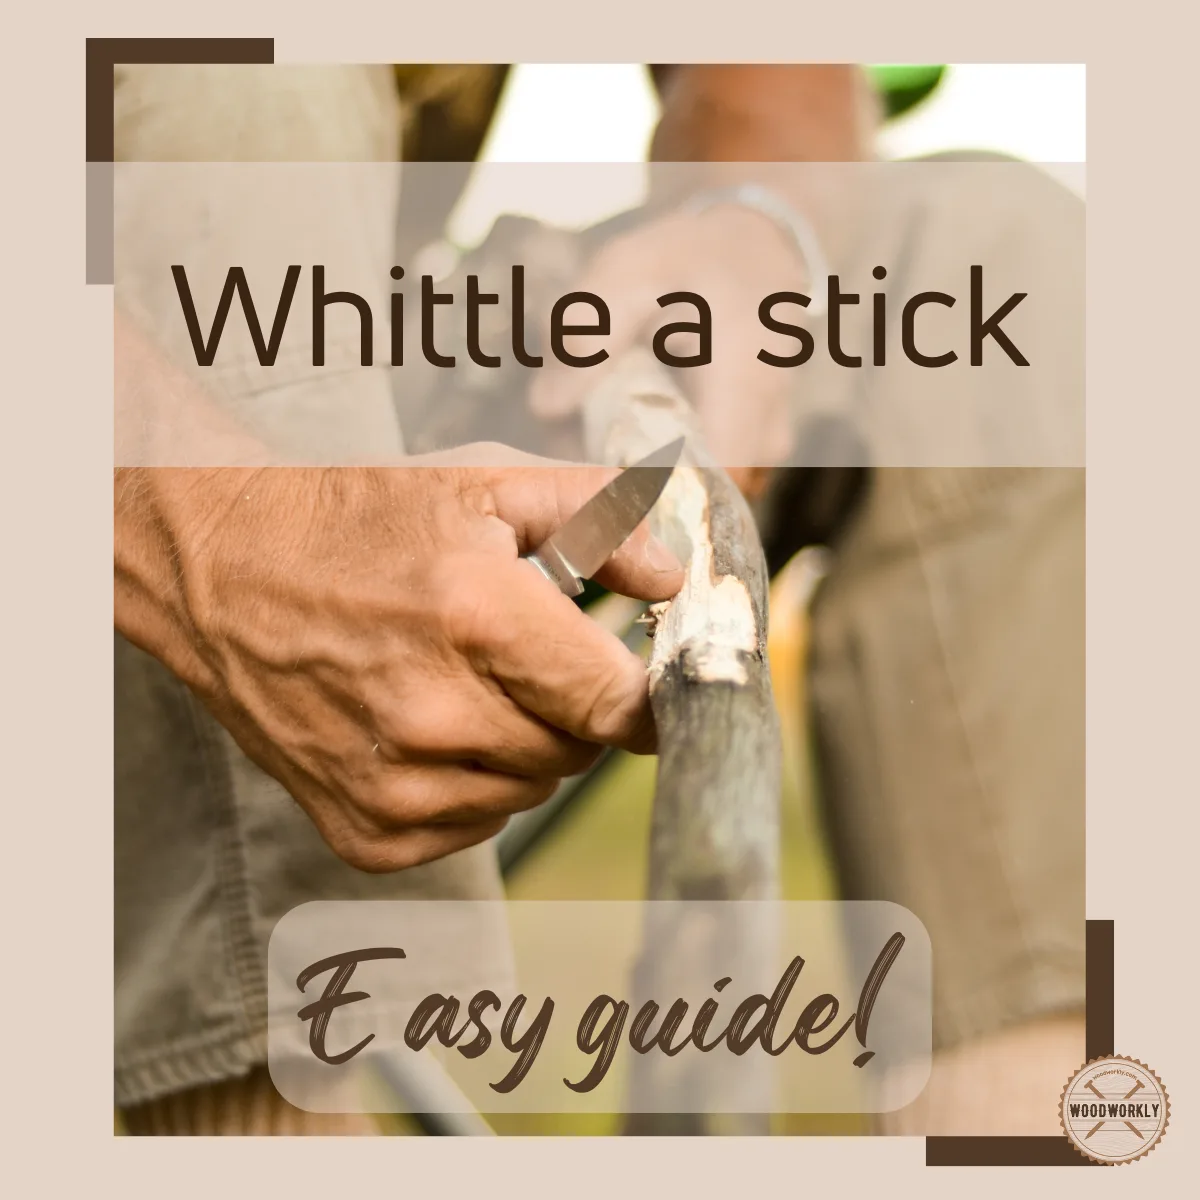
Ever fancied crafting with nature’s resources? Discover the ancient art of stick whittling and embark on a wood-crafting adventure today!
Wood carving is one of the most trending topics in the woodworking world. It is one of the most fulfilling and easiest skills you can learn.
There are lots of wood carving projects you can try out as a beginner or pro player. Whitling a stick is one of them.
You can whittle walking sticks as a business or dress up like your favorite movie character for Halloween.
Here’s what I know about, How to whittle a stick?
To whittle a stick, you need a soft but durable wood such as Basswood and a sharp knife. First, peel off the outer and green bark by cutting it evenly and then let the stick dry and decay. Next scrape the inner bark and smoothen the surface. Finally, stain and finish the stick.
Simple as that!

But there are a lot more things you need to know when whitling a stick.
In this article, I’ll walk through the step-by-step process of how to whittle a stick without making any mistakes, and what materials you need to use with all the tips and techniques.
Furthermore, I’ll answer some frequently asked questions as well.
Let’s jump in!
What Makes A Good Whittling Stick?
You can you any wood you like to make a good whittling stick.
Your whittling knife needs to be well sharpened, and you should finish the whittled stick well before using it to protect against weather elements.
Usually, hardwoods make a good whittling stick due to their excellent durability. Softwoods are super easy to whittle due to their softness and working with softwoods is super easy.
Here are some of the best hardwoods you can use to make a good whittling stick,
Here are some of the best softwoods you can use for whittling sticks,
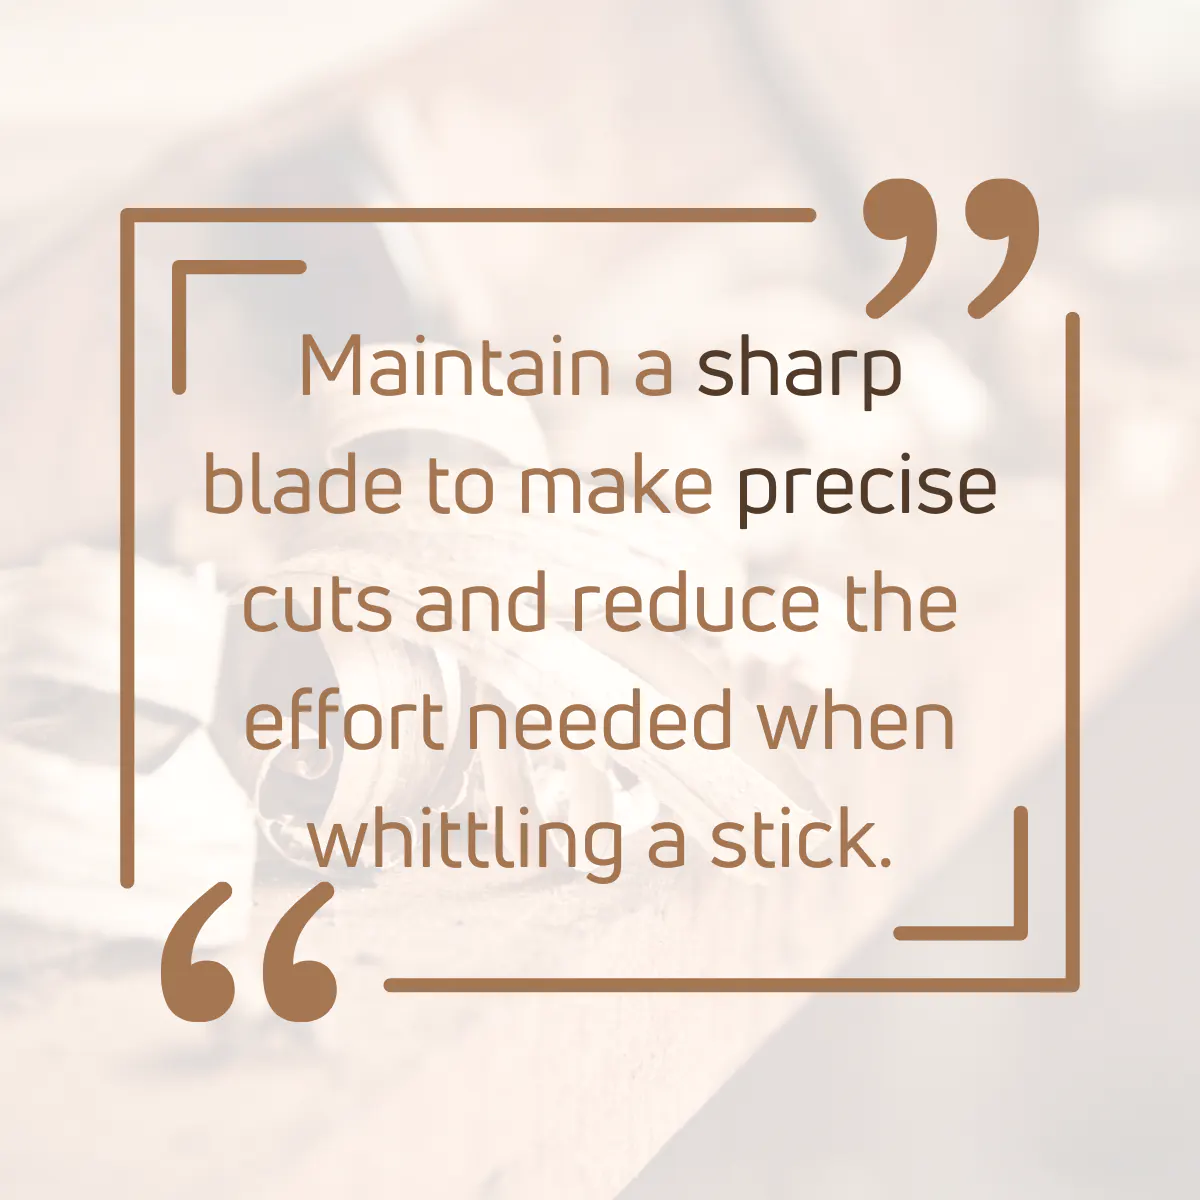
Your whittling knife should be well-sharpened before whittling a stick to get the curves and shapes you want.
Otherwise, your tools may get blunt during the process.
As a summary, here are what make a good whittling stick,
- Choosing a good undamaged wood for whittling
- Choosing wood with no knots
- Well-sharpened axe and knife to cut and carve the wood
- Make slow thin cuts during whittling
- Quality wood stain to enhance the appearance whitling stick
- Quality wood sealer to keep the whittling stick protected
Tips To Select Good Wood For Whittling Stick
- Select fresh wood with outer and green bark. Dried woods are difficult to carve.
- Select woods with no knots, damage, or insect attacks. Damaged woods are low in strength.
- Always try to cut wood from a fallen branch. Better not to cut branches from a tree.
- Select a thick and long enough branch larger than the size of the stick you’d like to carve.
- Select a branch at least your height
Let’s have a look at the supplies you’ll need to collect when whittling a stick.
Tools You Will Need To Carve a Walking Stick
- Sharp carving knife or pocketknife
- Axe or machete knife
- Thick and long wood branch
- 80 – 100 grit sandpaper
- Drywall spackle or old ice skate
- Pen or marker
- Wood stain
- Wood sealer
How To Whittle A Stick
So, let’s discuss each step you need to follow to whittle a stick properly without making any mistake.
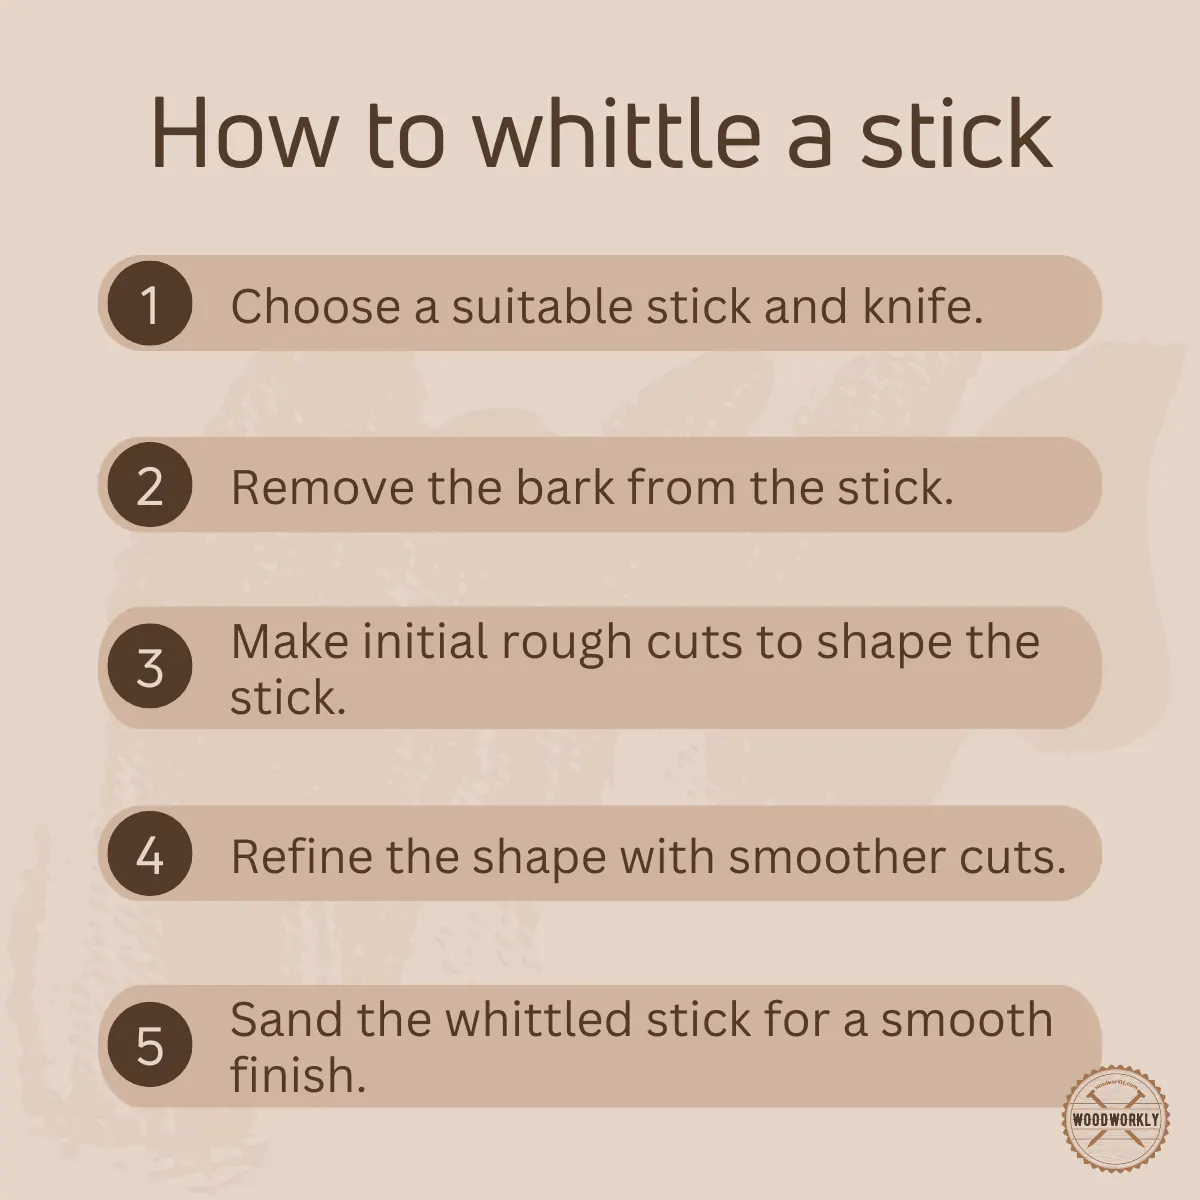
1. Prepare The Stick
Select a stick from any wood you want. Better if you select a fallen branch since cutting a branch from a living tree is not good for an environmentally friendly wood carver.
Cut a branch or stick thick and tall as your height or more. Make sure to cut a stick or branch that’s larger than the stick that you’re going to whittle.
Use a well-sharpened axe or machete knife to cut the branch. The branch should be thick and fresh with outer and green bark.
Better if it doesn’t have any knots or has a very minimum number of knots because working with knots is so difficult and they’ll reduce the dimensional stability of the stick.
In later stages, we will remove all three barks and get the best area of the wood for whittling the stick.
After cutting the branch or stick, slide the axe or machete along one direction of the branch to remove knots and twigs.
When I’m whittling a stick, I’d always go for hardwood since they are durable in terms of making walking sticks and the stick should have a thickness of at least 1 inch.
Thin branches and sticks will break easily since we have to sand and remove several outer layers on the branch in later stages.
2. Remove The Outer Bark And Green Bark
Now it’s time to identify the barks of the stick you selected.
Mainly three different types of barks can be seen in a fresh branch. They are,
- Outer bark – brown
- Green bark – green in color (surprising right!)
- Inner bark – turns yellowish orange when decays
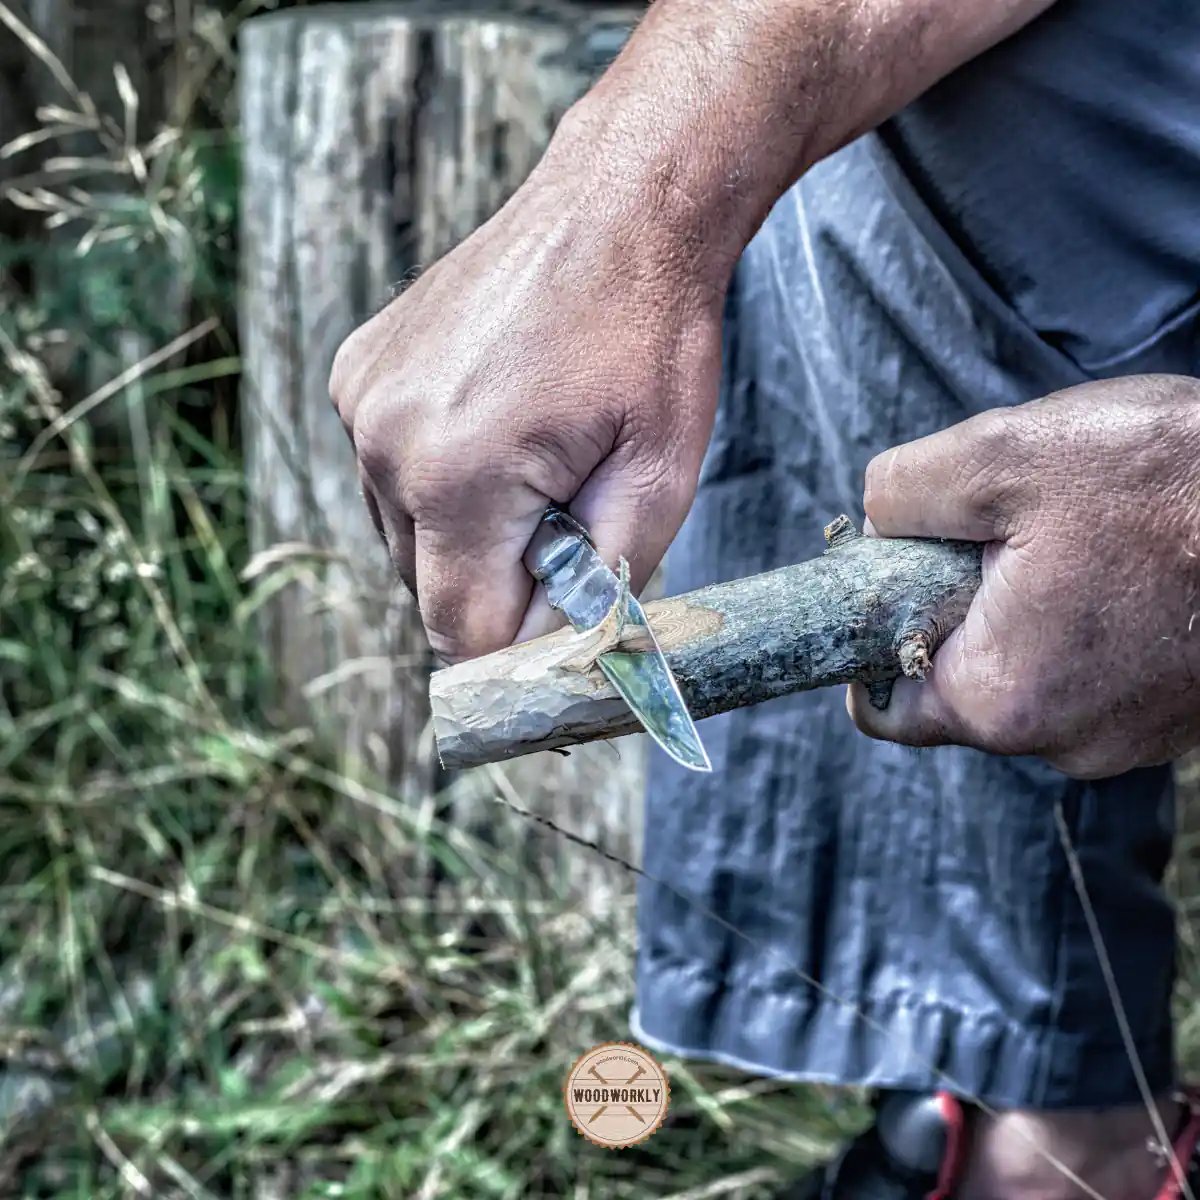
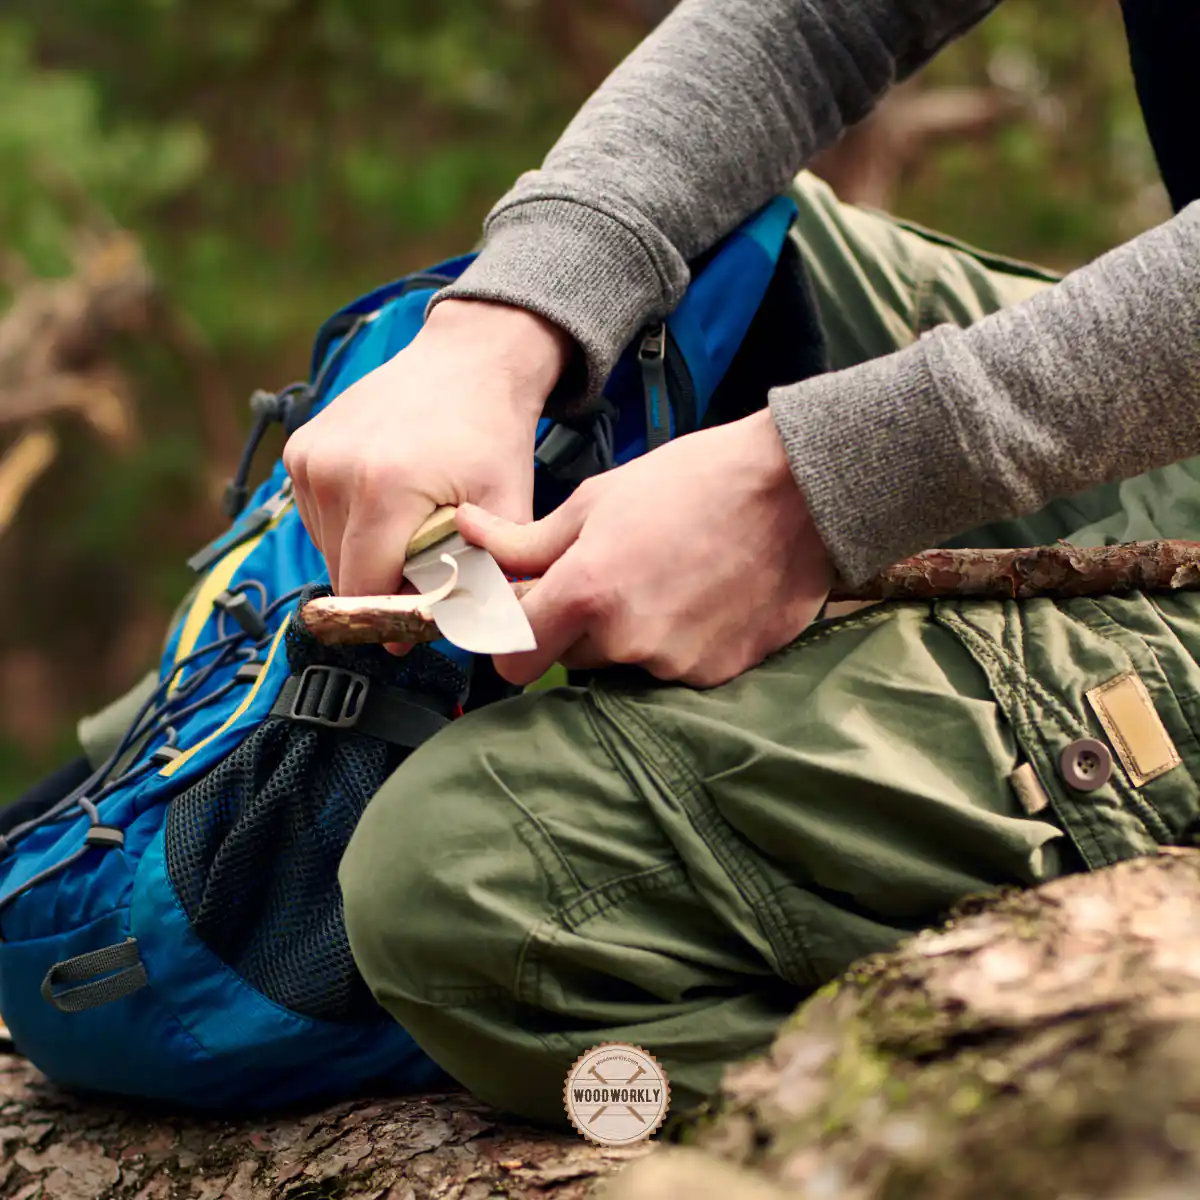
First, you need to remove the outer bark using a sharp carving knife or a pocket knife.
Peel the outer bark off carefully but make even cuts. Always focus on the knife direction to make smooth cuts without harming your fingers.
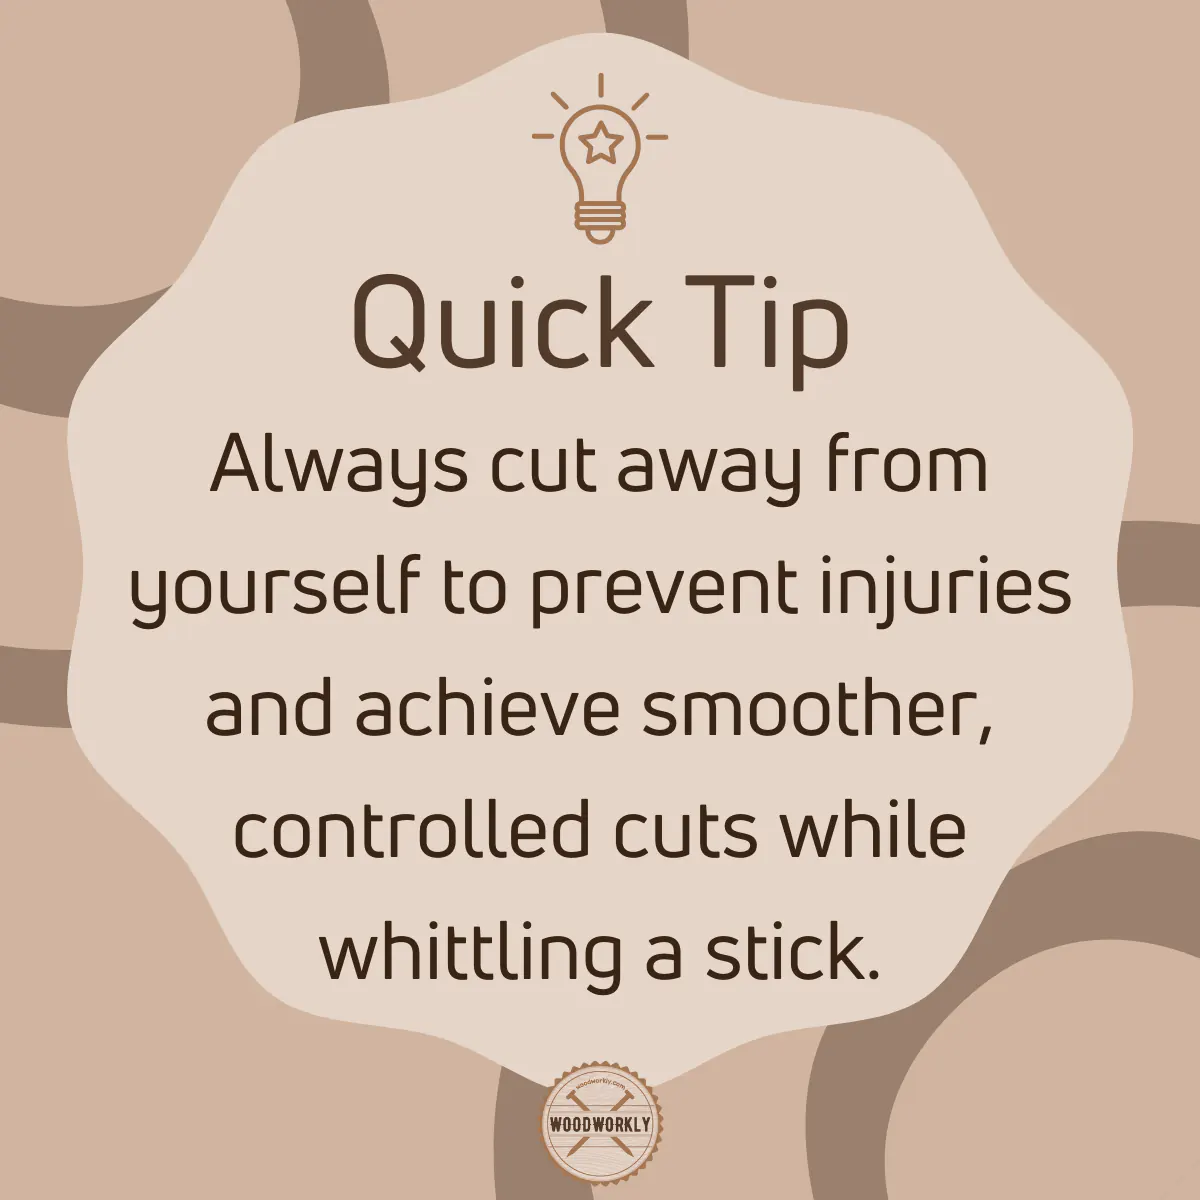
Make even cuts along one direction of the stick by sliding the carving knife along the bark. Make sure to keep the knife away from your lap and body when cutting.
Cut away from your body to reduce the chance of an injury.
Don’t worry if you couldn’t make 100% even cuts along the stick. Just make sure to peel away and whittle all the brown color outer bark and green color inner bark layers from the wood.
If you catch a knot during the whittling process, cut the bark back and forth from the left and right sides to make it nice and smooth. This is why we usually skip knotty woods when carving.
Plus, make sure not to remove the inner bark layer in this step since we’ll remove that in the future after letting the wood dry sometimes. We do a smooth step in the later stage.
3. Finishing The Whittling Process
Keep whittling the rest of the stick to remove all the outer bark and green bark layers. Whittling the middles areas of the stick is so much easier than the whittling top, bottom and edges.
Better not to focus a lot on smoothening in this step since we’ll smooth the whole wood in a later step.
Once you’re done with whittling now your wood only has inner bark on it.
4. Let The Stick Dry And Decay
Letting the step dry and decay is an optional step before peeling off the inner bark layer.
But identifying the inner bark layer can be extremely difficult since the color of the inner bark and the wood inside are mostly all a same.
Therefore, we’ll take the stick inside the house and let it dry overnight.
When the stick is drying and decaying overnight, the inner bark layer will eventually turn into a yellowish-orange color which makes it separate from the inner color of the wood.
The reason for the color transition of the inner bark is the presence of microscopic green algae known as Chlorophyta. They release orange color yeast on wood which makes the inner bark looks orange.
That’s how you know the difference between the inner bark and the wood inside.
Drying and decaying help to make the color difference and make the inner bark removal process easy in the next step.
5. Remove The Inner Bark and Smoothen the Stick
It’s time to remove the orange color inner bark from the stick. Take the drywall spackle or ice skate and scrape the inner bark from the stick.
Or you can lightly sand the wood in one direction until the inner bark peels off. Or use the back side of your carving knife.
Place the stick in a bucket or garbage can collect all the inner bark dust that remove from the wood.
Make sure to wear a face mask during this step to avoid getting breaking issues due to the dust.
Slide the wood stick and take your drywall spackle or ice skate back or sandpaper back and forth until the inner bark is removed from the wood surface.
You have to do this until all the orange components get removed from the wood.
Knots are also should smoothen out until it gets smooth with no orange stuff.
Finally light sand the whole stick with little pressure to smoothen the surface and remove any bumps and randomness.
Now your stick is free of orange inner bark.
6. Round And Shape the Edges
Now it’s time to shape it to look more attractive. Round the edges by scuffing with a fine-grit sandpaper.
The ends and curves of the stick need to be diagonal and round with no sharp edges. This gives some comfort when handling the stick.
Now the whittling part of the stick is done and it’s time for the decoration.
7. Woodburning Or decoration
You can make some pyrography designs or make any woodburning art on the stick to make it beautiful.
This is how you can increase the value of the stick you made.
You can use a wood burner or soldering iron to make some designs on a walking stick.
8. Stain The Wood
Staining the stick, you whittled it important to enhance the natural color of the wood or to change the color of your stick to something more beautiful.
Make sure the clean the stick properly before staining since pyrography may have left some residue on the wood.
Yes, you can stain over pyrography. It helps to get a polished look.
Use light color stains to distinguish the fine details in the wood-burning art.
Better if you stain with a gel stain since gel stain doesn’t penetrate deep into the wood like regular ones and protects the wood properly with no yellowing over time.
Apply 2 maximum coats of stain since applying more coats leads to wood stain mistakes and you’ll probably end up with a blotchy or tacky surface.
Make sure to let the stain coats dry well between coats for at least 2 – 3 hours. Drying and curing help wood stains to spread evenly and give a good, nice appearance to the wood.
Always do wood burning first and then go for the staining part.
Never do the staining part first and then go for the wood burning since wood stain contains volatile chemicals that catch fire quickly.
9. Apply Wood Finish
After applying the final coat of stain, let it dry ad cure properly.
Then apply a waterproofing sealer or any other protective sealer over the stick to protect the wood from weather elements.
You can do this by applying a finisher with a clean paintbrush or spraying.
When the whittled stick gets exposed to the outside world, moisture tries to go inside the wood.
Even though wood stain provides some sort of protection to the wood, that’s not enough to stop high moisture content under harsh weather conditions.
Therefore, apply a proper wood finishing product over the stick like varnish, lacquer, or any other waterproofing product.
It will protect the wood from moisture, water damage, rotting, decaying, UV light, and insect attacks.
Wood finish increases the lifetime of the stick you made by making a protective layer over the wood.
Make sure to do all the staining and finishing steps outside or in a well-ventilated area since having good air circulation is a must for fast and efficient drying.
Plus, having good air circulation helps to remove chemical fumes quickly from the working area to protect us from the skin, eye irritations, and breathing issues.
That’s it, folks! This is how you whittle a stick using proper wood carving techniques.
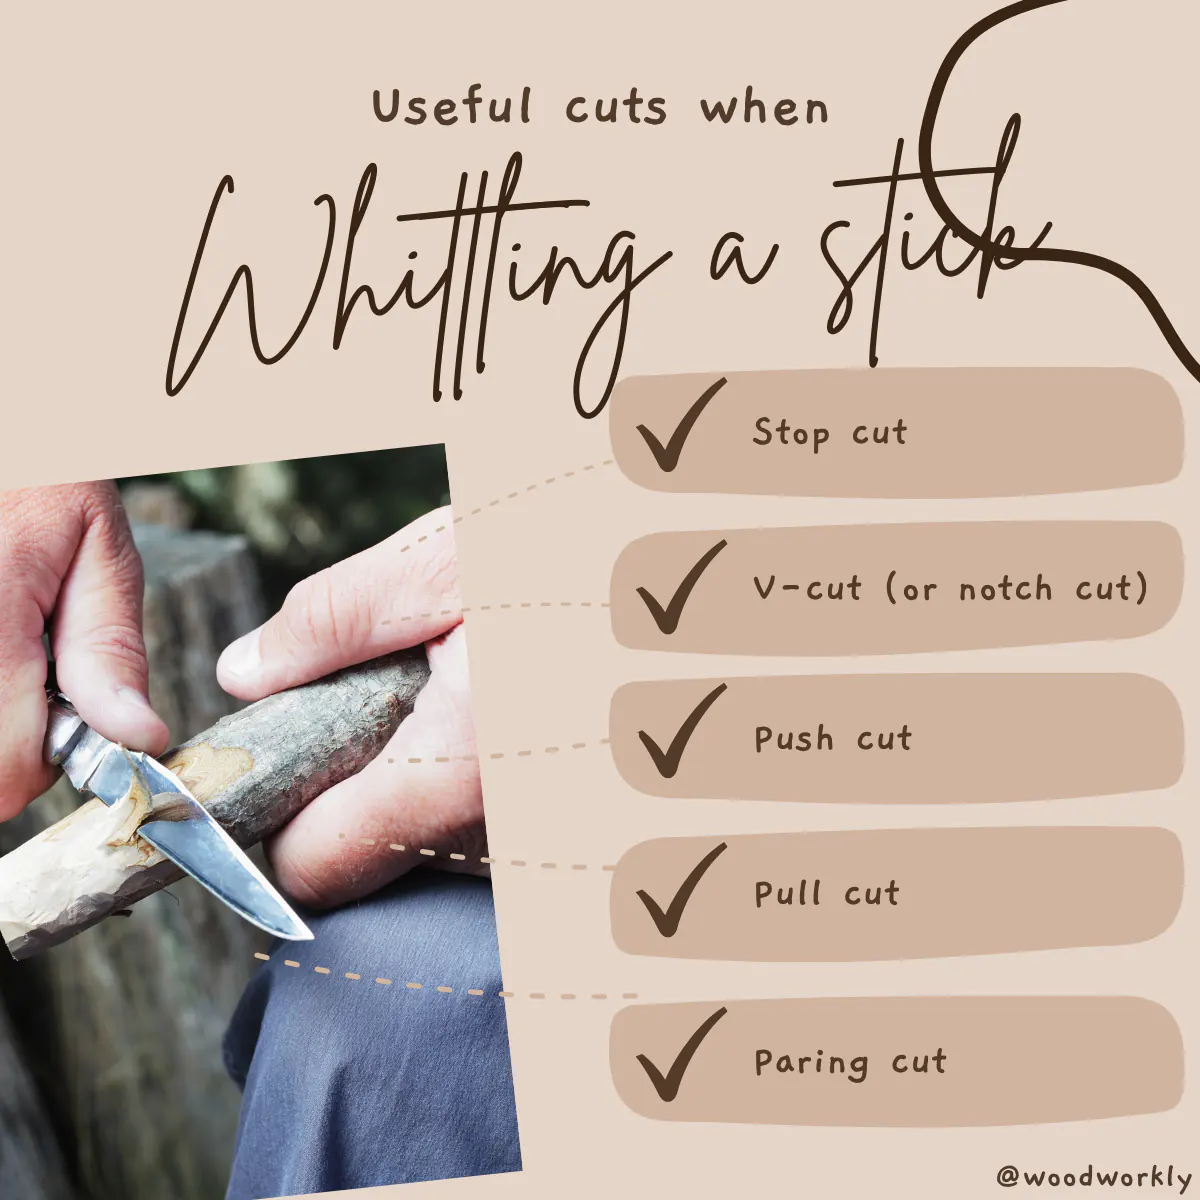
Now I’m going to share with you types of whittling cuts that will help you to whitlle the stick like a pro.
Types Of Whittling Cuts
Whittling is more than just a craft; it’s a form of art that lets you create almost anything with just a piece of wood and a sharp knife.
Trust me, mastering these will pave your way to becoming a proficient whittler.
The Push Cut
Personal Anecdote: I remember when I first started whittling; the push cut was my go-to technique, mainly because of its straightforwardness and control. It’s like greeting an old friend every time I use this cut in my projects.
To execute a push cut, grasp the wood in one hand and the knife in the other.
Now, using your wrist and forearm, push the blade away from you, slicing into the wood.
You can carve intricate patterns and designs with this technique.
It’s an ideal cut to start with, especially if you’re in the mood to create some small, detailed figures or intricate patterns.
The Pull Cut
Personal Experience: Ah, the pull cut, it takes me back to the times when I would sit on the porch with my grandfather, watching him craft beautiful pieces. This cut is like a rite of passage in the world of whittling.
For the pull cut, hold the piece of wood with one hand while pulling the knife towards you with the other.
This cut offers excellent control, making it ideal for carving detailed sections of your project.
It’s a technique that makes me feel connected with the wood, carving out shapes as the wood guides my hand.
The Stop Cut
Little Story: This cut reminds me of my early days of whittling, where I was so eager to carve deeper and create distinct patterns. The stop cut became my ally, helping me define boundaries and create depth in my creations.
A stop cut is made by first creating a guiding line on the wood by pushing or pulling the knife across the surface.
Then, using a push or pull cut, carve up to the line from different directions.
This type of cut is incredibly helpful when you’re looking to add details and layers to your project, giving it a three-dimensional effect.
It feels like sculpting a piece of art, giving life to a block of wood.
The V-Cut or Notch Cut
A Chapter from My Journey: I found the V-cut to be a game-changer in my whittling journey. It opened up avenues to add intricate details and give a textured appearance to my creations.
As the name suggests, the V-cut, or notch cut, is used to create a V-shaped notch in the wood.
It’s essentially making two diagonal cuts that meet at a point, resembling the letter “V”.
This cut is a favorite of mine when I want to create detailed textures or patterns, bringing a rustic and authentic feel to the pieces.
As you can see, Learning and mastering these whittling cuts have been a journey of joy and creativity.
Every cut feels like painting strokes on a canvas, but here, the canvas is a warm, welcoming piece of wood.
As you explore each type of cut, you’ll notice your style evolving, and trust me, it’s an exhilarating feeling to see a piece of art emerging from a block of wood, shaped by your hands and creativity.
Now I’m going tos ahre with you tips and trcicks that I’ve learned over the past yeasr by making different types of whittle walking sticks.
Below tips come not only from myself, but also from my fellow woodworking experts. These tips will take your whittling stick game to the next level.
Tips for Whittling a Stick From Experts
Whittling a stick can be as simple or as intricate as you wish to make it.
It’s not just a hobby, it’s an art form that’s passed down through generations, bonding people and creating memories.
Let’s delve deep into the world of whittling with some expert tips, peppered with some personal anecdotes and experiences to make your journey smoother and more enjoyable.
Choose the Right Wood
A Grandfather’s Wisdom: I recall my grandfather always emphasizing the importance of choosing the right wood.
His eyes would light up as he talked about the different types of wood he used in his projects.
Selecting the right wood is the foundation of your whittling project. Softwoods such as pine, basswood, or cedar are generally preferred as they are easier to carve and are great for beginners.
Remember, the wood should be green but not too wet, providing a perfect canvas for your creativity to flow.
Sharp Knives are Your Best Friends
An Old Friend’s Advice: An old friend once told me, “A sharp knife is a whittler’s best companion.”
And over the years, I’ve found this to be absolutely true.
Maintaining the sharpness of your knife is vital.
Not only does a sharp knife make the process smoother, but it also ensures safety, as a dull knife can cause accidents.
Sharpening your knife regularly becomes a soothing ritual, preparing you mentally to create your masterpiece.
Patience is the Key
Personal Reflection: In my early days, I was too eager to see the final product, often rushing through the process.
But as I spent more time whittling, I realized that the beauty lies in the journey itself.
Whittling is a meditative process.
It’s not about how quickly you can carve a stick, but the joy and satisfaction you derive from slowly seeing your vision come to life.
Take your time, enjoy each cut, and see how the wood gracefully gives way to reveal beautiful patterns and shapes.
Safety First
A Lesson Learned: I have a little tale to tell here; a lesson learned the hard way. In my zeal to carve, I sometimes overlooked safety precautions, ending in nicks and cuts.
Remember, safety should always be your priority. Always cut away from your body to avoid accidents.
Wearing gloves can provide an extra layer of protection. It’s always better to be safe than sorry, ensuring that your whittling experience remains pleasant and injury-free.
Learn from Every Project
Journey Through the Years: Through the years, each piece I have whittled holds a story, a learning curve, and a step towards mastering the art.
Every project you undertake is a learning experience.
Sometimes you might make mistakes, but remember, these are just opportunities for you to learn and grow as a whittler.
Embrace these as stepping stones to honing your skills.
What Is A Good Diameter For Walking Stick?
¾” is a good diameter for a walking stick. When you’re cutting a branch to whittle a walking stick, makes sure it has more than ¾” diameter.
When you’re peeling off the outer bark, green bark, and inner bark the diameter of the stick gets reduced. So always select branches with a thick diameter of around 1”.
What Height Should Walking Stick Be At?
The walking stick should be at your height. Therefore, when you’re cutting a branch, always select one that is slightly taller than you.
When you’re peeling off some layers, and sanding and shaping the edges, some length of the stick gets removed and the final diameter should be close to your height.
Some people suggest walking sticks should be around 6 to 8 inches which is higher than your elbow.
Just take the height you prefer. But always make sure to keep some amount as allowance since they’ll get removed when whittling and shaping the stick.
How To Protect The Bottom Of My Walking Stick?
To protect the bottom end of your walking stick finish it with epoxy or any other good finisher and then apply ferrules to protect the edge of the stick from friction and wear.
The bottom of your stick gets damaged easily since it is the place that touches the ground and needs to have good impact resistance to tolerate outside impacts.
Or you can apply a rubber tip to protect the bottom of your walking stick.
What To Use To Carve On Wood With A Dremel?
There’re several types of Dremel accessories you can use to carve wood. They are,
- High-speed cutter 4.8 mm
- High-speed cutter 7.8 mm
- Engraving cutter 2.4 mm
- Tungsten carbide cutter ball tip 3.2 mm
Dremel is a great power tool to carve small objects and it’s great for someone who starts to work on wood carving.
The only issue with Dremel is its loudness and you’ll have to maintain it properly with regular use to make it a bit silent.
So, let’s answer some frequently asked questions.
FAQs
What is the best type of wood for whittling a stick?
Basswood is a popular choice due to its soft and workable nature, making it ideal for beginners. Pine and cedar are also good options, known for their pleasant aroma and ease of carving.
How do I maintain the sharpness of my whittling knife?
Regular honing with a sharpening stone, complemented by occasional stropping, ensures your knife remains sharp and ready for your next whittling adventure.
Do I need to have any special skills to start whittling?
Absolutely not! Whittling is an accessible hobby for everyone; all you need is a piece of wood, a sharp knife, and a sprinkle of patience and creativity to start your journey.
Is whittling a safe hobby to pursue?
Yes, whittling is safe as long as you follow necessary precautions such as always carving away from your body and keeping your tools well-maintained to avoid accidents.
Can I whittle any kind of stick?
Ideally, you should opt for softwood sticks as they are easier to carve. Avoid using sticks from brittle or hard wood, which can make the whittling process more challenging and less enjoyable.
How do I prevent cuts and injuries while whittling?
Prioritize safety by always cutting away from your body and using safety equipment such as gloves to minimize the risk of accidents.
What should I make for my first whittling project?
For your first project, start with something simple like a spoon or a basic animal figure, which will allow you to grasp the basic techniques without feeling overwhelmed.
Can whittling be a meditative process?
Absolutely, many find the repetitive motions and focus required in whittling to be a great form of mindfulness and meditation, creating a tranquil and serene experience.
Did I cover all you wanted to know about: How To Whittle A Stick?
In this article, I’ve deeply discussed, how to whittle a stick using proper wood carving techniques and what kind of wood is best for whittling a stick with ease, and many other facts.
You can whittle a stick using any wood. First cut a fresh branch with no knots and peel off the outer bark and green bark using the carving knife. Then let the stick dry and decay and remove the inner bark and smooth the stick with light sanding. Finally, shape the edges and finish the stick with stain and sealer with some designs.
Furthermore, I’ve answered some frequently asked questions as well.
Hope you have gained good knowledge about how to whittle a stick correctly without messing up.
Try to whittle a stick by yourself and experience how interesting wood carving is.